
Problem Solved: Quick Fixes for Common Sourdough Starter Issues

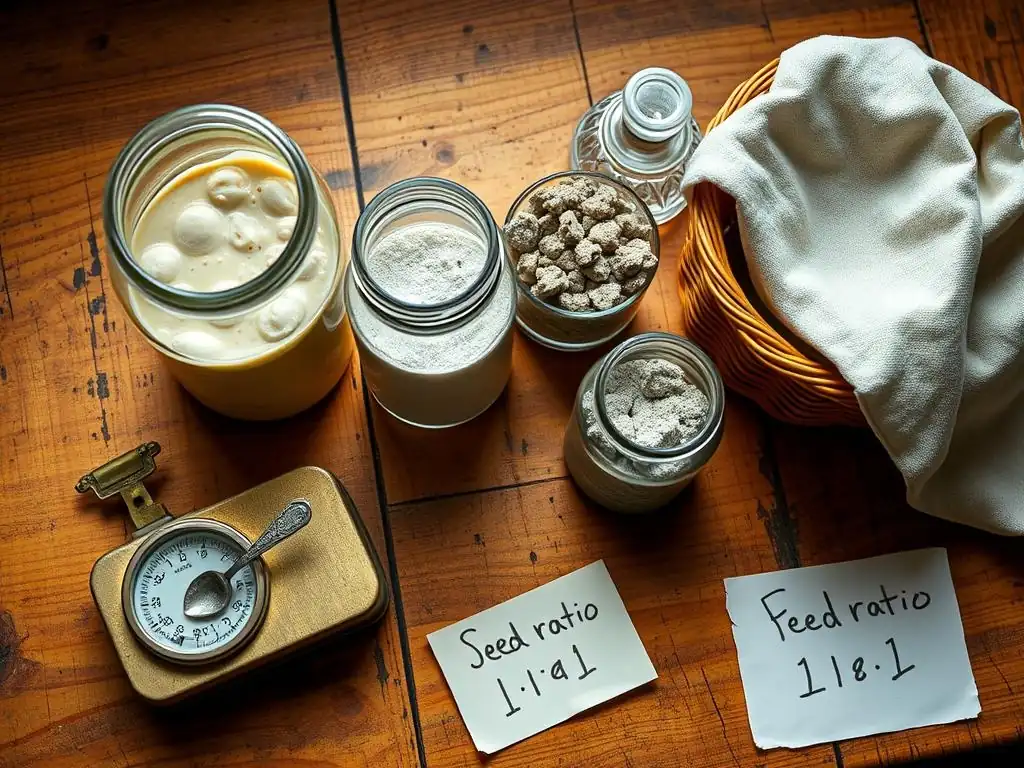
Welcome to BakeWithEase, your trusted guide in the delightful world of baking! Are your sourdough dreams turning sour? Don't despair! We understand the frustrations of a finicky starter. Dive into our article below for sourdough starter troubleshooting tips that will have your bubbly friend back on track in no time. Unlock the secrets to a thriving starter and elevate your sourdough baking game today!
- Introduction: Troubleshooting Your Sourdough Starter for Baking Success
-
Common Sourdough Starter Problems and Solutions
- 1. Sourdough Starter Not Rising? Addressing Inactivity
- 2. Sourdough Starter Smells Off? Identifying and Correcting Odors
- 3. Sourdough Starter Consistency Issues: Too Runny or Too Thick?
- 4. Sourdough Starter Mold: Is Your Starter Salvageable?
- 5. Sourdough Starter Developing Black Liquid (Hooch): What to Do
- 6. Sourdough Starter Not Doubling: Diagnosing Slow Fermentation
- Preventing Sourdough Starter Problems: Proactive Tips for a Healthy Starter
- Conclusion: Mastering Sourdough Starter Troubleshooting for Baking Confidence
- Frequently Asked Questions
- Final Reflection: The Ever-Evolving Journey of Sourdough
- Unleash Your Inner Baker: Next Steps with Your Sourdough Starter
Introduction: Troubleshooting Your Sourdough Starter for Baking Success
Embarking on the sourdough journey is incredibly rewarding, offering loaves and baked goods with unparalleled flavor and texture. However, the path isn't always perfectly smooth. Your sourdough starter, a living culture of wild yeast and bacteria, can occasionally present challenges, from sluggish activity to unusual odors or textures. Don't be discouraged! Learning effective sourdough starter troubleshooting tips is a fundamental part of mastering this craft.
Understanding the signs of a happy, healthy starter and knowing how to address common issues is crucial for consistent baking success. Think of it as learning the language your starter speaks. This guide provides practical, easy-to-follow quick fixes for the most frequent sourdough starter problems, helping you revive a sleepy starter, banish bad smells, and achieve that perfect bubbly consistency needed for delicious sourdough bread. With the right knowledge, you can navigate these hurdles and keep your starter thriving.
Common Sourdough Starter Problems and Solutions
1. Sourdough Starter Not Rising? Addressing Inactivity
Understanding Potential Causes of a Sluggish Starter
A common frustration for new and experienced bakers alike is a sourdough starter that just isn't rising or showing much activity. Several factors can contribute to a sluggish starter. One primary culprit is temperature; wild yeast is most active in a warmer environment, typically between 70°F and 80°F (21°C to 27°C). If your kitchen is cooler than this range, the microbial activity slows down significantly, resulting in less gas production and minimal rise.
Another frequent cause is insufficient or inconsistent feeding. A starter needs regular replenishment of flour and water to provide the yeast and bacteria with food. If feedings are too infrequent, or the ratio of new flour and water to existing starter is too low, the microbes quickly consume the available nutrients and become dormant. Using chlorinated tap water can also inhibit microbial growth, as chlorine is designed to kill microorganisms.
Quick Fix: Adjusting Feeding Ratios for Increased Activity
One of the most effective sourdough starter troubleshooting tips for inactivity is adjusting your feeding ratio. A standard maintenance ratio is 1:1:1 by weight (starter:flour:water). However, if your starter is sluggish, you can try a higher ratio, such as 1:2:2 or even 1:3:3. For example, feeding 25g of starter with 50g of flour and 50g of water (1:2:2) provides a larger meal, encouraging more vigorous activity and growth. This dilutes the existing acidic environment and offers more fresh food.
Increasing the feeding ratio means your starter has more resources to consume before it runs out of food, potentially leading to a stronger rise. Experimenting with slightly higher ratios for a few feedings can often jumpstart a slow starter. Monitor its activity closely after implementing this change, looking for bubbles, expansion, and the characteristic tangy smell.
Quick Fix: Optimizing Temperature for Sourdough Starter Growth
Temperature plays a critical role in the metabolic rate of the yeast and bacteria in your starter. If your starter is inactive and your kitchen is cool, finding a warmer spot is a simple but powerful quick fix. Aim for a location that consistently stays between 75°F and 80°F (24°C to 27°C).
Ideas for finding a warm spot include placing the starter in an oven with just the light on (this often provides enough warmth), near a warm appliance like a refrigerator or water heater (but not directly on top if it gets too hot), or in a proofing box if you have one. Using a digital thermometer can help you identify the warmest, most stable spot in your home. Consistently warm temperatures encourage the yeast to produce carbon dioxide more rapidly, leading to a noticeable rise and bubbly texture within a few hours of feeding.
2. Sourdough Starter Smells Off? Identifying and Correcting Odors
Recognizing Unpleasant Sourdough Starter Smells (and When to Worry)
A healthy, active sourdough starter typically smells pleasantly tangy, yeasty, and perhaps slightly like ripe fruit or yogurt. However, sometimes a starter can develop less appealing odors. A strong smell of vinegar or acetone (nail polish remover) is common and usually indicates that the starter is hungry and producing more acetic acid than lactic acid. This isn't necessarily a sign of spoilage but rather a cry for food.
More concerning smells include cheesy, rancid, or rotten odors. These smells can sometimes indicate the presence of unwanted bacteria. While some sulfurous smells might occur in young starters, persistent foul odors are a red flag. Learning to distinguish between normal hunger smells and potentially harmful ones is key in sourdough starter troubleshooting tips.
Quick Fix: Addressing Acetic Acid (Vinegar Smell)
If your starter smells strongly of vinegar or acetone, it's likely hungry. This indicates that the starter has consumed most of the available carbohydrates and is now primarily producing acetic acid as a byproduct. The quick fix is simple: feed it! Increase the frequency of feedings. If you're feeding once every 24 hours, try switching to every 12 hours.
You can also adjust the feeding ratio, similar to addressing inactivity. A higher ratio, like 1:2:2 or 1:3:3 (starter:flour:water), provides a larger buffer of food, preventing it from becoming overly acidic too quickly. For example, instead of feeding 50g starter with 50g flour and 50g water, try feeding 50g starter with 100g flour and 100g water. This dilutes the acetic acid and gives the yeast and bacteria more fuel before the food runs out.
Quick Fix: Combatting Kahm Yeast on Your Sourdough Starter
Sometimes, a white, powdery, or wrinkled film can appear on the surface of your sourdough starter. This is often Kahm yeast, a type of wild yeast that can grow in fermented foods. It's generally harmless but can impart an unpleasant smell or flavor. It is not the same as fuzzy, colored mold. If you see Kahm yeast, you can usually scrape it off carefully.
To prevent Kahm yeast from returning, ensure your starter is active and healthy, as vigorous activity can outcompete Kahm yeast. Feed your starter regularly and consider keeping it in a container with a lid that rests loosely on top or a cloth cover secured with a band, allowing gases to escape but minimizing surface exposure to air. Increasing the feeding ratio or storing the starter in the refrigerator between uses can also help slow down Kahm yeast growth.
3. Sourdough Starter Consistency Issues: Too Runny or Too Thick?
Determining the Ideal Sourdough Starter Consistency
The ideal consistency for a sourdough starter used for most bread baking is often described as like a thick, pourable batter or a sticky dough. A common hydration level is 100%, meaning equal weights of flour and water are used (e.g., 50g starter, 50g flour, 50g water). At 100% hydration, the starter should have some structure but still flow slowly when the jar is tilted. It shouldn't be as stiff as bread dough, nor should it be as thin as milk.
Consistency affects how you gauge activity (does it double?) and how easily you can incorporate it into your dough. If your starter is consistently too runny or too thick after feeding and rising, it might indicate an issue with your hydration levels or measurement accuracy.
Quick Fix: Hydration Adjustments for a Runny Starter
If your sourdough starter is too runny, it means it has too much water relative to the flour. This can happen if you're measuring by volume instead of weight (as flour packs down, volume measurements are inaccurate) or if you've accidentally added too much water. The quick fix is to adjust your feeding ratio by slightly decreasing the amount of water relative to the flour.
For example, if you typically feed 50g starter with 50g flour and 50g water (1:1:1), try feeding 50g starter with 50g flour and 45g water. This slightly lower hydration level (around 90% hydration relative to the new flour) will result in a thicker starter. Make small adjustments over a few feedings until you achieve the desired consistency. Consistency is key among effective sourdough starter troubleshooting tips.
Quick Fix: Thinning Out a Too-Thick Sourdough Starter
Conversely, if your sourdough starter is too thick, it has too little water. This can make it harder for the yeast and bacteria to move around and access nutrients, potentially slowing activity. It can also make it difficult to mix into your dough. The quick fix here is to increase the amount of water slightly during feeding.
If your standard feeding is 50g starter, 50g flour, 50g water (1:1:1), try feeding with 50g starter, 50g flour, and 55g water. This slightly higher hydration (110% relative to the new flour) will loosen the consistency. Add water in small increments (e.g., 5-10 grams at a time) over several feedings until your starter reaches the desired thick, yet pourable, consistency. Always measure by weight for accuracy.
4. Sourdough Starter Mold: Is Your Starter Salvageable?

Identifying Mold in Sourdough Starter (Visual Cues)
Identifying mold is a critical part of sourdough starter troubleshooting tips, and it's important to be vigilant. True mold on a sourdough starter appears as fuzzy or powdery spots, which can be green, black, orange, pink, or blue. It often starts as small, isolated patches but can spread. Unlike Kahm yeast, which is usually white and film-like or wrinkled, mold has a distinct fuzzy or dusty texture.
If you see any fuzzy, colored growth other than the expected bubbles and network within your starter, assume it is mold. Mold indicates that unwanted fungi have taken hold, potentially producing harmful toxins.
When to Discard and When to Attempt Revival
In almost all cases, if you see true fuzzy, colored mold on your sourdough starter, the safest and most recommended course of action is to discard the entire culture and start fresh. While some sources might suggest scraping off mold from solid foods like cheese, the liquid and porous nature of a sourdough starter means that mold spores and mycotoxins can easily spread throughout the entire jar, even if you only see growth on the surface.
Attempting to revive a moldy starter carries a food safety risk. The only possible exception, and one still approached with extreme caution, might be if you have a very large batch of starter and see a single, tiny, isolated spot of mold far away from the main body of the culture, and you are absolutely certain it hasn't spread. Even then, it's risky. For peace of mind and safety, discarding is the standard advice for mold.
Quick Fix: How to Carefully Revive a Slightly Moldy Starter [If Applicable, with Disclaimer]
Disclaimer: Attempting to revive a moldy starter is generally NOT recommended due to food safety risks. The safest option is always to discard the starter and begin anew. The following information is provided for completeness regarding troubleshooting methods but should be approached with extreme caution. If you see fuzzy, colored mold, please prioritize safety and discard.
In the rare and very specific scenario where you have a large volume of starter and observe a single, tiny, isolated spot of mold (e.g., a pea-sized spot on the surface of a quart-sized jar of starter, far from the main culture), and you choose to attempt revival against recommended advice, here's how some bakers might proceed: Carefully scoop out the mold and a significant margin of the surrounding starter (at least an inch in all directions) using a clean spoon. Discard the removed portion. Transfer a small amount of seemingly unaffected starter from deep within the jar (where no mold was visible) to a clean jar.
Feed this small amount generously with fresh flour and water (e.g., 10g starter with 50g flour and 50g water). Monitor this new culture very closely over the next few days. If any sign of mold reappears, discard immediately.
If it becomes active and smells healthy after several successful feedings, you might have salvaged it, but again, this is a risky method. Prioritize discarding moldy starters.
5. Sourdough Starter Developing Black Liquid (Hooch): What to Do
Understanding Hooch Formation in Sourdough Starters
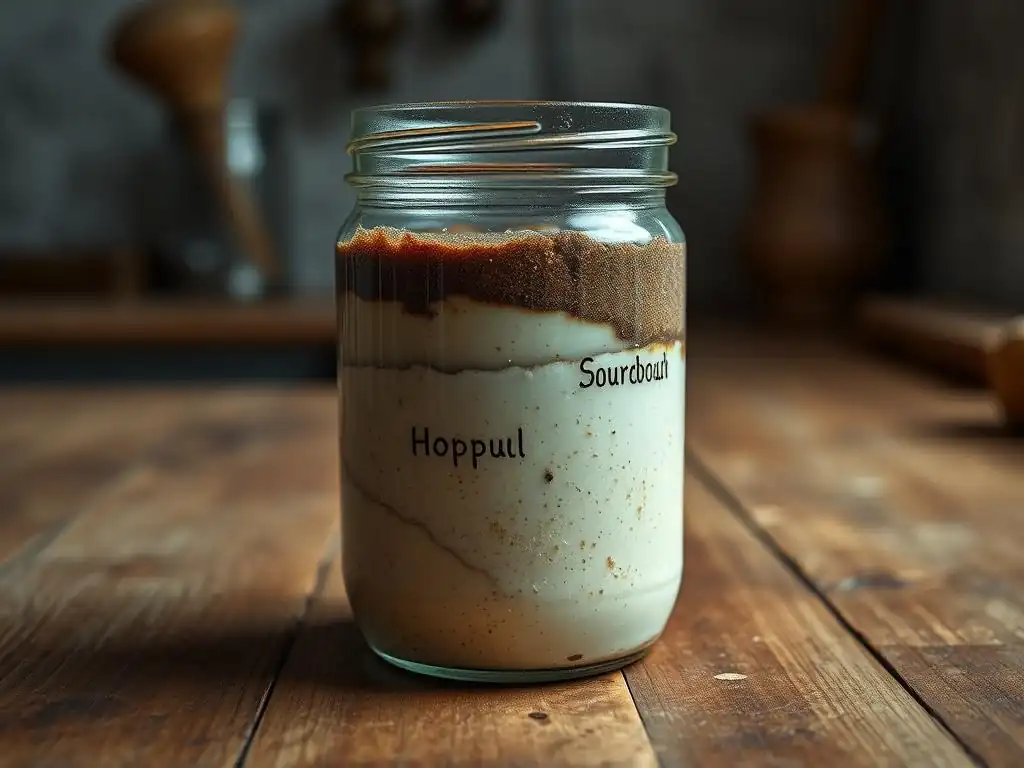
Hooch is the dark liquid that sometimes separates and pools on top of an unfed or underfed sourdough starter. It can range in color from pale amber to dark brown or black. Hooch is a natural byproduct of fermentation; it's essentially alcohol produced by the yeast when they've run out of carbohydrates (flour) to consume. Its presence is a clear sign that your starter is hungry and needs a feeding.
While the dark color can look alarming, hooch itself isn't necessarily harmful, though it indicates your starter is stressed. A thick layer of hooch often coincides with a very acidic starter, which can slow down yeast activity.
Quick Fix: Draining and Feeding After Hooch Development
When you see hooch on your sourdough starter, you have two main options: stir it back in or pour it off. Stirring it back in can add a stronger, tangier flavor to your starter and subsequent bakes, as it incorporates the alcohol and accumulated acids. Pouring it off reduces the acidity and can result in a milder-flavored starter. Neither method is inherently 'right' or 'wrong'; it's a matter of preference and how acidic your starter is.
After addressing the hooch (stirring or pouring), immediately feed your starter with fresh flour and water. Use your standard feeding ratio, or consider a slightly larger feeding (e.g., 1:2:2) if the starter was very hungry. Ensure you mix thoroughly to reincorporate everything if you stirred the hooch in, or to distribute the fresh food evenly if you poured it off.
Preventing Hooch Formation: Regular Feeding Schedules
The best way to prevent hooch from forming is to feed your sourdough starter regularly before it consumes all its available food. The frequency of feeding depends on how you store your starter. If kept at room temperature (around 70-75°F or 21-24°C), it will likely need feeding every 12 to 24 hours. If stored in the refrigerator (around 40°F or 4°C), it goes dormant and may only need feeding once a week or even less frequently.
Observing your starter is key. If you notice it consistently developing hooch within 24 hours of feeding at room temperature, it's a sign it needs more frequent feedings or a larger feeding ratio. Adjusting your schedule to feed before the hooch appears is a fundamental sourdough starter troubleshooting tip for preventing this issue.
6. Sourdough Starter Not Doubling: Diagnosing Slow Fermentation
Factors Affecting Sourdough Starter Fermentation Rate
A healthy, active sourdough starter should typically double in size (or more) within 4-8 hours after being fed, especially when kept at optimal temperatures (75-80°F or 24-27°C). If your starter isn't reaching this benchmark, several factors could be slowing its fermentation. Temperature is a major one; cooler temperatures significantly slow down yeast activity.
The type of flour used also matters. Starters fed with a portion of whole wheat or rye flour tend to be more vigorous than those fed solely with white bread flour, as whole grains provide more nutrients for the microbes. The age of your starter also plays a role; young starters (under 3-4 weeks) are often less predictable and may not double reliably yet.
Quick Fix: Using Whole Wheat Flour to Boost Starter Activity
Incorporating a small amount of whole wheat or rye flour into your regular feeding can provide a significant boost to your sourdough starter's activity. These flours are richer in nutrients and wild yeast compared to refined white flour. For example, if you usually feed with 100% white bread flour, try substituting 10-20% of the flour with whole wheat or rye (e.g., feeding with 40g white bread flour and 10g whole wheat flour, plus 50g water, for a 1:1:1 ratio with 50g starter).
This influx of nutrients can often "wake up" a sluggish starter and encourage more vigorous fermentation and better rise. Monitor the starter after a few feedings with the new flour mix to see if the doubling time decreases and the overall activity increases. This is a widely used technique among experienced bakers for sourdough starter troubleshooting tips related to slow fermentation.
Quick Fix: Ensuring Adequate Airflow for Healthy Fermentation
While you want to protect your starter from drying out or contaminants, adequate airflow is important for healthy fermentation. Sourdough starter produces gases (primarily carbon dioxide) and volatile organic compounds. If the container is sealed too tightly, these gases can build up, potentially inhibiting microbial activity.
Instead of using a screw-tight lid, opt for a lid that rests loosely on top of the jar or cover the opening with cheesecloth, a paper towel, or a coffee filter secured with a rubber band. This allows fermentation gases to escape and permits some exchange of air, which is beneficial for the aerobic bacteria in the culture. Ensuring proper ventilation, alongside optimal temperature and feeding, helps create an environment where your starter can thrive and double reliably.
Preventing Sourdough Starter Problems: Proactive Tips for a Healthy Starter
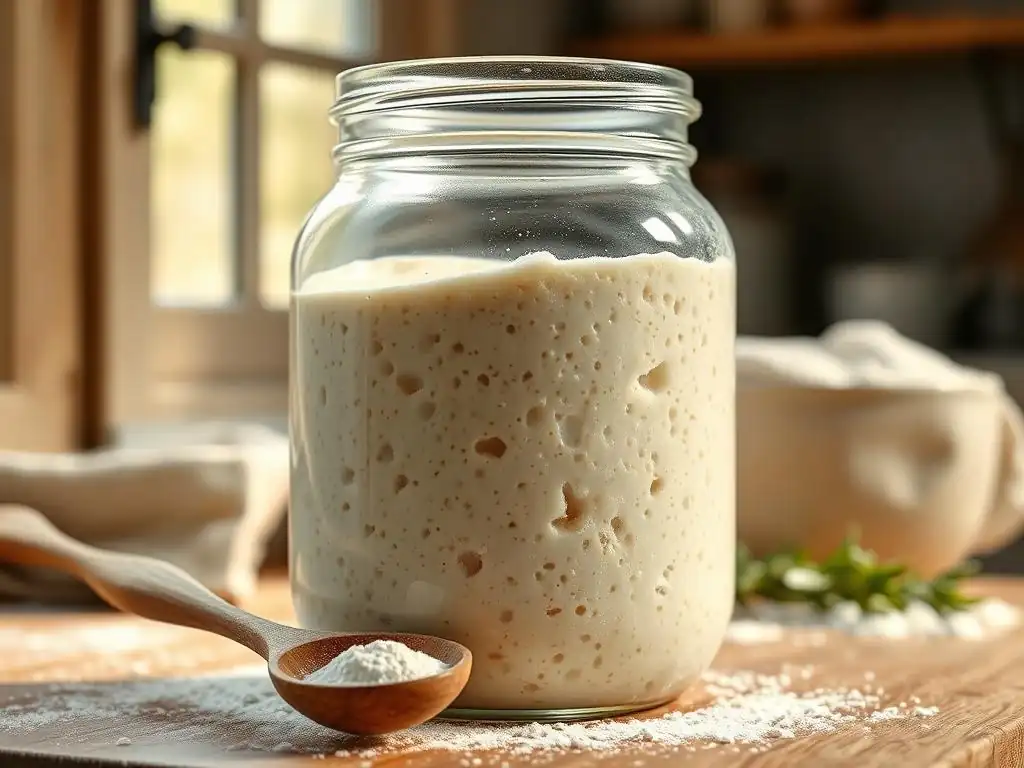
Prevention is often easier than fixing a problem. By implementing a few proactive habits, you can significantly reduce the likelihood of encountering common sourdough starter issues. These simple steps help maintain a stable, vigorous culture ready for baking.
Maintaining a Consistent Feeding Schedule
Consistency is paramount for a happy starter. Whether you keep it at room temperature or in the refrigerator, establish a regular feeding routine. At room temperature (70-75°F or 21-24°C), this typically means feeding every 12 or 24 hours. If refrigerated (40°F or 4°C), feeding once a week is usually sufficient. Feeding around the same time each day helps maintain a stable microbial balance and prevents the starter from becoming overly acidic or hungry, reducing the chance of hooch or inactivity.
Choosing the Right Flour for Your Sourdough Starter
The type and quality of flour you use directly impact your starter's health. Unbleached bread flour is a popular choice due to its protein content, which helps build structure and trap gases. However, incorporating some whole grain flour, like whole wheat or rye, can provide extra nutrients and boost microbial activity. Using organic flour can also be beneficial, as it hasn't been treated with chemicals that might inhibit yeast or bacteria. Avoid self-rising flour or flour with additives.
Monitoring Temperature and Humidity
Temperature is one of the most critical factors influencing starter activity. Aim to keep your starter within the optimal range of 70-80°F (21-27°C) when you want it active. Consistent temperature prevents erratic behavior. While less critical than temperature, extremely dry environments can cause the surface of your starter to dry out. Storing in a lidded jar helps maintain a consistent moisture level.
Proper Storage Techniques for Long-Term Sourdough Starter Health
How you store your starter depends on how frequently you bake. If you bake daily or a few times a week, keeping it at room temperature with regular feedings is ideal. For less frequent baking (weekly or bi-weekly), storing it in the refrigerator significantly slows down activity, reducing the need for frequent feedings. Ensure the container is clean and large enough to accommodate growth when active. For long-term storage (months), consider drying or freezing a portion of your starter as a backup.
Conclusion: Mastering Sourdough Starter Troubleshooting for Baking Confidence
Navigating the occasional hiccup with your sourdough starter is a normal part of the baking process. By understanding the common problems, their causes, and the quick fixes outlined in this guide, you gain the knowledge and confidence to tackle issues like inactivity, off-smells, and consistency problems. These sourdough starter troubleshooting tips are not just about fixing issues as they arise, but also about learning to read your starter and proactively provide the environment it needs to thrive.
Remember that every starter is unique, influenced by local microbial populations, temperature, and feeding habits. Be patient, observe your starter closely, and don't be afraid to experiment with the recommended adjustments. With practice and attention, you'll become adept at keeping your starter healthy, vigorous, and ready to produce consistently wonderful sourdough bakes. Happy troubleshooting, and happy baking!
Frequently Asked Questions
What are the signs that my sourdough starter is not active enough?
A starter that isn't active enough will show little to no rise after feeding, have minimal bubbles, and may smell more like flour and water than a tangy yogurt.
My sourdough starter smells bad. Is it ruined?
Not necessarily! A foul smell can indicate imbalances. Try feeding it consistently for a few days and look for signs of improvement, like a more pleasant, tangy aroma and increased activity.
How often should I feed my sourdough starter?
For a healthy and active starter, feeding once or twice a day is generally recommended, depending on the temperature. More frequent feedings are beneficial when baking regularly.
What kind of flour is best for feeding my sourdough starter?
Unbleached all-purpose flour or rye flour are excellent choices. Whole wheat flour can also be used but might require adjustments to the hydration levels.
My sourdough starter has a layer of liquid on top. What does this mean?
This liquid, called hooch, indicates that the starter is hungry. Simply pour it off (or stir it in if you prefer a tangier flavor) and feed the starter as usual.
Final Reflection: The Ever-Evolving Journey of Sourdough
The seemingly simple act of nurturing a sourdough starter is a microcosm of life itself: a delicate balance of care, patience, and problem-solving. From the initial excitement of bubbling activity to the occasional disheartening setbacks, the journey of a sourdough starter mirrors our own personal growth, demanding adaptation and resilience in the face of unexpected challenges. This article aimed to provide quick fixes for common issues, but the true reward lies far beyond the immediate solutions.
The impact of sourdough baking extends far beyond the kitchen; it's a connection to a rich history of food preservation and a testament to the power of simple ingredients transformed by time and care. It's a practice that fosters mindfulness, demanding attention to detail and a deep understanding of the natural world. The best bread is made with love,
a baker once told me, and this sentiment rings true for the entire sourdough journey, from starter maintenance to the final loaf. The process itself becomes a meditative practice, a quiet moment of connection amidst the chaos of daily life.
Consider the lessons learned within these seemingly small triumphs and setbacks. Each failed attempt, each corrected mistake, brings you closer to mastery, not just of sourdough baking, but of perseverance and problem-solving in all aspects of life. You, the baker, hold the power to nurture and guide this living organism, mirroring the responsibility we all have in nurturing our own potential. So, embrace the challenges, celebrate the successes, and continue to learn from the ever-evolving journey of your sourdough starter – a journey that reflects the beautiful complexity and rewarding nature of life itself.
Unleash Your Inner Baker: Next Steps with Your Sourdough Starter
Thanks for joining us on this sourdough journey! We hope you now feel more confident in tackling those pesky starter problems. Ready to take your baking to the next level?
- Give your starter a pampering: Experiment with the solutions we discussed and meticulously record your observations. A detailed starter journal is your secret weapon to future success!
- Share your sourdough saga: Tell us (and other bakers!) about your experiences in the comments below. What challenges did you overcome? What techniques worked best?
- Bake something amazing: Now that you've mastered the basics, it’s time to put your thriving starter to good use! Try out one of our easy sourdough recipes.
What unique flavor profile are you dreaming of creating with your perfectly happy starter?