
Basic White Bread: Everything You Need to Know

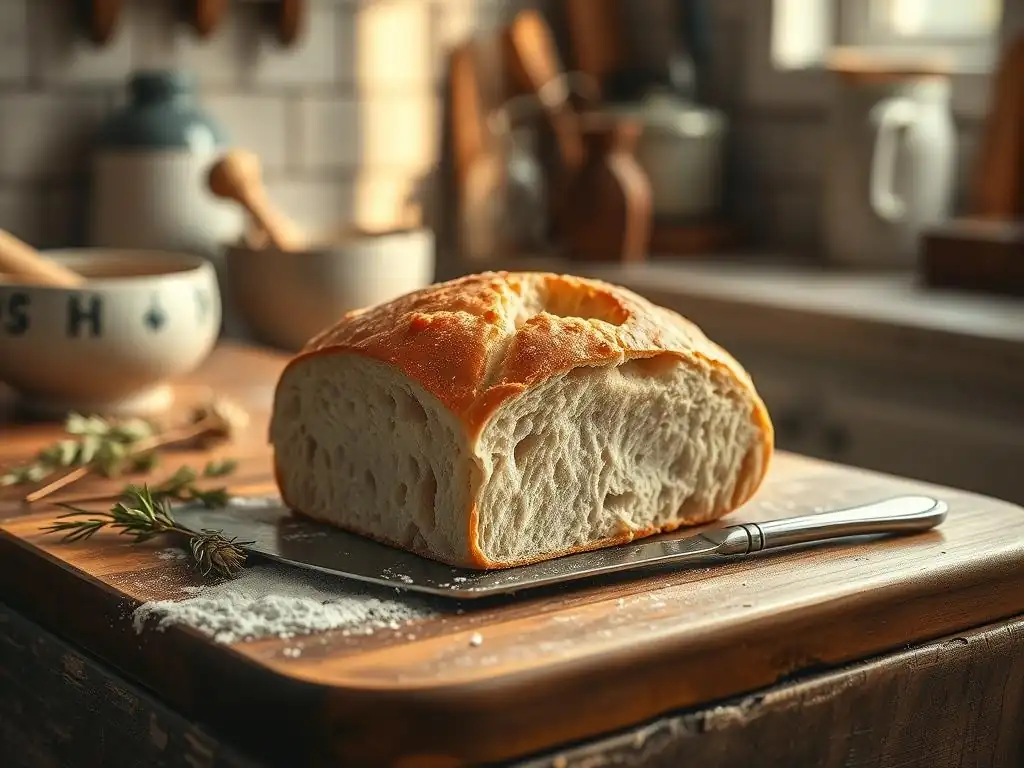
Welcome to BakeWithEase, your kitchen companion for all things baking! Ever dreamt of pulling a perfectly golden loaf from your oven? Our journey begins here, demystifying the world of bread baking. Today, we're tackling a cornerstone: the Easy Beginner White Bread Recipe. Curious how to transform simple ingredients into a warm, comforting masterpiece? Let's get started and unlock the secrets to baking success!
- Sourdough Bread: A Comprehensive Guide to Baking at Home
- Introduction to Sourdough Bread Baking
- Understanding Sourdough Ingredients and Equipment
- Step-by-Step: Baking Your First Sourdough Loaf
- Tips and Tricks for Perfecting Your Sourdough
- Storing and Serving Your Homemade Sourdough
- Conclusion: Mastering Sourdough Bread Baking
-
Frequently Asked Questions
- What makes this white bread recipe considered "easy" for beginners?
- What are the essential ingredients for this basic white bread?
- How long does it typically take to bake this white bread from start to finish?
- Can I substitute whole wheat flour for some of the white flour in this recipe?
- What's the best way to store this homemade white bread to keep it fresh?
- Final Reflection: The Humble Loaf and the Joy of Baking
- Unleash Your Inner Baker: Knead to Know More?
Sourdough Bread: A Comprehensive Guide to Baking at Home
Introduction to Sourdough Bread Baking
Welcome to the Homemade Sourdough Guide
Welcome to the rewarding world of baking sourdough bread at home! This guide is designed to take you through the process, step by step, helping you bake delicious loaves right from your kitchen. While mastering an easy beginner white bread recipe is a fantastic way to start your baking journey, sourdough offers a unique flavor profile and a deeply satisfying connection to traditional bread-making techniques.
Diving into sourdough might seem daunting at first, but with a clear understanding of the process and a little patience, you'll be creating beautiful, naturally leavened bread. We'll cover everything from nurturing your sourdough starter to achieving that perfect, crackling crust and airy interior. Think of this as your friendly roadmap to becoming a confident sourdough baker.
Why Sourdough is a Rewarding Baking Experience
Baking sourdough is more than just following a recipe; it's a craft that connects you to a centuries-old tradition. The unique tangy flavor and chewy texture come from the natural fermentation process, which is powered by wild yeasts and beneficial bacteria in your sourdough starter. This living culture imparts a depth of flavor you simply can't get from commercial yeast alone.
Beyond the incredible taste, there's immense satisfaction in creating something so fundamental and delicious from just flour, water, and salt, guided by your own starter. Sourdough bread also has potential health benefits; the long fermentation can break down gluten and phytic acid, potentially making it easier to digest for some people compared to conventionally leavened bread. It's a rewarding journey of learning, observation, and delicious results.
Understanding Sourdough Ingredients and Equipment
The Essential Elements for Sourdough Bread
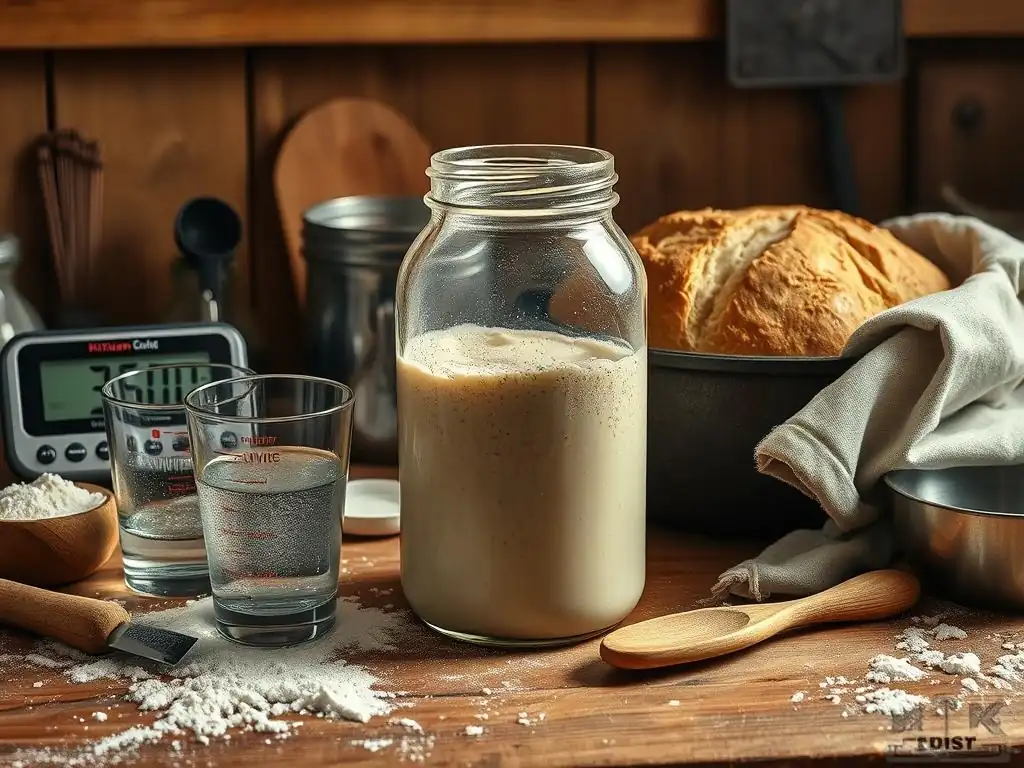
At its heart, sourdough bread is incredibly simple, requiring just four basic ingredients: flour, water, salt, and your sourdough starter. However, the quality of these ingredients and understanding their roles is key to successful baking. Each element plays a vital part in the fermentation, structure, and flavor of your final loaf.
Getting the right tools can also make the process significantly smoother, especially when you're starting out. While you don't need a professional bakery setup, having a few specific pieces of equipment will help you handle the dough effectively, control the baking environment, and achieve consistent results. We'll look at the core ingredients first, then the essential tools.
Flour: Choosing the Right Flour for Sourdough
Choosing the right flour is crucial. Bread flour is often recommended for sourdough due to its higher protein content, typically ranging from 12% to 14%. This higher protein level contributes to stronger gluten development, which is essential for trapping the gases produced by the starter and creating that desirable open crumb structure. All-purpose flour (around 10-12% protein) can also work, especially for an easy beginner sourdough recipe, but may result in a slightly less structured loaf.
You can also incorporate other flours like whole wheat or rye into your sourdough. Using a small percentage (e.g., 10-20%) of whole wheat or rye flour in your starter or dough can add complexity to the flavor and boost the activity of your starter, as these flours contain more nutrients for the wild yeast and bacteria. Experimenting with different flour blends is part of the sourdough journey!
Water: The Role of Hydration in Sourdough
Water is more than just a liquid; it activates the gluten in the flour and allows the wild yeast and bacteria in your starter to become active. The ratio of water to flour in your dough is known as hydration, usually expressed as a percentage of the flour weight. For example, 70% hydration means the water weighs 70% of the flour's weight. Many easy beginner sourdough recipes start with a hydration level between 70% and 75%.
Higher hydration (like 80%+) results in a wetter, stickier dough that can be more challenging to handle but often yields a more open, airy crumb. Lower hydration (like 60-65%) creates a stiffer dough that's easier for beginners but might result in a denser crumb. Using filtered or non-chlorinated water is often recommended, as chlorine can potentially inhibit microbial activity in your starter and dough.
Salt: Flavor and Gluten Development
Salt is a critical ingredient in sourdough, serving multiple purposes beyond just enhancing flavor. Typically, salt is added at a percentage of 1.8% to 2.2% of the total flour weight in the recipe. This might seem small, but it makes a significant difference.
Salt helps to strengthen the gluten network, giving the dough better structure and elasticity. It also helps to control the rate of fermentation, preventing the dough from rising too quickly and allowing flavors to develop more slowly and fully. Without salt, your dough would be slack and difficult to handle, and the resulting bread would be bland and potentially over-proofed.
Sourdough Starter: Cultivating Your Own
Your sourdough starter is the heart of your bread! It's a living culture of wild yeasts and lactobacilli bacteria that work together to leaven your bread and create its characteristic tangy flavor. A healthy, active starter is crucial for successful sourdough baking. You can cultivate your own starter from scratch using just flour and water, which typically takes about 7-14 days to become consistently active.
Alternatively, you can get a starter from a friend or purchase one online. Regardless of its origin, maintaining your starter requires regular feeding (usually daily if kept at room temperature, or weekly if refrigerated) with fresh flour and water to keep the microbes happy and active. Knowing how to tell if your starter is ready to bake with (it should be bubbly, doubled in size, and pass the float test) is a key skill for any beginner sourdough baker.
Equipment: Essential Tools for Sourdough Baking
You don't need a commercial oven, but a few key tools will greatly assist your sourdough journey. A digital kitchen scale is essential for accurate measurement of ingredients, as precision is important in baking ratios like hydration. Large mixing bowls are needed for combining ingredients and the bulk fermentation stage.
A banneton (proofing basket), often lined with linen, is used for the final proofing step to help the dough hold its shape and create a nice pattern on the crust. A lame (pronounced "lahm") or a very sharp razor blade is used for scoring the dough just before baking, allowing controlled expansion.
Finally, a Dutch oven or a baking stone with a steam setup is highly recommended for baking, as they help trap steam around the loaf, which is vital for achieving a thin, crisp crust and maximum oven spring. An instant-read thermometer is also useful for checking the internal temperature for doneness.
Step-by-Step: Baking Your First Sourdough Loaf
Preparing the Levain: Building Flavor
The first step in a sourdough bake often involves preparing a levain, also sometimes called a leaven or preferment. This is essentially a small amount of your active sourdough starter that is fed a specific ratio of flour and water to create a very active, bubbly culture specifically for your bread dough. Building a levain ensures you have enough active leavening power and contributes significantly to the bread's final flavor profile.
Typically, you'll take a small portion of your mature starter and feed it equal parts flour and water (e.g., 20 grams starter, 50 grams flour, 50 grams water). This mixture is left at room temperature to ferment until it is ripe – bubbly, airy, and roughly doubled in size, which usually takes 4-8 hours depending on the ambient temperature (ideally around 75-80°F or 24-27°C). Using a ripe levain is crucial for a successful rise.
Refreshing Your Sourdough Starter
Before building your levain, ensure your main sourdough starter is active. If it's been in the fridge, take it out and give it a few feedings at room temperature over 1-2 days until it's consistently doubling in size within 6-12 hours after feeding. A common feeding ratio is 1 part starter to 1 part flour and 1 part water by weight (e.g., 50g starter + 50g flour + 50g water).
Discard a portion of your starter before feeding to maintain a manageable amount and ensure the microbes have enough fresh "food." You'll know your starter is healthy when it develops a pleasant, slightly tangy aroma and has lots of bubbles throughout.
Creating the Levain for Your Dough
Once your main starter is active, you'll take a small amount (the recipe will specify, often just 10-30 grams) and mix it with the specified amounts of flour and water needed for your levain build. For example, a recipe might call for 100 grams of levain built from 20g starter, 40g flour, and 40g water.
Mix these ingredients in a clean jar or container, mark the starting level, and let it ferment at room temperature. It's ready to use when it has peaked (reached its maximum height) and is just beginning to fall, full of bubbles and smelling pleasantly acidic. Using the levain at its peak activity is key for a good rise.
Mixing and Bulk Fermentation
The bulk fermentation phase is arguably the most critical part of sourdough baking, where the dough develops flavor, structure, and strength. It begins right after you've mixed your ingredients and ends when you divide and shape the dough. This process involves time, temperature control, and periodic handling (stretch and folds).
During bulk fermentation, the wild yeasts in your levain consume sugars in the flour, producing carbon dioxide gas which makes the dough rise, and the bacteria produce lactic and acetic acids, contributing to the characteristic sourdough tang. The gluten network, developed through mixing and folds, traps these gases, giving the bread its structure and open crumb.
Autolyse: Hydrating the Flour
Many sourdough recipes begin with an autolyse step. This involves mixing just the flour and water from the recipe (excluding the salt and levain) until no dry bits of flour remain. The mixture is then left to rest for 20 minutes to an hour (or sometimes longer).
This resting period allows the flour to fully hydrate and enzymes to start breaking down starches into sugars, which the yeast will feed on later. Crucially, it also allows the gluten network to begin forming on its own without manipulation, making the dough easier to mix and develop later on.
Mixing the Dough: Developing Initial Strength
After the autolyse, you'll add your ripe levain and salt to the dough. Mix these in thoroughly. This can be done by hand using techniques like the pincer method or Rubaud method, or with a stand mixer on low speed. The goal is to evenly distribute the levain and salt and begin developing the gluten network.
Continue mixing until the dough comes together and starts to show some initial strength, pulling away from the sides of the bowl if using a mixer. The dough might still be shaggy, especially at higher hydration levels, but it should feel more cohesive than after the autolyse.
Bulk Fermentation: Time and Temperature
Bulk fermentation typically takes place at room temperature, ideally in a consistent environment between 75°F and 80°F (24-27°C). At these temperatures, bulk fermentation might take 4-6 hours, but it can take significantly longer (8-12+ hours) at cooler temperatures. The duration depends heavily on the temperature, the activity of your levain, and the hydration of your dough.
The key is not just the time, but observing the dough itself. It should increase in volume by about 30% to 50% and show signs of fermentation like bubbles on the surface and along the sides of the container. The dough should also feel lighter and more airy.
Stretch and Folds: Enhancing Dough Strength
Throughout the first 2-3 hours of bulk fermentation, you will perform a series of stretch and folds. This technique involves wetting your hands, grabbing one side of the dough, stretching it upwards gently, and folding it over the rest of the dough. Rotate the bowl and repeat this motion 3-4 times around the dough.
Perform these sets of stretch and folds every 30-60 minutes. This process helps to build structure and strength in the gluten network, equalize the dough's temperature, and redistribute the yeast and bacteria, ensuring even fermentation. As bulk fermentation progresses, the dough will become smoother, more elastic, and hold its shape better after each fold.
Shaping and Proofing
Once bulk fermentation is complete, your dough is ready to be shaped and prepared for its final rise, known as proofing. This stage is crucial for giving the loaf its final structure and appearance before baking. Proper shaping creates surface tension, which helps the loaf hold its form and encourages a good oven spring.
Proofing allows the dough to lighten up and develop more flavor in a controlled environment. For sourdough, a long, cold proof in the refrigerator is often preferred, as it significantly slows down fermentation, intensifies the tangy flavor, and makes the dough easier to handle and score just before baking.
Pre-Shaping: Creating Tension
After bulk fermentation, gently turn the dough out onto a lightly floured surface. Divide it if making multiple loaves. For each piece, perform a pre-shape. This involves gently coaxing the dough into a rough round or oval shape, creating a taut surface without degassing the dough too much.
Allow the pre-shaped dough to rest for 20 to 30 minutes, uncovered. This resting period, called the bench rest, allows the gluten to relax, making the final shaping much easier and preventing the dough from tearing.
Final Shaping: Preparing for the Banneton
After the bench rest, the dough is ready for final shaping. The technique used depends on whether you want a round loaf (boule) or an oval loaf (batard). The goal is to create significant surface tension by folding and tucking the dough to form a smooth, tight outer skin.
Once shaped, the dough is placed seam-side up (if baking directly on a stone) or seam-side down (if baking in a Dutch oven and inverting it) into a well-floured banneton or proofing basket. Rice flour is excellent for flouring bannetons as it resists absorption and prevents sticking.
Cold Proofing: Developing Flavor
Placing the shaped dough in the refrigerator for a long, cold proof is a standard practice in sourdough baking. The dough should be covered (e.g., with a plastic bag or shower cap) to prevent drying out. Cold proofing typically lasts from 4 hours up to 12-18 hours, or even longer depending on the recipe and desired tang.
The cold temperature (usually 38-40°F or 3-4°C) significantly slows down the yeast activity but allows the bacteria to continue producing flavor compounds. The cold also firms up the dough, making it much easier to score cleanly just before it goes into the hot oven.
Baking the Bread: Achieving a Crisp Crust
The final stage is baking, where your carefully prepared dough transforms into a beautiful loaf of bread with a crispy crust and an airy interior. Sourdough benefits greatly from baking in a very hot environment with initial steam, which allows for maximum oven spring before the crust sets.
Using a Dutch oven is a popular and effective method for home bakers because it traps the steam released by the dough itself, creating the ideal steamy environment. Alternatively, you can use a baking stone or steel and create steam by adding water to a hot tray in the oven.
Preheating Your Dutch Oven: Optimal Heat
To achieve a great oven spring and crust, your oven and baking vessel need to be screaming hot. Preheat your oven, with the Dutch oven (lid on) or baking stone inside, to a high temperature, typically between 450°F and 500°F (230-260°C).
Allow the oven and Dutch oven to preheat for at least 30 to 60 minutes after the oven reaches the target temperature. This ensures the vessel is uniformly hot and will transfer immediate heat to the dough, providing that crucial initial burst of energy for rising.
Scoring the Dough: Allowing Expansion
Just before transferring the dough into the hot oven, you need to score its surface. Scoring involves making deliberate cuts in the dough with a sharp blade (like a lame or razor). These cuts act as vents, allowing the dough to expand in a controlled manner during oven spring.
Without scoring, the dough might burst unpredictably at its weakest point. Different scoring patterns can affect the final shape and appearance of the loaf. A simple straight cut down the length of a batard or a cross shape on a boule are common choices for beginners.
Baking Time: Monitoring Doneness
Sourdough is typically baked in two stages in a Dutch oven: first covered, then uncovered. Bake covered at a high temperature (e.g., 475°F or 245°C) for 20-25 minutes. This initial phase is where most of the oven spring occurs under the steamy environment.
After this time, remove the lid and reduce the oven temperature slightly (e.g., to 450°F or 230°C). Continue baking for another 20-30 minutes uncovered, or until the crust is a deep golden brown and the internal temperature of the loaf reaches 205-210°F (96-99°C). The bread should sound hollow when tapped on the bottom.
Tips and Tricks for Perfecting Your Sourdough
Troubleshooting Common Sourdough Baking Problems
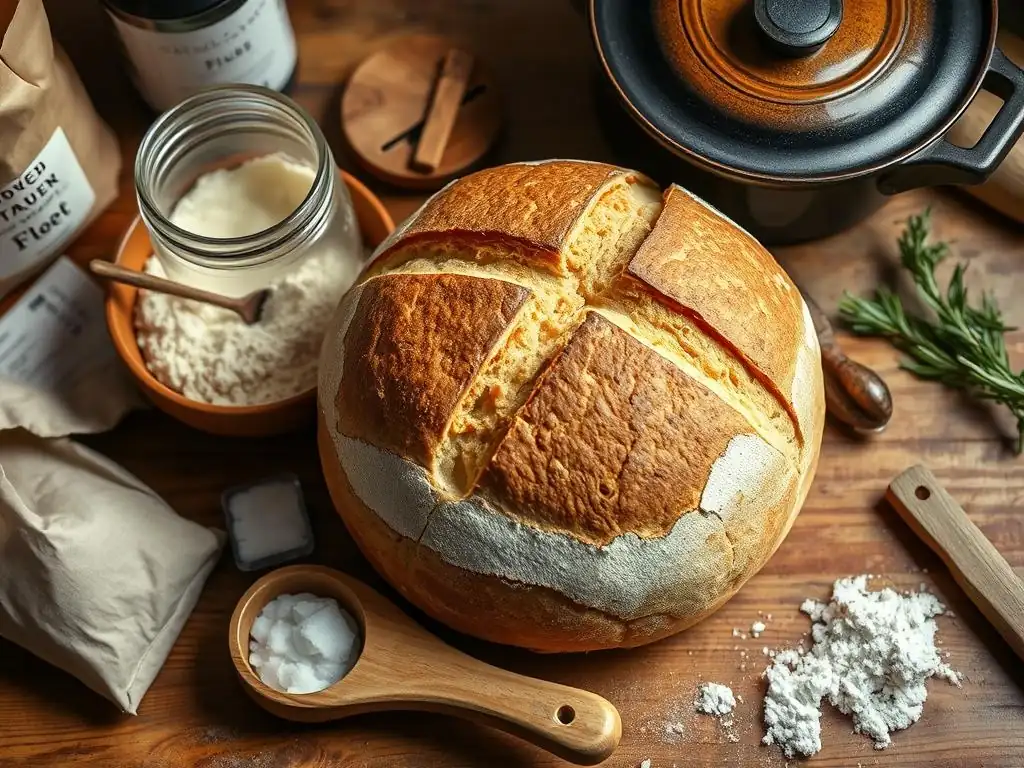
Every baker encounters challenges, especially when learning sourdough. It's a process of observation and adjustment. Don't be discouraged by loaves that don't turn out exactly as planned. Understanding common issues can help you identify what went wrong and improve on your next bake. Patience and practice are your best tools.
Common problems include a starter that seems sluggish, dough that is difficult to handle because it's too sticky, or a baked loaf with a dense crumb instead of an open, airy one. Let's look at some of these and how to address them, transforming potential failures into learning opportunities on your easy beginner sourdough journey.
Starter Not Active? Here's What to Do
If your starter isn't doubling reliably after feeding or doesn't float in water, it might not be active enough to leaven bread. This can happen if it's hungry (needs more frequent feeding), too cold, or if the flour isn't providing enough nutrients.
- Increase feeding frequency: Try feeding it 1-2 times a day at room temperature (70-75°F / 21-24°C) using a 1:1:1 ratio of starter:flour:water.
- Adjust temperature: Find a warmer spot for your starter. Temperatures below 70°F can slow activity significantly.
- Switch flour: Try feeding with a mix including some whole wheat or rye flour, which are often more nutritious for the microbes than plain white flour. Ensure your flour is fresh.
Dough Too Sticky? Tips for Handling
A very sticky dough, especially at higher hydration levels, can be challenging for beginner sourdough bakers. This is often due to high hydration, insufficient gluten development, or using flour with lower protein content.
- Use wet hands or a bench scraper: Instead of flouring your hands heavily, which can dry out the dough surface, keep your hands slightly wet when handling sticky dough during folds or shaping. A bench scraper is invaluable for manipulating and moving wet dough.
- Reduce hydration next time: If you're consistently struggling, try reducing the water in your recipe by 5-10% on your next bake until you're comfortable with the dough consistency.
- Ensure sufficient folds: Make sure you are performing enough stretch and folds during bulk fermentation to build adequate gluten strength.
Achieving an Open Crumb: Techniques for Success
The coveted open, airy crumb in sourdough is a sign of successful fermentation and gluten development. If your crumb is dense or tight, several factors could be the cause:
- Weak starter/levain: Ensure your levain is very active and ripe when you use it.
- Insufficient bulk fermentation: The dough needs enough time at the right temperature to develop gases and flavor. Aim for a 30-50% volume increase and signs of fermentation.
- Poor gluten development: Make sure you are performing enough stretch and folds or mixing adequately to build a strong gluten network capable of trapping gases.
- Over-proofing: If the dough proofs for too long, the structure can collapse, leading to a dense crumb.
- Gentle handling: Be careful not to degas the dough excessively during pre-shaping and final shaping.
Variations on the Sourdough Recipe
Once you've mastered a basic easy beginner sourdough recipe, you can start exploring variations to change the flavor, texture, and appearance of your bread. Swapping out a portion of the flour, adding inclusions, or adjusting the hydration level are simple ways to experiment and customize your loaves. These small changes can yield excitingly different results.
Don't be afraid to play with the ingredients once you understand the fundamental process. Sourdough is incredibly versatile, and the possibilities for creating unique and delicious bread are vast. Here are a few popular ways to vary your sourdough.
Adding Whole Wheat Flour for Flavor
Incorporating whole wheat flour (or other whole grain flours like spelt or rye) is a popular way to add nutty flavor and nutritional value to your sourdough. You can replace a percentage of the white bread flour, often starting with 10% to 30% of the total flour weight.
Keep in mind that whole wheat flour absorbs more water than white flour, so you may need to slightly increase the overall hydration of your dough when adding it. Doughs with significant amounts of whole grains may also ferment a little faster.
Incorporating Seeds and Grains
Adding seeds (like sesame, poppy, flax, or sunflower) or cooked grains (like oats or cracked wheat) can add texture, flavor, and nutrients. Seeds can be mixed directly into the dough during the mixing stage, or soaked first if they are very hard (like flaxseeds).
A common ratio is to add seeds or grains at 10% to 20% of the total flour weight. If adding cooked grains or seeds that require soaking (like a "soaker" or "porridge"), factor in the extra water they hold, as this will affect the overall hydration of your dough.
Exploring Different Hydration Levels
Adjusting the hydration level is one of the most impactful ways to change the outcome of your sourdough. As mentioned earlier, higher hydration leads to wetter doughs but often results in a more open crumb and thinner crust. Lower hydration is easier to handle and produces a denser, more structured loaf.
Experiment by gradually increasing or decreasing the hydration by 5% increments from your base recipe. Observe how the dough feels and behaves during mixing, bulk fermentation, and shaping. This will help you understand the relationship between hydration and dough handling. A hydration of 65% is quite manageable for beginners, while 85% or higher is for experienced bakers.
Storing and Serving Your Homemade Sourdough
Keeping Your Sourdough Fresh
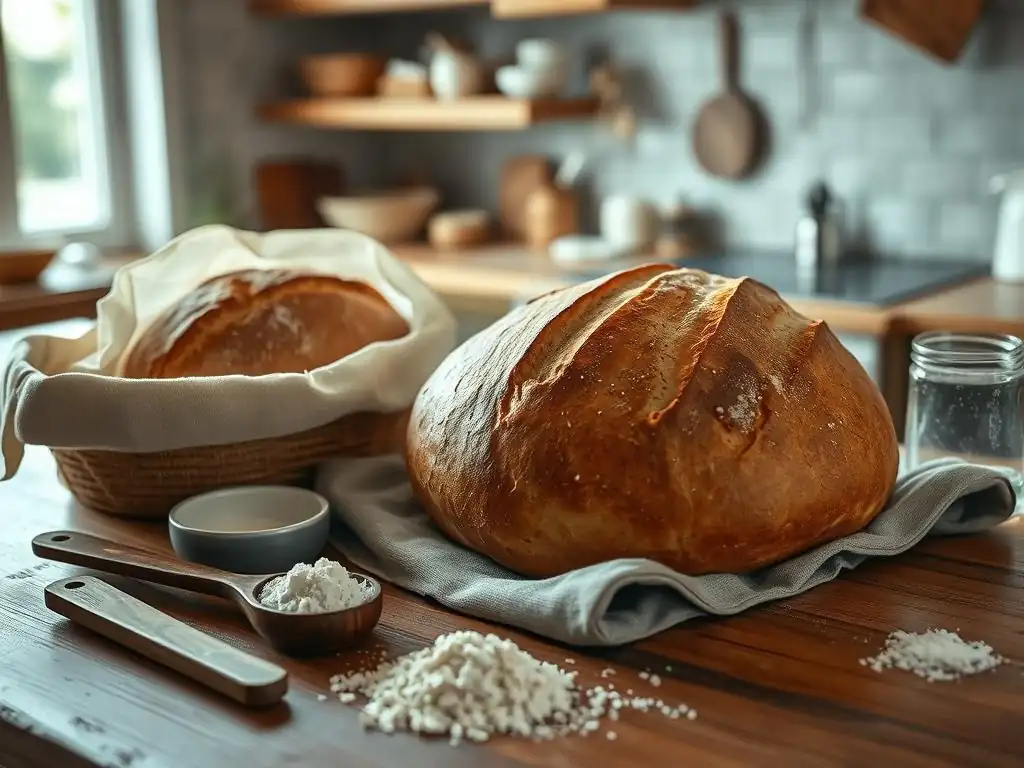
Properly storing your homemade sourdough is key to enjoying its deliciousness for as long as possible. Unlike commercial bread with preservatives, sourdough's natural acidity helps it stay fresh longer than many yeasted breads, but it will eventually dry out and become stale.
The best way to store sourdough depends on how quickly you plan to eat it. For consumption within 1-2 days, simply storing it cut-side down on a cutting board or in a paper bag can help keep the crust crisp. For longer storage (up to 3-4 days), a linen bread bag or a dedicated bread box works well. Avoid airtight plastic bags at room temperature, as they can soften the crust and encourage mold. For longer term storage (weeks or months), slice the cooled loaf and freeze the slices in an airtight container or freezer bag.
Serving Suggestions for Your Delicious Sourdough
You've put in the effort to bake a beautiful loaf of sourdough – now it's time to enjoy it! The versatile flavor and texture of sourdough make it perfect for countless uses. The simplest way is often the best: a thick slice, lightly toasted, with a generous smear of good butter.
Consider using your sourdough for incredible sandwiches, from simple ham and cheese to elaborate gourmet fillings. It makes fantastic toast for avocado toast or eggs. Cube stale sourdough to make croutons for salads or a base for panzanella. It's also wonderful served alongside soups, stews, or used for bruschetta topped with fresh tomatoes and basil. Don't forget to enjoy the crust – it's a hallmark of great sourdough!
Conclusion: Mastering Sourdough Bread Baking
Celebrate Your Baking Success
Congratulations on taking the steps to learn sourdough baking! Whether your first loaf was perfect or presented some challenges, you've embarked on a rewarding journey. Each bake is an opportunity to learn and refine your technique. The process of nurturing your starter, understanding the dough, and creating something so delicious from simple ingredients is truly satisfying.
Remember that sourdough baking is a skill that improves with practice. Don't be afraid to experiment, adjust variables like temperature and time, and learn from each loaf. Every bubble in the crumb and every crackle in the crust is a testament to your growing expertise as a baker.
Further Resources for Sourdough Bakers
This guide provides a solid foundation for baking sourdough, but there is always more to learn! The world of sourdough is vast and fascinating. Consider exploring different recipes, experimenting with various flours and inclusions, and trying different shaping techniques.
There are many excellent books, blogs, and online communities dedicated to sourdough baking where you can find more advanced techniques, troubleshooting tips, and inspiration. Connecting with other bakers can provide valuable insights and support as you continue to hone your skills. Keep baking, keep experimenting, and enjoy the incredible bread you create!
Frequently Asked Questions
What makes this white bread recipe considered "easy" for beginners?
This recipe focuses on simple ingredients and straightforward instructions, avoiding complex techniques that can overwhelm new bakers. It prioritizes ease of understanding and execution.
What are the essential ingredients for this basic white bread?
The key ingredients are flour, water, yeast, salt, and sugar (optional). This recipe uses readily available ingredients found in most grocery stores, making it accessible.
How long does it typically take to bake this white bread from start to finish?
The entire process, including prep, proofing, and baking, usually takes around 3-4 hours. This timeframe includes active and inactive time.
Can I substitute whole wheat flour for some of the white flour in this recipe?
Yes, you can substitute a portion of the white flour with whole wheat, but it will affect the texture. We recommend starting with no more than 25% whole wheat flour for best results.
What's the best way to store this homemade white bread to keep it fresh?
Store the cooled bread in an airtight container or bread bag at room temperature. This will help prevent it from drying out quickly and maintain its soft texture.
Final Reflection: The Humble Loaf and the Joy of Baking
The seemingly simple act of baking a loaf of white bread holds a surprising power to connect us to our culinary heritage and foster a sense of accomplishment. More than just a recipe, mastering a basic white bread recipe unlocks a world of possibilities, from the satisfaction of creating something delicious from scratch to the potential for endless variations and culinary adventures. In a world of instant gratification, taking the time to knead, rise, and bake speaks volumes about slowing down and appreciating the process.
The enduring appeal of bread, particularly a perfectly baked white loaf, transcends mere sustenance; it represents comfort, tradition, and the simple pleasures of life. It's a cornerstone of countless cultures and a symbol of hospitality passed down through generations. Bread is the staff of life,
a common saying reminds us of its fundamental importance. This simple recipe, therefore, becomes a gateway to understanding this rich history and appreciating the artistry involved in transforming flour, water, and yeast into something so fundamental and deeply satisfying.
Now, I invite you to take what you've learned and embark on your own baking journey. Don't be afraid to experiment, to adjust the recipe to your taste, and to share the joy of freshly baked bread with those you love. The journey of a thousand loaves begins with a single, perfectly risen loaf. So, gather your ingredients, preheat your oven, and experience the magic of baking for yourself. The reward? A warm, crusty loaf and the profound satisfaction of creating something truly special.
Here's a CTA tailored for the article "Basic White Bread: Everything You Need to Know" on BakeWithEase.com:
Unleash Your Inner Baker: Knead to Know More?
Thanks for taking the time to explore the world of basic white bread with us! We hope you’ve gained the confidence to tackle this classic recipe. Ready to put your newfound knowledge into action?
- Bake your own loaf today! Use the recipe you just learned and savor the delicious aroma of freshly baked bread. This is the most rewarding step, and we can't wait to see your results!
- Share your baking journey: Post a picture of your masterpiece on social media and tag us! Let’s inspire each other.
- Try a variation: Experiment with different flours, herbs, or seeds to personalize your loaf and discover new flavors.
So, what unexpected ingredient will you add to your next batch of homemade bread?