
Classic Japanese Dorayaki: Simple Recipe for Sweet Pancakes

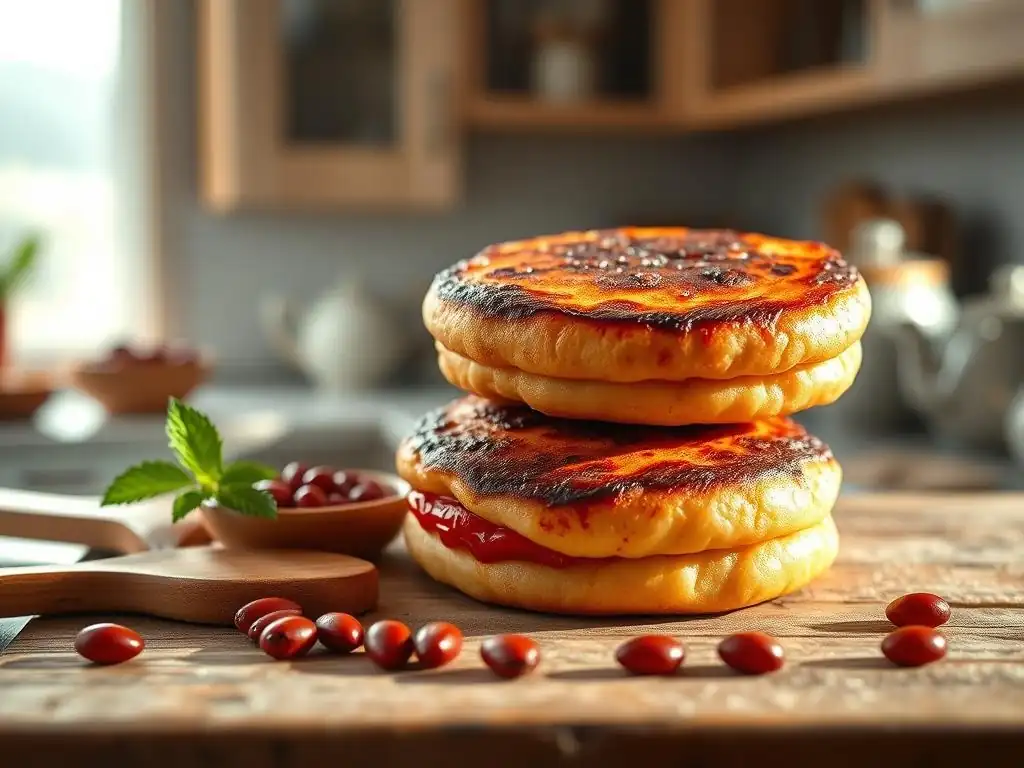
Welcome to BakeWithEase, your passport to a world of delicious possibilities! Ever dreamed of crafting perfectly golden dorayaki? Then you're in the right place! Our easy Japanese dorayaki recipe unlocks the secrets to these beloved sweet pancakes, offering a delightful taste of Japan right in your own kitchen. Curious to learn the surprisingly simple steps? Let's get baking!
- Discover the Delight of Dorayaki: An Easy Japanese Recipe
- Easy Japanese Dorayaki Recipe: Step-by-Step Baking Guide
- Making the Classic Anko Filling: Sweet Red Bean Paste
- Assembling Your Dorayaki: The Final Touch
- Variations and Customizations for Your Dorayaki
- Tips and Tricks for Perfect Dorayaki Every Time
- The Cultural Significance of Dorayaki in Japan
- Enjoy Your Homemade Japanese Dorayaki!
- Frequently Asked Questions
- Final Reflection: The Enduring Sweetness of Dorayaki
- Unleash Your Inner Pastry Chef: Make Delicious Dorayaki Today!
Discover the Delight of Dorayaki: An Easy Japanese Recipe
What is Dorayaki? A Sweet Introduction to Japanese Pancakes
Dorayaki is a beloved Japanese confection consisting of two small pancake-like patties made from castella (a type of Japanese sponge cake batter), sandwiched around a filling of anko (sweet red bean paste). The name "dorayaki" literally translates to "gong cooked," a nod to the shape of the pancakes which resemble traditional Japanese gongs. It's a popular snack found in convenience stores, supermarkets, and specialty wagashi (traditional Japanese sweets) shops across Japan, enjoyed by people of all ages.
Originating potentially in the Edo period (1603-1867), though its modern form with two pancakes likely dates to the early 20th century, dorayaki has become an iconic symbol of Japanese comfort food. While the classic filling is anko, regional variations and modern twists abound, including fillings like white bean paste, chestnut paste, matcha cream, or even fruit and whipped cream. Despite these variations, the core concept of soft, slightly sweet pancakes paired with a rich filling remains the heart of this delightful treat, making an easy Japanese dorayaki recipe a wonderful introduction to Japanese baking.
Why This Dorayaki Recipe is Perfect for Home Baking
This easy Japanese dorayaki recipe is specifically designed for the home kitchen, requiring only basic ingredients and standard cooking equipment like a non-stick pan. Unlike some more complex Japanese pastries that demand specialized techniques or ingredients, dorayaki uses components familiar to most bakers: flour, eggs, sugar, honey, baking soda, and water. The process of making the batter is straightforward, similar to making regular pancakes, and the cooking technique is easily mastered with a little practice.
Furthermore, making dorayaki at home allows for complete control over the quality of ingredients and the level of sweetness, which can be adjusted to personal preference. While store-bought dorayaki is readily available, the fresh taste and fluffy texture of homemade pancakes, paired with a rich, custom-sweetened anko, offer a truly superior experience. This easy Japanese dorayaki recipe provides a rewarding baking project that delivers delicious results without the intimidation often associated with traditional wagashi.
Easy Japanese Dorayaki Recipe: Step-by-Step Baking Guide
Ingredients for Authentic Dorayaki Pancakes
Crafting the perfect dorayaki pancakes starts with selecting the right ingredients. The base is a simple batter, but using quality components makes a noticeable difference in the final texture and flavor. You'll need standard pantry staples, with honey being a key ingredient that gives the pancakes their characteristic slightly moist texture and subtle sweetness.
For a batch yielding approximately 8-10 dorayaki (16-20 pancakes), you'll typically need about 1 cup (120g) of all-purpose flour, roughly 2-3 large eggs, around 1/2 cup (100g) of granulated sugar, and about 2 tablespoons (40g) of honey. A small amount of baking soda (around 1/2 teaspoon) provides lift, and a few tablespoons of water or milk are needed to adjust consistency. These quantities provide a good starting point, and you can slightly adjust based on the size of eggs or desired batter thickness.
List of Essential Ingredients for Dorayaki
- All-purpose flour
- Large eggs
- Granulated sugar
- Honey
- Baking soda
- Water or milk
Tips for Sourcing High-Quality Dorayaki Ingredients
- Use fresh eggs for the best texture and rise.
- Good quality honey imparts a better flavor; avoid overly strong or bitter types.
- Sift your flour to ensure a smooth batter without lumps.
Preparing the Dorayaki Batter: A Simple Mixing Process
The key to fluffy dorayaki pancakes is in gentle mixing. Overmixing the batter can develop the gluten in the flour too much, resulting in tough pancakes. The goal is a smooth, somewhat thick batter, free of large lumps, but it's okay if there are a few small ones. Think of it more like a thick crepe batter or a thin American pancake batter.
Start by whisking the wet ingredients together thoroughly before adding the dry. This helps distribute the sugar and honey evenly and ensures the eggs are well incorporated. A typical process involves whisking eggs, sugar, and honey together first until the mixture is light and frothy, which might take 1-2 minutes by hand. Then, you'll incorporate the dry ingredients in stages.
Combining Dry Ingredients for Dorayaki
- Sift the all-purpose flour and baking soda together into a bowl. Sifting helps aerate the mixture and prevents clumps.
Incorporating Wet Ingredients for a Smooth Dorayaki Batter
- In a separate, larger bowl, whisk together the eggs, granulated sugar, and honey until well combined.
- Gradually add the sifted dry ingredients to the wet mixture, mixing gently with a whisk or rubber spatula.
- Add water or milk a tablespoon at a time until the batter reaches a smooth, slightly thick consistency that drips slowly from the whisk.
Achieving the Perfect Dorayaki Batter Consistency
The ideal dorayaki batter should be thick enough to hold its shape slightly when dropped onto a hot pan but thin enough to spread into a smooth circle. It shouldn't be as thick as American pancake batter, nor as thin as crepe batter. If it's too thick, the pancakes will be dense; too thin, and they'll spread too much and be difficult to flip.
A good test is to lift your whisk; the batter should fall back into the bowl in a ribbon that holds its shape briefly before disappearing. If it's too thick, add a tiny bit more water (half a teaspoon at a time). If too thin, let it rest longer, as the flour will absorb some liquid, or add a very small pinch more flour.
Cooking Dorayaki Pancakes: Achieving Golden Perfection
Cooking dorayaki requires patience and controlled heat to achieve that signature even, golden-brown surface without burning. Unlike regular pancakes where a little unevenness is fine, the aesthetic appeal of dorayaki comes from its smooth, uniform color. A good quality non-stick pan or a well-seasoned cast iron griddle is essential.
The temperature is crucial – too high and they'll burn outside before cooking inside; too low and they'll be pale and tough. Medium-low heat is generally recommended. Before cooking the first pancake, it's helpful to lightly oil the pan and then wipe most of it off with a paper towel. This leaves just enough oil to prevent sticking without making the surface greasy or spotty.
Heating the Pan for Evenly Cooked Dorayaki
- Place your non-stick pan or griddle over medium-low heat.
- Allow the pan to heat evenly for several minutes.
- Lightly grease the pan with a neutral oil (like vegetable or canola) or butter, then wipe off excess with a paper towel.
Ladling the Batter: Creating Uniform Dorayaki Pancakes
- Using a ladle or a measuring cup (like a 1/4 cup or 1/3 cup measure, depending on desired size), pour the batter onto the heated pan from a consistent height. This helps create a round shape.
- Resist the urge to spread the batter; it should spread naturally into a circle.
- Cook only 1-2 pancakes at a time to maintain even heat and control.
Flipping the Dorayaki: Timing is Key
- Cook the first side until small bubbles appear on the surface and the edges look set and slightly dry (this usually takes 1-2 minutes).
- Carefully slide a thin spatula under the pancake.
- Flip the pancake quickly and confidently.
- Cook the second side for another 1-1.5 minutes, or until golden brown and cooked through.
Tips for Avoiding Common Dorayaki Cooking Mistakes
- Maintain a consistent, low heat. If your pan is too hot, remove it from the heat briefly between batches.
- Wipe the pan clean with a paper towel between each pancake or batch to remove any residue that could cause uneven browning.
- Don't flip too early; wait for the bubbles and set edges.
- Don't overcrowd the pan.
Making the Classic Anko Filling: Sweet Red Bean Paste
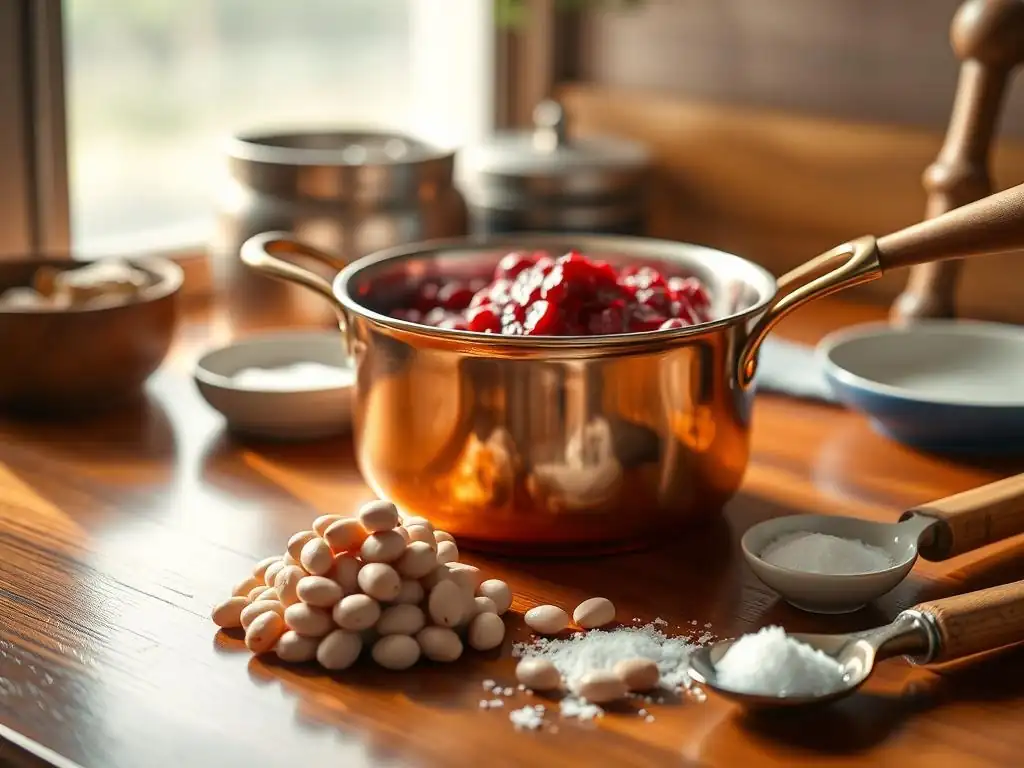
Anko, or sweet red bean paste, is the traditional heart of dorayaki. While store-bought anko is available, making it at home allows you to control the texture and sweetness, resulting in a fresher, richer flavor. Anko is made from azuki beans, which are small, reddish-brown beans common in East Asian cuisine.
There are two main types of anko: tsubuan (chunky) where the bean skins are left in, and koshian (smooth) where the skins are removed and the paste is sieved. For classic dorayaki, tsubuan is often preferred as the slightly chunky texture pairs well with the soft pancakes, but koshian is also commonly used. A typical batch of anko for 8-10 dorayaki might require about 1 cup (approx. 200g) of dried azuki beans and around 1/2 to 1 cup (100-200g) of sugar, depending on desired sweetness, plus water and a pinch of salt.
Ingredients for Homemade Anko (Red Bean Paste)
- Dried azuki beans
- Granulated sugar
- Water
- Pinch of salt
Preparing the Anko: A Slow and Sweet Process
Making anko is a labor of love that requires patience, primarily involving soaking, boiling, and simmering the azuki beans until they are soft enough to mash into a paste. The process often takes several hours, including soaking time and cooking time, but the active cooking is mostly simmering and stirring. The sweetness comes from adding sugar towards the end, which also helps thicken the paste.
A crucial step is boiling the beans initially and discarding the first batch of water. This helps remove any bitterness or astringency from the beans. After this initial boil, fresh water is added, and the beans are simmered until very tender. This can take anywhere from 60 to 90 minutes or even longer, depending on the beans. Once soft, most of the liquid is drained, and the sugar is added. The mixture is then cooked down, stirring constantly, until it reaches a thick, spreadable consistency.
Cooking the Azuki Beans for Anko
- Rinse the dried azuki beans and soak them in plenty of water for at least 4-8 hours, or preferably overnight.
- Drain the soaking water.
- Place the beans in a pot, cover with fresh water, and bring to a boil. Boil for 5 minutes, then drain and discard the water.
- Return the beans to the pot, cover with fresh water (about 3-4 times the volume of the beans), and bring to a boil.
- Reduce heat to low, cover, and simmer gently until the beans are very tender and can be easily mashed between your fingers (1-1.5 hours or more). Add more hot water during simmering if needed to keep the beans submerged.
Sweetening the Anko to Your Preference
- Once the beans are tender, drain off most of the liquid, leaving just a little bit at the bottom of the pot.
- Add the granulated sugar and a pinch of salt.
- Stir well to combine. The sugar will dissolve and make the mixture more liquid initially.
Achieving the Perfect Anko Consistency
- Continue to cook the bean-sugar mixture over medium-low heat, stirring constantly with a wooden spoon or spatula.
- Mash the beans slightly as you stir, to your desired chunkiness (for tsubuan). If making koshian, you would press the cooked beans through a sieve at this stage before adding sugar.
- Cook until the paste thickens and pulls away from the sides of the pot when stirred. It should be thick enough to hold its shape but still spreadable. This can take 15-30 minutes of stirring.
- Remove from heat and let it cool. The anko will thicken further as it cools.
Assembling Your Dorayaki: The Final Touch
Once your dorayaki pancakes are cooked and cooled, and your anko filling is ready, the final step is assembling these delightful Japanese treats. This is perhaps the easiest part of the process, bringing together your freshly baked components into the classic sandwich form.
Assembly simply involves taking two pancakes and spreading a generous amount of anko on the flat, cooked side of one pancake, then topping it with the flat side of another pancake. The slight stickiness of the anko helps the two pancakes adhere together. Aim for pancakes that are roughly the same size for neat sandwiches.
Spreading the Anko Filling Evenly
- Select two pancakes that are similar in size and color.
- Place one pancake flat side up.
- Using a spoon or spatula, scoop a portion of the anko filling. A typical amount is about 1.5 to 2 tablespoons of anko per dorayaki sandwich.
- Spread the anko evenly over the flat surface of the pancake, leaving a small border around the edge.
Creating the Perfect Dorayaki Sandwich
- Take the second pancake and place it flat side down directly on top of the anko-covered pancake.
- Gently press the two pancakes together, particularly around the edges, to seal the filling inside and create a neat sandwich. The stickiness of the anko helps the pancakes adhere.
- Repeat with the remaining pancakes and anko to create all your dorayaki.
Serving and Storing Your Homemade Dorayaki
Dorayaki is best enjoyed fresh, ideally within a few hours of assembly, when the pancakes are softest. They make a wonderful snack with a cup of green tea or coffee. If you need to store them, place assembled dorayaki in an airtight container. They can be kept at room temperature for 1-2 days. For longer storage, refrigerate for up to 3-4 days. You can also freeze them individually wrapped for up to a month. Thaw frozen dorayaki at room temperature or gently microwave for a few seconds until soft.
Variations and Customizations for Your Dorayaki
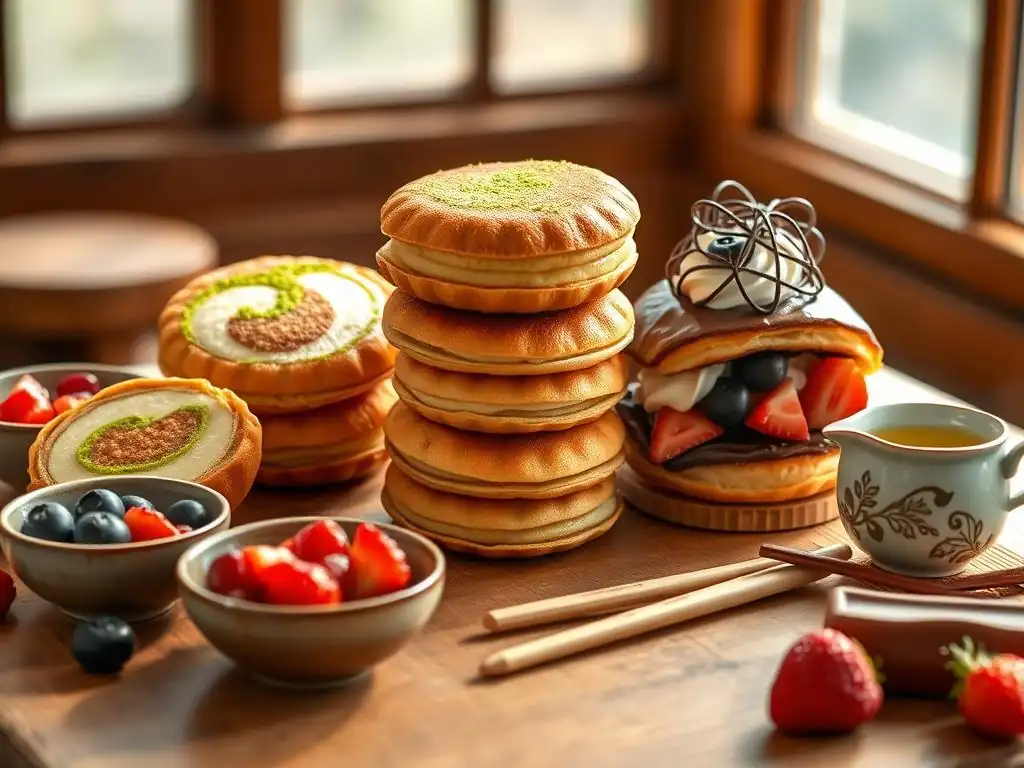
While the classic anko filling is traditional and delicious, one of the joys of making this easy Japanese dorayaki recipe at home is the ability to experiment with different fillings and customize the components to your liking. The pancake base is versatile and pairs well with a variety of sweet fillings.
Exploring variations is a great way to put your own spin on this classic treat. Beyond anko, popular fillings in Japan include shiroan (white bean paste), chestnut paste (kuri an), and various creams. Thinking outside the box, you could even use fillings like Nutella, peanut butter, or fruit jams, although that moves away from the traditional Japanese style.
Experimenting with Different Dorayaki Fillings
Instead of or in addition to anko, consider other delightful fillings. These often require separate preparation but open up a world of flavor possibilities for your easy Japanese dorayaki recipe.
Matcha Cream Dorayaki
- A popular modern twist uses a rich matcha-flavored cream or custard. This can be made by whisking matcha powder (about 1-2 teaspoons per cup of cream/custard) into a prepared pastry cream or whipped cream.
Custard Cream Dorayaki
- Simple vanilla custard or a light, airy cream filling (like a diplomat cream) makes a delicious alternative to anko. This provides a smoother, often less sweet contrast to the pancakes.
Adjusting Sweetness Levels in Your Dorayaki
Traditional anko and dorayaki pancakes can be quite sweet, reflecting Japanese taste preferences. However, when making this easy Japanese dorayaki recipe at home, you have full control to adjust the sugar content. For the pancake batter, you can typically reduce the granulated sugar by 10-20% without significantly affecting the texture, relying more on the honey for sweetness and moisture.
For the anko, the standard 1:1 bean-to-sugar ratio by weight is quite sweet. Many home cooks prefer a ratio closer to 0.8:1 or even 0.6:1 for a less intensely sweet paste that allows the natural flavor of the azuki beans to shine through. Experiment with adding sugar gradually towards the end of cooking the anko, tasting as you go, until you reach your desired level of sweetness.
Making Gluten-Free Dorayaki: A Rice Flour Adaptation
For those with gluten sensitivities, adapting this easy Japanese dorayaki recipe is possible using gluten-free flours. Rice flour, especially fine-grain varieties like joshinko (Japanese rice flour) or even standard white rice flour, can be a good substitute for wheat flour. However, rice flour lacks the binding properties of gluten, so you might need to make some adjustments.
A simple approach is to substitute the all-purpose flour with an equal amount of gluten-free all-purpose blend. Alternatively, if using rice flour, you might replace about 80% of the wheat flour with rice flour and add a small amount of a binder like xanthan gum (typically 1/4 teaspoon per cup of flour substitute) to help with structure and prevent the pancakes from being too crumbly. The batter consistency might differ slightly, requiring minor adjustments to the liquid.
Tips and Tricks for Perfect Dorayaki Every Time
Mastering the art of making dorayaki involves a few key techniques that ensure consistently good results. Paying attention to details like batter consistency, cooking temperature, and resting time can elevate your homemade dorayaki from good to outstanding.
One common issue is achieving that perfectly smooth, uniform brown surface on the pancakes. This often comes down to heat control and pan preparation. Another is ensuring the pancakes are soft and fluffy, not tough or dense.
Achieving a Soft and Fluffy Dorayaki Texture
Several factors contribute to soft, fluffy pancakes. Firstly, avoid overmixing the batter; mixing until just combined is sufficient. Secondly, allowing the batter to rest for 15-30 minutes before cooking lets the flour hydrate properly and gives the baking soda time to start working, leading to a lighter texture. Finally, cooking at the correct temperature prevents the outside from setting too quickly while the inside remains raw, ensuring even cooking and a tender crumb.
Preventing Dorayaki from Sticking to the Pan
Sticking is a common frustration. Using a high-quality non-stick pan is the first line of defense. Proper pan preparation is also crucial. After heating, lightly grease the pan with a neutral oil (like vegetable or canola) and then wipe almost all of it off with a paper towel. You should only leave a very thin, almost invisible film of oil. Cooking subsequent pancakes on a pan that's just barely slick prevents the batter from adhering and allows for easy flipping.
Troubleshooting Common Dorayaki Baking Issues
- Uneven Browning: This is usually due to uneven heat distribution in the pan or residual oil/burnt bits. Ensure your pan is heated evenly across the surface. Wipe the pan clean between batches if necessary.
- Tough Texture: Overmixing the batter is the primary culprit. Mix gently until just combined. Also, ensure you're cooking at the right temperature; too high heat can also make them tough.
- Pancakes Spreading Too Much: The batter might be too thin. Let it rest longer or add a tiny amount more flour. Conversely, if they don't spread enough, the batter is too thick; add a little more water or milk.
The Cultural Significance of Dorayaki in Japan
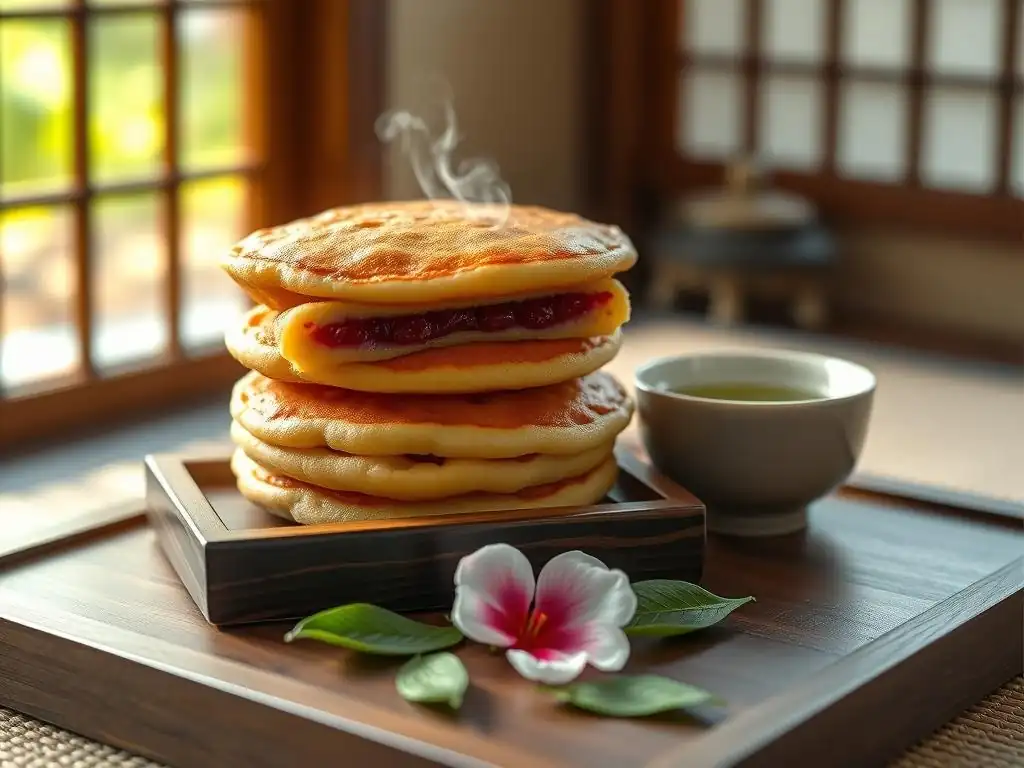
Dorayaki is more than just a dessert in Japan; it holds a special place in popular culture and traditional snacking. Its simple yet satisfying nature has made it a staple for generations, often enjoyed as an afternoon treat or given as a small gift.
Historically, sweets like dorayaki evolved from earlier forms of bean-filled pastries introduced from China. The modern form solidified over time, becoming widely available and deeply ingrained in the fabric of Japanese daily life. It represents comfort, nostalgia, and accessibility, being a treat that everyone can enjoy.
Dorayaki in Japanese Culture and History
Dorayaki is widely considered a classic example of wagashi, traditional Japanese confections. While many wagashi are elaborate and require specific techniques and ingredients, dorayaki is relatively simple, making it approachable. It's a common item for oyatsu (afternoon snack time) and is frequently found at traditional festivals and events. Its name, potentially linked to its shape resembling a dora (gong), adds a layer of historical charm to this popular sweet.
Dorayaki and its Popularity in Anime and Manga
Perhaps the most significant contributor to dorayaki's global recognition is the beloved anime and manga character Doraemon. Doraemon, a robotic cat from the future, has an insatiable and well-known love for dorayaki. This association has made the sweet instantly recognizable to fans of the series worldwide and has solidified its image as a fun, friendly, and nostalgic treat, particularly popular among children and those who grew up watching the show. Doraemon's frequent craving for dorayaki has undoubtedly boosted its iconic status.
Enjoy Your Homemade Japanese Dorayaki!
Frequently Asked Questions
What exactly is dorayaki?
Dorayaki is a traditional Japanese confection consisting of two small pancake-like patties made from castella, sandwiching a sweet filling, most commonly anko (red bean paste).
Is this dorayaki recipe truly easy for beginners?
Yes! Our recipe focuses on simple ingredients and clear, step-by-step instructions. We aim to make the process accessible even if you're new to baking.
Can I substitute the red bean paste filling?
Absolutely! While anko is traditional, you can experiment with other fillings like Nutella, custard, or fruit preserves. The flexibility is part of the fun!
What makes these pancakes different from regular pancakes?
Dorayaki pancakes typically have a honey-sweetened flavor and a slightly spongy texture, different from the fluffier, more buttery American-style pancake.
Where can I find the ingredients for this dorayaki recipe?
Most ingredients, such as flour, sugar, eggs, and honey, are easily found at your local grocery store. Red bean paste, anko, may be available at Asian markets or online.
Final Reflection: The Enduring Sweetness of Dorayaki
The simple act of making dorayaki connects us to a rich culinary history, proving that even the easiest recipes can hold profound cultural significance. These small, sweet pancakes are more than just a delightful treat; they represent a bridge between generations, a taste of tradition accessible to everyone. The ease of the recipe, detailed above, belies the depth of flavor and the joy found in creating something so beloved.
The enduring popularity of dorayaki speaks volumes about its comforting nature and its ability to evoke feelings of nostalgia and warmth. It's a testament to the power of simple ingredients transformed into something extraordinary. A simple thing, done to perfection, is worthy of respect.
This quote, though not specifically about dorayaki, perfectly captures the essence of this recipe and the satisfaction derived from mastering it. The recipe's simplicity allows for creativity and personalization, making each dorayaki a unique reflection of the maker.
Now, I invite you to step into your kitchen and experience the magic firsthand. Don't be intimidated by the seemingly simple instructions; embrace the process, savor the aroma of the cooking pancakes, and relish the sweet reward of your homemade dorayaki. Share this simple joy with loved ones, and let the sweet taste of tradition create lasting memories. The journey of making these pancakes is as rewarding as the delicious result itself.
Unleash Your Inner Pastry Chef: Make Delicious Dorayaki Today!
Thanks for joining us on this sweet journey into the world of classic Japanese dorayaki! We hope you've gained the confidence to tackle this seemingly simple, yet incredibly rewarding recipe. Now it's time to put your new skills to the test!
- Whip up a batch of these delightful pancakes: Use the recipe above as your guide, and don't be afraid to experiment with fillings! What unique twist will you add to your dorayaki?
- Share your creations: Show off your culinary skills on social media using #BakeWithEaseDorayaki and tag us! Let's see your amazing dorayaki creations!
- Explore other Japanese sweets: Dive deeper into our collection of Japanese baking recipes on BakeWithEase.com for more delicious inspiration. What other Japanese treat will you try next?
Ready to share the joy of homemade dorayaki? Let's see those delicious pancakes!