
Basic Fondant Shapes: Adding Simple Flair

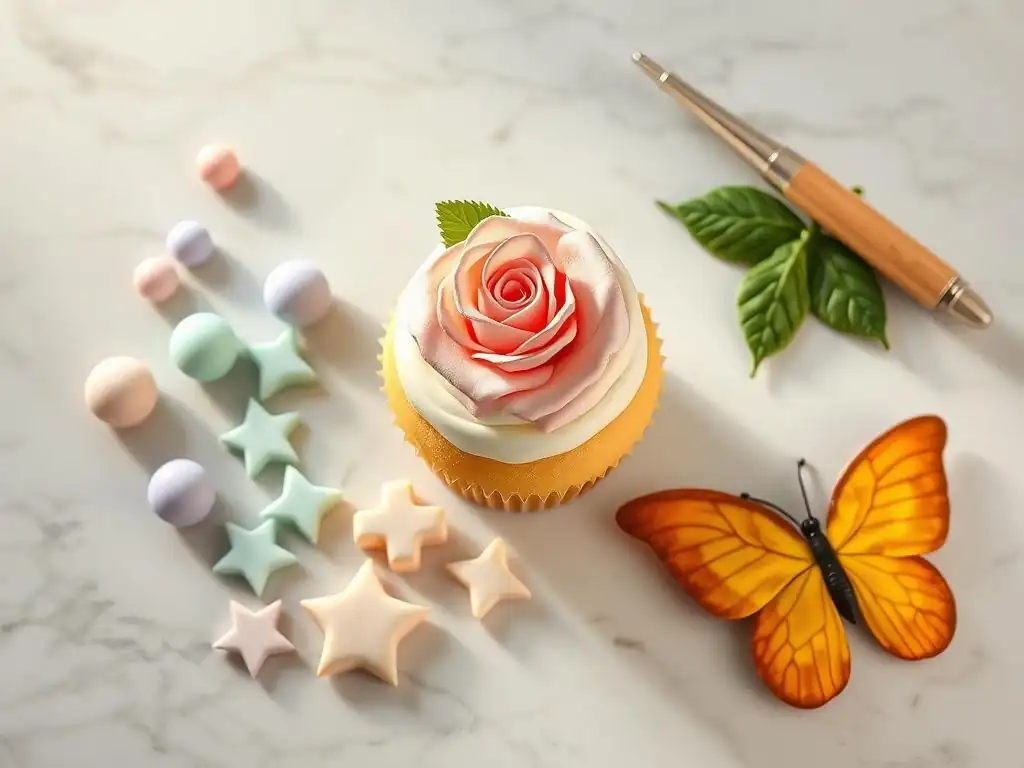
Welcome to BakeWithEase, where even the most intricate baking feats become delightfully attainable! Are you ready to elevate your cake decorating game? This week, we're diving into the world of fondant – and trust us, it's easier than you think. Uncover our Easy fondant shaping tutorials and discover how to add simple, elegant flair to your creations. But that's just the beginning... what other decorating secrets await? Explore further and unlock your inner artist!
- Introduction to Fondant Shaping for Home Bakers
- Essential Tools for Fondant Shaping: A Beginner's Guide
- Mastering the Basics: Essential Fondant Handling Techniques
- Step-by-Step: Creating Basic Fondant Shapes
- Cake Decorating Applications: Utilizing Fondant Shapes
- Tips and Tricks for Efficient Fondant Work
- Troubleshooting Common Fondant Shaping Problems
- Advanced Fondant Techniques: Expanding Your Decorating Repertoire [Optional Section]
- Conclusion: Mastering Fondant Shaping for Decorating Confidence
-
Frequently Asked Questions
- What exactly is fondant, and why is it useful for cake decorating?
- What are some basic fondant shapes I can learn as a beginner?
- What tools do I need to start shaping fondant?
- How do I prevent fondant from cracking or drying out while I'm working with it?
- Where can I find "Easy Fondant Shaping Tutorials" that are beginner-friendly?
- Final Reflection: The Enduring Sweetness of Simple Shapes
- Unleash Your Inner Cake Artist: Master Fondant Shaping!
Introduction to Fondant Shaping for Home Bakers
Why Learn Proper Fondant Shaping Techniques?
Mastering basic fondant shapes is a game-changer for home bakers looking to elevate their cake and cupcake decorations. While store-bought decorations are convenient, crafting your own shapes from fondant offers unparalleled creative control and a truly homemade touch. Learning these fundamental techniques allows you to personalize treats for birthdays, holidays, or just because, adding intricate details that impress friends and family. Think simple stars for a child's birthday or delicate leaves for an elegant anniversary cake – the possibilities are vast, even with just a few basic skills.
Beyond aesthetics, understanding how to work with fondant properly ensures your decorations are stable and look professional. Poorly shaped or handled fondant can crack, dry out, or lose its form, detracting from your beautiful bake. By focusing on proper technique from the start, you build a solid foundation for more complex designs later on. This isn't just about making pretty shapes; it's about gaining confidence and skill in a key area of cake decorating. Investing a little time in learning these easy fondant shaping tutorials will pay dividends in the quality and impact of your finished desserts.
Elevate Your Baking: Mastering Basic Fondant Shapes
Transitioning from simply covering a cake to adding dimensional shapes with fondant opens up a new realm of decorating possibilities. Basic shapes like balls, ropes, cones, and simple cutouts form the building blocks for countless designs. For instance, combining a few balls of different sizes can create a simple snowman, while rolling and cutting strips allows you to make ribbons or stripes. These foundational shapes, while easy to create, are incredibly versatile and can transform a plain cake into a themed masterpiece.
Developing proficiency in these basic shapes allows you to tackle more ambitious projects down the line. Once you're comfortable rolling even ropes or cutting clean circles, you can combine these skills to create more complex elements like bows, simple flowers, or even cartoon characters. Many easy fondant shaping tutorials start with these fundamental forms because they are essential prerequisites for virtually all fondant sculpture and detail work. Mastering them is the key to unlocking your full creative potential in cake decorating.
Essential Tools for Fondant Shaping: A Beginner's Guide
Must-Have Tools for Everyday Fondant Work
To begin your journey into easy fondant shaping tutorials, you don't need a vast collection of specialized tools. A few essential items will get you started effectively. First and foremost, you'll need a non-stick surface to work on, such as a silicone mat or a clean countertop lightly dusted with cornstarch or powdered sugar. A good quality rolling pin, preferably non-stick or easily dusted, is crucial for rolling fondant to an even thickness. Small paring knives or craft knives (dedicated solely to food use!) are indispensable for cutting shapes freehand or trimming excess fondant.
Additionally, a set of basic circle or geometric cutters is incredibly useful for creating uniform shapes quickly. These can range from simple plastic sets to metal cookie cutters. A smooth tool, like a fondant smoother or even the side of your hand, helps eliminate air bubbles and smooth surfaces. Finally, a small amount of shortening or vegetable oil can help prevent sticking, while a little edible glue (like clear piping gel or tylose powder mixed with water) is essential for attaching shapes together or onto your cake. These fundamental tools are covered in most comprehensive easy fondant shaping tutorials.
Optional Tools for Specialized Fondant Designs
Once you've mastered the basics and want to explore more intricate designs, several optional tools can expand your capabilities. Ball tools are excellent for thinning edges of petals or creating indentations. Veining tools or impression mats can add realistic textures to leaves or flowers. Small sculpting tools with various tips (pointed, rounded, flat) allow for more detailed modeling and shaping of figures. Extruders, which are like garlic presses for fondant, create uniform ropes, ribbons, or even hair-like strands quickly.
Specialized cutters for specific shapes like leaves, flowers, or letters can save significant time and ensure consistency, especially when making multiple decorations. While not strictly necessary for basic shapes, these tools make creating more complex elements much easier and faster. Many easy fondant shaping tutorials for intermediate decorators will introduce these tools and show you how they can be used to achieve more refined and elaborate results, taking your fondant work to the next level.
Mastering the Basics: Essential Fondant Handling Techniques
Proper Fondant Handling: Ensuring Smoothness and Control
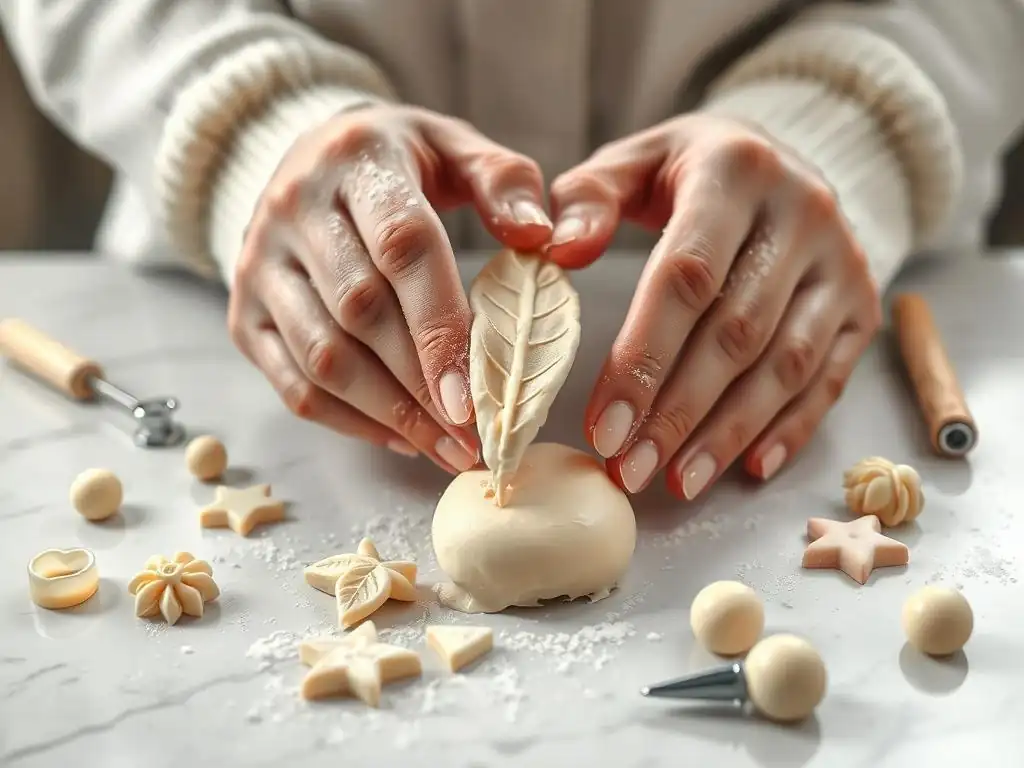
Working with fondant effectively requires understanding its unique properties. The first step is proper preparation: knead the fondant until it is smooth, pliable, and free of cracks. If it's too stiff, you can warm it slightly with your hands or microwave it for just a few seconds (be very careful not to overheat). If it's too sticky, knead in a little powdered sugar or cornstarch. Always work on a surface lightly dusted with cornstarch or powdered sugar to prevent sticking – a common issue highlighted in many easy fondant shaping tutorials.
When shaping, use gentle but firm pressure. Avoid overworking the fondant, as this can incorporate too much air or make it greasy. When rolling, lift and move the fondant occasionally to ensure it isn't sticking to the surface. For shapes that need to hold their form, like standing figures, you might need to incorporate a hardening agent like Tylose powder or CMC powder, typically using about 1-2 teaspoons per pound of fondant, kneading it in thoroughly. Proper handling ensures your shapes are smooth, crack-free, and maintain their intended form.
Fondant Preparation: Achieving the Right Consistency
The consistency of your fondant is paramount for successful shaping. It needs to be soft enough to be pliable but firm enough to hold a shape without collapsing. Store-bought fondant is often ready to use after a brief kneading, but homemade fondant might require more adjustment. If fondant is too dry and crumbly, kneading in a tiny amount of vegetable shortening or glycerin can help restore its elasticity. A tablespoon of shortening per pound of fondant is a good starting point for dry fondant, kneaded in gradually until the desired consistency is reached.
Conversely, if the fondant is too soft or sticky, gradually knead in powdered sugar or cornstarch. Use these sparingly, as too much can dry out the fondant. For detailed work or shapes that need to dry hard, incorporating Tylose or CMC powder is essential. This turns fondant into modeling paste, which dries faster and harder. Typical ratios are around 1-2 teaspoons of powder per 450g (approximately 1 pound) of fondant, depending on humidity and desired hardness. Achieving the right consistency through proper preparation is a fundamental technique covered in all good easy fondant shaping tutorials.
Step-by-Step: Creating Basic Fondant Shapes
Cubes: Creating Uniform Shapes
Creating a simple fondant cube is a great exercise in achieving straight lines and uniform dimensions, a skill applicable in many easy fondant shaping tutorials. Start by rolling a piece of kneaded fondant into a smooth ball. Then, gently flatten the ball into a thick disc. Using a smoother or the side of your hand, press down on the top and sides to begin forming a block shape. Avoid pressing too hard initially.
Once you have a rough block, use a sharp knife or fondant cutter against a ruler or straight edge to trim the sides, top, and bottom, creating clean, sharp edges and 90-degree corners. Aim for consistent lengths on all sides to form a perfect cube. Practice making cubes of different sizes to improve your precision. These simple cubes can be used as building blocks for decorative elements or even as dice on a casino-themed cake.
Small Balls: Achieving Small, Uniform Shapes
Rolling uniform small balls is a fundamental skill used in countless easy fondant shaping tutorials, from making eyes for characters to crafting berries or pearl borders. Take a small piece of kneaded fondant. Place it between the palm of your hands or between your fingertip and the surface (if making very small balls). Apply gentle, even pressure while rotating your hands in a circular motion.
The key is to use consistent pressure and motion to create perfectly round balls of the desired size. Start with larger pieces and practice rolling them down to smaller sizes. For many small balls of the same size, roll the fondant into a long, even rope, then cut the rope into equal segments before rolling each segment into a ball. A food scale can be used to weigh small pieces for perfect uniformity, perhaps aiming for balls around 1-2 grams for pearl borders.
Discs: A Versatile Shaping Technique
Fondant discs are incredibly versatile, serving as bases for toppers, elements for stacking, or simple decorative spots, and are featured in many easy fondant shaping tutorials. Start by rolling a piece of kneaded fondant to an even thickness using a rolling pin. Aim for a thickness suitable for your design, typically between 1/8 inch and 1/4 inch.
Once rolled, use a round cutter of the desired size to cut out the disc. Press the cutter straight down firmly, then lift. For a clean edge, avoid twisting the cutter. If you don't have a cutter, you can use the rim of a glass or even carefully cut a circle freehand using a template. Smooth the edges if necessary using your finger or a smoother. These discs can be layered, used as bases for figures, or cut further into different shapes.
Strips: Creating Even Pieces
Fondant strips are essential for creating borders, ribbons, stripes, or lattice work, and are a common element in easy fondant shaping tutorials. Begin by rolling a piece of kneaded fondant into a rectangle of even thickness, similar to how you would for discs. Use a ruler or straight edge to ensure the edges are straight if needed.
Next, use a sharp knife, pizza cutter, or a specialized strip cutter against a ruler or straight edge to cut parallel lines, creating strips of uniform width. For perfect consistency, measure the width of your first strip and use that measurement for subsequent cuts. For instance, cutting strips exactly 1 cm wide allows for precise lattice work or evenly spaced stripes. Carefully lift the strips and use them to decorate your cake or cupcakes.
Ropes/Logs: Shaping into Thin Ropes
Fondant ropes or logs are fundamental for creating borders, stems, outlines, or building blocks for figures, a technique central to many easy fondant shaping tutorials. Take a piece of kneaded fondant and roll it between your palms or fingers to start forming a cylindrical shape.
Then, place the fondant on your work surface (lightly dusted with cornstarch or powdered sugar) and roll it back and forth using the palms of your hands, applying gentle, even pressure. Start rolling from the center and move your hands outwards to elongate the rope, ensuring it is of consistent thickness along its length. For very long or thin ropes, you might find it easier to roll sections at a time. Aim for a consistent diameter, perhaps 0.5 cm for a delicate border or 2 cm for a thicker base for a figure.
Cake Decorating Applications: Utilizing Fondant Shapes
Cake Borders: Achieving Uniform Decoration
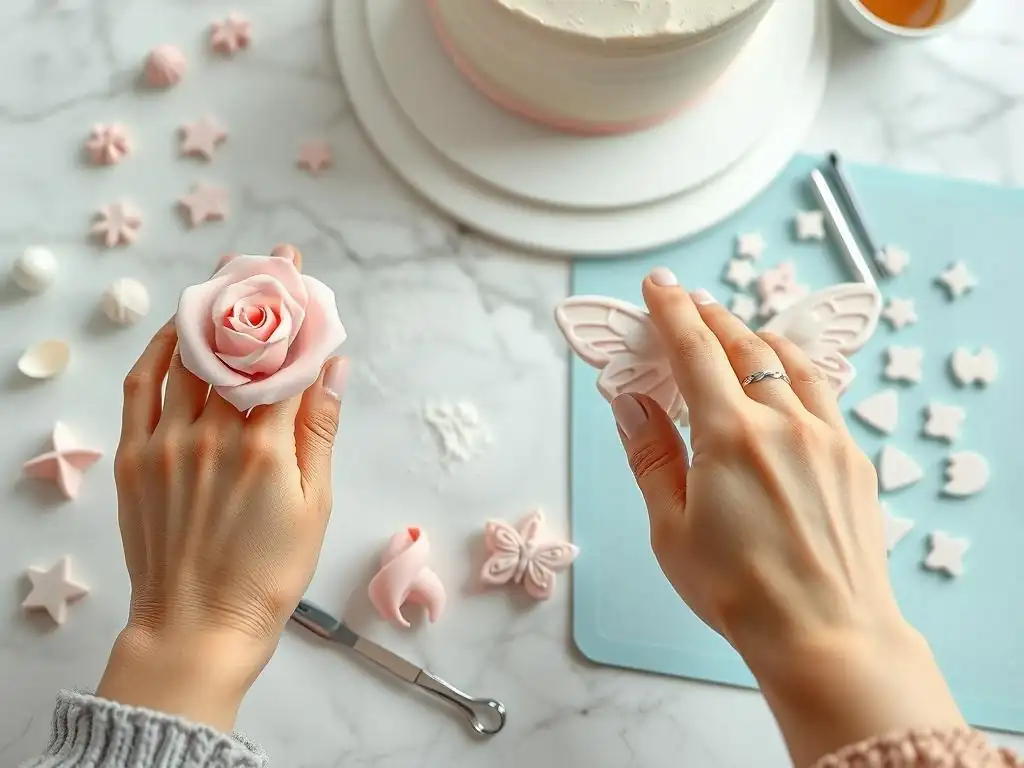
Using basic fondant shapes to create cake borders is a simple yet effective way to add a polished finish to your cakes. Ropes are perhaps the most classic border – a single or double strand rolled evenly and attached around the base or top edge of the cake. For a more playful look, small fondant balls can be attached side-by-side to create a "pearl" border, often requiring dozens or even hundreds of uniform balls depending on the cake size (a 6-inch round cake might use around 80-100 small balls for a bottom border).
Strips can also be used to create various border designs, such as simple bands of color, pleated ruffles, or woven patterns. The key to a successful border is consistency in the shape and size of the elements used. Practicing the basic techniques discussed in easy fondant shaping tutorials will ensure your borders are neat and professional, significantly enhancing the overall appearance of your cake.
Cupcake Toppers: Creating a Playful Assortment
Basic fondant shapes are perfect for creating quick and adorable cupcake toppers. Discs can be cut to fit the top of a cupcake and serve as a base for other shapes. Simple shapes like stars, hearts, or animals can be cut out using cookie cutters and placed on top. Combining balls and ropes allows you to create simple figures like ladybugs (a large ball body, a smaller ball head, thin ropes for legs) or bees (an oval body from a rolled log, thin strips for stripes, small cutouts for wings).
A set of 12 cupcakes might feature 12 unique but simple designs made from just a few basic shapes. For example, you could make 3 with stars, 3 with hearts, 3 with simple flower cutouts, and 3 with small animal faces made from balls and small cutouts. These easy fondant shaping tutorials for cupcakes are popular because they are fast, require minimal fondant, and allow for a lot of creativity on a small scale.
Figurines: Building Characters with Optimal Texture
While complex fondant figurines require advanced sculpting, many simple characters can be built using basic shapes like balls, logs (ropes), and cones. A snowman can be made from three stacked balls of decreasing size. A simple bear can be formed from a larger ball for the body, a smaller ball for the head, smaller balls for ears and snout, and short logs for limbs. The key is to ensure the fondant has the right consistency (often mixed with Tylose powder) so the shapes hold their structure.
When building figurines, pay attention to the "texture" in terms of how the shapes connect and balance. Use edible glue sparingly to attach parts. Allow components to dry partially before assembling vertical structures. Many easy fondant shaping tutorials for beginners focus on these simple stacked or combined shapes because they teach fundamental construction principles vital for any figure modeling, ensuring your characters stand up and hold their form.
Floral Elements: Enhancing Presentation with Shaped Petals
Even basic fondant shaping can be used to create simple, charming floral elements. The easiest method involves cutting out multiple discs of the same size. These discs can then be slightly overlapped in a circle to form a simple open rose or daisy shape. Rolling small balls and flattening them into petals is another basic technique; five or six flattened balls arranged around a small central ball can create a simple five-petal flower.
Thinly rolled fondant strips can be ruffled slightly along one edge (using a ball tool or even a toothpick) and then rolled up tightly to create a simple ruffled rosebud. While intricate sugar flowers require specialized tools and techniques, these simpler floral elements using basic shapes are achievable with minimal experience and add a lovely touch to cakes and cupcakes, as demonstrated in many easy fondant shaping tutorials focused on quick decorations.
Tips and Tricks for Efficient Fondant Work
Maintaining a Clean Workspace: Preventing Cracks and Stickiness
Working with fondant requires a clean, dry, and smooth surface to prevent sticking and imperfections. Residue from previous baking projects can cause fondant to stick or pick up unwanted crumbs. Always wipe down your countertop or mat thoroughly before starting. Lightly dusting the surface with cornstarch or powdered sugar is crucial, but use it sparingly – too much can dry out the fondant.
Keep your hands clean and dry as well. If your hands are warm, they can make the fondant sticky; washing them in cold water can help. Cover any fondant you aren't actively working with tightly in plastic wrap or an airtight container, as air exposure causes it to dry out and crack rapidly. A well-maintained workspace, as emphasized in easy fondant shaping tutorials, is key to smooth, successful fondant shaping.
Using Cornstarch/Powdered Sugar: Preventing Sticking While Shaping
Cornstarch and powdered sugar are your best friends when working with fondant to prevent it from sticking to your hands, tools, and work surface. However, moderation is key. Lightly dusting your surface and rolling pin is usually sufficient. If fondant feels sticky, knead in a small amount of powdered sugar. For very humid conditions, cornstarch might be more effective as it absorbs moisture better.
To dust your surface, you can use a sifter or just lightly sprinkle it by hand, then spread it evenly. Keep a small bowl of cornstarch or powdered sugar nearby to re-dust as needed, but avoid creating thick layers that can get incorporated into the fondant, potentially drying it out excessively. Proper use of these anti-stick agents is a fundamental tip found in all easy fondant shaping tutorials.
Coloring Fondant in Advance: Streamlining the Decorating Process
Coloring fondant can be messy, so doing it in advance streamlines your decorating process. Use gel or paste food coloring, as liquid coloring can alter the fondant's consistency. Knead the coloring into the fondant thoroughly until the color is uniform, wearing gloves if you want to avoid stained hands. For deep colors, you might need to add a significant amount of coloring, which can sometimes make the fondant softer; if this happens, let it rest for a bit or knead in a touch of powdered sugar.
If you need multiple colors, separate the fondant first and color each portion individually. Once colored, wrap each color tightly in plastic wrap and store in an airtight container until ready to use. Coloring fondant ahead of time, perhaps the day before you plan to decorate, saves time during the actual shaping process and allows the colors to deepen slightly, a practical tip often shared in easy fondant shaping tutorials for efficiency.
Troubleshooting Common Fondant Shaping Problems
Dry Fondant: Identifying and Addressing the Issue
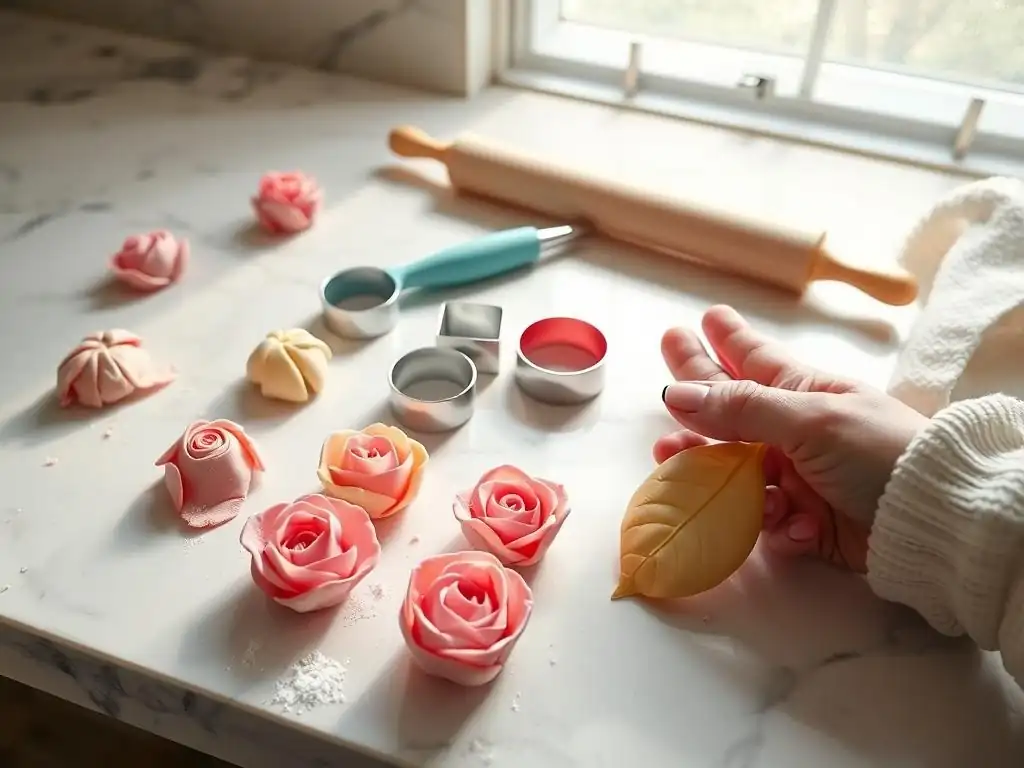
Dry or cracked fondant is a common problem that makes shaping difficult and results in unattractive decorations. You'll notice it cracking easily when kneaded or rolled, and shapes might not hold together well. This is usually caused by air exposure or using too much dry ingredient (like powdered sugar or cornstarch).
To fix dry fondant, knead in a very small amount of vegetable shortening, glycerin, or a commercial fondant conditioner. Start with just a pea-sized amount for a small piece of fondant and knead it in completely. Add more only if needed, as too much can make it greasy. Kneading warm hands can also help reactivate the fondant's elasticity. Proper storage in airtight containers is the best prevention, as highlighted in many easy fondant shaping tutorials.
Uneven Shapes: Practicing Consistency and Precision
Creating uneven shapes is a sign that you need more practice with consistent pressure and technique. Whether rolling balls, logs, or cutting strips, unevenness comes from applying more pressure on one side, rolling inconsistently, or cutting freehand without a guide.
To improve consistency, always roll fondant to a uniform thickness before cutting shapes. Use a ruler or straight edge as a guide when cutting strips or trimming edges. When rolling balls or logs, try to use even pressure across the entire surface you're rolling. For multiple shapes that need to be identical, consider using cutters or weighing the fondant pieces beforehand. Consistent practice with easy fondant shaping tutorials specifically focusing on uniform results will help you develop a better feel for the right pressure and technique.
Fondant Sticking/Cracking: Preventing Issues and Responding Appropriately
Fondant sticking to your surface or tools is usually due to insufficient dusting or high humidity. Cracking, as mentioned, is often due to dryness or overworking. If fondant is sticking, lift it carefully, re-dust your surface and tools lightly, and continue. If it's cracking while you work, it's likely too dry; try kneading in a tiny bit of shortening.
If a finished shape cracks as it dries, it might have been overworked, too dry initially, or dried too quickly. Small cracks on finished shapes can sometimes be smoothed over gently with a fingertip slightly moistened with water or shortening, or filled with a tiny piece of fresh fondant. Preventing these issues through proper preparation, storage, and workspace management, as taught in easy fondant shaping tutorials, is far easier than fixing them after they occur.
Advanced Fondant Techniques: Expanding Your Decorating Repertoire [Optional Section]
Introduction to Advanced Shaping Techniques
Once you're comfortable with basic shapes and handling, you can explore more advanced fondant techniques that build upon these fundamentals. This includes creating realistic sugar flowers with detailed petals and veining, sculpting complex 3D figures with internal supports, or using techniques like ruffles, pleats, and drapes to add sophisticated textures to cakes. These methods often involve specialized tools and a deeper understanding of how fondant behaves when manipulated in different ways.
Advanced techniques require patience and attention to detail. For instance, creating a realistic rose might involve rolling and shaping dozens of individual petals, each thinned and textured before being assembled. Sculpting figures involves understanding anatomy and balance. While more challenging than easy fondant shaping tutorials, mastering these skills allows for truly stunning and personalized cake artistry.
Resources for Learning Advanced Fondant Techniques
For those ready to move beyond the basics, numerous resources are available to learn advanced fondant techniques. Online platforms like YouTube host thousands of detailed video tutorials demonstrating complex sculpting, floral work, and textural methods. Many professional cake decorators offer online courses or workshops that provide in-depth instruction.
Books and magazines dedicated to sugar art and cake decorating are also valuable resources, offering step-by-step guides and inspiration. Local cake supply stores or community colleges sometimes offer in-person classes where you can receive hands-on guidance. While starting with easy fondant shaping tutorials online is convenient, structured courses or detailed books can provide a more comprehensive understanding of advanced principles and techniques.
Conclusion: Mastering Fondant Shaping for Decorating Confidence
Recap of Essential Fondant Shapes and Techniques
We've covered the foundational aspects of working with fondant to create simple yet effective decorative elements. From understanding the basic tools like rolling pins and cutters to mastering the creation of shapes like balls, cubes, discs, strips, and ropes, these fundamental skills are the bedrock of most cake decorating projects involving fondant. We also touched upon essential handling techniques like proper kneading, preventing stickiness with cornstarch or powdered sugar, and ensuring the right consistency.
These basic shapes and techniques, often the focus of introductory easy fondant shaping tutorials, are incredibly versatile. They can be combined in countless ways to create everything from simple borders and cupcake toppers to the building blocks for more complex figurines and floral designs. Proficiency in these areas builds a strong foundation for future learning and more ambitious decorating goals.
Practice Makes Perfect: Encouragement for Continued Decorating
Like any craft, mastering fondant shaping takes practice. Your first attempts at rolling a perfect rope or cutting a uniform strip might not be flawless, and that's completely normal! The key is to keep trying. Start with simple projects, perhaps focusing on making a dozen perfect fondant balls or practicing cutting uniform strips.
As you become more comfortable with the feel of the fondant and the handling techniques, you'll gain confidence and find that creating shapes becomes much easier and faster. Don't be discouraged by mistakes; view them as learning opportunities. Continue exploring easy fondant shaping tutorials and gradually challenge yourself with slightly more complex designs. With consistent practice, you'll be creating beautiful, professional-looking fondant decorations in no time, adding that special flair to all your baked goods.
Frequently Asked Questions
What exactly is fondant, and why is it useful for cake decorating?
Fondant is a smooth, pliable sugar paste that is rolled out and used to cover cakes. It's useful for creating a flawless, professional-looking finish and allows for intricate decorations. It's also very versatile.
What are some basic fondant shapes I can learn as a beginner?
Beginners can start with simple shapes like circles, squares, and triangles. These can be easily cut using cookie cutters or templates. You can then combine them to create more complex designs.
What tools do I need to start shaping fondant?
Essential tools include a rolling pin, a smooth work surface (like a silicone mat), sharp knives or cutters, and cornstarch or powdered sugar to prevent sticking. Some tutorials may recommend specific modeling tools.
How do I prevent fondant from cracking or drying out while I'm working with it?
Keep fondant wrapped tightly when not in use. Knead it well before rolling to make it pliable, and avoid overworking it. A light coating of vegetable shortening can also help prevent drying.
Where can I find "Easy Fondant Shaping Tutorials" that are beginner-friendly?
Websites like BakeWithEase.com offer step-by-step guides and tutorials specifically designed for beginners. Look for tutorials with clear instructions and visual aids to help you along the way.
Final Reflection: The Enduring Sweetness of Simple Shapes
The art of fondant shaping, once perceived as an elite skill, is now readily accessible, empowering home bakers to elevate their creations with personalized flair. This accessibility, fueled by readily available online tutorials and the democratization of baking supplies, has fundamentally changed the landscape of cake decorating, making intricate designs achievable for everyone.
The impact of simple fondant shaping techniques extends far beyond the aesthetic. It's about fostering creativity, encouraging experimentation, and ultimately, bringing joy to both the creator and the recipient. The best things in life are simple,
a sentiment that rings particularly true when considering the satisfaction derived from transforming a plain cake into a personalized masterpiece with just a few carefully shaped fondant pieces. This simple act connects us to a long tradition of cake decorating, while simultaneously allowing for completely modern and unique expressions.
Now, consider your own baking journey. What simple shape will you master next? Will it be a delicate flower, a playful animal, or a geometric marvel? Don't be afraid to experiment, to embrace imperfections, and to find the joy in the process. The beauty of fondant shaping lies not only in the final product, but in the creative journey it takes you on. Let your imagination run wild and discover the enduring sweetness of simple shapes.
Unleash Your Inner Cake Artist: Master Fondant Shaping!
Thanks for taking the time to explore the world of fondant shaping with us! We hope you've gained some valuable tips and tricks to elevate your baking creations. Ready to put your new skills into practice?
- Try creating your own fondant masterpiece! Challenge yourself to replicate one of the shapes we discussed, or branch out and design something entirely new. Let your imagination run wild!
- Share your fondant creations with the BakeWithEase community! Post photos on social media using #BakeWithEaseFondant and inspire others.
- Explore our other baking tutorials to discover even more ways to enhance your skills and become a true baking pro.
What unique fondant shape will you create next? Let us know in the comments below!