
Shaping Basic White Bread: Simple Techniques for Loaves

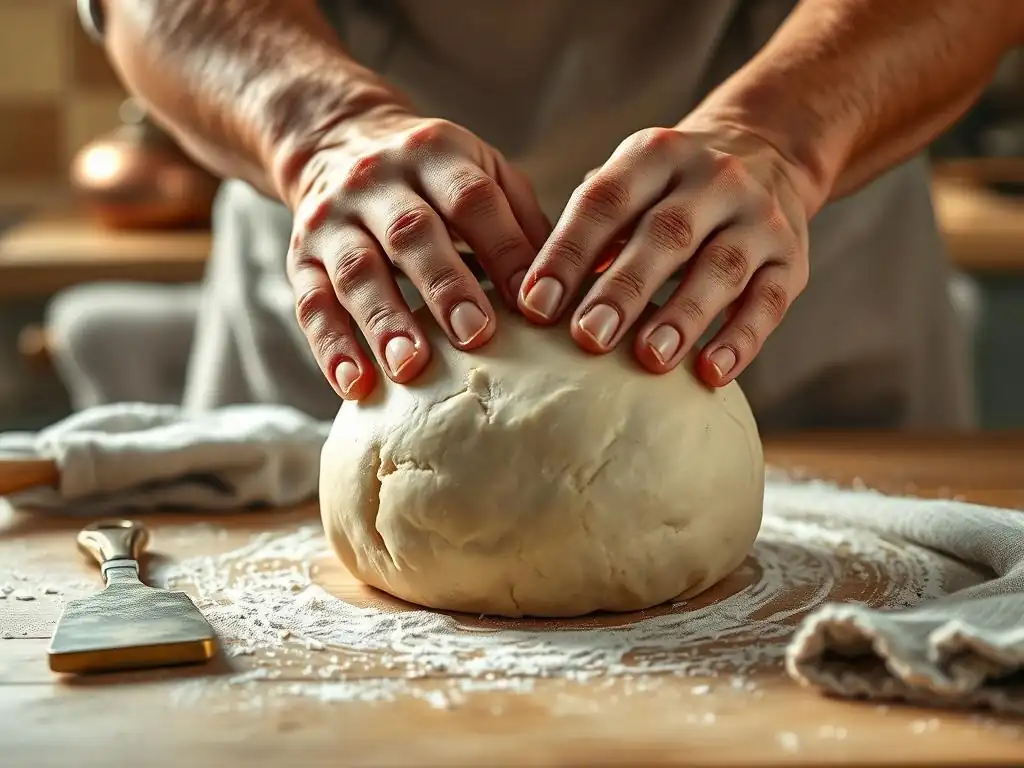
Welcome to BakeWithEase, your haven for unlocking the secrets of delicious baking! Ever wondered if you could achieve bakery-worthy loaves at home? This week, we're diving deep into easy white bread shaping techniques that will transform your baking. Discover the simple steps to create beautiful, evenly-risen loaves that are as impressive as they are delicious. Ready to elevate your bread game? Let's get baking!
- Shaping Sourdough Bread: Techniques for Optimal Rise and Crust
- Sourdough Mastery: Guide to Perfecting Your Sourdough Shape
- Essential Tools and Equipment for Shaping Sourdough Bread
- Sourdough Shaping Techniques: A Step-by-Step Guide
- Troubleshooting Common Sourdough Shaping Problems
- Advanced Sourdough Shaping Ideas
- Tips for Perfecting Your Sourdough Shaping Skills
- Mastering Sourdough Bread: Achieving the Perfect Shape Every Time
-
Frequently Asked Questions
- How important is the initial dough preparation for successful white bread shaping?
- What are some easy white bread shaping techniques suitable for beginners?
- What tools, if any, are essential for shaping white bread effectively?
- How can I prevent my white bread dough from sticking while shaping?
- What should I do if my shaped white bread dough starts to spring back after shaping?
- Final Reflection: The Humble Art of Bread Shaping
- Unleash Your Inner Baker: Craft the Perfect Loaf!
Shaping Sourdough Bread: Techniques for Optimal Rise and Crust
Sourdough Mastery: Guide to Perfecting Your Sourdough Shape
Why Shaping Matters for Sourdough Texture and Oven Spring
Shaping is a critical step in the sourdough baking process, directly influencing the final texture and volume of your loaf. A well-executed shape creates necessary surface tension on the dough. This tension acts like a skin, holding the gas produced during fermentation within the dough's structure. Without sufficient tension, the gas escapes during baking, leading to a flatter, denser loaf with less 'oven spring' – the final dramatic rise that occurs in the hot oven. Experienced bakers often see a 20-30% improvement in oven spring with proper shaping compared to poorly handled dough.
Furthermore, effective shaping helps distribute the internal gas bubbles more evenly throughout the dough. This leads to a more consistent crumb structure, characterized by an open, airy texture with varying-sized holes, which is highly desired in artisan sourdough. It also helps prevent large, irregular tunnels or dense spots that can occur when the dough isn't properly consolidated and tensioned before proofing and baking.
The Impact of Shaping on Crust Development and Loaf Structure
The way you shape your sourdough significantly impacts the development of its signature crust. The surface tension created during shaping isn't just for oven spring; it also prepares the dough surface to develop a strong, crisp crust. As the loaf bakes, this taut surface allows for controlled expansion and caramelization, contributing to the rich color and texture of the crust. The specific shape chosen, such as a round boule or an elongated batard, influences how the heat penetrates the loaf and how the crust develops across its surface.
Proper shaping also provides structural integrity, ensuring the loaf maintains its form during the final proofing stage and baking. A loosely shaped dough can spread out rather than rise upwards, resulting in a flat disk. Conversely, a tightly shaped dough, when combined with appropriate scoring, directs the oven spring, allowing the loaf to expand predictably and create visually appealing 'ears' or defined crust separations. This structural support is especially crucial for high-hydration sourdough doughs, which tend to be more challenging to handle.
Essential Tools and Equipment for Shaping Sourdough Bread
Dough Scrapers: Efficiently Handling High-Hydration Dough
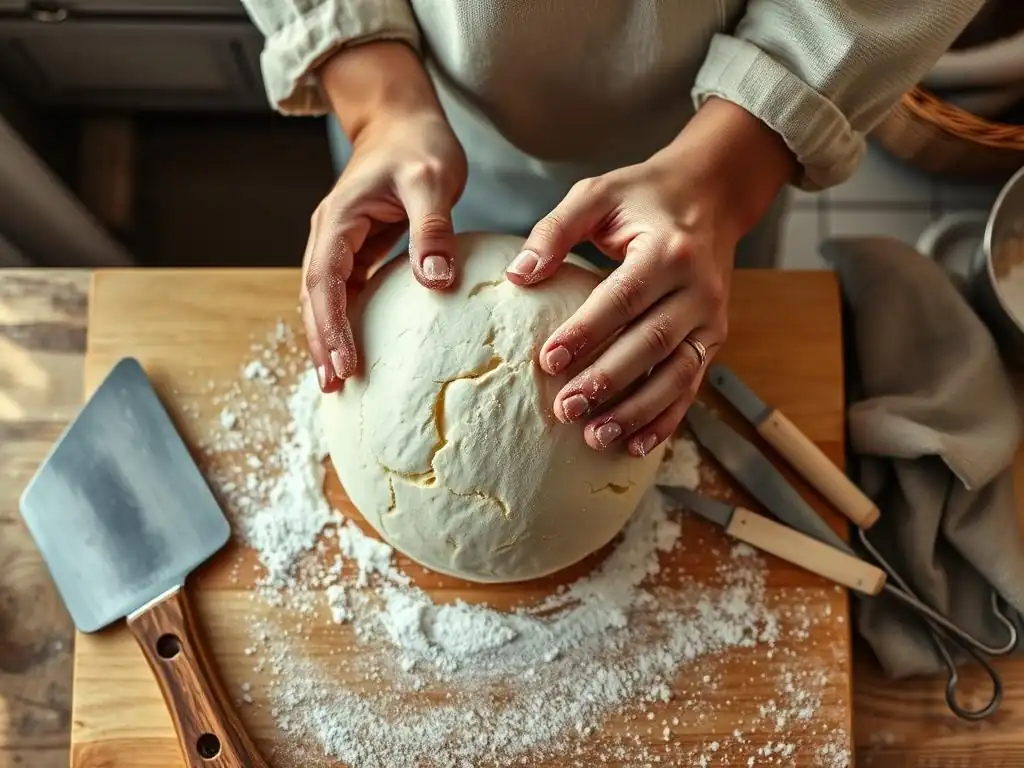
Dough scrapers, both bench scrapers (rigid, metal or plastic) and bowl scrapers (flexible, plastic), are indispensable tools when working with sticky, high-hydration sourdough. A metal bench scraper is excellent for dividing dough, cleaning your work surface, and manipulating dough during pre-shaping and final shaping by gently lifting and folding. Its straight edge allows you to gather and move large masses of dough without excessive sticking to your hands.
Flexible bowl scrapers are perfect for cleanly removing dough from mixing bowls or proofing containers. They minimize waste and help consolidate the dough mass before it's turned out onto the bench. Using scrapers reduces the need for excessive flour on your work surface, which can toughen the dough and interfere with proper gluten development and surface tension during shaping. For example, when shaping a high-hydration dough (e.g., 80% hydration), a bench scraper is essential for performing folds and building tension without the dough adhering completely to the counter.
Banneton Baskets: Promoting Round Shapes and Crust Formation
Banneton baskets, also known as proofing baskets, are crucial for the final proofing of shaped sourdough loaves. Typically made from rattan, cane, or plastic, they are lined with flour (often rice flour to prevent sticking) and support the shaped dough, helping it maintain its form as it undergoes its final rise. The coiled pattern of a rattan banneton also imparts a beautiful, rustic pattern onto the dough's surface, which becomes part of the crust after baking.
Using a banneton helps the shaped dough hold its height and prevents it from spreading outwards during proofing, especially during a long, cold fermentation in the refrigerator (common for sourdough, often 12-24 hours). This support is key to achieving good oven spring. A typical round banneton for a standard ~500g loaf might have a diameter of 8-9 inches, while an oval one for a batard might be 10-12 inches long. The size should be appropriate for the dough mass to provide adequate support without being too cramped or too large.
Dutch Ovens: Creating Steam and Even Baking
While not directly a shaping tool, a Dutch oven is arguably the most important piece of equipment for baking sourdough after shaping and proofing. A hot Dutch oven, with its lid on, traps the steam released by the dough as it begins to bake. This steamy environment keeps the crust soft and pliable initially, allowing the loaf to expand fully and achieve maximum oven spring before the crust sets. After a certain baking time (e.g., 20-25 minutes), the lid is removed, allowing the trapped moisture to escape and the crust to brown and crisp beautifully.
Baking in a Dutch oven also provides consistent, radiant heat from all sides, promoting even baking and a uniform crust color. This method effectively mimics the environment of a professional steam-injected oven but is accessible for home bakers. A common size for baking a standard sourdough loaf is a 5-7 quart cast iron Dutch oven, which comfortably fits a boule or batard and provides sufficient space for steam circulation.
Sourdough Shaping Techniques: A Step-by-Step Guide
Technique 1: The Basic Round Boule - A Beginner's Start
The boule is the classic round loaf shape, often the first shape sourdough bakers master. It's versatile and works well for most dough hydration levels.
Step 1: Gently Transferring the Dough
- [ ] Lightly flour your work surface.
- [ ] Gently scrape the dough from its bulk fermentation container onto the floured surface using a flexible bowl scraper.
- [ ] Avoid degassing the dough excessively; handle it lightly.
After bulk fermentation, the dough should be airy and somewhat delicate. Transferring it gently preserves the gas bubbles that contribute to the final crumb structure. Imagine the dough as a fragile cloud; you want to coax it out rather than force it. Use just enough flour to prevent sticking, but not so much that it creates a dry, floury layer on the dough surface.
Step 2: Creating Surface Tension
- [ ] Fold the edges of the dough towards the center to create a rough ball.
- [ ] Flip the dough seam-side down.
- [ ] Using bench scrapers or cupped hands, gently pull or rotate the dough towards you, tucking the bottom under, to create tension on the top surface. Repeat this motion several times until the dough feels taut and holds a round shape.
This step is crucial for developing the 'skin' on the dough's surface. As you pull or rotate, you're stretching the top layer while the bottom is being tucked underneath, creating a tight sphere. Think of gathering a drawstring bag closed. The goal is a smooth, taut top surface and a gathered seam underneath. For a 70% hydration dough, this might take 3-5 gentle rotations or pulls.
Step 3: Proofing and Baking in a Dutch Oven
- [ ] Place the shaped dough seam-side up in a floured banneton or seam-side down on parchment paper.
- [ ] Proof for the required time (e.g., 1-4 hours at room temp or 8-24 hours in the fridge).
- [ ] Preheat your Dutch oven to a high temperature (e.g., 450-500°F or 230-260°C).
- [ ] Carefully transfer the dough into the hot Dutch oven, score it, and bake with the lid on, then lid off.
The final proof allows the dough to relax slightly while maintaining the tension created during shaping. Placing it seam-side up in the banneton makes it easy to invert seam-side down into the baking vessel. Baking in a preheated Dutch oven ensures immediate heat transfer and steam capture, maximizing oven spring. A common baking schedule is 20 minutes with the lid on, followed by 20-25 minutes with the lid off for browning.
Technique 2: Shaping an Oblong Batard
The batard is an oval loaf, also popular for sourdough. It's slightly different to shape than a boule and requires creating a more elongated form.
Step 1: Dividing and Pre-Shaping the Dough
- [ ] Gently divide the dough using a bench scraper if making multiple loaves.
- [ ] Lightly shape each portion into a loose round or oval (pre-shape).
- [ ] Let the dough rest, covered, for 20-30 minutes (bench rest).
If you're baking multiple loaves from a single bulk ferment, divide the dough cleanly with a scraper. The pre-shape is a gentle step to organize the dough into a rough form and begin building a little tension. The bench rest allows the gluten to relax after the initial handling, making the dough more pliable and easier to perform the final shaping. This rest period is crucial; skipping it can result in a tight dough that resists shaping.
Step 2: Forming an Elongated Shape
- [ ] Turn the pre-shaped dough seam-side up on a lightly floured surface.
- [ ] Gently flatten the dough into an oval or rectangle.
- [ ] Fold the top third down to the center, pressing lightly.
- [ ] Fold the bottom third up over the center, pressing the seam.
- [ ] Fold the dough in half lengthwise, sealing the seam tightly with the heel of your hand.
- [ ] Gently roll or pull the ends slightly to taper them.
This sequence of folds builds significant tension along the length of the loaf. You are essentially creating layers and then sealing them into a tight cylinder. The final step of sealing the seam is important to prevent it from bursting during baking. The goal is a tight, even log shape with slightly tapered ends, typically 10-14 inches long for a standard loaf.
Step 3: Placing the Dough in a Banneton or on Parchment Paper
- [ ] Place the shaped batard seam-side up in a floured oval banneton or seam-side down on parchment paper cut to size.
- [ ] Ensure the dough fits snugly in the banneton to maintain its oval shape during proofing.
- [ ] Proceed with final proofing as required.
Just like with the boule, the banneton supports the batard during its final rise, preserving its elongated form. For a batard, an oval banneton is ideal. If using parchment paper for proofing outside a banneton, you might need to create temporary supports (like rolled-up towels or proofing couches) to prevent it from spreading sideways, especially for higher hydration doughs.
Technique 3: Shaping a Tight Sourdough Baguette
Shaping baguettes is more challenging, requiring skill to achieve the characteristic long, slender form and open crumb. This technique focuses on creating a very tight structure.
Step 1: Gently Flattening the Dough
- [ ] Gently divide the dough into portions appropriate for baguettes (e.g., 250-350g each).
- [ ] Lightly flour your surface and turn out one portion of dough.
- [ ] Carefully flatten the dough into a rough rectangle or oval using the pads of your fingers, being careful not to degas it completely.
Baguette shaping starts with a gentle flattening. The goal is to create a base shape without destroying the internal structure built during bulk fermentation. The dough should still feel airy and resilient, not dense or overworked. Aim for a rectangle roughly 6-8 inches wide and slightly longer.
Step 2: Rolling and Tapering the Dough
- [ ] Fold the top edge of the rectangle down towards the center, pressing lightly.
- [ ] Fold the bottom edge up to meet the first fold, pressing the seam.
- [ ] Fold the dough in half lengthwise, sealing the final seam very tightly with the heel of your hand.
- [ ] Starting from the center and working outwards, gently roll the dough back and forth with your palms, applying even pressure to lengthen the baguette and taper the ends.
This rolling action is key to extending the dough into a long, slender cylinder, typically 15-20 inches for a standard home oven baguette. The tight final seam is crucial for creating tension and preventing blowouts during baking. Roll evenly to ensure a consistent thickness along the baguette's length, tapering slightly towards the ends.
Step 3: Proofing and Scoring for Oven Spring
- [ ] Place the shaped baguettes seam-side down on a floured couche (linen cloth) or floured parchment paper, separated by folds in the cloth/paper.
- [ ] Allow to proof for the required time.
- [ ] Carefully transfer to a baking surface (like a preheated baking stone or steel).
- [ ] Score the baguettes with several long, parallel slashes using a lame or razor blade at a slight angle (about 30 degrees).
- [ ] Bake in a hot oven, ideally with steam.
Proofing baguettes requires support to keep their shape. A couche is traditional, providing structure and wicking away surface moisture for a crisp crust. Scoring is vital for baguettes; the long, angled cuts allow the dough to expand lengthwise and upwards, creating the classic baguette shape and exposing the beautiful crumb. Baking with steam (e.g., by placing ice cubes in a tray at the bottom of the oven) is essential for achieving the thin, crisp crust.
Troubleshooting Common Sourdough Shaping Problems
Dealing with Over-Proofed Dough During Shaping
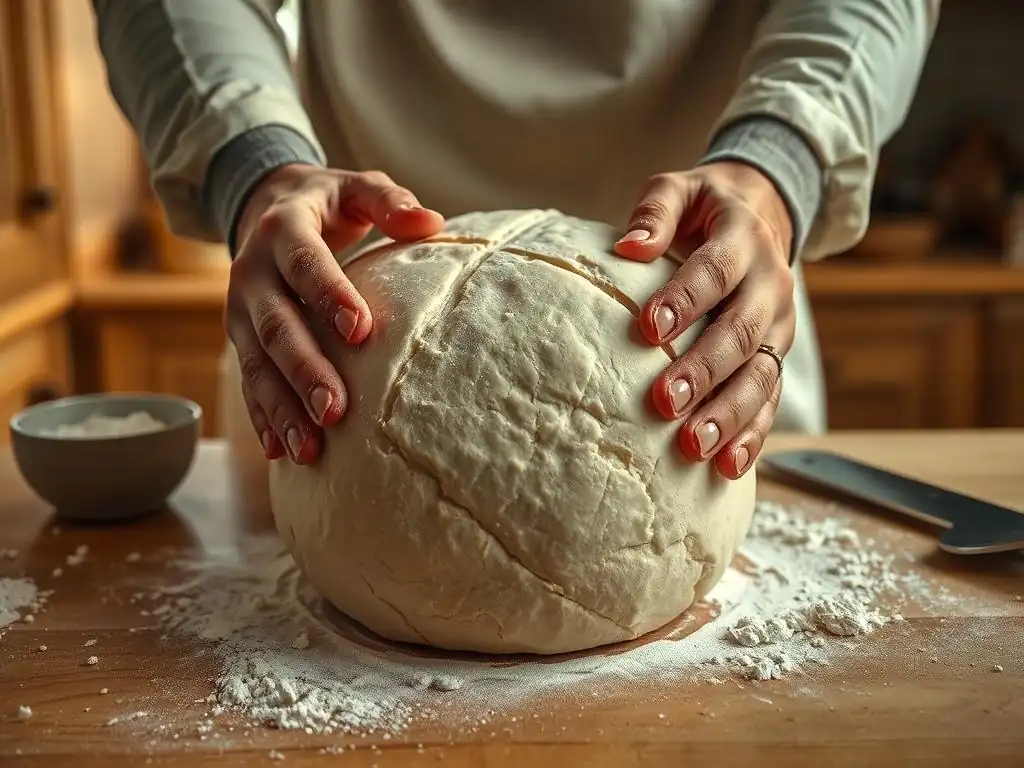
Over-proofed sourdough can be notoriously difficult to shape because the gluten structure has begun to degrade, and it lacks the necessary tension and elasticity. The dough might feel overly soft, sticky, and unable to hold a shape. It often tears easily when handled.
If you suspect your dough is slightly over-proofed but still manageable, handle it very gently. Minimize degassing and focus on creating just enough surface tension to give it some structure without tearing. Shaping it into a simple boule might be easier than a complex batard or baguette. You might also need to reduce the final proofing time significantly or even bake it immediately after shaping if it's very far gone. Alternatively, you can gently fold it back onto itself a few times, give it a short rest (10-15 minutes), and try shaping again, focusing on a very gentle approach.
Preventing Flat Loaves and Lack of Oven Spring
Flat loaves are often a result of insufficient surface tension during shaping or over-proofing during the final rise. During shaping, ensure you are creating a taut 'skin' on the dough. For a boule, this means effectively tucking the dough underneath to stretch the top. For a batard, it means sealing the seam tightly. Practice is key here; you'll develop a feel for when the dough has enough tension.
Lack of oven spring can also stem from an inactive starter, insufficient bulk fermentation, or losing too much gas during shaping. Ensure your starter is active and bubbly before you begin. Pay attention to the dough's volume increase during bulk fermentation (often aiming for a 50-100% increase). When shaping, handle the dough gently to preserve the trapped gases. Using a properly floured banneton for the final proof provides essential support, preventing the shaped dough from spreading out and helping it retain the potential for upward expansion in the oven.
Ensuring Even Fermentation and Consistent Shape
Consistent fermentation throughout the dough mass is crucial for predictable shaping and baking results. Uneven fermentation can lead to parts of the dough being too weak or too tight, making shaping difficult and resulting in lopsided or unevenly textured loaves.
To promote even fermentation, ensure your dough is at a consistent temperature during bulk fermentation. Using a proofer or placing the dough in a consistent spot in your kitchen helps. Performing regular 'stretch and folds' or 'coil folds' during the first few hours of bulk fermentation helps distribute the yeast activity, build gluten evenly, and equalize the temperature within the dough.
When shaping, work efficiently and consistently. If shaping multiple loaves, try to work at a similar pace for each to ensure they proof similarly. Using accurate scales to divide dough ensures each loaf has the same starting weight, contributing to consistency.
Advanced Sourdough Shaping Ideas
Creating Decorative Scores: Wheat Stalks and Geometric Patterns
Once you've mastered basic scoring (like a simple cross or a few parallel slashes), you can explore more decorative patterns. Scoring isn't just functional for oven spring; it's an artistic expression. A popular decorative score is the wheat stalk pattern, created with a series of overlapping angled cuts along the length of the loaf.
Geometric patterns, intricate swirls, or leaf designs can also be achieved with careful, deliberate cuts using a sharp lame. These designs require confidence and precision. Practicing on scrap dough or even modeling clay can help improve your technique before scoring a proofed loaf. The depth and angle of the cuts influence how the design opens up in the oven. Shallow cuts tend to stay more defined, while deeper cuts open dramatically, creating bold patterns.
Utilizing Stencils for Flour Designs
Adding flour designs using stencils is another way to enhance the visual appeal of your sourdough crust. After the final proof and just before scoring, you can place a stencil on the dough's surface and lightly dust it with flour (often rice flour for high contrast). Carefully lift the stencil to reveal the design.
Common stencils include geometric shapes, floral patterns, or even custom logos. The flour prevents the crust from browning in the stenciled areas, creating a light-colored design against the dark, caramelized crust. This technique works best on doughs that have been proofed seam-side down in a banneton, presenting a smooth, un-floured surface ready for the stencil.
Shaping Sourdough into Focaccia
While traditionally made with commercial yeast, sourdough can be shaped and baked as focaccia. This involves gently spreading the dough into a flat rectangle or circle on a baking sheet or in a pan, rather than creating a taut loaf shape.
After bulk fermentation, the dough is gently poured or scraped into an oiled pan and allowed to relax. Over 30-60 minutes, it's gently stretched or dimpled to fill the pan. The key is minimal handling to preserve the airy structure. Before baking, the surface is generously dimpled with oiled fingertips and topped with olive oil, salt, and desired toppings like herbs or olives. The resulting sourdough focaccia has a wonderfully chewy texture and tangy flavor, showcasing a different application of sourdough shaping techniques.
Tips for Perfecting Your Sourdough Shaping Skills
Understanding Dough Hydration and its Impact on Shaping
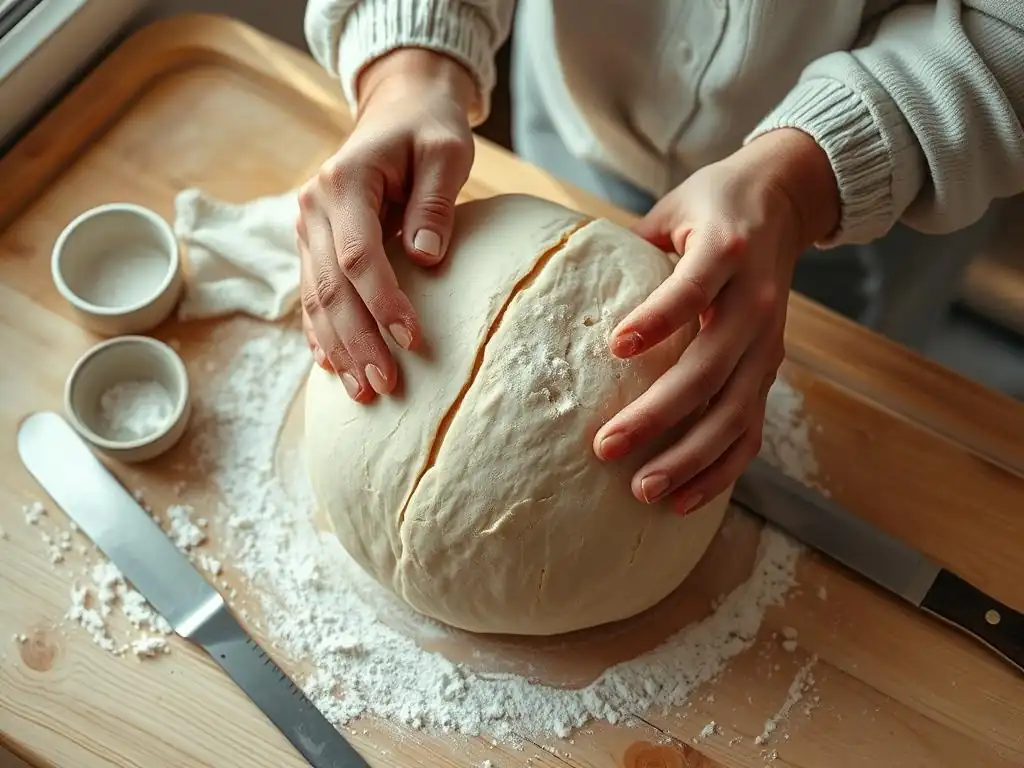
Dough hydration, the ratio of water to flour, significantly affects how dough behaves during shaping. Lower hydration doughs (e.g., 60-65%) are stiffer, easier to handle, and hold their shape readily. Higher hydration doughs (e.g., 75-85% or more) are stickier, slack, and require more practice and confidence to shape effectively.
As hydration increases, the importance of building strong gluten through folds during bulk fermentation becomes paramount. You also need to rely more on tools like bench scrapers and use minimal flour on your surface. Understanding your dough's hydration will help you anticipate its handling characteristics and choose appropriate shaping techniques. For instance, a very wet dough might be best shaped using techniques that involve less direct handling, like the 'coil fold' method applied during bulk or a very gentle final shape.
Observing and Adjusting Proofing Times Based on Temperature
The ideal proofing time after shaping is highly dependent on the ambient temperature. Warm temperatures accelerate proofing, while cold temperatures slow it down considerably. Over or under-proofing after shaping will negatively impact your final loaf, even if the shaping was perfect.
Learn to assess the dough's readiness by feel (the 'poke test') rather than strictly by time. Gently poke the dough; if it springs back immediately, it needs more time. If the indentation remains and doesn't spring back at all, it's likely over-proofed. If it springs back slowly, leaving a small indentation, it's likely ready. On a warm day (e.g., 75°F/24°C), final proofing might only take 1-2 hours, whereas in a cold refrigerator (e.g., 38°F/3°C), it could take 12-24 hours or even longer. Always observe the dough, not just the clock.
Mastering the Art of Scoring for Optimal Expansion
Scoring, the act of cutting the dough's surface just before baking, is essential for controlling oven spring and creating beautiful crusts. It allows the trapped gases to escape in a controlled manner, directing the expansion of the loaf. Without scoring, the crust would set randomly and potentially burst in undesirable places.
Use a very sharp blade (a lame or razor blade is ideal) and make quick, confident cuts. For a boule, a simple cross or square pattern is common. For a batard or baguette, long, overlapping slashes along the length are typical. The depth and angle of the score influence the outcome; deeper, angled cuts create dramatic 'ears' (a flap of crust that lifts up). Practice different scoring patterns to see how they affect the loaf's expansion and appearance. A properly scored loaf will open beautifully along the cuts, contributing significantly to the final volume and aesthetic.
Mastering Sourdough Bread: Achieving the Perfect Shape Every Time
Frequently Asked Questions
How important is the initial dough preparation for successful white bread shaping?
The initial dough preparation is crucial. Proper kneading and proofing ensures the dough has the right structure and elasticity for easy shaping. A weak dough will be difficult to handle.
What are some easy white bread shaping techniques suitable for beginners?
Beginner-friendly techniques include the simple log shape and the round boule shape. These methods require minimal manipulation and result in a visually appealing loaf.
What tools, if any, are essential for shaping white bread effectively?
While not strictly essential, a bench scraper can be very helpful for handling the dough and creating a smooth surface. A lightly floured surface is also highly recommended.
How can I prevent my white bread dough from sticking while shaping?
Keep your work surface and hands lightly floured at all times. Avoid over-flouring, but ensure the dough doesn't stick, which can ruin the shape.
What should I do if my shaped white bread dough starts to spring back after shaping?
Allow the shaped dough to rest for a few minutes before continuing. This helps relax the gluten and makes it more pliable for further shaping.
Final Reflection: The Humble Art of Bread Shaping
The seemingly simple act of shaping a loaf of white bread is far more than just a culinary task; it's a direct connection to a rich history of food production and a testament to the power of mindful creation. From the ancient Egyptians to modern-day bakers, the process of transforming dough into a beautiful, evenly baked loaf has remained a constant, a symbol of sustenance and skill. This enduring practice deserves our attention and appreciation, especially in a world increasingly disconnected from the origins of our food.
Learning the basic techniques of bread shaping has been a deeply rewarding experience for me. It's not just about achieving a perfect rise or a golden-brown crust; it's about understanding the nature of the dough itself, respecting its delicate balance, and appreciating the transformative power of gentle hands. Bread making, at its heart, is an act of patience and love, a slow dance between flour and water, yeast and time.
This quote perfectly captures the essence of what I've learned throughout this exploration of simple shaping techniques. The process itself is meditative, a welcome respite from the frenetic pace of modern life.
Now, I invite you to take this knowledge and apply it to your own baking journey. Don't be afraid to experiment, to get your hands messy, and to embrace the imperfections. Each loaf you shape, each crumb you savor, is a testament to your connection to this ancient craft. Remember the simple techniques we've explored, and let them be your guide as you embark on your own bread-baking adventures. The satisfaction of creating something beautiful and delicious from such humble ingredients is a reward in itself.
Unleash Your Inner Baker: Craft the Perfect Loaf!
Thanks for taking the time to explore the art of baking basic white bread! We hope you've gained valuable insights and feel inspired to create delicious loaves. Now it's time to put your newfound knowledge into action.
- Bake your own loaf today! Use the techniques you just learned to create a perfectly textured, flavorful bread. Don't be afraid to experiment with different flours or additions!
- Share your baking journey! Post a picture of your creation on social media and tag us – we'd love to see your results.
- Explore our other baking guides for more inspiration and recipes; we have plenty to help you on your baking adventure.
Ready to transform your kitchen into a bread-baking haven? What unique ingredient will you add to your next loaf to make it truly your own?