
Getting Sharp Edges on Your Frosted Layer Cake

Welcome to BakeWithEase!
Ever dreamed of a perfectly frosted layer cake with those incredibly sharp edges that look straight out of a professional bakery? You're in the right place! Achieving that flawless finish might seem daunting, but we're here to demystify the process. Discover the secrets to getting sharp edges on your frosted layer cake and elevate your baking game. Ready to learn how? Let's get started!
- Achieving Sharp Edges on Buttercream Cakes: A Comprehensive Guide
- Introduction: Elevating Cake Presentation with Sharp Edges
- Understanding the Importance of Sharp Cake Edges
- Preparing Your Cake for Buttercream: The Foundation for Success
- The Crumb Coat: Sealing in Crumbs for a Flawless Surface
- The Final Buttercream Layer: Techniques for Razor-Sharp Edges
- Tips and Tricks for Consistently Sharp Buttercream Edges
- Alternative Methods for Sharp Cake Edges
- Maintaining Sharp Edges After Buttercream Application
- Conclusion: Mastering the Art of Sharp-Edged Buttercream Cakes
-
Frequently Asked Questions
- How important is chilling the cake layers before frosting for achieving sharp edges?
- What type of frosting is best for creating sharp edges on a layer cake?
- What is the "crumb coat" and why is it necessary?
- How does the angle of the spatula or scraper affect the sharpness of the edges?
- What's the best way to smooth the final layer of frosting for a perfectly sharp edge?
- Final Reflection: The Art and Precision of a Perfectly Frosted Cake
- Unleash Your Inner Cake Artist: Achieve Perfectly Sharp Edges!
Achieving Sharp Edges on Buttercream Cakes: A Comprehensive Guide
Introduction: Elevating Cake Presentation with Sharp Edges
Creating a beautifully frosted layer cake is a rewarding experience, and among the many details that elevate a cake from simply delicious to truly stunning, sharp edges stand out. These clean, defined lines give your cake a professional, polished look that is often associated with high-end bakeries and intricate designs.
Whether you're aiming for a sleek, modern finish or preparing a base for elaborate decorations, mastering the technique for achieving sharp edges on your frosted layer cake is a fundamental skill for any serious home baker. It transforms a simple application of frosting into an art form, making your cake a true centerpiece.
This guide will walk you through the essential steps, tools, and techniques needed to achieve those coveted sharp edges on your buttercream cakes. We'll cover everything from preparing your cake layers and applying the initial crumb coat to the final smoothing and refining process. By focusing on precision and patience, you'll learn how to handle your buttercream and tools to create a flawless surface with crisp, defined edges that will impress everyone who sees (and tastes!) your beautiful sharp edges frosted layer cake.
Understanding the Importance of Sharp Cake Edges
Why Sharp Edges Enhance Cake Appeal
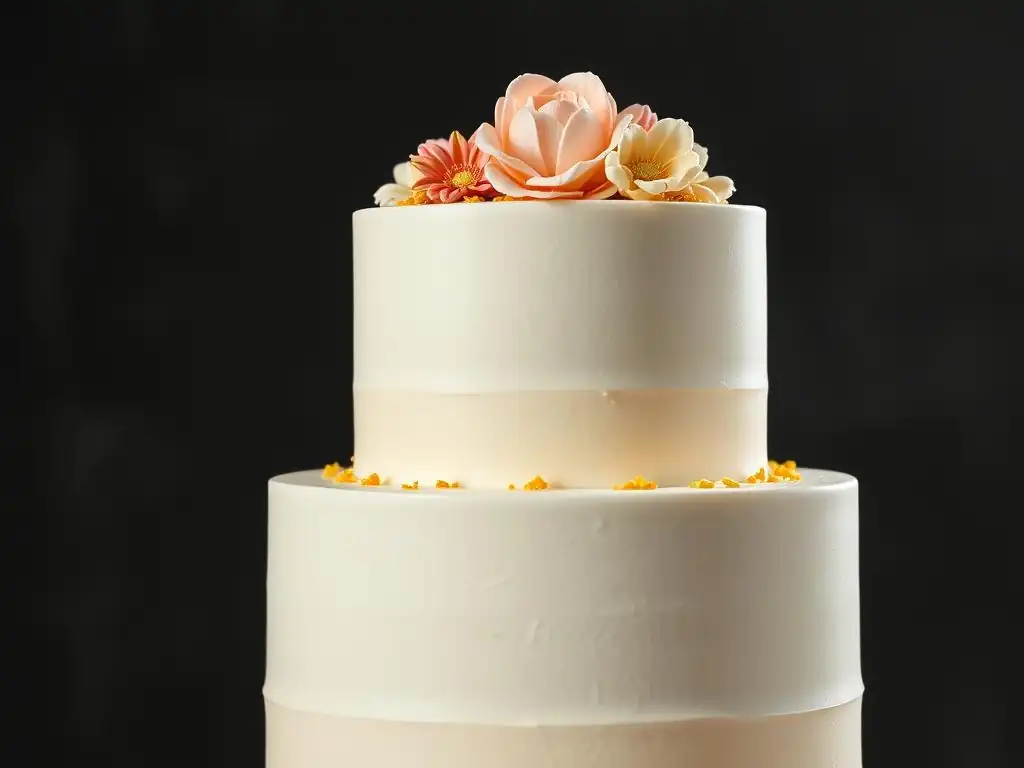
Sharp edges dramatically improve the visual appeal of a frosted cake, giving it a sense of structure and professionalism. A cake with clean lines looks intentional and well-crafted, immediately elevating its perceived quality. This is particularly true for tiered cakes, where sharp edges create a strong architectural presence, and for modern cake designs that rely on minimalist aesthetics. Think of a simple white buttercream cake with perfectly sharp edges; its elegance comes precisely from the precision of its finish.
Beyond aesthetics, sharp edges provide a superior canvas for further decoration. Fondant drapes more smoothly over a sharp edge, achieving a crisp transition. Piping work, drips, and other decorative elements look cleaner and more defined when applied to a surface with precise boundaries. For example, a chocolate drip looks much more sophisticated cascading over a razor-sharp edge than a rounded one. Mastering sharp edges on your frosted layer cake is not just about looking good; it's about setting yourself up for success with subsequent decorating steps.
Essential Tools for Achieving Sharp Buttercream Edges
Having the right tools is crucial for achieving sharp edges on your buttercream cake. While skill plays a large part, the correct equipment makes the process significantly easier and more effective. The most fundamental tools include a sturdy cake turntable, an offset spatula (small and large), a bench scraper or cake comb with a straight edge, and often a straight metal spatula.
A good quality bench scraper is perhaps the most vital tool for achieving sharp edges on the sides. Look for one that is tall enough to cover the full height of your cake in one pass, typically 8-10 inches. For the top edge, a straight metal spatula or a wide offset spatula is necessary. Additionally, having a container of hot water nearby is essential for warming your tools, which helps create a smooth, seamless finish on the buttercream. Investing in these basic tools will dramatically improve your ability to create a stunning sharp edges frosted layer cake.
Preparing Your Cake for Buttercream: The Foundation for Success
Leveling Cake Layers: Ensuring Uniformity
The foundation for a cake with sharp edges begins with perfectly prepared cake layers. Uneven layers lead to an uneven cake structure, making it nearly impossible to achieve straight sides and sharp edges. After your cakes have cooled completely, use a serrated knife or a cake leveler to trim off any domes, creating a flat, level surface. Aim for layers of uniform thickness, ideally between 1.5 to 2 inches for a standard layer cake.
To ensure accuracy when leveling, place the cake layer on a flat surface and use a ruler or your fingers as a guide while slicing horizontally. For instance, if you baked two cakes in 8-inch pans and they rose slightly in the center, you might trim off about 0.5 inches from the top of each to get a flat surface. This careful preparation step is non-negotiable for building a stable cake that can support the process of creating sharp edges on your frosted layer cake.
Chilling Cake Layers: Firming the Cake for Easier Handling
Once your cake layers are leveled, chilling them is the next critical step before assembly and frosting. Chilling firms up the cake structure, making it less prone to crumbling or tearing during stacking and frosting, especially when dealing with delicate or moist recipes. Place the leveled layers in the refrigerator for at least 30 minutes, or wrap them tightly in plastic wrap and chill for several hours or even overnight.
Cold cake layers are much easier to handle and stack precisely. They also produce fewer crumbs when you apply the first layer of buttercream, which is essential for a smooth finish. For example, a cake chilled for 2 hours will be significantly firmer and less crumbly than one chilled for only 15 minutes. This firmness is key to building a stable structure that allows you to confidently apply pressure with your scraper later to achieve those desired sharp edges on your frosted layer cake.
The Crumb Coat: Sealing in Crumbs for a Flawless Surface
Applying a Thin, Even Crumb Coat
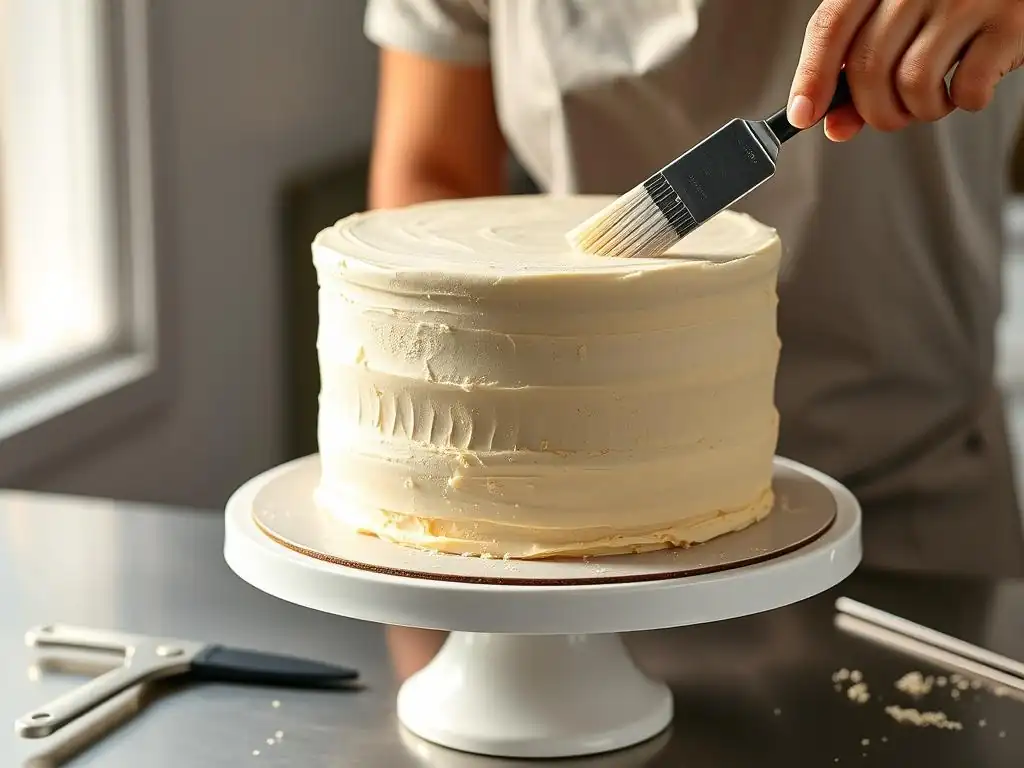
The crumb coat is a thin layer of buttercream applied to the entire cake before the final frosting layer. Its primary purpose is to trap any loose crumbs, preventing them from getting into your final, visible layer of frosting. Apply a small amount of buttercream to the top and sides of the cake, spreading it thinly and evenly using an offset spatula. Don't worry about perfection at this stage; the goal is simply to cover the cake and seal in the crumbs.
Use a minimal amount of buttercream for the crumb coat – just enough to create a sticky surface that captures crumbs. For an 8-inch cake, you might use only about 1/2 cup to 1 cup of buttercream for the crumb coat. Ensure the layer is thin and consistent; a thick crumb coat can make it harder to achieve a smooth final finish. This initial layer is fundamental to preventing those annoying crumbs from ruining the smooth surface needed for sharp edges on your frosted layer cake.
Chilling the Crumb-Coated Cake: Setting the Crumb Coat Firm
After applying the crumb coat, it's crucial to chill the cake again. This time, the goal is to allow the thin layer of buttercream to firm up and set. This process essentially locks the crumbs in place and creates a stable, slightly hard surface for the final layer of frosting to adhere to. Place the crumb-coated cake back into the refrigerator, uncovered, for at least 20-30 minutes.
You'll know the crumb coat is set when it feels firm and dry to the touch and you can gently touch it without leaving a fingerprint or disturbing the surface. If you're in a hurry, the freezer can speed this up, requiring only about 10-15 minutes. A properly chilled crumb coat provides a solid base, making it much easier to apply the final, thicker layer of buttercream smoothly and build up the necessary thickness for creating sharp edges on your frosted layer cake.
The Final Buttercream Layer: Techniques for Razor-Sharp Edges
Optimizing Buttercream Consistency for Sharp Edges
The consistency of your final buttercream is paramount for achieving sharp edges. It needs to be smooth, pliable, and not too soft or too stiff. If it's too soft, it won't hold its shape when scraped; if it's too stiff, it will be difficult to apply smoothly without tearing the cake or creating air pockets. A good test is if the buttercream spreads easily but holds a peak when lifted with a spatula.
The ideal consistency often depends on the type of buttercream (e.g., American, Swiss Meringue, Italian Meringue, French). American buttercream, for instance, might need a splash of milk or cream to reach the right spreadable consistency, while meringue-based buttercreams might need gentle warming if they are too stiff. Aim for a texture similar to smooth peanut butter or soft-serve ice cream. This perfect consistency is the secret weapon for achieving truly sharp edges on your frosted layer cake.
The "Overhang" Method: Applying Excess Buttercream
When applying the final layer of buttercream, use the "overhang" method. This involves applying a generous amount of buttercream to the sides and top of the cake, ensuring there is more frosting than you think you'll need. Apply a thick, even layer to the sides, extending it slightly above the top edge of the cake, creating a noticeable overhang of frosting around the perimeter of the top.
This excess buttercream is essential because it provides the material needed to scrape down and create the sharp edge. Don't be shy with the amount; you can always remove the excess. For an 8-inch cake, you might use 3-4 cups of buttercream for the final coat. This technique ensures you have enough frosting to work with when you start smoothing and defining the sharp edges on your frosted layer cake.
Smoothing the Buttercream: Achieving a Flawless Canvas
Using an Offset Spatula for Initial Smoothing
Once the generous layer of buttercream is applied using the overhang method, use a large offset spatula to smooth the surface roughly. Start by smoothing the top, gently pushing the excess buttercream towards the edges where the overhang is. Then, smooth the sides, working your way around the cake. At this stage, you're not aiming for perfect smoothness, but rather distributing the buttercream evenly and removing any large lumps or air pockets.
Hold the spatula at a slight angle to the cake and use gentle, sweeping motions. Remove any excess frosting from your spatula frequently to avoid dragging crumbs or unevenness back onto the cake. This initial smoothing prepares the surface for the more precise work with the bench scraper, laying the groundwork for achieving sharp edges on your frosted layer cake.
Employing a Bench Scraper for Perfectly Straight Sides
The bench scraper is your best friend for achieving perfectly straight sides, a necessary precursor to sharp edges. Hold the bench scraper vertically against the side of the cake, with the bottom resting flat against the turntable. Keep the scraper at a consistent 90-degree angle to the cake's surface. While holding the scraper steady, rotate the cake on the turntable. This motion will shave away the excess buttercream from the sides, leaving a smooth, straight surface.
Repeat this process, cleaning your scraper after each pass, until the sides are straight and smooth. You may need to fill in small gaps or imperfections with more buttercream and scrape again. Aim for a consistent side height and vertical angle. This step is crucial; straight sides are the foundation upon which the sharp edges on your frosted layer cake will be built.
Achieving Sharp Edges: The Hot Water or Warm Scraper Method
Warming Your Scraper: The Key to Smooth Buttercream
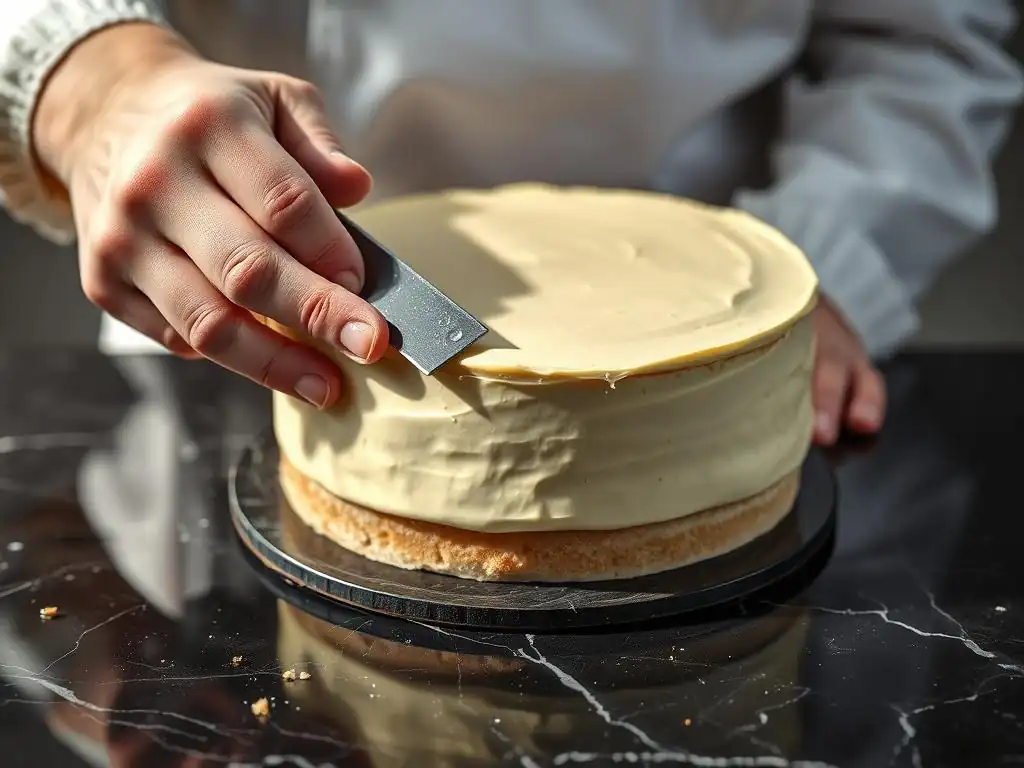
The secret to effortlessly smooth buttercream and razor-sharp edges lies in using a warm tool. Fill a tall container with hot water (not boiling, but hot enough to warm metal quickly). Dip your bench scraper or a straight metal spatula into the hot water for a few seconds, then quickly wipe it completely dry with a clean towel. The warm, dry surface of the scraper will glide through the buttercream, melting the outermost layer slightly and creating a glass-smooth finish.
This technique works because the heat from the scraper slightly softens the buttercream it touches, allowing it to smooth out seamlessly. Make sure your scraper is perfectly dry after warming; any water droplets will create streaks and imperfections on your buttercream surface. This simple act of warming your tool is a game-changer for achieving professional-quality sharp edges on your frosted layer cake.
Scraping Away Excess Buttercream: Defining the Sharp Edge
With your warmed and dried bench scraper (or straight spatula), position it flat against the top surface of the cake, with one edge extending slightly over the side. Hold the scraper at about a 45-degree angle to the top surface. Gently pull the scraper towards the center of the cake, effectively shaving off the excess buttercream overhang and pulling it inwards. Wipe the scraper clean after each pass.
Work your way around the entire top edge of the cake, pulling the excess buttercream from the edge towards the center. This action defines the sharp corner where the side meets the top. You may need multiple passes to achieve a perfectly crisp edge. Be patient and take your time, using a clean, warm scraper for each pass. This is the moment where the sharp edges on your frosted layer cake truly begin to take form.
Refining and Perfecting Your Cake Edges
Addressing Imperfections: Filling Gaps and Smoothing Bumps
Even with careful technique, you might find small gaps, air pockets, or slight bumps on your buttercream surface or edges. Don't despair! These can be easily fixed. Use a small offset spatula to apply a tiny amount of fresh buttercream to the imperfect area. Then, re-smooth that section with your warm bench scraper or straight spatula, blending the patch seamlessly into the surrounding frosting.
For the edges, if you notice a spot that isn't quite sharp, apply a little extra buttercream to the top edge in that area and repeat the warm scraper technique, pulling the excess inwards. Patience and attention to detail here are key. Think of it like sculpting; you're refining the shape until it's perfect. This iterative process of filling and smoothing is essential for achieving truly flawless sharp edges on your frosted layer cake.
Achieving a Perfectly Level Top Edge
A perfectly level top edge complements the sharp side edges and contributes to the overall polished look of your cake. After defining the top edge by pulling the excess buttercream inwards, you might have a slight mound or unevenness on the top surface. Use your large offset spatula or a straight metal spatula to gently smooth the top surface, working from the edges towards the center.
If needed, you can use your warm bench scraper again, holding it flat against the top surface and rotating the cake, similar to how you smooth the sides, but with very light pressure. The goal is a flat, smooth top that meets the sides at a crisp, 90-degree angle. A level top ensures that any further decorations, like drips or piping, sit perfectly, enhancing the overall effect of your sharp edges frosted layer cake.
Tips and Tricks for Consistently Sharp Buttercream Edges
Working Efficiently to Prevent Buttercream Softening
Buttercream's temperature significantly impacts its behavior. As you work, the warmth of your hands and the room can soften the frosting, making it difficult to achieve and maintain sharp edges. Work as efficiently as possible, moving through the crumb coat, chilling, final coat application, and smoothing relatively quickly. If you notice your buttercream becoming too soft during the process, pop the cake back into the refrigerator for 10-15 minutes to firm it up before continuing.
Having your tools ready and your workspace organized helps speed things up. For example, have your hot water bath prepared before you start the final smoothing. Minimizing the time the cake and buttercream are at room temperature improves your chances of success in creating sharp edges on your frosted layer cake.
Maintaining Clean and Warm Tools
As mentioned earlier, using clean and warm tools is paramount. Wipe your bench scraper and spatulas clean after every pass through the buttercream. Lingering frosting can create drag marks and unevenness. Regularly dipping your metal tools in hot water and drying them ensures they glide smoothly through the buttercream, resulting in a much cleaner finish and sharper edge.
Consider having two bench scrapers or spatulas on hand so you can alternate and always have a clean, warm one ready. This simple practice prevents frustration and significantly improves the quality of your finished cake. A clean, warm scraper is arguably the most important tool in your arsenal for achieving those coveted sharp edges on your frosted layer cake.
Troubleshooting Common Problems: Uneven Edges and Air Pockets
Even experienced bakers encounter issues. If your edges are uneven, it's likely due to inconsistent pressure or angle with your scraper, or perhaps the buttercream consistency wasn't quite right. Apply a bit more buttercream to the low spots and re-scrape with a steady hand and consistent angle. If you find air pockets, gently press the area to release the air, fill any resulting void with buttercream, and re-smooth.
If the buttercream is tearing or pulling, it might be too stiff, or your tools aren't warm enough. If it's sagging or not holding its shape, it's too soft and needs chilling. Don't be afraid to go back and fix areas. Practice makes perfect, and learning to troubleshoot these common issues is part of mastering sharp edges on your frosted layer cake.
Alternative Methods for Sharp Cake Edges
The "Paneling" Technique
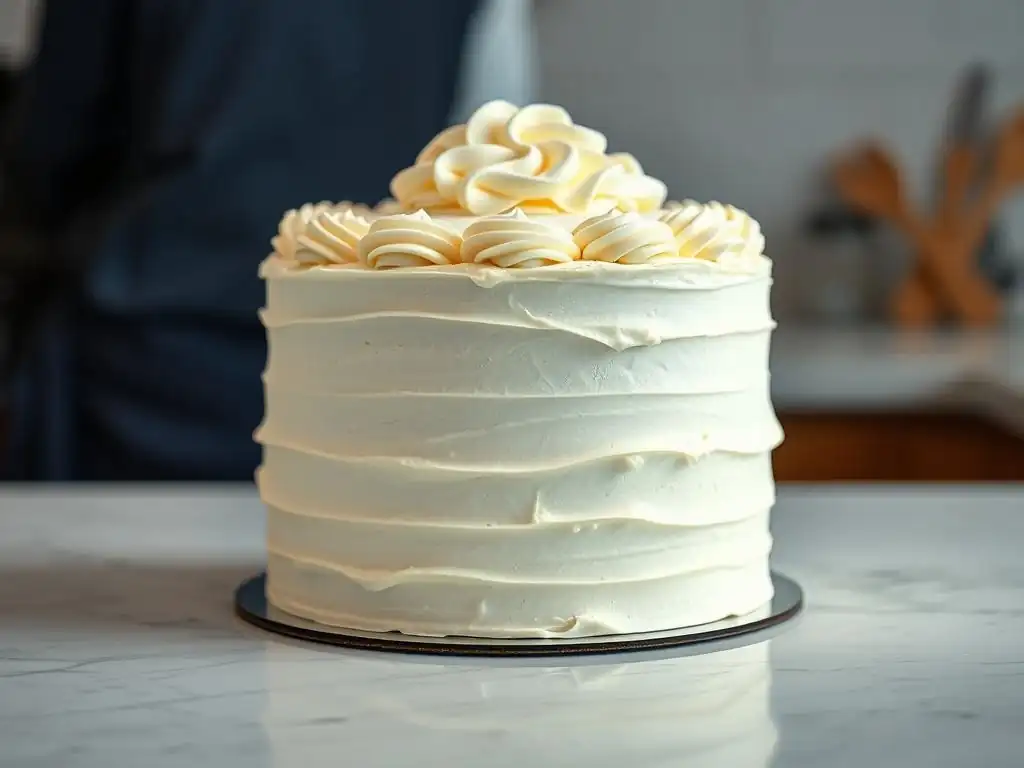
While the scraping method is popular, the "paneling" technique offers an alternative way to achieve sharp edges, particularly useful for very soft buttercreams or delicate cakes. This method involves chilling your cake layers, then cutting chilled, rolled-out sheets of buttercream to fit the sides and top of the cake. These panels are then applied to the cake, and the seams are smoothed.
This technique requires a specific type of buttercream that can be chilled and handled without cracking, often one with a higher ratio of fat. It can be more time-consuming than scraping but allows for very precise application and potentially fewer crumbs. It's a technique often used for achieving incredibly smooth and sharp edges on frosted layer cakes with certain types of frosting.
Using Ganache for Sharp, Defined Edges
Chocolate ganache provides another excellent medium for achieving incredibly sharp and stable edges. Ganache, a mixture of chocolate and cream, sets up firmly when chilled, allowing for very precise smoothing and scraping. A common ratio for a firm, yet spreadable ganache for coating is 2 parts chocolate to 1 part heavy cream (by weight).
Apply the ganache while it's warm and pourable (but not hot), letting the excess drip off. Once it cools slightly, you can use a bench scraper warmed in hot water (similar to buttercream) to scrape and define the edges. Because ganache sets firmer than most buttercreams, it holds its shape exceptionally well, resulting in very crisp and durable sharp edges on frosted layer cakes.
Maintaining Sharp Edges After Buttercream Application
Proper Refrigeration to Preserve Sharpness
Once you've achieved those perfect sharp edges, proper refrigeration is key to preserving them, especially if your cake won't be served immediately. Chilling the finished cake allows the buttercream to firm up completely, making the edges less susceptible to nicks and dents. Place the cake, uncovered initially, in the refrigerator for at least 30-60 minutes until the frosting is hard to the touch.
After the initial firming, you can loosely cover the cake with plastic wrap to protect it from drying out or absorbing odors from the refrigerator. Be careful not to press the plastic wrap against the sharp edges. A cake stored properly in the refrigerator will maintain its sharp edges frosted layer cake appearance until you're ready to serve or transport it.
Transporting Your Cake Without Damaging the Edges
Transporting a cake with sharp edges requires extra care. The firm, crisp edges are beautiful but can be easily damaged by bumps or shifts. Ensure the cake is thoroughly chilled and the buttercream is firm before attempting to move it. Use a sturdy cake board that is slightly larger than the cake itself.
Place the cake box on a flat, stable surface in your vehicle, like the floor or trunk, avoiding tilted seats. Drive carefully, avoiding sudden stops or sharp turns. For added security, you can place non-slip matting under the cake box. Taking these precautions helps ensure that your stunning sharp edges frosted layer cake arrives at its destination looking just as perfect as it did when it left your kitchen.
Conclusion: Mastering the Art of Sharp-Edged Buttercream Cakes
Frequently Asked Questions
How important is chilling the cake layers before frosting for achieving sharp edges?
Chilling is crucial for achieving sharp edges. It firms up the cake, making it easier to handle and prevents crumbs from mixing with the frosting.
What type of frosting is best for creating sharp edges on a layer cake?
A stiff buttercream frosting, like American buttercream or Swiss meringue buttercream, works best. These frostings hold their shape well and allow for crisp, defined edges.
What is the "crumb coat" and why is it necessary?
The crumb coat is a thin layer of frosting applied to seal in crumbs. It's vital because it provides a smooth base, preventing crumbs from appearing in your final frosting layer.
How does the angle of the spatula or scraper affect the sharpness of the edges?
Holding your spatula or scraper perpendicular to the cake while smoothing the frosting is key. This creates a clean, even surface for achieving sharp, well-defined edges.
What's the best way to smooth the final layer of frosting for a perfectly sharp edge?
Use a bench scraper or offset spatula dipped in hot water, then dried, to smooth the final layer. This helps create a seamless, professional finish with sharp edges.
Final Reflection: The Art and Precision of a Perfectly Frosted Cake
The pursuit of the perfect frosted layer cake, with its sharp, clean edges, is more than just a culinary pursuit; it's a reflection of our desire for precision and beauty in a world often characterized by imperfection. Achieving those crisp lines requires patience, attention to detail, and a willingness to embrace both the successes and the inevitable crumbly mishaps along the way. It's a testament to the power of dedication and the rewarding feeling of accomplishment that comes from mastering a craft.
The quest for the perfectly frosted cake resonates deeply with our cultural obsession with aesthetics and presentation. We live in a world saturated with images, where visual appeal often dictates our perceptions. The sharp edges of a flawlessly frosted cake become a symbol of this, representing a commitment to excellence and a desire to create something truly beautiful. The details are not the details. They make the design.
- Charles Eames. This quote perfectly encapsulates the importance of those seemingly small details, like perfectly sharp edges, in elevating a simple cake to a work of art.
Now, consider your own life. What are the "sharp edges" you strive for in your own endeavors? What projects or goals require the same patience, precision, and attention to detail as perfecting a frosted cake? I invite you to reflect on this, to identify those areas where meticulousness can transform the ordinary into the extraordinary. Embrace the challenges, learn from the imperfections, and savor the sweet reward of achieving your own perfectly sharp edges, whether in the kitchen or beyond.
Unleash Your Inner Cake Artist: Achieve Perfectly Sharp Edges!
Thanks for taking the time to learn how to achieve those picture-perfect edges on your frosted layer cake! We hope you've gained some valuable tips and tricks. Now it's time to put your new skills into practice.
- Master the Frosting Technique: Try out the techniques we discussed – maybe even experiment with a new frosting type! See the difference a little extra attention to detail makes. This is your chance to truly own that sharp edge.
- Share Your Creation: Show off your perfectly frosted masterpiece! Post a photo on social media and tag us – we'd love to see your amazing cake! (Use #BakeWithEaseSharpEdges)
- Explore More Frosting Wonders: Dive deeper into our frosting techniques section on BakeWithEase.com for even more expert advice and tutorials. Uncover your next baking adventure!
Ready to create a cake so stunning, it'll stop traffic? What’s your favorite frosting tip for achieving perfectly sharp edges?