
How to Fill and Stack a TwoTier Layer Cake

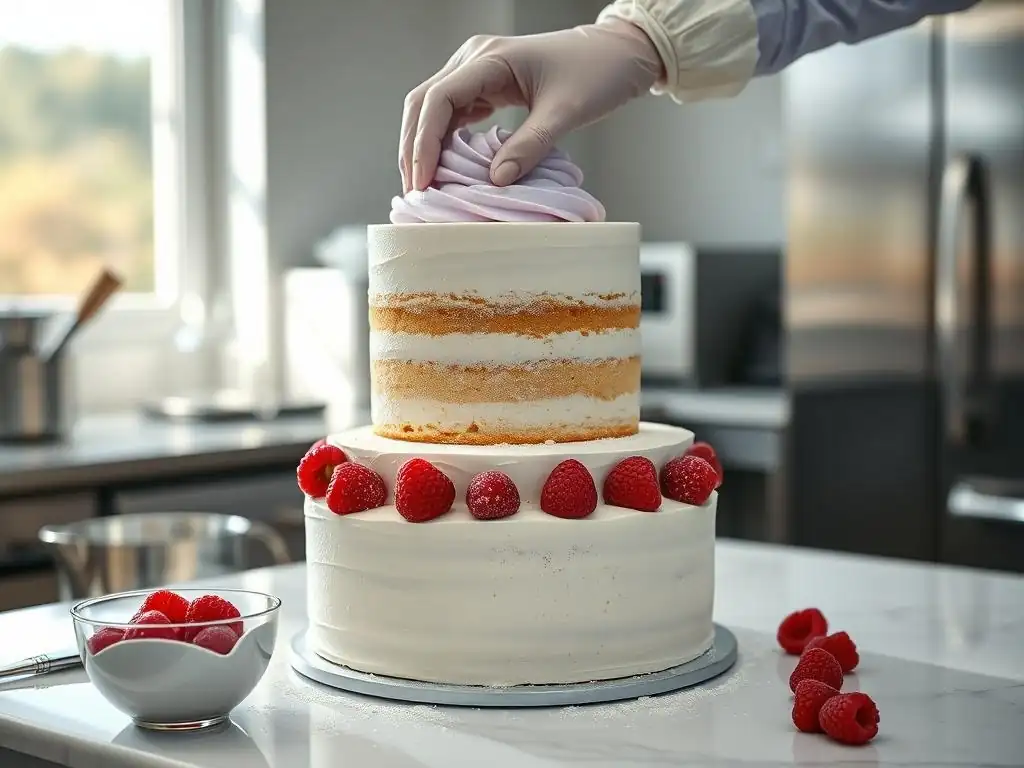
Welcome to BakeWithEase, where baking becomes a joy, not a chore! Ever dreamt of creating a show-stopping two-tier layer cake but felt intimidated? Well, dream no more! This guide unravels the secrets to perfectly filling and stacking your masterpiece, ensuring a stable and stunning creation. Prepare to impress – let's get baking!
- How to Fill and Stack a Two-Tier Layer Cake: A BakeWithEase Guide
- Introduction to Two-Tier Layer Cake Assembly
- Preparing Your Cake Layers for Filling and Stacking
- Filling Your Two-Tier Layer Cake: Deliciousness Between Layers
- Stacking the First Tier: Creating a Stable Base
- Assembling the Second Tier: Adding Height and Elegance
- Stacking the Second Tier onto the First Tier: The Final Step
- Frosting and Decorating Your Two-Tier Layer Cake
- Tips and Tricks for a Perfect Two-Tier Cake
- Enjoying Your Beautiful Two-Tier Layer Cake
-
Frequently Asked Questions
- How do I ensure my two-tier layer cake is stable after stacking?
- What's the best type of frosting to use when stacking a two-tier layer cake?
- How much filling should I use between the cake layers in each tier?
- What size cake boards should I use for each tier of my two-tier cake?
- How do I transport a two-tier layer cake without damaging it?
- Final Reflection: The Sweet Success of a Two-Tiered Triumph
- Unleash Your Inner Cake Artist: Level Up Your Baking!
How to Fill and Stack a Two-Tier Layer Cake: A BakeWithEase Guide
Introduction to Two-Tier Layer Cake Assembly
Why Mastering Two-Tier Cake Construction is Essential
Building a beautiful and stable two-tier layer cake is a milestone for many home bakers. It's not just about stacking cakes; it's about engineering a delicious structure that can hold its weight, travel safely, and stand tall as the centerpiece of any celebration, from birthdays to anniversaries. Understanding the principles of support and stability is crucial to avoid common pitfalls like leaning layers, sagging centers, or worse, a collapsed dessert disaster. A well-constructed two-tier cake demonstrates skill and attention to detail, ensuring your stunning decoration isn't undermined by a shaky foundation.
Beyond the visual appeal, proper construction techniques ensure that each slice of your two-tier layer cake is perfect, with even layers of cake and filling. This involves careful preparation of the cake layers, selecting appropriate fillings, and using internal supports correctly. Mastering these steps means you can confidently tackle more complex designs and larger stacked cakes in the future, expanding your baking repertoire significantly. It transforms baking from just following a recipe into a true craft.
BakeWithEase Tips for Perfect Layer Cake Foundations
Building a strong foundation for your two-tier layer cake starts long before you even think about stacking. It begins with baking consistent, level cake layers. Using quality ingredients measured precisely, baking at the correct temperature (often around 325-350°F or 160-175°C for even rising), and cooling cakes properly on wire racks are fundamental steps. Over-baking or under-baking can compromise the cake's structure, making it difficult to work with and prone to breaking or crumbling during assembly.
Another foundational tip is to always bake your cakes in advance and allow them to cool completely, preferably chilling them before leveling and filling. This firming-up process significantly reduces crumbling, making the layers easier to handle and resulting in cleaner cuts and smoother application of fillings and frostings. Having a solid, chilled base for your two-tier layer cake is the first step towards a successful final structure.
Preparing Your Cake Layers for Filling and Stacking
Leveling Your Cake Layers: Achieving a Flat Surface
Leveling your cake layers is a non-negotiable step for creating a professional-looking and stable two-tier layer cake. Most cakes dome slightly in the oven, leaving an uneven surface. Stacking domed layers will inevitably lead to a wobbly or leaning cake. By carefully slicing off the dome, you create a perfectly flat surface that allows layers to stack squarely on top of each other, ensuring even weight distribution and preventing structural issues.
To level a cake, you can use a long serrated knife or a specialized cake leveler. Ensure the cake is completely cool, preferably chilled for at least 30 minutes. If using a knife, hold it parallel to your work surface and use a gentle sawing motion, keeping your hand steady to guide the blade straight across the top of the cake. Aim to remove just enough to create a flat plane, typically between 1/4 to 1/2 inch of cake. This small step makes a huge difference in the final stability and appearance of your two-tier layer cake.
Making a Simple Syrup for Moist Layer Cakes
Applying a simple syrup soak to your cake layers is a fantastic way to add moisture and flavor, especially for cakes that might be baked a day or two in advance or those prone to dryness, like vanilla or chocolate sponge. Simple syrup is incredibly easy to make, typically a 1:1 ratio of sugar to water heated until the sugar dissolves.
For instance, combining 1 cup of sugar with 1 cup of water and heating gently creates a standard simple syrup. You can infuse it with flavors like vanilla extract, citrus zest, or a splash of liqueur for an extra dimension.
Once cooled, the simple syrup can be brushed or gently drizzled onto the cut surface of your leveled cake layers. Don't oversaturate, as this can make the cake mushy, but apply enough to ensure moisture penetrates about 1/4 inch into the cake. A standard 8-inch cake layer might absorb between 2 to 4 tablespoons of syrup, depending on its density. This simple step keeps your two-tier layer cake moist and delicious for days.
Chilling the Cake Layers: Preventing Crumbling
Chilling cake layers before handling, leveling, filling, and frosting is one of the most effective techniques for achieving clean results and preventing frustrating crumbling. Warm or room-temperature cakes are soft and delicate, making them prone to tearing and shedding crumbs, which can get into your frosting and ruin a smooth finish. After baking and cooling on a wire rack, wrap each layer tightly in plastic wrap and refrigerate them for at least 30-60 minutes, or even freeze them for a shorter period (like 20-30 minutes) for quicker firming.
Cold cake layers are much firmer and easier to handle. They hold their shape better during leveling, are less likely to break when lifted, and produce far fewer crumbs when frosting. This is particularly important when working on a multi-layer project like a two-tier layer cake, where you'll be doing a lot of handling and moving of layers. Chilling makes the entire assembly process cleaner and more manageable.
Filling Your Two-Tier Layer Cake: Deliciousness Between Layers
Choosing the Right Filling for Your Two-Tier Cake
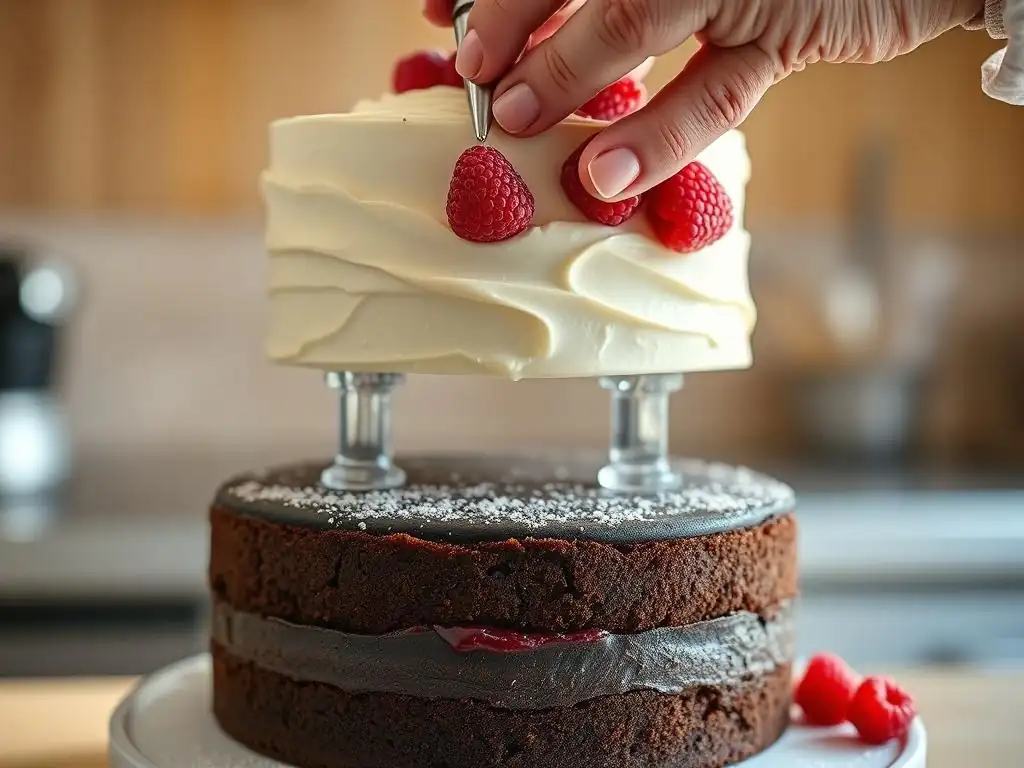
The filling is the delicious secret between your cake layers, adding flavor, texture, and moisture. For a two-tier layer cake, the filling needs to be not only tasty but also stable enough to support the weight of the layers above it. Lighter fillings like whipped cream or fruit compote are best contained within a buttercream dam or used in the top tier, while sturdier options are ideal for the lower tiers.
Good choices for a stable two-tier layer cake filling include:
- Buttercreams (American, Swiss Meringue, Italian Meringue, French)
- Ganache (chocolate, white chocolate)
- Cream cheese frosting (if firm enough)
- Pastry cream or diplomat cream (best when used with a stable dam)
Avoid very soft or liquidy fillings unless you are experienced with creating strong barriers (dams) to contain them, especially in the bottom tier which bears significant weight. A standard 8-inch cake might use approximately 1.5 to 2 cups of filling per layer.
Making Swiss Meringue Buttercream
Swiss Meringue Buttercream (SMBC) is a popular choice for two-tier layer cakes because it's smooth, less sweet than American buttercream, and incredibly stable, making it excellent for both filling and frosting. It's made by heating egg whites and sugar over a double boiler until the sugar dissolves (reaching about 160°F or 71°C), then whipping the mixture into a stiff, glossy meringue before gradually adding softened butter.
The process requires a bit more finesse than simple butter and sugar frostings, but the result is a luxurious, silky texture that holds its shape beautifully. A typical batch using, say, 6 large egg whites and 1.5 cups of sugar might yield enough buttercream to fill and crumb coat a standard two-tier cake (like 8-inch and 6-inch tiers). Its stability means it provides reliable support between layers, crucial for the structural integrity of a two-tier layer cake.
Evenly Distributing Filling Between Cake Layers
Applying filling evenly between cake layers is essential for a balanced taste in every bite and for maintaining a level surface for stacking. An uneven application can cause one side of the layer to be higher than the other, leading to a leaning two-tier layer cake. The best way to achieve even distribution is to use a piping bag or a large spoon and then spread the filling with an offset spatula.
If using a soft filling, pipe a "dam" of sturdier frosting (like a ring of buttercream) around the outer edge of the cake layer, about 1/4 to 1/2 inch from the edge. This dam acts as a barrier to contain the softer filling. Then, spoon or pipe the softer filling inside the dam.
For firm fillings like buttercream or ganache, you can simply dollop the filling in the center and spread it outwards with an offset spatula, leaving a small gap (about 1/4 inch) from the edge to prevent squeeze-out. Aim for a consistent thickness, usually between 1/4 and 1/2 inch, across the entire layer.
Stacking the First Tier: Creating a Stable Base
Choosing a Cake Board or Plate for the Base Tier
The very foundation of your two-tier layer cake is the board it sits on. This board needs to be sturdy enough to support the entire weight of the finished cake, including both tiers, filling, and frosting, and potentially survive transportation. A thin cardboard round designed for single-layer cakes is insufficient. You need a thick cake drum (at least 1/2 inch thick) or a sturdy, decorative cake plate.
Choose a board that is slightly larger than your bottom cake tier, typically 2 to 4 inches wider in diameter. For example, if your bottom tier is 8 inches, use a 10-inch or 12-inch cake drum. This provides a lip to handle the cake easily and gives space for a decorative border around the base. Secure your first cake layer to the center of this board using a dollop of frosting or melted chocolate; this prevents it from sliding during assembly and transport, a critical step for a stable two-tier layer cake.
Applying a Crumb Coat to the First Tier
Once the first tier layers are filled and stacked on their base board, applying a crumb coat is the next crucial step. A crumb coat is a very thin layer of frosting spread all over the cake's surface (top and sides). Its primary purpose is to trap any loose crumbs, preventing them from getting into your final, smooth layer of frosting. Think of it as a primer for your cake.
Apply a small amount of frosting and spread it as thinly and evenly as possible using an offset spatula or bench scraper. Don't worry about getting it perfectly smooth; just ensure all cake surfaces are covered. Once applied, scrape off any excess frosting. This thin layer will firm up and create a smooth canvas for your final frosting layer. For an 8-inch tier, you might use only about 1/2 to 3/4 cup of frosting for the crumb coat.
Chilling the First Tier After Crumb Coating
After applying the crumb coat to the first tier, it's essential to chill the cake thoroughly. This step allows the thin layer of frosting to firm up completely, effectively locking in all those pesky crumbs and stabilizing the structure. Place the crumb-coated tier (on its sturdy base board) into the refrigerator for at least 30-60 minutes, or until the frosting is firm to the touch.
A properly chilled crumb coat provides a solid, smooth surface to apply your final layer of frosting without dragging crumbs and also helps the cake structure firm up before you add the weight of the second tier. This chilling step is particularly important for a two-tier layer cake, as the bottom tier needs maximum stability to support the weight of the tier above it.
Assembling the Second Tier: Adding Height and Elegance
Selecting the Correct Size Cake Board for the Top Tier
Just like the base tier, the top tier of your two-tier layer cake also needs its own support board. However, this board should be the exact same size as the top cake tier, or perhaps just slightly smaller (by 1/4 inch maximum). For example, if your top tier is 6 inches in diameter, use a 6-inch cake board. This board provides a stable platform for the top tier itself and is where the support dowels from the bottom tier will press against.
Using a board the same size as the cake means the board will be hidden once the final frosting is applied, creating a seamless look when the two tiers are stacked. Choose a sturdy, thin cardboard round for this purpose. It needs to be strong enough to support the top tier and distribute its weight onto the dowels in the bottom tier.
Adding Dowels for Two-Tier Cake Support: Ensuring Stability
Dowels are the unsung heroes of a stable two-tier layer cake. They are internal supports inserted into the bottom tier that bear the weight of the top tier, preventing the top cake board from sinking into the bottom cake. Without dowels, the weight of the upper tier would crush the bottom tier, especially if it's a softer cake or filling. Using the correct number and type of dowels is critical for structural integrity.
Common types of dowels include food-grade plastic dowels (often hollow or solid) and wooden dowels (like bamboo skewers or thicker wooden rods). Plastic dowels tend to be sturdier for heavier cakes. For a standard 8-inch bottom tier supporting a 6-inch top tier, you'll typically need 4-5 dowels placed in a circular pattern slightly inside the diameter of the top tier. For larger or heavier cakes, more dowels might be necessary.
Measuring and Cutting Dowels for Optimal Support
Correctly measuring and cutting your dowels is paramount for ensuring they provide proper support for your two-tier layer cake. Each dowel must be cut to the exact height of the finished bottom tier, including the cake layers, filling, and crumb coat. If the dowels are too short, the top cake board will rest on the cake itself, not the dowels. If they are too long, the top tier will wobble.
To measure, insert a dowel into the bottom tier until it hits the base board. Mark the dowel exactly where it meets the top surface of the crumb-coated cake. Remove the dowel and cut it cleanly at this mark. Repeat this process for each dowel, measuring against the cake each time, as the height might vary slightly across the surface. Cutting dowels to the precise height ensures the weight of the top tier is evenly distributed onto the supports.
Inserting Dowels into the Bottom Tier
Once measured and cut, the dowels need to be inserted into the bottom tier of your two-tier layer cake. Plan where the top tier will sit on the bottom tier – typically centered, but sometimes slightly offset depending on the design. Mark the placement of the top tier's board lightly on the surface of the bottom cake. The dowels should be inserted within this marked area, creating a stable platform for the top tier's board to rest on.
For an 8-inch bottom tier supporting a 6-inch top tier, you might place four dowels in a square or circular pattern, roughly 2-3 inches apart, well within the 6-inch diameter mark. Gently push each dowel straight down into the cake until you feel it hit the base board. Ensure they are level with the surface and not sticking up or sinking below. This creates a hidden support system ready to bear the weight of the upper layer.
Applying a Crumb Coat to the Second Tier
Just like the first tier, the second tier of your two-tier layer cake also needs a crumb coat. Once the layers for the top tier are filled and stacked on their appropriately sized cake board, apply a thin layer of frosting all over the top and sides. This crumb coat serves the same purpose: trapping any loose cake crumbs before the final layer of frosting is applied.
Use a small amount of frosting, spread thinly with an offset spatula or bench scraper. Don't worry about perfection at this stage; just ensure the entire surface is covered and scrape off any excess. For a 6-inch tier, you might use only about 1/4 to 1/2 cup of frosting for the crumb coat. This prepares the surface for a smooth, crumb-free final frost.
Chilling the Second Tier After Crumb Coating
After applying the crumb coat to the second tier, it's crucial to chill it thoroughly before attempting to stack it. Place the crumb-coated top tier (on its supporting board) into the refrigerator for at least 30-60 minutes, or until the frosting is firm to the touch. This chilling step is vital for several reasons.
First, it locks in the crumbs, as intended. Second, it makes the tier much firmer and easier to handle, reducing the risk of damage when you lift and position it onto the bottom tier. A firm, chilled top tier is significantly less likely to warp or break during the final stacking step, contributing to the overall stability and clean finish of your two-tier layer cake.
Stacking the Second Tier onto the First Tier: The Final Step
Gently Placing the Second Tier on Top
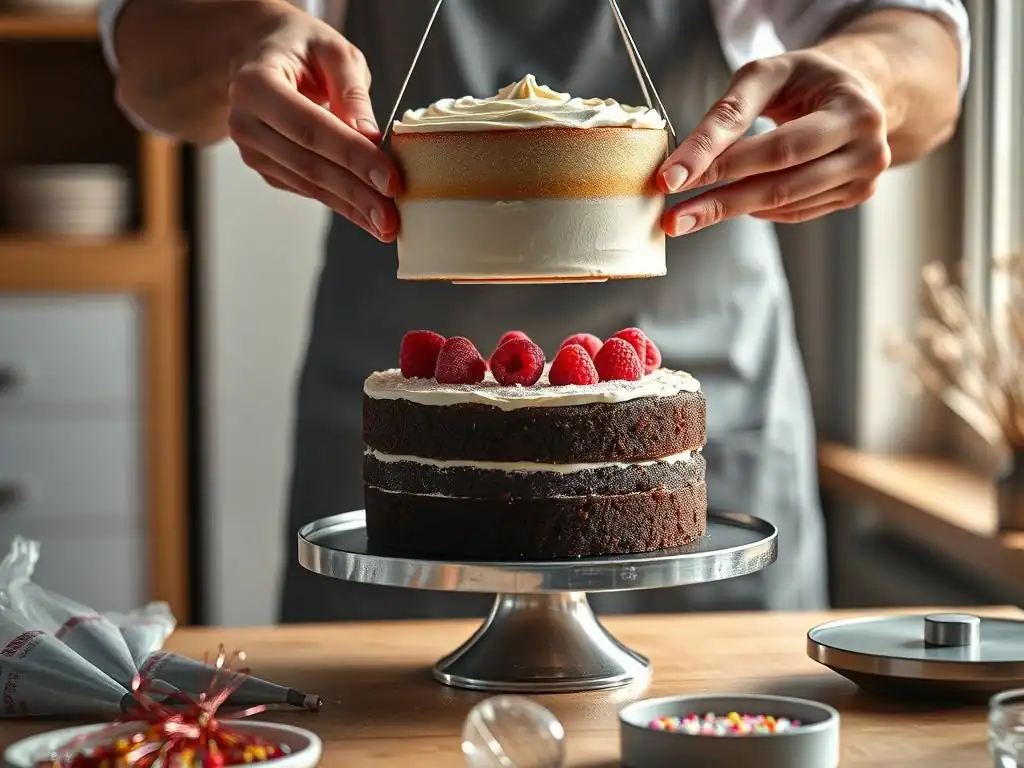
This is the moment of truth! With both tiers crumb-coated and thoroughly chilled, it's time to stack the second tier onto the first. This step requires careful handling. The top tier, resting on its cake board, needs to be lifted and placed precisely onto the bottom tier, specifically onto the area supported by the dowels.
If the top tier is small and light (like a 4-inch or 6-inch tier), you might be able to lift it carefully by hand, supporting the board from underneath. For slightly heavier tiers, using cake lifters or large spatulas inserted under the board can help. Whatever method you use, lift the tier straight up and position it directly over the spot where it will sit on the bottom tier.
Ensuring Proper Alignment of the Two Tiers
Once the top tier is hovering over the bottom tier, the goal is to lower it straight down and ensure it's perfectly aligned. This is where precision is key for a visually appealing and stable two-tier layer cake. Look at the cake from multiple angles (front, sides, back) to judge the alignment.
Gently lower the top tier, guiding it into place. Once it touches the bottom tier, you may have a very slight window (seconds, depending on how firm the frosting is) to make tiny adjustments by gently nudging the board. However, avoid twisting or sliding the tier, as this can damage the crumb coat or displace the dowels. The top tier's board should rest directly and evenly on the tops of the dowels in the bottom tier. Take a step back and check the alignment before proceeding to the final frosting.
Frosting and Decorating Your Two-Tier Layer Cake
Choosing Your Frosting: Buttercream, Ganache, and More
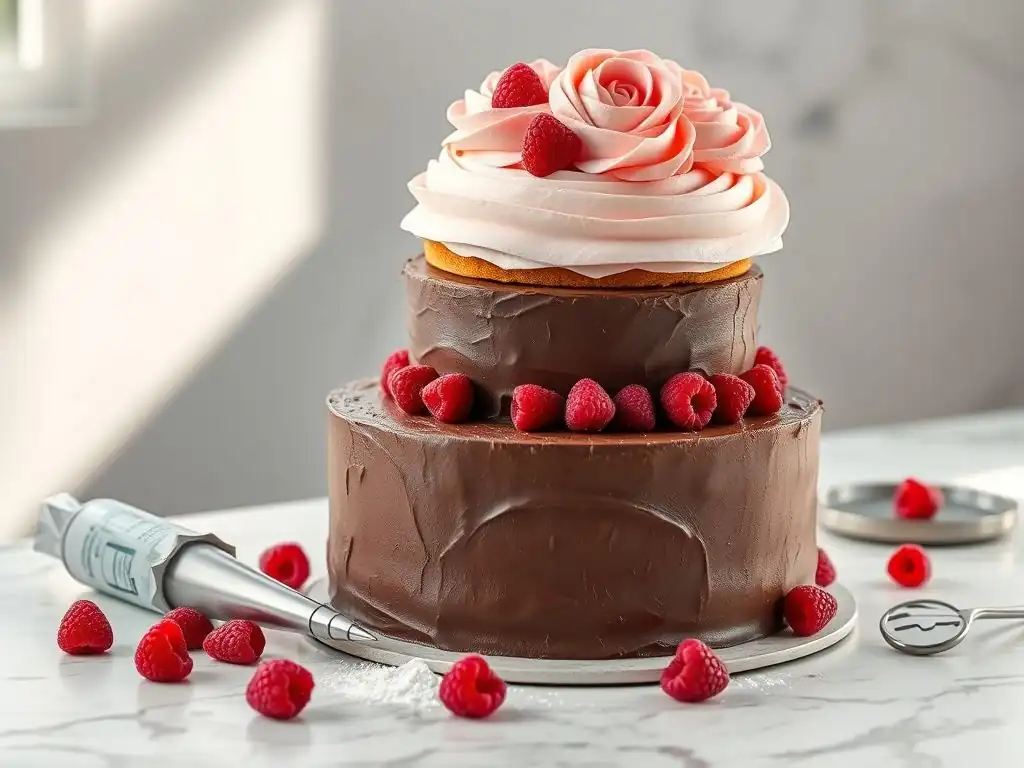
The final frosting is the outer layer that brings your two-tier layer cake design to life. It needs to be smooth, visually appealing, and sturdy enough to hold any decorations you plan to add. The choice of frosting impacts both the look and taste. Buttercream (like American, Swiss Meringue, or Italian Meringue) is a popular choice for its versatility in coloring and piping. Ganache (a mix of chocolate and cream) provides a sleek, rich finish.
Consider the flavor profile of your cake and filling when choosing the frosting. A dark chocolate ganache might be too heavy for a delicate lemon cake, while a light cream cheese frosting might pair perfectly. Ensure you make enough frosting – a two-tier cake typically requires a substantial amount, often 6-8 cups or more depending on the size and desired thickness of the final coat.
Frosting the Two-Tier Cake: Achieving a Smooth Finish
Applying the final coat of frosting to a stacked two-tier layer cake requires a steady hand and patience. Since the tiers are already stacked, you'll frost them together as one unit. Start with the top tier, applying frosting and smoothing the sides and top. Then move to the bottom tier, applying frosting to the sides.
Use a generous amount of frosting and work quickly but carefully. Use a large offset spatula or bench scraper to smooth the sides, holding the scraper against the cake and turning the cake on a turntable if possible. For the top surface, use an offset spatula to smooth from the edge towards the center. For extra smooth sides, you can chill the cake again briefly (15-20 minutes) after applying a layer of frosting, then go back and smooth it further. Achieving smooth sides on a two-tier layer cake is a rewarding step.
Two-Tier Cake Decorating Ideas and Inspiration
Once your two-tier layer cake is frosted smoothly, the fun of decorating begins! The possibilities are nearly endless, limited only by your imagination and skill. Popular decorations include piping borders, swirls, or intricate patterns using various piping tips. Fresh flowers (properly prepared and sealed), edible flowers, or sugar flowers can add elegance.
Other ideas include using sprinkles, edible glitter, chocolate drips down the sides, or applying fondant for a perfectly smooth finish and intricate details. Think about the theme of your event – a birthday might call for vibrant colors and fun sprinkles, while a wedding cake requires sophistication. For a simple yet elegant look, a smooth buttercream finish with a single piped border and a few strategically placed berries or edible leaves can be stunning on a two-tier layer cake.
Tips and Tricks for a Perfect Two-Tier Cake
Preventing Cake Sagging in Two-Tier Cakes
Sagging is a common issue where the bottom tier of a two-tier layer cake appears to compress or bulge under the weight of the tier above it. This is almost always due to insufficient or improperly placed internal support dowels. The dowels are the critical element that prevents the upper tier's board from resting directly on and crushing the lower cake.
To prevent sagging:
- Always use a sturdy board under the top tier.
- Use the correct number of dowels for the size and weight of the upper tier. A good rule of thumb is one dowel for every 2-3 inches of the upper tier's diameter, plus one in the center.
- Ensure the dowels are cut to the exact height of the finished (filled and crumb-coated) bottom tier.
- Insert the dowels vertically and ensure they are spaced correctly to support the entire area where the top tier's board will sit.
Transporting a Two-Tier Cake Safely
Transporting a finished two-tier layer cake can be nerve-wracking, but with proper preparation, it's manageable. The key is to keep the cake level and minimize movement. Use the sturdy base board the cake was built on. Place the cake in a box that is slightly larger than the base board and tall enough to clear the top decoration. Many bakeries use custom boxes, but you can improvise with sturdy cardboard boxes.
For added security during transport, place non-slip matting (like shelf liner) under the cake box in your vehicle. The best place for the cake is usually on the floor of the passenger side, where it's level and you can monitor it. Drive slowly and avoid sudden stops or turns. If the weather is warm, use air conditioning in the car to keep the cake cool and firm. For very large or heavy two-tier cakes, transporting the tiers separately and stacking at the venue might be the safest option.
Troubleshooting Common Two-Tier Cake Issues
Even with careful planning, you might encounter issues when building a two-tier layer cake.
- Leaning: Often caused by uneven cake layers, uneven filling distribution, or dowels that are not cut to the exact height or not inserted straight. Ensure layers are level, filling is even, and dowels are precise.
- Bulging: Can happen if soft filling isn't contained by a dam, or if the cake is too soft. Use a firm filling or a strong buttercream dam, and ensure cakes aren't over-saturated with simple syrup.
- Cracks in frosting: May occur if the cake is too cold when frosted, if the frosting is too stiff, or if the cake settles. Ensure the cake isn't frozen solid when frosting, use frosting at the right consistency, and allow cake to settle for a bit after stacking before final frost if possible.
- Crumbs in final frosting: The crumb coat wasn't effective or wasn't chilled long enough. Ensure a thorough crumb coat and sufficient chilling time.
Addressing these issues often comes down to attention to detail in the foundational steps: leveling, chilling, filling evenly, and using correct support.
Enjoying Your Beautiful Two-Tier Layer Cake
Frequently Asked Questions
How do I ensure my two-tier layer cake is stable after stacking?
The key is using sufficient support. This typically involves using dowels or cake supports inside the bottom tier to bear the weight of the top tier, preventing collapse. A sturdy cake board under each tier is also crucial.
What's the best type of frosting to use when stacking a two-tier layer cake?
A firm frosting, like American buttercream or Swiss meringue buttercream, provides the necessary structure. Avoid overly soft frostings like whipped cream, as they won't offer enough structural support.
How much filling should I use between the cake layers in each tier?
Use a consistent and moderate amount of filling. Too much filling can cause the layers to slide, while too little can make the cake dry. Aim for a thin, even layer to ensure stability.
What size cake boards should I use for each tier of my two-tier cake?
The cake board for the bottom tier should be slightly larger than the cake itself for easy handling. The cake board for the top tier should be exactly the same size as the cake.
How do I transport a two-tier layer cake without damaging it?
Use a sturdy cake box that is tall enough to accommodate the cake. Secure the cake to the board with a dab of frosting to prevent it from sliding during transport. Drive carefully and avoid sudden stops!
Final Reflection: The Sweet Success of a Two-Tiered Triumph
Mastering the art of the two-tiered layer cake isn't just about baking; it's about achieving a visually stunning and delicious masterpiece. This seemingly simple task, as detailed in this guide, reveals a surprising depth of skill and precision, demanding careful attention to detail at every stage, from the perfect batter to the flawless frosting finish. The ability to create such a cake speaks to a broader appreciation for culinary artistry and the satisfaction of transforming simple ingredients into something truly extraordinary.
The enduring appeal of the two-tiered layer cake transcends mere confectionery; it symbolizes celebration, joy, and the meticulous effort put into creating something beautiful. It's a centerpiece at countless events, a testament to the power of shared experiences and the artistry of baking. As I reflected on the process, I was reminded of the quote by Julia Child: Find something you're passionate about and keep tremendously interested in it.
This sentiment perfectly encapsulates the dedication required to bake a successful two-tiered cake, and indeed, to pursue any craft with excellence.
Now, I invite you to consider your own "two-tiered challenges"—those projects or endeavors that seem daunting at first but hold the potential for immense reward. Remember the steps outlined in this guide: preparation, precision, and patience. Apply these principles to your own life, and you too can experience the sweet success of achieving something truly remarkable. Don't be afraid to tackle the seemingly impossible; with careful planning and a touch of creativity, your own "two-tiered masterpiece" awaits.
Unleash Your Inner Cake Artist: Level Up Your Baking!
Thanks for joining us on this delicious journey into the world of two-tiered cakes! We hope you've gained the confidence to tackle this beautiful baking challenge. Now it's time to put your newfound skills to the test.
- Bake your masterpiece: Grab your ingredients and let's see that stunning two-tiered cake come to life! Remember those tips and tricks we shared.
- Share your creation: We'd love to see your baking success! Post a picture on social media using #BakeWithEaseTwoTier and tag us – let's inspire each other.
- Explore more advanced techniques: Ready for a new challenge? Check out our other tutorials on advanced cake decorating techniques on BakeWithEase.com.
So, what incredible flavor combination will you create for your next two-tiered cake adventure?