
Easy Stacking Techniques for Perfectly Level Layer Cakes

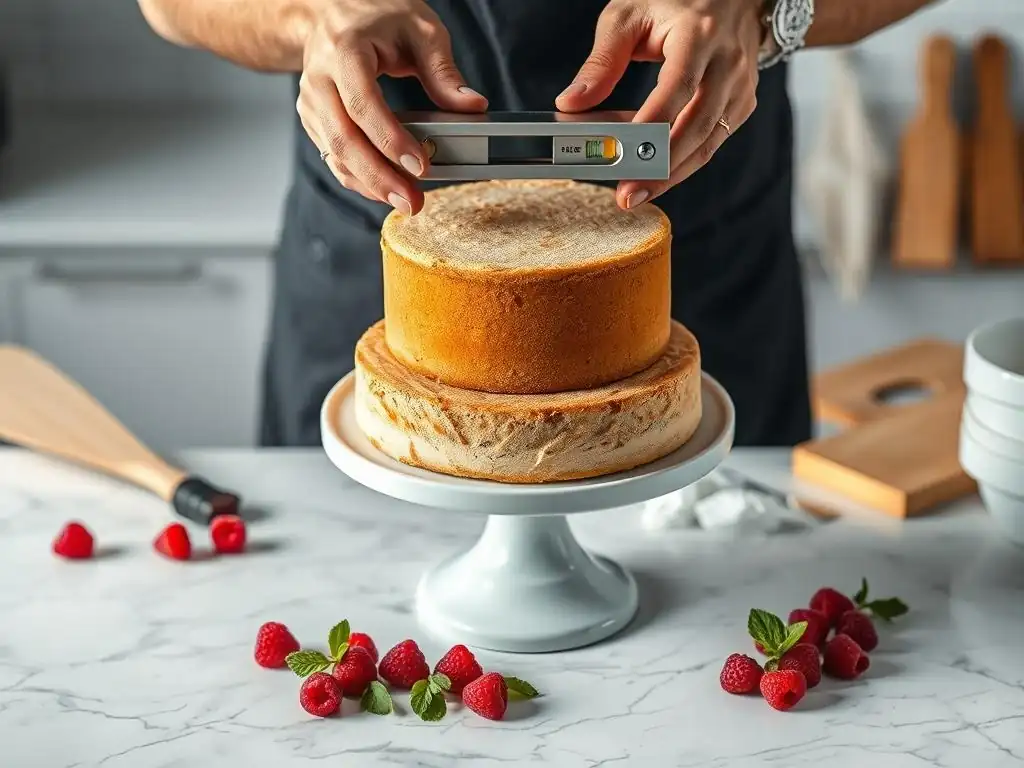
Welcome to BakeWithEase, where baking dreams become delicious realities! Have you ever struggled to achieve perfectly level layers when stacking a cake? It's a common frustration, but fear not! This guide unveils easy and effective level cake stacking techniques that will transform your creations from wobbly to wonderful. Get ready to elevate your cake decorating game and discover the secrets to stunning, stable, and structurally sound desserts. Curious to know how? Let's get started!
Achieving a perfectly level layer cake is a hallmark of skilled baking, transforming a simple dessert into a stunning centerpiece. Whether you're celebrating a birthday, wedding, or just perfecting your craft, mastering level cake stacking techniques is essential. This guide from BakeWithEase walks you through the process, from preparing your layers to troubleshooting common issues, ensuring your next stacked cake stands tall and proud.
- BakeWithEase Guide to Level Cake Stacking
- Preparing Your Cake Layers for Stacking Success
- The Essential Tools for Level Cake Stacking
-
Mastering the Art of Layer Cake Stacking: Step-by-Step
- Applying a Crumb Coat: Sealing in Crumbs
- The Importance of a Stable Cake Base
- Adding Filling Between Layers: Even Distribution is Key
- Ensuring Level Filling: Techniques for Uniformity
- Stacking Cakes: Maintaining Levelness During Assembly
- Using Dowels or Cake Pillars for Tall Cakes
- Refrigerating Between Layers for Stability
- Advanced Level Cake Stacking Techniques
- Troubleshooting Common Cake Stacking Problems
- Level Cake Stacking Tips for Beginners
- Achieving Perfectly Level Layer Cakes: Recap & Best Practices
-
Frequently Asked Questions
- How important is a perfectly level cake when stacking layers?
- What are the most common tools used for leveling cake layers?
- What's the "dot method" mentioned for leveling cakes, and how does it work?
- How do I prevent my cake layers from sliding when stacking?
- What are some key differences between using buttercream and ganache for stacking cakes?
- Final Reflection: The Sweet Science of Perfectly Level Cakes
- Unlock Your Inner Cake Artist: Level Up Your Layering!
BakeWithEase Guide to Level Cake Stacking
Creating a multi-layered cake that doesn't lean or bulge requires more than just delicious cake and frosting. It involves careful preparation, using the right tools, and applying specific level cake stacking techniques. Our aim is to demystify this process, making it accessible and enjoyable for bakers of all levels. By focusing on precision at each step, you can build confidence and consistently produce beautifully stacked cakes.
Mastering these techniques for level cake stacking will significantly elevate your baking game. It's about building a stable foundation, ensuring even layers, and applying fillings and frostings with care. Think of each layer as a building block; if one isn't level or stable, the entire structure can be compromised. We'll explore practical tips and tricks used by professional bakers to help you achieve bakery-quality results right in your own kitchen.
Preparing Your Cake Layers for Stacking Success
Before you even think about stacking, the quality and preparation of your cake layers are paramount. Uneven, cracked, or overly moist layers are challenging to work with and can make achieving a level cake stack nearly impossible. Taking the time to properly prepare your layers sets you up for success and makes the subsequent stacking process much smoother and more predictable.
Leveling Cake Layers: Achieving a Flat Surface
Even the most perfectly baked cake can have a slight dome. Removing this dome is a critical step for achieving a truly level cake stack. You can use a long serrated knife or a specialized cake leveler tool. To use a knife, place the cake on a flat surface and, using a gentle sawing motion, carefully slice off the domed top, keeping the knife parallel to the work surface. Aim to remove just enough to create a flat, even surface.
A dedicated cake leveler offers adjustable wires or blades, making it easier to cut multiple layers to the same height consistently. Position the wire at the desired height (usually just below the peak of the dome) and gently saw through the cake. This method often results in a cleaner, more uniform cut, which is vital for stable and level cake stacking techniques. Don't discard the scraps – they're perfect for cake pops or trifles!
Cooling Cake Layers Properly to Avoid Cracks
Allowing your cake layers to cool completely before handling or stacking is non-negotiable for successful level cake stacking techniques. Hot or warm cakes are fragile and prone to cracking, crumbling, or tearing, which can compromise their structural integrity. As soon as they come out of the oven, let them cool in their pans on a wire rack for about 10-15 minutes.
After this initial cooling period in the pan, carefully invert the cakes onto a wire rack to cool completely. Ensure the rack allows air circulation around the entire cake layer. Depending on the size and density of the cake, this cooling process can take anywhere from one to two hours, or even longer. They must be cool to the touch in the center before you proceed to leveling or wrapping.
Wrapping and Storing Cake Layers Before Assembly
Once your cake layers are completely cool and leveled, wrapping them properly is key to maintaining moisture and preventing dryness, which can make stacking difficult. Use plastic wrap and wrap each layer individually and snugly. For best results in level cake stacking, chilling the wrapped layers in the refrigerator for at least 30 minutes, or even overnight, can make them firmer and much easier to handle, level, and frost.
If you plan to assemble the cake more than a day or two later, you can freeze the wrapped layers. Double-wrap them in plastic wrap, then add a layer of aluminum foil or place them in a freezer bag. Frozen cake layers are incredibly easy to level and work with once thawed (thaw them in the refrigerator before unwrapping). This preparation step significantly contributes to successful level cake stacking techniques.
The Essential Tools for Level Cake Stacking
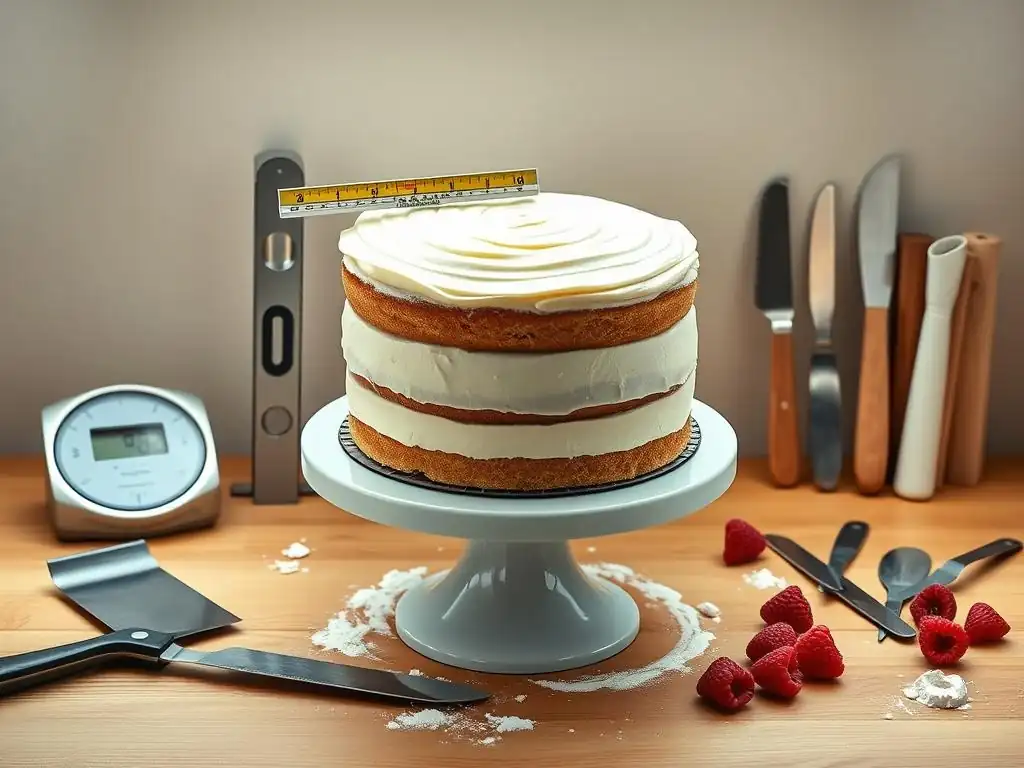
Having the right tools at your disposal can make a significant difference in the ease and success of your level cake stacking endeavors. While some tools are optional depending on the complexity of your cake, others are almost indispensable for achieving a professional, level finish. Investing in a few key items can save you frustration and improve your results dramatically.
Cake Boards and Their Importance
A sturdy cake board is the foundation of your stacked cake. For single-tier cakes, a board slightly smaller than the cake diameter works well. For multi-tiered cakes, the base board should be strong enough to support the entire structure, often made of thick cardboard or even wood. Additionally, each individual cake layer in a multi-tiered cake should sit on its own thin cake board (cut to the exact size of the cake layer).
These internal cake boards are crucial when using dowels for support, as they distribute the weight of the upper tiers evenly onto the dowels below, preventing the bottom cake from being crushed. Using a stable base board also makes transferring and handling the finished cake much easier, which is vital for maintaining the levelness achieved through careful level cake stacking techniques.
Cake Levelers: Serrated Knives vs. Specialty Tools
As mentioned earlier, both a good serrated knife and a specialty cake leveler can be used to level your cakes. A long serrated knife (at least 10-12 inches) is a versatile tool you likely already own. The key is to keep your hand steady and the blade parallel to the surface, using a smooth back-and-forth motion. It requires a bit of practice to get perfectly level cuts consistently.
Specialty cake levelers, on the other hand, are designed specifically for this task. They often have adjustable height settings, allowing you to easily cut layers to uniform thickness, which is essential for a balanced and level cake stack. While an extra gadget, many bakers find they provide more consistent and precise results, making the initial leveling process simpler and more accurate.
Turntables: Spinning Your Way to a Perfect Stack
A cake turntable is an invaluable tool for applying frosting and assembling your cake evenly. It allows you to easily rotate the cake while you work, ensuring smooth, consistent coverage of frosting and making it easier to check for levelness from all angles. A good quality turntable spins smoothly and steadily.
Using a turntable helps you apply an even layer of frosting around the entire cake, which contributes to a symmetrical and level appearance. Without one, you might find yourself awkwardly moving the cake, risking damage or uneven application. It's a simple tool that significantly enhances your ability to execute effective level cake stacking techniques.
Offset Spatulas: Your Frosting Friend
Offset spatulas, with their angled blades, are perfect for spreading frosting smoothly and evenly across the top and sides of your cake layers. The offset handle keeps your knuckles from dragging in the frosting, allowing for cleaner lines and a smoother finish. They come in various sizes, from small ones perfect for filling between layers to larger ones for coating the entire cake.
Using an offset spatula helps you distribute filling and frosting uniformly, which is critical for maintaining a level cake stack. An uneven layer of filling or frosting can cause the cake to lean over time. Mastering the use of an offset spatula is a key part of applying level cake stacking techniques.
Leveling Tools: Rulers and Bubble Levels
For serious precision in level cake stacking, don't hesitate to use simple measuring tools. A ruler can help you measure the height of your cake layers and the thickness of your filling to ensure consistency. For multi-tiered cakes or very tall single tiers, a small spirit level or bubble level can be placed on top of the cake board or cake layer to check if it is perfectly horizontal.
While it might seem overly cautious, using a level can quickly identify if a layer or the entire stack is starting to lean, allowing you to make adjustments before it becomes a significant problem. This simple step reinforces good level cake stacking techniques and helps prevent frustrating outcomes.
Mastering the Art of Layer Cake Stacking: Step-by-Step
Once your layers are prepared and chilled, and your tools are ready, you can begin the assembly process. This stage requires patience and attention to detail. Each step contributes to the final stability and level appearance of your cake. Follow these steps carefully to build a strong, level structure.
Applying a Crumb Coat: Sealing in Crumbs
The first step in frosting a cake destined for stacking is applying a thin layer of frosting called a crumb coat. This layer traps any loose crumbs, preventing them from showing up in your final frosting layer. Apply a very thin, even layer of frosting over the entire cake using an offset spatula.
Once the crumb coat is applied, chill the cake in the refrigerator for at least 20-30 minutes until the frosting is firm. This step is crucial for a smooth final finish and helps stabilize the cake layers, contributing to better level cake stacking. A well-chilled crumb coat provides a solid base for your final, thicker layer of frosting.
The Importance of a Stable Cake Base
Your bottom cake layer, placed directly on your main cake board, is the foundation. Ensure this layer is level and centered on the board. Apply a small dollop of frosting to the board before placing the first layer down; this acts as "glue" to prevent the cake from sliding. Make sure the cake board itself is resting on a stable, level surface (like your turntable).
A slight tilt in the base layer, even a few degrees, will be magnified with each subsequent layer, resulting in a noticeably leaning cake. Taking the time to ensure your base is perfectly level and secure on the board is a fundamental aspect of successful level cake stacking techniques.
Adding Filling Between Layers: Even Distribution is Key
Choosing and applying your filling is a delicious part of the process, but it must be done with care to maintain levelness. Whether it's buttercream, jam, mousse, or ganache, aim for an even thickness across the entire surface of the cake layer. Applying too much filling, or applying it unevenly, is a common cause of bulging and leaning.
For softer fillings, consider piping a dam of stiffer buttercream around the outer edge of the cake layer before adding the filling within the dam. This dam acts as a barrier, preventing the softer filling from squeezing out when the next layer is added, thus helping maintain level cake stacking.
Ensuring Level Filling: Techniques for Uniformity
To ensure your filling is level, use your offset spatula to spread it gently from the center outwards, aiming for a consistent depth across the entire layer. You can even use a ruler to check the thickness if you're aiming for extreme precision, perhaps targeting a 1/4 or 1/2 inch thick layer of filling consistently.
Another technique is to pipe the filling using a piping bag with a large round tip. This allows for more controlled and uniform application, making it easier to achieve an even layer. Consistent filling thickness is paramount for successful level cake stacking techniques.
Stacking Cakes: Maintaining Levelness During Assembly
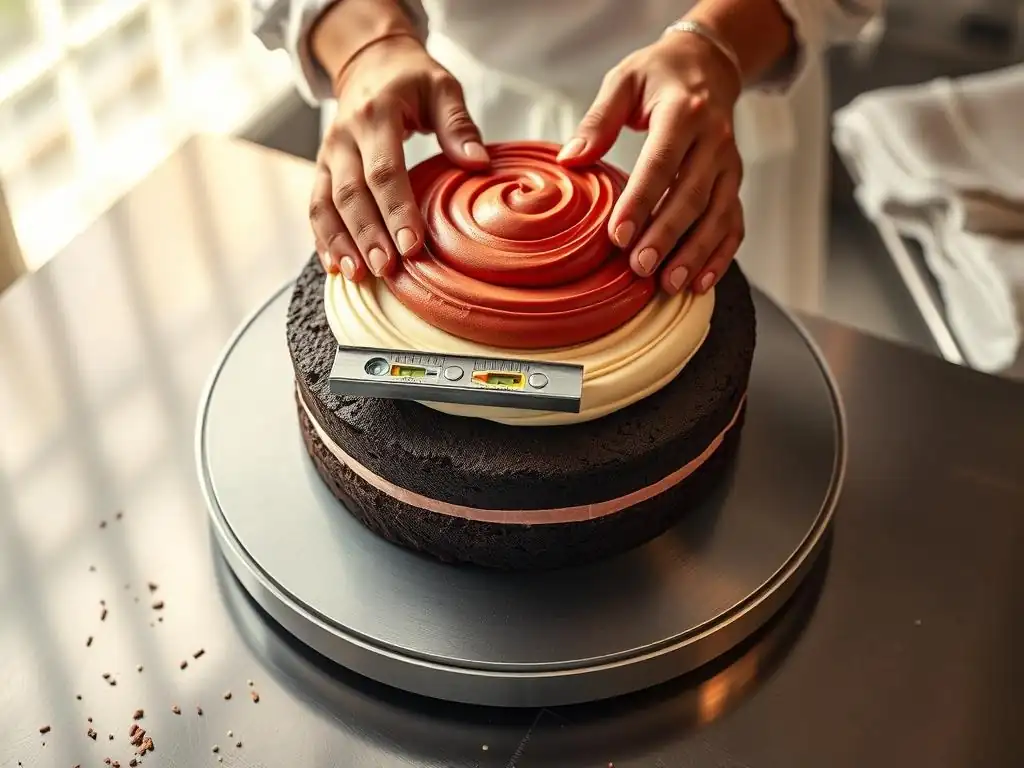
When placing the next cake layer on top of the filling, handle it carefully and center it precisely over the layer below. Gently press down to ensure good contact with the filling. Step back and eye the cake from different angles to check for levelness. If it appears slightly off, you can gently nudge the top layer into position before the filling sets.
Use a ruler or a small level if necessary to confirm it's straight. Don't be afraid to lift and reposition the layer if needed early in the process. Careful placement is a cornerstone of effective level cake stacking techniques.
Using Dowels or Cake Pillars for Tall Cakes
For cakes with three or more layers, or any multi-tiered cake, structural support is essential to prevent the lower layers from being crushed by the weight above. This is where dowels or cake pillars come in. Measure the height of the bottom layer (including the filling and crumb coat) and cut several dowels (usually 3-5 depending on cake size) to that exact height.
Insert the dowels into the bottom cake layer, positioning them where the layer above will sit, ensuring they do not extend above the surface of the cake. The cake board of the upper layer will then rest directly on these dowels, distributing the weight. This technique is fundamental for stable and successful level cake stacking, especially for larger cakes.
Refrigerating Between Layers for Stability
Chilling your cake at various stages of assembly significantly improves stability and makes the process easier. After applying the crumb coat, chill until firm. After stacking layers and adding filling, a 15-30 minute chill can help the filling set slightly, making the structure more rigid before applying the final frosting layer.
For multi-tiered cakes, chilling each tier before stacking them together is highly recommended. A firm, cold cake is much less likely to shift or slump when handled. Incorporating chilling periods is a smart strategy for achieving robust and level cake stacking.
Advanced Level Cake Stacking Techniques
Once you've mastered the basics, you can explore techniques that address common challenges and help you achieve an even more polished, level finish. These methods require a bit more practice but can make a big difference in the final appearance and stability of your stacked creations.
Dealing with Uneven Cake Layers
Sometimes, despite your best efforts, a cake layer might bake or cool unevenly. If the difference is slight, you can often compensate with your filling. Apply a slightly thicker layer of filling to the lower side to effectively "shim" the cake and bring the surface level. Use a ruler or level to check as you add the filling.
For significantly uneven layers, it might be best to cut the layer into two thinner pieces and level each piece individually, discarding the most uneven parts. While this results in more layers, it ensures each building block is level before stacking, which is key to successful level cake stacking.
Creating a Perfectly Smooth Frosting Finish
A smooth final frosting layer enhances the appearance and helps camouflage any minor imperfections in the cake's structure. After applying your final, thicker layer of frosting, use a bench scraper or a long, flat spatula held perpendicular to the cake to smooth the sides as you rotate the turntable. For the top, use an offset spatula, sweeping from the outer edge towards the center.
Chilling the cake briefly before the final smoothing can also help. The slightly firm frosting is easier to smooth without pulling crumbs. Achieving a smooth finish is the final touch that showcases your careful level cake stacking techniques.
Preventing Bulging Between Layers
Bulging occurs when filling or frosting is pushed out between the layers, often due to excess filling, uneven application, or insufficient chilling. To prevent this, use a dam for softer fillings, ensure filling thickness is consistent, and don't overfill. Also, make sure your cake layers are truly level before adding filling.
If bulging occurs during stacking, you can sometimes gently press the layers back into alignment and remove the excess filling. Chilling the cake until firm can also help stabilize it and reduce further bulging. Prevention through careful application and chilling is the best strategy for avoiding this issue in level cake stacking.
Leveling Cakes with Multiple Fillings
Stacking cakes with different types of fillings between layers adds complexity but is achievable with careful planning. Ensure that each filling layer is applied evenly and to a consistent thickness. If using fillings of different consistencies, place the more stable or firmer filling on the bottom layers, with softer fillings towards the top.
Chill the cake after adding each type of filling if necessary, to allow it to set slightly before adding the next layer. This multi-step chilling approach helps maintain stability and levelness throughout the stacking process, reinforcing your level cake stacking techniques.
Troubleshooting Common Cake Stacking Problems
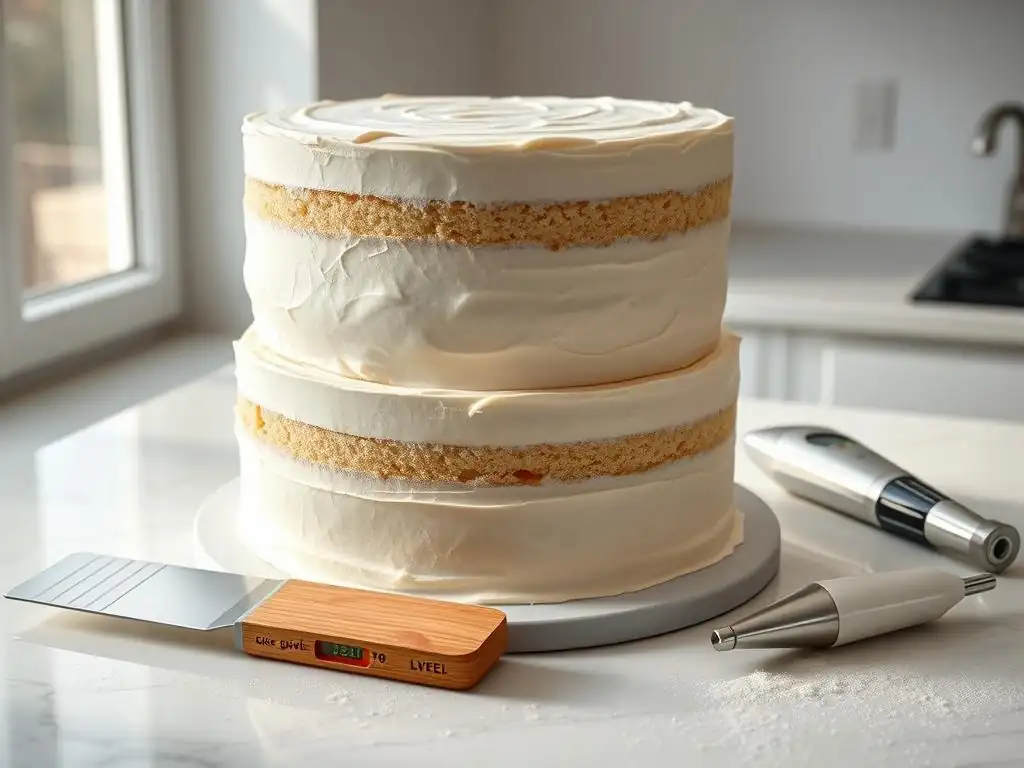
Even experienced bakers encounter issues sometimes. Knowing how to identify and fix common problems can save your cake and your sanity. Don't get discouraged if your first few attempts aren't perfect; troubleshooting is a key part of mastering level cake stacking techniques.
Cake Layers Sliding: Solutions and Prevention
Sliding layers are often caused by insufficient chilling, too much or too soft filling, or a wobbly base. Ensure your layers are well-chilled before stacking. Use a dam for soft fillings and apply filling evenly and not excessively. Make sure your cake board is stable and perhaps anchored to your turntable with a non-slip mat.
If a layer starts to slide during stacking, try gently nudging it back into place. If it continues to slide, you may need to remove the layer, scrape off some filling, chill the cake again, and re-stack. Prevention through chilling and proper filling application is the best defense against sliding layers in level cake stacking.
Cake Leaning to One Side: Corrective Measures
A leaning cake is usually a result of uneven layers, uneven filling, or an unstable base. First, check the base board and the surface it's on to ensure they are level. If the lean is slight and caught early, you might be able to gently push the upper layers back into alignment.
For a more significant lean, you might need to carefully remove the upper layers, assess the problematic layer (is it uneven? is the filling uneven? ), level it if necessary, adjust the filling, and re-stack. Using a ruler or level during stacking helps catch leans early. Correcting a lean requires careful level cake stacking adjustments.
Filling Squeezing Out: Avoiding Overfilling
Filling squeezing out indicates too much filling, a filling that is too soft, or insufficient chilling. As mentioned earlier, use a dam of stiffer frosting around the edge for softer fillings. Apply filling to a consistent, moderate thickness (often 1/4 to 1/2 inch is sufficient).
Ensure your cake layers are properly chilled before adding filling. If filling starts to squeeze out, gently remove the excess with an offset spatula. Chilling the cake can help firm up the filling and prevent further squeezing. Proper filling management is crucial for successful level cake stacking techniques.
Level Cake Stacking Tips for Beginners
Starting out with layer cakes can feel intimidating, but focusing on a few key principles can make the process much more manageable and enjoyable. Don't aim for perfection on your first try; focus on understanding the steps and improving with each attempt.
Start with Simple Cake Recipes
Choose a sturdy cake recipe for your first few stacking attempts, like a classic vanilla or chocolate butter cake. These cakes are generally more forgiving and easier to handle than delicate sponge cakes. Use a simple buttercream frosting that is firm enough to provide good support between layers.
Avoiding overly complicated recipes or fillings initially allows you to focus purely on the level cake stacking techniques themselves, building your confidence step by step.
Practice Makes Perfect: Don't Be Afraid to Experiment
Like any skill, mastering level cake stacking techniques takes practice. Don't be discouraged by setbacks. Each cake you stack, even if it's just for practice, teaches you something new about handling layers, applying frosting, and building a stable structure.
Try stacking cakes that aren't for a special occasion, where the pressure is off. Experiment with different types of fillings and frostings to see how they behave during stacking.
Watch Video Tutorials for Visual Guidance
Sometimes seeing a technique demonstrated is the best way to learn. Search for video tutorials specifically on level cake stacking techniques. Watching how bakers level layers, apply crumb coats, use spatulas, and stack tiers can provide invaluable visual guidance that complements written instructions.
Visual learners often find this especially helpful for understanding the nuances of tool usage and hand movements involved in achieving a level stack.
Take Your Time: Patience is Key to Level Cake Stacking
Rushing through the stacking process is a recipe for disaster. Take your time with each step: cooling, leveling, crumb coating, chilling, filling, and stacking. Allow adequate chilling time between stages.
Patience is perhaps the most important tool in level cake stacking. Working with chilled, firm layers and taking care with application and placement will yield much better results than a rushed job.
Achieving Perfectly Level Layer Cakes: Recap & Best Practices
Mastering level cake stacking techniques transforms your baking from delicious to stunning. The key takeaways are preparation, precision, and patience. Start with properly cooled and leveled layers. Use sturdy cake boards and chill your cake at various stages. Apply fillings and frostings evenly, and don't hesitate to use tools like rulers or levels to check your work.
Remember that practice improves your skills. Focus on building a stable foundation, ensuring each layer is level, and supporting tall structures with dowels. By following these level cake stacking techniques and best practices, you'll be well on your way to creating beautiful, professional-looking layer cakes that stand tall and impress.
Frequently Asked Questions
How important is a perfectly level cake when stacking layers?
A perfectly level cake is crucial for stacking because it provides a stable base. Uneven layers can lead to a tilted or unstable finished cake, making it more prone to collapse.
What are the most common tools used for leveling cake layers?
The most common tools include a serrated knife, a cake leveler, and a turntable. These tools help ensure a consistent and even cut across the cake layer.
What's the "dot method" mentioned for leveling cakes, and how does it work?
The "dot method" involves using small dots of buttercream on the cake board as a guide. This prevents the first layer from sliding and helps maintain its level position.
How do I prevent my cake layers from sliding when stacking?
Use a sufficient amount of buttercream between the layers and consider adding dowels or support straws for taller cakes. These provide structural support and prevent shifting.
What are some key differences between using buttercream and ganache for stacking cakes?
Buttercream is lighter and easier to spread, while ganache is denser and more stable. Ganache is better for taller or heavier cakes that require extra support.
Final Reflection: The Sweet Science of Perfectly Level Cakes
The pursuit of the flawlessly stacked layer cake transcends mere aesthetics; it's a testament to precision, patience, and the enduring power of a perfectly level creation. In a world increasingly dominated by quick fixes and instant gratification, mastering the art of cake stacking offers a satisfying counterpoint – a tangible reward for dedication to detail and a celebration of the simple joys of baking. This meticulous process, as detailed in this article, is more than just a recipe; it's a journey towards baking mastery.
The impact of achieving that perfectly level cake extends beyond the visual appeal. It represents a triumph over potential frustration, a symbol of the dedication required to achieve something beautiful and delicious. It's a quiet satisfaction, a small victory in the everyday that resonates deeply. The best things in life are worth waiting for,
and a perfectly stacked cake, achieved through careful technique and attention to detail, is a perfect example of this sentiment.
Now, I invite you to consider your own baking journey. What seemingly small details have yielded unexpectedly large rewards? Perhaps it's not just about the perfectly level cake, but the patience it cultivates, the confidence it builds, and the joy it brings. Take the techniques outlined here, practice them, and discover the sweet satisfaction of mastering the art of the perfectly stacked layer cake. Let your next creation be a testament to your dedication and a delicious celebration of your skills.
Unlock Your Inner Cake Artist: Level Up Your Layering!
Thanks for joining us on this delicious journey into perfectly level layer cakes! You've now got the skills to conquer those wonky layers and create stunning, professional-looking results. Ready to put your new knowledge into practice?
- Bake your dream cake: Use your newfound expertise to create that show-stopping layer cake you've always envisioned. Don't be afraid to experiment with flavors and frostings!
- Share your masterpiece: Show off your perfectly leveled cake on social media and tag us – we'd love to see your creations! Use #BakeWithEaseLevelUp.
- Challenge a friend: Nominate a fellow baker to try these techniques and share their results. Let's build a community of perfectly layered cakes!
What incredible flavor combination will you create with your perfectly level layers?