
Sticky Dough Disaster? Get Back on Track

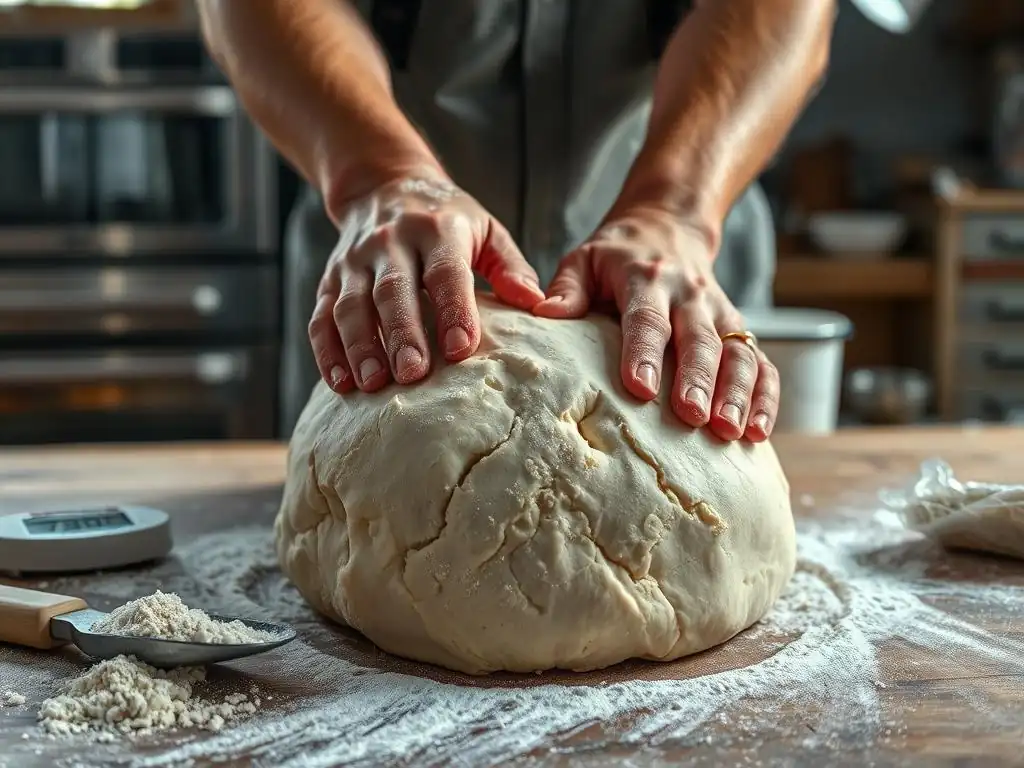
Welcome to BakeWithEase, your guide to confident baking! Ever wrestled with a sourdough starter that just won't cooperate? You're not alone. Many bakers face the dreaded sticky sourdough dough, and it can feel like a recipe for disaster. But don't despair! We're here to help you diagnose the problem and get your dough back on track. Dive into our comprehensive guide below to learn the secrets of fixing sticky sourdough dough and achieve that perfect, airy loaf you've been dreaming of. Let's get baking!
- Fixing Sticky Sourdough Dough: A Bake With Ease Guide
- Troubleshooting Sticky Sourdough: Common Causes and Solutions
- Rescue Remedies: How to Fix Sticky Sourdough Dough
- Preventing Sticky Sourdough in the Future: Proactive Steps
- Conclusion: Embrace the Learning Process and Bake with Ease
-
Frequently Asked Questions
- How can I tell if my sourdough dough is too sticky?
- What are the most common causes of sticky sourdough dough?
- Can I fix sticky sourdough dough after it's already been mixed?
- What kind of flour is best for preventing sticky sourdough dough?
- Besides flour, what other factors can affect sourdough dough stickiness?
- Final Reflection: The Resilience of the Sourdough Starter
- Rediscover Your Baking Confidence!
Fixing Sticky Sourdough Dough: A Bake With Ease Guide
Introduction: Why is My Sourdough Dough So Sticky?
Encountering a sticky sourdough dough is a common hurdle for bakers, especially when starting out. Instead of achieving that beautifully supple, easy-to-handle mass, you might find yourself wrestling with a gluey, unmanageable blob. This can be incredibly frustrating and might make you wonder if something went terribly wrong with your precious sourdough starter or your technique. Rest assured, you're not alone, and sticky dough is often fixable!
Understanding why your sourdough dough is sticky is the first step towards fixing sticky sourdough dough. It's usually not a single issue but a combination of factors related to ingredients, hydration, fermentation, or handling. By pinpointing the cause, you can apply the right solution and learn how to prevent this sticky situation in your future baking endeavors. This guide will walk you through the common culprits and provide practical steps for getting your dough back on track.
Understanding Sourdough Dough Consistency
Achieving the right dough consistency is key to successful sourdough baking. Unlike commercial yeast doughs which might be firmer, sourdough often has a higher hydration level, meaning it contains a larger proportion of water relative to flour. This higher water content contributes to the characteristic open crumb and chewy texture of sourdough bread, but it also inherently makes the dough stickier than, say, a basic pizza dough.
Learning to recognize what "normal" feels like for a sourdough dough at different stages is crucial for effective troubleshooting. A dough that seems overly sticky might just be normally sticky for its hydration level, or it could genuinely indicate an underlying problem. Developing this tactile understanding comes with practice, but we can outline what to expect and what signs point to a potential issue needing intervention.
What is "Normal" Sourdough Dough Supposed to Feel Like?
A well-developed sourdough dough, even at higher hydration (like 75-80%), should still exhibit certain characteristics that indicate proper structure. After initial mixing and some rounds of folding or kneading, it should start to pull away from the sides of the bowl, developing a smooth, almost satiny surface. While it will still be moist and somewhat adherent, it shouldn't stick aggressively to everything it touches.
Think of it this way: if you gently stretch a piece of the dough, it should resist slightly and stretch without tearing immediately, forming a thin membrane (the "windowpane" test). It will likely stick to your fingers a bit, but you should be able to release it with a gentle scrape or by using wet hands. If the dough feels like wet cement and smears rather than stretches, or if it coats your hands thickly and refuses to let go, that's a sign it's likely too sticky and needs attention.
Factors Contributing to Sticky Sourdough: The Culprits
Several variables can contribute to excessive dough stickiness, making fixing sticky sourdough dough a multi-faceted task. The most common culprits include the ratio of water to flour (hydration), the type and quality of flour used, insufficient development of the gluten network, the temperature of your kitchen, and the fermentation timeline. Each of these factors plays a significant role in how the dough behaves.
For example, using a flour with lower protein content or insufficient kneading/folding will result in a weak gluten structure unable to hold the water, leading to a soupy, sticky mess. Similarly, working in a very warm environment can accelerate enzyme activity that breaks down gluten, or cause the dough to over-ferment rapidly, both leading to increased stickiness. Identifying which of these factors (or combination of factors) is at play is essential for applying the correct fix.
Troubleshooting Sticky Sourdough: Common Causes and Solutions
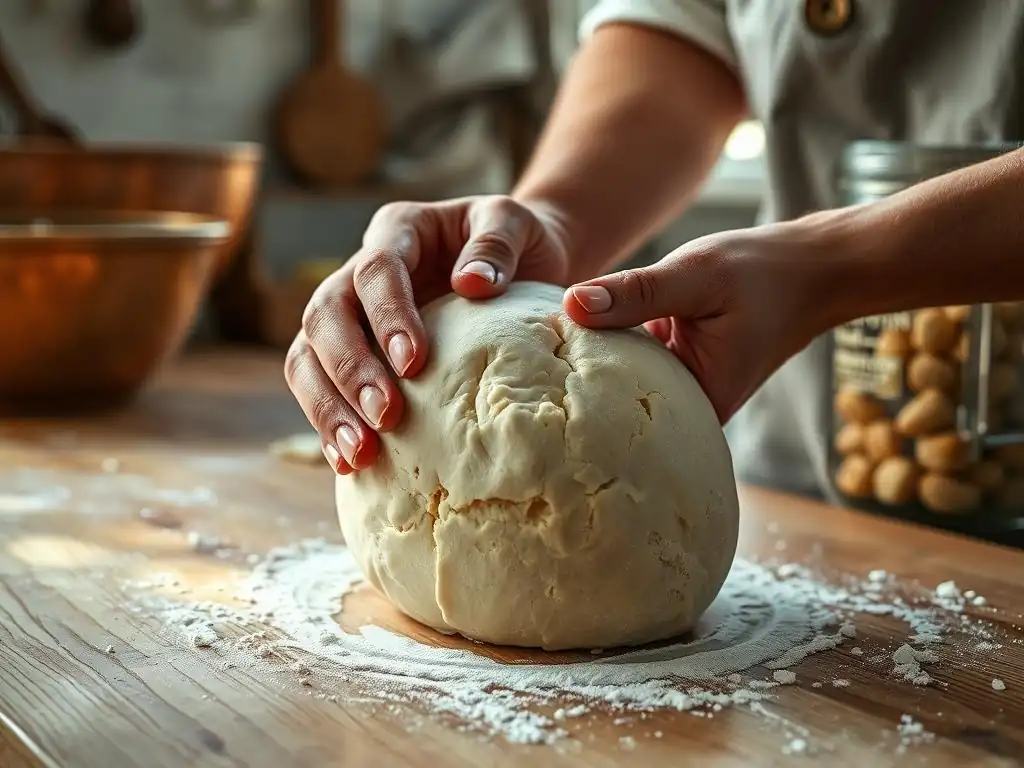
Cause 1: High Hydration Levels in Sourdough
High hydration is a hallmark of many artisan sourdough recipes, contributing to a light, open crumb structure. Hydration is typically expressed as a percentage of the flour weight. For example, a dough made with 500g flour and 375g water has 75% hydration (375/500 * 100). While experienced bakers might comfortably work with hydration levels exceeding 80% or even 90%, beginners often find doughs above 70-75% significantly more challenging to handle due to their inherent stickiness.
It's important to remember that higher hydration doughs are meant to be sticky. The goal isn't to make them feel like a low-hydration pizza dough, but rather to manage their stickiness effectively. If you're following a recipe with 80% hydration and your dough is sticky, that might be perfectly normal. However, if you're aiming for 65% hydration and your dough is excessively sticky, it suggests something else is amiss, perhaps inaccurate measurement or weak flour.
How Hydration Affects Sourdough Dough
Hydration fundamentally impacts the dough's texture and behavior. Water allows the gluten-forming proteins in flour (glutenin and gliadin) to bond and create the elastic network that traps gases produced during fermentation, giving bread its rise and structure. More water generally means a more extensible, less elastic dough that spreads more easily and can yield a more open crumb.
However, there's a limit to how much water the flour's gluten network can effectively absorb and hold. When hydration is too high for the flour's protein content or the baker's skill level, the gluten network struggles to form adequately, resulting in a weak, slack, and excessively sticky dough that is difficult to shape and manage. This is why fixing sticky sourdough dough often starts with assessing the recipe's hydration level relative to your comfort and the flour type.
Adjusting Hydration for Better Dough Handling
If you consistently struggle with sticky dough, especially when starting out, consider intentionally lowering the hydration in your recipes. If a recipe calls for 75% hydration, try reducing the water amount to achieve 70% or even 65% hydration. For instance, for 500g of flour, instead of 375g of water (75%), use 350g (70%) or 325g (65%). This seemingly small change can make a significant difference in dough manageability.
Another approach is to gradually increase hydration as your skills improve. Start with a reliable recipe around 65-70% hydration. Once you're comfortable handling that dough, try increasing the water by 10-20 grams in your next batch (for a typical 500g flour recipe) and see how the dough feels. This iterative process helps you build confidence and skill in managing progressively stickier doughs.
Cause 2: Incorrect Flour Type for Sourdough
The type of flour you use is a critical factor in sourdough baking and directly impacts dough stickiness and structure. Not all flours are created equal, particularly in their protein content, which determines their gluten-forming potential. Using a flour with insufficient protein, or one that hasn't been handled correctly, can lead to a weak dough that feels excessively sticky because it can't properly absorb and hold the water.
For instance, bread flour typically has a higher protein content (around 12-14%) compared to all-purpose flour (around 10-12%). This higher protein means it can develop a stronger gluten network capable of supporting higher hydration levels. Using all-purpose flour in a recipe designed for high-protein bread flour, especially at high hydration, will almost certainly result in a much stickier, slacker dough than intended.
The Best Flour for Sourdough Bread: A Guide
Generally, strong bread flour with a protein content of 12% or higher is recommended for sourdough baking, especially for beginners or when working with moderate to high hydration. The robust gluten network it forms provides the structure necessary to trap the gases produced by the sourdough starter, resulting in a well-risen loaf with a good crumb.
While all-purpose flour can be used for sourdough, particularly for lower hydration recipes (say, 65% or below), it often requires more careful handling and potentially more stretching and folding to build sufficient strength. Whole wheat and rye flours, while fantastic for flavor and nutrition, contain bran and germ that can interfere with gluten development, making doughs containing a high percentage of these flours inherently stickier and less elastic than those made solely with white bread flour.
How Different Flours Impact Dough Stickiness
Flour's ability to absorb water varies based on its type and even the specific brand and milling process. High-protein flours generally absorb more water and form stronger gluten networks, leading to less perceived stickiness at the same hydration level compared to lower-protein flours. For example, a dough made with Italian "Tipo 00" flour (which can vary widely in protein but is often lower than strong bread flour) at 70% hydration might feel significantly stickier than a dough made with high-protein US bread flour at the same hydration.
Furthermore, damaged starch in flour can also increase stickiness. This can occur if the grain was subjected to excessive heat during milling. Damaged starch readily absorbs water but doesn't contribute to gluten development, leading to a gummy, sticky dough. While harder to diagnose without laboratory testing, using reputable brands known for quality milling can help mitigate this risk and improve your chances of fixing sticky sourdough dough issues related to flour.
Cause 3: Insufficient Gluten Development in Sourdough
Gluten development is the cornerstone of good bread structure. It's the process where the proteins in flour, when hydrated and manipulated (through mixing, kneading, or folding), form an elastic network. This network is what gives the dough its strength, elasticity, and ability to hold its shape and trap gases. Without sufficient gluten development, the dough remains weak, slack, and inevitably, very sticky, because the structure isn't there to support the water and other ingredients.
Think of gluten development as building a scaffold within your dough. If the scaffold is weak or incomplete, the whole structure sags and collapses, feeling like a heavy, sticky mass. Adequate gluten development allows the dough to transform from a shaggy, sticky mix into a smooth, manageable, and elastic ball. This is why techniques like kneading and stretching and folding are so vital in sourdough baking, especially for fixing sticky sourdough dough related to structure.
The Importance of Gluten in Sourdough Baking
In sourdough, the gluten network is particularly important because the fermentation process is longer and relies on the dough's ability to maintain its structure over many hours. A strong gluten network allows the dough to capture the carbon dioxide produced by the starter's microbes, enabling the dough to rise significantly (oven spring) and creating that desirable open crumb texture.
A dough with poor gluten development will spread out rather than hold its shape during bulk fermentation and proofing. It will be difficult to handle and shape, often tearing easily or sticking aggressively to surfaces. During baking, it will likely yield a dense, flat loaf with a tight crumb, lacking the characteristic airy pockets of good sourdough. Ensuring proper gluten development is a primary step in preventing and fixing sticky sourdough dough problems.
Techniques for Enhancing Gluten Development: Kneading and Folding
There are two primary methods for developing gluten: kneading and stretching and folding. Both techniques work by aligning and strengthening the protein strands in the dough. The choice between them often depends on the dough's hydration level and the baker's preference.
For lower hydration doughs (below 70%), traditional kneading on a surface is very effective. As hydration increases, kneading can become challenging due to stickiness, making stretching and folding in the bowl or container a more practical and often preferred method for sourdough.
Kneading Techniques for Sourdough
If your sourdough dough is at a manageable hydration level (say, 65-70%) and you prefer kneading, the goal is to work the dough until it becomes smooth, elastic, and passes the windowpane test. This typically involves pushing, pulling, and folding the dough for 10-15 minutes by hand, or 5-10 minutes in a stand mixer with a dough hook.
A common hand-kneading technique involves folding the dough onto itself, pressing down with the heel of your hand, rotating the dough, and repeating. Initially, the dough will be sticky and shaggy, but as gluten develops, it will become less sticky and more cohesive. Using a lightly floured surface or slightly wet hands can help manage stickiness during this process.
Folding Techniques for Sourdough
Stretching and folding is a gentler approach suitable for higher hydration doughs. It involves periodically stretching the dough up from the bowl and folding it back onto itself, typically every 30-60 minutes during the initial stages of bulk fermentation. This builds strength without the aggressive action of kneading.
A standard set of folds involves wetting your hands slightly, grabbing one side of the dough, stretching it upwards gently, and folding it back over the center. Rotate the bowl and repeat with the other three sides, completing one "set" of folds. Performing 3-4 sets of folds during the first 2-3 hours of bulk fermentation is common practice for developing strength and helping with fixing sticky sourdough dough handling issues.
Cause 4: Room Temperature Affecting Dough Stickiness
Temperature plays a significant role in the activity of your sourdough starter and the overall fermentation process. Warmer temperatures accelerate fermentation, while cooler temperatures slow it down. This also impacts the dough's consistency and how sticky it feels.
A dough that feels fine at a moderate room temperature (say, 72°F or 22°C) might become noticeably stickier and harder to handle if the ambient temperature is much warmer (e.g., 80°F or 27°C). This is because warmer temperatures can lead to faster gluten breakdown by enzymes (proteases) present in the flour and starter, weakening the dough structure and increasing stickiness.
The Impact of Temperature on Sourdough Fermentation
Optimal fermentation temperatures for sourdough bulk fermentation typically range from 70°F to 78°F (21°C to 26°C). Within this range, the starter's yeast and bacteria are active, producing gas and organic acids at a balanced pace, leading to good flavor development and dough structure.
At temperatures significantly above this range, fermentation can become runaway, leading to rapid gas production but also accelerated enzymatic activity that degrades the gluten. This results in a dough that over-proofs quickly, becomes very slack, and feels extremely sticky and difficult to handle. Conversely, very cold temperatures slow fermentation to a crawl, potentially leading to a dense loaf, though stickiness is less likely to be an issue in this case.
Maintaining Optimal Dough Temperature for Easier Handling
If your kitchen is warm, consider finding a cooler spot for your dough during bulk fermentation, perhaps in a cooler room or even in the refrigerator for a portion of the time (more on this later). Aim to keep the dough temperature within the optimal range. You can monitor dough temperature using an instant-read thermometer.
Using cooler water when mixing your dough can also help regulate the initial dough temperature, especially in warm environments. For instance, if your room is 78°F, using water at 60°F (15°C) might help keep the dough temperature from rising too quickly during the early stages of fermentation and handling, making fixing sticky sourdough dough problems related to temperature easier.
Cause 5: Over-Fermentation of Sourdough
Over-fermentation, particularly during the bulk fermentation stage, is a common cause of excessively sticky and unmanageable sourdough dough. When dough ferments for too long or at too high a temperature, the starter's enzymes, especially proteases, become overly active. These enzymes break down the protein chains that form the gluten network.
As the gluten network degrades, the dough loses its strength, elasticity, and ability to hold gas. It becomes slack, spreads out, and feels very wet and sticky, often resembling a liquid batter more than dough. This state is often referred to as "soupy" or "runny" dough, and it's a clear sign that fermentation has gone too far.
Recognizing Signs of Over-Fermented Dough
An over-fermented dough is usually very expanded and may even show signs of collapsing in the center. When you poke it gently, the indentation will remain without springing back much, if at all. The surface might appear bubbly or even slightly frothy.
Crucially, an over-fermented dough feels very weak and tears easily when you try to stretch or handle it. It will likely stick relentlessly to your hands and the work surface, making shaping nearly impossible. The dough might also smell strongly acidic or alcoholic. Recognizing these signs quickly is important for attempting to salvage the dough or understanding what went wrong for future bakes.
Strategies to Prevent Over-Fermentation
Preventing over-fermentation requires careful monitoring of the dough, not just relying on a clock. Watch for visual cues: the dough should typically increase by 50-80% in volume during bulk fermentation, depending on the recipe and desired outcome. The poke test should show a slow spring back.
Controlling the dough temperature is the most effective way to manage fermentation speed. Use a consistent location with a stable temperature, or adjust water temperature during mixing to hit a target dough temperature. If your kitchen is warm, shorten the bulk fermentation time or consider finishing the bulk fermentation in the refrigerator once the dough has developed sufficient strength and volume.
Rescue Remedies: How to Fix Sticky Sourdough Dough
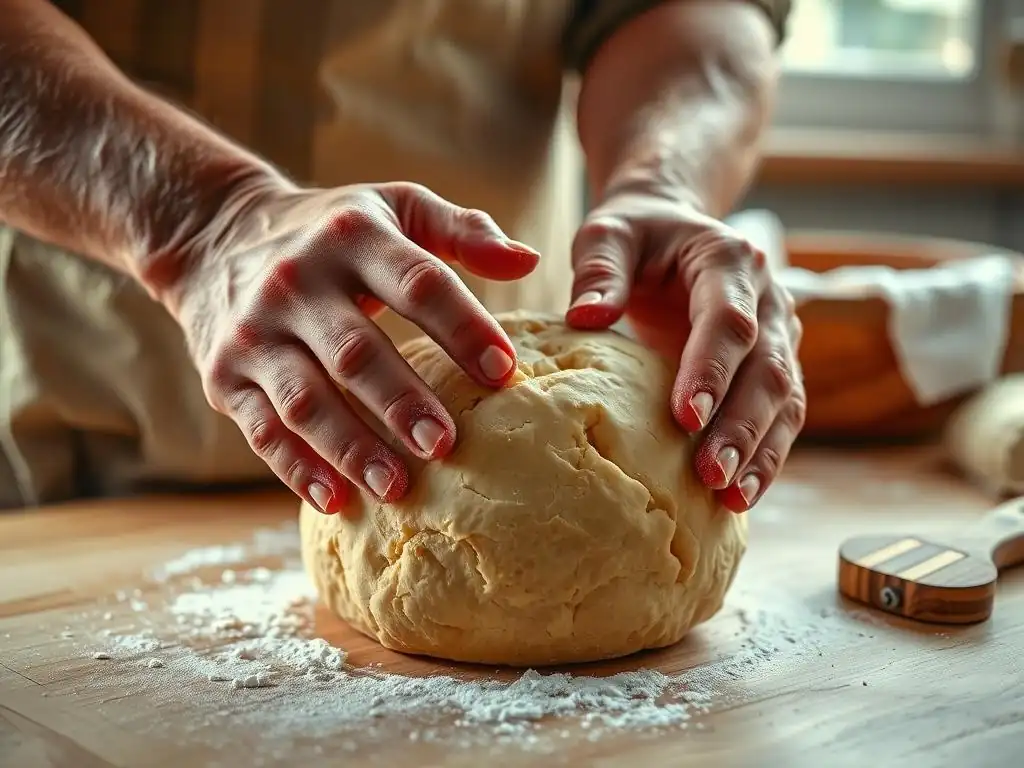
Sometimes, despite your best efforts, you end up with a dough that is simply too sticky to handle or shape. Don't despair! There are a few techniques you can employ to try and salvage your batch and get back on track with fixing sticky sourdough dough. These methods are best used as last resorts when the dough is proving unworkable.
It's important to approach these remedies carefully, as they can sometimes alter the final crumb or texture. The goal is to make the dough manageable enough to shape and bake, rather than achieving absolute perfection. Patience and gentle handling are key when working with a sticky dough that needs rescuing.
Solution 1: Adding Flour (Carefully!)
Adding a small amount of extra flour is often the first instinct when faced with sticky dough. While this can help absorb excess moisture and make the dough easier to handle, it must be done judiciously. Adding too much flour can significantly change the dough's hydration ratio, resulting in a drier, tougher loaf with a tighter crumb than intended.
This method is most effective when the stickiness is only slightly beyond manageable, perhaps due to a small mismeasurement or slightly weaker-than-expected flour. It's less likely to fully fix a dough that is severely over-fermented or drastically too wet.
How Much Flour to Add Without Ruining Your Dough
Start by adding just a tablespoon or two of flour at a time. Sprinkle it over the dough surface and your hands or work surface. Gently work the dough to incorporate the flour, observing how the consistency changes. Avoid the temptation to dump in a large amount at once.
For a typical loaf using 500g of flour, adding more than 20-30g (approximately 2-3 tablespoons) of extra flour during shaping or handling can start to noticeably impact the final bread. The goal is to add just enough to reduce the unmanageable stickiness, not to make the dough feel dry or stiff.
The Best Way to Incorporate Additional Flour
When adding flour to sticky dough, especially during shaping, try to incorporate it on the surface rather than kneading it deeply into the dough. Lightly flour your hands and the work surface. Turn the dough out and gently use the surface tension and folds to incorporate the surface flour.
If adding flour during bulk fermentation, gently fold it in during a scheduled set of stretches and folds. Sprinkle the flour over the dough in the bowl, then perform your folds, which will help distribute it somewhat. This approach minimizes disruption to the developing gluten structure.
Solution 2: Refrigerating Sticky Dough
Refrigeration is a powerful tool for managing sticky sourdough dough, particularly high-hydration doughs or those that are slightly over-proofed. Cold temperatures significantly slow down enzyme activity and fermentation. This gives the gluten network a chance to firm up and become less slack and sticky.
Chilling the dough makes it much easier to handle and shape. The cold temperature increases the dough's viscosity, reducing its adherence to surfaces and hands. This is why many bakers intentionally include a cold proofing stage in their sourdough process, not just for flavor development but also for easier handling.
How Cold Temperatures Improve Dough Handling
When sticky dough is placed in the refrigerator (usually between 35-40°F or 2-4°C), the water in the dough becomes less mobile. The gluten structure, which might have been struggling to hold the high water content at room temperature, firms up. This makes the dough less extensible and more elastic, giving it more structure and body.
This change in texture allows you to handle the dough more confidently. You can perform shaping steps with less sticking to your hands or the counter. It's a common technique used for fixing sticky sourdough dough right before the final shaping and baking stages.
Duration of Refrigeration for Best Results
For fixing a sticky dough problem, a few hours in the refrigerator might be sufficient to make it more manageable for shaping. Place the dough in a lightly oiled container and cover it before chilling.
If you plan to cold proof your dough anyway, simply proceeding to the cold proof stage (typically 8-24 hours) can often resolve moderate stickiness issues. The longer the dough is cold, the firmer it will become. Just be mindful that very long cold proofs can sometimes lead to a slightly less open crumb if the dough loses too much tension.
Solution 3: Using Wet Hands and a Dough Scraper
For high-hydration sourdough doughs, even those that are properly developed, stickiness is inherent. Instead of relying heavily on flour, which can toughen the crust and alter the crumb, professional bakers often manage sticky dough using wet hands and tools like a dough scraper.
This approach embraces the dough's stickiness rather than fighting it with excessive flour. By minimizing contact with dry surfaces and using tools that glide against the dough, you can manipulate it effectively without it welding itself to everything.
Techniques for Managing Sticky Dough During Shaping
When working with a sticky sourdough dough, keep a small bowl of water nearby. Dip your hands in the water before handling the dough. The thin layer of water on your skin creates a barrier that prevents the dough from sticking. Re-wet your hands as needed.
Use a bench scraper or dough scraper to help lift, fold, and move the dough on your work surface. Lightly wetting the scraper can also help. Instead of trying to peel the dough from the surface with your hands, slide the scraper underneath it. This technique is invaluable for pre-shaping and final shaping sticky doughs.
Essential Tools for Working with High-Hydration Sourdough
A sturdy bench scraper is perhaps the most essential tool for managing sticky dough. Look for one with a comfortable handle and a rigid blade. It allows you to portion dough, scrape it from surfaces, and assist in folding and shaping without excessive sticking.
Other useful tools include a non-stick mat or a wooden board that you can wet slightly, rather than flouring heavily. A large, non-stick bowl for bulk fermentation also helps prevent the dough from welding itself to the container, making it easier to turn out. Embracing tools designed for wet dough is key to fixing sticky sourdough dough handling challenges.
Preventing Sticky Sourdough in the Future: Proactive Steps
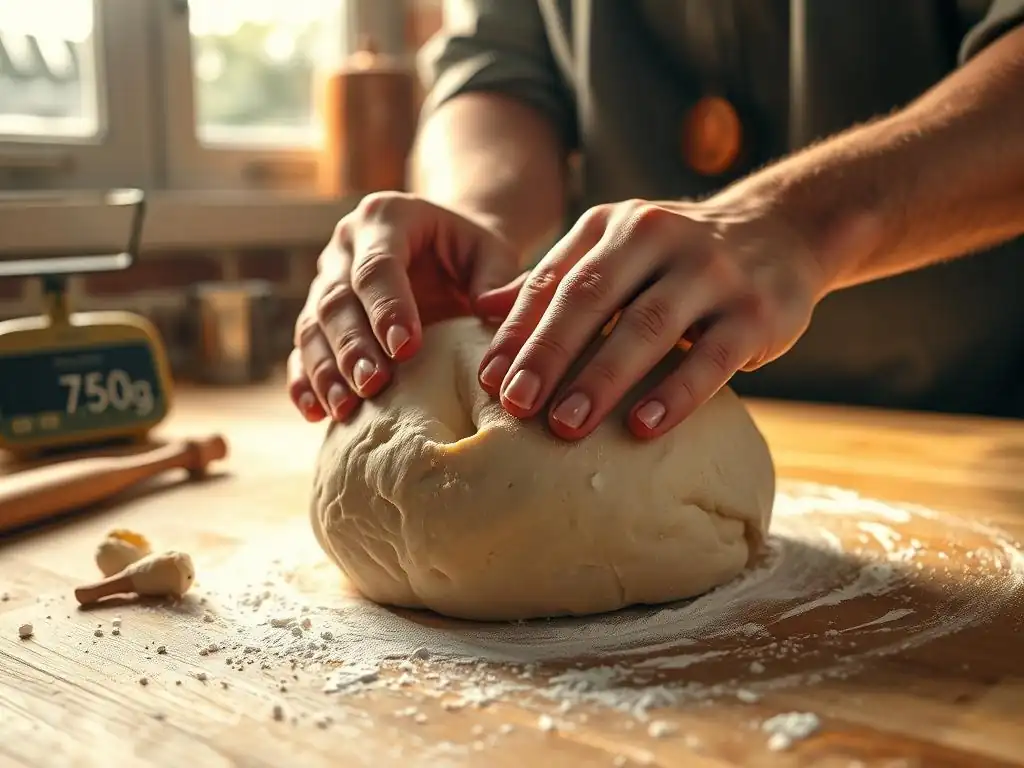
While rescue remedies are helpful, the best approach to fixing sticky sourdough dough is to prevent it from happening in the first place. By being mindful of your ingredients, process, and environment, you can significantly reduce the likelihood of ending up with an unmanageably sticky dough.
Prevention involves paying attention to details from the very beginning of your baking process. It's about building good habits and understanding the science behind sourdough. These proactive steps will not only help avoid stickiness but also contribute to more consistent and successful bakes overall.
Measuring Ingredients Accurately
Precision in measuring ingredients is paramount in baking, especially sourdough. The hydration percentage is based on the exact ratio of water to flour by weight. Even small errors in measurement can significantly alter this ratio and impact dough consistency.
Using a digital scale is highly recommended for both flour and water. Measuring by volume (cups) is notoriously inaccurate because flour compacts differently each time. For example, a cup of all-purpose flour can weigh anywhere from 120g to 150g depending on how it's scooped and packed. This variability can easily throw off your hydration by several percentage points, potentially turning a manageable dough into a sticky one. Weighing ensures you are hitting the target hydration specified in the recipe, making fixing sticky sourdough dough issues related to formula much easier.
Choosing the Right Sourdough Recipe
Selecting a recipe appropriate for your skill level and the flour you have available is crucial. If you are new to sourdough, start with a lower hydration recipe (65-70%) using strong bread flour. These doughs are much more forgiving and easier to handle than high-hydration formulas.
As you gain experience, you can gradually move towards recipes with higher hydration or those incorporating significant amounts of whole grain flours. Reading through the recipe instructions carefully and understanding the required techniques (like specific folding methods) before you begin will also set you up for success and help you anticipate potential challenges. Don't jump straight to an 85% hydration whole wheat loaf if you've only baked 60% hydration white bread.
Mastering the Art of Bulk Fermentation
Bulk fermentation is arguably the most critical stage for developing dough structure and preventing stickiness. It's during this phase that gluten continues to develop (especially with stretching and folding) and the dough gains strength and aeration. Ending bulk fermentation at the right point is key.
An under-fermented dough might be slightly dense, but it's less likely to be excessively sticky compared to an over-fermented one. An over-fermented dough, as discussed, will be slack and sticky due to gluten degradation. Learn to recognize the signs of properly bulked dough: increased volume (typically 50-80%), a domed surface, and the ability to hold tension when shaped. Consistent temperature control and attentive observation are your best allies in mastering bulk fermentation and avoiding the sticky pitfalls of over-proofing.
Conclusion: Embrace the Learning Process and Bake with Ease
Dealing with sticky sourdough dough is a rite of passage for many bakers. While it can be frustrating in the moment, each sticky encounter is a valuable learning opportunity. By understanding the underlying causes – be it hydration, flour type, gluten development, temperature, or fermentation timing – you gain the knowledge needed to troubleshoot and improve your technique.
Remember that sourdough baking is a journey of continuous learning. Not every bake will be perfect, but with practice and attention to detail, you'll develop a better feel for the dough and learn how to manage its unique characteristics. Don't be afraid to experiment slightly with hydration or fermentation times in controlled ways to see how the dough responds.
Key Takeaways for Handling Sticky Sourdough
- Understand Hydration: High hydration means sticky dough is normal; manage it, don't eliminate it. Lower hydration recipes are easier for beginners.
- Flour Matters: Use appropriate flour (high protein bread flour is recommended) for the hydration level.
- Develop Gluten: Ensure adequate kneading or stretching and folding to build dough strength.
- Control Temperature: Manage dough temperature to regulate fermentation speed and prevent gluten breakdown.
- Monitor Fermentation: Watch for visual cues; avoid over-fermenting which weakens dough structure.
- Use Tools: Wet hands and a dough scraper are indispensable for handling sticky doughs.
- Measure Accurately: Use a digital scale to ensure correct ingredient ratios.
- Start Simple: Choose recipes appropriate for your experience level.
Further Resources for Sourdough Baking Success on BakeWithEase.com.
Explore other articles on BakeWithEase.com for more in-depth guides on various aspects of sourdough baking. You can find resources on:
- Maintaining a healthy sourdough starter
- Understanding baker's percentages
- Techniques for stretching and folding
- Shaping sourdough loaves
- Troubleshooting common sourdough issues beyond stickiness
By utilizing the resources available on BakeWithEase.com and applying the principles discussed here, you'll be well-equipped to tackle sticky dough challenges and enjoy the rewarding process of baking delicious sourdough bread. Keep baking, keep learning, and soon you'll be handling sticky dough like a pro!
Frequently Asked Questions
How can I tell if my sourdough dough is too sticky?
The dough will be very difficult to handle, sticking excessively to your hands and the work surface. It will lack structure and shape, making it hard to form a ball.
What are the most common causes of sticky sourdough dough?
Over-hydration is a major culprit, meaning the water to flour ratio is too high. Also, using flour with low protein content can lead to stickiness.
Can I fix sticky sourdough dough after it's already been mixed?
Yes, you can! Gradually add small amounts of flour, mixing thoroughly after each addition, until the dough reaches the desired consistency.
What kind of flour is best for preventing sticky sourdough dough?
Using a high-protein bread flour is crucial. This type of flour develops more gluten, providing strength and structure to the dough and reducing stickiness.
Besides flour, what other factors can affect sourdough dough stickiness?
Ambient humidity and temperature can affect the dough's hydration. Higher humidity may require less water in the recipe to prevent stickiness.
Final Reflection: The Resilience of the Sourdough Starter
The battle against sticky sourdough dough is far more than a baking mishap; it's a microcosm of the challenges we face in pursuing our passions. A perfectly formed loaf represents dedication, patience, and a willingness to learn from setbacks. But even the most experienced bakers encounter the dreaded stickiness, proving that even in the pursuit of perfection, imperfection is inevitable.
The journey of sourdough baking, much like life itself, is filled with unexpected twists and turns. The sticky dough, a frustrating obstacle, ultimately teaches us valuable lessons about adaptability and problem-solving. The greatest glory in living lies not in never falling, but in rising every time we fall.
– Nelson Mandela. This quote perfectly encapsulates the spirit of sourdough baking – and indeed, the spirit of perseverance in any endeavor. The sticky dough becomes a stepping stone, not a stumbling block, pushing us to refine our techniques and deepen our understanding of the process.
You, the baker facing a sticky dough disaster, now possess the knowledge to overcome this challenge. Don't let a sticky mess derail your baking dreams. Remember the lessons learned, the adjustments made, and the satisfaction of finally achieving that perfect loaf. Embrace the sticky moments, for they are the crucible in which your baking skills are forged. Now, go forth and bake!
Rediscover Your Baking Confidence!
Thanks for taking the time to read about sticky dough solutions! We hope you now feel equipped to tackle any doughy challenge. Ready to put your new skills to the test?
- Bake your favorite recipe again, this time with your newfound knowledge! See how much smoother the process is.
- Share your baking triumph (or even your learning experience!) on social media using #BakeWithEase — we’d love to see your creations!
- Explore our other helpful baking guides for more tips and tricks. Perhaps you'll discover a whole new favorite recipe!
What delicious treat are you baking next?