
How to Achieve a Shiny Crust on Your Rolls

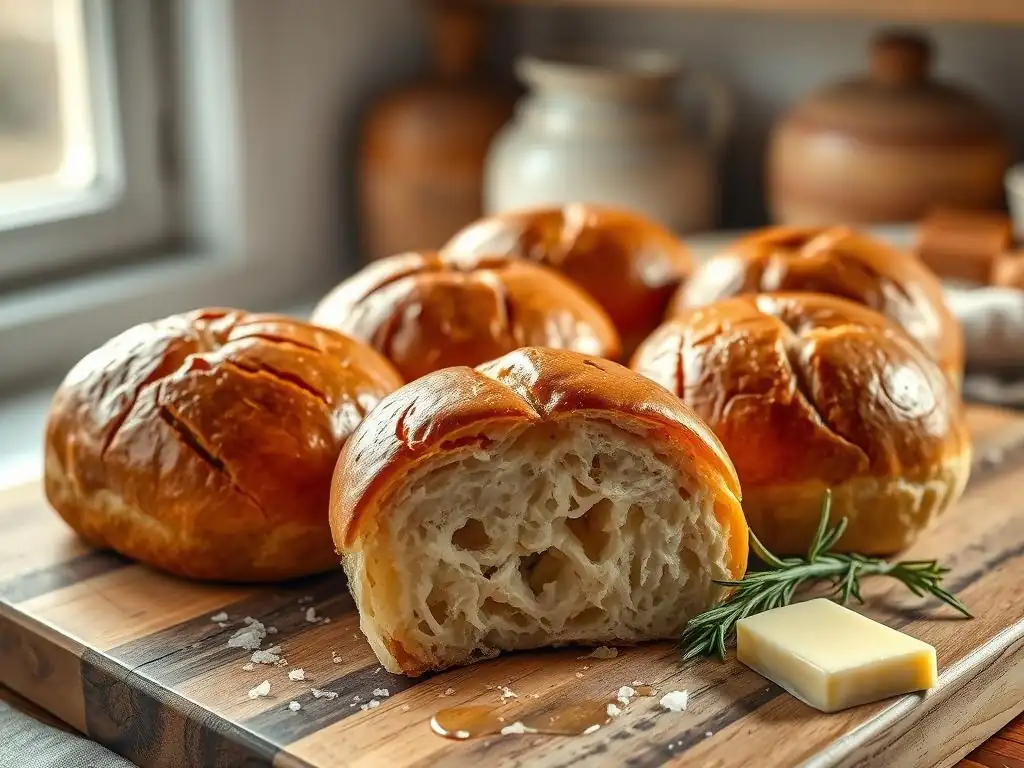
Welcome to BakeWithEase, where your baking dreams become reality! Ever wondered how to achieve that perfectly irresistible, shiny crust on your homemade rolls? This is the secret ingredient to taking your bread baking to the next level. Dive in to our shiny crust rolls recipe and unlock the techniques that will transform your ordinary rolls into bakery-worthy masterpieces. Ready to bake? Let's get started and discover the magic behind that glossy finish!
- Achieving a Perfect Shiny Crust on Dinner Rolls: A Baker's Guide
- Understanding the Science Behind a Shiny Crust
- Step-by-Step Guide to Shiny Crust Dinner Rolls
- Troubleshooting Common Shiny Crust Problems
- Advanced Techniques for Enhanced Shiny Crust Rolls
- Perfecting Shiny Crust Dinner Rolls: Final Tips
-
Frequently Asked Questions
- What is the secret to getting a shiny crust on my rolls?
- What type of wash works best for a shiny crust on rolls?
- At what point in the baking process should I apply the wash to my rolls?
- Does the oven temperature affect the shine of the crust on my rolls?
- Can I use different types of flour to improve the shiny crust on my rolls?
- Final Reflection: The Enduring Allure of a Perfect Crust
- Unleash Your Inner Baker: Achieve That Perfect Shiny Crust!
Achieving a Perfect Shiny Crust on Dinner Rolls: A Baker's Guide
Why a Shiny Crust Enhances Dinner Roll Quality
A beautifully shiny crust is more than just aesthetically pleasing; it's often an indicator of a well-baked roll with a desirable texture. The glossiness comes from the way light reflects off the smooth, thin outer layer of the crust.
This smooth surface is typically achieved through specific baking techniques, such as using steam or washes, which help gelatinize the starches on the surface, creating that characteristic sheen. A shiny crust also suggests the roll has been baked at the right temperature and for the correct duration, contributing to a delicate crunch on the outside that contrasts wonderfully with a soft, fluffy interior.
Beyond the visual appeal, the development of a shiny crust is closely linked to the flavor profile of the roll. The processes that create the shine, like the Maillard reaction and caramelization, contribute to complex flavors and aromas. A well-developed crust, whether shiny or matte, holds significant flavor compounds.
For a shiny crust, the surface starches are often treated in a way that enhances their browning potential, leading to subtle sweet and toasty notes that complement the bread's overall taste. Mastering the shiny crust rolls recipe means not just achieving the look, but also the enhanced flavor and texture that comes with it.
Achieving Consistently Shiny Crusts on Dinner Rolls
Consistency is key when aiming for that perfect sheen on every batch of dinner rolls. It requires attention to detail at multiple stages of the baking process, from mixing the dough to the final moments in the oven. Factors like the dough's hydration level, the method of proofing, how the rolls are shaped, and crucially, the baking environment, all play a significant role. For instance, ensuring your oven reaches and maintains the correct temperature is vital, as is the consistent application of steam during the initial baking phase.
Achieving a consistently shiny crust also involves understanding how different washes affect the final outcome. An egg wash, for example, provides a very different kind of shine compared to a milk wash or simply relying on steam. Documenting your process – including specifics like oven temperature, steam duration, and proofing times – can help you replicate successful results. If one batch of your shiny crust rolls recipe turns out perfectly, note down every variable so you can repeat the magic next time. Small variations in technique can lead to significant differences in the final crust appearance.
Understanding the Science Behind a Shiny Crust
The Maillard Reaction and Crust Color
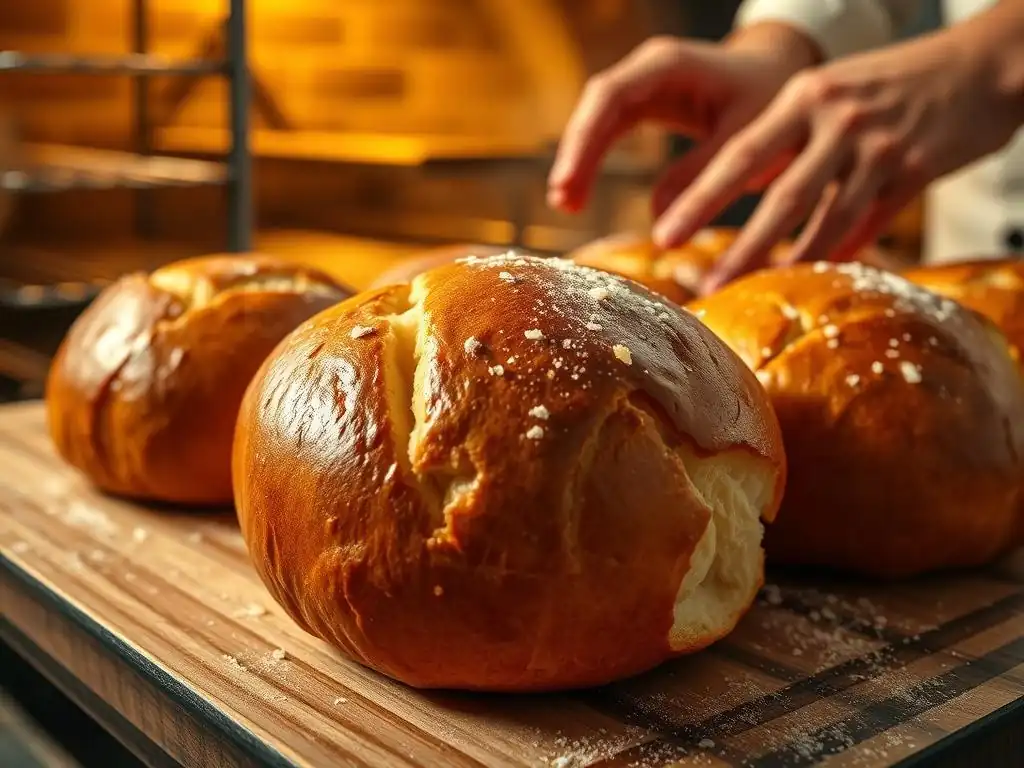
The Maillard reaction is a complex chemical process responsible for the browning and development of many flavors in baked goods, including bread crusts. It occurs when amino acids and reducing sugars react at high temperatures (typically above 300°F or 150°C). This reaction creates hundreds of different flavor compounds and contributes significantly to the golden or brown color of the crust. While steam helps develop the initial shine by keeping the surface moist longer, allowing for better expansion and a thinner crust, the Maillard reaction is what provides the rich color underneath that shine.
For dinner rolls, the Maillard reaction begins as the surface temperature rises in the hot oven. The sugars present in the dough, whether naturally occurring or added (like sugar or honey), react with proteins, leading to the desirable brown hues and complex aromas we associate with baked bread.
Doughs enriched with milk or sugar tend to brown more readily due to the presence of lactose (a sugar) and other reactive compounds. Mastering the Maillard reaction is crucial for achieving not just a shiny crust but also a beautifully colored and flavorful one, enhancing the overall appeal of your shiny crust rolls recipe.
The Role of Steam in Crust Development
Steam is arguably the most critical factor in achieving a thin, crispy, and ultimately shiny crust on dinner rolls. When bread is first placed in a hot oven, the surface temperature rises rapidly. Without steam, the surface would quickly dry out and form a hard crust prematurely, restricting the roll's ability to expand fully (oven spring). Steam, however, keeps the surface of the dough moist for a longer period. This moisture allows the starches on the surface to gelatinize – essentially turning into a gel-like state.
This gelatinization process, combined with the continued expansion of the dough within the steamy environment, results in a thinner, more pliable crust during the initial baking phase. As the steam dissipates and the oven temperature increases the surface temperature further, this gelatinized layer dries out and becomes firm and crisp. The smooth, even surface created by the steam and gelatinization is what reflects light so effectively, resulting in that coveted shine. For a successful shiny crust rolls recipe, generating sufficient steam in your oven is non-negotiable.
Step-by-Step Guide to Shiny Crust Dinner Rolls
Step 1: Selecting the Right Dough for Dinner Rolls
Choosing Bread Flour for Optimal Gluten Development
Selecting the correct flour is foundational for any bread recipe, including a shiny crust rolls recipe. Bread flour is typically recommended because it has a higher protein content (around 12-14%) compared to all-purpose flour (around 10-12%). This higher protein level means more gluten development is possible. Gluten, a network formed when proteins (glutenin and gliadin) in the flour combine with water and are worked through kneading, provides the dough with structure and elasticity. A strong gluten network is essential for trapping the gases produced by yeast, allowing the rolls to rise properly and maintain their shape.
Optimal gluten development leads to a dough that is smooth, elastic, and has good oven spring. This strength and elasticity are crucial for the dough to expand evenly in the oven, contributing to a smooth, even surface before the crust sets – a key factor for achieving shine. While all-purpose flour can work for some rolls, using bread flour generally yields a more reliable structure and better volume, making it easier to achieve that desired shiny crust. For a truly professional-looking shiny crust rolls recipe, start with high-quality bread flour.
Using Enriched Dough for Softness and Shine
Enriched doughs, which include ingredients like milk, eggs, butter, and sugar, are commonly used for dinner rolls. These ingredients contribute significantly to the rolls' softness, tenderness, and also their crust characteristics. Milk, for example, contains lactose, a sugar that doesn't get consumed by yeast during fermentation but participates readily in the Maillard reaction during baking, promoting browning and contributing to a richer color. The fat from butter and eggs adds tenderness to the crumb and can also influence the crust texture.
Furthermore, sugar added to the dough not only provides food for the yeast but also contributes to caramelization and the Maillard reaction, enhancing crust color and flavor. The proteins in milk and eggs also play a role in the Maillard reaction. While steam is the primary driver of initial shine, the composition of an enriched dough often results in a crust that browns beautifully and can hold a wash effectively, contributing to the overall gleam of your shiny crust rolls. A classic shiny crust rolls recipe often utilizes an enriched base for its superior texture and browning capabilities.
Step 2: Mastering the Dough Preparation Technique
Kneading and Proofing for Gluten Development
Proper kneading is essential for developing the gluten network in the dough. Whether done by hand or stand mixer, kneading aligns the gluten strands, creating a strong, elastic dough that can hold its shape and rise well. Insufficient kneading results in a weak dough that produces dense rolls with a poor structure and potentially a dull crust. You know your dough is sufficiently kneaded when it passes the "windowpane test" – you should be able to stretch a small piece thin enough to see light through it without it tearing.
Proofing, the process where yeast ferments sugars and produces carbon dioxide gas, is equally important. The first proof (bulk fermentation) allows the gluten to relax and the dough to develop flavor. The second proof (after shaping) inflates the rolls, preparing them for the oven. Over-proofing can lead to collapsed rolls or a pale, dull crust because the yeast has exhausted its food source and the dough structure is weakened. Under-proofing results in dense rolls that don't rise well. Proper kneading and proofing create the ideal dough structure needed for a beautiful shiny crust.
Achieving a Smooth and Elastic Dough
A smooth and elastic dough is a prerequisite for achieving a smooth, shiny crust. This characteristic is primarily developed through effective kneading. As you knead, the dough should become less sticky and more pliable, stretching without tearing easily. The surface should appear smooth and taut. If your dough is rough or shaggy after the initial mix, continue kneading until it transforms into a smooth ball. This smooth surface tension is what you want to maintain throughout the shaping process.
Maintaining the correct dough hydration is also crucial for achieving a smooth dough. If the dough is too dry, it will be difficult to knead into a smooth, elastic state and may result in a thicker, less shiny crust. If it's too wet, it can be difficult to handle and shape neatly, potentially leading to an uneven crust. Aim for a dough that is slightly tacky but manageable. A well-hydrated, smoothly kneaded dough sets the stage for the surface characteristics needed in a shiny crust rolls recipe.
Step 3: Shaping Your Rolls for a Uniform Shine
Shaping Techniques for Round Dinner Rolls
Consistent shaping is vital for uniform baking and an even shine. The most common shape for dinner rolls is a simple round ball. To achieve this, take a portion of dough and gently pull the edges underneath, creating surface tension on top. Cup your hand around the dough ball on a lightly floured or un-floured surface and move your hand in a circular motion, applying gentle downward pressure. This motion helps create a smooth, taut surface on the top of the roll and seals the seams underneath.
Another technique involves flattening the dough portion slightly, folding the edges into the center like an envelope, pinching the seams, and then flipping it over and rounding it as described above. The goal is always a smooth, seamless top surface with the dough pulled tight. This taut surface will expand evenly in the oven and is ready to receive a wash or benefit from steam for maximum shine. Sloppy shaping can lead to uneven surfaces, cracks, and a patchy shine.
Avoiding Air Pockets During Shaping
Trapped air pockets within the shaped roll can disrupt the even rise and potentially lead to an uneven crust or even small blowouts during baking. Before shaping, gently degas the dough after the first proof. This doesn't mean knocking all the air out, but rather gently pressing or folding the dough to release large pockets of gas. When dividing the dough, try to handle it gently to avoid incorporating new air.
During the rounding process, focus on creating a smooth, tight surface. If you feel a large air bubble trapped inside, you can gently press on the side of the roll to encourage it towards the seam underneath. The technique of pulling the dough edges underneath and sealing them helps ensure a solid, air-pocket-free interior structure beneath the smooth exterior. A well-shaped roll with no internal air pockets will expand more predictably, contributing to a uniformly shiny crust.
Step 4: Creating Steam in Your Oven
Methods for Generating Steam: Ice Cubes vs. Dutch Oven
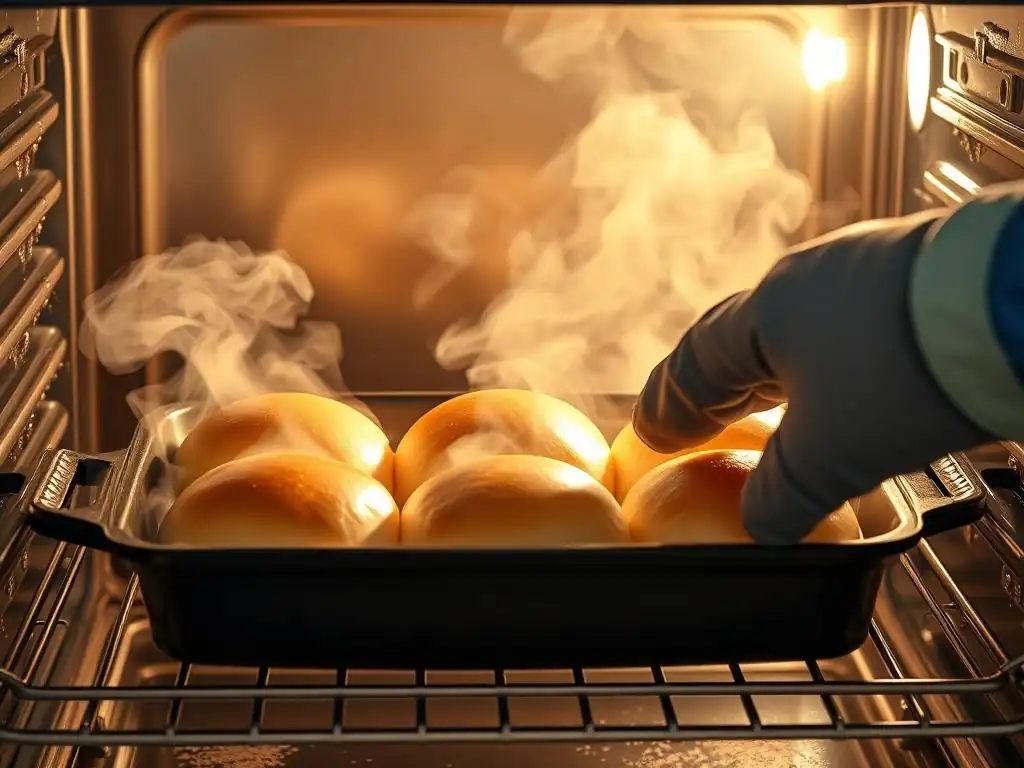
Generating steam in a home oven is crucial for achieving a shiny crust on your dinner rolls. One common method is using a steam pan. Place a metal pan (like a broiler pan or an old baking sheet) on the bottom rack of your oven while it preheats. Just before loading the rolls, carefully pour about 1 cup of hot water or a handful of ice cubes into the hot pan.
Ice cubes are often preferred as they release steam more gradually and intensely. Be extremely careful to avoid steam burns. Close the oven door quickly to trap the steam.
Another highly effective method, especially for smaller batches, is baking in a preheated Dutch oven. The heavy lid traps the moisture released by the dough as it heats, creating a steamy micro-environment around the rolls. After about 15-20 minutes, the lid is removed to allow the crust to brown and crisp up. While a Dutch oven is excellent, it might limit the number of rolls you can bake at once. For a full tray of shiny crust rolls, the steam pan method is usually more practical.
Timing and Amount of Steam for Best Results
The timing of steam introduction is critical. Steam should be present during the initial phase of baking, typically the first 10-15 minutes, while the oven spring is occurring and the crust is still pliable. Introducing steam too late is ineffective as the crust will have already begun to set. The amount of steam needs to be sufficient to keep the surface moist for this period, but not so excessive that it cools the oven significantly or persists for too long, which can result in a thick, leathery crust.
For the steam pan method, 1 to 1.5 cups of hot water or a good handful of ice cubes (around 1-2 cups worth) is usually adequate for a standard home oven baking a tray of rolls. Ensure the pan is hot when you add the water/ice for instant steam generation. After the initial 10-15 minutes, open the oven door briefly (and carefully!) to allow the excess steam to escape. This transition from a steamy environment to a dry, hot one is what allows the crust to set and brown beautifully after the initial shine has developed.
Step 5: Baking to Golden Perfection: Achieving Ideal Color
Oven Temperature and Baking Time for Dinner Rolls
Baking temperature and time are critical for developing both the internal structure and the crust color of your dinner rolls. Most dinner roll recipes call for a relatively high oven temperature, often between 375°F and 400°F (190°C and 200°C). The high initial heat, combined with steam, promotes good oven spring and the development of a thin crust. After the steam phase (if used), the dry heat allows the crust to brown via the Maillard reaction and caramelization.
Baking time for dinner rolls typically ranges from 15 to 25 minutes, depending on their size and the specific recipe. It's essential to bake them until they reach a golden-brown color and are cooked through. A roll that is pale will lack flavor and likely won't have the desired shiny crust, even if steam was used. Over-baking, however, can result in a thick, hard crust and dry interior. Keep a close eye on the rolls during the last 5-10 minutes of baking, as browning can happen quickly.
Monitoring Internal Temperature with a Thermometer
While visual cues like color are helpful, the most reliable way to ensure your dinner rolls are perfectly baked is to check their internal temperature using an instant-read thermometer. For most enriched dinner rolls, the internal temperature should register between 190°F and 200°F (88°C and 93°C). At this temperature, the starches have fully gelatinized and the proteins have set, ensuring the crumb is cooked through and has the desired tender texture.
Insert the thermometer into the side or bottom of a roll, avoiding going all the way through. Checking the temperature of a couple of rolls from different parts of the baking sheet (edges vs. center) can account for potential hot spots in your oven. Relying solely on baking time can be misleading due to variations in ovens and roll size. Using a thermometer guarantees consistently cooked rolls, which is part of achieving the ideal texture that complements a shiny crust.
Step 6: The Egg Wash for Extra Shine (Optional)
Preparing and Applying an Egg Wash
An egg wash is a classic technique used to enhance the shine and color of bread crusts. A standard egg wash is made by whisking one whole egg with a tablespoon or two of water or milk. The protein in the egg provides the shine, while the liquid makes it easier to apply a thin, even coat. For a deeper golden color and even more shine, some bakers use only the egg yolk mixed with liquid. For a softer, less intense shine, just the egg white with water works.
Apply the egg wash with a pastry brush just before baking, or sometimes after the steam phase and before the final browning. Ensure the wash is applied evenly and avoid letting it pool around the base of the rolls, which can glue them together or create a thick, rubbery band. A thin, uniform layer is key. This step is optional but highly effective for achieving that signature glossy finish on your shiny crust rolls recipe.
Milk Wash for a Softer Shine
If you're looking for a less intense shine than an egg wash provides, or if you need a dairy-free alternative to an egg wash using milk, a simple milk wash is a good option. A milk wash involves brushing the rolls with milk (whole milk works well due to its fat content) before baking. The sugars and fats in the milk contribute to browning and a gentle sheen.
Alternatively, brushing with melted butter after baking can also add a soft shine and richness, though this doesn't contribute to the initial crust development like a wash applied before baking. A milk wash gives a softer, more subtle gloss compared to the mirror-like finish achievable with a full egg wash, providing a slightly different but still appealing look to your shiny crust rolls.
Troubleshooting Common Shiny Crust Problems
Dull Crusts: Identifying Causes and Solutions
Increasing Steam for a Glossier Finish
If your dinner rolls are coming out with a matte or dull finish instead of a beautiful shine, the most likely culprit is insufficient steam during the initial baking phase. Without adequate moisture in the oven, the surface of the dough dries out too quickly, preventing the starches from properly gelatinizing and creating that smooth, light-reflecting surface.
To remedy this, ensure your steam method is effective. Are you using enough water or ice cubes in your steam pan? Is the pan hot enough to generate steam immediately? Are you opening the oven door too frequently during the first 10-15 minutes, allowing steam to escape?
Try increasing the amount of water or ice, ensuring the steam pan is piping hot, and keeping the oven door closed during the crucial initial phase. If using a Dutch oven, ensure the lid is well-sealed. More effective steam generation is often the key to transforming a dull crust into a glossy one for your shiny crust rolls recipe.
Adjusting Oven Temperature for Optimal Browning
While steam is crucial for shine, the oven temperature plays a significant role in the overall crust development and color. If your rolls are pale and dull, it might indicate the oven temperature is too low, preventing the Maillard reaction and caramelization from occurring effectively. A low temperature also means the crust sets more slowly and might not develop the necessary tension for a smooth finish.
Conversely, if the oven is too hot, the crust might set too quickly, becoming thick and potentially cracking, which also inhibits shine. Ensure your oven thermostat is accurate (an oven thermometer is a good investment). Baking at the recommended temperature, typically 375-400°F (190-200°C), after the steam phase allows for proper browning and crust development. Experiment slightly with temperature and position in the oven to find the sweet spot that yields a golden, shiny finish.
Uneven Crusts: Addressing Uneven Baking
Rotating Rolls for Even Browning
Uneven browning and crust development are often caused by hot spots in your oven. Some areas might be hotter than others, leading to rolls on one side of the baking sheet browning much faster than those on the other. This unevenness can result in some rolls having a lovely shiny crust while others remain pale or become too dark.
To combat this, rotate your baking sheet halfway through the baking time. For dinner rolls baking for 20 minutes, rotate the tray 180 degrees after 10 minutes. This exposes all the rolls to different parts of the oven, promoting more uniform heating and browning across the batch. Consistent rotation helps ensure that every roll in your shiny crust rolls recipe batch develops a beautiful, even crust.
Using a Baking Stone for Consistent Heat
A baking stone or steel can significantly improve heat distribution in your oven, leading to more even baking and better crust development. Place the stone or steel on the middle or lower rack during the entire preheating process (which can take 45-60 minutes for the stone to heat thoroughly). The stone absorbs and radiates heat evenly, reducing temperature fluctuations and providing a consistent base temperature for your baking sheet.
When you place the baking sheet of rolls onto the hot stone, the stone provides an initial burst of heat to the bottom of the rolls, promoting oven spring and contributing to a well-developed bottom crust. This consistent heat transfer helps ensure that all rolls on the sheet bake more uniformly, making it easier to achieve a batch of shiny crust rolls with consistent results from edge to edge.
Crust Too Thick or Too Thin: Fine-Tuning Technique
Dough Hydration and Crust Thickness
The hydration level of your dough (the ratio of water to flour) significantly impacts the final crust thickness. A dough with higher hydration (more water) tends to produce a thinner, more open crumb and a thinner crust. This is because the extra water turns into steam during baking, expanding the dough more aggressively and keeping the crust pliable longer. Conversely, a lower hydration dough results in a denser crumb and a thicker, chewier crust.
For a thin, shiny crust, ensure your dough has adequate hydration as specified in the recipe, or even slightly increase it if you're comfortable handling a wetter dough (perhaps by 1-2%). Be mindful that very high hydration doughs can be challenging to shape. Finding the right balance for your shiny crust rolls recipe involves considering both the desired crumb texture and crust thickness.
Adjusting Baking Time for Desired Crust Texture
Baking time directly affects the thickness and crispness of the crust. The longer the rolls bake, the more moisture is driven out, and the thicker and firmer the crust becomes. If your crust is consistently too thick, try reducing the baking time slightly, assuming the internal temperature has reached the target 190-200°F (88-93°C). You might achieve the desired internal doneness just as the crust reaches your preferred thickness.
If the crust is too thin or not firm enough, try increasing the baking time by a few minutes. This allows more moisture to escape and the crust to continue developing color and structure. Ensure you monitor closely to prevent burning. Adjusting baking time requires balancing internal doneness, crust color, and crust thickness to get the perfect shiny crust rolls.
Advanced Techniques for Enhanced Shiny Crust Rolls
Using Diastatic Malt Powder for Color and Shine
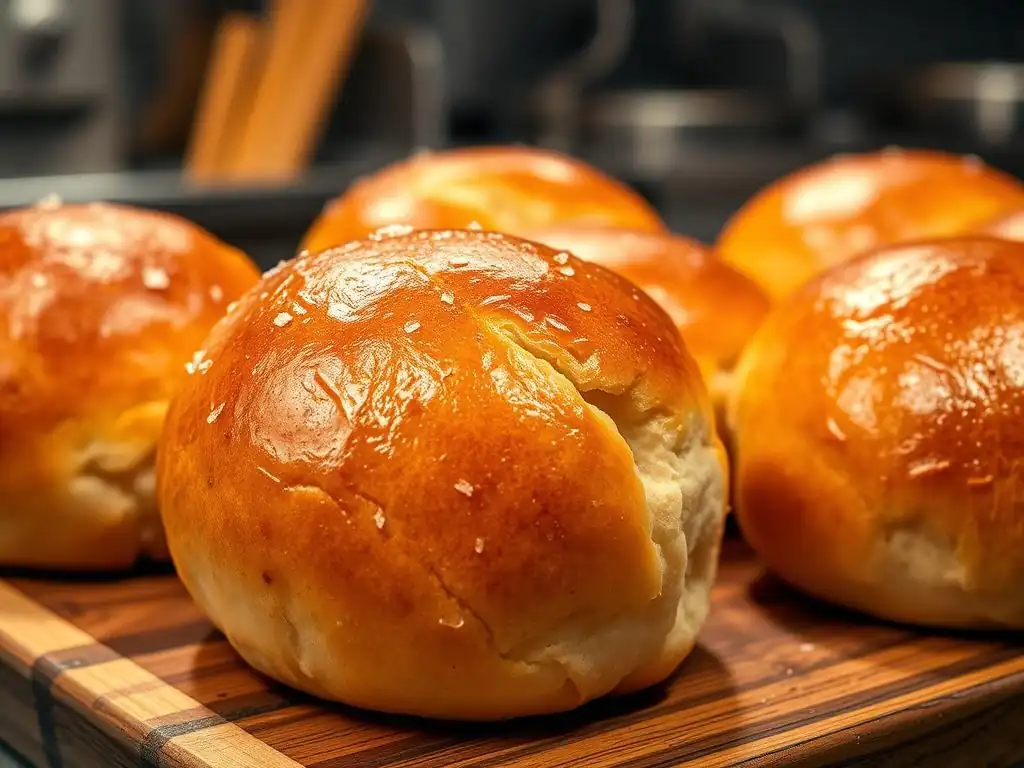
Diastatic malt powder is an ingredient often used by professional bakers to improve dough fermentation, crumb structure, and crust color. It contains active enzymes (amylase) that break down starches in the flour into simple sugars. These additional sugars provide more food for the yeast, leading to a more vigorous rise, and also contribute more readily to the Maillard reaction and caramelization during baking.
Adding a small amount of diastatic malt powder (typically 0.5% to 1% of the flour weight) can lead to a more golden-brown crust and potentially enhance the shine due to improved browning. Be cautious not to use too much, as excessive enzymatic activity can lead to a gummy crumb. This ingredient is a subtle but effective way to boost the color and gleam of your shiny crust rolls.
Adding Honey to the Dough for Caramelization
Honey is a natural sugar that can significantly contribute to crust color and flavor through caramelization. Unlike granulated sugar, honey contains a mix of fructose and glucose, which brown more readily at oven temperatures. When added to the dough, honey provides fermentable sugars for the yeast and residual sugars that participate in the Maillard reaction and caramelization during baking.
Including a tablespoon or two of honey in your shiny crust rolls recipe dough can result in a deeper golden-brown crust compared to using only granulated sugar. The caramelization process creates rich, slightly sweet notes that complement the bread's flavor. The resulting crust tends to be beautifully colored, which enhances the visual appeal of the shine.
Overnight Proofing: Developing Flavor and Crust
Overnight proofing in the refrigerator is a technique that slows down fermentation, allowing flavors to develop more complexly. While primarily used for flavor, this slow, cold proof can also impact crust development. As the dough proofs slowly, it develops a smoother, more relaxed structure. When the cold dough is placed in a hot oven (often directly from the fridge), the large temperature differential can contribute to excellent oven spring and a potentially thinner crust.
The longer fermentation time also allows enzymes to break down starches and proteins, which can influence the dough's behavior and browning characteristics during baking. While not a guaranteed method for more shine on its own, overnight proofing can improve the overall dough quality and oven spring, creating a better foundation for achieving a shiny crust through steam and washes. It's a technique worth experimenting with in your shiny crust rolls recipe for both flavor and potential crust benefits.
Perfecting Shiny Crust Dinner Rolls: Final Tips
Practice and Experimentation
Achieving the perfect shiny crust on your dinner rolls is a skill that improves with practice. Baking is a science, but it also involves artistry and intuition, especially when working with variables like oven performance and environmental conditions. Don't be discouraged if your first few batches aren't perfectly glossy. Each bake is a learning opportunity.
Keep notes on what you change and how it affects the outcome – slight adjustments to water temperature, kneading time, proofing duration, steam method, or baking temperature can all have an impact. Experiment with different washes (egg, milk, water), varying the ratio of liquid to egg. Trying a different shiny crust rolls recipe or tweaking your current one based on your observations is part of the journey to baking mastery.
Storing Dinner Rolls to Maintain Freshness
Once you've achieved that glorious shiny crust, proper storage is key to maintaining both the texture and freshness of your dinner rolls. Allow the rolls to cool completely on a wire rack before storing. Storing warm rolls will trap moisture and make the crust soggy. Once cooled, store them in a bread box, a paper bag (for crust preservation), or a loosely sealed plastic bag or container (for softness).
For longer storage, dinner rolls freeze exceptionally well. Cool them completely, then place them in a freezer-safe bag or container. To reheat and refresh the crust, thaw them at room temperature, then pop them in a preheated oven at 300-325°F (150-160°C) for 5-10 minutes. This gentle reheat can help revive some of the crust's original texture and shine.
Serving and Enjoying Homemade Shiny Crust Dinner Rolls!
The final step is the most rewarding: serving and enjoying your beautiful homemade shiny crust dinner rolls! Serve them warm from the oven for the best experience, allowing guests to appreciate the contrast between the delicate, shiny crust and the soft, fluffy interior. They are wonderful served simply with butter, or as an accompaniment to soups, stews, or any meal.
Sharing your successful shiny crust rolls recipe creations with friends and family is part of the joy of baking. Take a moment to admire their glossy tops before they disappear! You've put in the effort to understand the science and master the techniques, and now it's time to savor the delicious results of your perfectly baked, shiny crust dinner rolls.
Frequently Asked Questions
What is the secret to getting a shiny crust on my rolls?
The key is often a wash applied before baking. Common washes include egg wash, milk wash, or even a simple sugar syrup glaze.
What type of wash works best for a shiny crust on rolls?
Egg washes generally produce the most pronounced shine, while milk washes offer a softer, more subtle sheen. Sugar syrup adds a hint of sweetness.
At what point in the baking process should I apply the wash to my rolls?
Apply the wash just before placing the rolls in the oven. This prevents the wash from drying out or being absorbed too much by the dough.
Does the oven temperature affect the shine of the crust on my rolls?
Yes, a hot oven helps to set the wash quickly, creating a more pronounced and durable shine. Consider starting at a slightly higher temperature.
Can I use different types of flour to improve the shiny crust on my rolls?
While the wash is the primary factor, using bread flour, which has a higher protein content, can contribute to a better crust structure and overall shine.
Final Reflection: The Enduring Allure of a Perfect Crust
The quest for the perfect shiny crust on a roll transcends mere culinary technique; it's a pursuit of culinary excellence, a testament to the power of precision and passion in the kitchen. This article explored the multifaceted process of achieving that coveted gleam, from understanding the role of steam to mastering the art of the final bake. But more than just a recipe, it's a journey into the heart of bread-making itself, a reminder that even the smallest details can make all the difference in the final product.
The pursuit of a perfect crust mirrors our own journeys in life. We strive for that same shine, that same sense of accomplishment, in our personal and professional endeavors. The dedication required to master this seemingly simple task reflects the dedication needed to achieve any goal. The reward of a thing well done is to have done it.
This quote speaks to the profound satisfaction derived from mastering a skill, and the shiny crust of a perfectly baked roll is a tangible representation of that achievement.
Now, I invite you to take what you've learned and apply it not just to your baking, but to your life. Consider the areas where you strive for perfection, where you seek that same radiant finish. Embrace the process, learn from each attempt, and don't be afraid to experiment. The journey towards mastery is as rewarding as the destination, and the next perfectly shiny roll you bake will be a testament to your dedication and perseverance. So, go forth and bake!
Unleash Your Inner Baker: Achieve That Perfect Shiny Crust!
Thanks for taking the time to learn how to achieve that irresistible, glossy shine on your rolls! We hope you've gained valuable baking knowledge. Now it's time to put it into practice.
Here's what you can do next:
- Bake a batch of rolls today! Use the techniques you just learned to create those stunning, shiny rolls you’ve always dreamed of. This is your chance to shine!
- Experiment with different glazes and techniques. Try variations on the egg wash or explore alternative glazes like milk washes or even honey glazes. Let your creativity flow!
- Share your baking triumphs (and even your baking fails!) with our community on social media using #BakeWithEaseShinyRolls – we'd love to see your results!
Ready to transform your baking game? What's the first roll recipe you'll be trying out?