
Simple Yeast Rustic Bread That Tastes Like Sourdough

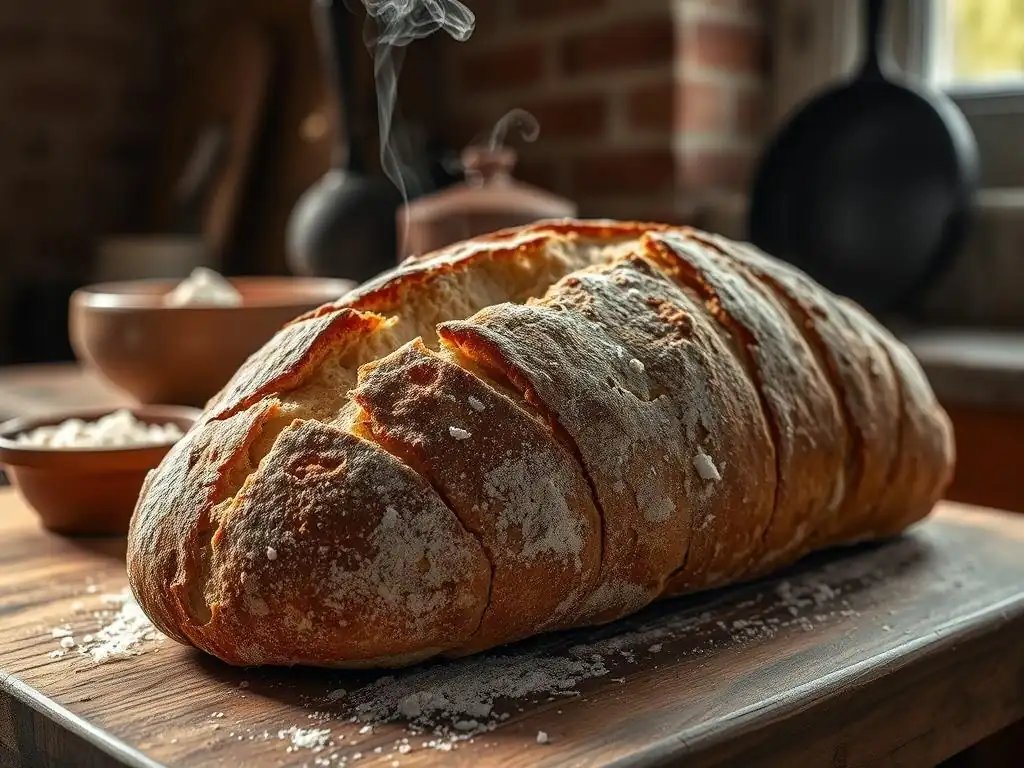
Welcome to BakeWithEase, where baking becomes a delightful journey! Ever dreamt of creating that perfectly crusty, tangy sourdough loaf without the fuss? You're in the right place. Discover our Easy Sourdough Rustic Bread Recipe – a surprisingly simple shortcut to achieve that coveted sourdough flavor. Curious to see how we make it happen? Let's get baking!
- Simple Rustic Bread with Overnight Rise: An Easy Recipe by Sally's Baking Addiction
- Introduction: Rustic Bread Made Easy with Yeast - A Flavorful Loaf with Minimal Effort
- Why This Easy Rustic Bread Recipe Works
-
Easy Rustic Bread Recipe: Step-by-Step Instructions
- Ingredients List: Simple, Accessible Ingredients for Your Rustic Bread
- Equipment You'll Need: Baking Essentials for Rustic Bread Success
- Step 1: Preparing the Dough - Mixing and Overnight Rise
- Step 2: Shaping the Rustic Loaf - Creating That Signature Round
- Step 3: Baking Your Simple Rustic Bread - Achieving a Golden Crust
- Step 4: Cooling and Enjoying Your Rustic Bread
- Tips and Tricks for Baking the Best Easy Rustic Bread
- Storing Your Homemade Rustic Bread for Maximum Freshness
- Conclusion: Enjoy Delicious Homemade Rustic Bread with Ease
- Frequently Asked Questions
- Final Reflection: The Humble Yeast's Unexpected Sourdough Journey
- Unleash Your Inner Baker: Craft Your Own Rustic Loaf!
Simple Rustic Bread with Overnight Rise: An Easy Recipe by Sally's Baking Addiction
Introduction: Rustic Bread Made Easy with Yeast - A Flavorful Loaf with Minimal Effort
Craving a Crusty Loaf? Get Delicious Flavor with an Overnight Rise!
There's something undeniably satisfying about a warm, crusty loaf of rustic bread. The crackle of the crust, the soft, airy interior, and that slightly tangy flavor often associated with long-fermented doughs – it's pure comfort. Many people associate this profile with traditional sourdough, which requires maintaining a live starter.
However, achieving a similar depth of flavor and texture is entirely possible using commercial yeast, provided you employ the right techniques. This article will guide you through an incredibly simple yet effective method, popularized by bakers like Sally of Sally's Baking Addiction, to make a delicious yeast rustic bread that boasts an impressive flavor profile, reminiscent of an easy sourdough rustic bread recipe.
This approach leverages the power of time and low temperatures to develop complex flavors without the fuss of feeding a starter. By allowing the dough to ferment slowly in the refrigerator, typically for 12 to 24 hours, enzymatic activity breaks down starches into sugars, contributing to a richer taste and better crust browning.
This long, cold rest also helps relax the gluten, making the dough easier to handle and contributing to that sought-after open crumb structure. Forget complicated kneading or multiple rises throughout the day; this method simplifies the process, making beautiful, flavorful rustic bread accessible to even the busiest home baker.
Sally's Baking Addiction Presents: A Simple Rustic Bread Recipe Anyone Can Master
Sally's Baking Addiction is renowned for making seemingly complex baking projects approachable, and her take on easy rustic bread is no exception. This particular recipe focuses on minimal hands-on time, allowing refrigeration to do most of the work. It's designed so that even beginners can achieve results that look and taste like they came from a professional bakery. The ingredient list is short and common, typically requiring just four main items: flour, water, yeast, and salt.
The genius of this simple rustic bread lies in its technique: a no-knead approach combined with a long, cold fermentation. This method not only develops flavor but also simplifies the process dramatically. Instead of spending 10-15 minutes kneading, you simply stir the ingredients together, let it rest briefly, and then transfer it to the refrigerator.
This ease of preparation makes it an ideal weekend project – mix the dough Friday evening, and bake a fresh loaf Saturday morning. It truly offers an "easy sourdough rustic bread recipe" experience in terms of flavor and texture, but with the predictability and convenience of commercial yeast.
Why This Easy Rustic Bread Recipe Works
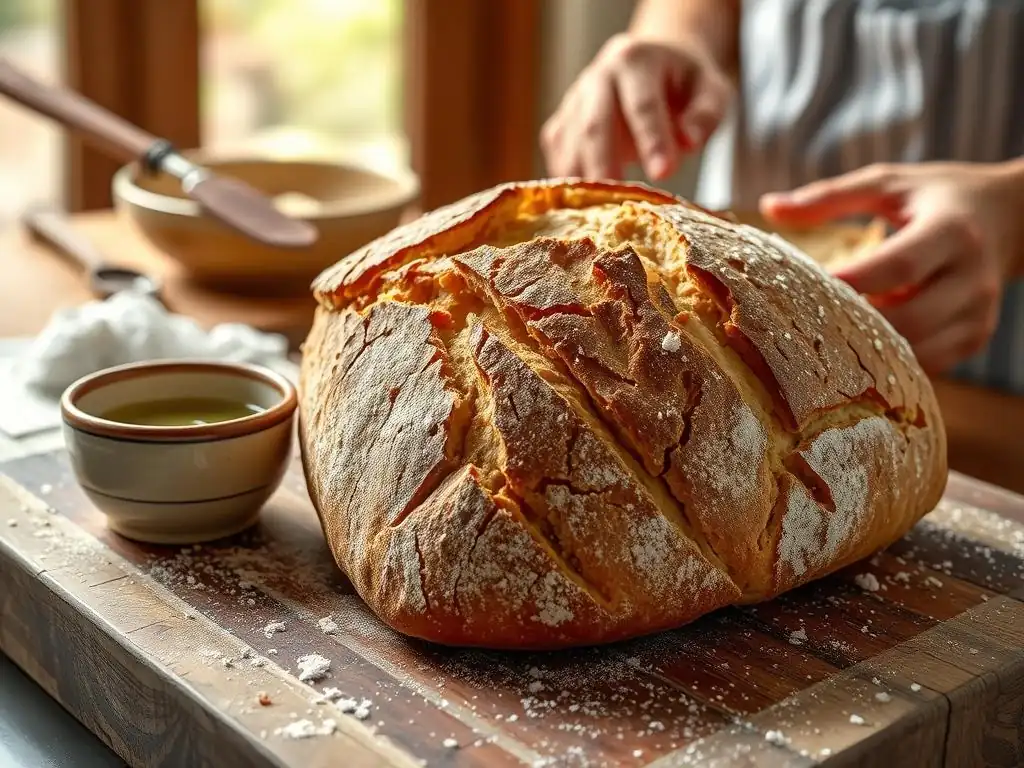
Achieving a Deep Flavor with a Long, Cold Fermentation
The secret to this easy rustic bread tasting so complex and similar to an easy sourdough rustic bread recipe lies primarily in the long, cold fermentation period. When yeast works slowly at cold temperatures (around 4°C or 40°F), it produces different byproducts than it does during a rapid rise at room temperature. This slow activity allows beneficial enzymes in the flour to break down complex starches into simpler sugars, which the yeast then consumes. This enzymatic action contributes significantly to the depth and complexity of the flavor, mimicking some of the nuanced notes found in traditional sourdough fermentation.
Furthermore, the extended fermentation time allows organic acids to develop, contributing to the slight tanginess often desired in rustic loaves, much like the tang in sourdough. While it won't have the same microbial diversity or sourness as a true sourdough starter, the cold fermentation provides a remarkably similar profile compared to a quickly risen yeast bread. Allowing the dough to rest in the refrigerator for 12 to 24 hours, or even up to 3 days, enhances these flavors, resulting in a bread that is far more interesting and delicious than a standard quick yeast loaf.
The Secret to a Chewy Interior and Crispy Crust
Achieving the perfect rustic bread texture – a chewy interior contrasted with a shatteringly crisp crust – is a hallmark of this recipe. The high hydration level, typical for rustic bread doughs (often ranging from 70% to 85% water relative to flour weight), is crucial for creating a moist, open crumb structure. This high water content allows for significant steam production during baking, which is key to developing large air pockets and a tender interior. The long, cold fermentation also helps develop the gluten structure without intensive kneading; the time allows the protein networks to align and strengthen naturally.
The crispy crust is achieved through a combination of high baking temperature and steam. Baking the loaf in a preheated Dutch oven is a common and highly effective technique used in this type of recipe. The lidded pot traps the moisture released from the dough as it bakes, creating a steamy environment around the loaf during the initial phase of baking.
This steam keeps the surface of the dough moist and pliable, allowing it to expand fully before the crust sets. Once the lid is removed, the high dry heat finishes the baking, allowing the now-expanded crust to rapidly dry out and become incredibly crispy and golden brown.
Perfect for Weekends: Prepare the Dough the Night Before
One of the most appealing aspects of this easy rustic bread recipe is its compatibility with a busy schedule, particularly making it ideal for weekend baking. The primary hands-on work – mixing the dough – takes mere minutes and is typically done the evening before you plan to bake.
After a brief rest at room temperature (sometimes as short as 30 minutes to an hour), the dough goes into the refrigerator for its long, slow fermentation. This means you can mix the dough on a Friday night, let it chill all day Saturday, and bake a fresh loaf Saturday evening or even Sunday morning.
This overnight or multi-day rise in the refrigerator transforms the dough while you're asleep or going about your day. It develops flavor and texture, and by the time you're ready to bake, the dough is perfectly proofed and ready to be shaped and baked. This streamlined approach eliminates the need to be home for multiple rises throughout the day, making fresh, homemade easy rustic bread achievable even for those with limited free time during the week. It truly simplifies the process, delivering a bakery-quality loaf with minimal disruption to your schedule.
Easy Rustic Bread Recipe: Step-by-Step Instructions
Ingredients List: Simple, Accessible Ingredients for Your Rustic Bread
Making delicious easy rustic bread requires surprisingly few ingredients, all of which are readily available at most grocery stores. You'll typically need:
- Bread Flour: Provides the necessary protein for gluten development.
- Water: Hydrates the flour and activates the yeast.
- Instant Yeast: The leavening agent that makes the bread rise.
- Salt: Enhances flavor and regulates yeast activity.
- [ ] Bread Flour
- [ ] Water
- [ ] Instant Yeast
- [ ] Salt
The Importance of Bread Flour for a Strong Gluten Structure
Bread flour is specified in most easy rustic bread recipes for a crucial reason: its higher protein content compared to all-purpose flour. Bread flour typically contains between 12% and 14% protein, whereas all-purpose flour usually falls between 10% and 12%. These proteins, primarily glutenin and gliadin, form gluten when mixed with water and kneaded (or, in this case, allowed to rest over time).
A stronger gluten network is essential for trapping the carbon dioxide gas produced by the yeast, allowing the dough to rise and develop that signature open, airy crumb structure characteristic of rustic loaves. Using bread flour helps ensure your loaf has the necessary internal structure to support a high hydration level and achieve the desired chewy texture.
While you can technically use all-purpose flour, the resulting loaf may be slightly less chewy and have a tighter crumb. For the best results and to truly replicate the texture of a great easy sourdough rustic bread recipe using yeast, sticking to bread flour is highly recommended. The robust gluten structure it provides is key to achieving that satisfying chewiness and the beautiful, irregular holes often seen in high-quality rustic loaves.
Yeast: Instant Yeast for Convenience
This easy rustic bread recipe typically calls for instant yeast (also known as rapid-rise or quick-rise yeast) because it is incredibly convenient and reliable. Unlike active dry yeast, which usually requires being proofed in warm water before being added to the dry ingredients, instant yeast can be mixed directly into the flour and salt.
This eliminates an extra step and reduces the chances of yeast failure, making the process even simpler for beginners. A small amount of instant yeast, perhaps around 1/4 to 1/2 teaspoon per loaf, is usually sufficient for a long, cold fermentation, as the goal is a slow, steady rise that develops flavor over many hours rather than a rapid expansion.
The slow activity of instant yeast in the cold environment is precisely what contributes to the deep, complex flavors we discussed earlier. While active dry yeast could also be used, you might need to adjust the amount slightly and would likely need to proof it first. For the simplest, most foolproof approach to making this easy rustic bread, instant yeast is the preferred choice, ensuring reliable leavening and allowing the cold fermentation to work its magic on the flavor profile.
Equipment You'll Need: Baking Essentials for Rustic Bread Success
You don't need a lot of fancy equipment to make this easy rustic bread, but a few key items will significantly improve your results:
- Large Mixing Bowl: For combining ingredients and the initial rise.
- Plastic Wrap or Bowl Cover: To cover the dough during fermentation.
- Bench Scraper (Optional but helpful): For handling and shaping the sticky dough.
- Dutch Oven or Heavy Pot with a Lid: Crucial for creating steam during baking. A 5 to 7-quart cast iron Dutch oven is ideal.
- Parchment Paper: Makes transferring the dough into the hot Dutch oven much safer and easier.
- Wire Cooling Rack: Essential for cooling the bread properly after baking.
- [ ] Large Mixing Bowl
- [ ] Plastic Wrap or Bowl Cover
- [ ] Bench Scraper (Optional)
- [ ] Dutch Oven (5-7 quart) or Lidded Pot
- [ ] Parchment Paper
- [ ] Wire Cooling Rack
Step 1: Preparing the Dough - Mixing and Overnight Rise
Combining Ingredients: The Initial Mix
The first step in making this easy rustic bread is incredibly straightforward: combine the dry ingredients, then add the water. In a large bowl, whisk together the bread flour, instant yeast, and salt. The quantities can vary slightly depending on the specific recipe, but a typical ratio might be around 3 cups (about 360-400g) of flour to 1.5 cups (about 350-360g) of water, along with maybe 1/2 teaspoon of instant yeast and 1 teaspoon of salt.
This gives a hydration level of roughly 88-100%, making it a very wet, shaggy dough – don't be alarmed! Once the dry ingredients are mixed, pour in the specified amount of cool or room temperature water.
Using a wooden spoon or a sturdy spatula, stir the mixture until all the flour is hydrated and no dry pockets remain. The dough will be very sticky and shaggy, not smooth like traditional kneaded dough. This minimal mixing is all that's required; the long fermentation will handle the gluten development. Cover the bowl tightly with plastic wrap or a lid. Some recipes suggest a brief 30-60 minute rest at room temperature before refrigerating, while others go straight into the cold. Follow your specific recipe's guidance for this initial step.
Cold Fermentation: Developing Flavor in the Refrigerator
After the initial mix and optional brief room temperature rest, the covered bowl of dough goes into the refrigerator. This is where the magic of this easy sourdough rustic bread recipe (using yeast) really happens. The cold environment significantly slows down the yeast activity, allowing the dough to ferment gradually over an extended period, typically 12 to 24 hours.
However, many bakers find that letting it ferment for 48 hours or even up to 72 hours yields even deeper, more complex flavors and a better texture. The low temperature encourages the development of organic acids and breaks down starches, contributing to the bread's final taste and crust color.
During this cold fermentation, the dough will slowly rise and develop bubbles. It might double or even triple in size, depending on the exact temperature of your refrigerator and the amount of yeast used. You'll notice the surface becoming more bubbly and the dough taking on a slightly more acidic aroma over time. This long, slow rise is the cornerstone of this method, transforming simple ingredients into a flavorful, rustic loaf with minimal effort on your part.
Step 2: Shaping the Rustic Loaf - Creating That Signature Round

Gentle Handling: Maintaining Air Pockets
After its long rest in the refrigerator, the dough will be cold, bubbly, and significantly easier to handle than when you first mixed it. The key during shaping is to be gentle. The goal is to preserve as many of the air pockets that developed during fermentation as possible, as these contribute to the open, airy crumb structure. Lightly flour your work surface – just enough to prevent sticking, but not so much that it dries out the dough. Carefully scrape the dough out of the bowl onto the floured surface using a bench scraper or spatula.
Avoid aggressively punching down or kneading the dough. Instead, gently fold the edges of the dough towards the center, forming a rough ball or boule shape. You can do this a few times, turning the dough each time, until you have a somewhat taut surface. The dough will likely still be quite loose and spread out, which is perfectly normal for such a high-hydration dough.
Flour Dusting: Preventing Sticking
A light dusting of flour is essential both on your work surface and potentially on top of the dough during shaping and proofing. This prevents the very wet dough from sticking to everything it touches – your hands, the counter, and the proofing surface (if you're using one, like a proofing basket or a floured towel-lined bowl). Use bread flour or even rice flour, which is particularly good at preventing sticking. Dust your hands lightly before handling the dough.
After gently shaping the dough into a round, you'll typically place it seam-side down onto a piece of parchment paper or into a proofing basket (banneton) generously dusted with flour (especially rice flour for bannetons). This final proofing step is usually short, often just 30-60 minutes at room temperature, while your oven and Dutch oven preheat. The flour dusting on the outside of the loaf also contributes to the rustic appearance after baking, giving it that characteristic white dusting on the dark crust.
Step 3: Baking Your Simple Rustic Bread - Achieving a Golden Crust
Dutch Oven Baking: Creating Steam for a Perfect Crust
Baking this easy rustic bread in a preheated Dutch oven is arguably the most critical step for achieving a professional-quality crust. The heavy cast iron pot, preheated in a very hot oven, mimics the conditions of a commercial steam-injected oven found in bakeries. When the dough is placed inside the hot pot and the lid is closed, the moisture evaporating from the dough is trapped within the confined space. This creates a humid environment around the loaf during the initial stages of baking.
This steam prevents the surface of the dough from drying out and setting too early, allowing the loaf to expand fully (achieving maximum oven spring). After about 20-30 minutes, the lid is removed, allowing the moist surface to dry out rapidly in the dry heat of the oven.
This rapid drying at high temperatures is what creates that beautiful, thick, crispy, golden-brown crust that is the hallmark of a great rustic loaf, much like the crust on a traditional easy sourdough rustic bread recipe. Preheating the Dutch oven itself in the oven for 30-60 minutes before adding the dough is essential for ensuring it's hot enough to provide that initial burst of heat and steam.
Oven Temperature and Baking Time: Monitoring for Doneness
High heat is crucial for baking this simple rustic bread effectively. Most recipes call for preheating your oven, with the Dutch oven inside, to a very high temperature, typically between 450°F and 500°F (230°C to 260°C). This intense initial heat provides the necessary oven spring and helps set the crust quickly once the lid is removed. Once the preheated Dutch oven is ready, carefully transfer the shaped dough (usually on parchment paper) into the hot pot, score the top if desired, place the lid on, and return it to the oven.
The baking process usually happens in two stages. First, bake the loaf covered for about 20-30 minutes. This phase is all about trapping steam and achieving maximum rise. Then, remove the lid and continue baking for another 10-20 minutes, or until the crust is a deep golden brown and the internal temperature of the bread reaches around 200-210°F (93-99°C). The exact timing will vary slightly depending on your oven and the size of your loaf, so monitoring the color is key. A deeply colored crust doesn't just look good; it also indicates well-developed flavor and crispness.
Step 4: Cooling and Enjoying Your Rustic Bread
Cooling on a Wire Rack: Preventing a Soggy Bottom
Once your beautiful, golden-brown easy rustic bread is out of the oven, the hardest part is waiting to slice into it! However, allowing the loaf to cool properly is absolutely essential for both texture and flavor. As soon as it comes out of the Dutch oven, carefully transfer the loaf to a wire cooling rack. Resist the urge to place it directly on a solid surface like a counter or cutting board.
Placing the hot loaf on a wire rack allows air to circulate completely around it. This prevents steam from condensing on the bottom crust, which would result in a soggy, unappealing texture. Cooling also allows the internal structure of the bread to set properly and the starches to fully gelatinize. Cutting into the bread too early can lead to a gummy interior. A typical cooling time for a loaf of this size is at least 1-2 hours, ideally longer. Patience here is rewarded with the perfect chewy crumb and crispy crust.
Serving Suggestions: Pairings for Your Homemade Rustic Bread
Once your easy rustic bread is completely cool, it's ready to be enjoyed! The simple, yet deep flavor profile of this loaf makes it incredibly versatile. It's fantastic simply sliced and served with good quality butter, perhaps sprinkled with a little flaky sea salt. Its sturdy structure and delicious crust make it perfect for open-faced sandwiches or toasted alongside scrambled eggs for breakfast.
Consider pairing slices with your favorite soup or stew – its ability to soak up broth is unparalleled. It's also a wonderful accompaniment to a cheese board, charcuterie, or served with olive oil and balsamic vinegar for dipping. Because it shares flavor characteristics with an easy sourdough rustic bread recipe, it pairs well with many of the same things you'd enjoy with sourdough. Don't forget to listen for that satisfying crackle when you cut into it!
Tips and Tricks for Baking the Best Easy Rustic Bread
Troubleshooting Common Rustic Bread Baking Issues
Even with a simple recipe, baking can sometimes present challenges. Understanding common issues and how to address them will help you achieve consistent success with your easy rustic bread.
One common problem is a dough that seems excessively wet and difficult to handle, even for a high-hydration dough. While this dough is meant to be wet, if it feels more like batter than dough, it might be slightly over-hydrated or your flour might absorb less water. Factors like humidity and the specific brand of flour can affect hydration needs.
Dough Too Wet? Adjusting Hydration Levels
If your dough feels too wet to even attempt shaping, despite using the specified amount of water, don't panic. You can often salvage it by adding a small amount of flour, a tablespoon at a time, during the initial mixing phase or even when you first scrape it out onto your floured surface after refrigeration. Gently fold the extra flour in until the dough becomes slightly more manageable, though still expected to be very wet and sticky.
Avoid adding too much flour, as this will result in a dense, dry loaf. Remember, the goal is a high-hydration dough for that open crumb.
Alternatively, if you've followed the recipe precisely and the dough is consistently too wet, consider slightly reducing the water amount in future batches by 10-20 grams (about 1-2 tablespoons). Conversely, if your dough seems too stiff or doesn't develop many bubbles during fermentation, you might need to increase the water slightly in your next attempt. Keeping notes on your adjustments can help you fine-tune the recipe to your specific flour and environment.
Crust Not Dark Enough? Increasing Baking Time
If your easy rustic bread comes out of the oven with a pale crust, even after the recommended baking time, several factors could be at play. Your oven might not be calibrated correctly (it could be running cooler than the set temperature), or you might have removed the lid from the Dutch oven too early. The deep golden-brown color is crucial for both flavor development and the desired crisp texture.
To fix a pale crust, you can simply extend the uncovered baking time by 5-10 minutes, keeping a close eye on it to prevent burning. Ensure your oven is fully preheated for the recommended time, including the Dutch oven inside, before you add the dough. Using parchment paper can sometimes slightly insulate the bottom crust, but the top and sides should still brown well. If your oven consistently bakes cool, consider investing in an oven thermometer to check its accuracy and adjust the temperature setting accordingly for future bakes.
Variations: Exploring Different Flavors and Textures
Once you've mastered the basic easy rustic bread recipe, you can easily experiment with variations to add different flavors and textures. These simple additions can transform the loaf and keep your baking exciting.
Incorporating seeds and grains is a popular way to add crunch, visual appeal, and nutritional value. You can fold them directly into the dough during the initial mix or sprinkle them on the outside just before baking.
Adding Seeds and Grains for Added Texture
Adding seeds and grains is a fantastic way to customize your easy rustic bread. Consider incorporating a mix of sunflower seeds, pumpkin seeds (pepitas), sesame seeds, or poppy seeds directly into the dough during the initial mixing phase. About 1/4 to 1/2 cup total for a single loaf is a good starting point. You can also roll the shaped dough in a plate of seeds just before placing it on the parchment paper or in the proofing basket for a crust coated in seeds.
For a more rustic look and texture, you can add cooked grains like oats, rye berries, or even leftover cooked rice (in moderation) to the dough. These additions absorb moisture and add interesting chewiness and flavor. Adding about 1/4 cup of rolled oats or cooked grains per loaf is a good starting point. Experiment to find your favorite combinations and textures!
Incorporating Rye Flour for a Deeper Flavor
Substituting a portion of the bread flour with rye flour is another excellent way to add depth and complexity to your easy rustic bread, further enhancing that "easy sourdough rustic bread recipe" flavor profile. Rye flour has a distinct, slightly sour or earthy taste that complements the long fermentation process beautifully. It also behaves differently than wheat flour due to different protein structures, often resulting in a slightly denser crumb.
Start by substituting a small percentage of the bread flour, perhaps 10% to 20% (e.g., replace 40-80g of bread flour with rye flour). This will introduce rye's characteristic flavor without drastically changing the dough's handling properties. As you become more comfortable, you can experiment with higher percentages, keeping in mind that rye requires more water and results in a stickier dough that doesn't develop gluten in the same way as wheat. A 20% rye substitution in this easy rustic bread recipe can add a lovely hint of tang and a darker crumb.
Storing Your Homemade Rustic Bread for Maximum Freshness
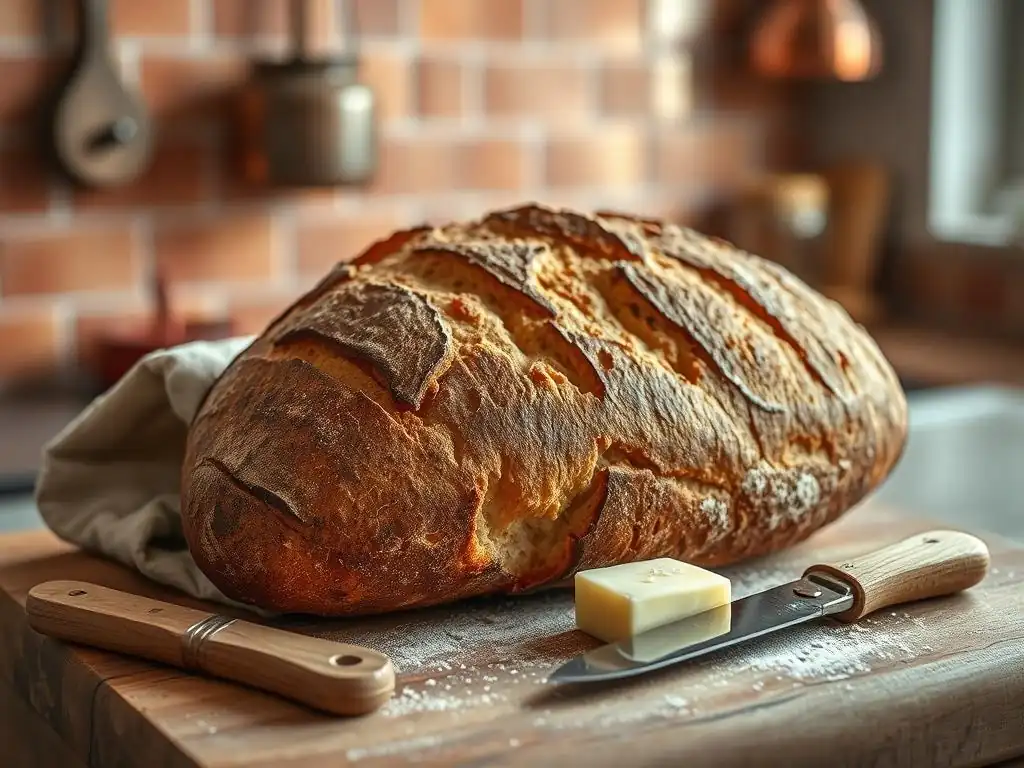
Keeping Your Rustic Bread Crusty and Delicious
Once you've baked a beautiful loaf of easy rustic bread, you'll want to keep it fresh for as long as possible, preserving that wonderful crispy crust and soft interior. The best way to store rustic bread at room temperature is uncovered, or wrapped loosely in a clean linen towel or a paper bag once it has completely cooled. Avoid plastic bags or airtight containers for the first day or two, as these will trap moisture and quickly turn the crust soft and rubbery.
Stored properly at room temperature, your easy rustic bread should maintain its quality for about 2-3 days. If the crust starts to soften, you can often revive its crispness by popping the loaf into a hot oven (around 350°F or 175°C) for 5-10 minutes. For longer storage, freezing is the best option to maintain quality.
Slicing and Freezing: Preserving for Later
If you don't plan to eat your entire loaf of easy rustic bread within a couple of days, freezing is an excellent way to preserve its freshness. Ensure the loaf is completely cooled before freezing. You can freeze the loaf whole, halved, or sliced. Freezing sliced bread is particularly convenient as you can just take out what you need.
To freeze, wrap the cooled loaf or slices tightly in plastic wrap, then place the wrapped bread in a freezer bag or wrap it again in aluminum foil to prevent freezer burn. Sliced bread can be stacked in a freezer bag. Frozen rustic bread will keep well for up to 3 months.
To thaw a whole or half loaf, remove all wrapping and let it sit at room temperature for several hours, or reheat it in a 300°F (150°C) oven until warmed through. To thaw slices, you can simply pop them directly into a toaster or toaster oven from frozen.
Conclusion: Enjoy Delicious Homemade Rustic Bread with Ease
This Easy Rustic Bread Recipe: A Sally's Baking Addiction Favorite
Making delicious, bakery-style easy rustic bread at home doesn't have to be complicated. This simple yeast-based recipe, often featured by popular bakers like Sally of Sally's Baking Addiction, demonstrates that you can achieve incredible flavor and texture with minimal effort. By leveraging the power of a long, cold fermentation, this method develops complex flavors reminiscent of an easy sourdough rustic bread recipe, while the high hydration and Dutch oven baking ensure a perfect chewy interior and a wonderfully crispy crust.
The beauty of this recipe lies in its simplicity and flexibility. With just a few basic ingredients and tools, you can mix the dough in minutes, let time and temperature do the work overnight (or longer! ), and bake a stunning loaf the next day. It's a rewarding baking project that fits easily into a weekend schedule and delivers results that are far superior to store-bought options. Give this easy rustic bread method a try and discover the joy of pulling a warm, crusty loaf from your own oven.
Frequently Asked Questions
How does this recipe achieve a sourdough-like flavor without using a sourdough starter?
This recipe uses a long, cold fermentation in the refrigerator to develop complex flavors similar to sourdough. It also incorporates a small amount of yeast for ease of use.
What makes this recipe "rustic"?
The term "rustic" refers to the simple ingredients and minimal kneading required, resulting in a bread with a slightly irregular shape and texture.
Is this recipe suitable for beginner bakers?
Yes, this recipe is designed for bakers of all skill levels. The instructions are clear and concise, making it easy for beginners to follow.
What kind of flour is best for this rustic bread?
Bread flour is recommended for its high gluten content, which provides the necessary structure for a good rise and chewy texture. However, all-purpose flour can be used in a pinch.
How long does the dough need to ferment in the refrigerator?
The dough should ferment in the refrigerator for a minimum of 12 hours, but can be left for up to 24 hours for a more pronounced flavor. This slow fermentation is key.
Final Reflection: The Humble Yeast's Unexpected Sourdough Journey
The pursuit of that perfect sourdough loaf, often perceived as a complex and time-consuming endeavor, can be surprisingly simplified. This recipe demonstrates that achieving a rustic, tangy bread with a deeply satisfying flavor profile doesn't require years of starter cultivation or arcane baking knowledge. The ease of this method makes artisanal bread accessible to everyone.
This recipe's impact extends beyond the kitchen; it's a testament to the power of simple ingredients and mindful technique. The process itself, from mixing to baking, offers a meditative quality, a welcome respite from the frenetic pace of modern life. Bread making is a metaphor for life; you put in the effort, you wait patiently, and you are rewarded with something beautiful and nourishing.
This quote, while not directly about this specific recipe, perfectly encapsulates the experience and satisfaction it provides. The resulting loaf, a symbol of this effort, becomes more than just food; it's a connection to a slower, more deliberate way of life.
Now, I invite you to try this recipe. Don't be intimidated by the seemingly complex texture of sourdough; embrace the simplicity of this method and discover the joy of creating something delicious and deeply satisfying with your own hands. The aroma of freshly baked bread, the satisfying crust, the tender crumb – these are rewards worth savoring. More importantly, take the time to appreciate the process, the journey from simple ingredients to a masterpiece on your table. Let this recipe be your starting point for a deeper connection with food and the art of baking.
Unleash Your Inner Baker: Craft Your Own Rustic Loaf!
Thanks for joining us on this baking adventure! You've just learned how to create a delicious, rustic loaf with the simple power of yeast – a taste that rivals sourdough without the lengthy process. Ready to put your newfound skills to the test?
- Bake your own rustic masterpiece! Use the recipe provided to create your first (or next!) loaf. Remember, practice makes perfect!
- Share your baking journey! Post a picture of your creation on social media and tag us – we’d love to see it!
- Experiment with flavors! Try adding different herbs, seeds, or even dried fruits to customize your bread. What unique combinations will you discover?
What incredible flavor combinations will you create with your homemade rustic bread?