
Bake French Fougasse: The Art of Shaping Leafy Bread

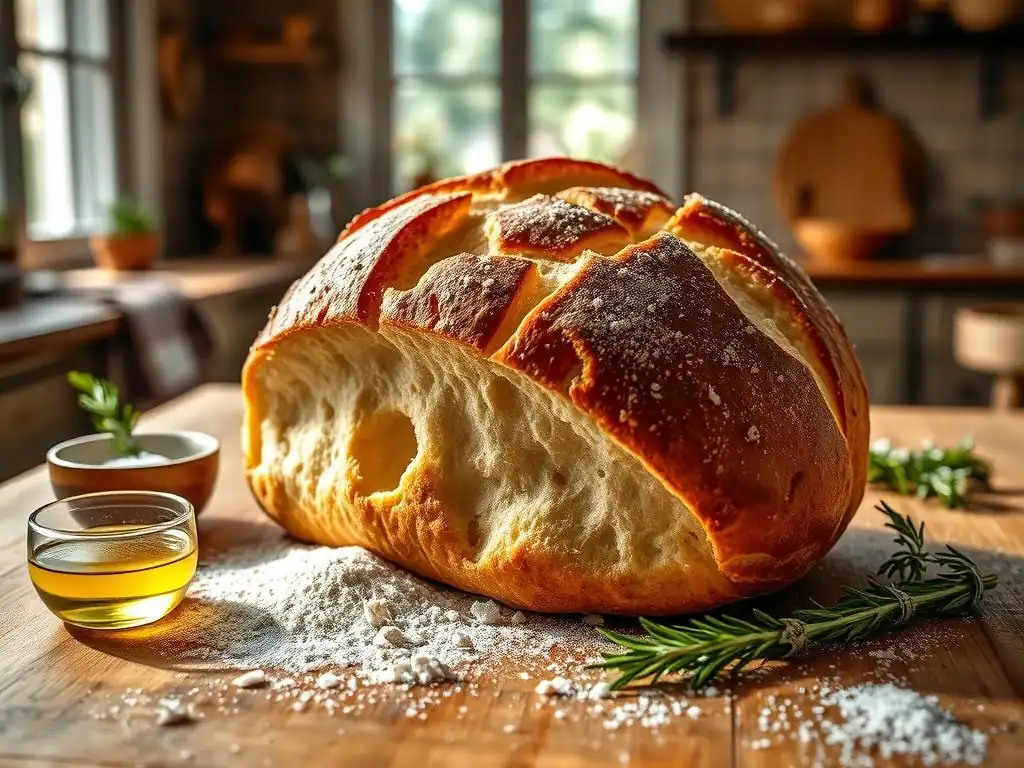
Welcome to BakeWithEase, your haven for baking brilliance! Ever dreamt of creating bakery-worthy bread at home? Get ready to unlock the secrets of beautiful baking with our easy flaky French fougasse recipe. Discover the simple techniques to shape this stunning leafy bread and indulge in the joy of homemade deliciousness. Intrigued? Let's get baking!
- Baking Fougasse: A Guide to Provençal Bread
- Understanding Fougasse: A Regional Bread with History
- Fougasse Recipe: Ingredients and Equipment
- Fougasse Dough: A Step-by-Step Guide
- Baking Fougasse: Achieving Golden Perfection
- Cooling and Serving Fougasse
- Troubleshooting Fougasse Baking
- Fougasse Variations
- Conclusion: Mastering Fougasse Baking
- Frequently Asked Questions
- Final Reflection: The Enduring Magic of Fougasse
- Unleash Your Inner Boulanger: Shape Your Own Fougasse!
Baking Fougasse: A Guide to Provençal Bread
Understanding Fougasse: A Regional Bread with History
The Essence of Fougasse: Beyond Basic Bread
Fougasse is more than just a loaf of bread; it's a culinary hallmark of Provence, France, deeply rooted in the region's history and culture. Traditionally baked in the embers of the fireplace, this flatbread is characterized by its distinctive slashes, which not only give it a unique, leafy appearance but also increase the crust-to-crumb ratio, contributing to its wonderfully crispy exterior and chewy interior.
While simple in its core ingredients – flour, water, yeast, salt, and olive oil – the magic of fougasse lies in its preparation, particularly the fermentation process and the specific shaping technique that sets it apart from other flatbreads like focaccia.
Unlike standard sandwich loaves, fougasse is designed for sharing and tearing, often infused with local flavors such as olives, herbs de Provence, or cheese. Its open structure, created by the cuts, allows it to bake quickly at high temperatures, resulting in that desirable easy flaky French fougasse recipe texture that makes it perfect for dipping into olive oil, accompanying stews, or serving as an impressive appetizer. Mastering the shaping might seem daunting initially, but with a little practice, achieving the iconic leaf or ladder shape becomes part of the joy of baking this rustic, flavorful bread.
A Detailed Guide to Crafting Authentic Fougasse
Crafting authentic fougasse involves understanding the nuances of dough handling and fermentation tailored to this specific bread. The hydration level is typically higher than a standard loaf, often ranging from 70% to 80% hydration relative to the flour weight, which contributes to a more open crumb structure and a tender interior despite the crispy crust. This higher hydration requires careful mixing and handling, often benefiting from techniques like stretch and folds during the bulk fermentation phase to build gluten strength without excessive kneading.
The bulk fermentation, or the first rise, is crucial for developing the complex flavors characteristic of a good fougasse. This stage usually takes between 1 to 2 hours at room temperature (around 70-75°F or 21-24°C), or longer if done in a cooler environment, allowing the yeast to work and enzymes to break down starches into sugars, enhancing both taste and texture.
The shaping process, detailed later, isn't just for looks; the large cuts ensure even baking and contribute significantly to the flaky edges and crispy bites that define a truly easy flaky French fougasse recipe. Paying close attention to these steps, from hydration to shaping, is key to unlocking the full potential of this delightful Provençal bread.
Fougasse Recipe: Ingredients and Equipment
Essential Ingredients for Optimal Dough
Making a delicious fougasse starts with selecting quality ingredients. While the list is short, each component plays a vital role in achieving the desired texture and flavor profile of this easy flaky French fougasse recipe. Using the right type of flour, fresh yeast, and good quality olive oil makes a significant difference in the final outcome.
Bread Flour: The Foundation of Fougasse
Bread flour is the preferred choice for fougasse due to its higher protein content, typically ranging from 12% to 14%. This higher protein level means more gluten development when mixed with water, providing the necessary structure to support the dough's rise and create that characteristic chewy yet airy interior crumb. Using all-purpose flour (around 10-11% protein) can work in a pinch, but the resulting fougasse may be less chewy and might not hold its shape as well during baking. For optimal results and a truly satisfying texture, stick to bread flour.
Instant Dry Yeast: Effective Leavening
Instant dry yeast is a baker's friend for its reliability and ease of use. Unlike active dry yeast, it doesn't require proofing in water beforehand and can be mixed directly into the dry ingredients. It works efficiently to produce carbon dioxide gas, causing the dough to rise and develop its light structure. The amount needed is typically about 1% to 1.5% of the flour weight for a standard recipe, ensuring a good rise within a reasonable timeframe. Ensure your yeast is fresh by checking the expiration date; old yeast is a common culprit for dough that doesn't rise.
Water: Hydration is Key
Water is essential for activating the yeast and developing the gluten structure. As mentioned, fougasse dough often has a high hydration level, contributing to its open crumb. The temperature of the water is also important; lukewarm water (around 95-105°F or 35-40°C) is ideal for activating yeast without killing it.
Using filtered water can sometimes yield better results if your tap water is heavily chlorinated, as chlorine can inhibit yeast activity. The exact amount of water can vary slightly depending on the flour's absorption rate and humidity, so it's often best to hold back a tiny bit and add more if the dough feels too dry.
Olive Oil: Flavor and Texture
Extra virgin olive oil is a non-negotiable ingredient for authentic fougasse. It adds rich flavor, contributes to a tender crumb, and helps create that desirable crispy crust. It's typically incorporated into the dough and also used to coat the dough during fermentation and brush the finished loaf before baking. The quality of the olive oil significantly impacts the final taste, so use the best you can afford. A good Provençal olive oil, if available, would be particularly fitting for this easy flaky French fougasse recipe.
Sea Salt: Balancing Flavors
Salt does more than just add flavor; it controls the rate of yeast fermentation and strengthens the gluten structure. Using sea salt or kosher salt is often preferred over table salt because its larger crystals dissolve more slowly, distributing flavor evenly without overwhelming the dough.
Add the salt after mixing the flour and water initially, or ensure it is added to the dry ingredients away from direct contact with the yeast if you're using instant yeast mixed straight in, as high concentrations of salt can inhibit yeast activity. Typically, salt makes up about 1.8% to 2% of the flour weight.
Required Equipment for Fougasse Baking
Having the right tools can make the fougasse baking process smoother and help achieve optimal results, especially when aiming for an easy flaky French fougasse recipe. Most items are standard kitchen equipment, but a couple are particularly helpful for this specific bread.
Baking Stone or Sheet: Crispy Bottoms
Baking fougasse on a preheated baking stone or steel is highly recommended for achieving a super crispy bottom crust. These surfaces retain and radiate heat efficiently, providing a burst of heat to the dough as soon as it's placed in the oven. If you don't have a stone or steel, a heavy-duty baking sheet preheated in the oven works as a good alternative, though the bottom crust might not be quite as uniformly crisp. Parchment paper placed on the hot surface makes transferring the delicate shaped dough much easier.
Bench Scraper: Dough Handling
A bench scraper is invaluable for working with high-hydration doughs like fougasse. It helps you scrape the dough from the mixing bowl, divide it into portions, and move it around your work surface without it sticking excessively to your hands or the counter. A metal scraper with a sturdy handle is particularly effective for cleanly lifting and folding the dough during stretch and folds.
Pizza Cutter or Knife: Cutting the Slits
The signature look of fougasse comes from its distinctive cuts. A sharp pizza cutter or a very sharp knife (like a chef's knife or utility knife) is essential for making these slits clean and defined. The goal is to cut all the way through the dough without tearing it excessively. A pizza cutter often provides more control for making long, sweeping cuts, while a sharp knife can be good for smaller, precise incisions.
Mixing Bowls: Dough Preparation
You'll need at least one large mixing bowl for combining the ingredients and performing the bulk fermentation. A clear bowl is helpful for visually monitoring the dough's rise. Having a second bowl, perhaps smaller, can be useful for activating active dry yeast if you choose to use it, or for holding the olive oil used for coating the dough. Ensure the bowl is large enough to accommodate the dough as it doubles or even triples in size during the first rise.
Fougasse Dough: A Step-by-Step Guide
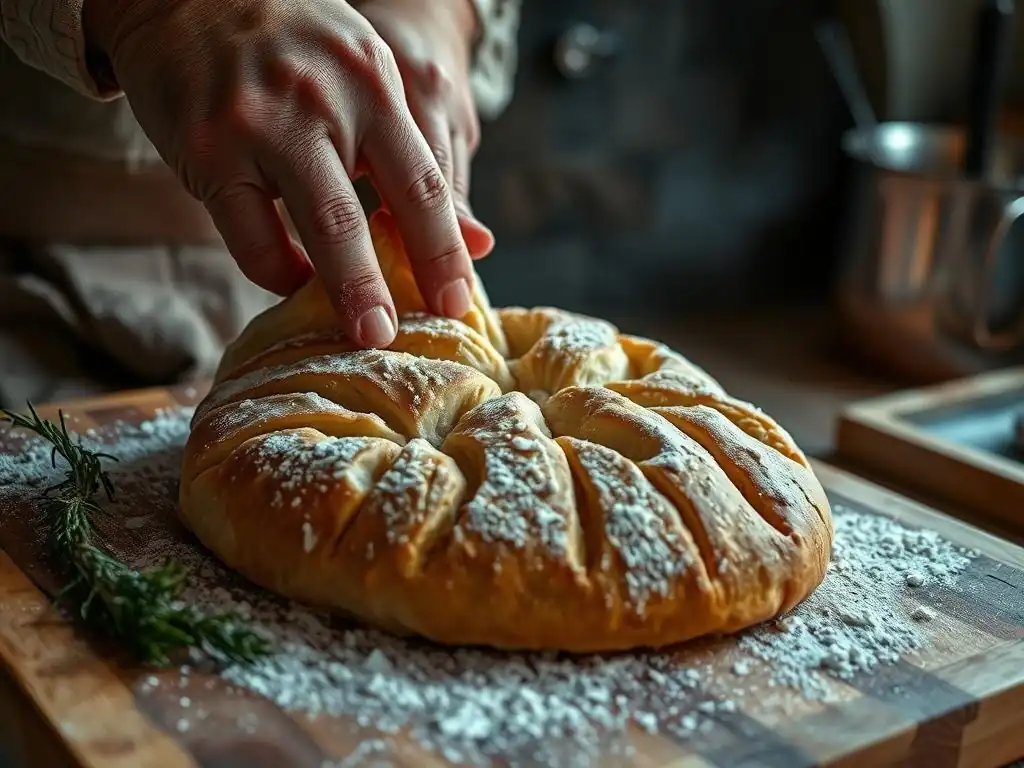
Crafting the dough is the heart of making an easy flaky French fougasse recipe. This section breaks down the process into manageable steps, focusing on techniques that ensure a well-developed, flavorful dough ready for shaping and baking.
Step 1: Activating Yeast for the Dough
If you are using active dry yeast, this is the crucial first step to ensure your dough rises properly. Measure out the specified amount of lukewarm water (typically around 95-105°F or 35-40°C) into a small bowl. Add a pinch of sugar or honey (yeast's food) and sprinkle the active dry yeast over the surface. Do not stir immediately.
Let it sit for 5-10 minutes. You should see a foamy layer bloom on the surface; this indicates the yeast is alive and active. If no foam appears, your yeast may be expired or the water temperature was incorrect, and you should start again with fresh yeast and correctly tempered water.
If using instant dry yeast, this step is usually skipped, as the yeast can be mixed directly with the flour. However, some bakers still prefer to hydrate instant yeast in lukewarm water for a few minutes just to be absolutely sure of its vitality before committing it to the main dough mix. For an easy flaky French fougasse recipe, ensuring your yeast is active is paramount for a good rise and light texture.
Step 2: Mixing the Dough: Aiming for Consistency
Combine the flour, salt, and instant dry yeast (if using) in a large mixing bowl and whisk briefly to distribute. If you activated active dry yeast, add the foamy yeast mixture to the dry ingredients now. Add most of the measured water and the olive oil. Begin mixing with a wooden spoon, spatula, or in a stand mixer with a dough hook on low speed. Mix until a shaggy dough forms and no dry pockets of flour remain. The dough will be quite wet and sticky, which is characteristic of high-hydration doughs.
Once the ingredients are just combined, let the dough rest for 10-15 minutes. This period, called autolyse, allows the flour to fully hydrate and gluten development to begin without kneading, making subsequent mixing or kneading easier. After the rest, continue mixing or kneading for 5-10 minutes, or until the dough is smooth and elastic. It will still be sticky but should pull away from the sides of the bowl. For a truly easy flaky French fougasse recipe, proper mixing develops the gluten network necessary to trap the gases produced during fermentation.
Step 3: Bulk Fermentation: Developing Flavor
Transfer the mixed dough to a lightly oiled bowl, turning to coat all sides. Cover the bowl tightly with plastic wrap or a damp kitchen towel to prevent the surface from drying out. Place the bowl in a warm spot, ideally around 75°F (24°C). The dough needs to undergo bulk fermentation for approximately 1 to 1.5 hours, or until it has significantly increased in volume, roughly doubling in size.
During this time, perform 2-3 sets of stretch and folds at 30-minute intervals. To do a stretch and fold, lightly wet your hand, grab one side of the dough, stretch it upwards, and fold it over the center. Rotate the bowl and repeat this process 3-4 times until all sides have been stretched and folded.
This technique strengthens the gluten, builds structure, and helps develop flavor without the need for intensive kneading. Observing the dough's activity – bubbles forming on the surface and increased volume – is key to knowing when bulk fermentation is complete for your easy flaky French fougasse recipe.
Step 4: Shaping the Fougasse: Creating the Leaf
Shaping is the most distinctive part of making fougasse. It's where the dough transforms into its iconic leafy or ladder shape. This process requires a gentle touch to avoid degassing the dough too much while still creating the necessary tension and structure.
Dividing the Dough: Creating Individual Portions
Once the bulk fermentation is complete, gently turn the dough out onto a lightly floured or lightly oiled surface. The goal is to handle the dough as little as possible to preserve the gases produced during fermentation. Use a bench scraper to divide the dough into the desired number of portions. For two medium fougasses, divide the dough in half.
For smaller ones, divide into three or four. Gently preshape each portion into a rough rectangle or oval, cover them loosely with plastic wrap or a towel, and let them rest for 10-15 minutes. This resting period allows the gluten to relax, making the dough easier to roll and shape without resistance.
Rolling and Stretching: Shaping the Dough
After the rest, take one portion of dough. On a lightly floured surface, gently roll or stretch the dough into an elongated oval or rectangle, about 1/4 to 1/2 inch thick. Aim for a shape that resembles a leaf or a long, flat piece of bread. Be careful not to press out all the air bubbles; you want to maintain some loft. The size will depend on how many fougasses you are making, but typically they are about 10-14 inches long. The dough should be thin enough to get crispy edges but thick enough to have a soft interior.
Creating the Slits: Achieving the Signature Look
This is the step that gives fougasse its characteristic appearance and contributes to its unique texture, making it a truly easy flaky French fougasse recipe. Using a sharp pizza cutter or knife, make several large cuts through the dough, starting from the center vein and angling outwards like the veins of a leaf. Leave a border of about 1-2 inches uncut around the edges. Make sure your cuts go all the way through the dough.
You can make 3-5 cuts on each side of a central "spine". Gently stretch the dough open around the cuts to exaggerate the holes. This open structure is key to the rapid, even baking and crispy texture.
Step 5: Proofing: Preparing for Baking
Once shaped, carefully transfer the fougasse dough to a piece of parchment paper placed on a baking sheet or pizza peel (if using a baking stone). Cover the shaped fougasse loosely with plastic wrap or a light kitchen towel. The dough needs a short final proof (or rest) before baking, typically 20-30 minutes. This allows the dough to relax slightly and puff up just a little.
Don't overproof fougasse; unlike some breads, it doesn't need to double in size during the final proof. A slight puffiness is sufficient. Overproofing can cause the cuts to close up during baking and result in a less crispy crust. While the dough is proofing, preheat your oven and baking stone/sheet as instructed in the next section. This short proof is the final step before the high-heat magic happens in the oven, solidifying its status as an easy flaky French fougasse recipe.
Baking Fougasse: Achieving Golden Perfection
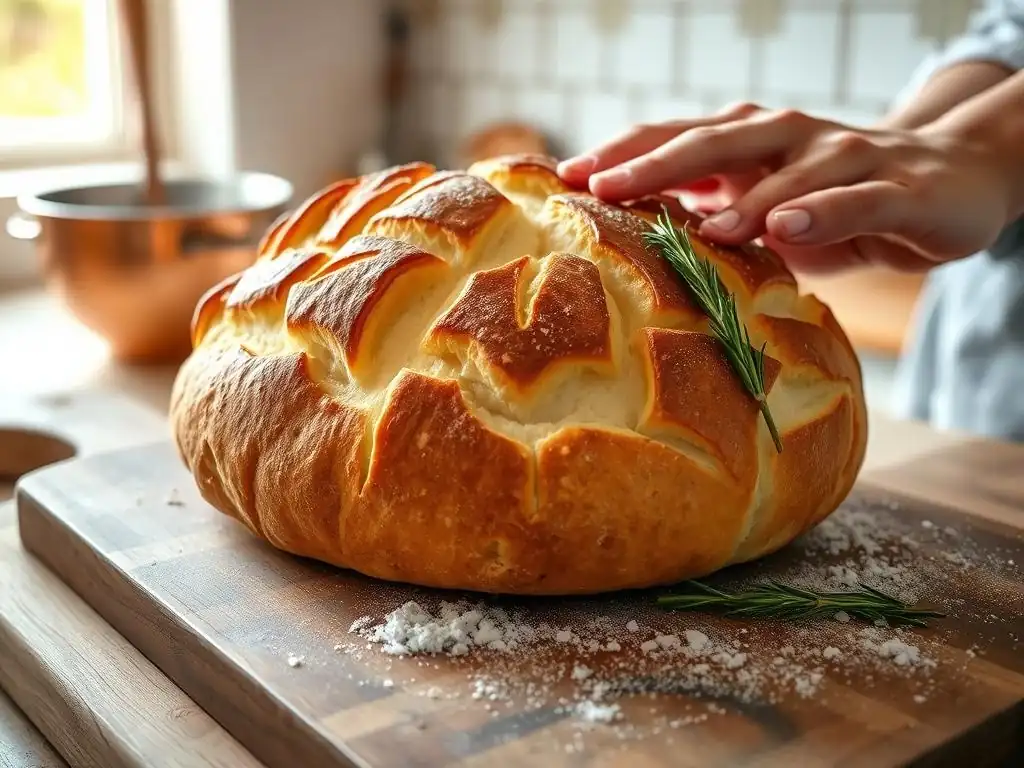
Baking fougasse requires high heat to achieve its signature crispy, flaky crust and airy interior. The process is relatively quick once the dough is in the oven.
Oven Temperature: Achieving a Crispy Crust
Fougasse is best baked at a high temperature, typically between 450°F and 475°F (230°C to 245°C). This high heat provides a strong initial burst of energy that causes the dough to rapidly expand (oven spring) and the crust to set quickly, leading to a light, airy interior and a wonderfully crispy exterior.
Preheat your oven, along with your baking stone or sheet, for at least 30-45 minutes to ensure it reaches and holds the target temperature. A properly preheated baking surface is crucial for getting a good spring and a golden-brown bottom crust on your easy flaky French fougasse recipe.
Baking Time: Monitoring for Doneness
The baking time for fougasse is relatively short due to its thin shape and high baking temperature. Typically, a fougasse will bake in 10 to 15 minutes. The exact time will vary depending on your oven and the thickness of your fougasse. You'll know it's done when it's puffed up, deeply golden brown all over, and the crust is firm and crispy.
If you tap the bottom, it should sound hollow. Keep a close eye on it, as it can go from perfectly golden to burnt quickly at these high temperatures. Baking it just right is essential for that sought-after easy flaky French fougasse recipe texture.
Optional: Enhancing Flavor Before Baking
Before sliding the shaped fougasse into the hot oven, you have the opportunity to add extra flavorings that will bake into the crust and dough. These additions elevate the basic fougasse and allow for delicious variations.
Sprinkling with Herbs: Rosemary, Thyme, or Herbs de Provence
A classic addition to fougasse is a generous sprinkling of fresh or dried herbs directly onto the shaped dough before baking. Rosemary, thyme, or a blend of Herbs de Provence (which typically includes rosemary, thyme, savory, and oregano) are traditional choices. About 1-2 tablespoons of fresh herbs, roughly chopped, or 1-2 teaspoons of dried herbs per fougasse adds a wonderful aromatic quality that is synonymous with Provençal baking. The heat of the oven releases their essential oils, infusing the crust with fragrant flavor, complementing the easy flaky French fougasse recipe.
Brushing with Olive Oil: Adding Flavor and Texture
Just before baking, lightly brushing the entire surface of the shaped fougasse with a little extra virgin olive oil adds richness and helps create an even crispier crust. The oil promotes browning and adds a subtle depth of flavor. Use a pastry brush to gently coat the dough, making sure to get into the cuts. About 1-2 teaspoons of olive oil per fougasse is usually sufficient. This simple step contributes significantly to the overall appeal and deliciousness of your easy flaky French fougasse recipe.
Sprinkling with Sea Salt: Enhancing Flavor
A final sprinkle of flaky sea salt (like Maldon or Fleur de Sel) over the oiled and herbed fougasse just before it goes into the oven provides little pockets of salty crunch that contrast beautifully with the bread's texture. About 1/4 teaspoon of flaky salt per fougasse is typically enough. This finishing touch enhances the overall flavor profile and adds a professional look to your baked fougasse, making your easy flaky French fougasse recipe even more satisfying.
Cooling and Serving Fougasse
Proper cooling is just as important as baking for achieving the best texture. Serving fougasse is simple; it's designed to be enjoyed fresh and shared.
Cooling Techniques: Avoiding a Soggy Crust
Once your fougasse is golden brown and baked through, carefully remove it from the oven. Transfer the hot fougasse directly onto a wire cooling rack. Cooling on a rack allows air to circulate freely around the entire loaf, preventing steam from getting trapped underneath and making the bottom crust soggy. This is particularly important for fougasse, as its thin profile is prone to losing crispness if not cooled correctly.
Let the fougasse cool on the rack for at least 10-15 minutes before slicing or tearing into it. While it's tempting to dive in immediately, this short cooling period allows the internal structure to set and the crust to fully crisp up. Cutting too early can result in a slightly gummy interior. For the perfect easy flaky French fougasse recipe, patience during cooling is key to preserving that wonderful texture.
Serving Suggestions: Pairing with Meals
Fougasse is incredibly versatile and pairs well with a variety of dishes. Its rustic charm and flavorful crust make it a fantastic accompaniment to simple or elaborate meals.
Fougasse as an Appetizer: With Dips and Spreads
Fougasse excels as an appetizer, especially when warm. Its open structure and tearable nature make it perfect for dipping. Serve it alongside a good quality extra virgin olive oil, balsamic glaze, tapenade (olive spread), hummus, or a roasted red pepper dip. The herb-infused or plain easy flaky French fougasse recipe provides a sturdy yet tender vehicle for scooping up delicious dips, making it a crowd-pleaser at any gathering.
Fougasse with Soups and Salads: A Complementary Bread
The crispy crust and soft interior of fougasse make it an excellent companion to soups and salads. Its robust texture stands up well to hearty stews and chilis, while its light airiness is a lovely contrast to fresh, crisp salads. Tearing off a piece of warm fougasse to soak up the last bit of soup or to enjoy alongside a vibrant salad enhances the dining experience. Consider serving garlic or cheese fougasse with a simple green salad for an elevated lunch.
Fougasse as a Side Dish: Enhancing Any Meal
Beyond appetizers and light meals, fougasse serves beautifully as a side dish for main courses. It complements grilled meats, roasted vegetables, pasta dishes, and even fish. Think of it as a more interesting alternative to standard dinner rolls or baguettes. The flavor variations, like olive or herb fougasse, can be chosen to specifically match the main course, adding an extra layer of regional authenticity to your meal. This easy flaky French fougasse recipe can truly elevate a simple weeknight dinner into something special.
Troubleshooting Fougasse Baking
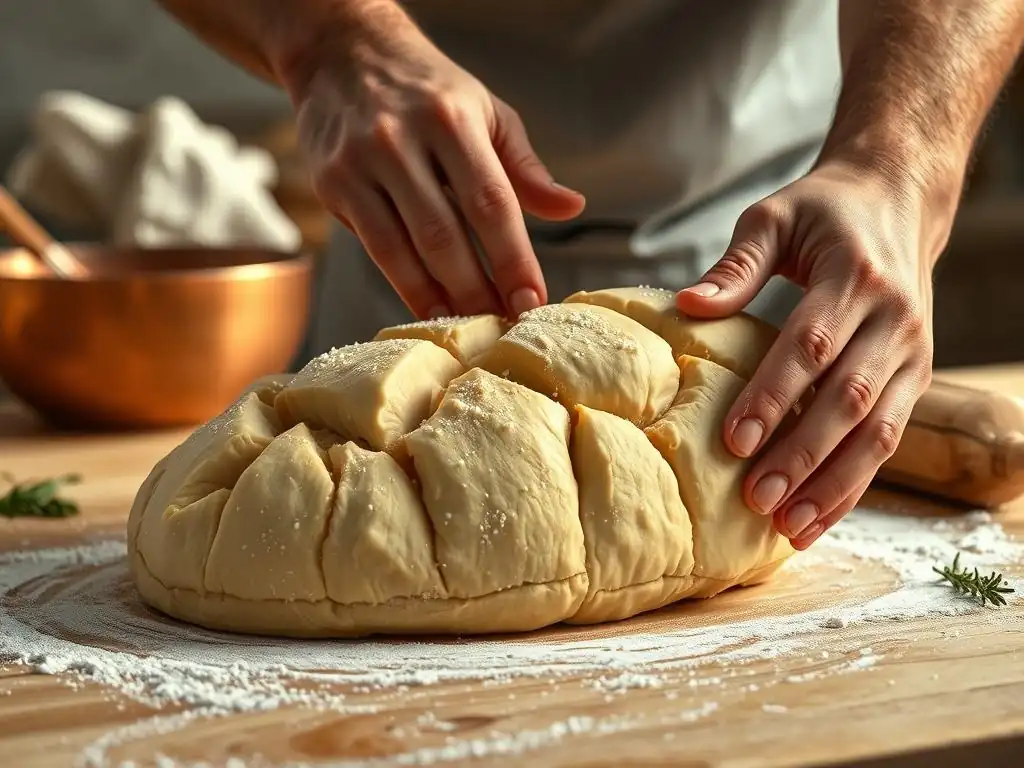
Even with an easy flaky French fougasse recipe, baking can sometimes present challenges. Here are some common issues and how to address them.
Dough Too Sticky: Adjusting Hydration
If your fougasse dough feels excessively sticky and difficult to handle even after mixing and some rest, it likely means the hydration level is a bit too high for your specific flour or environment. Different flours absorb water differently, and humidity can play a role. To fix this, add a small amount of flour (1-2 tablespoons at a time) while mixing or during the initial stages of stretch and folds, until the dough becomes more manageable but still remains soft and slightly tacky.
Avoid adding too much flour, as this will result in a dry, dense fougasse. Next time, try holding back 10-20 grams of water when initially mixing and add it only if the dough feels too dry.
Fougasse Not Rising: Addressing Yeast and Fermentation
If your fougasse dough isn't rising during bulk fermentation or proofing, the most common culprits are inactive yeast or an improper fermentation environment. Ensure your yeast is fresh and active (especially if using active dry yeast, verify it foams). The water temperature used for activating yeast should be correct (95-105°F), and the dough's environment should be warm enough (ideally 75°F or 24°C). If your kitchen is cool, find a warmer spot, like inside a slightly warm oven (turned off!)
or near a sunny window. Insufficient mixing or kneading can also lead to poor rise, as the gluten structure isn't strong enough to hold the gas. If using instant yeast, ensure it was mixed properly with the flour.
Fougasse Burning: Controlling Oven Temperature
Burning crusts, especially on the bottom, are usually a sign that your oven temperature is too high or your baking surface is too hot. While high heat is essential for an easy flaky French fougasse recipe, excessively high heat will scorch the thin dough. Verify your oven temperature with an oven thermometer, as oven thermostats can be inaccurate.
If using a baking stone/steel, ensure it's not placed too high in the oven, where it's closer to the top heating element. You can also try reducing the oven temperature slightly (e.g., from 475°F to 450°F) or shortening the baking time. If the bottom is burning before the top is golden, try placing a second baking sheet on the rack below your fougasse to shield the bottom from direct heat radiation.
Fougasse Lacking Flavor: Enhancing the Dough and Toppings
A bland fougasse usually points to insufficient fermentation time or a lack of flavor enhancers. The bulk fermentation step (Step 3) is crucial for developing complex flavors through the slow work of the yeast and enzymes. Ensure you are allowing adequate time for this rise, even if it means adjusting the time based on your kitchen temperature.
Using good quality olive oil and sea salt in the dough makes a difference. Furthermore, don't skip the optional flavor enhancements before baking! Generously sprinkling with fresh herbs, brushing with good olive oil, and finishing with flaky sea salt significantly boosts the final taste and aroma of your easy flaky French fougasse recipe.
Fougasse Variations
One of the joys of baking fougasse is how easily it can be customized with various additions. These variations build upon the basic easy flaky French fougasse recipe to create new flavor experiences.
Olive Fougasse: Incorporating Olives
Adding olives is perhaps the most classic variation of fougasse. About 1/2 cup to 1 cup of pitted olives, roughly chopped (such as Niçoise, Kalamata, or a mix of green and black olives), can be gently folded into the dough during the last minute of mixing or during the first stretch and fold. Alternatively, press the olives into the surface of the shaped dough just before the final proof. Ensure the olives are well-drained if they were in brine. The olives contribute a salty, briny flavor and moist pockets throughout the bread, making a savory and satisfying fougasse.
Cheese Fougasse: Adding Cheese
Cheese is another popular addition that creates a rich and indulgent fougasse. Grated hard cheeses like Gruyère, Parmesan, or aged cheddar work well. About 1/2 cup to 1 cup of grated cheese can be incorporated into the dough along with the olives, or sprinkled generously over the shaped dough before baking. For a gooey center, you could also strategically place small cubes of semi-hard cheese (like provolone or mozzarella) into some of the cuts just before baking. The melting cheese creates delicious crispy edges and pockets of flavor within your easy flaky French fougasse recipe.
Garlic Fougasse: Infusing with Garlic
For garlic lovers, infusing fougasse with garlic flavor is simple and delicious. Finely mince 1-2 cloves of fresh garlic and add it to the dough along with the olive oil during the mixing stage. Alternatively, brush the shaped dough with garlic-infused olive oil (made by gently heating olive oil with sliced garlic and letting it steep) just before baking. You can also sprinkle garlic powder over the dough along with herbs. The aroma of baking garlic fougasse is irresistible.
Herb Fougasse: Using Fresh Herbs
While herbs de Provence are traditional, you can experiment with other fresh herbs. Finely chopped fresh rosemary, thyme, oregano, or even chives or parsley can be added to the dough (about 2-3 tablespoons) or sprinkled generously over the shaped dough before baking. Mixing different herbs allows you to create your own signature blend. Fresh herbs add a vibrant, aromatic quality that enhances the simple goodness of the easy flaky French fougasse recipe.
Conclusion: Mastering Fougasse Baking
Baking fougasse offers a delightful journey into the world of Provençal bread. From understanding its historical significance and unique structure to mastering the dough hydration, fermentation, and distinctive shaping technique, each step contributes to creating a truly special loaf. The high-temperature bake yields a bread that is both crispy and tender, making it a joy to eat.
From Beginner to Baker: Fougasse as a Baking Achievement
Successfully baking an easy flaky French fougasse recipe is a tangible and rewarding achievement for bakers of any level. It introduces fundamental bread-making concepts like hydration, gluten development through stretch and folds, and the importance of high-heat baking for certain styles of bread. The relatively quick process compared to some other artisan loaves makes it an accessible project. The beautiful, rustic result is a testament to your growing baking skills and provides a wonderful sense of accomplishment.
Fougasse is inherently a bread for sharing. Its shape encourages tearing and passing around the table, making it perfect for casual meals, gatherings, or simply enjoying fresh with family. Whether you stick to the classic plain version or experiment with olive, cheese, or herb variations, your homemade fougasse is sure to be appreciated. Don't hesitate to share your easy flaky French fougasse recipe creations – the best way to enjoy this Provençal delight is in good company.
Frequently Asked Questions
What is fougasse and how does it differ from focaccia?
Fougasse is a Provençal bread similar to focaccia, but characterized by its leaf-like shape and open, airy crumb. Focaccia tends to be thicker and more uniform.
Is this fougasse recipe suitable for beginner bakers?
Yes, this recipe is designed to be easy to follow, even for beginners. The step-by-step instructions and readily available ingredients make it accessible.
What makes this fougasse recipe result in a flaky texture?
The high hydration dough and the technique of slashing and stretching the dough contribute to the flaky texture. Proper oven temperature is also crucial.
Can I substitute any ingredients in this fougasse recipe?
While we recommend following the recipe for best results, you can experiment with different herbs and spices for flavoring. However, altering the flour or liquid amounts may affect the texture.
How should I store leftover fougasse to keep it fresh?
Store leftover fougasse in an airtight container at room temperature. For longer storage, freeze it and reheat before serving to maintain its crispness and flavor.
Final Reflection: The Enduring Magic of Fougasse
The simple act of shaping dough into a rustic fougasse connects us to a rich culinary history, while simultaneously offering a surprisingly accessible and rewarding baking experience. This seemingly straightforward bread, with its characteristic leaf-like scoring, transcends mere sustenance; it's a testament to the power of mindful creation and the joy found in sharing homemade goodness. The ease with which even novice bakers can achieve a beautiful, flaky loaf makes it a perfect entry point into the world of artisan bread making.
The enduring appeal of fougasse lies not just in its delicious taste, but in its ability to evoke a sense of warmth and tradition. It's a bread that invites sharing, a centerpiece for gatherings both large and small. The process itself – from kneading the dough to carefully scoring its surface – is a meditative practice, a moment of calm in a busy world. As the renowned baker, Lionel Poilane, once said: Bread is the staff of life, but it is also a work of art.
This sentiment perfectly encapsulates the essence of fougasse, a humble bread elevated to an art form through simple, deliberate actions.
Now, I invite you to embrace the magic of fougasse. Try your hand at this easy recipe, and experience the satisfaction of creating something beautiful and delicious from scratch. Don't be afraid to experiment with different herbs, flours, or even the scoring patterns – let your creativity flow! The journey of baking fougasse is as rewarding as the final product, offering a chance to connect with tradition, nurture your creativity, and share the simple pleasure of freshly baked bread with those you love.
Unleash Your Inner Boulanger: Shape Your Own Fougasse!
Thanks for joining us on this journey into the beautiful world of French fougasse! We hope you gained a newfound appreciation for this rustic yet elegant bread. Ready to take your baking skills to the next level?
- Bake your own fougasse today! Use the recipe and techniques we shared to create your masterpiece. Experiment with different herbs and olive oils! This is your chance to truly personalize your bread.
- Share your fougasse creations with us! Post a picture on social media using #BakeWithEaseFougasse – we’d love to see your stunning results.
- Challenge a friend to bake along with you and share your experience! What better way to celebrate baking than with a fellow bread enthusiast?
What unique twist will you add to your next fougasse creation? Let us know in the comments below!