
Piping Leaves and Petals: Basic Techniques to Try

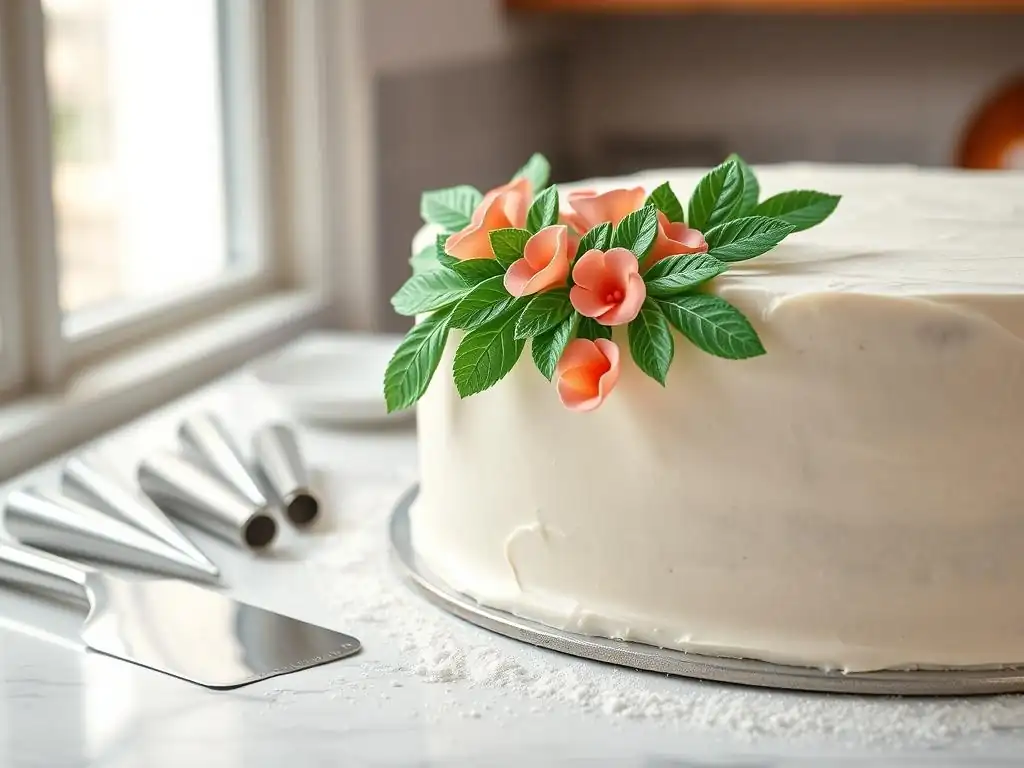
Welcome to BakeWithEase, your kitchen companion for all things baking! Are you ready to elevate your cake decorating skills? This week we're diving into the delicate art of buttercream piping, specifically mastering the technique for easy buttercream leaf piping. Discover how just a few simple steps can transform your desserts into stunning works of art. Intrigued? Let's get started and unlock the secrets to beautiful, edible foliage!
- Introduction to Buttercream Leaf and Petal Piping
- Mastering the Basic Buttercream Leaf Piping Technique
- Advanced Buttercream Leaf Piping Techniques
- Buttercream Petal Piping: A Beginner's Guide
- Tips and Tricks for Perfect Buttercream Leaves and Petals
- Practicing and Improving Your Piping Skills
- Conclusion: Elevate Your Baking with Buttercream Piping
-
Frequently Asked Questions
- How can I achieve realistic-looking leaves when piping buttercream?
- What type of buttercream is best for piping leaves and petals?
- What is the best piping tip for creating buttercream leaves?
- How do I add color to my buttercream for leaf piping?
- What are some common mistakes to avoid when piping buttercream leaves?
- Final Reflection: The Enduring Beauty of a Simple Piped Petal
- Unleash Your Inner Floral Artist: Decorate Like a Pro!
Introduction to Buttercream Leaf and Petal Piping
Why Learn Buttercream Piping Techniques?
Mastering buttercream piping techniques is a fundamental skill that can truly transform your baked goods, elevating them from simple treats to stunning edible art. Learning how to pipe delicate leaves and vibrant petals allows you to add intricate details and professional finishes to cakes, cupcakes, cookies, and more. This skill set opens up a world of creative possibilities, enabling you to design everything from elegant floral arrangements to subtle green accents, making your desserts visually captivating and unique. It's a rewarding process that builds confidence and precision in your decorating abilities.
Beyond aesthetics, understanding these techniques also helps you appreciate the nuances of buttercream consistency and control. Piping requires a steady hand, consistent pressure, and a good understanding of how your chosen tip interacts with the frosting. By practicing basic leaf and petal shapes, you develop the muscle memory and control necessary for more complex designs. It’s an achievable goal for any baker looking to enhance their decorating repertoire, making even simple projects like piping easy buttercream leaf designs feel accomplished and beautiful.
Essential Tools and Materials for Leaf and Petal Piping
To begin your journey into piping leaves and petals, you'll need a few key tools. The most crucial are piping bags – both disposable and reusable silicone or cloth bags work well, though disposable bags offer easy cleanup. You'll also need piping tips, specifically those designed for leaves and petals. A small coupler set is highly recommended if you plan to switch tips on the same bag of frosting, allowing you to change tips without emptying the bag.
In addition to bags and tips, you'll need your buttercream frosting, prepared to the right consistency (more on that later). Food coloring is essential for achieving realistic or vibrant colors. Having a few basic tools like an offset spatula for filling bags, scissors for cutting bag tips, and potentially a small palette knife or toothpick for adjusting decorations can also be helpful. For practicing easy buttercream leaf piping, a practice board or even just parchment paper taped to a flat surface is invaluable before working directly on your finished treats.
Mastering the Basic Buttercream Leaf Piping Technique
Preparing Your Buttercream for Piping
The success of your buttercream piping, especially for detailed elements like leaves, heavily relies on the consistency of your frosting. For piping leaves, a medium to stiff consistency is generally preferred. If your buttercream is too soft, the leaves will lose their shape and definition quickly; if it's too stiff, it will be difficult to pipe smoothly and may tear. Achieve the right consistency by adding a tablespoon of milk or cream at a time to stiff frosting, or a tablespoon of powdered sugar at a time to soft frosting, mixing thoroughly until smooth and pliable.
Before filling your piping bag, ensure your buttercream is free of air bubbles, which can cause breaks in your piped lines. You can achieve this by mixing the buttercream on low speed with a paddle attachment for a few minutes, or by vigorously stirring it by hand with a spatula, pressing it against the sides of the bowl. Once smooth and bubble-free, gently scoop the buttercream into your piping bag, being careful not to trap more air. Fill the bag about two-thirds full to maintain good control.
Selecting the Right Piping Tip for Leaves: Wilton #67
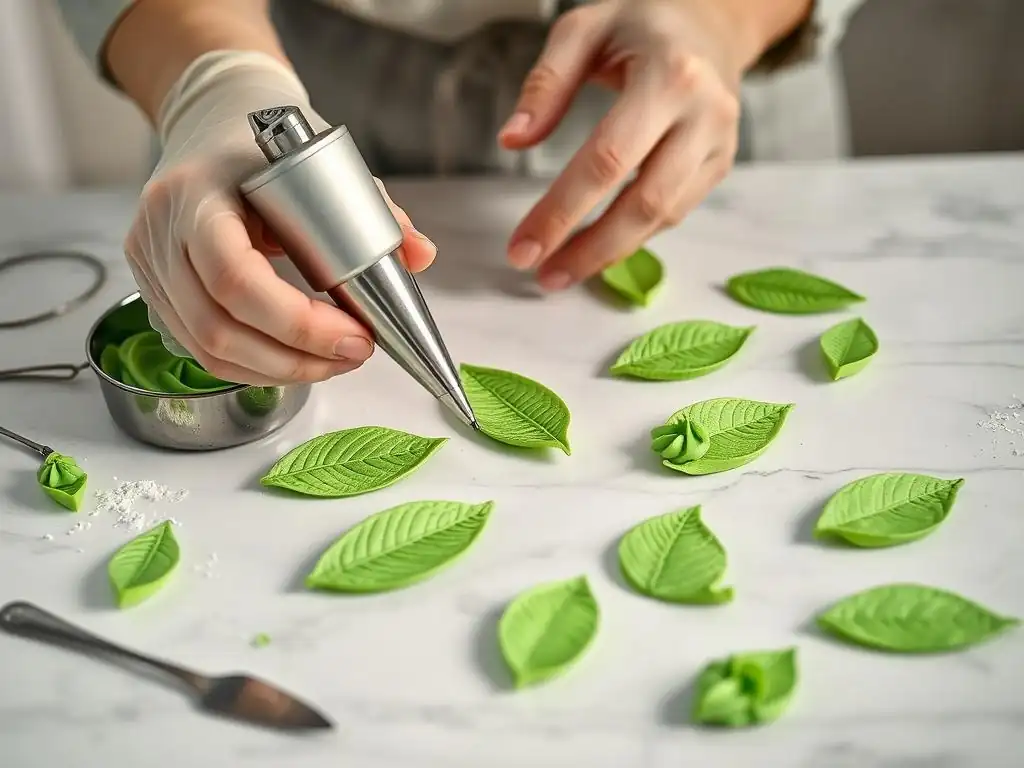
When it comes to piping classic buttercream leaves, the Wilton #67 tip is a widely recognized standard and an excellent choice for beginners. This tip has a narrow slit opening that allows you to create a distinct leaf shape with a central vein impression. Its design makes it incredibly versatile for creating a variety of leaf sizes and styles simply by adjusting pressure and angle. Using a Wilton #67 tip is a core technique for achieving that classic, natural look that complements many floral decorations.
While the Wilton #67 is a go-to for easy buttercream leaf piping, other tips like the Wilton #68 or #70 offer slightly different shapes and sizes, providing options for variety. The key characteristic of a good leaf tip is a slit-like opening. Experimenting with a few different sizes can help you determine which tips you prefer for specific applications, whether you need tiny accent leaves or larger, more prominent foliage.
Step-by-Step Guide to Piping Simple Buttercream Leaves
Piping simple buttercream leaves is an accessible technique that yields beautiful results. Here's a step-by-step breakdown using the recommended Wilton #67 tip:
Holding the Piping Bag Correctly
Properly holding the piping bag is fundamental for control. Grip the bag near the top with your dominant hand, using your thumb and forefinger to apply pressure. Your other hand should gently guide the tip near the surface you are piping on. Hold the bag so the tip's slit is perpendicular to the surface – imagine the slit is standing upright, not lying flat. This orientation is crucial for the leaf tip to work correctly and create the characteristic shape with the central line.
Applying Pressure for Consistent Leaf Shape
Start piping by touching the tip opening gently to the surface where you want the base of your leaf to be. Apply firm, consistent pressure with your dominant hand, allowing the buttercream to flow out and form the body of the leaf. As you apply pressure, move the tip slightly upwards and away from the base. Crucially, reduce pressure as you pull the tip away to create the pointed end of the leaf. A smooth, steady decrease in pressure is key to avoiding blunt or ragged tips. Aim for a quick, decisive motion – squeeze, pull, release.
Creating Different Leaf Variations: Size and Shape
Once you've mastered the basic squeeze-pull-release motion, you can create variations. For longer, thinner leaves, apply pressure for a longer duration and pull the tip further before releasing. For shorter, fatter leaves, use more pressure initially but pull away quickly. You can also slightly wiggle the tip side-to-side as you pipe to create a slightly ruffled or less uniform edge, adding a touch of realism. Practicing these adjustments on parchment paper will quickly show you how pressure and movement affect the final shape, making your easy buttercream leaf piping skills more versatile.
Troubleshooting Common Leaf Piping Problems
Even with careful preparation, you might encounter issues when piping leaves. Knowing how to identify and fix them is part of the learning process.
Air Bubbles in Buttercream
Air bubbles are a common frustration. They cause gaps or bursts in the piped line, ruining the clean look of your leaf. This usually happens because the buttercream wasn't properly mixed or was over-mixed at high speed, or because air was trapped when filling the bag. If you encounter bubbles, try gently squeezing the buttercream towards the tip of the bag. If bubbles persist, empty the bag back into your bowl, re-mix the buttercream briefly on low speed or stir vigorously by hand to work out the air, then refill the bag carefully.
Inconsistent Pressure Issues
Uneven pressure is another frequent challenge, resulting in leaves that are lopsided, have irregular thickness, or lack a defined point. If your leaves start thick and end abruptly, you're likely not decreasing pressure smoothly as you pull away. If they are thin throughout, you might not be applying enough initial pressure. The solution here is simple: practice. Dedicate some time to just piping lines and leaves on parchment paper, focusing solely on maintaining and gradually releasing pressure. This muscle memory development is crucial for consistent easy buttercream leaf piping.
Leaf Shape Distortion
Sometimes leaves might slump, spread, or lose their crisp edges after piping. This is often due to the buttercream being too soft, either because it was made that way or because it has become too warm from handling or room temperature. If your buttercream feels too soft, try refrigerating it for 10-15 minutes to firm it up slightly. If the base recipe seems too soft for piping, you may need to adjust it by adding a bit more powdered sugar or shortening (depending on the recipe) to achieve a stiffer consistency suitable for detailed piping.
Advanced Buttercream Leaf Piping Techniques
Piping Realistic Leaves with Veins
Once you're comfortable with basic shapes, you can add more detail. Piping realistic leaves often involves creating a more natural shape and adding veins. While the Wilton #67 gives a central vein impression, you can enhance this or add more complex veining after the leaf is piped. This step adds a layer of realism that makes your foliage look much more organic.
Using a Veining Tool: JEM Leaf Veiner
For detailed veining, a specialized tool like a JEM leaf veiner or a simple toothpick can be used. Immediately after piping a leaf, while the buttercream is still pliable, gently press a veining tool or the side of a toothpick into the surface of the leaf to create additional vein lines branching out from the center. Be careful not to press too hard, which could flatten or tear the leaf. Practice this technique on parchment paper first to get a feel for the right pressure and angle.
Adding Color and Shading to Leaves
Adding depth and realism to leaves isn't just about shape and veins; color plays a huge role. Instead of just using one shade of green, try using two or three slightly different shades in the same piping bag for a variegated look. Alternatively, you can pipe the base leaf in one color and then use a small brush or airbrush (if available) to add subtle shading or darker accents along the edges or in the vein lines. This technique gives the leaves a more lifelike, dimensional appearance.
Creating Cascading Leaves and Leaf Borders
Beyond individual leaves, you can create impressive arrangements. Cascading leaves involve piping a series of leaves that appear to trail down the side of a cake or cupcake. Start near the top and pipe leaves in a downward direction, slightly overlapping them or arranging them along a curved path.
Leaf borders are another popular application. These can be simple rows of leaves piped side-by-side along the edge of a cake, or more complex designs where leaves are intertwined with piped vines or other elements. Practicing consistent size and spacing is key for creating neat and attractive borders. These techniques build upon your basic easy buttercream leaf piping skills, allowing you to cover larger areas with beautiful foliage.
Buttercream Petal Piping: A Beginner's Guide
Choosing the Right Piping Tip for Petals: Wilton #104
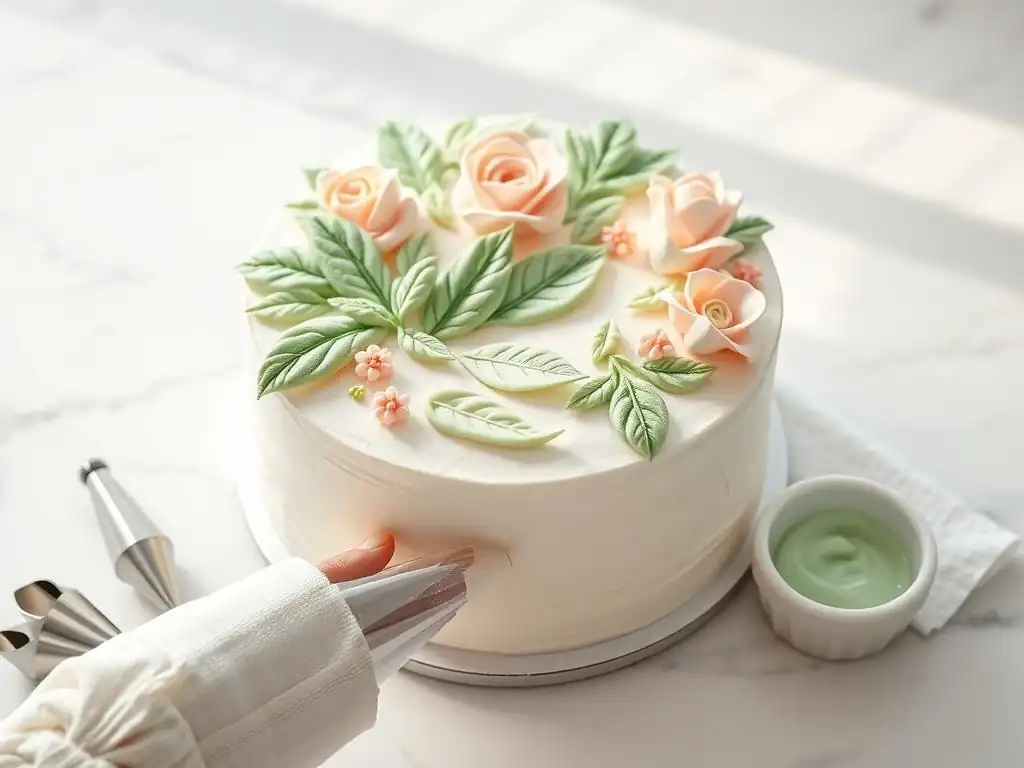
Piping petals requires a different type of tip than leaves. Petal tips have a teardrop-shaped opening – one side is wider and the other is narrower. The Wilton #104 is a classic, medium-sized petal tip, perfect for creating a variety of buttercream flowers, from simple drop flowers to more complex roses. Its versatile size makes it a great starting point for learning petal techniques.
Other common petal tips include the smaller Wilton #101 (ideal for tiny blossoms or delicate ruffles) and larger tips like Wilton #125 or #127 (used for larger flowers like peonies or large roses). Understanding how the orientation of the wide and narrow ends of the tip affects the petal shape is fundamental to using any petal tip effectively.
Piping Basic Buttercream Petals: The Drop Flower Technique
The drop flower is one of the simplest ways to create a flower using a petal tip, making it a great starting point for beginners. It doesn't require complex layering, just a single motion for each petal. This technique uses the petal tip to create small, individual petals that form a simple flower shape.
Creating the Petal Shape: Angle and Pressure
To pipe a drop flower, hold the piping bag with the Wilton #104 tip attached, ensuring the wide end of the tip is touching the surface and the narrow end is pointing slightly upwards and away from the center where you want the flower to be. Apply consistent pressure while keeping the wide end anchored to the surface. As you squeeze, move the bag slightly outwards and then quickly release pressure and pull away. This motion creates a single petal.
Assembling a Simple Buttercream Flower
To assemble a simple drop flower, pipe several petals around a central point. Start by piping one petal, then lift the bag, move slightly around the center, and pipe the next petal, overlapping the previous one slightly at the base. Repeat this process until you have piped enough petals to form a complete flower shape, usually 5-7 petals for a small flower. You can then add a dot of contrasting color in the center using a small round tip ( Wilton #3 or #5) to complete the look.
Piping More Complex Buttercream Petals: Roses and Carnations
Once you're comfortable with basic petals, you can try techniques for more intricate flowers like roses and carnations. These require building up layers of petals.
Piping Rose Petals: Layering Technique
Piping a buttercream rose typically involves using a flower nail (a small metal disc on a stick) or piping directly onto the cake surface. If using a flower nail, pipe a small cone of buttercream in the center first. Then, holding the petal tip ( Wilton #104 is excellent for this) with the wide end down and narrow end up, pipe the first central petal around the cone. Subsequent layers of petals are piped around the previous ones, overlapping and angling the tip slightly differently to create the opening bloom effect. The key is consistent pressure and smooth, curved movements.
Piping Carnation Petals: Ruffled Edge Technique
Buttercream carnations utilize a ruffled technique. Using a petal tip like the Wilton #104, hold the tip with the wide end down and narrow end up, close to the surface. Apply steady pressure and move the tip back and forth rapidly in a short, wavy motion while moving the tip slightly forward. This creates a ruffled edge. You can pipe individual ruffles around a central point or pipe continuous ruffled strips in a circular motion to build the flower from the center outwards. This technique requires a delicate balance of pressure and movement to get the characteristic ruffled look.
Tips and Tricks for Perfect Buttercream Leaves and Petals
Achieving beautiful piped decorations consistently comes down to a few key factors.
Buttercream Consistency: Achieving the Ideal Texture
As mentioned earlier, consistency is paramount. For piping leaves and structured petals like roses, a medium-stiff buttercream is usually best. It holds its shape well but is still soft enough to pipe smoothly. For more delicate petals or ruffles, a slightly softer medium consistency might be preferred as it flows more easily.
Always test a small amount of buttercream on your practice surface before piping onto your final project. If it's too stiff, add a tiny bit of milk or cream; if too soft, add a little more powdered sugar. Temperature also affects consistency – warm buttercream will be softer, cold will be stiffer.
Coloring Buttercream for Realistic Effects
Using gel or paste food colors is recommended over liquid colors, as they are highly concentrated and won't significantly alter your buttercream's consistency. Start with a small amount of color and gradually add more until you achieve the desired shade. For realistic leaves, consider using a mix of greens, adding touches of yellow or brown. For petals, think about natural flower colors, often with subtle variations in shade. For more complex effects like shading or marbling, you can stripe the inside of your piping bag with a darker color before filling it with your main color.
Storing and Handling Piped Buttercream Decorations
Piped buttercream decorations can often be made ahead of time and stored. Pipe leaves and petals onto squares of parchment paper. Once piped, place the parchment squares onto a baking sheet and refrigerate for about 15-30 minutes until the buttercream is firm. Once firm, they can be carefully transferred to an airtight container, layered between parchment paper, and stored in the refrigerator for several days or frozen for longer storage. When ready to use, simply peel them off the parchment and place them onto your cake or cupcake. Handle firm decorations gently as they can be fragile.
Practicing and Improving Your Piping Skills
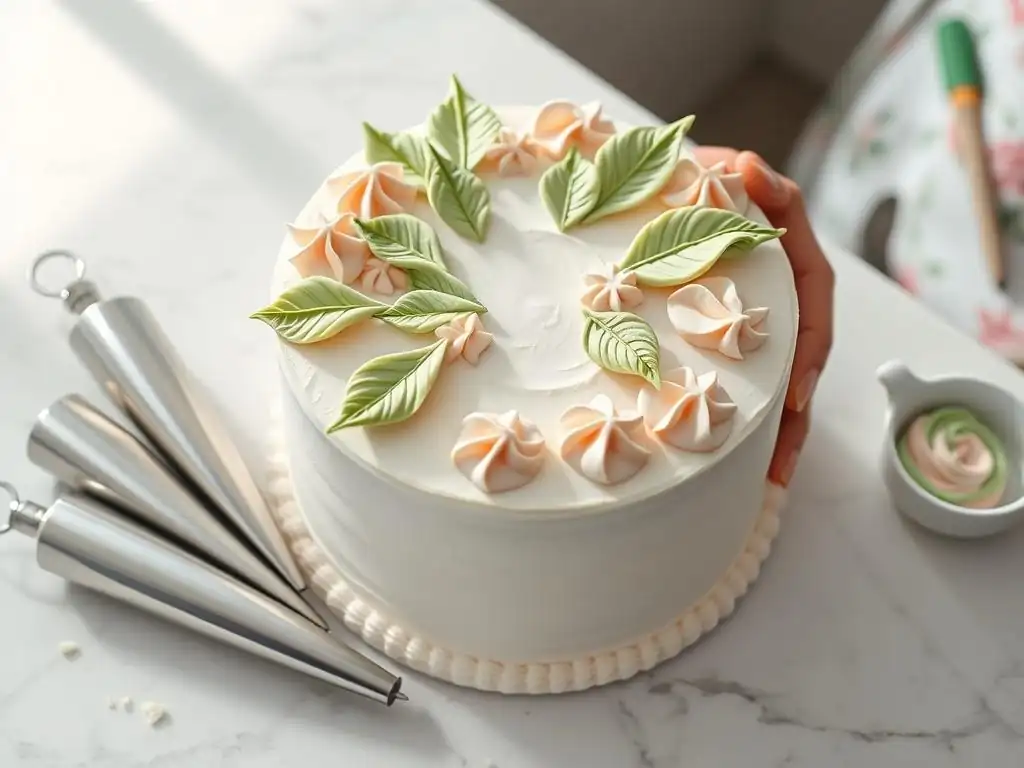
Consistent practice is the most effective way to improve your piping skills, whether it's for easy buttercream leaf piping or intricate flowers.
Easy Buttercream Leaf Piping Practice Exercises
Dedicate time specifically to piping leaves. Here are some exercises to try:
- [ ] Pipe rows of single leaves, focusing on uniform size and shape.
- [ ] Practice piping leaves while varying pressure to create different lengths and widths.
- [ ] Try piping leaves at different angles (straight up, sideways) to get comfortable with bag control.
- [ ] Pipe leaves around a circular template to practice creating borders.
- [ ] Add veining to piped leaves using a tool or toothpick.
Repetition builds muscle memory and helps you understand how your hand pressure translates into the final shape.
Petal Piping Practice Drills: Focusing on Consistency
For petals, focus on mastering the angle and pressure needed for each type of flower:
- [ ] Pipe rows of single drop flower petals, aiming for consistent size and curvature.
- [ ] Practice assembling simple drop flowers with a consistent number of petals.
- [ ] Practice piping the central cone for a rose.
- [ ] Work on piping rose petals, focusing on smooth, overlapping curves and building layers.
- [ ] Practice the back-and-forth motion for carnation ruffles, trying to maintain even width.
Using a practice board or parchment paper allows you to scrape off the buttercream and reuse it, making practice economical.
Resources for Further Learning: Books, Websites, and Videos
To continue developing your skills, explore various resources. Many excellent baking books offer detailed guides on piping techniques with step-by-step photos. Websites like BakeWithEase.com provide articles and tutorials. Video tutorials on platforms like YouTube are particularly helpful for visualizing the hand movements and pressure needed for different techniques. Look for videos demonstrating easy buttercream leaf piping and basic petal work from reputable decorators. Learning from multiple sources can offer different perspectives and tips that resonate with you.
Conclusion: Elevate Your Baking with Buttercream Piping
Learning basic buttercream piping techniques for leaves and petals is a valuable skill for any home baker. It allows you to add beautiful, personalized touches to your creations, transforming simple cakes and cupcakes into impressive desserts. By focusing on preparing your buttercream correctly, selecting the right tools like the Wilton #67 and Wilton #104 tips, and dedicating time to practice techniques like easy buttercream leaf piping and basic petal formation, you can quickly gain confidence. Don't be discouraged by imperfections at first; consistency and precision come with repetition. Embrace the process, have fun experimenting with colors and shapes, and enjoy the rewarding experience of elevating your baking with stunning piped buttercream decorations.
Frequently Asked Questions
How can I achieve realistic-looking leaves when piping buttercream?
To achieve realistic leaves, focus on varying pressure applied to the piping bag. Start with more pressure for the base, then gradually decrease it as you pull away to create a tapered end, mimicking a natural leaf shape.
What type of buttercream is best for piping leaves and petals?
A stiff buttercream is ideal for piping leaves and petals as it holds its shape well. American buttercream or a Swiss meringue buttercream that has been properly chilled are good choices for achieving crisp details.
What is the best piping tip for creating buttercream leaves?
A leaf tip (often numbered 349, 352, or similar) is specifically designed for piping leaves. It has a V-shaped opening that creates the characteristic leaf vein effect when pressure is applied and released.
How do I add color to my buttercream for leaf piping?
Use gel food coloring instead of liquid coloring to avoid thinning the buttercream. Add small amounts at a time until you achieve the desired shade of green, and remember that the color will deepen slightly over time.
What are some common mistakes to avoid when piping buttercream leaves?
Avoid using buttercream that is too soft, as the leaves will lose their shape. Also, practice your technique on parchment paper first to get a feel for the pressure and movement before piping directly onto your cake.
Final Reflection: The Enduring Beauty of a Simple Piped Petal
The art of creating delicate buttercream leaves and petals, while seemingly simple, offers a profound connection to the beauty of nature and the power of creative expression. This accessible skill, as explored in this article, transcends mere cake decoration; it's a gateway to crafting personalized, heartfelt treats that bring joy to both the maker and the recipient. The ease of mastering these basic techniques makes them surprisingly impactful.
The enduring appeal of handcrafted details, especially in a world increasingly dominated by mass production, is undeniable. The act of meticulously piping each petal, each leaf, is a meditative process, a quiet rebellion against the fleeting nature of modern life. It's a reminder to slow down, appreciate the small details, and find beauty in the simple act of creation. The best things in life are simple,
a sentiment often repeated, rings especially true when considering the profound satisfaction derived from mastering a skill like buttercream piping.
Now, I invite you to pick up your piping bag and embrace the challenge. Don't be afraid to experiment, to let your creativity flow, and to find your own unique style. The journey of learning to pipe leaves and petals is not just about mastering a technique; it's about nurturing a connection to your creativity, finding joy in the process, and ultimately, sharing the beauty you create with others. Let the delicate dance of buttercream and piping tip inspire you to create something truly beautiful.
Unleash Your Inner Floral Artist: Decorate Like a Pro!
Thanks for joining us on this delightful journey into the world of piping leaves and petals! We hope you've gained the confidence to create stunning floral decorations for your cakes and cookies. Ready to put your new skills to the test?
- Master the Art of Piping: Practice your favorite leaf and petal techniques from the article. Try creating a small bouquet on a practice sheet of parchment paper to really nail the technique!
- Share Your Creations: Show off your beautiful piped flowers on social media using #BakeWithEaseFlowers. We'd love to see your masterpieces!
- Explore New Designs: Challenge yourself to create a completely new floral design inspired by what you've learned. Think outside the box – what other flowers or patterns can you pipe?
What unique floral design will you create next?