
Making Piping Less Messy: Simple Setup Tips

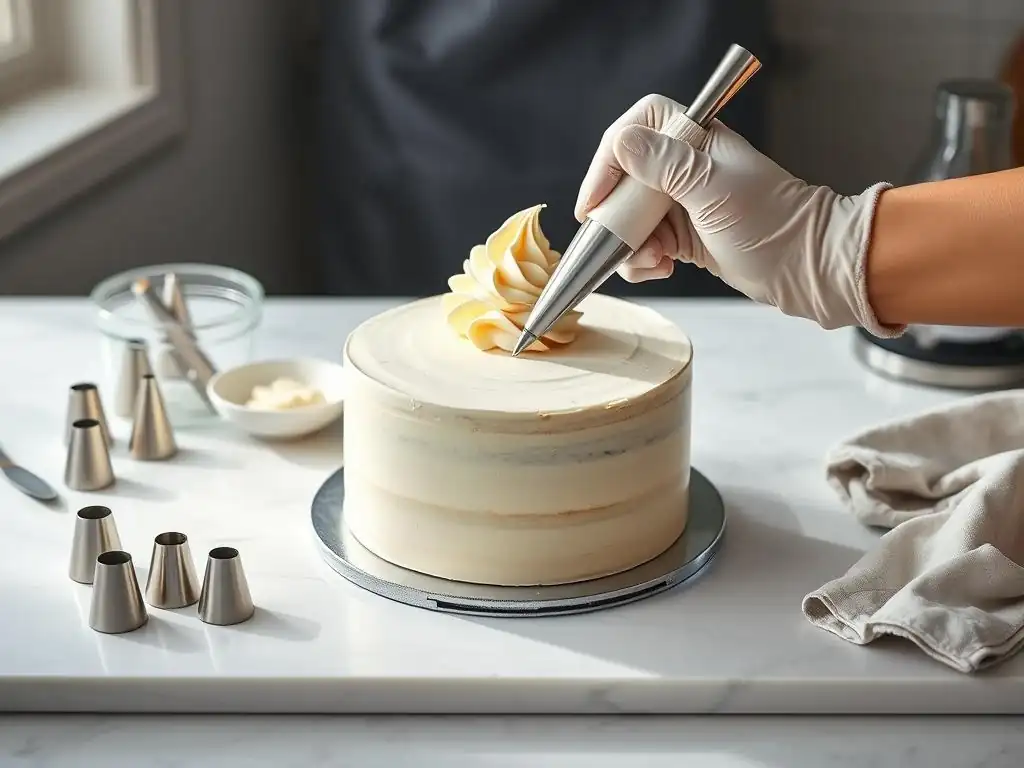
Welcome to BakeWithEase, your haven for baking mastery! Ever feel overwhelmed by the mess when attempting to pipe buttercream frosting? You're not alone! This article dives into easy piping buttercream frosting tips that will transform your decorating experience. Get ready to discover simple setup strategies for a cleaner, smoother, and more enjoyable bake. Let's unlock the secrets to pristine piping – read on to find out how!
- Making Piping Less Messy: Simple Setup Tips for BakeWithEase
- Bake With Ease: Mastering Clean Buttercream Piping
- Understanding Common Piping Problems and Solutions
- Easy Piping Buttercream Frosting Tips: Setting Up for Success
- Simple Techniques for Filling a Piping Bag Neatly
- Piping Bag Control: Techniques for a Cleaner Finish
- Buttercream Consistency: Key to Clean Piping Lines
- Post-Piping Cleanup: Quick and Easy Solutions
- Advanced Tips for Expert Buttercream Piping
- BakeWithEase: Enjoy Effortless & Beautiful Baking
-
Frequently Asked Questions
- What are some common challenges faced when piping buttercream frosting?
- What is the first step BakeWithEase.com recommends for a cleaner piping experience?
- How does the consistency of the buttercream affect the ease of piping?
- What's a simple tip for preventing air bubbles in the piping bag?
- Does BakeWithEase.com have specific recommendations for cleaning up after piping?
- Final Reflection: Mastering the Art of Effortless Piping
- Unleash Your Inner Pastry Chef: Conquer Piping Chaos!
Making Piping Less Messy: Simple Setup Tips for BakeWithEase
Bake With Ease: Mastering Clean Buttercream Piping
Piping buttercream frosting onto cakes, cupcakes, and cookies is a rewarding skill that transforms simple baked goods into stunning creations. However, it can sometimes feel like a messy endeavor, leaving your hands, counter, and even the finished product covered in frosting. At BakeWithEase, we believe baking should be enjoyable and as mess-free as possible. That's why mastering easy piping buttercream frosting tips and techniques is key to a smooth and successful decorating experience.
This guide will walk you through simple setup strategies and effective methods to minimize mess and maximize your piping precision. We'll cover everything from choosing the right tools to filling your bag neatly and controlling your flow. Whether you're a beginner tackling your first swirl or an experienced decorator looking to refine your process, these easy piping buttercream frosting tips will help you achieve cleaner results and more beautiful baked goods.
Understanding Common Piping Problems and Solutions
Why is My Piping Bag So Messy? Identifying the Root Causes
A messy piping bag often stems from a few key issues, primarily related to how the bag is prepared and filled. One major culprit is overfilling the bag. When a piping bag is packed too full, the pressure needed to push the frosting out forces excess buttercream back up towards the open end, leading to overflow and messy hands. Another common issue is not securing the tip properly, allowing frosting to leak out around the coupler or the tip itself.
Additionally, tears or weak points in the piping bag material can cause unexpected blowouts, especially when dealing with firmer buttercream consistency. Using bags that are too thin or have been reused excessively without proper inspection can contribute significantly to mess. Understanding these root causes is the first step in implementing effective easy piping buttercream frosting tips to keep your workspace clean.
Common Buttercream Piping Mistakes (And How to Avoid Them)
Beyond bag issues, several technique mistakes can lead to a messy piping experience. Pushing too hard on the bag, for example, can cause frosting to squish out unevenly or even burst the bag. Conversely, using too little pressure can result in weak, broken lines that require re-piping, increasing handling and potential mess. Not sealing the top of the bag properly after filling is another common error; this leaves an opening for frosting to escape as you apply pressure.
Another mistake is failing to manage air bubbles trapped in the buttercream. These bubbles cause inconsistencies in the flow, leading to sputtering and messy breaks in your design. Avoiding these pitfalls requires attention to detail during setup and mindful application of pressure. Implementing easy piping buttercream frosting tips starts with addressing these fundamental errors.
Easy Piping Buttercream Frosting Tips: Setting Up for Success
Preparing Your Piping Bag for a Clean Start
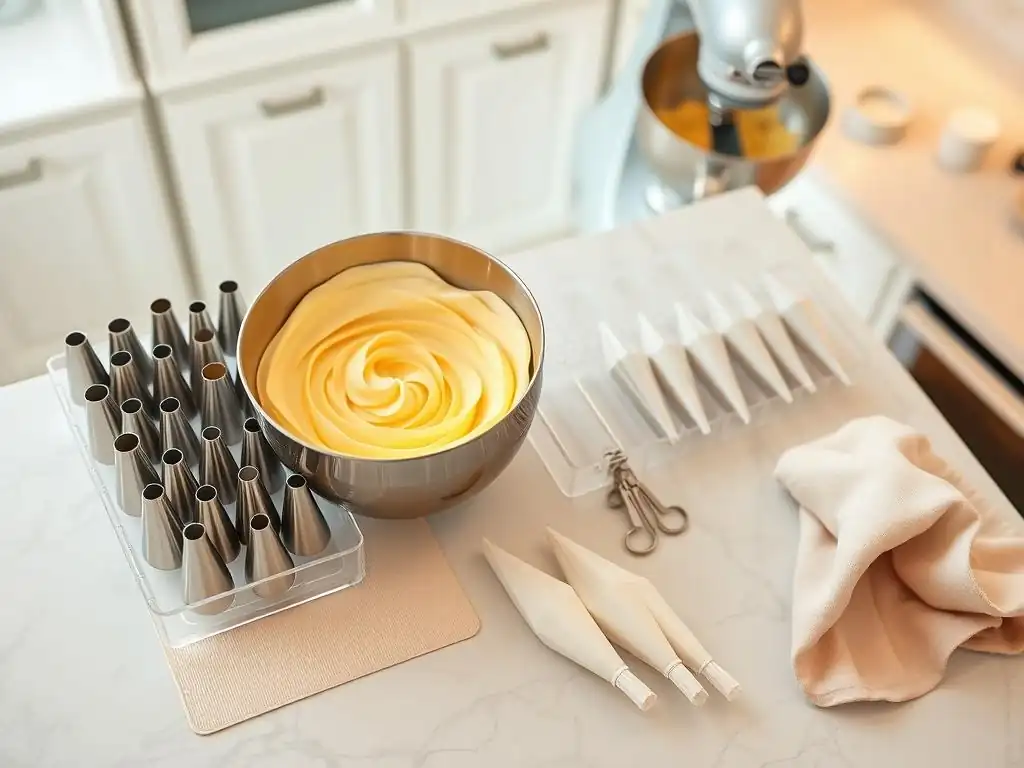
Proper preparation is the foundation of mess-free piping. If you're using a reusable piping bag, ensure it is thoroughly clean and dry before use. For disposable bags, inspect them for any small tears or defects. When using a coupler (a two-part ring system that allows you to change tips easily), place the inner part inside the bag, push it down, and mark where the bag meets the bottom of the coupler. Cut the bag just below this mark. This ensures the coupler is snug but doesn't block the tip opening.
If you're piping without a coupler, insert the tip directly into the bag and push it down firmly. Again, mark and cut the bag just below the tip opening, making sure the tip is secure and won't slip out under pressure. This simple step prevents leaks at the base of the bag, one of the most common sources of mess when applying easy piping buttercream frosting tips.
Choosing the Right Piping Tip for Your Design
Selecting the appropriate piping tip is crucial not only for the desired aesthetic but also for managing buttercream flow and minimizing mess. Tips come in various sizes and shapes – from small round tips (like Wilton #3 or #5) for fine details and lettering to large star tips (like Ateco #826 or Wilton #1M) for swirls and borders. Using a tip size that is too small for a very thick buttercream can require excessive pressure, increasing the risk of bag blowouts or leaks.
Conversely, a tip that is too large for a very soft buttercream might result in a lack of definition and a runny, messy appearance. Consider the consistency of your buttercream and the complexity of your design when choosing your tip. For general easy piping buttercream frosting tips like simple swirls or dots, a medium-sized star or round tip (e.g., Wilton #12 or #21) is often a great, forgiving choice that works well with standard buttercream consistency.
Essential Tools for Mess-Free Buttercream Piping
Having the right tools readily available can significantly streamline the piping process and minimize cleanup. Beyond piping bags and tips, consider having a tall glass or container handy for the "cup method" of filling (more on that later). A rubber spatula or bowl scraper is indispensable for efficiently transferring buttercream from the mixing bowl into the piping bag without getting it all over your hands.
- Tall glass or container
- Rubber spatula or bowl scraper
- Clean damp cloth or paper towels for wiping spills
- Optional: Piping bag ties or clips to secure the top
Keeping a damp cloth nearby allows you to quickly wipe away any stray frosting drips from the tip or your hands as you work, preventing the mess from spreading. These simple additions to your setup are effective easy piping buttercream frosting tips for maintaining a tidy workspace.
Simple Techniques for Filling a Piping Bag Neatly
The "Cup Method" for Easy Buttercream Transfer
One of the most effective easy piping buttercream frosting tips for a mess-free start is using the "cup method" to fill your piping bag. This technique involves placing your piping bag, with the tip already inserted and the end cut, inside a tall glass or container. Fold the top edges of the bag down over the rim of the glass, creating a wide opening that is easy to access.
Using a spatula, scoop your buttercream into the bag, letting it fall into the bottom of the bag inside the glass. The glass provides stability and keeps the sides of the bag open, preventing frosting from smearing up the outside. Fill the bag only about half to two-thirds full – remember, overfilling is a primary cause of mess! Once filled, lift the bag out of the glass, unfold the edges, and gently push the buttercream down towards the tip.
How to Fill a Piping Bag Without Air Bubbles
Trapped air bubbles can cause frustrating sputtering and uneven lines during piping, adding to potential mess. To minimize air bubbles when filling, try to scoop the buttercream into the bag in one continuous motion rather than small dollops. Use your spatula to press the buttercream against the sides of your mixing bowl before scooping; this helps to work out some of the air.
After filling the bag using the cup method, gently gather the top of the bag and twist it closed. Hold the bag upright over your workspace and gently tap the tip end on the counter a few times. This helps the buttercream settle and encourages any trapped air bubbles to rise to the top. You can also gently squeeze the bag while holding the tip closed to feel for and push air bubbles upwards before beginning to pipe.
Preventing Buttercream Leaks: Sealing Your Piping Bag Properly
Properly sealing the top of your piping bag is a critical easy piping buttercream frosting tip to prevent frosting from oozing out the wrong end. Once the bag is filled and you've pushed the buttercream down towards the tip, gather the open end and twist it tightly just above the level of the buttercream.
You can secure this twist with a piping bag tie, a rubber band, or a clip designed specifically for piping bags. This creates a secure closure that contains the buttercream and ensures that pressure applied to the bag only forces frosting out through the tip. A well-sealed bag allows for better control and significantly reduces the chance of messy backflow.
Piping Bag Control: Techniques for a Cleaner Finish
Mastering Piping Pressure: Finding the Perfect Balance
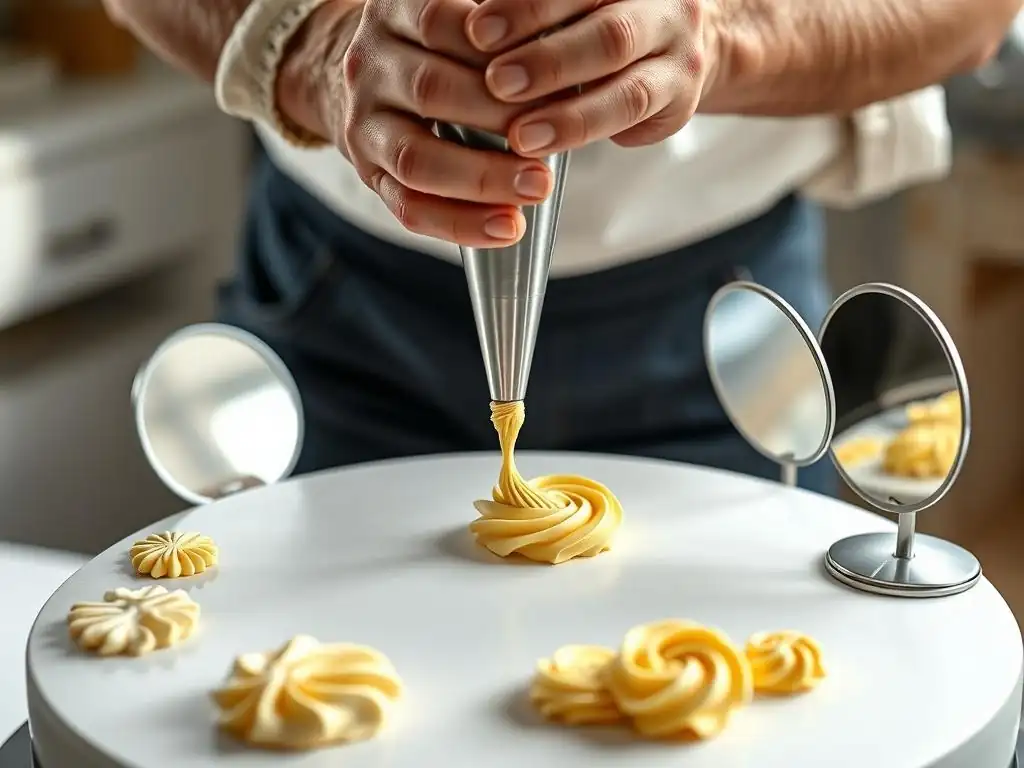
Consistent pressure is fundamental to clean piping and is one of the most valuable easy piping buttercream frosting tips to learn. Apply steady, even pressure with the hand holding the top of the bag (your dominant hand, typically). The other hand should gently guide the tip. Avoid squeezing the bag with a pumping motion; instead, maintain constant pressure to create a smooth, continuous line.
The amount of pressure needed will depend on the consistency of your buttercream and the size of your tip. A thicker buttercream or smaller tip requires slightly more pressure than a softer buttercream or larger tip. Practice on parchment paper first to find the right pressure for your specific setup. You'll know you have it right when the frosting flows out smoothly without breaking or sputtering.
How to Hold a Piping Bag for Optimal Control
Holding the piping bag correctly provides stability and leverage, leading to cleaner results and less mess. Hold the twisted top of the bag firmly in the palm of your dominant hand, using your fingers to apply pressure. Your other hand should support the bag near the tip, guiding its movement. Avoid gripping the bag too tightly, as this can cause hand fatigue and inconsistent pressure.
Ensure the seam of the piping bag (if it has one) isn't directly under the pressure point of your hand, as this can be a weak spot. Hold the bag at a consistent angle relative to your surface (often 90 degrees for dots or swirls, 45 degrees for borders) and maintain that angle as you pipe. This steady hand position is key to achieving uniform shapes and lines, which are hallmarks of successful easy piping buttercream frosting tips.
Cleaning as You Go: Minimizing Mess During Piping
Even with the best setup, a little bit of mess is sometimes inevitable. The trick is to manage it proactively. Keep a clean, damp cloth or paper towel handy to quickly wipe the tip of your piping bag between applications or if you notice any drips. If the tip becomes clogged with a crusty bit of frosting, use a toothpick or small offset spatula to gently clear it.
Wiping down your workspace periodically prevents small smudges from turning into larger messes. If you're piping multiple colors, use a separate bag for each color and avoid letting the tips touch to prevent color transfer. Implementing these small "clean as you go" habits reinforces good easy piping buttercream frosting tips and keeps your decorating process tidy.
Buttercream Consistency: Key to Clean Piping Lines
Achieving the Ideal Buttercream Texture for Piping
The consistency of your buttercream is arguably the single most important factor for successful, mess-free piping. Ideal piping buttercream should be smooth, creamy, and hold its shape well without being too stiff or too soft. A classic American buttercream, made with butter, powdered sugar, a liquid (milk or cream), and flavoring, is a common choice. For piping, aim for a consistency that is firm enough to create defined shapes but soft enough to flow smoothly through the tip without excessive pressure.
This often means adding liquid (milk, cream, or even water) one tablespoon at a time until the desired consistency is reached. A good test is to scoop some buttercream onto a spoon; it should hold its shape without slumping immediately. This optimal texture is fundamental to applying easy piping buttercream frosting tips effectively.
Troubleshooting Buttercream Consistency Issues: Too Stiff? Too Soft?
If your buttercream is too stiff, it will be difficult to push through the piping bag, requiring excessive force that can lead to hand cramps, bag blowouts, and inconsistent piping. To loosen stiff buttercream, add liquid (milk, cream, or simple syrup) one teaspoon or tablespoon at a time, mixing thoroughly after each addition until it reaches the desired piping consistency. A stand mixer or hand mixer on low speed works best for this.
If your buttercream is too soft or runny, it won't hold its shape when piped, resulting in sad, slumped designs and a very messy experience. This is often due to adding too much liquid or the buttercream being too warm. To stiffen soft buttercream, add more powdered sugar, about 1/4 cup at a time, mixing until combined. If the issue is warmth, refrigerate the buttercream for 10-15 minutes, then remix before piping. Achieving the right consistency is a core easy piping buttercream frosting tip.
Adjusting Buttercream for Different Piping Techniques
Different piping techniques may benefit from slight variations in buttercream consistency. For intricate details, fine lettering, or delicate lacework using small tips, a slightly firmer buttercream works best as it holds very precise lines. For large swirls, dollops, or filling cupcakes using larger tips, a slightly softer, more pliable consistency can be easier to work with and creates a smoother finish.
If you are piping flowers that need to hold distinct petal shapes (like roses), a very stiff crusting buttercream is often preferred. Understanding how consistency impacts the final result allows you to adjust your recipe slightly. Always test your buttercream consistency on a practice surface before piping onto your final baked goods. This adjustment knowledge is a key component of advanced easy piping buttercream frosting tips.
Post-Piping Cleanup: Quick and Easy Solutions
Cleaning Your Piping Tips Efficiently
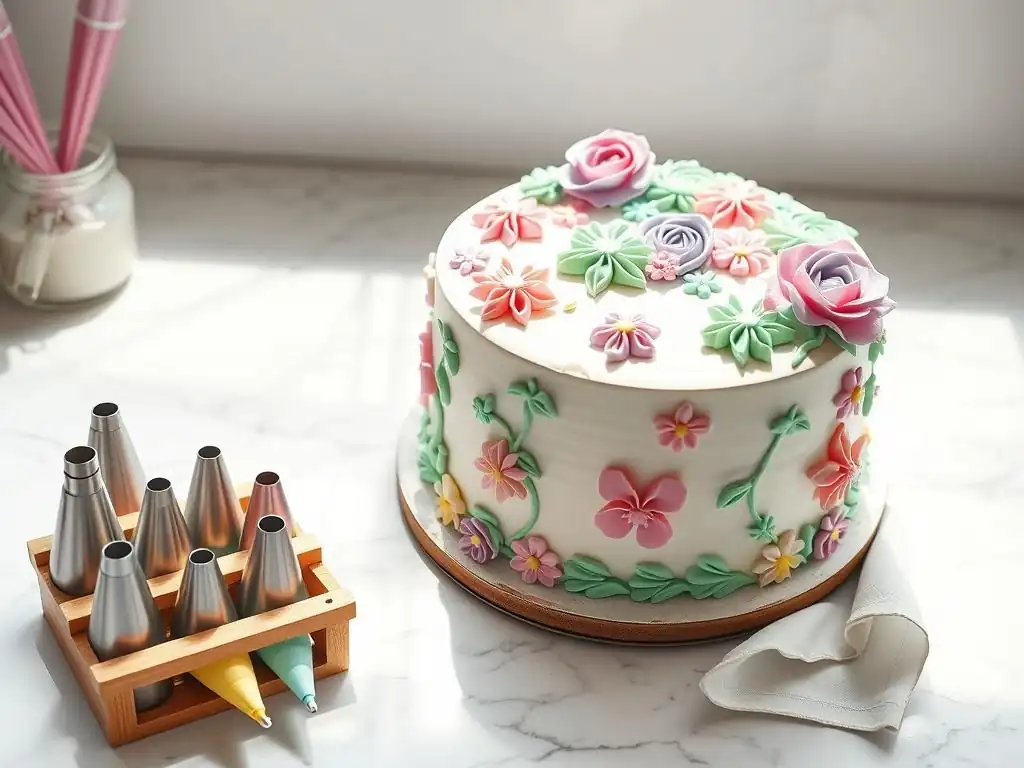
Cleaning piping tips immediately after use prevents buttercream from hardening inside and making cleanup difficult. The easiest way to clean tips is to rinse them under warm running water as soon as you are finished piping. Use a small brush (like a pastry brush or even an old toothbrush designated for kitchen use) or a pipe cleaner to scrub away any stubborn bits of frosting inside and out.
For tips with many crevices or small openings, soaking them in warm, soapy water for 10-15 minutes can help loosen dried-on buttercream before scrubbing. Ensure all residue is removed, then rinse thoroughly and let them air dry completely before storing. Efficient tip cleaning is an often-overlooked easy piping buttercream frosting tip that saves time and frustration later.
Storing Leftover Buttercream Properly
Properly storing leftover buttercream ensures it remains fresh and ready for your next baking project, while also keeping your kitchen tidy. Buttercream should be stored in an airtight container in the refrigerator. Depending on the type of buttercream (e.g., American, Swiss meringue, Italian meringue), it can last from one to three weeks in the fridge.
When you are ready to use it again, let the buttercream come to room temperature, then remix it thoroughly with a spatula or mixer to restore its smooth, creamy texture. This re-mixing step is crucial, as buttercream often stiffens and loses its smooth consistency when chilled. Storing buttercream correctly is a practical easy piping buttercream frosting tip for reducing waste and being prepared.
Maintaining Your Piping Bags for Long-Term Use
Reusable piping bags require careful cleaning and storage to ensure they last and remain hygienic. After use, scrape out as much leftover buttercream as possible with a spatula. Turn the bag inside out and wash it thoroughly with warm, soapy water. Pay special attention to seams and corners where frosting can hide.
Rinse the bag completely and hang it upside down to air dry. Ensure the bag is completely dry before storing it to prevent mold or mildew. Store dry bags flat or rolled up in a clean drawer or container. Disposable bags, of course, are simply discarded after use. Proper maintenance of reusable bags is a sustainable and economical easy piping buttercream frosting tip.
Advanced Tips for Expert Buttercream Piping
Working with Multiple Buttercream Colors: Avoiding Smudging
Piping with multiple colors can be visually stunning but also increases the potential for smudging and mess. When using multiple bags, keep them separate and handle them carefully. If you are using different tips for different colors, ensure you don't accidentally swap them onto the wrong bag.
To create a striped effect within one bag, stand the bag in a tall glass and use a spatula to smear stripes of different colored buttercream up the inside walls of the bag before filling the center with your main color. This technique, while requiring careful filling, results in beautiful multi-colored effects without needing multiple tips or excessive handling. Wiping the tip between applications is even more critical when working with multiple colors.
Piping on Different Surfaces: Adapting Your Technique
The surface you are piping onto (cake, cupcake, cookie) can affect how well the buttercream adheres and your overall mess level. For smooth surfaces like fondant or chilled ganache, the buttercream might initially slip slightly. Holding the bag steady and starting with a firm anchor point helps. Piping onto crumb-coated or slightly textured surfaces often provides better grip.
When piping onto vertical surfaces (like the side of a cake), you'll need slightly firmer buttercream and a steady hand to prevent drips. Practice piping onto a cake dummy or the side of a bowl to get the feel for vertical piping before working on your final cake. Adapting your pressure and angle to the surface is an advanced easy piping buttercream frosting tip that comes with practice.
Practice Makes Perfect: Resources for Improving Your Piping Skills
Like any skill, mastering mess-free and beautiful piping takes practice. Don't be discouraged if your first attempts aren't perfect. Practice piping basic shapes like dots, stars, and swirls on parchment paper. You can scrape the buttercream back into the bag and reuse it for practice (though it might get softer with handling).
BakeWithEase.com offers numerous step-by-step guides and video tutorials on various piping techniques. Look for resources focusing on basic shapes and consistent pressure. Many piping tip manufacturers also provide charts and guides showing the effects of different tips. Dedicating even just 10-15 minutes to practice regularly can significantly improve your control and reduce mess, making all these easy piping buttercream frosting tips second nature.
BakeWithEase: Enjoy Effortless & Beautiful Baking
Frequently Asked Questions
What are some common challenges faced when piping buttercream frosting?
Common challenges include air bubbles, uneven pressure, and messy cleanup. These can lead to frosting that doesn't look smooth or consistent.
What is the first step BakeWithEase.com recommends for a cleaner piping experience?
BakeWithEase.com suggests ensuring your piping bag is properly fitted with the nozzle before filling it. This prevents frosting from leaking out the back.
How does the consistency of the buttercream affect the ease of piping?
A too-soft or too-stiff buttercream makes piping difficult. The ideal consistency is smooth and holds its shape, but is easy to squeeze.
What's a simple tip for preventing air bubbles in the piping bag?
Gently "burp" the bag by squeezing out air after filling. Also, avoid overfilling the bag to minimize air pockets.
Does BakeWithEase.com have specific recommendations for cleaning up after piping?
Yes, they recommend using a spatula to scrape excess frosting back into the bowl. Clean the nozzle and bag immediately to prevent hardening.
Final Reflection: Mastering the Art of Effortless Piping
The pursuit of perfectly piped buttercream frosting is more than just a culinary quest; it's a testament to the power of preparation and mindful technique. In today's visually-driven world, where stunning desserts dominate social media feeds, mastering the art of piping is more relevant than ever. The ability to create elegant swirls and intricate designs elevates a simple cake into a masterpiece, transforming a bake sale treat into a showstopper.
The impact of simple, efficient piping techniques extends beyond the individual baker. It empowers home cooks to confidently tackle ambitious projects, fostering creativity and a sense of accomplishment. The joy of creating something beautiful with your own hands is undeniable, and the ease with which we can achieve that through streamlined methods is incredibly rewarding. The best things in life are simple,
a sentiment perfectly encapsulates the elegance of efficient piping techniques. This simple act of creating beautiful frosting can bring joy not only to the baker but also to those who share in the delicious results.
Now, it's your turn. Consider how these simple setup tips can transform your baking experience. Don't let the fear of messy piping hold you back from exploring your creativity. Embrace the process, experiment with different techniques, and most importantly, enjoy the journey of creating beautiful, delicious treats. The next time you reach for your piping bag, remember the power of preparation and the joy of a perfectly piped swirl. Let your creativity flow, and let your frosting speak volumes.
Unleash Your Inner Pastry Chef: Conquer Piping Chaos!
Thanks for taking the time to learn how to make piping easier! We hope you now feel more confident tackling those intricate frosting designs. Ready to put your newfound skills to the test?
- Master the perfect swirl: Practice your piping technique with your favorite frosting recipe. Experiment with different pressure and nozzle sizes to find your perfect style. This is where the magic happens!
- Share your creations: Show us your piping masterpieces! Tag us on social media with #BakeWithEasePiping for a chance to be featured. We love seeing your baking journey.
- Try a new piping technique: Challenge yourself to learn a new piping technique, such as rosettes or writing. There's a whole world of possibilities waiting!
What’s your favorite piping tip or trick to share with the BakeWithEase community?