
From Flour and Water: Craft Your First Sourdough Starter StepbyStep

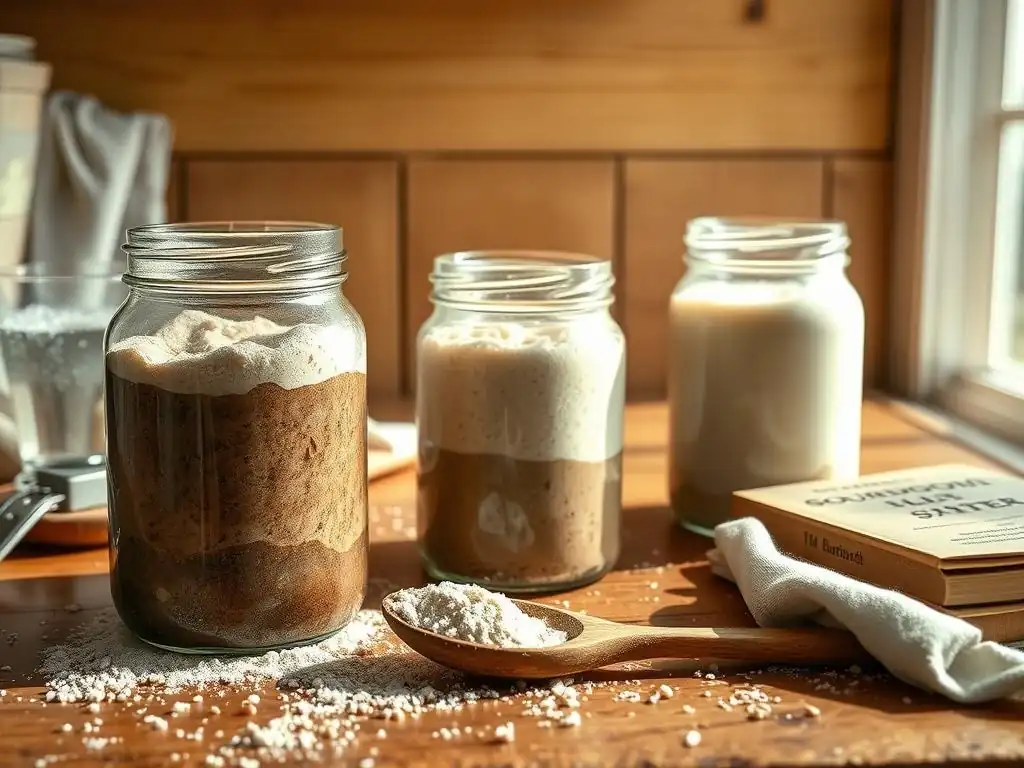
Welcome to BakeWithEase, your trusted guide to baking brilliance! Ever wondered how to unlock the magic of homemade bread? Dive in and discover our step-by-step sourdough starter recipe for beginners. Transforming simple flour and water into a bubbling, living culture is easier than you think! Unravel the secrets and embark on your sourdough journey today - the irresistible aroma of freshly baked bread awaits!
- Crafting Your Sourdough Starter: A Beginner's Guide
- Understanding Sourdough Starters: The Heart of Artisan Bread
- Essential Equipment and Ingredients for Your Sourdough Journey
- Step-by-Step: Creating Your Sourdough Starter from Scratch
- Feeding and Maintaining Your Sourdough Starter for Long-Term Use
- Sourdough Starter Troubleshooting: Common Problems and Solutions
- Beginner Sourdough Recipe: Your First Loaf
- Beyond the Basics: Expanding Your Sourdough Knowledge
- Common Mistakes to Avoid When Making a Sourdough Starter
- Conclusion: Embrace the Sourdough Journey
- Frequently Asked Questions
- Final Reflection: The Enduring Magic of Sourdough
- Unleash Your Inner Baker: Start Your Sourdough Journey Today!
Crafting Your Sourdough Starter: A Beginner's Guide
Understanding Sourdough Starters: The Heart of Artisan Bread
What is a Sourdough Starter?
A sourdough starter is a living culture of wild yeast and beneficial bacteria, primarily Lactobacillus species, that are naturally present in flour and the environment. When flour and water are mixed and allowed to ferment, these microorganisms multiply, creating a symbiotic relationship. The yeast produces carbon dioxide gas, which leavens bread, while the bacteria produce lactic and acetic acids, which give sourdough its characteristic tangy flavor and improve its keeping qualities. Think of it as a natural alternative to commercial baker's yeast.
This dynamic ecosystem is nurtured through regular feeding, typically with equal parts flour and water. Over time, a healthy, mature starter will become robust and predictable, capable of reliably leavening bread dough. The process of establishing a starter usually takes about 7 to 14 days, depending on environmental conditions like temperature. A young starter might double in size slowly, while a mature one can double or triple within just a few hours after feeding, especially in warmer temperatures around 75-80°F (24-27°C).
Why Bake with Sourdough? Flavor, Digestibility, and Tradition
Baking with sourdough imparts a unique depth of flavor that is difficult to replicate with commercial yeast. The lactic and acetic acids produced by the bacteria contribute complex tangy notes, ranging from mildly sour to distinctly vinegary, depending on the starter's hydration, feeding schedule, and the types of flour used. This fermentation process also breaks down some of the complex carbohydrates and gluten in the flour, potentially making sourdough bread easier to digest for some people compared to conventionally leavened bread.
Beyond taste and potential digestive benefits, baking with sourdough connects you to a rich tradition of bread making that spans centuries. Before commercial yeast was widely available, sourdough was the primary method for leavening bread across many cultures. Learning to cultivate and bake with a sourdough starter allows you to participate in this ancient craft, offering a rewarding and hands-on baking experience. For a beginner, mastering a simple sourdough starter recipe is the first step into a world of artisanal baking.
Sourdough Starter: An Overview
Creating a sourdough starter involves combining flour and water and then consistently feeding this mixture over several days. This regular feeding introduces fresh nutrients for the wild yeast and bacteria, encouraging their growth and activity. Initially, you might see some activity, followed by a period of seeming inactivity, before the starter becomes truly vigorous and reliable. This initial phase can sometimes take 5-7 days or even longer.
A typical sourdough starter recipe for a beginner often starts with a small amount, perhaps 50 grams of flour and 50 grams of water. This 1:1 ratio (by weight) is easy to manage. Daily feeding involves discarding a portion of the starter and feeding the remainder with fresh flour and water, often in a 1:1:1 ratio (starter:flour:water).
For example, you might keep 50g of starter and feed it with 50g flour and 50g water. This consistent feeding and discarding process helps to concentrate the yeast and bacteria and maintain a healthy pH level, preventing undesirable mold or bacteria from taking hold.
Essential Equipment and Ingredients for Your Sourdough Journey
Flour Selection: Types and Their Impact on Your Starter
The type of flour you choose significantly impacts your sourdough starter. All-purpose flour is a common choice for beginners because it's readily available and provides enough nutrients for the microorganisms. However, using a flour with a higher protein content or one that is less processed, like whole wheat or rye flour, can often accelerate the initial activity. These flours typically contain more of the natural microorganisms and enzymes that the starter needs to thrive.
For example, starting with 50% whole wheat and 50% all-purpose flour can sometimes kickstart activity faster than using 100% all-purpose. Once the starter is established, you can switch to feeding it primarily with all-purpose flour or a mix, depending on your preference and the type of bread you plan to bake. Consistency in the type of flour used for feeding, especially in the early stages, is helpful for monitoring progress.
Water Quality: Ensuring Optimal Starter Health
Water is a critical component of your sourdough starter. Tap water treated with chlorine or chloramine can inhibit the growth of the wild yeast and bacteria. It's best to use filtered water, bottled spring water, or tap water that has been left out on the counter for 24 hours to allow the chlorine to dissipate. While some tap water sources are fine, avoiding treated water in the beginning stages can help ensure your starter gets the best possible start.
The temperature of the water also matters. Lukewarm water, around 75-80°F (24-27°C), can help encourage microbial activity, especially in a cooler environment. Using water that is too hot can kill the microorganisms, while water that is too cold can significantly slow down fermentation. Aiming for a dough temperature in your starter mixture that feels slightly warm to the touch is a good practice.
Essential Tools: Jars, Spoons, and Scales for Success
Having the right tools makes the sourdough starter process much smoother. You'll need a non-reactive container to house your starter; a glass jar (like a Mason jar) is ideal because it allows you to easily observe the activity, such as bubbles and rise. A wide-mouth jar is particularly helpful for feeding and stirring. Avoid metal containers as they can sometimes react with the acidic starter.
Accurate measurement is crucial, especially for a beginner following a sourdough starter recipe. A digital kitchen scale is highly recommended over volume measurements (cups) because it provides much greater precision. Flour density can vary, making cup measurements inconsistent. You'll also need a non-reactive spoon (plastic, silicone, or wood) for stirring and a rubber spatula or jar scraper to keep the sides of the jar clean and minimize crusting.
- Glass jar (at least 1-quart capacity)
- Digital kitchen scale
- Non-reactive spoon or spatula
- A loose-fitting lid or plastic wrap/cloth cover
Step-by-Step: Creating Your Sourdough Starter from Scratch
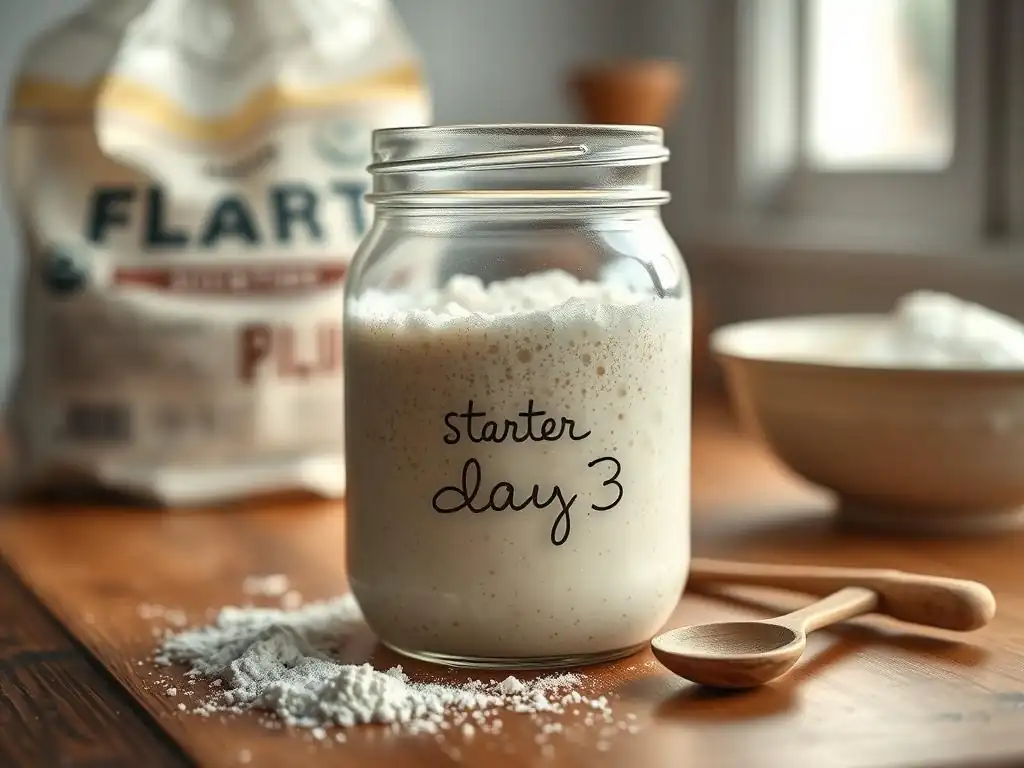
Day 1: The Initial Mix - Flour and Water
To begin your sourdough starter recipe beginner journey, you'll combine equal weights of flour and water in your clean glass jar. A common starting point is 50 grams of flour and 50 grams of lukewarm water. Using a scale is essential here for accuracy. Mix the flour and water thoroughly until no dry flour remains and the mixture has a consistency like thick batter or paste. Scrape down the sides of the jar to keep it tidy.
Cover the jar loosely. A clean cloth secured with a rubber band, or a lid placed on top without screwing it down tightly, works well. This allows air exchange while preventing contaminants from entering. Place the jar in a warm spot, ideally between 70-80°F (21-27°C), away from direct sunlight or drafts. Good locations include the top of a refrigerator or inside a microwave (turned off). Let it rest for 24 hours.
Day 2: Observing Initial Activity - Bubbles and Aroma
On Day 2, check your starter for any signs of life. You might see tiny bubbles forming on the surface or along the sides of the jar. There might also be a faint, possibly unpleasant, smell – this is normal in the early stages as different microbes compete. Don't be discouraged if you see little activity; it often takes a few days for the beneficial yeast and bacteria to establish themselves.
Do not feed your starter on Day 2. Simply observe its state. Note the texture, smell, and any visible bubbles. Some sources suggest feeding daily from Day 1, but for a beginner sourdough starter recipe, waiting 24 hours between the first mix and the first feed (on Day 3) simplifies the initial process and allows the natural microbes to begin their work.
Days 3-7: The Feeding Process - Nurturing Growth
Starting on Day 3, you will begin the daily feeding routine. This involves discarding a portion of the starter and feeding the remainder with fresh flour and water. A standard feeding ratio is 1:1:1 by weight (starter:fresh flour:fresh water). For example, discard all but 50 grams of your starter, then add 50 grams of fresh flour and 50 grams of fresh water. Mix thoroughly.
Repeat this feeding process daily. You should start to see more consistent activity over these days. By Day 5 or 6, the starter might start doubling in size between feedings, and the aroma should become more pleasant, perhaps yeasty or slightly tangy. The goal during this week is to build a strong, active culture. Don't worry if the rise isn't dramatic every day; consistency is key.
Recognizing a Healthy Starter: Signs of Vigorous Activity
A healthy, active sourdough starter exhibits several key signs. The most obvious is consistent and predictable rising after feeding, often doubling or even tripling in volume within 4-12 hours at room temperature. You'll see numerous bubbles throughout the mixture and on the surface, indicating active gas production by the yeast. The texture will be light and airy after rising, before it starts to fall.
The smell is another indicator. A healthy starter should smell pleasant – yeasty, slightly tangy, perhaps a bit like yogurt or ripe fruit. A strong, pungent, or nail-polish remover smell (acetone) can indicate that the starter is hungry and needs more frequent feeding or a larger feeding ratio. When you stir it, a healthy starter might have a web-like structure due to gluten development.
Troubleshooting: Addressing Inactivity in Early Stages
It's common for a beginner's sourdough starter to seem inactive for several days, particularly between Day 2 and Day 5. Don't give up! This "lag phase" is normal as the desired microorganisms work to outcompete less desirable ones. Ensure your feeding routine is consistent (same time each day, same ratio). Check the temperature of your environment; a cooler room (below 70°F / 21°C) will significantly slow activity. Moving the starter to a warmer location can help.
If your starter seems very liquidy or has a layer of dark liquid on top (called "hooch"), it's hungry. This indicates the yeast and bacteria have consumed all the available food. You can pour off the hooch (though stirring it in adds tang) and adjust your feeding ratio, perhaps feeding a smaller amount of starter with a larger amount of fresh flour and water (e.g., 1:2:2 ratio - starter:flour:water) or feeding twice a day if your schedule allows. Patience is crucial; some starters take longer to become vigorous.
Feeding and Maintaining Your Sourdough Starter for Long-Term Use
The Feeding Schedule: Ratios and Environmental Factors
Once your sourdough starter is active and reliably doubling within a few hours, you've established a healthy culture. The standard feeding schedule for a starter kept at room temperature is once every 24 hours. A common ratio is 1:1:1 (starter:flour:water) by weight. For example, keeping 50g starter and feeding it with 50g flour and 50g water. This provides enough food for the microbes for a full day.
However, environmental factors, primarily temperature, greatly influence the feeding schedule. In warmer temperatures (above 75°F / 24°C), your starter will be more active and might need feeding every 12 hours to prevent it from becoming too acidic or starving. In cooler temperatures (below 70°F / 21°C), it will be less active and might be fine with feeding every 24 hours or even slightly less often. Observe your starter's peak activity time to determine the best schedule for your environment.
Identifying Peak Activity: Readiness for Baking
Identifying when your sourdough starter is at its peak activity is crucial for successful baking. Peak activity typically occurs when the starter has reached its maximum volume after feeding, before it begins to fall. This is when the yeast are most active and have produced the most carbon dioxide. Visually, the starter will look bubbly, airy, and often dome-shaped on top.
A common test is the "float test." Take a small spoonful of your starter and gently drop it into a glass of water. If it floats, it's typically ready to use for baking. If it sinks, it may not be active enough yet. Timing is key; if you miss the peak, the starter will start to deflate as the yeast run out of food, and it won't provide as much leavening power. For a beginner sourdough starter recipe, learning to recognize this peak is a key skill.
Storing Your Starter: Refrigerator vs. Room Temperature
How you store your sourdough starter depends on how often you plan to bake. If you bake frequently (daily or every few days), keeping your starter at room temperature with daily feeding is best to maintain peak activity. However, if you bake less often, storing your starter in the refrigerator is a convenient option.
Storing in the refrigerator slows down microbial activity significantly. You can feed your starter, let it sit at room temperature for an hour or two, and then place it in the fridge. In the refrigerator, it typically only needs feeding once a week or even less often (some bakers go 2-3 weeks). To use a refrigerated starter for baking, take it out, let it warm up for a few hours, and then feed it one or more times at room temperature until it becomes active and passes the float test.
Using Discard: Reducing Waste with Creative Recipes
Maintaining a sourdough starter, especially when feeding daily at room temperature, generates "discard" – the portion of the starter you remove before feeding. While you can simply throw this away, it's perfectly usable in many recipes where you don't need leavening from the starter itself, but want the flavor and moisture it provides.
Sourdough discard adds a pleasant tang to baked goods. Popular uses include pancakes, waffles, muffins, quick breads, crackers, and pizza dough. Discard can typically be stored in a separate container in the refrigerator for up to a week or two. Using discard is a great way for a beginner sourdough starter enthusiast to minimize waste and experiment with sourdough flavors in different formats.
Sourdough Starter Troubleshooting: Common Problems and Solutions
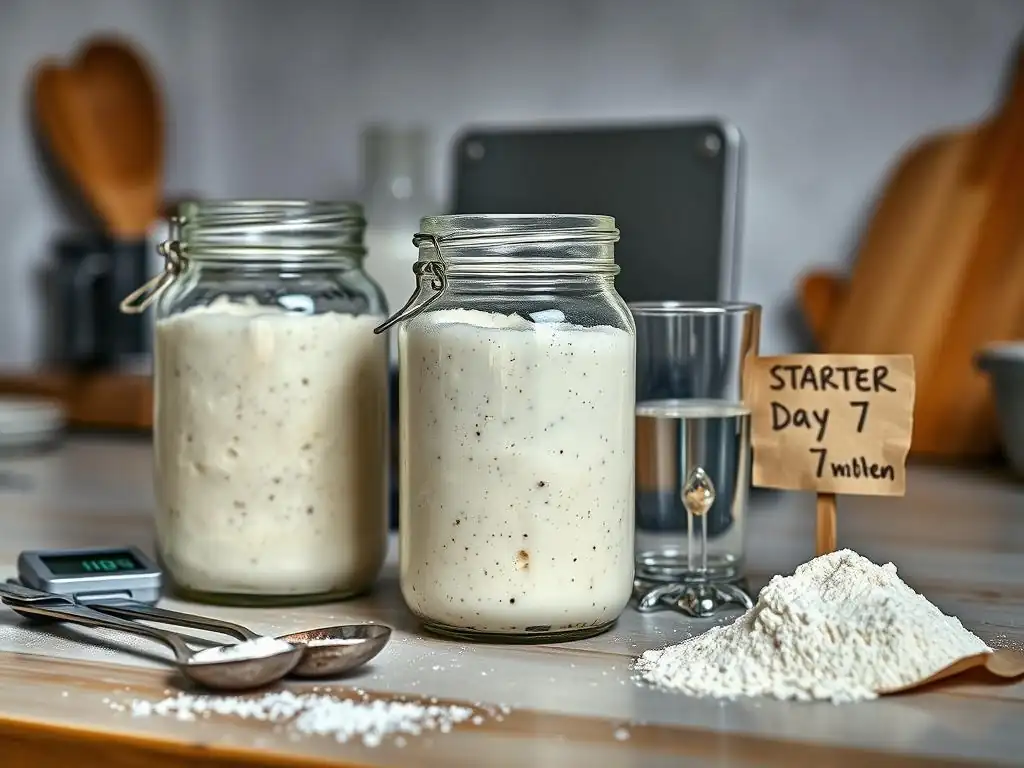
Identifying and Preventing Mold Contamination
Mold is an undesirable contaminant in a sourdough starter. It typically appears as fuzzy patches of various colors (white, green, black, pink). If you see any signs of mold, it's generally recommended to discard the entire starter and begin again. Mold spores can spread quickly and are not healthy to consume.
Preventing mold involves maintaining a clean environment and a healthy, active starter. Always use clean jars and utensils. Keep the sides of the jar scraped down after feeding to prevent a dry crust from forming, which can be a breeding ground for mold. Ensure your starter is fed regularly enough that it doesn't become too weak or acidic, as a healthy starter's acidity helps ward off unwelcome microbes. Using filtered or dechlorinated water also contributes to a healthier microbial balance.
Reviving an Inactive or Neglected Starter
If your sourdough starter has become inactive, perhaps because it was neglected in the fridge or left unfed for too long at room temperature, it's often possible to revive it. If there's no mold, pour off any hooch. Take a small amount of the inactive starter (e.g., 25-50g) and feed it with fresh flour and water, perhaps using a slightly higher ratio of food (e.g., 1:2:2 or 1:3:3 starter:flour:water) to give it a boost.
Feed the starter every 12-24 hours at room temperature, ensuring it's in a warm spot. It might take several days of consistent feeding before you see signs of vigorous activity again. Be patient and persistent. Continue the regular feeding routine until the starter is reliably doubling in size within a few hours after feeding before attempting to bake with it.
Achieving Consistent Results: Factors Affecting Starter Performance
Consistency in your sourdough starter recipe beginner journey relies on controlling a few key factors. The most important are temperature, feeding ratio, and feeding schedule. Wild yeast and bacteria are highly sensitive to temperature; fluctuations can drastically change activity levels. Maintaining a consistent room temperature or using a proofing box can help.
Using the same feeding ratio (e.g., 1:1:1 by weight) and feeding on a predictable schedule (e.g., every 24 hours) helps create a stable environment for the microbes. Changes in flour type or water quality can also affect performance. Once your starter is mature, try to be consistent with how you feed it when you plan to bake, as this predictability allows you to time your baking accurately based on peak activity.
Beginner Sourdough Recipe: Your First Loaf
Building a Levain: Preparing Your Starter for Baking
For many sourdough bread recipes, especially those with longer fermentation times, you don't use your entire maintenance starter directly. Instead, you create a "levain" (or leaven or preferment). A levain is essentially a smaller, specially mixed batch of starter that is built using a portion of your mature starter, fresh flour, and fresh water, typically at a specific ratio required by the recipe.
Building a levain ensures you are using your starter at its peak activity for optimal leavening. For example, a recipe might call for building a levain with 20g starter, 100g flour, and 100g water. You mix these together and let the levain ferment until it reaches peak activity (often 4-8 hours depending on temperature and ratio). This levain is then used to inoculate the main dough. This step is common in many a beginner sourdough starter recipe for bread.
A Simple Sourdough Bread Recipe: Step-by-Step Guide
Here is a simplified overview of a basic sourdough bread process for a beginner:
- Build the Levain: The night before or morning of baking, mix a small amount of your active starter with flour and water as per your recipe's levain instructions. Let it ferment until peak.
- Mix Dough: In a large bowl, combine the active levain with warm water, flour, and salt. Mix until just combined (autolyse phase, optional but recommended, usually 30-60 minutes).
- Develop Gluten: Perform a series of stretch and folds or coil folds over the next 2-3 hours at intervals (e.g., every 30 minutes) to develop the dough's structure.
- Bulk Fermentation: Let the dough rise at room temperature until it has visibly increased in volume (often 30-50% or more) and appears bubbly and airy. This can take 4-8 hours depending on temperature.
- Shape: Gently shape the dough into a boule or batard and place it into a floured proofing basket (banneton).
- Cold Proof: Place the proofing basket in the refrigerator for 12-24 hours. This develops flavor and makes the dough easier to handle for scoring.
- Bake: Preheat your oven and a Dutch oven or baking stone to a high temperature (e.g., 450-500°F / 230-260°C). Score the dough, transfer it to the hot baking vessel, and bake according to the recipe instructions, usually starting covered and then uncovered to achieve a crispy crust.
Baking Your First Loaf: Tips for Oven Spring and Texture
Achieving good "oven spring" (the final rapid rise in the oven) and a desirable texture is the goal of your first sourdough loaf using your beginner sourdough starter. Ensure your starter (or levain) is at peak activity when you mix your dough; this provides maximum leavening power. Properly developing gluten through stretching and folding is also crucial for structure.
Using a hot oven and baking vessel (like a preheated Dutch oven) creates steam, which keeps the crust soft initially, allowing the dough to expand fully before the crust sets. Baking covered for the first 20-25 minutes traps this steam. Removing the lid allows the crust to brown and crisp up. Don't cut into your loaf immediately after baking; let it cool completely (at least 1-2 hours) on a wire rack. This allows the internal structure to set and prevents a gummy texture.
Beyond the Basics: Expanding Your Sourdough Knowledge
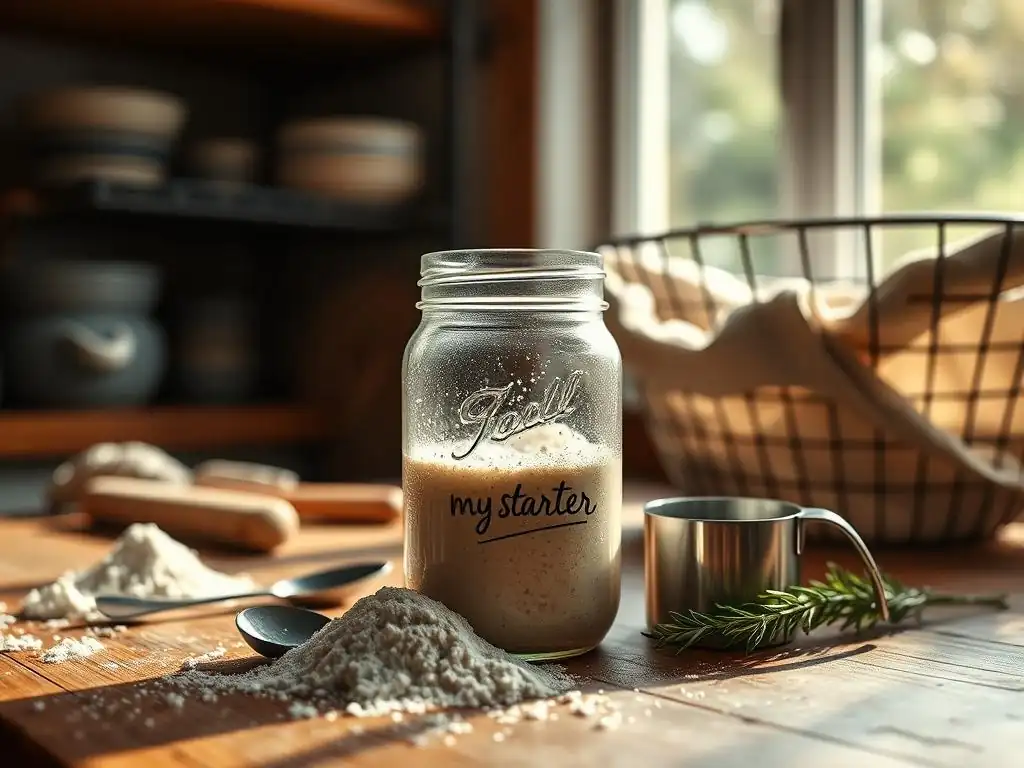
Experimenting with Different Flours
Once you're comfortable with your basic sourdough starter recipe using standard flour, you can explore how different flours impact your starter and your bread. Replacing a portion of your regular feeding flour with rye or whole wheat flour can boost starter activity and add complex flavors to your bread. Some bakers maintain separate starters fed only with rye or whole wheat for specific recipes.
Beyond rye and whole wheat, you can experiment with ancient grains like spelt, kamut, or einkorn. Each flour type has different protein levels, absorption rates, and microbial populations, which will influence your starter's behavior and the final bread's characteristics. For instance, rye flour ferments very quickly and creates a different texture compared to wheat.
Advanced Techniques: Autolyse and Cold Fermentation
As you progress beyond a beginner sourdough starter recipe, you'll encounter techniques like autolyse and cold fermentation. Autolyse involves mixing just the flour and water from your recipe and letting it rest for 20 minutes to several hours before adding the starter and salt. This resting period allows the flour to hydrate fully and enzymes to begin breaking down proteins, which helps develop gluten more easily.
Cold fermentation, typically done in the refrigerator after shaping, significantly slows down the fermentation process. While it might take 12-24 hours or even longer, this slow fermentation develops deeper flavors in the bread and makes the dough easier to handle for scoring and transferring to the oven. It's a technique widely used by artisan bakers to improve both flavor and convenience.
Sourdough Discard Recipes: Pancakes, Waffles, and Pizza Dough
As mentioned, sourdough discard is a valuable ingredient. Beyond simple recipes, you can incorporate it into more complex bakes. Sourdough discard pancakes and waffles are popular because the discard adds a lovely tang and helps create a tender crumb. A typical recipe might use 1 cup of discard mixed with eggs, milk, flour, baking powder, and a little sugar.
Sourdough discard also works wonderfully in pizza dough and flatbreads. While it might not provide all the leavening (often combined with a little commercial yeast or baking powder), it adds flavor and can improve the dough's texture. For example, a discard pizza dough might use equal parts discard, flour, and water, plus salt and a pinch of yeast.
Common Mistakes to Avoid When Making a Sourdough Starter
Accurate Measurements: The Key to Consistency
One of the most frequent mistakes for a beginner sourdough starter maker is not using a scale. Relying on volume measurements (cups) is inaccurate for flour and water, as their densities vary. Using a digital scale to measure ingredients by weight ensures you are consistently feeding your starter the correct ratios of flour and water. This consistency is vital for establishing a stable and healthy microbial culture.
For instance, 1 cup of all-purpose flour can weigh anywhere from 120 to 140 grams depending on how it's scooped and settled. This variation can significantly alter the hydration percentage of your starter, impacting its activity and consistency over time. Investing in a simple kitchen scale is one of the best things you can do for your sourdough journey.
Consistent Feeding: Establishing a Routine
Another common pitfall is inconsistent feeding. In the early stages of creating a beginner sourdough starter, daily feeding (or twice daily in very warm conditions) at roughly the same time is important. This provides a regular supply of fresh food for the yeast and bacteria, helping them to thrive and outcompete undesirable microbes. Skipping days or feeding at erratic times can weaken the starter or encourage the growth of mold or other issues.
Think of it like caring for a pet; it needs to be fed regularly. Once your starter is mature, you can adjust the feeding schedule for convenience (e.g., refrigerating), but during the initial development phase (Days 3-7), consistency is paramount for building a strong culture.
Avoiding Overfeeding or Underfeeding
Finding the right feeding ratio and frequency is a balance. Underfeeding (using too little flour and water relative to the amount of starter) can lead to the starter peaking and collapsing too quickly, resulting in hooch and a very acidic starter. Overfeeding (using too much flour and water relative to the amount of starter) can dilute the microbial population too much, slowing down activity.
For a beginner sourdough starter, starting with a 1:1:1 ratio (starter:flour:water by weight) and adjusting based on observation is a good approach. If your starter is peaking too quickly and producing hooch, you might increase the ratio of food (e.g., 1:2:2). If it's very slow, ensure it's warm enough and you're not discarding too much starter relative to the fresh food. Observing how your starter behaves after feeding is the best way to learn what it needs.
Conclusion: Embrace the Sourdough Journey
Crafting your first sourdough starter from just flour and water is a rewarding journey that opens the door to a world of artisanal baking. It requires patience, observation, and consistency, but the result – a living culture capable of transforming simple ingredients into flavorful, naturally leavened bread – is well worth the effort.
As a beginner, approaching this sourdough starter recipe step by step, understanding the role of your ingredients and environment, and learning to read your starter's cues are the keys to success. Don't be discouraged by initial inactivity or minor setbacks. Each feeding, each observation, is a step in learning this ancient craft. With your active starter in hand, you are ready to bake your first loaf and continue exploring the many possibilities that sourdough offers. Enjoy the process!
Frequently Asked Questions
What exactly is a sourdough starter?
A sourdough starter is a living culture made from flour and water that ferments and creates a natural leavening agent for bread. It replaces commercial yeast and gives sourdough its characteristic tangy flavor.
How long does it take to make a sourdough starter from scratch?
Creating a sourdough starter usually takes around 7-10 days of consistent feeding and observation. The exact time can vary depending on factors like room temperature and flour type.
What kind of flour is best for making a sourdough starter?
While you can use various flours, unbleached all-purpose flour or whole wheat flour are generally recommended for beginners. They provide the necessary nutrients for the microorganisms to thrive.
How often do I need to feed my sourdough starter?
During the initial creation process, you'll need to feed your starter once or twice a day. Once established, you can feed it less frequently and store it in the refrigerator.
How do I know when my sourdough starter is ready to bake with?
A mature sourdough starter will double in size within a few hours after feeding and have a pleasant, slightly sour smell. It should also have a bubbly and active appearance.
Final Reflection: The Enduring Magic of Sourdough
The humble sourdough starter, a simple mixture of flour and water, represents so much more than just a recipe; it's a gateway to a deeper connection with food, history, and the natural world. This seemingly simple process, detailed step-by-step in this guide, opens doors to a world of baking possibilities, a world increasingly valued in our fast-paced, convenience-driven society. The growing interest in sourdough reflects a yearning for authenticity and a return to traditional methods.
The journey of nurturing a sourdough starter is a deeply rewarding experience. It's a testament to patience, observation, and the power of natural fermentation. The subtle changes in the starter, the rise and fall, the tangy aroma – these are all indicators of a living organism thriving under your care. Bread is the staff of life,
a common saying reminds us, but sourdough adds a layer of artistry and connection to this fundamental food source. It’s a tangible link to generations past, a living legacy passed down through time.
Now, consider your own journey. Will you embark on this adventure? Will you embrace the slow, mindful process of creating your own sourdough starter? The rewards extend beyond a delicious loaf of bread; it's about cultivating a deeper appreciation for the simple things, for the magic that unfolds when we connect with nature's rhythms. Take the first step, mix that flour and water, and discover the enduring magic of sourdough for yourself.
Unleash Your Inner Baker: Start Your Sourdough Journey Today!
Thanks for joining us on this exciting journey into the world of sourdough! We hope you now feel empowered to tackle this classic baking technique. Ready to transform simple flour and water into a bubbly, delicious starter?
- Begin your sourdough adventure! Grab your ingredients and follow the step-by-step guide again—this time, hands-on! Each day will bring you closer to your own unique starter.
- Share your progress! Capture photos of your starter's evolution and post them on social media using #BakeWithEaseSourdough – let's inspire each other!
- Consider exploring variations: Try different flours or experiment with feeding schedules to discover what works best for you.
What unique qualities do you think your sourdough starter will develop as it matures? Share your thoughts in the comments below!