
Your First Homemade Treat: Effortless Chocolate Chip Bars

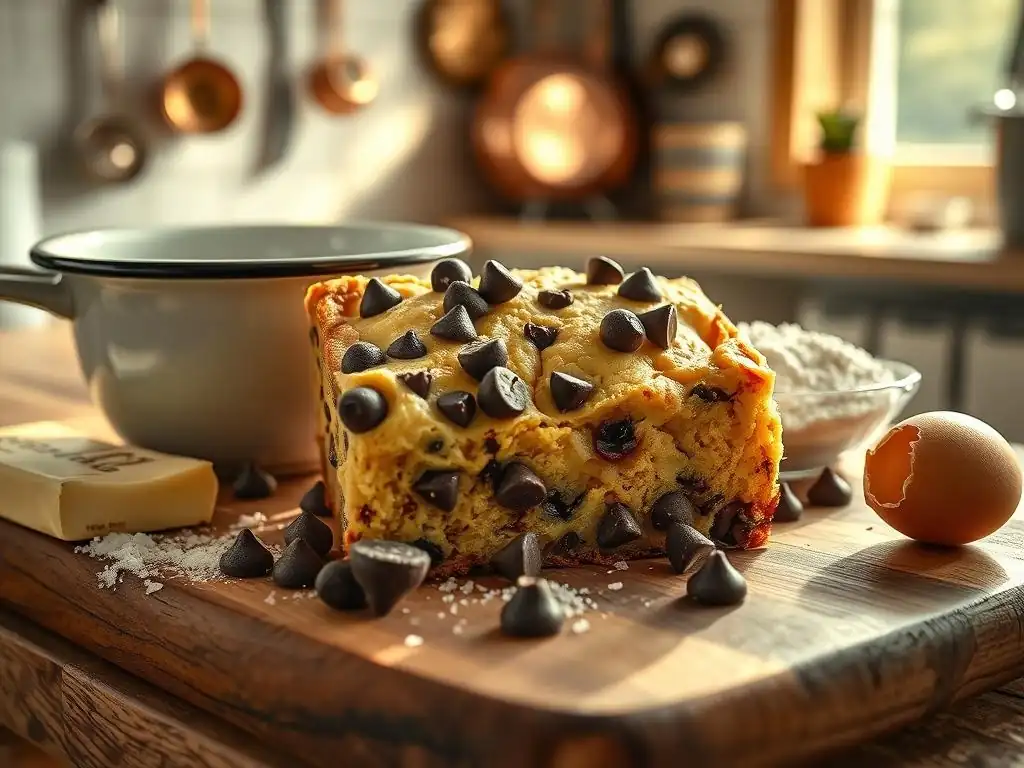
Welcome to BakeWithEase, where delicious meets doable! Ever dreamed of whipping up a batch of warm, gooey goodness without the fuss? You're in the right place. Get ready to unlock the secrets to baking success, starting with our easy chocolate chip bar recipe. Curious how simple it can be to create a truly unforgettable treat? Let's get baking!
- Your First Homemade Treat: Effortless Chocolate Chip Bars - BakeWithEase.com
- Introduction: The Easiest Chocolate Chip Bars You'll Ever Make
- The Secret to a Simple Chocolate Chip Bar Recipe
- Step-by-Step Guide: Baking Your Own Chocolate Chip Bars
- Tips & Tricks for Perfect Chocolate Chip Bars Every Time
- Storing Your Homemade Chocolate Chip Bars
- More Easy Baking Recipes for Beginners
- Conclusion: Enjoy the Sweet Taste of Baking Success
-
Frequently Asked Questions
- How easy is the Easy Chocolate Chip Bar Recipe from BakeWithEase.com, really?
- What are the key ingredients needed for this Easy Chocolate Chip Bar Recipe?
- Can I substitute ingredients in the Easy Chocolate Chip Bar Recipe to make it vegan or gluten-free?
- How long does it take to bake these Easy Chocolate Chip Bars from start to finish?
- What are some tips for ensuring my Easy Chocolate Chip Bars turn out perfectly every time?
- Final Reflection: The Sweetness of Simple Beginnings
- Unleash Your Inner Baker: Make These Bars Today!
Your First Homemade Treat: Effortless Chocolate Chip Bars - BakeWithEase.com
Introduction: The Easiest Chocolate Chip Bars You'll Ever Make
Welcome to Beginner Baking: Starting with Chocolate Chip Bars
Embarking on your baking journey can feel a little daunting, but choosing the right first recipe makes all the difference. We believe that everyone can experience the joy of creating delicious treats from scratch, and starting with something simple and rewarding is key. That's why we've crafted this guide specifically for making effortless chocolate chip bars – a classic favorite that requires minimal fuss but delivers maximum flavor and satisfaction. Think of this as your friendly introduction to the wonderful world of baking, where simple steps lead to delightful results.
These chocolate chip bars are designed with the absolute beginner in mind. You won't need any fancy techniques or specialized equipment. The process is straightforward: mix, spread, bake, and enjoy! This recipe is a perfect starting point because it helps you get comfortable with basic baking principles like measuring ingredients accurately, understanding oven temperatures, and recognizing when your baked goods are ready. By successfully making these bars, you'll build confidence and be ready to tackle even more exciting recipes down the line.
Why These Easy Chocolate Chip Bars Are Perfect for New Bakers
This particular easy chocolate chip bar recipe stands out as an ideal first project for several reasons. Unlike traditional cookies that require individual scooping and often spread unpredictably, bars are baked in a single pan, making the process much cleaner and less prone to errors. There's no need to worry about dough chilling times or perfect cookie shapes. You simply press the dough into the pan, and the oven does the rest of the work, resulting in uniform, chewy treats every time.
Furthermore, the ingredients for these simple chocolate chip bars are incredibly common and likely already in your pantry. You won't need to hunt for obscure items. The mixing process is also very forgiving; you don't need a stand mixer, just a bowl and a spoon or spatula. This recipe focuses on simplicity, allowing you to concentrate on following the steps and understanding the basic chemistry happening in your oven, rather than getting bogged down in complex techniques. It's a low-stress way to achieve a high-reward dessert.
The Secret to a Simple Chocolate Chip Bar Recipe
Key Ingredients for Your First Baking Success
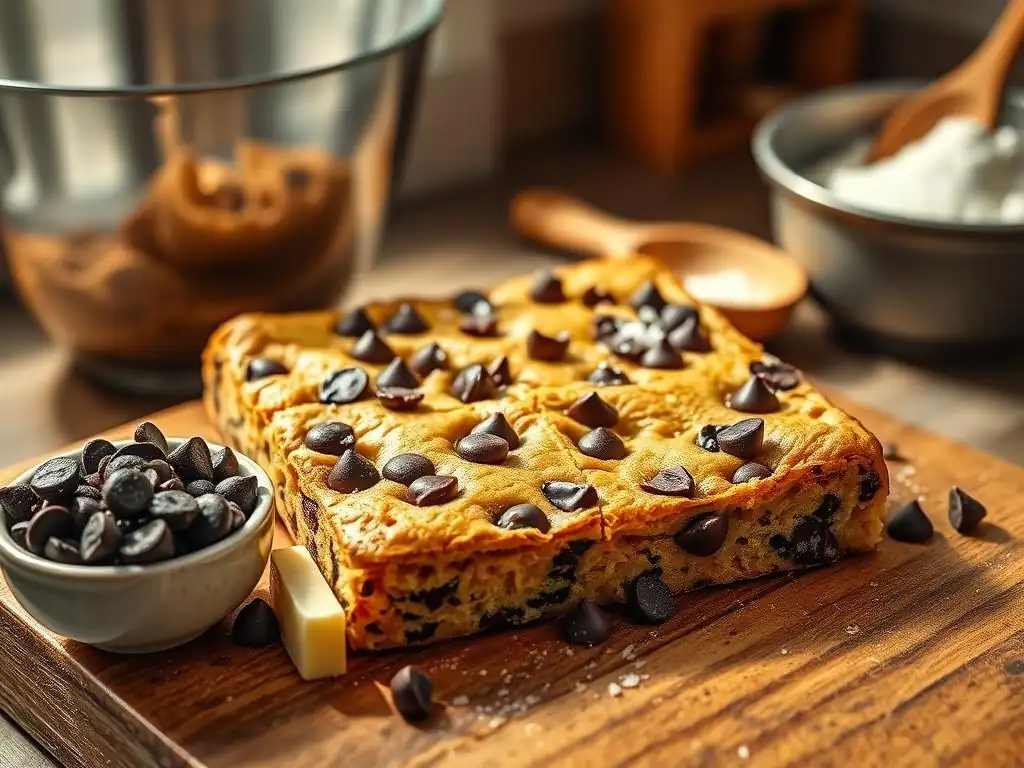
The beauty of an easy chocolate chip bar recipe lies in its simple, readily available ingredients. You'll need basic pantry staples like all-purpose flour, granulated sugar, and brown sugar, which contribute to the structure and sweetness. Unsalted butter is crucial for richness and tenderness; ensure it's softened to room temperature for easy creaming. You'll also need eggs, which bind everything together and add moisture, and vanilla extract for that essential warm flavor.
Of course, the star ingredient is the chocolate chips! You'll need about 1 ½ cups (roughly 250-300 grams) of your favorite kind. Standard semi-sweet chocolate chips are a classic choice and work perfectly in this recipe. A pinch of salt is also vital; it balances the sweetness and enhances the overall flavor profile. And don't forget a little baking soda, which helps the bars rise slightly and contributes to that desirable chewy texture. Using precise measurements for these few ingredients is key to ensuring your first batch turns out perfectly.
Essential Equipment for Easy Bar Baking
You don't need a kitchen full of gadgets to make this simple chocolate chip bar recipe. The most essential piece of equipment is a baking pan. A standard 8x8 inch or 9x13 inch metal baking pan is ideal for achieving the right thickness and baking time. An 8x8 pan will yield thicker bars, while a 9x13 will result in slightly thinner ones; the baking time will adjust accordingly. Lining the pan with parchment paper is highly recommended – it makes removing the finished bars incredibly easy and clean-up a breeze.
Beyond the pan, you'll need a large mixing bowl to combine your ingredients. A sturdy spoon or a rubber spatula is sufficient for mixing the dough by hand; a hand mixer or stand mixer can be used for speed but isn't necessary. Measuring cups and spoons are absolutely non-negotiable for accuracy. An oven preheated to the correct temperature is, of course, essential for baking. Having a wire rack handy for cooling the bars is also helpful, allowing air to circulate and prevent the bottom from getting soggy. That's truly all you need to get started!
Step-by-Step Guide: Baking Your Own Chocolate Chip Bars
Step 1: Preparing the Batter - Simple Mixing Instructions
Start by preheating your oven to 350°F (175°C). This is a standard temperature for many cookie and bar recipes and ensures the oven is hot and ready when your batter is prepared. While the oven heats, line your chosen baking pan (either 8x8 or 9x13 inches) with parchment paper, leaving an overhang on the sides. This overhang will act as handles later, making it easy to lift the baked bars out of the pan.
In your large mixing bowl, cream together the softened butter with both the granulated sugar and brown sugar until the mixture is light and fluffy. This usually takes about 2-3 minutes with a spoon or spatula, or quicker with a mixer. Then, beat in the eggs one at a time, ensuring each is fully incorporated before adding the next. Stir in the vanilla extract. In a separate small bowl, whisk together the flour, baking soda, and salt.
Gradually add the dry ingredients to the wet ingredients, mixing until just combined. Be careful not to overmix. Finally, fold in the chocolate chips. The dough will be thick and slightly sticky.
Step 2: Pouring and Spreading the Batter
Once your chocolate chip bar batter is ready, it's time to transfer it to the prepared baking pan. Because the dough is quite thick, you won't be able to simply pour it. Instead, spoon large dollops of the dough evenly across the bottom of the pan. Don't worry if it looks uneven at first; you'll spread it out.
Using your rubber spatula or the back of a spoon, gently press and spread the dough into an even layer across the entire bottom of the pan. Make sure the dough reaches all the corners. You can lightly moisten your hands with water if the dough is sticking too much, but usually, a spatula works best. Aim for a consistent thickness across the pan so the bars bake evenly. This step is simple but important for uniform results.
Step 3: Baking to Golden Perfection - Time and Temperature
With the batter spread evenly in the pan, place it in your preheated 350°F (175°C) oven. The baking time will vary depending on the size of your pan and how thick the bars are, as well as your specific oven. For an 8x8 inch pan, baking typically takes between 25 and 35 minutes. For a 9x13 inch pan, it will likely be shorter, around 20 to 30 minutes.
You'll know the bars are done when the edges are set and lightly golden brown, and the center appears slightly soft but not wet. A toothpick inserted into the center should come out with moist crumbs attached, not wet batter. Be careful not to overbake, as this can lead to dry bars. If the edges are browning too quickly, you can loosely tent the pan with foil during the last few minutes of baking.
Step 4: Cooling, Cutting, and Serving Delicious Chocolate Chip Bars
Once baked, remove the pan from the oven and place it on a wire rack to cool. This cooling process is crucial for allowing the bars to set properly. Do not attempt to cut them while they are hot out of the oven, as they will crumble and be too gooey to handle cleanly. Allow the bars to cool in the pan for at least 30-60 minutes, or even longer for easier cutting.
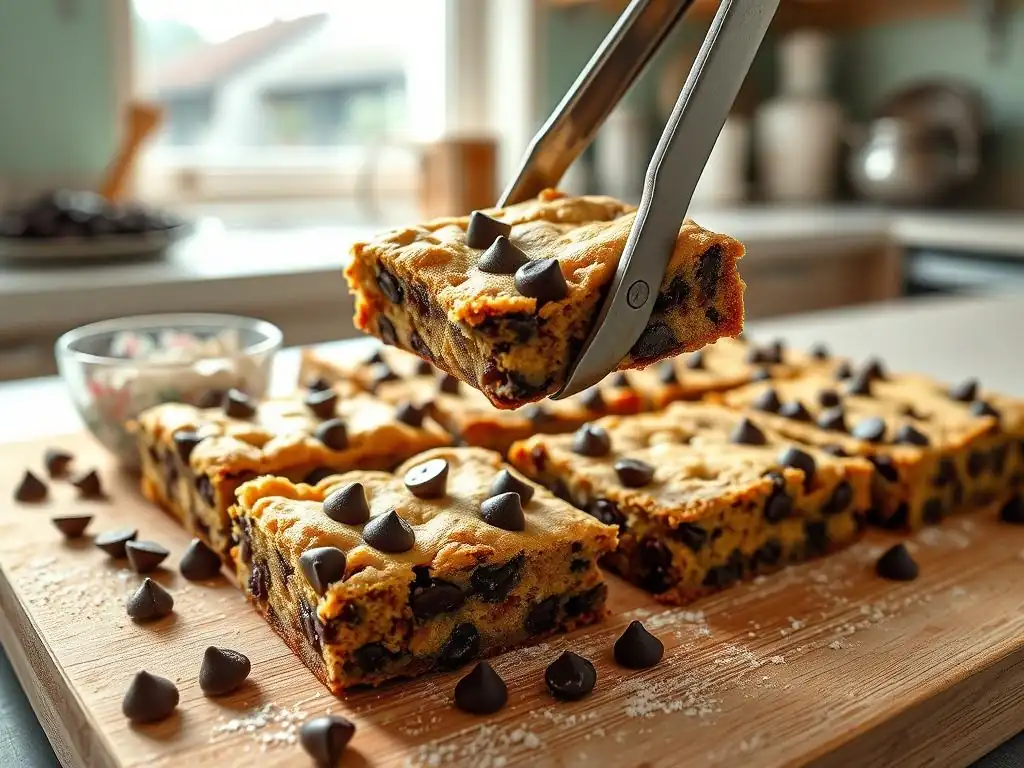
Once partially or fully cooled, use the parchment paper overhang to carefully lift the entire slab of bars out of the pan and place it on a cutting board. Use a sharp knife to cut the bars into your desired size and shape. You can make classic squares, rectangles, or even smaller bites. For clean cuts, wipe the knife blade clean between cuts, especially if the bars are still warm and gooey. Serve and enjoy your first batch of homemade easy chocolate chip bars!
Tips & Tricks for Perfect Chocolate Chip Bars Every Time
Achieving the Ideal Texture: Chewy, Gooey, or Cakey?
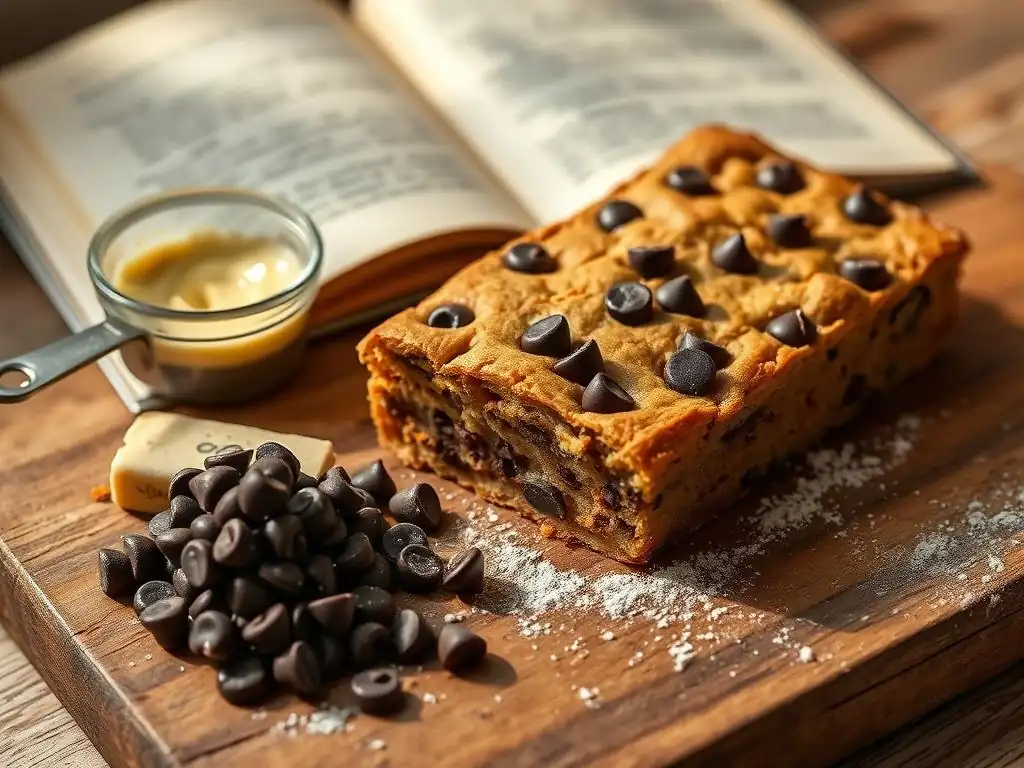
The texture of your easy chocolate chip bar recipe can be slightly adjusted based on a few factors. For a classic chewy bar, using a higher ratio of brown sugar to granulated sugar helps, as brown sugar contains molasses which adds moisture and chewiness. Baking them until the edges are golden but the center is still slightly soft is also key; they will continue to set as they cool. Using softened, but not melted, butter is also important for texture.
If you prefer a gooey chocolate chip bar, slightly underbake them by just a few minutes. The center should still look very soft when you pull them out of the oven. They will firm up considerably as they cool. For a more cakey bar, you might slightly increase the amount of flour (by a tablespoon or two) or decrease the fat slightly, although this recipe is designed for a chewier texture. Precise measurement and oven temperature are your best friends in controlling texture.
Customizing Your Chocolate Chip Bars: Variations and Add-Ins
One of the best things about an easy chocolate chip bar recipe is how adaptable it is! Once you've mastered the basic version, you can easily customize it to create new flavor combinations. Adding mix-ins is a simple way to elevate your bars and try something new without changing the core recipe significantly. Just stir them in along with the chocolate chips in Step 1.
Adding Nuts for Extra Crunch
Adding nuts provides a delightful textural contrast to the soft, chewy bars. Chopped walnuts or pecans are classic choices that pair wonderfully with chocolate. You can add about ½ cup (around 50-60 grams) of chopped nuts to the batter. Toasting the nuts briefly before adding them can enhance their flavor even more.
Exploring Different Types of Chocolate Chips
Don't limit yourself to semi-sweet! Try using milk chocolate chips for a sweeter bar, dark chocolate chips for a more intense chocolate flavor, or even white chocolate chips for a creamy twist. A mix of different types of chocolate chips can also create a complex and delicious flavor profile. You can use the same quantity, about 1 ½ cups total.
Swirling in Caramel or Peanut Butter
For an extra decadent treat, you can swirl a few tablespoons of caramel sauce or creamy peanut butter into the batter just before baking. Drop spoonfuls of the sauce or peanut butter over the top of the spread-out dough, then use a knife or skewer to gently swirl it through. Be careful not to over-swirl; you want distinct pockets of flavor.
Troubleshooting Common Chocolate Chip Bar Baking Problems
Even with a simple chocolate chip bar recipe, sometimes things don't go exactly as planned. Don't get discouraged! Understanding common issues can help you fix them or prevent them next time.
Bars Too Dry?
If your bars turned out dry and crumbly, it's likely they were overbaked. Your oven might run hot, or you left them in too long. Next time, check for doneness a few minutes earlier than the recipe suggests, looking for those golden edges and a slightly soft center. Measuring your flour accurately (spooning it into the measuring cup and leveling off, rather than scooping directly from the bag) also prevents adding too much flour, which can lead to dryness.
Bars Too Gooey?
If your bars are excessively gooey and won't set up properly even after cooling, they were likely underbaked. Place them back in the oven for an additional 5-10 minutes. Ensure your oven temperature is accurate; a thermometer can help verify this. Also, make sure your baking soda is fresh, as it helps with the structure.
Bars Not Baking Evenly?
If some parts of your bars are done while others are still raw, your oven might have hot spots. Try rotating the pan halfway through the baking time. Also, ensure you spread the batter evenly in the pan in Step 2, so the thickness is consistent throughout.
Storing Your Homemade Chocolate Chip Bars
Keeping Your Bars Fresh and Delicious
Proper storage is key to enjoying your easy chocolate chip bar recipe results for days to come. Once the bars are completely cooled and cut, store them in an airtight container at room temperature. Layering them with parchment or wax paper can prevent them from sticking together, especially if they are particularly gooey.
Stored correctly, these bars will typically stay fresh and chewy for 3-4 days. After that, they may start to dry out slightly. Avoid refrigerating them, as this can alter their texture and make them hard. If you live in a very warm or humid climate, storing them in an airtight container in a cool pantry is usually sufficient.
Freezing Chocolate Chip Bars for Later
Yes, you can freeze chocolate chip bars! This is a great option if you've made a large batch or want to save some for later. Once the bars are completely cooled and cut, you can freeze them in a couple of ways.
For individual servings, wrap each bar tightly in plastic wrap, then place the wrapped bars in a freezer-safe bag or container. Alternatively, you can place the cut bars on a baking sheet lined with parchment paper and freeze them until solid (about 1-2 hours), then transfer the frozen bars to an airtight freezer container or bag. This prevents them from sticking together. Properly frozen, they will last for up to 3 months. Thaw them at room temperature for a few hours before enjoying.
More Easy Baking Recipes for Beginners
Expanding Your Baking Skills: What to Try Next
Congratulations on making your first batch of easy chocolate chip bars! You've successfully completed a foundational baking project. Now that you're comfortable with basic mixing, spreading, and baking, you're ready to explore other simple recipes. Consider trying other bar recipes, like simple brownies or peanut butter bars, which use similar techniques.
You could also venture into drop cookies, like classic peanut butter cookies or oatmeal cookies. While they require scooping, the dough mixing is very similar to what you've just done. Muffins and quick breads are also excellent next steps, as they often involve simple 'muffin method' mixing (combining wet and dry ingredients separately then mixing just until combined) and baking in pans. Each new recipe will build on the skills you've learned with these easy chocolate chip bars.
These easy chocolate chip bars are just the beginning! On BakeWithEase.com, we have a wide variety of other cookie bar and brownie recipes that are perfect for expanding your repertoire. From fudgy brownies and blondies to layered bar cookies and more complex chocolate chip bar variations, you'll find plenty of inspiration.
Browse our dedicated 'Cookie Bars & Brownies' section to discover recipes with different flavors, textures, and levels of difficulty – though we always strive to make our recipes approachable. Each recipe comes with clear instructions and tips, just like this one, to guide you every step of the way. Continue your baking adventure and find your next favorite treat!
Conclusion: Enjoy the Sweet Taste of Baking Success
Celebrate Your First Batch of Homemade Chocolate Chip Bars
You did it! You've successfully made your very first homemade treat: effortless chocolate chip bars. Take a moment to appreciate your accomplishment. You've taken simple ingredients, followed a few straightforward steps, and created something truly delicious from scratch. That warm, sweet aroma filling your kitchen is the smell of success, and the taste of those soft, chewy bars is your reward.
Baking is a wonderful skill that brings joy to both the baker and those who get to share the treats. Starting with an easy chocolate chip bar recipe like this one proves that baking doesn't have to be complicated or intimidating. It can be fun, rewarding, and, yes, easy! We hope this experience has sparked a love for baking in you. Keep practicing, keep exploring new recipes, and most importantly, keep enjoying the process and the delicious results. Happy baking from all of us at BakeWithEase!
Frequently Asked Questions
How easy is the Easy Chocolate Chip Bar Recipe from BakeWithEase.com, really?
The recipe is designed for beginners and uses simple ingredients you likely already have. The steps are straightforward and require minimal baking experience.
What are the key ingredients needed for this Easy Chocolate Chip Bar Recipe?
You'll primarily need flour, butter, sugar, eggs, and of course, chocolate chips. The recipe on BakeWithEase.com provides specific measurements and optional additions.
Can I substitute ingredients in the Easy Chocolate Chip Bar Recipe to make it vegan or gluten-free?
While the original recipe isn't vegan or gluten-free, BakeWithEase.com may offer alternative recipes or substitution suggestions. Check the website for specific modifications.
How long does it take to bake these Easy Chocolate Chip Bars from start to finish?
From preparation to cooling, expect the process to take approximately under an hour. The actual baking time is relatively short, as indicated on BakeWithEase.com.
What are some tips for ensuring my Easy Chocolate Chip Bars turn out perfectly every time?
BakeWithEase.com emphasizes the importance of accurate measurements and not overbaking. Also, consider chilling the dough briefly for a chewier texture.
Final Reflection: The Sweetness of Simple Beginnings
The seemingly simple act of baking a chocolate chip bar holds a surprising power: it's a gateway to culinary confidence and a celebration of shared joy. More than just a recipe, this guide to effortless chocolate chip bars unlocks a world of possibilities, proving that delicious treats don't require hours of complicated techniques or a professional chef's skill. In a world increasingly focused on efficiency and instant gratification, the ability to create something delicious and comforting from scratch offers a powerful antidote to the pressures of modern life.
The enduring appeal of the chocolate chip bar transcends generations; it's a nostalgic comfort food, a symbol of home, and a universally loved treat. It's a canvas for creativity, easily adaptable to personal preferences and dietary needs. Baking is at once child's play and adult joy. And love, of course.
This quote perfectly encapsulates the magic of creating something from scratch, especially something as universally loved as a chocolate chip bar. The simple act of sharing these bars with loved ones fosters connection and creates lasting memories, enriching our lives far beyond the simple pleasure of the taste.
Now, I invite you to step into your kitchen, armed with this newfound confidence. Don't be intimidated by the seemingly simple act of baking; embrace the process, savor the aroma, and relish the satisfaction of creating something delicious with your own hands. Remember the joy of that first bite, and let it inspire you to explore other culinary adventures. The world of baking awaits – start with a simple chocolate chip bar, and see where your passion takes you.
Unleash Your Inner Baker: Make These Bars Today!
Thanks for joining us on this delicious journey! We hope you're feeling inspired and ready to create something amazing. You've learned how easy it is to bake, and now it's time to put that knowledge to the test.
- Bake a batch of these irresistible chocolate chip bars! Let the wonderful aroma fill your kitchen and enjoy the satisfaction of making something delicious from scratch.
- Share your baking adventure on social media using #BakeWithEase – we'd love to see your creations!
- Challenge a friend to bake alongside you – double the fun, double the treats!
What unique twist will you add to your chocolate chip bars to make them truly your own?