
Bake Classic Biscuits: A Beginner's Quick Bread Triumph

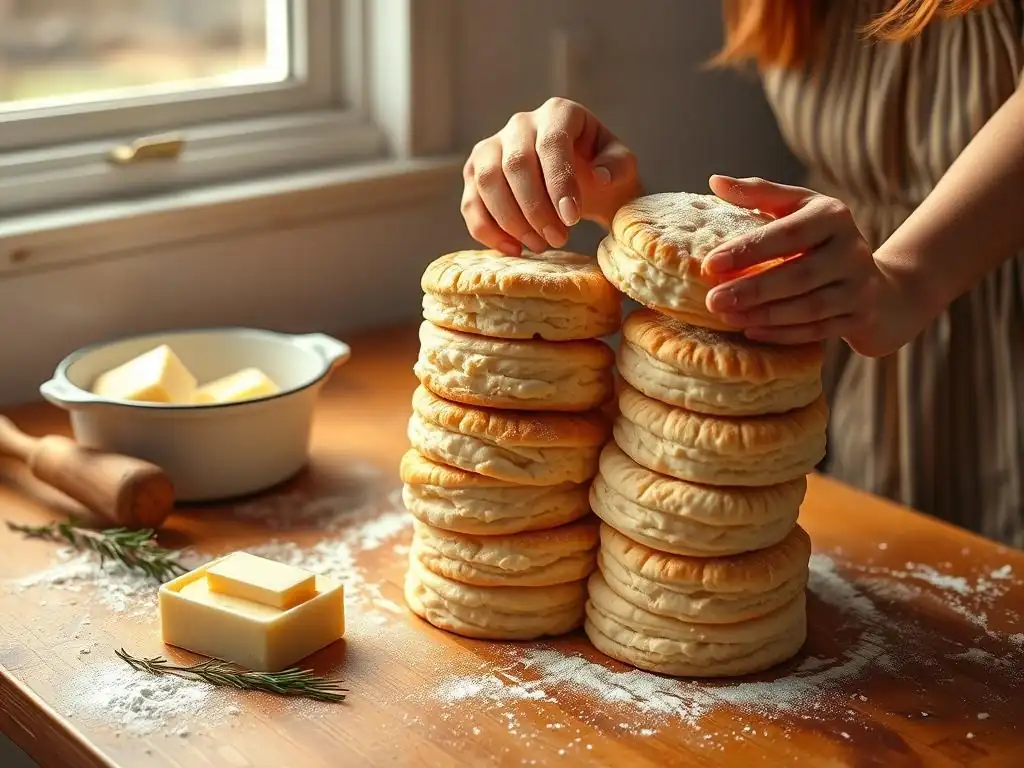
Welcome to BakeWithEase, your kitchen companion for baking adventures! Ever dreamt of warm, flaky biscuits fresh from the oven? Discover the secret to baking the perfect biscuit, even if you're a complete beginner. Our easy beginner biscuit recipe guide will have you creating quick bread triumphs in no time. Curious to unlock the secrets to fluffy, golden biscuits? Let's get baking!
- Easy Beginner Biscuit Recipe Guide: Master Classic Biscuits from Scratch
- Step-by-Step Instructions for Baking Classic Biscuits at Home
- Tips and Tricks to Elevate Your Easy Beginner Biscuit Recipe
- Serving and Storing Your Classic Biscuits
- Troubleshooting Your Easy Beginner Biscuit Recipe Guide
-
Frequently Asked Questions
- How difficult is this biscuit recipe for someone who's never baked before?
- What are the most crucial steps to ensure light and fluffy biscuits?
- Can I substitute ingredients in this biscuit recipe, and if so, what are some recommended substitutions?
- How long can I store these freshly baked biscuits, and what's the best way to keep them fresh?
- What are some variations I can try once I've mastered the basic biscuit recipe?
- Final Reflection: The Humble Biscuit, A Gateway to Baking Joy
- Unleash Your Inner Baker: Perfect Biscuits Await!
Easy Beginner Biscuit Recipe Guide: Master Classic Biscuits from Scratch
Why Classic Biscuits Are the Perfect Quick Bread for Beginners
Classic biscuits hold a special place in the world of baking, particularly as an ideal starting point for newcomers. Unlike yeast breads that demand patience for rising and proofing, biscuits fall into the "quick bread" category. This means they rely on chemical leaveners like baking powder and baking soda to achieve their rise quickly during baking, dramatically cutting down on preparation time. A typical batch of biscuit dough can be mixed and ready for the oven in under 15 minutes, making them incredibly satisfying for beginners looking for fast results.
The simplicity of the ingredients and techniques involved also makes biscuits highly approachable. A standard recipe uses pantry staples like flour, fat, liquid, and leavening – ingredients most home kitchens already have. The key technique, cutting in the fat, is fundamental to many pastry and quick bread recipes, offering a valuable skill-building exercise. Mastering this easy beginner biscuit recipe guide provides a foundational understanding of how ingredients interact in quick baking, setting the stage for tackling other recipes like scones or muffins with confidence.
Essential Ingredients for Baking Easy Homemade Biscuits
To embark on your journey mastering this easy beginner biscuit recipe guide, you'll need a few core ingredients. Start with about 2 cups of all-purpose flour, which provides the primary structure for your biscuits. Ensure your flour is fresh for the best results. You'll also need a leavening agent, typically a combination of baking powder and sometimes baking soda, especially if using buttermilk. A common ratio might be 1 tablespoon of baking powder and 1/4 teaspoon of baking soda for this amount of flour.
The fat component is crucial for tenderness and flakiness. Cold, unsalted butter is a popular choice, offering great flavor. You'll need approximately 1/2 cup (or 1 stick) of cold butter, cut into small cubes. Some recipes might use shortening or a combination of butter and shortening. For the liquid, about 3/4 to 1 cup of cold milk or buttermilk is required. Buttermilk reacts with baking soda to provide extra lift and a tender crumb, adding a pleasant tang. Finally, don't forget a pinch of salt, usually around 1/2 teaspoon, to enhance all the flavors.
Understanding the Role of Each Ingredient in Biscuit Recipes
Each ingredient in an easy beginner biscuit recipe guide plays a specific, vital role in creating that perfect, flaky result. All-purpose flour provides the gluten structure that holds the biscuit together. However, it's important not to overdevelop the gluten by overmixing, as this leads to tough biscuits. The goal is just enough structure to contain the leavening gases.
Fat, like cold butter, is essential for creating flakiness. When cold butter is cut into the flour, it remains in small pieces. As the biscuits bake, the water in the butter turns to steam, pushing apart the layers of dough and creating those desirable flaky layers. The fat also coats the flour particles, inhibiting gluten development and contributing to tenderness. The liquid, be it milk or buttermilk, hydrates the flour, allowing gluten to form (sparingly!)
and activating the chemical leaveners. Buttermilk, being acidic, is particularly effective at activating baking soda, leading to a more vigorous rise and a tender crumb. Baking powder and baking soda produce carbon dioxide gas when moistened and heated, causing the dough to expand and the biscuits to rise high. Salt balances the sweetness (even in savory applications) and enhances the overall flavor profile.
Step-by-Step Instructions for Baking Classic Biscuits at Home
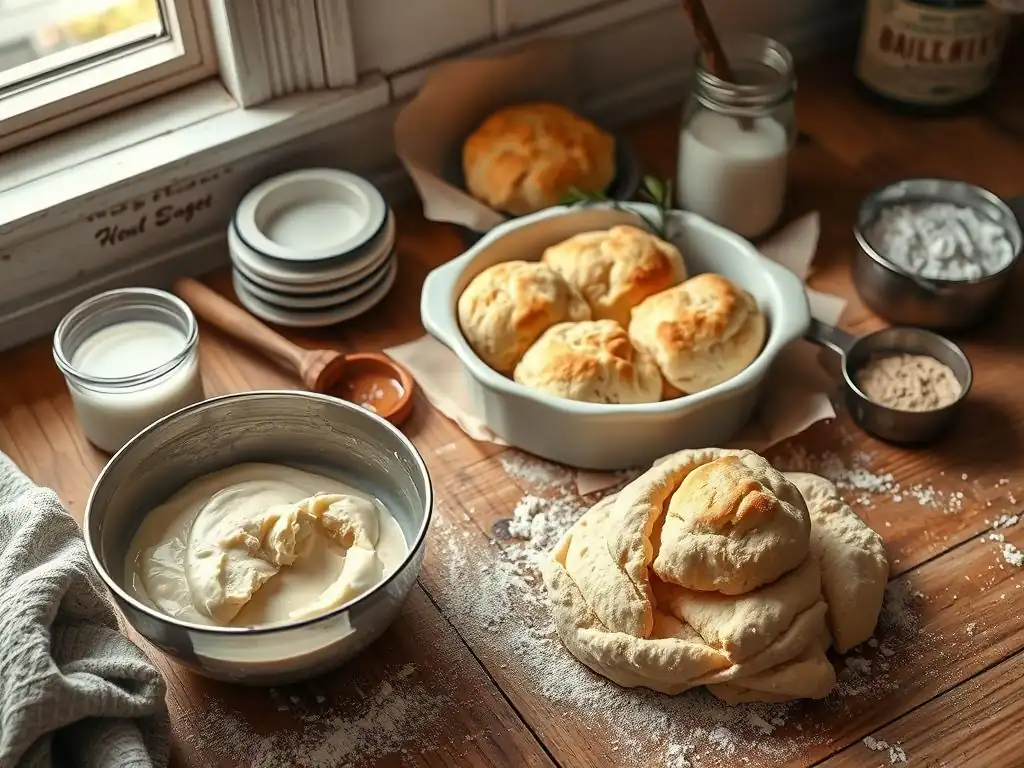
Preparing Your Baking Tools and Workspace for Biscuit Making
Before you begin mixing dough for your easy beginner biscuit recipe, gather all your tools and prepare your workspace. You'll need a large mixing bowl for combining ingredients, measuring cups and spoons for accuracy, and a pastry blender, two forks, or your fingertips for cutting the fat into the flour. A rolling pin (or even a clean bottle) is useful for shaping, and a biscuit cutter or a sharp knife will be needed for cutting the dough.
Ensure your baking sheet is ready. Lining it with parchment paper is highly recommended as it prevents sticking and makes cleanup a breeze. If you don't have parchment, you can lightly grease the baking sheet. Most importantly, preheat your oven well in advance. Biscuits bake best in a hot oven, typically between 400°F and 450°F (200°C to 230°C). Preheating ensures the leavening agents activate quickly upon entering the oven, resulting in a better rise. Having everything ready minimizes delays once the dough is mixed, which is important for quick breads.
How to Mix Biscuit Dough for the Best Flaky Texture
Mixing biscuit dough for an easy beginner biscuit recipe guide is all about gentle handling and keeping ingredients cold. Start by whisking together your dry ingredients: flour, baking powder, baking soda (if using), and salt in your large bowl. This distributes the leavening evenly. Next, add your cold, cubed butter (or other fat). Using a pastry blender, forks, or your fingertips, cut the butter into the dry ingredients until the mixture resembles coarse crumbs with some pea-sized pieces of butter remaining. These larger pieces are key to creating those flaky layers.
Once the fat is cut in, make a well in the center of the dry ingredients and pour in your cold liquid (milk or buttermilk). Stir with a fork or spatula just until the dry ingredients are moistened and the dough just comes together. It should look shaggy and a bit sticky. Avoid the temptation to overmix; this is the most common mistake that leads to tough biscuits. The less you work the dough at this stage, the more tender your easy homemade biscuits will be.
Techniques for Rolling and Cutting Biscuits Like a Pro
Shaping your easy homemade biscuits after mixing is the next step towards achieving that professional look and texture. Turn the shaggy dough out onto a lightly floured surface. Gently pat the dough into a rectangle or square about 1/2 to 3/4 inch thick. For extra layers, you can perform a simple fold: fold the dough in half, then gently pat it back down to the desired thickness. Repeat this process 1-2 times. This helps align the layers of fat and dough, promoting a higher rise and flakier texture during baking.
When cutting, use a sharp biscuit cutter or a knife. For round biscuits, press the cutter straight down without twisting. Twisting can seal the edges of the biscuit layers, preventing them from rising properly. Cut as many biscuits as you can from the first pass. Gather the scraps gently, pat them together (do not knead! ), and cut more biscuits. These second-cut biscuits might not rise quite as high but will still be delicious. Place the cut biscuits on your prepared baking sheet, ideally touching each other for softer sides, or slightly separated for crispier edges.
Baking Times and Temperatures for Perfect Golden Biscuits
Baking is where your easy beginner biscuit recipe guide comes to fruition! As mentioned, a hot oven is crucial. Bake your biscuits in a preheated oven, typically between 400°F and 450°F (200°C to 230°C). The exact temperature can depend on your oven and recipe specifics, but higher heat encourages a rapid rise before the structure sets.
The baking time for classic biscuits usually ranges from 12 to 18 minutes. This duration will vary depending on the size and thickness of your biscuits and the accuracy of your oven temperature. You'll know your easy homemade biscuits are done when they are puffed up and golden brown on top and bottom.
If they are browning too quickly on top, you can loosely tent them with foil for the last few minutes of baking. Remove them from the oven and ideally brush the tops with melted butter while they are still warm for extra flavor and a soft finish.
Tips and Tricks to Elevate Your Easy Beginner Biscuit Recipe
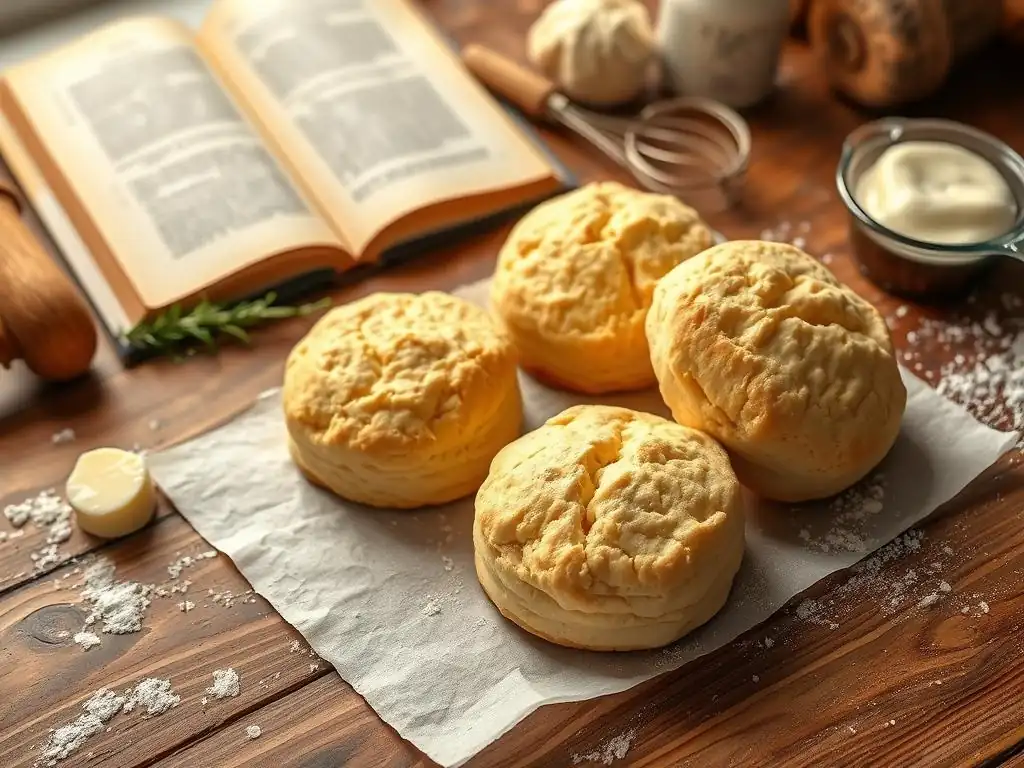
How to Achieve Fluffy and Tender Biscuits Every Time
Achieving that coveted fluffy and tender texture in your easy homemade biscuits hinges on a few key practices. Firstly, always use cold ingredients – cold butter cut into small pieces and cold liquid (milk or buttermilk). This ensures the fat creates steam pockets for flakiness rather than melting into the dough prematurely. Secondly, avoid overmixing the dough. Mix only until the ingredients are just combined and no dry flour streaks remain. Overmixing develops gluten, resulting in a tough texture.
Gentle handling throughout the shaping process is also vital. Patting and folding the dough lightly is preferred over heavy kneading. When cutting, use a sharp cutter and press straight down without twisting. For maximum tenderness and rise, ensure your leavening agents (baking powder and baking soda) are fresh; expired leaveners won't provide the necessary lift. Using buttermilk in your easy beginner biscuit recipe guide adds acidity that reacts with baking soda, contributing to a more tender crumb than milk alone might provide.
Common Mistakes to Avoid When Baking Quick Breads Like Biscuits
When following an easy beginner biscuit recipe guide, being aware of common pitfalls can save you from disappointment. One of the most frequent errors is overworking the dough. This develops too much gluten, leading to tough, dense biscuits instead of light and fluffy ones. Remember to mix only until the dough comes together. Another mistake is using warm butter or liquid; cold ingredients are non-negotiable for flakiness.
Twisting the biscuit cutter is another common error. This action seals the edges of the dough layers, which can prevent the biscuits from rising fully and evenly. Always press the cutter straight down and lift. Forgetting to preheat the oven sufficiently means the biscuits won't get that initial burst of heat needed for a good rise. Finally, incorrectly measuring ingredients, especially flour (scooping instead of spooning and leveling), can throw off the delicate balance of dry to wet ingredients, resulting in a dough that's too dry or too wet.
Variations on Classic Biscuits: Adding Herbs, Cheese, and Flavors
Once you've mastered the basic easy beginner biscuit recipe guide, you can easily experiment with flavor variations to suit your taste. Savory additions are particularly popular. Try adding about 1/2 cup of shredded cheddar cheese and 1-2 tablespoons of chopped fresh chives or rosemary to the dry ingredients before adding the liquid. This creates delicious Cheddar-Chive or Rosemary biscuits perfect with soup or dinner.
For a hint of garlic flavor, you can whisk 1/2 teaspoon of garlic powder into the dry ingredients. If you prefer a slightly sweeter biscuit (though less traditional for classic biscuits), you can add 1-2 tablespoons of sugar to the dry mix or brush the tops with melted butter mixed with a pinch of cinnamon sugar after baking. These simple additions demonstrate the versatility of the easy homemade biscuits base recipe and allow you to customize them for different meals or occasions.
Serving and Storing Your Classic Biscuits
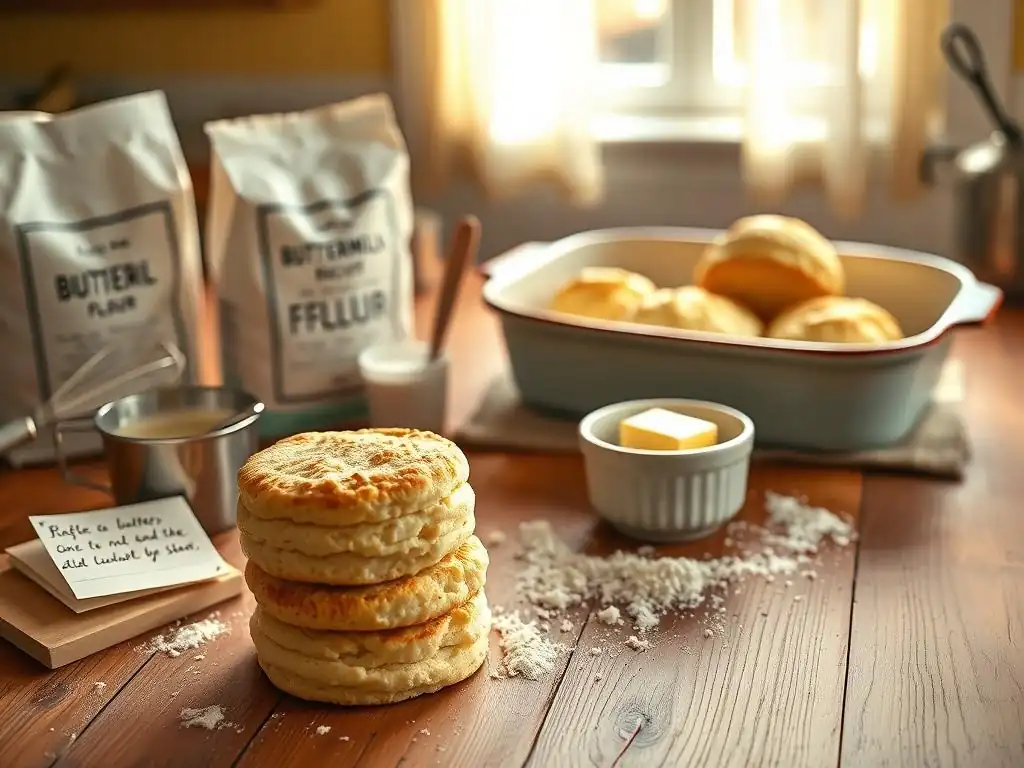
Best Ways to Serve Freshly Baked Biscuits for Breakfast or Snacks
Freshly baked classic biscuits are a treat best enjoyed warm, straight from the oven. For a simple, comforting breakfast or snack, serve them split open with generous dollops of butter and your favorite jam, jelly, or honey. The contrast of the warm, flaky biscuit with melting butter and sweet preserves is delightful.
Beyond the traditional sweet accompaniments, easy homemade biscuits are incredibly versatile for savory dishes. They are the perfect vehicle for sausage gravy, a Southern classic. Split biscuits also make an excellent base for breakfast sandwiches, layered with eggs, cheese, and bacon or sausage. For dinner, serve them alongside fried chicken or use them as an alternative base for dishes typically served over rice or potatoes. Their simple flavor profile makes them pair well with a wide variety of savory meals.
How to Store Biscuits to Maintain Freshness and Flavor
To keep your easy homemade biscuits as fresh as possible, it's crucial to store them correctly after they have cooled completely. Storing them while warm will create condensation and make them soggy. Once cooled, place the biscuits in an airtight container or a resealable plastic bag.
At room temperature, stored properly, classic biscuits will typically stay fresh for 1 to 2 days. If you won't eat them within this timeframe, refrigeration is a good option; they will last for about 3 to 4 days in the refrigerator in an airtight container. For longer storage, biscuits freeze exceptionally well. Wrap cooled biscuits tightly in plastic wrap, then place them in a freezer-safe bag or container. Frozen biscuits can maintain their quality for up to 2-3 months.
Reheating Tips for Leftover Biscuits Without Losing Quality
Reheating leftover easy homemade biscuits can restore much of their original warmth and texture. The best method for reheating depends on how you want to use them. For biscuits you want to be slightly crispy on the outside and tender inside, the oven is your best bet. Preheat your oven to a moderate temperature, around 300-350°F (150-175°C). Place the biscuits directly on the oven rack or on a baking sheet and heat for 5-10 minutes, or until warmed through.
If you're in a hurry, the microwave can reheat biscuits quickly, but it often results in a softer, sometimes slightly chewy texture. Heat in 15-30 second increments until warm. A toaster oven is also a good option for reheating a few biscuits, offering a balance between speed and crispness. For an extra touch when reheating in the oven, you can brush the tops with a little melted butter before warming.
Troubleshooting Your Easy Beginner Biscuit Recipe Guide
What to Do If Biscuits Are Too Dense or Dry
Encountering dense or dry biscuits is a common issue when following an easy beginner biscuit recipe guide, but thankfully, these problems are usually fixable in future batches. Density is often caused by overworking the dough. The more you mix or knead after adding the liquid, the more gluten develops, resulting in a tough, heavy texture. Solution: Be mindful of your mixing; stop as soon as the dry ingredients are just moistened.
Dryness can stem from several factors. Using too much flour is a primary culprit, often from scooping flour directly with a measuring cup instead of spooning it into the cup and leveling it. Solution: Always measure flour accurately, ideally by weight if possible (2 cups all-purpose flour is roughly 240-250 grams), or by spooning and leveling.
Not enough fat or liquid can also lead to dryness. Ensure your fat is properly cut into the flour and that you've added the correct amount of liquid as specified in your easy homemade biscuits recipe. Environmental factors like low humidity can also affect how much liquid flour absorbs; you might need a tablespoon or two more liquid on very dry days.
How to Fix Biscuits That Don’t Rise Properly
Biscuits that don't rise can be disappointing, but several factors can contribute to this issue when using an easy beginner biscuit recipe guide. The most frequent cause is inactive or expired leavening agents. Baking powder and baking soda lose their potency over time. Solution: Check the expiration dates on your baking powder and soda. You can test baking powder by adding a teaspoon to a small amount of hot water; it should fizz vigorously. Test baking soda by adding a 1/4 teaspoon to a bit of vinegar or lemon juice; it should also fizz strongly.
Another reason for poor rise is overworking the dough, which compacts the layers needed for lift. Solution: Handle the dough gently during mixing and shaping. Twisting the biscuit cutter instead of pressing straight down can seal the edges, preventing the layers from separating and rising. Solution: Always press the cutter straight down. Finally, an oven that isn't fully preheated or isn't calibrated correctly (running cooler than the set temperature) won't provide the necessary initial heat burst for maximum lift. Solution: Use an oven thermometer to verify your oven's temperature and ensure it's fully preheated before baking.
Adjusting Recipes for Different Oven Types and Altitudes
Successfully baking an easy beginner biscuit recipe guide sometimes requires minor adjustments based on your specific baking environment. Oven types can influence results; convection ovens, which circulate air, often bake faster and more evenly than conventional ovens. Solution: If using a convection oven, you might need to reduce the temperature by 25°F (15°C) or shorten the baking time slightly. Always use an oven thermometer to know your oven's true temperature, as they can vary significantly.
Baking at high altitudes (generally above 3,000 feet) presents unique challenges due to lower atmospheric pressure and drier air. The lower pressure causes leavening gases to expand more rapidly, potentially causing baked goods to collapse, while liquids evaporate faster. Solution: For high-altitude baking, you might need to make slight adjustments to your easy beginner biscuit recipe guide.
Common adjustments include slightly reducing the amount of baking powder (e.g., by 1/4 to 1/2 teaspoon), slightly increasing the liquid (by 1-2 tablespoons), and possibly increasing the oven temperature by 15-25°F (8-15°C) to help set the structure faster before it over-expands. Experimentation is often needed to find the perfect balance for your specific location.
Frequently Asked Questions
How difficult is this biscuit recipe for someone who's never baked before?
This recipe is designed to be very easy for beginners. It focuses on simple techniques and readily available ingredients, making it a perfect starting point.
What are the most crucial steps to ensure light and fluffy biscuits?
Avoid overmixing the dough! Overmixing develops gluten, leading to tough biscuits. Also, use cold ingredients, especially butter, to create steam pockets for a lighter texture.
Can I substitute ingredients in this biscuit recipe, and if so, what are some recommended substitutions?
While substitutions are possible, be mindful of the results. You can substitute milk with buttermilk for a tangier flavor, but using cold buttermilk is still recommended.
How long can I store these freshly baked biscuits, and what's the best way to keep them fresh?
Freshly baked biscuits are best enjoyed immediately. However, they can be stored in an airtight container at room temperature for up to 2 days. You can also reheat them briefly in the oven.
What are some variations I can try once I've mastered the basic biscuit recipe?
Once you're comfortable, try adding cheese, herbs, or spices to the dough for a savory twist. You could also add a sweet glaze or fruit filling for a delicious dessert biscuit.
Final Reflection: The Humble Biscuit, A Gateway to Baking Joy
The seemingly simple act of baking a biscuit holds a surprising power: it's a gateway to culinary confidence. Mastering this classic quick bread isn't just about achieving a perfectly flaky texture; it's about unlocking a deeper understanding of baking fundamentals and fostering a love for the creative process. This newfound confidence can then be applied to more complex baking endeavors, empowering beginners to explore the vast world of culinary possibilities.
The enduring appeal of the biscuit lies not only in its deliciousness, but in its accessibility. It's a recipe that transcends generations, passed down through families and shared amongst friends. The simple ingredients and straightforward method make it a perfect starting point for aspiring bakers, fostering a sense of accomplishment and pride. As Julia Child once wisely said, Find something you're passionate about and keep tremendously interested in it.
For many, that passion begins with the satisfying crumb of a perfectly baked biscuit.
Now, it's your turn. Don't be intimidated by the seemingly simple task before you. Gather your ingredients, follow the steps outlined in this guide, and embrace the journey. The reward isn't just a plate of warm, buttery biscuits; it's the satisfaction of creating something delicious with your own two hands, the confidence gained from mastering a fundamental baking skill, and the inspiration to explore the endless possibilities that await you in the kitchen. So, roll up your sleeves, preheat your oven, and embark on your biscuit-baking adventure!
Unleash Your Inner Baker: Perfect Biscuits Await!
Thanks for joining us on this biscuit-baking adventure! We hope you've gained the confidence to create flaky, delicious biscuits from scratch. Now it's time to put your new skills to the test!
- Bake a batch today! Use your newfound knowledge to whip up a batch of biscuits – maybe even experiment with different add-ins! This is your chance to truly master the art.
- Share your creations: Show off your perfect biscuits on social media using #BakeWithEaseBiscuits and inspire others!
- Leave a comment: Tell us about your baking experience – what did you love most about making biscuits today?
What delicious flavors will you add to your next batch of biscuits?