
Using the Delay Timer: Wake Up to the Smell of Freshly Baked Bread

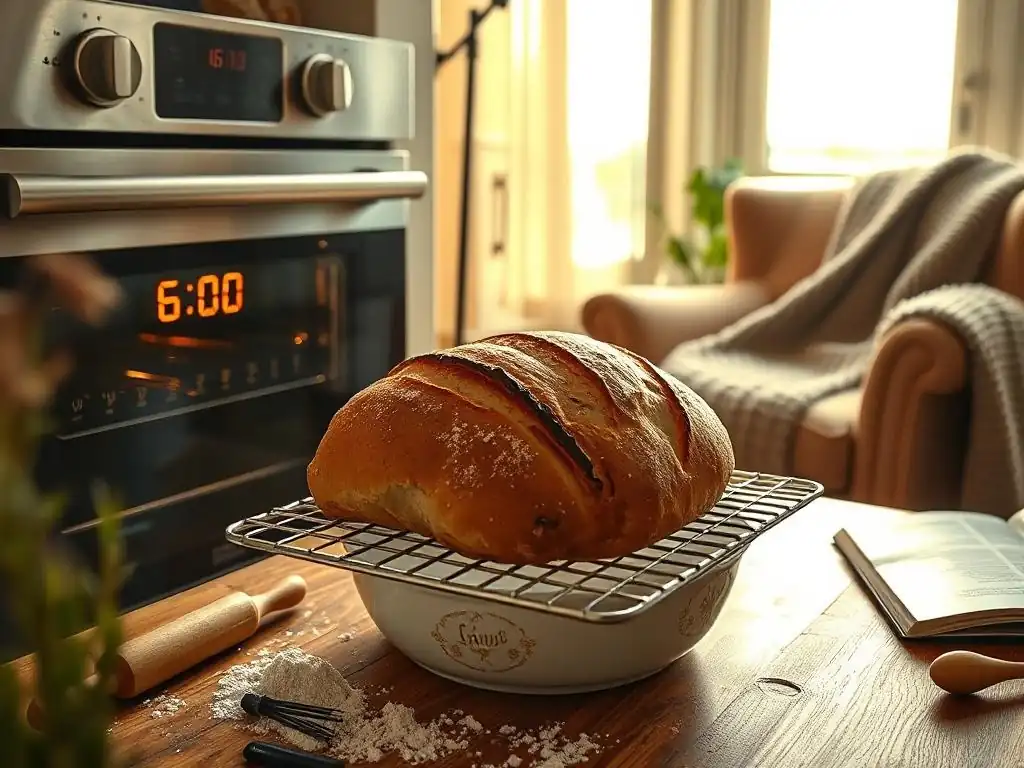
Welcome to BakeWithEase, your guide to effortless baking! Ever dreamt of waking up to the irresistible aroma of freshly baked bread? This article dives deep into the magic of using a fresh bread delay timer, a game-changer for busy bakers. Discover how to master this simple technique and transform your mornings. Ready to bake smarter, not harder? Let's unlock the secrets to perfectly timed, delicious bread!
- Wake Up to the Smell of Freshly Baked Bread: Mastering the Delay Timer
- BakeWithEase: Your Guide to Bread Machine Baking
- Understanding the Fresh Bread Delay Timer Feature
- Step-by-Step Guide: Using the Delay Timer on Your Bread Machine
- Troubleshooting Common Delay Timer Issues
- Recipes Perfect for Your Bread Machine's Delay Timer
- Tips and Tricks for Perfect Fresh Bread with the Delay Timer
- Exploring Different Bread Machine Models with Delay Timers
- Enjoying Freshly Baked Bread Every Morning with Ease
-
Frequently Asked Questions
- What is a "fresh bread delay timer" and how does it work?
- Is it safe to leave ingredients like milk or eggs in the bread machine overnight when using the delay timer?
- What types of bread recipes are best suited for using a delay timer?
- How do I calculate the correct delay time to ensure the bread is ready at the desired time?
- What are some potential problems I might encounter when using the delay timer and how can I avoid them?
- Final Reflection: The Timeless Allure of Freshly Baked Bread
- Unleash Your Inner Baker: Start Baking Smarter Today!
Wake Up to the Smell of Freshly Baked Bread: Mastering the Delay Timer
BakeWithEase: Your Guide to Bread Machine Baking
Welcome back to BakeWithEase! Our goal is to simplify baking, making it accessible and enjoyable for everyone, regardless of skill level. We've explored various baking techniques and equipment, from mastering the perfect cookie texture to demystifying sourdough starters. Today, we're diving into a feature on many bread machines that can truly revolutionize your morning routine and bring the comforting aroma of fresh bread right into your kitchen while you're still asleep: the fresh bread delay timer.
Bread machines have come a long way, offering convenience and consistency that can significantly cut down on the manual effort required for baking bread. Features like the delay timer are prime examples of how this appliance can fit seamlessly into a busy lifestyle. Whether you're a complete beginner or looking to optimize your baking schedule, understanding and utilizing the delay timer can open up a world of possibilities for enjoying warm, homemade bread whenever you desire.
Understanding the Fresh Bread Delay Timer Feature
What is a Bread Machine Delay Timer?
A bread machine delay timer is a function that allows you to add all your ingredients to the bread machine pan and then set a timer for a specific number of hours in the future. The machine will wait for that programmed duration before automatically starting its pre-programmed bread cycle (mixing, kneading, rising, and baking). This means you can prepare the ingredients hours in advance – often up to 13 or 15 hours depending on the model – and the machine will handle the rest, delivering a freshly baked loaf exactly when you want it.
This feature works by keeping the ingredients, particularly the yeast, separate or relatively inactive until the countdown finishes. Typically, liquid ingredients go in first, followed by dry ingredients, with the yeast placed last, often in a small well on top of the flour, away from the liquid. When the timer reaches zero, the machine begins mixing, activating the yeast and starting the bread-making process. It's a clever way to schedule your baking without being physically present to start the cycle.
Benefits of Using the Delay Timer for Fresh Bread
The primary benefit of using a fresh bread delay timer is unparalleled convenience. Imagine waking up to the inviting smell of warm, homemade bread filling your home, ready to be sliced and enjoyed with your morning coffee.
This eliminates the need to wake up hours early to start the baking process manually or rushing to bake a loaf after a long day. For example, setting the timer for 8 hours before bed means your bread is ready precisely at your usual wake-up time, saving you roughly 3-4 hours of active time you'd otherwise spend mixing, kneading, and waiting for rises.
Beyond convenience, using the delay timer ensures you have access to the freshest possible bread right when you need it. This is particularly appealing for busy families who want homemade bread for breakfast or for those hosting a brunch. It also allows you to take advantage of off-peak electricity hours if you're mindful of energy consumption, setting the machine to bake overnight. The consistent results provided by the machine's timed cycles mean you can rely on the delay timer to deliver a perfectly baked loaf time after time, provided you follow the recipe and preparation steps correctly.
Is a Bread Machine with a Delay Timer Right for You?
Deciding if a bread machine with a fresh bread delay timer is a worthwhile investment depends largely on your lifestyle and baking habits. If you frequently find yourself wishing you had more time in the morning, or if you love the idea of fresh bread for breakfast but can't commit to the early start, this feature is incredibly beneficial. It's also ideal for those who work unconventional hours and want warm bread ready upon their return home, or for individuals who simply value the convenience of setting it and forgetting it until the delicious aroma signals completion.
However, it's worth noting that not all recipes are suitable for the delay timer (more on that later), and there are important food safety considerations, especially in warmer climates. If you primarily bake complex enriched doughs or prefer recipes requiring precise timings and additions throughout the process, the delay timer might not be your most used feature. But for simple, everyday loaves like white, whole wheat, or basic multigrain, the fresh bread delay timer is a game-changer, offering a level of convenience that manual baking simply cannot match.
Step-by-Step Guide: Using the Delay Timer on Your Bread Machine
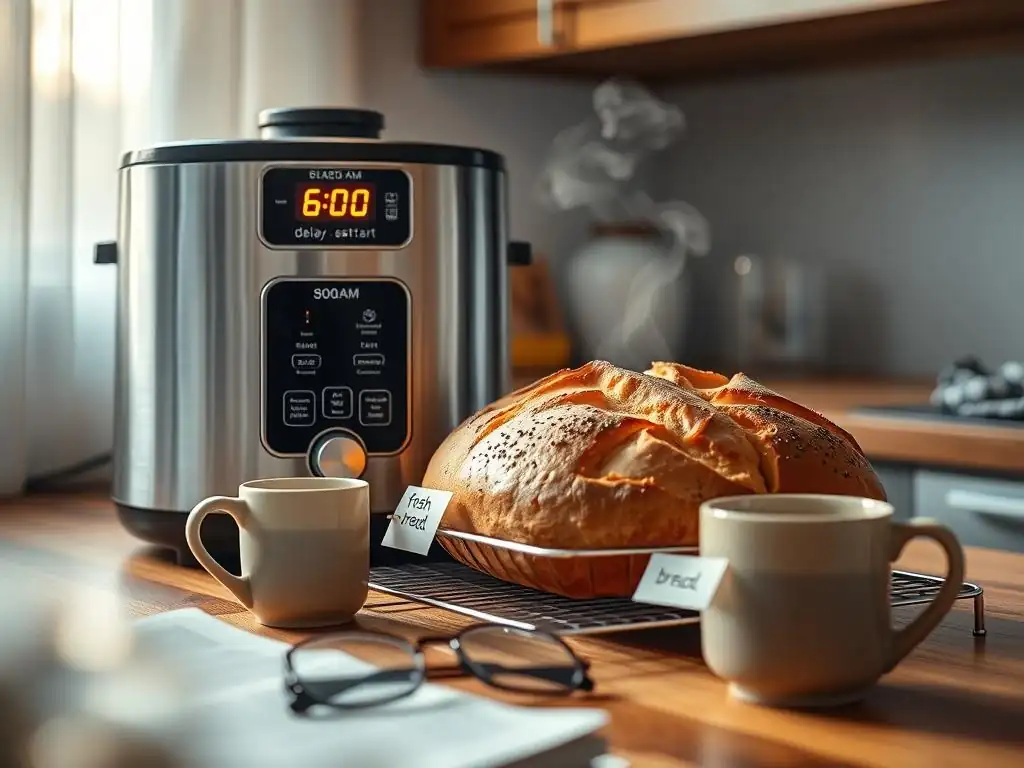
Preparing Your Bread Machine Ingredients for the Delay Timer
Proper ingredient preparation and layering are crucial when using the fresh bread delay timer to ensure successful baking. The standard method is to add liquids first, followed by dry ingredients, and finally the yeast.
This layering helps prevent the yeast from prematurely activating by coming into contact with the liquid before the machine starts its cycle. For a typical 2-pound loaf, you might start with 1.5 cups of water or milk, then add 1 tablespoon of oil or butter, followed by 4 cups of flour, 2 tablespoons of sugar, 1.5 teaspoons of salt, and finally, 2 teaspoons of active dry or instant yeast placed carefully on top of the flour, possibly in a small indentation.
Using ingredients at room temperature is generally recommended for consistent results, especially for liquids. Cold liquids can slow yeast activation, while warm liquids (above 120°F or 49°C) can kill the yeast. For the delay timer, using cooler liquids (around 70-80°F or 21-27°C) can sometimes be safer, particularly for longer delays or in warm environments, to further prevent premature yeast activity. Always ensure the yeast is fresh; expired yeast is a common culprit for bread that doesn't rise, and this is even more critical when relying on a timed start.
Choosing the Right Bread Recipe for Delayed Baking
Not all bread recipes are created equal when it comes to using the fresh bread delay timer. The best recipes for delayed baking are those with simple, stable ingredients that don't require precise timing for additions or have components that could spoil or react negatively over time. Basic white bread, whole wheat bread, and many standard loaf recipes using flour, water, yeast, salt, and a little sugar or fat are excellent candidates. These ingredients are generally stable at room temperature for the typical duration of a delay cycle (up to 15 hours).
Recipes that are less suitable for delayed baking include those with large amounts of fresh dairy (like milk, cheese, or yogurt), fresh eggs, or fresh fruits/vegetables that could spoil or ferment during the delay period, especially in warm conditions. Also, recipes requiring specific additions partway through the kneading cycle (like nuts, seeds, or dried fruit) might not work perfectly with the delay timer, as the machine's automatic dispenser (if it has one) might not be timed correctly for a delayed start, or you'd miss the manual addition beep.
Stick to recipes designed specifically for bread machines and, ideally, ones confirmed to work well with the delay function.
Setting the Delay Timer: A Detailed Walkthrough
Setting the fresh bread delay timer is straightforward on most machines, though the exact buttons and display may vary. Here's a general step-by-step process:
- Add Ingredients: Carefully add all ingredients to the bread pan in the order recommended by your machine's manual or the recipe (usually liquids first, then dry, yeast last).
- Select Cycle: Place the pan in the machine and close the lid. Select the desired bread cycle (e.g., Basic White, Whole Wheat, French) and loaf size/crust color settings. Note the total time this cycle takes.
- Calculate Delay Time: Determine when you want the bread to be ready. Subtract the selected cycle's total time from the desired finish time. Wait, scratch that! Most bread machine delay timers require you to input the total time until the bread should be finished. So, if it's 10 PM now, and you want bread ready at 7 AM (9 hours from now), you set the delay timer to 9 hours. The machine automatically accounts for the cycle's duration.
- Set Delay Timer: Locate the "Delay," "Timer," or "Set Time" buttons on your machine. Use the +/- or arrow buttons to increase or decrease the time until the bread is ready. The display will show the total hours and possibly minutes until completion.
- Start Delay: Press the "Start" button. The machine will likely beep, and the display will show the countdown. The machine will remain inactive until the timer reaches zero, at which point it will automatically begin the selected bread cycle.
[ ] Add ingredients in correct order (liquids -> dry -> yeast).
[ ] Select desired bread cycle, loaf size, and crust color.
[ ] Calculate total hours until desired completion time.
[ ] Use Delay/Timer buttons to set the total delay time.
[ ] Press Start to begin the countdown.
Important Considerations for Safe and Successful Delayed Baking
Food safety is paramount when using the fresh bread delay timer. While dry ingredients and yeast are shelf-stable, liquids like milk or ingredients like eggs can pose a risk if left at room temperature for extended periods, especially in warm environments.
In warmer climates or during summer months, it's often safer to use water instead of milk, or to limit the delay time to 8 hours or less if using perishable ingredients. Some users pre-chill their liquids slightly, though this can affect yeast activation, so it's best to stick to recipes designed for delayed baking or use water as the liquid.
Humidity can also affect results. In high humidity, you might need slightly less liquid or slightly more flour. Conversely, in very dry climates, a tiny bit more liquid might be needed. Consistency in measuring ingredients, ideally using a digital scale (1 cup of all-purpose flour is typically around 120-130 grams), is key to reliable results with the delay timer, as you cannot adjust the dough consistency once the cycle starts. Finally, ensure your bread machine is placed on a stable surface away from direct sunlight or heat sources, which could prematurely warm the ingredients.
Troubleshooting Common Delay Timer Issues
My Bread Didn't Bake: Common Mistakes and Solutions
One of the most frustrating outcomes when using the fresh bread delay timer is waking up to find your bread hasn't risen or baked properly. A very common issue is inactive or dead yeast. Yeast is a living organism and has an expiration date; using old yeast will prevent the dough from rising.
Always check the expiration date on your yeast and store it properly (often in the refrigerator or freezer after opening). Another frequent mistake is allowing the yeast to come into contact with the liquid too early, especially if the liquid is warm, which can activate it prematurely or even kill it before the delay cycle begins. Ensure the yeast is placed on top of the dry ingredients, away from the liquid layer.
Other issues include using liquids that are too hot (killing the yeast) or too cold (inhibiting activation), or incorrect ingredient measurements. Too much salt can also inhibit yeast activity. If your bread didn't rise, verify your yeast is fresh, check your liquid temperature (should be lukewarm, around 80°F/27°C, or cooler for longer delays), and double-check your measurements, especially the yeast and salt quantities. Sometimes, simply ensuring the bread pan is correctly seated in the machine can prevent issues where the machine doesn't start the cycle at all.
The Delay Timer Isn't Working: Troubleshooting Tips
If your bread machine's fresh bread delay timer isn't counting down or the cycle isn't starting after the delay, there are a few potential causes. First, ensure you have pressed the "Start" button after setting the delay time. Some machines require a separate start command to begin the countdown. If the display shows a countdown, but the machine never starts mixing, check the power connection and ensure the machine hasn't been accidentally unplugged or the circuit breaker tripped during the delay period.
Sometimes, user error in setting the timer is the issue. Review your machine's manual to confirm the correct procedure for setting the delay timer – are you setting the duration of the delay or the finish time? Most modern machines require the total time until finish. If the machine powers on but the timer function seems unresponsive or glitchy, try unplugging the machine for a few minutes to reset its internal computer. If the problem persists after checking power, user input, and performing a reset, there might be an internal issue requiring professional service.
Bread Texture Issues After Using the Delay Timer: Dense or Collapsed Bread
Even if your bread bakes after using the fresh bread delay timer, you might encounter texture problems like a dense loaf or a collapsed top. Dense bread is often a sign of insufficient rising, which can be caused by the same issues preventing a full bake: inactive yeast, improper liquid temperature, too much salt, or incorrect flour measurement. Using too much flour is a very common cause of dense bread; flour should be scooped lightly into measuring cups or, ideally, weighed using a digital scale for accuracy.
Collapsed bread, where the top caves in, can result from the dough over-rising before baking begins. This can happen if the delay time was too long for the ambient temperature, causing the yeast to work too quickly, or if there's too much liquid in the recipe. High altitude can also contribute to collapsed bread due to lower atmospheric pressure.
If your bread collapses after using the delay timer, try slightly reducing the liquid, decreasing the amount of yeast (by maybe 1/4 teaspoon), or shortening the delay time if possible, especially in warm conditions. Ensure you are using the correct cycle for your recipe, as an overly long rise cycle can also cause collapse.
Recipes Perfect for Your Bread Machine's Delay Timer
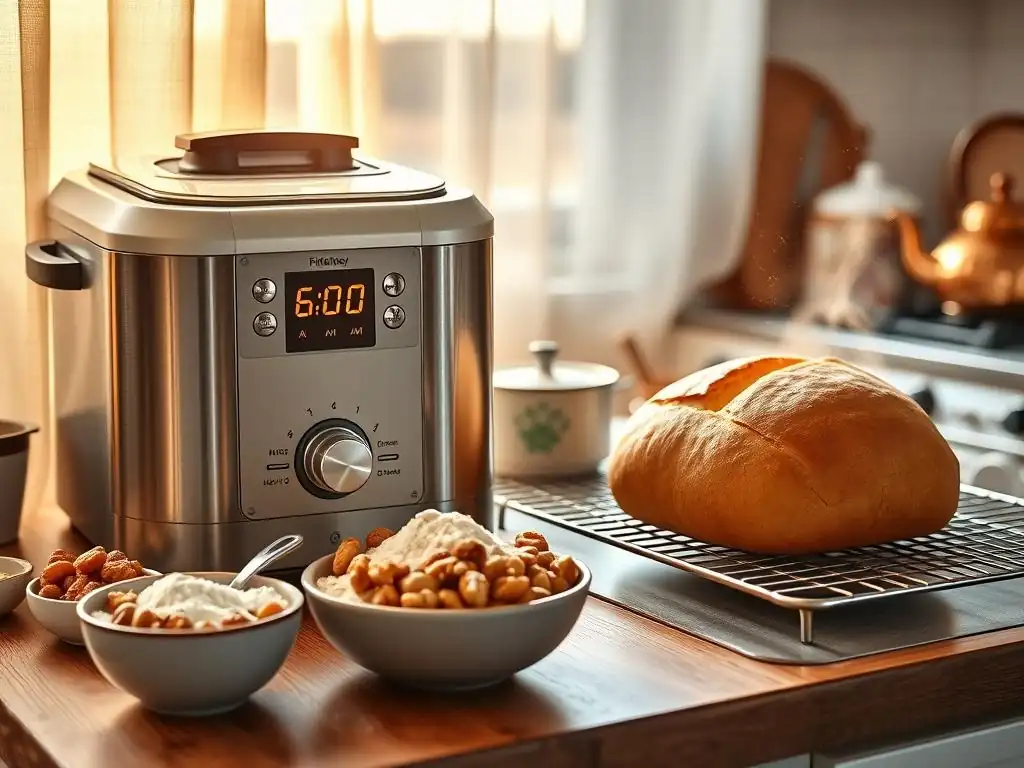
Overnight Spelt Bread Recipe for Delay Timer
Spelt is an ancient grain that offers a slightly nutty flavor and a wonderfully tender crumb. It works exceptionally well in a bread machine, and a simple spelt bread recipe is a fantastic candidate for the fresh bread delay timer. This recipe typically uses spelt flour, water, yeast, salt, and a touch of sweetener like honey or maple syrup. The ingredients are stable, and the dough handles the long, slow start provided by the delay timer beautifully.
For an overnight spelt loaf using the delay timer, you'd typically layer your ingredients the night before, set the timer for 8-10 hours, and wake up to a warm, fragrant loaf. The slower activation of the yeast due to the delayed start can sometimes even enhance the subtle flavors of the spelt. Ensure you use 100% spelt flour or a blend specifically designed for bread machines to get the best texture, as spelt absorbs liquid differently than wheat flour.
Multigrain Bread Recipe for the Delay Timer Function
Multigrain bread is a popular choice for its texture and nutritional benefits, and many multigrain bread machine recipes are well-suited for the fresh bread delay timer function. These recipes often incorporate a mix of flours (like whole wheat, rye, and bread flour) and various grains or seeds (such as oats, flaxseed, sunflower seeds). The key to success with the delay timer here is using ingredients that won't spoil or become overly soggy during the delay.
A good multigrain recipe for delayed baking will usually involve adding the grains/seeds mixed with the dry ingredients. Avoid recipes that require adding soaked grains or fresh ingredients partway through the cycle unless your machine has a specific delayed add-in feature that works with the delay timer. A standard multigrain recipe with pre-mixed dry ingredients and a stable liquid base (like water) can be set up in the evening, and the fresh bread delay timer will ensure a hearty, textured loaf is ready for breakfast or lunch the next day.
Sweet Bread Recipe to Wake Up To: Cranberry Walnut Bread
Waking up to the smell of sweet, warm bread is a special treat, and certain sweet bread recipes can be adapted for the fresh bread delay timer. A Cranberry Walnut bread, for example, using a base similar to a simple white bread but with dried cranberries and walnuts, can work well. The dried fruit and nuts are stable enough to sit with the dry ingredients during the delay period.
For a sweet bread like this using the delay timer, ensure the recipe uses dried fruits rather than fresh, and that nuts are added at the same time as the dry ingredients (or via an automatic dispenser if your machine has one that syncs with the delay). Avoid recipes with fresh eggs or milk unless you are confident about the temperature stability or limiting the delay time. A recipe with butter, flour, sugar, yeast, water or powdered milk, dried cranberries, and walnuts can provide a delightful morning treat, baked fresh by the power of your bread machine's delay timer.
Tips and Tricks for Perfect Fresh Bread with the Delay Timer
Maintaining Bread Quality with Delayed Baking
Achieving consistent quality with the fresh bread delay timer involves paying close attention to details. Since you're not present to monitor the dough, precise measurements are paramount. Using a digital scale for flour and other dry ingredients (like 120-130g per cup of flour) removes variability and ensures the correct hydration level, which is crucial for the dough's behavior over a long delay.
Also, consider the ambient temperature of your kitchen; extreme heat can accelerate yeast activity, potentially leading to over-rising and collapse before baking. If your kitchen gets very warm, you might need to reduce yeast slightly (e.g., from 2 tsp to 1.75 tsp) or shorten the delay time if possible.
Ensuring ingredients are fresh, especially yeast, is non-negotiable for successful delayed baking. Yeast that is even slightly past its prime may not perform reliably after sitting for hours. Using instant yeast is often preferred over active dry yeast for delay timers, as it is less sensitive to direct contact with salt and can be more reliable for longer delays. Store all your baking ingredients correctly – yeast in the fridge or freezer, flour in an airtight container – to maintain their potency and quality over time.
Optimizing Ingredients for Delay Timer Use
To get the best results with your fresh bread delay timer, consider optimizing your ingredient choices. Using bread flour instead of all-purpose flour can often lead to a better structure and rise, as its higher protein content develops more gluten. This can be beneficial for doughs that sit for several hours before kneading begins. If your recipe uses milk, consider substituting it with water and adding dry milk powder. This provides the richness of milk without the same spoilage risk of fresh liquid milk sitting at room temperature for an extended period.
When adding mix-ins like seeds, nuts, or dried fruit, ensure they are evenly distributed with the dry ingredients or placed in the automatic dispenser if your machine has one. Avoid adding ingredients that draw a lot of moisture (like certain seeds) directly into the main dough mix if they will sit for many hours, as this can affect the dough's hydration balance before mixing even starts.
Some users pre-soak very dry grains or seeds separately and add them manually if their machine allows a late add-in beep, but for the standard delay timer, it's generally safer to use mix-ins that are okay sitting with the dry ingredients from the start.
Cleaning Your Bread Machine After Using the Delay Timer
Proper cleaning after every use, including when you've used the fresh bread delay timer, is essential for maintaining your bread machine and preventing residue buildup that could affect future loaves. Once the bread is removed and the pan has cooled, fill the pan with warm, soapy water and let it soak for a bit to loosen any stuck-on dough or crumbs. Never submerge the entire bread pan in water, especially the bottom where the drive shaft is, as this can damage the mechanism or the non-stick coating.
Use a soft sponge or cloth to gently clean the inside and outside of the pan and the kneading paddle. Avoid abrasive scrubbers or harsh chemicals that can damage the non-stick surface. The kneading paddle can sometimes be stubborn; soaking usually helps, or you might need a small brush to clean around the shaft.
Wipe down the inside of the bread machine cavity with a damp cloth, paying attention to the heating element area once it's cool. Ensure all parts are completely dry before storing the machine or using it again. Regular, gentle cleaning ensures your machine, and its fresh bread delay timer function, continue to perform optimally.
Exploring Different Bread Machine Models with Delay Timers
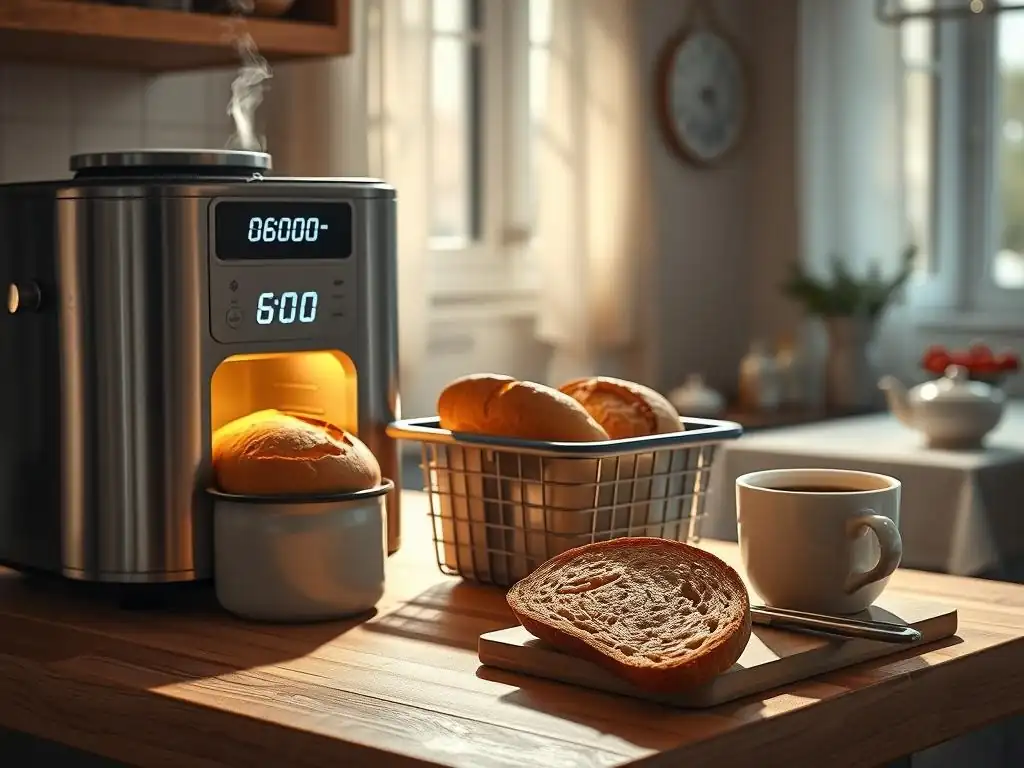
Comparing Bread Machine Delay Timer Features: Zojirushi BB-PAC20 vs. Breville BBM800XL
Many popular bread machine models feature a fresh bread delay timer, but their capabilities can differ. For instance, high-end models like the Zojirushi BB-PAC20 Home Bakery Virtuoso Plus often boast a maximum delay time of up to 13 hours and offer multiple cycle options that are compatible with the delay function, including basic, whole wheat, and even sourdough starter cycles (though using the delay for sourdough requires specific technique). Its dual kneading blades can handle denser doughs, which can be beneficial after ingredients have sat during a long delay.
In contrast, models like the Breville BBM800XL Custom Loaf Pro also feature a significant delay timer (often up to 15 hours) and include features like a collapsible kneading paddle (which minimizes the hole in the finished loaf) and an automatic fruit and nut dispenser. This dispenser can be particularly useful with the delay timer, as it keeps mix-ins separate until the optimal point in the kneading cycle, preventing them from getting soggy or breaking down during a long delay period.
While both offer a delay timer, the specifics of compatible cycles, maximum delay length, and additional features like dispensers can influence which machine is best suited for your delayed baking needs.
Choosing a Bread Machine with the Best Delay Timer Options
When selecting a bread machine primarily for its fresh bread delay timer function, consider several factors to ensure it meets your needs. First, check the maximum delay time offered – most range from 12 to 15 hours, which is sufficient for an overnight bake or a workday delay. Ensure the machine's standard cycles (like Basic, Whole Wheat) are compatible with the delay timer, as some specialized cycles might not be.
Look for a machine with a clear, easy-to-use interface for setting the delay time. Some machines have intuitive +/- buttons, while others might require navigating menus. Consider if features like an automatic ingredient dispenser are important for the types of bread you want to bake on delay (e.g., if you frequently make loaves with nuts or dried fruit). Read user reviews focusing specifically on the delay timer's performance and reliability. A machine with a robust, reliable fresh bread delay timer can truly transform your baking schedule and allow you to enjoy warm, homemade bread with minimal morning effort.
Enjoying Freshly Baked Bread Every Morning with Ease
Mastering the fresh bread delay timer on your bread machine is a simple yet powerful way to integrate the joy of homemade bread into your daily life without sacrificing precious time. By understanding how the timer works, carefully preparing your ingredients, selecting appropriate recipes, and following basic safety guidelines, you can consistently wake up or come home to the comforting aroma and delicious taste of freshly baked bread.
Whether it's a simple white loaf, a hearty multigrain, or a slightly sweet breakfast bread, the convenience offered by the fresh bread delay timer is undeniable. It turns your bread machine into a time-saving appliance that works while you rest or work, delivering warm, perfect loaves precisely when you want them. Embrace this feature, experiment with recipes suitable for delayed baking, and start enjoying the simple pleasure of fresh bread whenever the craving strikes, made easy with your trusty bread machine.
Frequently Asked Questions
What is a "fresh bread delay timer" and how does it work?
A delay timer on a bread machine allows you to program the machine to start baking at a later time. It typically involves adding ingredients and setting the timer, so the bread is freshly baked when you wake up.
Is it safe to leave ingredients like milk or eggs in the bread machine overnight when using the delay timer?
Generally, it's not recommended to leave perishable ingredients like milk or eggs out at room temperature for extended periods. Consider using non-dairy milk powder or omitting eggs to avoid spoilage.
What types of bread recipes are best suited for using a delay timer?
Simpler bread recipes with stable ingredients like whole wheat or basic white bread are best. Avoid recipes with highly perishable toppings or delicate doughs that require immediate attention.
How do I calculate the correct delay time to ensure the bread is ready at the desired time?
Carefully calculate the total baking time and subtract it from your desired finish time. This will give you the correct delay time to set on your bread machine's timer.
What are some potential problems I might encounter when using the delay timer and how can I avoid them?
Possible issues include ingredient spoilage, dough rising too quickly, or the bread machine malfunctioning. Ensure proper ingredient storage, accurate measurements, and regular machine maintenance to prevent these problems.
Final Reflection: The Timeless Allure of Freshly Baked Bread
The aroma of freshly baked bread, a simple pleasure, speaks volumes about our connection to comfort, tradition, and the satisfying results of a little planning. This seemingly small act of using a delay timer to wake to the smell of baking bread transcends mere convenience; it's a powerful reminder of the joy found in slowing down and savoring the simple things. In a world obsessed with instant gratification, taking the time to prepare something truly nourishing, both for the body and the soul, is a radical act of self-care.
The influence of homemade bread, and the rituals surrounding its creation, runs deep in our cultural history. It's a symbol of home, family, and nurturing. From ancient civilizations to modern kitchens, the process of baking bread has remained a constant, a comforting thread weaving through generations. Bread is the staff of life,
a proverb that speaks to its fundamental importance and enduring appeal. This simple act of setting a delay timer, therefore, is not just about baking bread; it's about reconnecting with a timeless tradition and finding solace in the process.
Now, consider your own kitchen. Imagine the warmth that will fill your home tomorrow morning, the delightful scent that will greet you as you awaken. Will you embrace the opportunity to slow down, to connect with a simpler time, and to experience the profound satisfaction of freshly baked bread? Try it. Set that timer, and let the aroma of home-baked goodness guide you towards a more mindful and fulfilling day. The reward is far greater than just a delicious loaf; it's a connection to something deeper, something truly meaningful.
Unleash Your Inner Baker: Start Baking Smarter Today!
Thanks for taking the time to explore the magic of delayed baking! You've just unlocked a world of convenience and delicious possibilities. Now it's time to put your new knowledge into practice.
- Schedule your first delayed bake: Choose your favorite recipe and set that timer! Imagine waking up to the aroma of freshly baked bread.
- Share your baking triumphs (and struggles!): Join our BakeWithEase community and let us know how your delayed baking experiment goes. We love seeing your creations!
- Experiment with different recipes and timings: Don't be afraid to try new things. The possibilities are endless!
What delicious creation will you bake first using your new delayed baking skills?