
The Importance of Proofing for Ciabatta and Rustic Bread Success

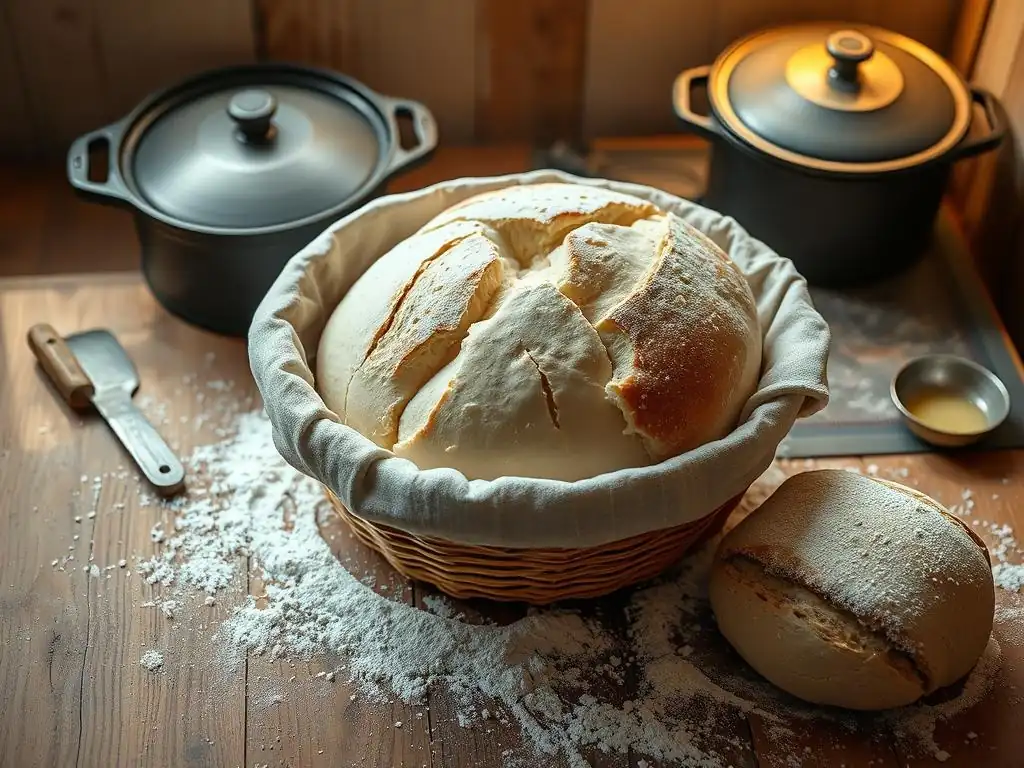
Welcome to BakeWithEase, your baking sanctuary! Ever wondered why your ciabatta never quite achieves that airy, open crumb? The secret, my friend, often lies in the proofing process. Dive in to discover the crucial role proofing plays in crafting perfect ciabatta bread dough and other rustic loaves, unlocking techniques that will transform your baking from good to extraordinary. Let's explore the science and art behind this essential step!
- The Importance of Proofing for Sourdough and Artisan Bread Success
- Understanding the Crucial Role of Proofing in Sourdough & Artisan Bread Baking
- Mastering the Proofing Process for Sourdough Bread Dough
- Visual Cues for Perfectly Proofed Sourdough and Artisan Bread
- Proofing Environment: Temperature and Humidity for Optimal Results
- Troubleshooting Common Proofing Problems in Sourdough & Artisan Bread
- Advanced Proofing Techniques for Superior Sourdough
- The Ultimate Guide to Proofing Sourdough Bread Dough: Key Takeaways
-
Frequently Asked Questions
- What is proofing, and why is it so important for ciabatta bread?
- How does proofing time affect the final texture of ciabatta bread?
- What are some visual cues to look for when proofing ciabatta dough?
- What's the ideal temperature for proofing ciabatta dough, and why?
- Can I proof ciabatta dough in the refrigerator, and what are the benefits?
- Final Reflection: The Unseen Power of Proofing in Bread Baking
- Unleash Your Inner Bread Baker!
The Importance of Proofing for Sourdough and Artisan Bread Success
Proofing, often called fermentation, is a critical step in the journey from simple ingredients to a perfectly baked loaf of sourdough or artisan bread. It's the period where yeast gets to work, transforming sugars into carbon dioxide and alcohol. This process isn't just about making the dough rise; it's fundamentally about developing flavor, texture, and structure. Skipping or rushing this stage can result in dense, flavorless bread, while mastering it is key to achieving that coveted airy crumb and crisp crust found in many rustic loaves, including the distinctive open structure of ciabatta.
For anyone aiming to bake authentic, high-quality bread at home, understanding and respecting the proofing phase is non-negotiable. It’s where the magic happens, building the foundation for a successful bake. Whether you're working with a sourdough starter or commercial yeast, the principles of allowing adequate time for fermentation hold true, ensuring your dough is ready to perform beautifully in the oven.
Understanding the Crucial Role of Proofing in Sourdough & Artisan Bread Baking
Proofing is more than just letting dough sit; it's a complex biological process essential for creating the desired characteristics of artisan bread. During this time, the yeast (either wild yeast in a sourdough starter or commercial yeast) feeds on the sugars in the flour. This activity produces gases, primarily carbon dioxide, which inflate the dough, giving it volume. Simultaneously, enzymes are breaking down proteins and starches, which helps develop the gluten network – the internal structure that traps these gases and allows the dough to hold its shape and achieve an open crumb.
Beyond leavening, proofing is vital for flavor development. As yeast and bacteria (especially in sourdough) ferment, they produce organic acids and other compounds. These compounds contribute significantly to the complex aroma and tangy flavor characteristic of sourdough and many other artisan breads. Proper proofing allows these flavors to deepen and mature, resulting in a more nuanced and delicious final product.
Why Proofing Matters for Achieving Perfect Sourdough and Artisan Bread
Proofing directly impacts the volume, texture, and flavor of your finished loaf. Without sufficient proofing, the dough won't have enough gas built up to achieve a good rise in the oven, resulting in a dense, heavy bread. Think of a ciabatta loaf – its signature open, airy interior relies heavily on vigorous fermentation during proofing. Proper proofing ensures the gluten network is strong enough to capture the gases but also relaxed enough to expand.
Furthermore, the acidic environment created during proofing, particularly in sourdough, helps to tenderize the crumb and extend the bread's shelf life. This acidity also influences the crust development during baking, contributing to a beautiful, caramelized finish. Mastering the proofing ciabatta bread dough process, or any high-hydration dough, is especially important because the extra water makes the dough trickier to handle but also contributes significantly to the open structure when proofed correctly.
The Science Behind Proofing: Wild Yeast Activity and Dough Development
At a microscopic level, proofing is a bustling ecosystem. In sourdough, wild yeasts like Saccharomyces cerevisiae work alongside lactic acid bacteria (LAB), such as Lactobacillus sanfranciscensis. The yeasts consume simple sugars, producing CO₂, ethanol, and other volatile compounds. The LAB consume more complex carbohydrates and sugars, producing lactic acid and acetic acid. These acids lower the dough's pH, which strengthens the gluten network and inhibits the growth of undesirable microorganisms.
This symbiotic relationship between yeast and bacteria in sourdough is what provides its unique leavening power and complex flavor profile. As the dough ferments, the gluten proteins (glutenin and gliadin) absorb water and form a network. Kneading or folding helps align and strengthen this network. During proofing, the acids produced by fermentation also interact with the gluten, making it more extensible, allowing the dough to stretch and hold the expanding gases. This process is crucial whether you are proofing ciabatta bread dough or a dense rye loaf.
Mastering the Proofing Process for Sourdough Bread Dough
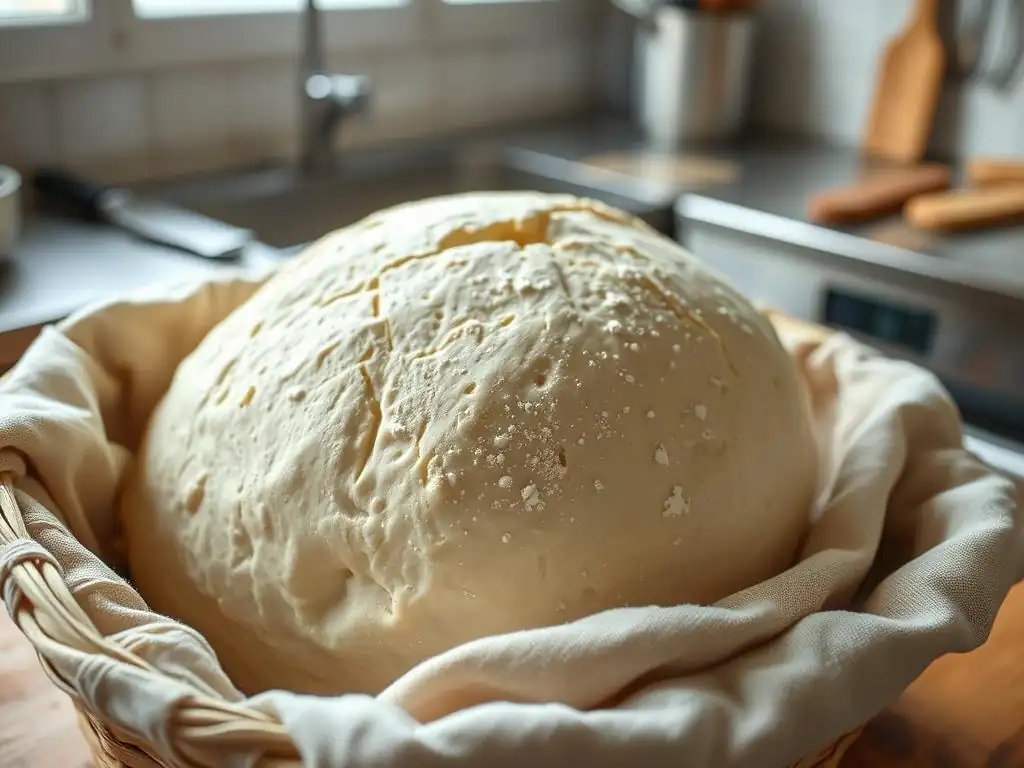
Achieving consistently great results with sourdough requires careful attention to the proofing process. It's not just about time; it's about understanding the dough's condition and responding to its needs based on temperature, hydration, and starter activity. There are generally two main stages: bulk fermentation and final proofing, each serving a distinct purpose in developing the dough.
Successful proofing involves creating the right environment for the microorganisms to thrive and monitoring the dough's progress closely. Factors like the strength of your starter, the type of flour used, and the ambient temperature all play significant roles. Developing an intuitive feel for your dough through observation and touch is key to mastering these stages.
Preparing Your Sourdough Dough for Proofing: Key Considerations
Preparation begins right after mixing and kneading (or folding). Ensure your dough is well-developed, showing signs of gluten strength like passing the windowpane test (being able to stretch a small piece thin enough to see light through it). The dough should be placed in a clean container, often lightly oiled to prevent sticking and make it easier to gauge volume increase.
Covering the dough is essential to prevent a skin from forming, which would restrict its ability to rise evenly. A damp towel, plastic wrap, or a fitted lid works well. Consider the temperature of your kitchen; warmer temperatures accelerate proofing, while cooler temperatures slow it down. Knowing the temperature will help you estimate proofing times, although visual cues remain the most reliable indicator.
Different Proofing Methods for Sourdough: Choosing the Right Approach
There are two primary methods for proofing sourdough dough: room temperature proofing and cold proofing in the refrigerator. Each has its advantages and is suited for different goals. Room temperature proofing is faster and allows for quicker baking, often taking 2-4 hours depending on the warmth. It's great for when you want bread ready the same day.
Cold proofing, typically done for 8-16 hours or even longer in the refrigerator (around 38-40°F), significantly slows down fermentation. This extended, slow process allows for greater development of complex flavors and acids, resulting in a more tangy loaf. It also offers scheduling flexibility, allowing you to bake the bread when it's convenient after the cold proofing period. Many bakers prefer cold proofing for its flavor benefits and ease of timing.
Bulk Fermentation: The First Proofing Stage for Sourdough
Bulk fermentation, also known as the first rise, is the period after mixing and before shaping. This is where the majority of the dough's volume increase and flavor development occur. During bulk fermentation, the dough is typically left in a bowl at room temperature or a controlled warm environment. It often involves performing a series of "stretch and folds" or "coil folds" every 30-60 minutes during the first 2-3 hours.
The goal of bulk fermentation is to allow the dough to increase significantly in volume, often by 50% to 100%, depending on the recipe and temperature. For a typical sourdough at 75-80°F, this might take 3-5 hours. This stage is crucial for building strength and structure while allowing the yeast and bacteria to produce gases and acids. Proper bulk fermentation sets the stage for a successful final proof and bake.
Final Proofing: Shaping and Preparing for the Oven
After bulk fermentation, the dough is gently shaped into its final form (e.g., a boule, batard, or ciabatta shape). Shaping is important for creating tension on the surface of the dough, which helps it hold its shape and achieve a good oven spring. Once shaped, the dough enters the final proofing stage, also called the second rise or 'retarding' if done cold.
The final proof allows the shaped dough to relax and build up just enough gas for baking. It's usually shorter than bulk fermentation. If proofing at room temperature, it might take 30-90 minutes. If cold proofing, it takes many hours in the refrigerator. The dough should look puffy and relaxed, but not overly inflated. This stage prepares the dough for the intense heat of the oven.
Visual Cues for Perfectly Proofed Sourdough and Artisan Bread
Relying solely on time for proofing can be misleading, as temperature, starter activity, and flour type all influence the rate of fermentation. Learning to read the dough through visual cues and simple tests is the most reliable way to determine if it's ready for the oven. The appearance and feel of the dough change significantly as it proofs.
Observing the volume increase is the first step, but looking beyond just size is important. The surface of the dough can also offer clues; it should look smooth and slightly bubbly. The dough should also feel airy and light when gently handled.
How to Tell When Your Sourdough Dough is Ready to Bake: The Poke Test
The most common and reliable method for assessing the readiness of proofed dough is the "poke test." Gently flour your finger and lightly but firmly press it into the surface of the dough to a depth of about half an inch. Observe how quickly the indentation springs back.
- If the indentation springs back immediately: The dough is under-proofed and needs more time.
- If the indentation springs back slowly and only partially (about halfway): The dough is perfectly proofed and ready to bake. This is the sweet spot.
- If the indentation remains fully or mostly indented: The dough is likely over-proofed.
This test is invaluable whether you're proofing a standard sourdough boule or checking on proofing ciabatta bread dough before baking.
Recognizing Over-Proofed Sourdough Dough: Signs and Solutions
Over-proofing occurs when the dough ferments for too long, exhausting the yeast's food supply and weakening the gluten structure. Signs of over-proofing include:
- The dough looks very puffy and potentially spread out, having increased significantly beyond doubling in volume.
- The poke test indentation remains completely or mostly indented.
- The surface may show large, irregular bubbles or even start to collapse slightly.
- The dough might feel extremely fragile or sticky.
An over-proofed dough will have less oven spring and may result in a dense crumb structure with large, uneven holes or even collapse during baking. If slightly over-proofed, you might try baking it immediately at a slightly higher temperature. If severely over-proofed, you could potentially reshape it, let it rest briefly (maybe 20-30 minutes), and bake, but the results will be compromised. Alternatively, you can use it for flatbreads or discard it if it's too far gone.
Under-Proofed Sourdough Dough: Identifying and Correcting the Issue
Under-proofing means the dough hasn't fermented long enough to develop sufficient gas or gluten strength. Signs include:
- The dough hasn't increased significantly in volume (less than 50-75% increase during bulk).
- The poke test indentation springs back quickly and fully.
- The dough feels dense and tight.
Baking under-proofed dough often results in a loaf with poor oven spring (it doesn't rise much in the oven), a dense, tight crumb structure, and potentially thick, tough crust. The flavor might also be less developed. The solution is simple: give the dough more time to proof, monitoring it closely with the poke test until it reaches the correct stage.
Proofing Environment: Temperature and Humidity for Optimal Results
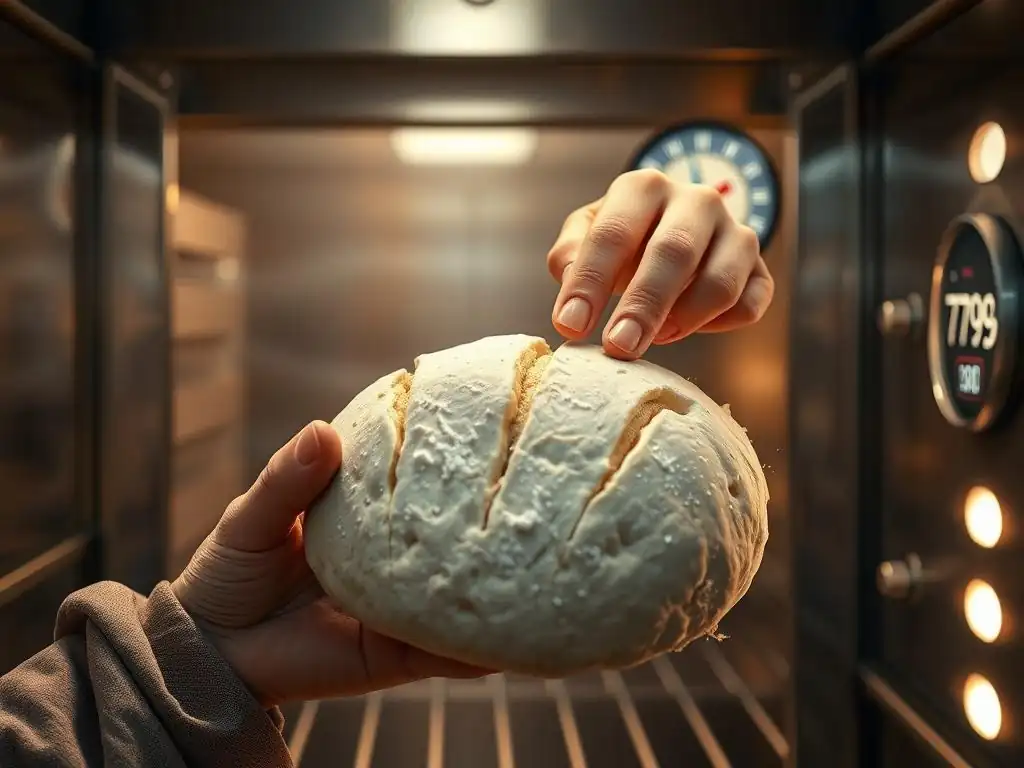
The environment in which your dough proofs plays a significant role in the fermentation rate and the dough's surface condition. Temperature directly impacts the activity level of yeast and bacteria – warmer temperatures speed up fermentation, while cooler temperatures slow it down. Humidity helps prevent the dough surface from drying out, which can restrict expansion and lead to a tough crust.
Controlling these environmental factors allows for more predictable proofing times and consistent results. While a professional proofing box offers precise control, home bakers can employ various techniques to create a suitable environment.
Controlling Temperature During Sourdough Proofing: Tips and Tricks
Maintaining a consistent temperature is key for predictable proofing. Ideal room temperature for bulk fermentation is often cited as 75-80°F (24-27°C). If your kitchen is cooler, find a warmer spot, such as near a sunny window, on top of the refrigerator, or in a turned-off oven with the light on (which usually provides a gentle warmth around 80°F).
Conversely, if your kitchen is too warm, you might need to shorten proofing times or consider a cooler spot like a basement. For cold proofing, a consistent refrigerator temperature of 38-40°F (3-4°C) is ideal to slow fermentation significantly without freezing the dough. Using a thermometer to check your proofing area's temperature can be very helpful.
The Importance of Humidity in Proofing Artisan Breads
Humidity prevents the surface of the dough from drying out and forming a skin. A dry skin restricts the dough's ability to expand evenly during proofing and baking, potentially leading to blowouts or an uneven shape. Maintaining a humid environment is particularly important during the final proofing stage when the dough is shaped and exposed.
Covering the dough with plastic wrap, a damp towel, or placing it in a covered container helps retain moisture. When proofing in a banneton, covering the basket with a plastic bag or shower cap is a common practice to maintain humidity around the dough. This is especially important when proofing high-hydration dough like that used for ciabatta or rustic loaves.
Creating a Proofing Box: DIY Solutions for Consistent Results
For bakers seeking more control over temperature and humidity, a DIY proofing box is a simple and effective solution. One common method is to use a large plastic storage container or an oven (turned off). Place a bowl of hot water in the bottom of the container or oven. The steam from the hot water will raise the humidity, and the trapped heat will raise the temperature.
Place your covered dough inside the container or oven, ensuring it's not touching the hot water. Monitor the temperature inside with a thermometer. You may need to replace the hot water periodically to maintain the desired temperature and humidity. This setup provides a more stable environment than simply leaving the dough on the counter, leading to more consistent proofing results.
Troubleshooting Common Proofing Problems in Sourdough & Artisan Bread
Even with careful attention, proofing doesn't always go perfectly. Understanding common issues and how to address them is part of the learning process in baking artisan bread. Problems like slow proofing, over-proofing, or dealing with sticky dough can be frustrating but are usually manageable with the right techniques.
Developing a keen eye for the dough's state and being prepared to adapt your approach based on what you observe is crucial. Don't be discouraged by setbacks; view them as learning opportunities to better understand your dough and the fermentation process.
Addressing Slow Proofing: Reasons and Remedies
Slow proofing can occur for several reasons. The most common culprit is a cool environment; yeast and bacteria are less active at lower temperatures. Other factors include:
- An inactive or weak sourdough starter.
- Using cold ingredients (like water straight from the tap).
- Insufficient kneading or folding, leading to a weak gluten structure that can't hold gas.
- Using flour with a lower protein content or one that doesn't ferment well.
To speed up slow proofing, increase the dough's temperature by moving it to a warmer spot or using a DIY proofing box. Ensure your starter is active and bubbly before use. Next time, consider using slightly warmer water when mixing your dough. If the gluten seems weak, add an extra set of folds during bulk fermentation.
Preventing Over-Proofing: Strategies for Timing and Monitoring
Preventing over-proofing is often easier than fixing it. The best strategy is vigilance. Instead of strictly adhering to time estimates in a recipe, pay close attention to the dough's volume increase and use the poke test.
If proofing at room temperature in a warm kitchen (say, 80°F), expect the dough to proof much faster than in a cool kitchen (say, 68°F). Adjust your checking schedule accordingly. Consider cold proofing as a way to both deepen flavor and provide a much wider window of time (often 12-24 hours) during which the dough is perfectly proofed, making timing much less stressful. Setting timers to check the dough periodically is also a good practice.
Dealing with Sticky Dough During Proofing: Techniques for Success
Sticky dough is common, especially with high-hydration recipes like ciabatta (which can be 75-85% hydration or more). While some stickiness is normal, excessive stickiness that makes handling difficult can be frustrating. Reasons for overly sticky dough include:
- Too much water for the flour used (different flours absorb water differently).
- Insufficient gluten development.
- Over-fermentation (dough breaks down and becomes sticky).
If the dough is sticky during bulk fermentation, performing a few extra sets of stretch and folds can help develop gluten and make it more manageable. Ensure you are using strong bread flour for high-hydration doughs. When handling sticky dough during shaping, use minimal flour on your hands and the work surface, or wet your hands slightly. A bench scraper is an invaluable tool for manipulating sticky dough. If the stickiness is due to over-proofing, there's little to be done except bake it immediately and accept a less-than-perfect result.
Advanced Proofing Techniques for Superior Sourdough
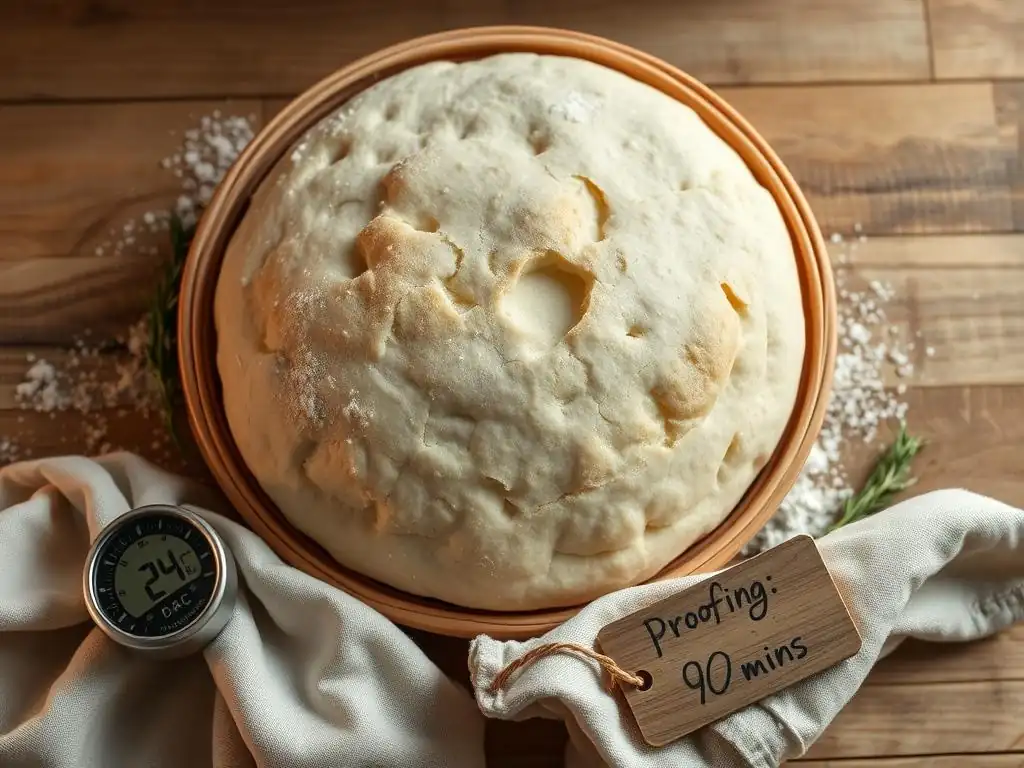
Once you've mastered the basics, several advanced techniques can further enhance the flavor, texture, and handling of your sourdough and artisan breads. These methods often involve manipulating temperature and time to achieve specific outcomes, contributing to the unique characteristics of different bread styles.
Exploring these techniques can elevate your baking from good to exceptional, allowing you to fine-tune your process for desired results like a more open crumb or a deeper, more complex flavor profile.
Cold Proofing Sourdough Dough: Benefits and Best Practices
Cold proofing, or retarding, involves placing the dough in the refrigerator (typically 38-40°F or 3-4°C) for an extended period, usually 8 to 48 hours. This low temperature dramatically slows down yeast activity but allows the acid-producing bacteria to continue working at a relatively faster rate.
The key benefits include:
- Enhanced Flavor: The extended fermentation time allows more complex organic acids and flavor compounds to develop, resulting in a tangier, more nuanced bread.
- Improved Texture: The slower fermentation and cold temperature strengthen the gluten structure, contributing to a better oven spring and a more open crumb.
- Scheduling Flexibility: Cold proofing allows you to bake the bread when it's convenient for you, as the dough can remain in the fridge for a long time.
Best practices for cold proofing include ensuring the dough is adequately covered to prevent drying and placing it in the coldest part of your refrigerator. The dough should typically be shaped before going into the cold proof, often placed seam-side up in a banneton.
Using a Banneton Basket for Proofing Artisan Breads
A banneton, or proofing basket, is a baker's tool used for the final proof of shaped dough. Traditionally made from rattan or cane, they are dusted with flour (rice flour works particularly well as it's less likely to stick) and the shaped dough is placed inside, seam-side up.
Benefits of using a banneton:
- Holds Shape: Especially useful for high-hydration doughs like ciabatta or rustic boules, the basket helps the dough maintain its tension and shape during the final proof.
- Wicks Moisture: The material of the banneton absorbs a small amount of moisture from the dough's surface, creating a slightly drier skin. This drier surface makes scoring easier and contributes to a crispier crust.
- Creates Pattern: The basket imparts a decorative pattern onto the surface of the dough, which is often visible on the finished crust.
Always flour your banneton generously, especially with rice flour, to prevent the dough from sticking. Gently invert the proofed dough onto parchment paper or a peel before transferring it to the oven.
Autolyse and Proofing: Enhancing Flavor and Texture
Autolyse is a technique where flour and water are mixed together and allowed to rest for a period (typically 20 minutes to an hour, or even longer) before adding the salt and sourdough starter. During this rest period, the flour hydrates fully, and enzymatic activity begins to break down proteins and starches.
Benefits of incorporating autolyse before proofing:
- Easier Mixing/Kneading: The gluten starts developing on its own, making the dough less sticky and easier to handle once the starter and salt are added.
- Improved Gluten Development: The enzymes protease and amylase become active, modifying the proteins and starches, which can lead to a stronger, more extensible gluten network.
- Enhanced Flavor: The enzymatic breakdown can contribute to more complex flavors during the subsequent fermentation and proofing stages.
While autolyse is a pre-proofing step, it directly impacts the dough's condition going into bulk fermentation, potentially leading to a more efficient and successful proofing process and ultimately a better crumb structure and flavor in the final loaf. This technique can be particularly beneficial when proofing ciabatta bread dough due to its high hydration.
The Ultimate Guide to Proofing Sourdough Bread Dough: Key Takeaways
Mastering proofing is arguably the most significant factor in achieving consistently excellent sourdough and artisan bread. It's a balance of time, temperature, and observation, where you learn to work with the living dough rather than strictly following a clock. Understanding the purpose of each stage – bulk fermentation and final proof – and recognizing the visual and tactile cues of correctly proofed dough are fundamental skills.
By paying attention to the environment, utilizing tools like the poke test and bannetons, and being prepared to troubleshoot, you can significantly improve your baking results. Remember that every dough is different, influenced by your starter, flour, and kitchen conditions, so flexibility and observation are paramount.
Achieving Consistent Results: A Summary of Essential Proofing Tips
To consistently achieve perfectly proofed dough:
- Use an active, healthy sourdough starter.
- Pay attention to your dough's feel and appearance, not just the clock.
- Control your proofing environment's temperature; aim for consistency.
- Keep the dough covered to maintain humidity and prevent a skin from forming.
- Learn and use the poke test reliably.
- Be patient! Fermentation takes time, especially with sourdough.
- Embrace cold proofing for flavor development and scheduling ease.
- Tasks to check during proofing:
- [ ] Monitor dough volume increase (aim for 50-100% in bulk).
- [ ] Perform stretch/coil folds during bulk fermentation.
- [ ] Check dough temperature if possible.
- [ ] Perform the poke test before final proofing/baking.
Proofing for Different Recipes: Adapting Techniques for Various Artisan Breads
While the core principles of proofing remain constant, the specific techniques and timings may vary depending on the type of artisan bread you are baking.
- High-Hydration Doughs (like Ciabatta): Require longer bulk fermentation to develop strength and are often handled more gently. Proofing ciabatta bread dough often involves less shaping and more reliance on gentle handling to preserve the gas bubbles crucial for its open crumb. Cold proofing can be excellent for managing sticky high-hydration doughs.
- Whole Wheat or Rye Doughs: These flours ferment faster due to higher enzyme activity. Proofing times may be shorter, and the dough may not show as dramatic a volume increase compared to white flour doughs. Rye doughs, in particular, rely less on gluten development and more on fermentation for texture.
- Enriched Doughs (with butter, eggs, sugar): These ingredients can slow down fermentation. They often require longer proofing times or a slightly warmer proofing temperature.
Always consult specific recipes for recommended proofing times and techniques, but use your understanding of the dough's state to guide your final decision on when it's ready.
Overnight Proofing Instructions for a Country Sourdough Recipe
For a typical country sourdough (around 70-75% hydration), overnight cold proofing is a popular method.
- Perform bulk fermentation at room temperature (75-80°F) for 3-4 hours, including 3-4 sets of stretch and folds during the first 2 hours. The dough should increase by about 50-75% in volume and feel significantly lighter and airier.
- Gently shape the dough into a boule or batard.
- Place the shaped dough seam-side up in a well-floured banneton.
- Cover the banneton with plastic wrap or place it inside a large plastic bag to prevent drying.
- Immediately place the covered banneton in the refrigerator (38-40°F) for 12-16 hours (or up to 24 hours).
- The dough should look slightly puffy and relaxed after the cold proof. Perform the poke test – it should spring back slowly.
- Preheat your oven and baking vessel (like a Dutch oven).
- Carefully invert the dough onto parchment paper or a peel, score it as desired, and transfer it to the hot baking vessel for baking.
This method simplifies timing and yields a loaf with excellent flavor development and structure.
Frequently Asked Questions
What is proofing, and why is it so important for ciabatta bread?
Proofing is the final rise of bread dough after shaping. It's crucial for ciabatta because it allows the yeast to produce carbon dioxide, creating the signature airy texture.
How does proofing time affect the final texture of ciabatta bread?
Too short of a proof can result in a dense loaf, while over-proofing leads to a collapsed structure. Finding the right balance is key for achieving the desired open crumb.
What are some visual cues to look for when proofing ciabatta dough?
The dough should be nearly doubled in size and appear puffy. A gentle poke should leave a slowly recovering indentation, indicating it's ready to bake.
What's the ideal temperature for proofing ciabatta dough, and why?
A warm environment, around 75-80°F (24-27°C), is ideal. This temperature optimizes yeast activity, resulting in a consistent and even rise.
Can I proof ciabatta dough in the refrigerator, and what are the benefits?
Yes, you can cold-proof it in the fridge. This slow fermentation develops a more complex flavor and allows for more flexible baking times.
Final Reflection: The Unseen Power of Proofing in Bread Baking
The seemingly simple act of proofing is the cornerstone of successful ciabatta and rustic bread baking, a crucial element often overlooked by even experienced bakers. Mastering this process isn't just about achieving the perfect rise; it's about unlocking the full potential of your dough, transforming a simple mixture of flour and water into a masterpiece of texture and flavor. The subtle nuances of temperature, time, and humidity profoundly impact the final product, highlighting the importance of precision and patience in this often-underestimated stage.
The journey of proofing, with its careful observation and anticipation, mirrors the broader human experience of growth and transformation. It's a process that demands attention to detail and a willingness to adapt to the subtle cues of the dough itself. The best bread is made with love and patience,
a wise baker once said, and this sentiment rings especially true when considering the crucial role of proofing. The subtle changes in the dough's texture and aroma during proofing are a testament to the powerful alchemy occurring within, a process that connects us to the ancient art of bread making. This connection, this understanding of the natural processes involved, elevates baking from a mere task to a deeply satisfying craft.
Now, consider your own baking journey. What adjustments can you make to your proofing process to elevate your ciabatta and rustic bread to the next level? Experiment with different temperatures, times, and environments. Observe your dough closely, learning to recognize the signs of a perfectly proofed loaf. Embrace the imperfections, for they are often the stepping stones to mastery. The path to perfect proofing, and thus, perfect bread, is a journey of continuous learning and refinement. Embrace the challenge, and savor the rewards.
Unleash Your Inner Bread Baker!
Thanks for taking the time to explore the art of proofing ciabatta and rustic breads! You’ve now unlocked crucial knowledge for achieving that perfect, airy crumb. Ready to put your new skills to the test?
- Bake a masterpiece: Try baking a ciabatta or rustic loaf today, focusing on the proofing techniques we’ve discussed. Observe the dough's behavior closely—it's a rewarding learning experience!
- Share your success: Snap a photo of your beautiful creation and share it on social media using #BakeWithEaseProofing. Let's inspire other bakers!
- Challenge yourself: Experiment with different flours and proofing times to discover your perfect bread recipe. What variations will you explore?
What unique proofing technique will you try next to elevate your bread baking?