
Essential Tools for Successful Whole Wheat Bread Baking

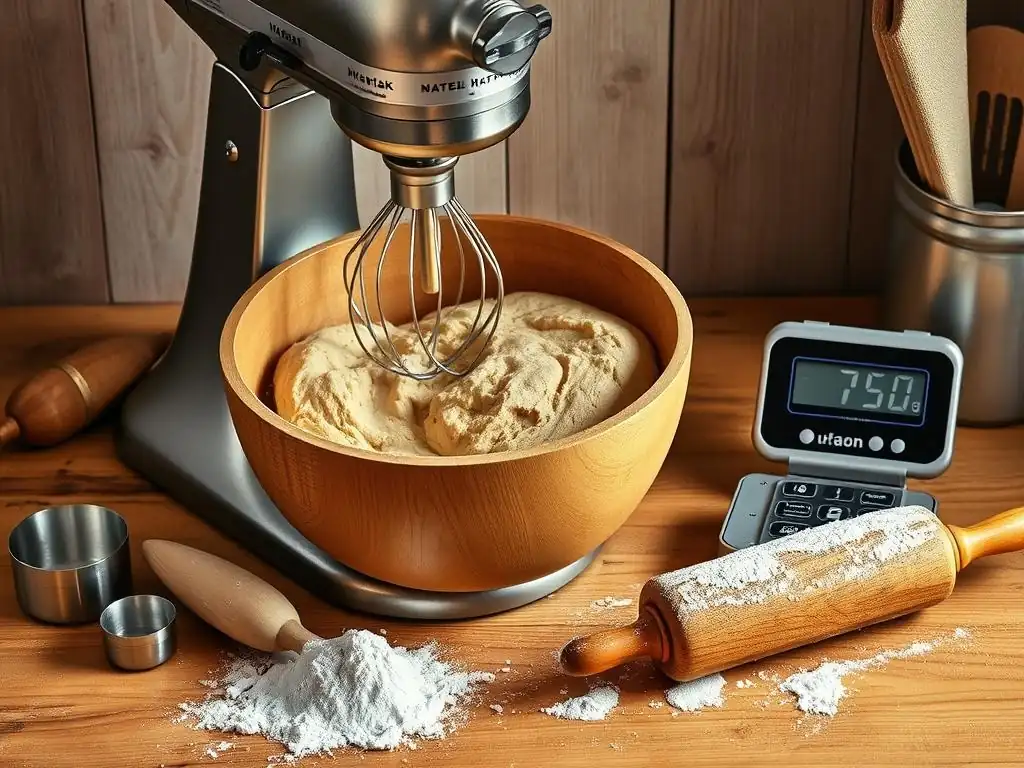
Welcome to BakeWithEase, your sanctuary for all things baking! Are you ready to unlock the secrets to creating the perfect, hearty loaf? This guide will reveal the essential whole wheat bread baking tools that will transform your baking experience, ensuring consistent results and delectable flavor. Ever wondered what separates a good whole wheat loaf from a great one? Let's dive in and discover the tools that will elevate your bread baking game!
- BakeWithEase: Mastering Whole Wheat Bread at Home
- The Right Tools for Perfect Whole Wheat Bread Baking
-
Must-Have Whole Wheat Bread Baking Tools
- High-Quality Kitchen Scale: Precise Measurements for Whole Wheat Recipes
- Bread Baking Thermometer: Ensuring Optimal Dough and Bread Temperature
- Dough Whisk vs. Wooden Spoon: Mixing Whole Wheat Dough
- Bench Scraper: Handling Sticky Whole Wheat Dough
- Proofing Baskets (Banneton or Brotform): Shaping Whole Wheat Loaves
- Baking Equipment for Whole Wheat Bread
- Essential Ingredients and Preparation Tools
- Advanced Whole Wheat Bread Baking Tools (Optional)
- Cleaning and Maintenance of Your Baking Tools
- Tips for Choosing the Best Whole Wheat Bread Baking Tools
- Troubleshooting Common Whole Wheat Bread Baking Issues with the Right Tools
- Conclusion: Equip Yourself for Delicious Whole Wheat Bread Baking
-
Frequently Asked Questions
- What are the most essential tools for baking whole wheat bread?
- Why is a kitchen scale so important when baking whole wheat bread?
- Can I bake whole wheat bread without a dutch oven?
- What kind of mixing bowl is best for working with whole wheat dough?
- Are there any specific tools needed for shaping whole wheat bread dough?
- Final Reflection: The Humble Tools, the Bountiful Loaf
- Unlock Your Inner Baker: Master Whole Wheat Baking Today!
BakeWithEase: Mastering Whole Wheat Bread at Home
Baking whole wheat bread can be incredibly rewarding, offering a hearty flavor and satisfying texture that's distinct from white loaves. However, working with whole wheat flour often presents unique challenges due to its higher protein content and bran presence. The bran can cut gluten strands, potentially leading to denser loaves if not handled correctly.
This is where having the right approach and, crucially, the right tools comes into play. At BakeWithEase, we believe that with the proper guidance and essential whole wheat bread baking tools, anyone can achieve a beautiful, airy, and delicious whole wheat loaf right in their own kitchen.
Navigating the world of whole wheat bread baking requires patience and practice, but it also heavily relies on having the correct equipment. Think of your tools as extensions of your hands, helping you manage the often stickier, heavier whole wheat dough effectively. From accurately measuring ingredients to achieving that perfect golden-brown crust, each tool plays a vital role in the journey from raw ingredients to a finished loaf. Equipping yourself properly minimizes frustration and maximizes your chances of baking success every time you tackle a whole wheat recipe.
The Right Tools for Perfect Whole Wheat Bread Baking
Why Proper Equipment Matters for Whole Wheat Bread
Whole wheat flour absorbs liquid differently than white flour and can sometimes require more precise hydration. Using the right tools helps manage this variable, ensuring your dough isn't too dry or too wet. For instance, accurately measuring ingredients is paramount; even a slight variation in flour or water can significantly impact the final dough consistency and loaf structure. Tools designed specifically for bread making, especially those suited for handling stickier doughs, make the process smoother and more predictable, leading to better results.
Beyond simple measurement, specific equipment aids crucial steps like kneading, proofing, and baking. Whole wheat dough, with its potentially weaker gluten structure compared to all-purpose flour dough, benefits from gentle yet effective handling during kneading. Proofing in a controlled environment or specifically designed basket helps the dough maintain its shape and rise properly. Furthermore, the way heat is applied during baking dramatically affects the crust and crumb; specialized baking equipment ensures even heat distribution and helps achieve that desirable crispy crust while the interior remains soft and moist.
Must-Have Whole Wheat Bread Baking Tools
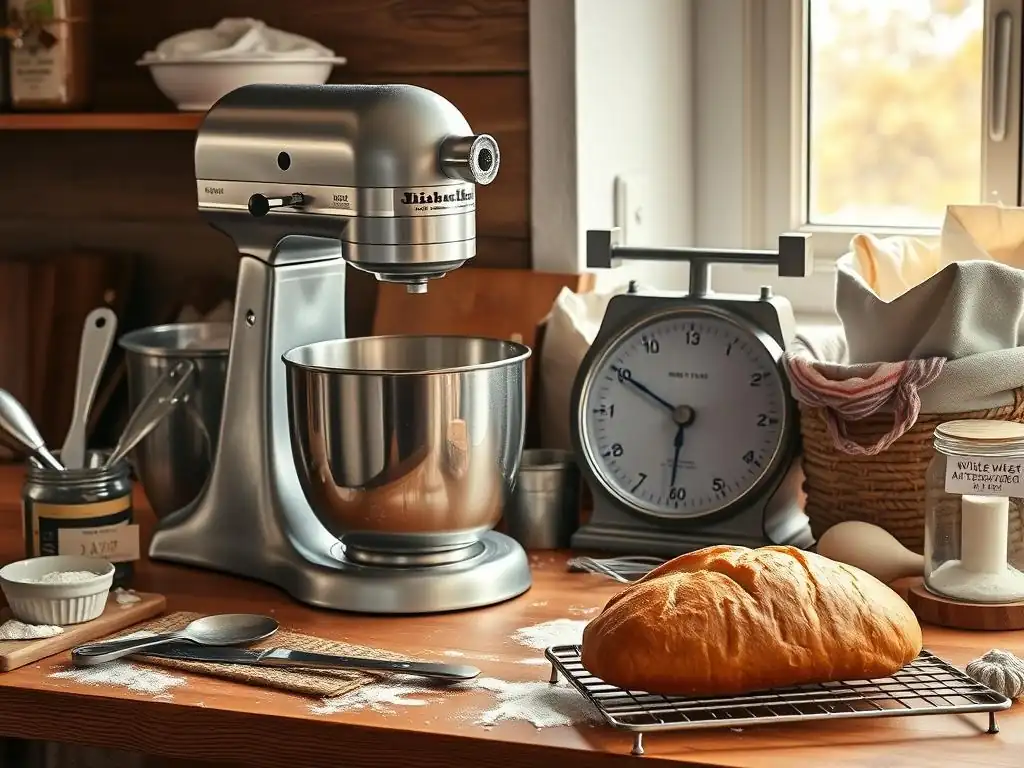
High-Quality Kitchen Scale: Precise Measurements for Whole Wheat Recipes
In baking, especially with whole wheat where hydration ratios are critical, measuring by weight is far more accurate than measuring by volume. A good digital kitchen scale provides this precision, often measuring in grams or ounces with increments as small as 0.1 or 1 gram. This level of accuracy helps ensure you're using the exact amount of flour and water specified in a recipe, which is essential for managing the unique absorption properties of whole wheat flour.
Relying on volume measurements (cups) can lead to significant variations because flour compacts differently depending on how it's scooped. For example, a cup of whole wheat flour could weigh anywhere from 120 to 150 grams. This variance can drastically alter the dough's hydration, making it too stiff or too slack. Using a scale eliminates this guesswork, providing consistency recipe after recipe and making it easier to troubleshoot if something goes wrong because you know your ingredient ratios are precise.
Bread Baking Thermometer: Ensuring Optimal Dough and Bread Temperature
Temperature is a silent but critical ingredient in whole wheat bread baking, affecting yeast activity during fermentation and ensuring the bread is fully cooked internally. A simple digital thermometer is indispensable for checking both dough temperature during bulk fermentation and proofing, and the internal temperature of the finished loaf. Yeast thrives within a specific temperature range, typically between 75°F and 85°F (24°C to 29°C), and monitoring this helps control the fermentation rate.
Checking the internal temperature of your baked whole wheat loaf is the most reliable way to know it's done. Whole wheat bread is generally considered fully baked when its internal temperature reaches 200°F to 210°F (93°C to 99°C). Pulling the bread too early can result in a gummy interior, while overbaking can dry it out. A quick temperature check provides certainty, ensuring your loaf is perfectly cooked through.
Dough Whisk vs. Wooden Spoon: Mixing Whole Wheat Dough
When starting to mix whole wheat dough, especially high-hydration recipes, a Danish dough whisk is often preferred over a traditional wooden spoon or spatula. Its unique design allows it to efficiently combine wet and dry ingredients with minimal effort, cutting through the thick mixture without causing excessive gluten development at this initial stage. This makes incorporating the often coarser whole wheat flour much easier and less messy than using a spoon.
While a wooden spoon can certainly be used, it tends to push the dough around more and can get bogged down in thicker doughs. The dough whisk's open structure allows it to mix effectively while reducing the dough's contact area with the tool, preventing it from sticking excessively. This initial mixing step sets the stage for kneading, and using a dough whisk can make handling the shaggy mass of whole wheat dough much more manageable.
Bench Scraper: Handling Sticky Whole Wheat Dough
Whole wheat dough, particularly if it's high hydration, can be quite sticky and challenging to handle on a work surface. A bench scraper, also known as a dough scraper, is an invaluable tool for this. Its flat, firm blade (often stainless steel with a handle) allows you to easily scrape dough from your work surface, divide it, and even help with kneading techniques like the "stretch and fold" method by lifting and turning portions of the dough.
Using a bench scraper minimizes the need to add excessive flour to your work surface or hands to prevent sticking. Adding too much flour can alter the dough's hydration ratio and result in a drier, denser loaf. The bench scraper helps you manage the sticky dough efficiently, keeping your hands cleaner and preserving the intended dough consistency throughout the shaping process.
Proofing Baskets (Banneton or Brotform): Shaping Whole Wheat Loaves
Proofing baskets, typically made from rattan (bannetons) or wood pulp (brotforms), are used for the final rise (proofing) of shaped bread dough. They provide structure and support to the dough as it expands, helping it hold its shape before baking. For whole wheat dough, which can sometimes be less structured than white dough, using a proofing basket is particularly helpful in achieving a well-shaped loaf with good height.
Lining the basket with flour (often rice flour works best to prevent sticking) or a linen liner ensures the dough doesn't adhere to the basket. As the dough proofs, it takes on the basket's shape and, if using an unlined rattan basket, develops a rustic pattern on the crust. Standard sizes like an 8-inch round basket are suitable for a loaf made with 500-600 grams of flour, providing ample support during this critical final rise stage.
Baking Equipment for Whole Wheat Bread
Dutch Oven: Achieving Crusty Whole Wheat Bread
A Dutch oven, especially a heavy cast iron one, is a game-changer for achieving a fantastic crust on homemade whole wheat bread, mimicking the environment of a professional bread oven. By preheating the Dutch oven to a high temperature (often 450°F to 500°F or 230°C to 260°C) and baking the dough inside with the lid on for the initial phase, you trap steam released by the dough. This steamy environment prevents the crust from setting too quickly, allowing the loaf to expand fully (oven spring) and resulting in a thin, crispy crust.
After the initial covered baking period (typically 20-30 minutes), removing the lid allows the crust to brown and crisp up beautifully. This two-stage baking process is particularly effective for whole wheat loaves, which can sometimes be prone to a thicker, tougher crust if baked without steam. A 5-quart to 7-quart Dutch oven is usually sufficient for baking a standard-sized loaf.
Baking Stone or Steel: Even Heat Distribution for Whole Wheat Baking
If you're not using a Dutch oven, a baking stone or steel placed in your oven is an excellent alternative for baking whole wheat bread. These surfaces absorb and retain heat very efficiently, providing a consistent, high-temperature base for your loaf. When the dough is placed directly onto the preheated stone or steel, it receives a powerful burst of heat from below, which helps the loaf spring and develops a good bottom crust.
Baking steels generally heat up faster and transfer heat more efficiently than stones, often resulting in better oven spring and a crispier crust. Using a stone or steel requires a method for creating steam in the oven during the initial baking phase (e.g., placing a tray of hot water below the stone or spraying water on the oven walls) to replicate the humid environment of a Dutch oven, which is beneficial for whole wheat crust development.
Loaf Pans: For Traditional Whole Wheat Bread Shapes
While freeform loaves baked in a Dutch oven or on a stone/steel are popular, traditional whole wheat sandwich bread is often baked in a loaf pan. Loaf pans provide support to the dough throughout the rise and bake, resulting in a consistent, rectangular shape perfect for slicing. They come in various materials, including metal (aluminum, steel, cast iron) and glass.
Metal pans, especially those made of aluminized steel, are common and conduct heat efficiently for even baking and browning. A standard 9x5 inch loaf pan is suitable for most whole wheat sandwich bread recipes using around 400-500 grams of flour. Greasing and flouring the pan or lining it with parchment paper is essential to prevent the whole wheat loaf from sticking.
Essential Ingredients and Preparation Tools
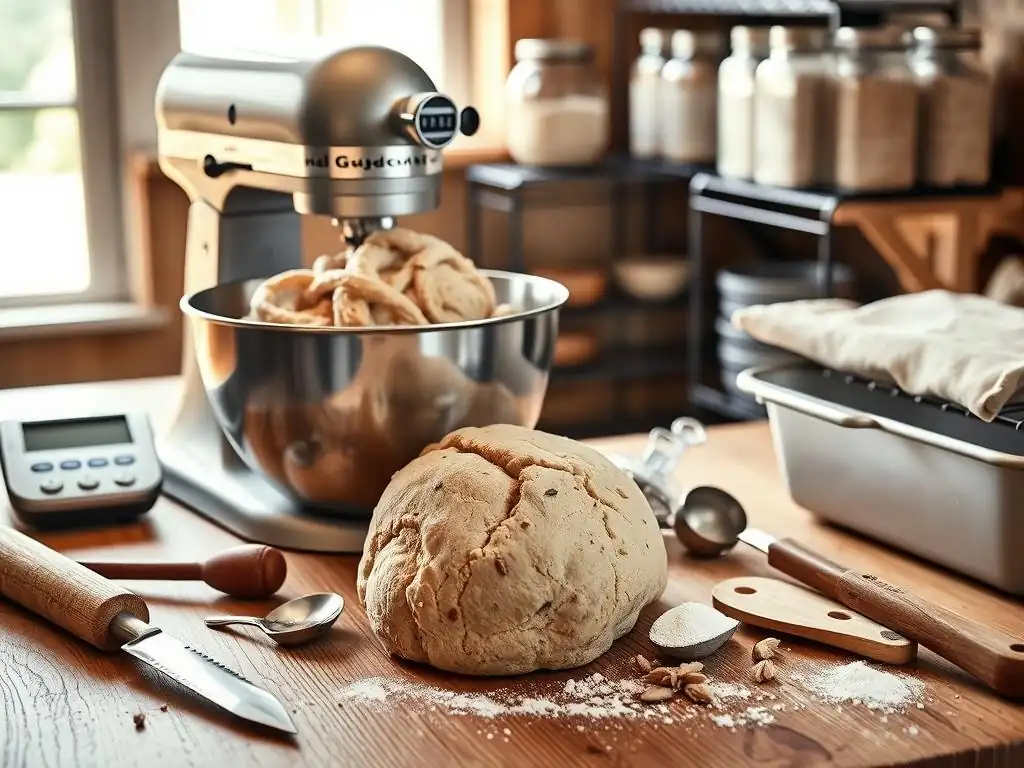
Flour Sifter: Preparing Whole Wheat Flour for Baking
Whole wheat flour can sometimes be dense or contain clumps. While not strictly necessary for all recipes, sifting whole wheat flour can help aerate it and remove any small particles of bran or germ that might interfere with gluten development. A simple mesh sieve or a crank-style sifter can be used for this purpose.
Sifting helps distribute the bran evenly throughout the flour, which can lead to a slightly finer crumb structure in the finished whole wheat bread. It also ensures accurate measurement if you are using the scoop-and-level method (though weight measurement is still preferred). While some bakers skip this step, especially with finely milled whole wheat flour, it can be a useful tool for achieving a lighter texture.
Measuring Cups and Spoons: Accurate Ingredient Ratios
While a scale is recommended for flour and water, accurate measuring cups and spoons are still essential for smaller quantities of ingredients like salt, yeast, sugar, or oil. Using dry measuring cups for dry ingredients (scooping and leveling) and liquid measuring cups for liquids ensures consistency.
Precise measurement of these smaller components is just as important as the major ones for the success of your whole wheat bread. Too much salt can inhibit yeast activity, while too little yeast might result in a dense loaf. Using the correct measuring tools helps maintain the delicate balance of ingredients in your recipe.
Mixing Bowls: Different Sizes for Various Stages
You'll need several mixing bowls for the different stages of whole wheat bread baking. A large bowl is essential for the initial mixing of ingredients and the bulk fermentation (first rise) of the dough. The bowl should be large enough to accommodate the dough as it doubles or even triples in size.
Having smaller bowls is also useful for tasks like activating yeast (if your recipe requires it) or holding measured ingredients before adding them to the main mix. Using clear bowls can be helpful for visually monitoring the dough's rise during fermentation. Non-reactive materials like glass, ceramic, or stainless steel are recommended.
Advanced Whole Wheat Bread Baking Tools (Optional)
Stand Mixer: Efficient Kneading for Whole Wheat Dough
Kneading whole wheat dough by hand can be a vigorous workout. A stand mixer fitted with a dough hook attachment can significantly reduce the labor involved. Stand mixers are particularly useful for high-hydration whole wheat doughs that are too sticky to knead effectively by hand, or for making large batches.
A powerful stand mixer (typically 500 watts or more with a sturdy dough hook) can knead whole wheat dough to the proper gluten development stage efficiently, usually in 8-12 minutes, compared to 15-20 minutes or more by hand. Using a mixer ensures consistent kneading every time, which can lead to more reliable results, especially for beginners tackling whole wheat recipes. For a standard loaf using 500g of flour, a 4.5 to 6 quart mixer bowl is usually sufficient.
Grain Mill: Freshly Milling Whole Wheat Flour
For the ultimate control over your whole wheat flour and the freshest possible flavor, a home grain mill is an advanced tool to consider. Milling your own whole wheat flour from wheat berries allows you to use the flour immediately after milling, preserving its nutrients and volatile flavor compounds that can dissipate over time in commercially milled flour.
Home mills range from simple hand-cranked models to powerful electric ones that can mill grains into various textures, from coarse meal to fine flour. Using freshly milled whole wheat flour can significantly impact the taste and aroma of your bread. Be aware that freshly milled flour behaves slightly differently than store-bought flour, often requiring minor adjustments to hydration in recipes.
Dough Proofer: Controlled Fermentation Environment
Consistent temperature is key to successful yeast fermentation, and a dough proofer provides a stable, controlled environment for your dough's rise. This eliminates variables like drafts or fluctuating room temperatures that can affect proofing time and dough development.
A dedicated dough proofer or even a homemade version (like an oven with the light on, creating a warm space, or using a warm water bath) can maintain a steady temperature, typically between 75°F and 85°F (24°C to 29°C). This consistency is particularly helpful when working with whole wheat dough, which can be slower to rise than white dough, ensuring it reaches the correct proofing stage before baking.
Cleaning and Maintenance of Your Baking Tools
Proper care extends the life of your whole wheat bread baking tools and ensures they perform optimally.
Caring for Your Dutch Oven and Baking Stone
Cast iron Dutch ovens require specific care to maintain their seasoning. Clean with hot water and a stiff brush, avoiding soap if possible. Dry thoroughly immediately after washing (you can even place it back in a warm oven for a few minutes) and apply a thin layer of cooking oil to prevent rust. Baking stones and steels should generally not be washed with soap, as they are porous and can absorb soap flavors.
Scrape off any baked-on residue with a bench scraper or stiff brush after they have cooled completely. Over time, stones and steels will darken and develop a natural non-stick surface, which is desirable. Avoid sudden temperature changes that can crack stones.
Proper Cleaning of Proofing Baskets
Proofing baskets, especially rattan ones, should be cleaned by letting any residual flour dry completely, then brushing it out with a stiff brush. Avoid washing them with water unless absolutely necessary, as moisture can damage the material and encourage mold growth. If washing is needed, use minimal water and no soap, then dry thoroughly in a warm, airy place or a low oven. Ensure they are completely dry before storing.
Tips for Choosing the Best Whole Wheat Bread Baking Tools
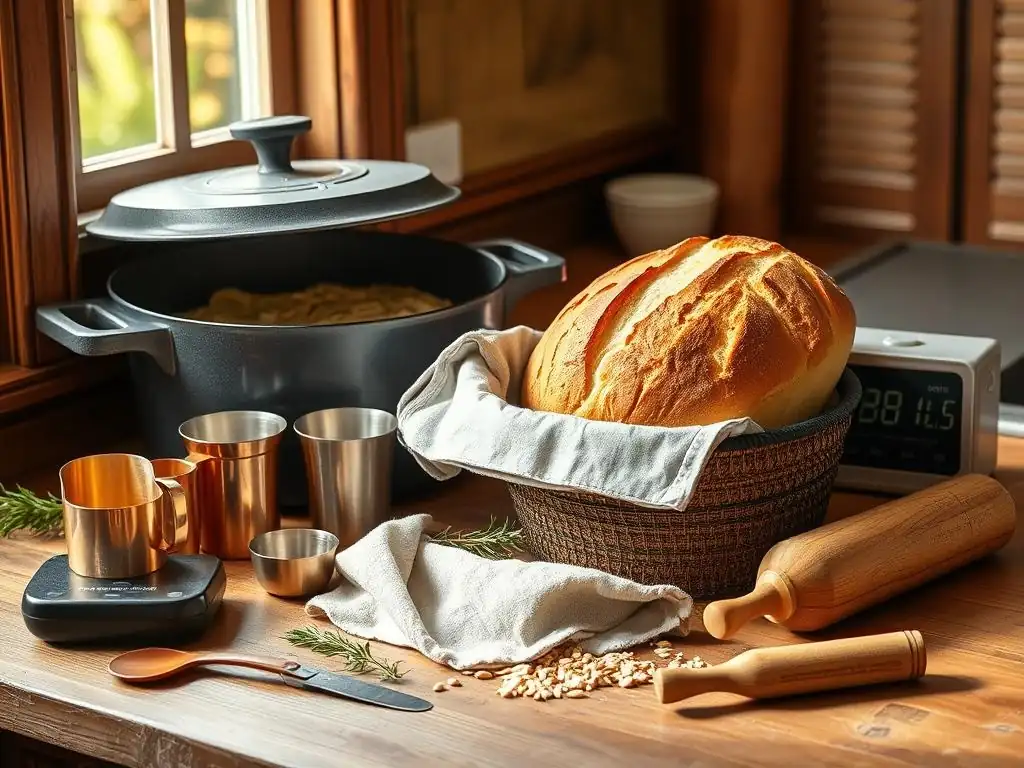
Selecting the right tools for your whole wheat bread baking journey doesn't have to be overwhelming.
Consider Your Baking Frequency and Scale
If you plan to bake whole wheat bread frequently or in large batches, investing in more durable, higher-quality tools like a sturdy stand mixer or a good quality Dutch oven might be worthwhile. For occasional bakers or those just starting, basic, reliable tools will suffice. Think about the size of loaves you want to make; this will guide your choice of proofing baskets, loaf pans, and Dutch oven size. A standard home oven can typically accommodate one large loaf or two smaller ones at a time.
Read Reviews and Compare Brands
Before purchasing, take the time to read reviews from other bakers. Look for feedback specifically related to using the tools for bread baking, and ideally, whole wheat bread. Compare features, materials, and warranties across different brands. Some brands are known for their longevity and performance in baking applications.
Invest in Quality for Long-Term Use
While it might be tempting to opt for the cheapest option, investing a little more in key whole wheat bread baking tools can pay off in the long run. High-quality tools are often more durable, perform better, and can make the baking process more enjoyable. A good quality kitchen scale, a reliable thermometer, and a well-made Dutch oven are examples of tools where quality significantly impacts results and longevity.
Troubleshooting Common Whole Wheat Bread Baking Issues with the Right Tools
Many common problems in whole wheat bread baking can be traced back to issues that the right tools help prevent or identify.
Identifying Problems Early with Proper Temperature Monitoring
Is your whole wheat dough not rising? A bread thermometer can help you check the dough temperature. If it's too cold (below 70°F or 21°C), fermentation will be slow. If it's too hot (above 95°F or 35°C), the yeast may have died. Similarly, if your baked loaf has a gummy interior, checking the internal temperature with your thermometer confirms if it reached the necessary 200-210°F (93-99°C). This diagnosis helps you adjust your proofing environment or baking time for future loaves.
Adapting Recipes Based on Flour Type and Tool Availability
Not all whole wheat flours are created equal; some are finer, some coarser. Using a kitchen scale helps you maintain the correct hydration ratio even if the flour density varies slightly. If a recipe calls for a Dutch oven but you only have a baking stone, you know you need to implement a separate steaming method. Having the right tools and understanding their purpose allows you to adapt recipes and techniques to your specific equipment, increasing your success rate with various whole wheat bread styles.
Conclusion: Equip Yourself for Delicious Whole Wheat Bread Baking
Mastering whole wheat bread baking is a rewarding journey, and having the right whole wheat bread baking tools is a fundamental step towards consistently achieving delicious results. From the precision of a kitchen scale to the crust-enhancing magic of a Dutch oven, each tool plays a unique role in transforming simple ingredients into a beautiful loaf.
Your Journey to Perfect Whole Wheat Bread Starts Here
Don't feel pressured to acquire every single tool at once. Start with the essentials: a reliable scale, a thermometer, a bench scraper, and a good mixing bowl. As you gain confidence and bake more frequently, you can gradually add tools like a proofing basket, a Dutch oven, or even a stand mixer. With the right equipment and a little practice, you'll be well on your way to baking perfect, hearty whole wheat bread that you'll be proud to share. Happy baking!
Frequently Asked Questions
What are the most essential tools for baking whole wheat bread?
The most essential tools include a kitchen scale for accurate measurements, a dutch oven for creating a steamy environment, and a bench scraper for handling the dough.
Why is a kitchen scale so important when baking whole wheat bread?
A kitchen scale provides precise measurements of ingredients, especially flour and water, which are crucial for the hydration levels needed in whole wheat bread. This ensures consistent results.
Can I bake whole wheat bread without a dutch oven?
Yes, you can. Alternatives include a baking stone with a roasting pan filled with water to create steam, or simply baking on a baking sheet with steam created another way.
What kind of mixing bowl is best for working with whole wheat dough?
A large, sturdy mixing bowl made of stainless steel or glass is ideal. These materials are non-reactive and easy to clean, handling the often-stiff dough of whole wheat bread well.
Are there any specific tools needed for shaping whole wheat bread dough?
While not strictly necessary, a bench scraper is incredibly helpful for dividing and shaping the dough. A proofing basket (banneton) can also aid in creating a nice shape and crust.
Final Reflection: The Humble Tools, the Bountiful Loaf
The art of whole wheat bread baking, once a laborious process reserved for experienced bakers, is now accessible to anyone with the right tools and a little patience. Mastering this craft not only yields incredibly rewarding results – the aroma of freshly baked bread, the satisfying chew of a perfectly risen loaf – but also connects us to a simpler, more hands-on approach to food production.
The journey of baking whole wheat bread is more than just a recipe; it's a testament to the power of simple tools and mindful practice. It's about understanding the interplay between flour, water, and yeast, and how the right equipment can amplify the process. The satisfaction derived from shaping a dough, watching it rise, and finally, witnessing the golden-brown crust emerge from the oven is deeply fulfilling. The best bread is made with love, and the right tools certainly help to express that love.
This sentiment, though not directly quoted, encapsulates the spirit of this exploration into essential baking tools.
Now, consider your own kitchen. What tools do you already possess? What might you add to elevate your baking experience? Don't be intimidated by the seemingly complex nature of whole wheat bread baking. Start small, invest in a few key items, and allow yourself the time to experiment. Embrace the process, learn from each loaf, and savor the delicious rewards. The journey of becoming a confident whole wheat bread baker is a rewarding one, filled with the aroma of freshly baked goodness and the satisfaction of creating something truly special with your own hands.
Unlock Your Inner Baker: Master Whole Wheat Baking Today!
Thanks for taking the time to explore the world of whole wheat bread baking with us! We hope you now feel empowered to create delicious, nutritious loaves. Ready to put your new knowledge into practice?
- Bake your first perfect whole wheat loaf: Gather your ingredients (check your pantry!) and try one of the recipes suggested in the article. Document your baking journey – photos are encouraged!
- Share your baking experience: Let us know (and other budding bakers!) how your first whole wheat loaf turned out. Share tips, tricks, and photos in the comments below!
- Explore different whole wheat flour varieties: Experiment with different types of whole wheat flour to see how they impact the texture and taste of your bread. What exciting flavor combinations can you create?
What unique twist will you add to your next whole wheat bread creation?