
Why Your Bread Has a Hard, Thick Crust

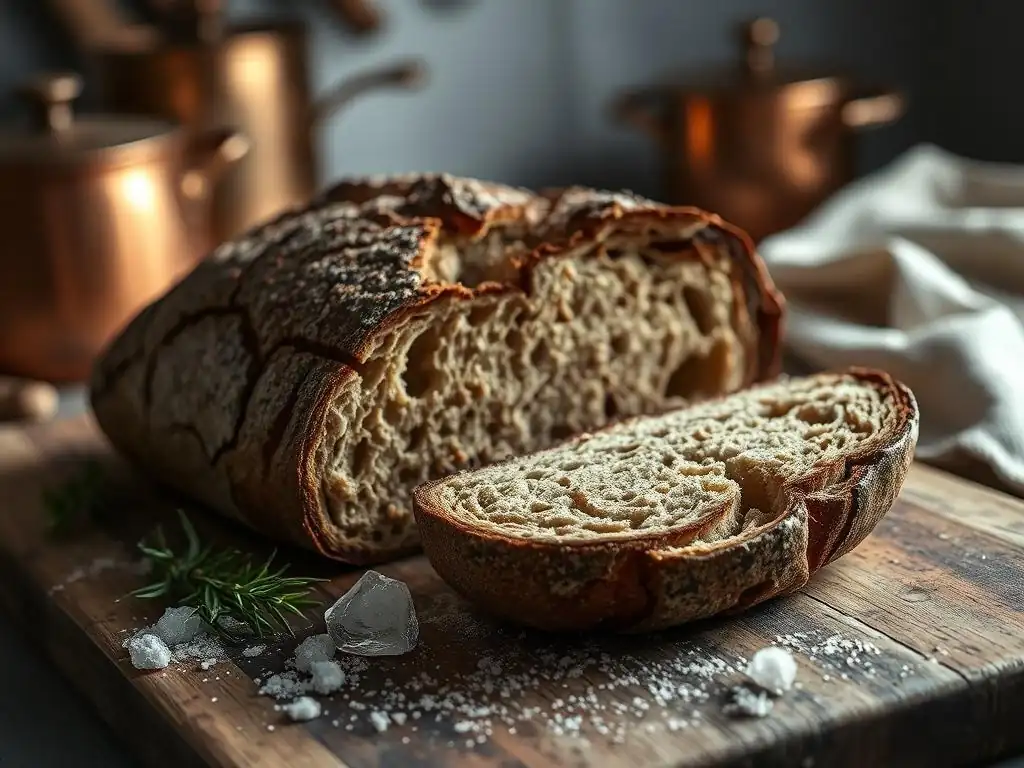
Welcome to BakeWithEase, your trusted companion on your baking journey! Ever wondered why your bread has a hard, thick crust? That perfectly golden loaf can sometimes be a little too... robust. We'll unravel the secrets behind achieving that ideal crust texture, from understanding oven temperatures to mastering proofing techniques. Discover the simple tweaks that can transform your bread from tough to tender, and get ready to bake with confidence!
- Why Your Sourdough Bread Has a Hard, Thick Crust: Troubleshooting Guide
- Understanding the Hard Crust on Your Homemade Sourdough Bread
- Common Baking Mistakes Leading to a Hard Sourdough Bread Crust
- Mastering Techniques for a Softer, More Appealing Sourdough Bread Crust
- Other Factors Influencing Sourdough Bread Crust Hardness
- Preventing a Hard Crust on Future Sourdough Bakes
- Troubleshooting Checklist for a Perfect Sourdough Bread Crust
- Achieving the Ideal Sourdough Bread Crust: A Summary of Key Takeaways
- Frequently Asked Questions
- Final Reflection: The Unexpected Wonders of a Crusty Loaf
- Unlock Your Bakery's Secrets: Perfect Crusts Every Time!
Why Your Sourdough Bread Has a Hard, Thick Crust: Troubleshooting Guide
Understanding the Hard Crust on Your Homemade Sourdough Bread
What Causes a Thick, Tough Sourdough Bread Crust?
A thick, tough crust on your homemade sourdough bread is often the result of moisture issues during the baking process. When the dough is exposed to dry heat too early or for too long, the surface dries out rapidly, creating a hard shell that prevents the loaf from expanding fully and results in a dense, overly crisp exterior. This isn't just about the final bake; factors like the initial hydration of the dough and the environment it bakes in play significant roles.
Consider a typical sourdough bake in a home oven. If the oven is preheated to a high temperature, say 475°F (245°C), and the dough is placed in without sufficient steam, the surface water evaporates almost instantly. This sets the crust prematurely. For instance, if a loaf with 70% hydration is baked without steam, the rapid moisture loss from the surface can drop the effective surface hydration dramatically within the first few minutes, leading directly to a tough crust rather than the desired thin, crisp, and blistered exterior.
Identifying the Problem: Is Your Sourdough Bread Crust Too Hard?
Determining if your sourdough bread crust is "too hard" is subjective, but generally, it means it's difficult to slice through, crumbles excessively, or is simply unpleasant to chew. A perfect sourdough crust should have a satisfying crispness and chewiness, giving way relatively easily to the soft interior crumb. If you find yourself needing significant force to cut a slice, or if large, brittle shards break off, your crust is likely tougher than intended.
Think about the difference between a baguette crust and a country loaf crust. Both are crisp, but a baguette's is generally thinner and shatters more easily, while a country loaf's should have a bit more chew.
If your country loaf sourdough crust feels more like biting into a stale cracker or if the internal crumb is compressed right beneath the crust, these are strong indicators of excessive hardness. For example, a loaf baked for 50 minutes at high heat without proper steam might develop a crust that is 5-10 mm thick and feels like concrete, whereas a well-baked crust might be 2-4 mm thick and yield with a satisfying crackle.
Common Baking Mistakes Leading to a Hard Sourdough Bread Crust
Over-Baking: The Primary Culprit Behind a Rock-Hard Sourdough Crust
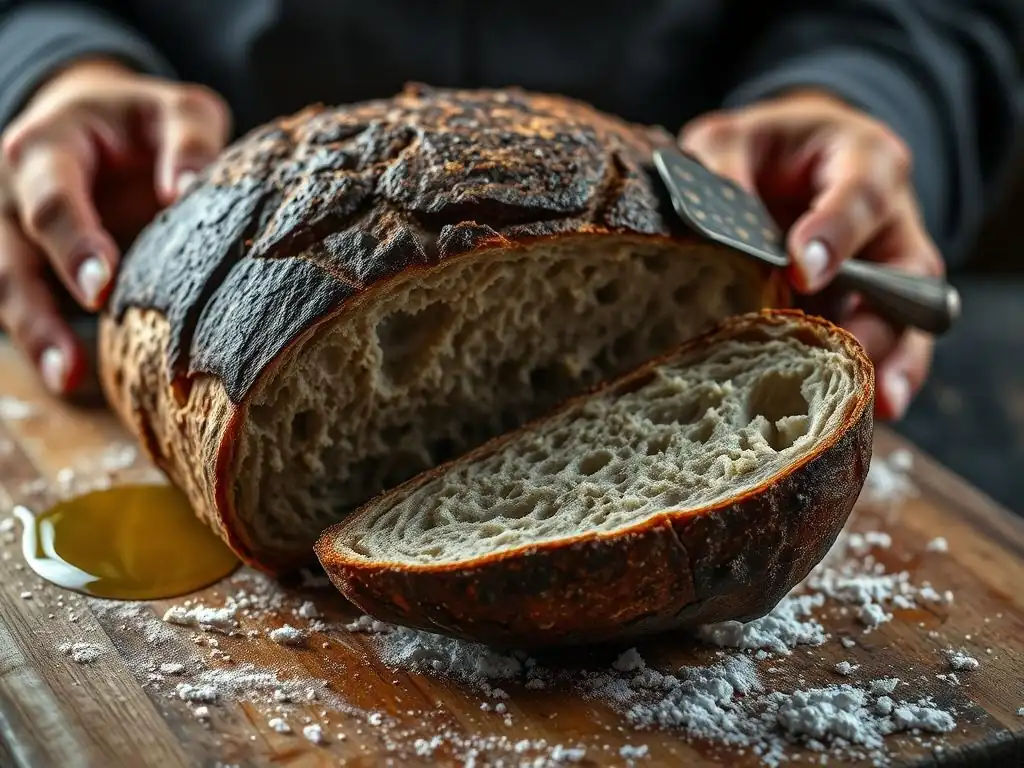
Over-baking is arguably the most common reason why bread crust is hard, especially with sourdough. When a loaf stays in the oven for too long, moisture continues to evaporate from both the crust and the crumb. While the crust is supposed to dry out and crisp up, excessive baking time removes too much water, making it brittle and overly hard. The internal temperature of the loaf will also climb higher than necessary, potentially drying out the crumb as well.
For instance, a standard 1kg sourdough boule with a target internal temperature of 205-210°F (96-99°C) might typically bake for 40-50 minutes total. If left in the oven for 60-70 minutes at the same temperature, the crust will continue to darken and harden significantly as more and more residual moisture is driven out. This prolonged exposure to heat essentially dehydrates the crust past its optimal point, resulting in that undesirable rock-hard texture.
Low Hydration: Insufficient Moisture for a Soft Sourdough Crust
While high hydration doughs can be tricky, dough that is too low in hydration inherently has less moisture available to create steam within the loaf during the initial phase of baking. This internal steam is crucial for expanding the crust and keeping it pliable long enough for good oven spring. If the dough starts dry, the crust sets faster and harder.
Consider a sourdough recipe with 55% hydration compared to one with 75% hydration. The lower hydration dough will feel much stiffer and drier. When baked, its surface will dry out much quicker in the hot oven environment simply because there is less free water to evaporate from the dough's surface and interior. This leads to a thinner, but often tougher and less expansive crust, contributing to why bread crust is hard in such cases.
How Dough Hydration Affects Sourdough Bread Crust Texture
Dough hydration, expressed as a percentage of the flour weight (e.g., 70% hydration means 700g water for 1000g flour), directly influences the amount of water available during baking. In the initial high-heat phase, this water turns to steam, which inflates the air pockets within the dough (contributing to oven spring) and keeps the crust moist and elastic. This elasticity allows the crust to stretch as the loaf expands.
A well-hydrated dough (say, 70-80%) has ample moisture. As it bakes, the steam helps the crust remain flexible, stretching with the expanding loaf. This results in a thinner, more open crumb and a crust that, once it dries out later in the bake, is crisp but not excessively thick or tough. In contrast, low hydration dough (<65%) lacks this internal steam generator effect, causing the crust to set too early and too rigidly, limiting oven spring and resulting in a denser crumb and a thicker, harder crust.
Incorrect Oven Temperature: Too High, Too Soon for Sourdough
Baking at an oven temperature that is too high, particularly at the beginning of the bake, is a significant factor leading to a hard crust. Extreme heat causes the exterior of the loaf to set almost instantly, before the interior has had a chance to expand properly. This rapid setting creates a rigid outer shell that restricts the loaf's potential oven spring, often leading to a dense area just beneath the crust.
For example, if a recipe calls for baking at 450°F (230°C) but your oven thermometer shows it's actually hitting 500°F (260°C), that extra heat will dramatically speed up the crust formation. The surface water will flash-evaporate, and the gluten structure on the exterior will denature and harden very quickly. This premature hardening prevents the dough from expanding freely, trapping the internal gases and resulting in a loaf that is smaller, denser, and encased in a very thick, hard crust.
Insufficient Steam During Baking: A Key to Sourdough Crust Control
Steam is a baker's best friend when aiming for a beautiful sourdough crust. In the first 15-20 minutes of baking, steam keeps the surface of the dough moist and pliable. This pliability is essential for allowing the loaf to achieve maximum oven spring without the crust tearing or setting too quickly into a hard shell. Without adequate steam, the crust dries out almost immediately upon hitting the hot oven.
Imagine placing a loaf of dough into a dry, 450°F (230°C) oven. The intense heat instantly starts drying the surface. The gluten network on the exterior hardens rapidly because there's no moisture barrier (steam) to slow down the process. This is like trying to inflate a balloon inside a rigid box – it can't expand properly. The result is a loaf with limited rise and a thick, tough crust because the surface set too early and too hard, which is a common reason why bread crust is hard.
The Role of Steam in Creating a Perfect Sourdough Bread Crust
Steam in the oven atmosphere serves several critical functions for sourdough. Firstly, it condenses on the relatively cooler surface of the dough, keeping it moist and flexible. This allows the crust to stretch and expand along with the rising dough during the crucial phase of oven spring (the rapid rise in the first 10-15 minutes).
Secondly, steam delays the formation of the hard crust. Until the surface temperature of the dough reaches the boiling point of water (212°F or 100°C), the surface remains moist. This delay gives enzymes more time to break down starches on the surface into sugars, which contributes to better browning and flavor development later in the bake. Without sufficient steam, the crust sets too early, limiting expansion and resulting in a thicker, harder crust, and potentially less appealing color.
Mastering Techniques for a Softer, More Appealing Sourdough Bread Crust
Adjusting Baking Time for a Tender Sourdough Crust
To prevent over-baking and achieve a more tender crust, pay close attention to the total baking time and the internal temperature of your loaf. While recipes provide guidelines (e.g., 45-55 minutes for a standard boule), actual baking time can vary based on your oven, the loaf size, and hydration. Aim for an internal temperature of 205-210°F (96-99°C) for a fully baked loaf.
Instead of relying solely on visual cues like crust color (which can vary), use an instant-read thermometer. Insert it into the center of the loaf from the bottom or side. Once it reaches the target temperature range, the bread is done. Removing the bread promptly at this point ensures the crumb is cooked through but prevents the crust from drying out excessively and becoming overly hard.
Increasing Dough Hydration: Finding the Right Balance in Sourdough
Increasing dough hydration can lead to a thinner, crispier crust that is less likely to be overly hard. More water in the dough means more steam during baking, allowing for better expansion and a more open crumb structure. However, working with higher hydration doughs (above 75-80%) requires more practice and different handling techniques, such as stretch and folds, coil folds, and minimal handling.
If your current recipe uses 65% hydration and consistently produces a tough crust, try incrementally increasing the hydration by 2-3% in your next few bakes. Observe how the dough handles and how the crust changes. You might find that increasing hydration to 70% or 72% provides enough internal moisture to keep the crust pliable during oven spring, resulting in a more desirable texture without making the dough too difficult to manage.
Hydration Levels for Different Sourdough Recipes
Typical sourdough hydration levels range widely depending on the desired outcome and flour type. Lean doughs for crusty loaves like boules or batards often fall between 65% and 85% hydration. A beginner-friendly hydration might be 68-72%, offering a good balance of manageability and potential for a nice crust and open crumb.
Very high hydration doughs (85-95%+) are used for ciabatta or focaccia, resulting in extremely open crumbs and unique crust characteristics. Lower hydration doughs (60-65%) are more typical for enriched breads or those shaped into tighter forms like sandwich loaves, and these are more prone to developing a thick, hard crust if not baked correctly with sufficient steam. Understanding these ranges helps you assess if your current recipe's hydration might be contributing to your hard crust problem.
Lowering Oven Temperature: Gentle Baking for a Delicate Sourdough Crust
Baking at a slightly lower temperature, especially after the initial steam period, can help prevent the crust from hardening too quickly. While a high initial temperature is good for oven spring, prolonged exposure to very high heat primarily serves to dry out the crust.
Many sourdough recipes start with a high temperature (e.g., 450-500°F or 230-260°C) for the first 15-20 minutes (often covered) and then reduce the temperature (e.g., to 400-425°F or 200-220°C) for the remainder of the bake. This lower finishing temperature allows the interior to cook through gently while the crust continues to brown and crisp up without becoming excessively hard or burnt. If your crust is consistently too hard and dark, try reducing the temperature by 25°F (about 15°C) after the initial steamed phase.
Adding Steam to Your Oven: Simple Methods for a Professional Sourdough Finish
Providing ample steam during the first part of the bake is perhaps the most critical step in preventing a hard crust and achieving that desirable thin, crisp, and blistered exterior on sourdough bread. Steam keeps the surface moist, allowing the loaf to expand fully during oven spring. There are several effective ways to create a steamy environment in a home oven.
The goal is to trap moisture around the loaf for the first 15-20 minutes of baking. This moisture comes from the dough itself or from added water. Without this steamy shield, the crust forms too early and too rigidly, leading to limited expansion and a thick, tough crust, which is a frequent cause when people wonder why bread crust is hard.
Using a Dutch Oven for Optimal Sourdough Steam
Baking sourdough in a preheated Dutch oven is one of the most effective methods for creating a perfect crust in a home oven. The heavy lid traps the moisture evaporating from the dough itself, creating a steamy micro-environment around the loaf. This trapped steam keeps the crust soft and pliable during the initial rise.
Typically, you preheat the Dutch oven within your oven to a high temperature (e.g., 450-500°F or 230-260°C). Carefully place the dough inside, score it, put the lid on, and bake for 20-25 minutes. After this initial period, you remove the lid, allowing the steam to escape and the crust to dry out and brown in the dry heat for another 20-25 minutes. This two-stage process is highly effective at producing a beautiful crust that is crisp but not overly hard.
Creating Steam with Water and a Baking Sheet for Sourdough
If you don't have a Dutch oven, you can still create steam using a baking sheet and hot water. Place a baking sheet or a cast-iron pan on the lowest rack of your oven while it preheats. When you place your loaf on a baking stone or steel on a higher rack, carefully pour about a cup of hot water into the preheated pan below.
Be extremely cautious of the steam that will immediately rise. Quickly close the oven door to trap the steam. This method provides a burst of steam that helps keep the crust pliable during oven spring. The steam will dissipate after 15-20 minutes, allowing the crust to dry and brown. You can repeat this process if needed, but typically one good burst is sufficient for the initial phase.
Other Factors Influencing Sourdough Bread Crust Hardness
Flour Type: How Different Flours Affect Sourdough Crust Texture
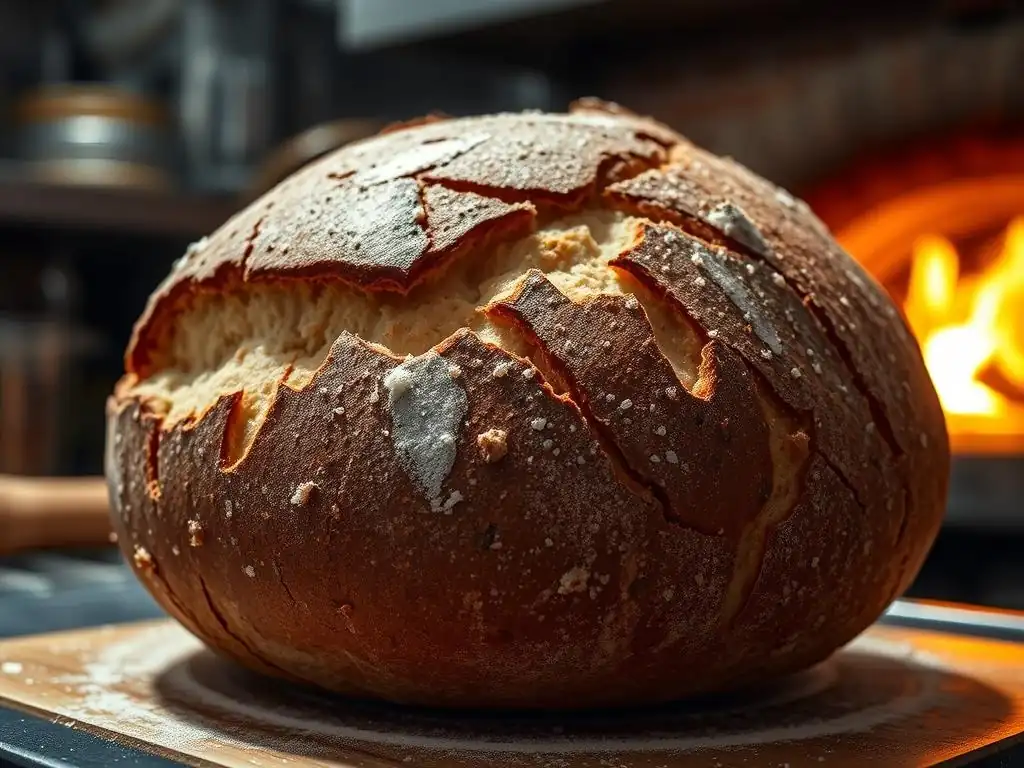
The type of flour used significantly impacts sourdough bread crust texture. Flours with higher protein content, like strong bread flour (typically 12-14% protein), develop a stronger gluten network. This robust network can support a more open crumb structure but can also contribute to a chewier, potentially harder crust if not managed correctly (e.g., with sufficient hydration and steam).
Softer flours, like all-purpose flour (around 10-12% protein) or pastry flour (<10% protein), develop less gluten strength. While they might produce a softer crumb, they can still result in a hard crust if over-baked or baked without steam. Whole wheat flour, while adding flavor and nutrition, contains bran particles that can interfere with gluten development and absorb more water, often requiring higher hydration and potentially leading to a thicker crust if not handled properly. Understanding the protein content and absorption qualities of your flour helps anticipate its effect on crust texture.
Salt Content: The Impact on Sourdough Crust Development
Salt is a crucial ingredient in bread making, contributing to flavor, strengthening the gluten network, and controlling fermentation rate. It also affects crust development. Typically, salt is added at 1.8% to 2.2% of the total flour weight in sourdough recipes. Adding too little salt can result in a weaker gluten structure and a blander taste, but it's less likely to directly cause a hard crust.
However, adding too much salt (significantly above 2.5-3%) can draw moisture out of the dough surface during fermentation and baking, potentially leading to a tougher crust. More importantly, incorrect salt distribution (e.g., not mixing it in thoroughly) can create areas of high salt concentration that inhibit yeast activity and affect crust color and texture unevenly. While not the primary cause of a hard crust, ensuring correct salt levels and even distribution is part of the overall process for achieving a balanced loaf.
Cooling Process: Preventing a Tough Sourdough Crust After Baking
The cooling process is just as important as the baking process for developing the final crust texture. Immediately after removing your sourdough from the oven, it's still undergoing significant changes. The internal temperature is high, and residual steam is escaping. Placing the hot loaf directly on a solid surface will trap steam underneath, making the bottom crust soggy, while the rest of the crust can become tough and leathery as it cools unevenly.
Allowing the bread to cool completely on a wire rack is essential. This allows air circulation around the entire loaf, letting moisture escape evenly. Cutting into a hot loaf also releases steam prematurely, which can lead to a gummy crumb and affects the final crust texture, potentially making it seem harder or less pleasant. Patience during the cooling phase is key to achieving the desired crust texture.
Allowing Sourdough Bread to Cool Properly on a Wire Rack
Once your sourdough bread is baked to the correct internal temperature and has the desired crust color, remove it from the oven (and Dutch oven, if used) and place it immediately on a wire cooling rack. Ensure the rack allows air to circulate freely around the bottom and sides of the loaf.
Leave the bread to cool undisturbed for at least 2-3 hours, or until it reaches room temperature. For larger loaves, this might take even longer. During this time, moisture redistributes within the loaf, and the crust transitions from being brittle and fragile when hot to its final, stable texture. Cutting too early interrupts this process, negatively impacting both the crumb and the crust texture, often contributing to the perception that the crust is tough or gummy underneath.
Preventing a Hard Crust on Future Sourdough Bakes
Reviewing Your Sourdough Recipe and Adjusting Accordingly
If you consistently get a hard crust, start by reviewing your recipe. Look at the hydration percentage – is it on the lower side (below 70%)? Consider increasing it slightly in your next bake. Examine the recommended baking temperature and time. Does it seem excessively high or long? Compare it to other similar recipes.
Also, consider the flour type specified. If it calls for a very high-protein flour, you might need to ensure sufficient hydration and steam to manage the gluten development. Make small, incremental changes to your recipe parameters – perhaps a 2% increase in hydration, a 10°F reduction in temperature after the initial phase, or 5 minutes less baking time – and note the results. This systematic approach helps isolate which factor is contributing most to why your bread crust is hard.
Monitoring Dough Hydration and Oven Temperature for Sourdough
Accurate measurement is key in baking. Use a scale to measure ingredients precisely, especially flour and water, to ensure you're hitting your target hydration percentage. Don't rely on volume measurements for flour. Also, verify your oven temperature with a separate oven thermometer. Many home ovens can be off by 25-50°F (about 15-30°C), which can significantly impact crust development.
Knowing your oven's true temperature allows you to adjust the dial accordingly. If your oven runs hot, set it lower than the recipe calls for. If it runs cool, set it higher. Consistent hydration and accurate oven temperature are fundamental controls for achieving a predictable and desirable sourdough bread crust texture.
Experimenting with Steam Injection Techniques for Sourdough
Mastering steam is crucial. If you're not using a Dutch oven, experiment with different steam methods. Try preheating a pan with lava rocks or a chain and pouring boiling water over them just before closing the oven door. Use more water if your initial attempts didn't produce enough steam.
You can also try baking your loaf on a baking stone or steel and placing a roasting pan or large metal bowl over the loaf for the first 15-20 minutes to trap its own steam, similar to a Dutch oven. Experimenting with these techniques will help you find the most effective way to keep your sourdough crust pliable during oven spring, leading to a better final texture and solving the mystery of why bread crust is hard for you.
Troubleshooting Checklist for a Perfect Sourdough Bread Crust
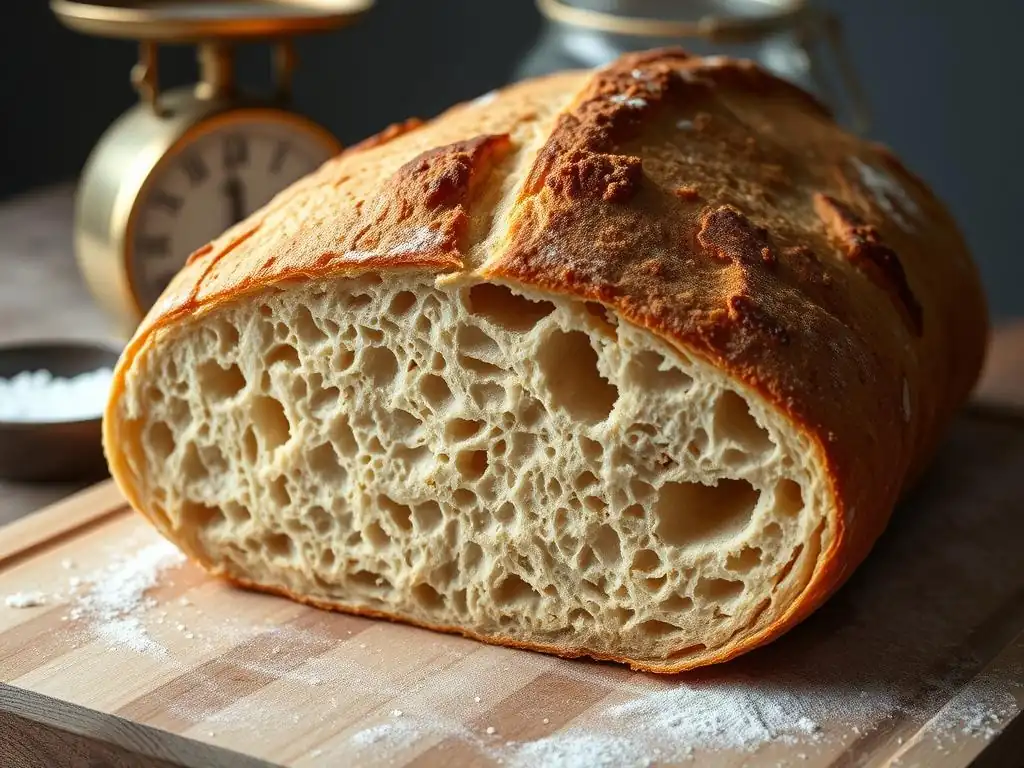
Step-by-Step Guide to Diagnosing and Fixing a Hard Sourdough Crust
Use this checklist to identify potential issues with your sourdough process:
- Check Hydration: Was your dough's hydration appropriate for the flour used and the desired outcome (e.g., 70-75% for a standard boule)?
- [ ] Dough felt too stiff? Increase hydration by 2-3% next time.
- Verify Oven Temperature: Was your oven accurately preheated to the correct temperature? Use an oven thermometer.
- [ ] Oven runs hot? Reduce dial temperature by 25°F (15°C).
- Assess Steam: Did you provide sufficient steam during the first 15-20 minutes of baking?
- [ ] Used a Dutch oven? Ensure it was fully preheated.
- [ ] Used water/pan method? Ensure water was boiling and pan was hot; use enough water (e.g., 1 cup).
- Review Baking Time/Temperature: Did you bake for too long or at too high a temperature after the initial steam phase?
- [ ] Crust too dark/hard? Reduce final baking temperature by 25°F (15°C) or shorten baking time by 5-10 minutes.
- [ ] Loaf's internal temperature exceeded 210°F (99°C)? Reduce baking time.
- Consider Flour Type: Is the protein content of your flour very high?
- [ ] High protein flour used? Ensure adequate hydration and sufficient steam.
- Check Salt Level: Was salt measured accurately (approx. 1.8-2.2% of flour weight)?
- [ ] Salt too high/low or uneven? Ensure accurate weighing and thorough mixing.
- Evaluate Cooling Process: Did the bread cool completely on a wire rack?
- [ ] Cut too early? Always cool for at least 2-3 hours on a rack.
Troubleshooting a Hard Crust on a Basic Sourdough Boule
Let's say you're baking a standard 70% hydration sourdough boule using bread flour and consistently getting a hard crust. Here's a typical troubleshooting path:
- First Bake (Problem: Hard Crust): You followed a recipe, baked at 450°F (230°C) in a Dutch oven for 20 mins covered, 25 mins uncovered. Crust is too hard.
- Diagnosis: Potential culprits are over-baking (time/temp), insufficient steam (Dutch oven not hot enough? ), or oven running hot.
- Second Bake (Adjustment 1: Verify Temp & Time): You use an oven thermometer - it reads 475°F (245°C) when set to 450°F. You also decide to reduce uncovered baking time by 5 minutes. Bake at 425°F (220°C - to account for oven running hot) for 20 mins covered, then 20 mins uncovered. Internal temp reaches 208°F (98°C). Crust is less hard, but still a bit tough.
- Third Bake (Adjustment 2: Increase Steam Time): The temperature fix helped, but steam might be an issue. You ensure the Dutch oven preheats for a full hour. You also extend the covered bake time slightly. Bake at 425°F (220°C) for 25 mins covered, then 20 mins uncovered. Internal temp 209°F (98.5°C). Crust is noticeably better – crisp but not brittle.
- Fourth Bake (Adjustment 3: Slight Hydration Increase): You're close, but want it even better. You increase hydration to 72%. Bake using the successful timing/temp from the third bake. Crust is now thin, crisp, and yields beautifully.
This iterative process of making small, controlled changes helps pinpoint exactly why your bread crust is hard and how to fix it for your specific oven and environment.
Achieving the Ideal Sourdough Bread Crust: A Summary of Key Takeaways
Achieving that perfect, craveable sourdough bread crust – thin, crisp, and beautifully browned – is a common goal for home bakers. A hard, thick crust is a sign that something in your process needs refinement. The primary reasons why bread crust is hard often boil down to moisture management: insufficient hydration in the dough, lack of steam during the initial bake, over-baking, or baking at too high a temperature for too long.
Remember that steam is your best friend in the first 15-20 minutes of baking; it keeps the crust pliable, allowing for maximum oven spring. Whether using a Dutch oven or creating steam with water, ensure this crucial step is effective. Monitor your baking time and temperature closely, using an instant-read thermometer to confirm the loaf is done (205-210°F or 96-99°C) without drying out the crust excessively.
Paying attention to dough hydration, flour type, and even the cooling process on a wire rack all contribute to the final texture. By systematically addressing these factors, you can transform a tough crust into a triumph, bake after bake.
Frequently Asked Questions
What causes a hard, thick crust on bread?
A hard, thick crust is often a result of high baking temperatures or overbaking. It can also be influenced by the type of flour used and the hydration level of the dough.
How can I prevent a hard crust on my bread?
To prevent a hard crust, consider baking at a lower temperature and ensuring proper steam in the oven. Additionally, using a hydrated dough can help achieve a softer crust.
Does the type of loaf affect crust hardness?
Yes, different types of bread, such as sourdough or artisan bread, may have variations in crust texture due to their ingredients and baking techniques.
Can I fix bread that has a hard crust after baking?
While it's difficult to change the texture once baked, you can try wrapping the bread in a damp cloth or placing it in a sealed container to soften the crust slightly.
Are there specific recipes that yield softer crusts?
Yes, recipes that include fat (like butter or oil) or milk often produce softer crusts. Additionally, enriched doughs typically yield a more tender exterior.
Final Reflection: The Unexpected Wonders of a Crusty Loaf
The seemingly simple question of why bread crusts are hard unlocks a surprisingly complex world of chemistry, baking techniques, and ultimately, the appreciation of culinary artistry. Understanding the Maillard reaction and the role of starch gelatinization isn't just about avoiding a rock-hard exterior; it's about understanding the very essence of what makes bread delicious and satisfying.
The journey from a simple dough to a perfectly textured loaf has profoundly impacted my own understanding of food science and the dedication of bakers worldwide. The seemingly insignificant details—oven temperature, hydration levels, even the type of flour—all contribute to the final product. This meticulous process resonates with the dedication and precision found in many other crafts. The crust is the soul of the bread,
a baker once told me, and I now understand the profound truth in those words. It's a testament to the transformative power of heat and time.
So, the next time you bite into a crusty loaf, take a moment to appreciate the science and artistry behind that satisfying crunch. Consider the journey your bread has taken, from humble ingredients to a complex masterpiece. Don't just eat your bread; understand it. Explore different baking techniques, experiment with recipes, and most importantly, savor the delicious results. The world of bread baking is vast and rewarding, and the journey of discovery begins with a single, perfectly crisp crust.
Unlock Your Bakery's Secrets: Perfect Crusts Every Time!
Thanks for taking the time to learn about those pesky hard crusts! You now have the knowledge to transform your baking. Ready to put your newfound expertise to the test?
- Bake a loaf today! Experiment with a new hydration technique or flour blend to see the difference firsthand.
- Share your baking triumphs (and challenges!) with our community on our social media channels. Let's learn together!
- Try a recipe from our "Beginner's Guide to Bread Baking," it's specifically designed to help you avoid those hard crusts!
So, what delicious creation will you bake next to conquer that perfect, soft crust?