
Feeding Your Starter for Robust Sourdough Rye Loaves

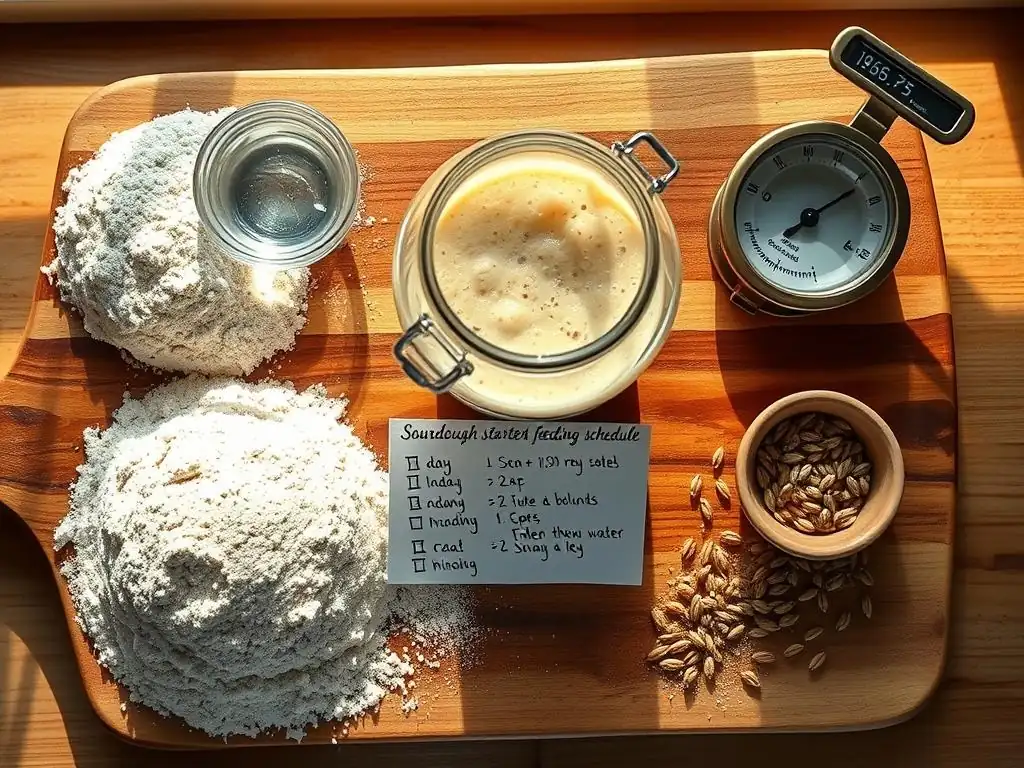
Welcome to BakeWithEase, your trusted guide to baking bliss! Are you ready to unlock the secrets to consistently amazing sourdough? Discover the key to a thriving starter with our detailed guide on the sourdough starter feeding schedule. But what if the temperature changes? Or you're going on vacation? Dive in to learn how to adapt your feeding routine and bake incredible sourdough rye loaves, every single time!
- Feeding Your Starter for Robust Sourdough Rye Loaves: A BakeWithEase Guide
- Introduction: Achieving Sourdough Rye Perfection Through Proper Starter Feeding
- Understanding Your Sourdough Rye Starter
- Establishing Your Sourdough Starter Feeding Schedule
-
Step-by-Step: Feeding Your Rye Sourdough Starter
- Step 1: Assessing Your Starter's Condition Before Feeding
- Step 2: Preparing the Rye Flour Mixture for Feeding
- Step 3: Combining Starter, Flour, and Water (The Feeding Process)
- Step 4: Monitoring Your Starter's Rise and Activity After Feeding
- Step 5: Knowing When Your Starter is Ready to Bake Rye Bread
- Advanced Techniques for Enhancing Your Rye Starter's Activity
- Troubleshooting Common Sourdough Starter Problems
- Maintaining Your Rye Sourdough Starter Long-Term
- Rye Sourdough Starter Feeding: Frequently Asked Questions (FAQ)
- Conclusion: Mastering the Art of Rye Sourdough with a Well-Fed Starter
-
Frequently Asked Questions
- What is the ideal sourdough starter feeding schedule for rye loaves?
- How do I know when my sourdough starter is ready to use for baking rye bread?
- What type of flour is best for feeding my sourdough starter when baking rye bread?
- Can I adjust my sourdough starter feeding schedule based on the temperature?
- What happens if I miss a feeding in my sourdough starter feeding schedule?
- Final Reflection: The Enduring Magic of a Fed Starter
- Unlock the Secrets to a Thriving Sourdough Rye Starter!
Feeding Your Starter for Robust Sourdough Rye Loaves: A BakeWithEase Guide
Introduction: Achieving Sourdough Rye Perfection Through Proper Starter Feeding
Welcome to the wonderful world of sourdough rye bread! Baking a truly exceptional rye loaf starts with a vibrant, healthy sourdough starter. Unlike its all-purpose flour cousins, a rye sourdough starter has unique characteristics and feeding requirements. This guide will walk you through the essential sourdough starter feeding schedule for baking exceptional rye loaves, helping you understand how to nurture your starter for optimal performance and consistent results in your baking endeavors. Getting your sourdough starter feeding routine right is the cornerstone of delicious, tangy rye bread.
Mastering the sourdough starter feeding schedule for rye isn't just about keeping it alive; it's about cultivating a thriving ecosystem of wild yeasts and beneficial bacteria. This microbial community is what gives sourdough its lift, its complex flavor, and its incredible texture. A well-fed, active starter is the secret weapon in your baking arsenal, ensuring predictable fermentation and a beautiful rise in your rye loaves. Let's dive into the specifics of caring for your unique rye starter!
Understanding Your Sourdough Rye Starter
The Importance of a Healthy Rye Sourdough Starter
A healthy rye sourdough starter is paramount for successful rye bread baking. The wild yeasts and lactic acid bacteria within the starter are responsible for leavening the dough and developing the characteristic tangy flavor profile of sourdough. A weak or sluggish starter will result in dense, flat loaves with underdeveloped flavor.
Conversely, a robust starter, properly fed according to a consistent sourdough starter feeding schedule, will produce loaves with excellent volume, an airy crumb structure (relative to rye's nature), and a rich, complex taste. Think of your starter as the engine of your bread; a well-maintained engine performs reliably and powerfully.
Furthermore, the acidity produced by the lactic acid bacteria in a healthy starter plays a crucial role in rye baking. Rye flour contains pentosans, which are complex carbohydrates that can make dough very sticky and difficult to handle. The acidity from the sourdough helps to break down these pentosans, improving the dough's structure and making it less gummy. A strong starter, maintained with a careful rye sourdough starter feeding routine, ensures sufficient acidity is produced, leading to better dough handling and a superior final product.
Identifying Signs of a Weak or Inactive Starter for Rye Bread
Recognizing the signs of a weak or inactive rye starter is essential for troubleshooting and getting back on track with your sourdough starter feeding schedule. A healthy, recently fed rye starter kept at room temperature (around 75-80°F or 24-27°C) should typically double or even triple in volume within 4-8 hours, showing significant bubbling throughout and on the surface.
Signs of a weak starter include minimal or no visible rise after feeding, a lack of significant bubbling, a thin or watery consistency that doesn't thicken, or a dull, flat smell instead of a pleasant, tangy aroma. If your starter consistently takes longer than 10-12 hours to show activity at a warm room temperature, it might be struggling.
Another indicator is the float test, though it's less reliable with rye's denser nature. A small dollop of active starter should float when dropped into a glass of water. If it sinks immediately, it might not be at its peak activity. Beyond visible signs, poor baking results like loaves with very little rise, a dense, gummy texture, or a lack of tangy flavor can also point to an issue with your starter's strength. Addressing these signs quickly by adjusting your sourdough starter feeding frequency or ratio is key to reviving its vigor.
Key Differences Between Rye and Wheat Sourdough Starters
While the basic principles of sourdough starter feeding apply to both, rye starters behave differently than those made with wheat flour. Rye flour ferments more quickly due to its enzymatic activity and nutrient content. This means rye starters can become active and peak faster than wheat starters, and they may also collapse more quickly after peaking.
Visually, a rye starter might not show the dramatic, dome-like rise of a wheat starter; it often expands horizontally and has a looser, more liquid consistency, even at the same hydration level. Bubbles in a rye starter might appear smaller and more evenly distributed rather than large, distinct pockets.
Furthermore, the microbial composition can differ slightly. Rye flour often harbors a diverse range of microbes that contribute unique flavors. The optimal sourdough starter feeding schedule for rye might involve slightly different considerations regarding frequency and hydration compared to a wheat starter to account for these differences in fermentation speed and structure. Understanding these distinctions helps manage expectations and tailor your feeding approach effectively for a rye-based starter.
Establishing Your Sourdough Starter Feeding Schedule
Tailoring Your Feeding Schedule to Room Temperature and Usage
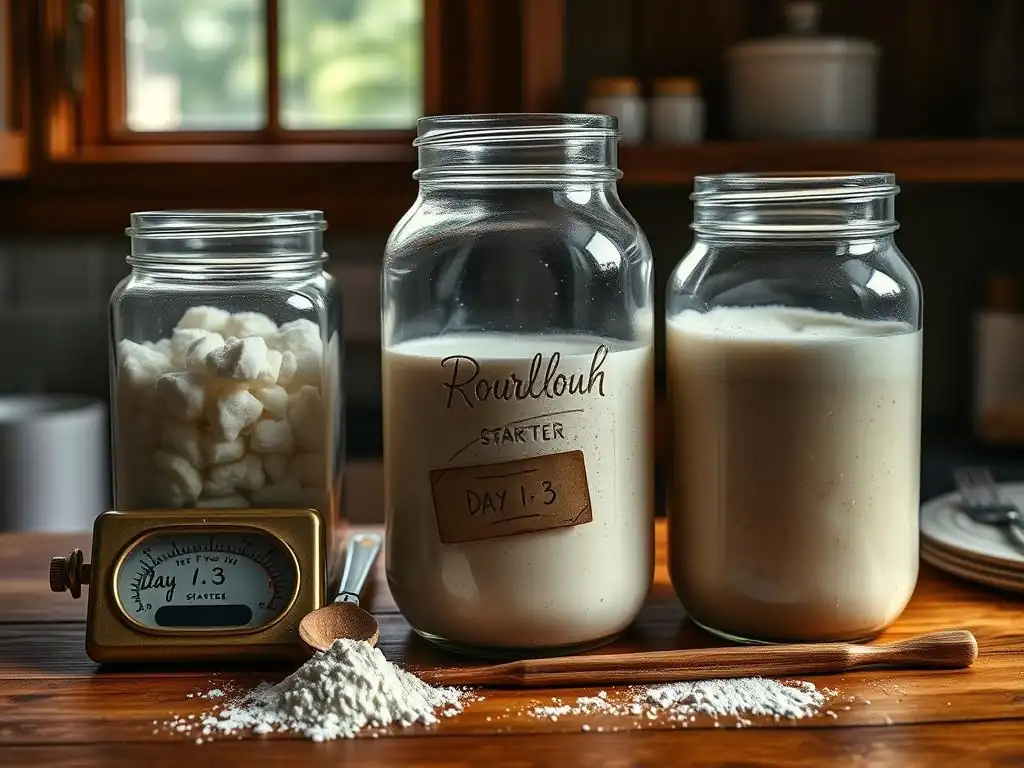
The optimal sourdough starter feeding schedule is not a one-size-fits-all approach; it depends heavily on the ambient temperature of your environment and how often you plan to bake. At warmer room temperatures (75-80°F / 24-27°C), your starter's microbes are highly active and will consume their "food" (the flour) much faster. In such conditions, feeding every 12 hours, or even more frequently if you're building up a starter for a large bake, might be necessary to keep it at peak activity.
If you're maintaining it at cooler room temperatures (68-72°F / 20-22°C), a feeding schedule of once every 24 hours is often sufficient. The goal is to feed the starter before it completely runs out of food and becomes overly acidic, which can weaken it over time.
Your baking frequency also dictates your sourdough starter feeding routine. If you bake several times a week, keeping your starter at room temperature and feeding it daily (or twice daily in warm conditions) is ideal. This ensures it's always active and ready to use.
If you bake less often, perhaps once a week or less, storing your starter in the refrigerator is a more practical approach. Refrigeration significantly slows down microbial activity, allowing you to feed it much less frequently, typically once every week or two. Before baking after refrigeration, you'll need to revive it with a few room-temperature feedings.
Recommended Feeding Ratios for a Rye Sourdough Starter
Feeding ratios for a rye sourdough starter typically involve equal parts starter, flour, and water by weight, often referred to as a 1:1:1 ratio. For example, you might take 10 grams of your existing starter, add 10 grams of rye flour, and 10 grams of water. This ratio is excellent for frequent feeding (daily or twice daily) when keeping the starter at room temperature and building up its activity. It provides enough food to fuel the microbes for a typical feeding cycle before they become overly hungry.
For less frequent feeding, or for building up a larger amount of starter for a bake, you can use higher ratios, such as 1:2:2 or 1:3:3 (starter:flour:water). Using a 1:2:2 ratio means taking 10 grams of starter, adding 20 grams of rye flour, and 20 grams of water. These ratios provide more food for the microbes, allowing the starter to remain active for a longer period before needing the next feed.
This is useful if you need to leave your starter for 24 hours or longer at room temperature or when preparing it for a bake where you need a larger quantity of peak-activity starter. Experimenting with ratios helps you find the best sourdough starter feeding schedule for your specific needs and environment.
Maintaining a Consistent Feeding Schedule for Optimal Results
Consistency is key when it comes to the sourdough starter feeding schedule. Feeding your starter around the same time each day (if keeping it at room temperature) helps establish a predictable cycle of activity. The goal is generally to feed the starter when it has peaked or is just beginning to recede, indicating it has consumed most of the available food.
By feeding consistently at this point, you ensure the microbial population remains strong and balanced. Irregular feeding, such as letting the starter go too long between feeds repeatedly, can stress the microbes and lead to a less vigorous starter.
Maintaining a consistent rye sourdough starter feeding routine also makes your starter's behavior more predictable. You'll learn how long it typically takes to double or triple at your specific room temperature and with your chosen feeding ratio. This predictability is invaluable for baking, as it allows you to time your dough mixing accurately to coincide with your starter being at its peak activity, which is the ideal state for leavening rye bread.
Step-by-Step: Feeding Your Rye Sourdough Starter
Step 1: Assessing Your Starter's Condition Before Feeding
Before you begin the sourdough starter feeding process, take a moment to assess your starter's current condition. Observe its volume compared to when you last fed it. Has it risen significantly and perhaps even started to fall? Look for bubbles throughout the jar and on the surface; a healthy starter will show plenty of activity. Give it a sniff – it should have a pleasant, slightly tangy, yeasty aroma. A strong, acetone-like smell or a layer of liquid (hooch) on top indicates the starter is hungry and needs a feed.
Also, consider the time since the last feed and the ambient temperature. If it's been 24 hours in a warm kitchen and your starter has risen and fallen, it's definitely ready for its next sourdough starter feeding. If it's only been 12 hours but it has already peaked, it might be very active and benefit from an earlier feed. This assessment helps you decide if your starter is ready for its regular feed or if it needs attention due to being overly hungry or sluggish.
Step 2: Preparing the Rye Flour Mixture for Feeding
Preparing the rye flour and water for your sourdough starter feeding is straightforward. You'll need the appropriate amount of rye flour and water based on your chosen feeding ratio (e.g., 1:1:1, 1:2:2, etc.). It's best to weigh your ingredients using a kitchen scale for accuracy, as volume measurements can be inconsistent. For example, if you're feeding a small amount of starter (say, 20g) at a 1:1:1 ratio, you'll need 20g of rye flour and 20g of water.
The temperature of the water can influence activity. Using lukewarm water, around 80-85°F (27-30°C), can help stimulate microbial activity, especially if your kitchen is on the cooler side. Avoid using hot water, which can kill the microbes, or very cold water, which will slow them down significantly. If your tap water contains chlorine, it's advisable to use filtered or bottled water, or let tap water sit out for 24 hours to allow the chlorine to dissipate, as chlorine can inhibit microbial growth in your starter.
Step 3: Combining Starter, Flour, and Water (The Feeding Process)
Now it's time to combine the ingredients for your sourdough starter feeding. First, discard a portion of your existing starter. This might seem wasteful, but discarding is crucial for maintaining a manageable amount of starter and ensuring that the fresh flour and water are sufficient to feed the remaining microbes. You'll typically keep only a small amount, perhaps 10-20 grams, depending on how much starter you want to maintain. The discarded starter can be used in other recipes (like crackers or pancakes) or composted.
Add the measured amount of fresh rye flour and water to the jar containing the small amount of reserved starter. Stir the mixture thoroughly with a spoon or spatula until there are no dry pockets of flour and the consistency is smooth and uniform. For a typical 100% hydration rye starter (equal weights of water and flour), the mixture will be quite thick initially but will loosen slightly as fermentation begins. Ensure all the ingredients are well incorporated.
Step 4: Monitoring Your Starter's Rise and Activity After Feeding
After completing the sourdough starter feeding, it's time to monitor its progress. Place the fed starter in a clean jar and mark the level of the starter on the outside of the jar with a rubber band or marker. This allows you to easily track how much it rises. Place the jar in a location with a relatively stable temperature, ideally between 75-80°F (24-27°C) for faster activity, or cooler if you prefer a slower fermentation.
Check on your starter periodically over the next several hours. Look for visible signs of life: bubbles forming on the surface and sides, and the starter slowly expanding upwards. As it becomes active, it will develop a pleasant, tangy smell. Note how long it takes for the starter to reach its peak height, which is usually when it has doubled or tripled in volume. This observation helps you understand your starter's specific sourdough starter feeding schedule and predict when it will be ready for baking.
Step 5: Knowing When Your Starter is Ready to Bake Rye Bread
Knowing when your rye sourdough starter is at its peak activity is crucial for successful baking. A starter is typically ready to bake with when it has doubled or tripled in volume after feeding and is either right at its peak height or has just begun to show the slightest signs of receding. For a rye starter fed at a 1:1:1 ratio and kept at 75-80°F, this peak often occurs 4-8 hours after feeding. If using a higher ratio (like 1:2:2 or 1:3:3) or at a cooler temperature, it will take longer, perhaps 8-12+ hours.
The starter should look bubbly and feel light and airy. While the float test (dropping a bit in water) can be an indicator, visual cues and timing relative to its peak are generally more reliable, especially with rye starters which can sometimes be less buoyant. Using your starter at its peak ensures maximum leavening power for your rye bread dough. Using it too early means it hasn't developed enough gas or acidity; using it too late (long after it has fallen) means the yeasts may be exhausted.
Advanced Techniques for Enhancing Your Rye Starter's Activity
Using Whole Rye Flour for Maximum Flavor and Activity
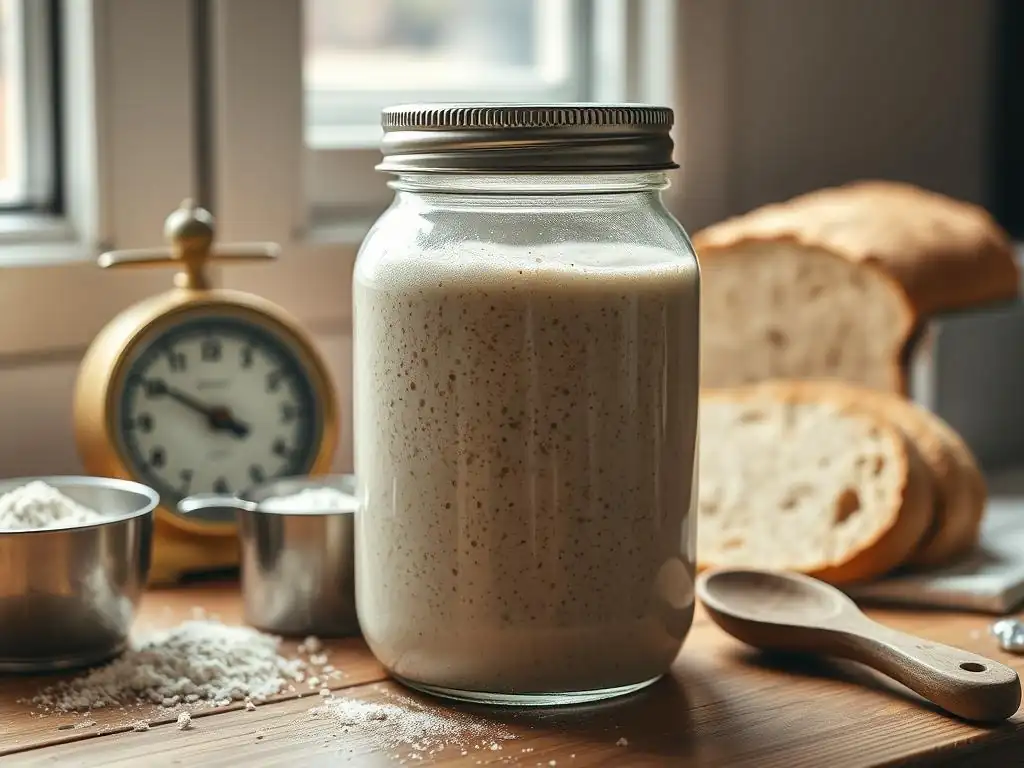
The type of rye flour you use significantly impacts your starter's activity and the flavor it develops. Using 100% whole rye flour (sometimes labeled as dark rye flour or pumpernickel flour, depending on the grind) provides the most nutrients for the wild yeasts and bacteria. Whole grain flours contain the germ and bran, which are rich in minerals and enzymes that fuel fermentation. Feeding your starter exclusively with whole rye flour typically results in a more vigorous and active starter compared to using lighter or refined rye flours.
Beyond activity, whole rye flour imparts a deeper, more complex flavor to the starter, which in turn contributes a richer taste to your finished rye loaves. While you can certainly maintain a starter with lighter rye or even a blend, using whole rye consistently for your sourdough starter feeding regime is often recommended for those seeking the most authentic and robust rye sourdough flavor profile. Experimenting with different grinds of whole rye can also introduce subtle variations.
Adjusting Hydration Levels for a Stronger Starter
Hydration refers to the ratio of water to flour in your starter (expressed as a percentage of the flour weight). While 100% hydration (equal weights of water and flour) is common, adjusting this level can influence your starter's behavior. A higher hydration starter (e.g., 120%, meaning 120g water for 100g flour) will be more liquid and can sometimes appear more bubbly and active visually, though the rise might be less dramatic upwards. The looser consistency can make it easier for bubbles to form and move.
Conversely, a lower hydration, stiffer starter (e.g., 80-90%) will ferment more slowly and show a more significant, dome-like rise, making it easier to judge its peak visually. However, rye flour absorbs water differently than wheat, and very stiff rye starters can be quite dense. Many bakers find that a hydration level between 100% and 120% works well for a rye starter, balancing activity and ease of assessment. Adjusting the hydration slightly as part of your sourdough starter feeding can help troubleshoot sluggishness (increase hydration) or make peak activity easier to spot (decrease hydration slightly).
Incorporating Small Amounts of Other Grains (Optional)
While the focus is on a rye sourdough starter, occasionally incorporating small amounts of other grains during the sourdough starter feeding can sometimes boost activity or add complexity. Adding a small percentage of organic whole wheat flour (e.g., 10-20% of the total flour weight in a feed) can sometimes provide a different mix of nutrients that the microbes appreciate, potentially leading to a more robust rise. However, this will subtly change the character of your starter, making it a rye/wheat hybrid.
Some bakers also experiment with adding tiny amounts of other flours like spelt or even a pinch of malted grain. If you want to maintain a pure rye starter for baking 100% rye loaves, it's best to stick to feeding it exclusively with rye flour. If you are baking mixed-grain rye breads, using a starter that incorporates a small amount of the other grains you plan to use in your dough can sometimes be beneficial. Any changes to the flour type should be made gradually as part of your sourdough starter feeding schedule to observe the starter's reaction.
Troubleshooting Common Sourdough Starter Problems
Addressing Slow or Inconsistent Rise Times
If your rye sourdough starter is showing slow or inconsistent rise times despite following a regular sourdough starter feeding schedule, several factors could be at play. The most common culprits are temperature fluctuations. Ensure your starter is in a warm, stable environment, ideally 75-80°F (24-27°C). Cooler temperatures significantly slow fermentation. If your kitchen is cool, try using a proofing box, oven with the light on, or placing the starter on top of a warm appliance.
Other potential issues include the quality of your flour (ensure it's fresh and unbleached) or water (chlorine can be inhibitory). Try switching to filtered water. The feeding ratio also matters; if you're using a very high ratio (e.g., 1:5:5), it might take longer to peak. Try feeding at a 1:1:1 or 1:2:2 ratio more frequently (every 12 hours) for a few days to build strength. Ensure you are discarding enough starter before feeding so that the fresh flour and water are sufficient to nourish the remaining culture.
Dealing with Mold or Unpleasant Odors
Identifying mold in your sourdough starter is critical. Mold typically appears as fuzzy or colored patches (green, black, pink) on the surface. Unfortunately, if you see mold, it means the starter is contaminated, and you must discard the entire culture and start fresh. Do not try to skim off the mold; the hyphae (roots) extend throughout the starter. Proper hygiene (using clean jars and utensils) and maintaining a healthy, active starter through consistent sourdough starter feeding are the best defenses against mold.
Unpleasant odors are different from mold and are often signs that your starter is hungry or out of balance, not necessarily ruined. A strong smell of acetone or nail polish remover, or a significant layer of hooch (greyish liquid) on top, indicates the starter has run out of food and is producing alcohol. This is usually fixable.
Simply stir the hooch back in or pour it off (stirring it in can add tang), discard most of the starter, and resume a regular sourdough starter feeding schedule, perhaps feeding slightly more frequently or using a slightly higher ratio for a few cycles to strengthen it. A cheesy or off smell can sometimes indicate an imbalance; consistent feeding often resolves this.
Reviving a Dormant or Neglected Starter
Even if your rye sourdough starter has been neglected for a while (e.g., left in the fridge too long or forgotten on the counter), it's often possible to revive it. If there's no mold, pour off any hooch. Take a very small amount of the dormant starter (perhaps 10-20 grams) and discard the rest. Feed this small amount with fresh rye flour and lukewarm water using a 1:1:1 ratio (e.g., 10g starter + 10g rye flour + 10g water). Stir well.
Place the fed starter in a warm spot and monitor it. It might show little to no activity for the first 24 hours or even longer. Discard most of it again (keeping only a small amount) and feed it again with a 1:1:1 ratio every 12 hours. Repeat this sourdough starter feeding schedule every 12 hours for several days. You should gradually see increasing signs of activity – bubbles, rise, and a pleasant smell. Be patient; it might take 3-7 days of consistent feeding to get a neglected starter back to full strength and ready for baking.
Maintaining Your Rye Sourdough Starter Long-Term

Storage Tips for In-Between Bakes
How you store your rye sourdough starter depends primarily on how often you bake. If you bake frequently (daily or every few days), keeping your starter at room temperature is convenient. Simply maintain a regular sourdough starter feeding schedule, feeding it daily or twice daily depending on temperature and activity. Keep it in a jar with a loosely fitting lid or covered with cloth/plastic wrap secured with a band to allow gases to escape.
If you bake less often (weekly or bi-weekly), storing your starter in the refrigerator is the most practical approach. Refrigeration significantly slows down the microbial activity, meaning you only need to feed it about once every week or two. When storing in the fridge, feed your starter as usual, let it sit at room temperature for 1-2 hours to kickstart activity slightly, then place it in the coldest part of your refrigerator. Before baking with a refrigerated starter, you'll need to take it out and perform 1-3 room-temperature feedings over 24-48 hours to revive its full leavening power.
Freezing and Thawing Your Starter (If Necessary)
Freezing your rye sourdough starter is an option for very long-term storage, such as if you're going on vacation for an extended period. While it's possible, it can sometimes be harder to revive a frozen starter compared to a refrigerated one, and it may take several days of consistent sourdough starter feeding to bring it back to full strength.
To freeze, feed your starter when it's active, let it rise partially, then place it in a freezer-safe container or bag. You can also spread a thin layer on parchment paper, freeze it, then break it into pieces and store in a bag.
To thaw, remove the frozen starter from the freezer and place it in the refrigerator overnight, then bring it to room temperature. Once thawed, discard most of it and begin feeding it with fresh rye flour and water using a 1:1:1 ratio every 12 hours. Be patient; it might take 5-10 days of regular rye sourdough starter feeding to see consistent doubling times and get it ready for baking again. The key is consistent feeding and warmth during the revival process.
Regular Maintenance Feeding for a Happy and Healthy Starter
Consistent and regular sourdough starter feeding is the cornerstone of long-term health and activity. Whether you store it at room temperature or in the fridge, sticking to a schedule prevents the starter from becoming overly acidic or running out of food, which can weaken the microbial community over time. For room-temperature starters, this means feeding daily or twice daily. For refrigerated starters, it means taking it out every 1-2 weeks for a feed.
Even if you're not baking, performing the maintenance sourdough starter feeding is vital. Take it out, discard most, feed it with fresh rye flour and water, let it become active at room temperature for a few hours (if refrigerated), and then either return it to the fridge or continue its room-temperature schedule. This routine ensures a fresh supply of food and removes waste products, keeping your starter's ecosystem balanced and ready to perform when you need it for your next delicious rye loaf.
Rye Sourdough Starter Feeding: Frequently Asked Questions (FAQ)
How often should I feed my rye sourdough starter?
The frequency of your sourdough starter feeding schedule depends primarily on storage temperature and how often you bake. At warm room temperature (75-80°F / 24-27°C), daily or twice-daily feeding is often necessary. At cooler room temperature (68-72°F / 20-22°C), feeding every 24 hours is usually sufficient. If stored in the refrigerator, feeding once every 1-2 weeks is typically adequate for maintenance.
What type of water should I use for feeding?
It's best to use filtered or non-chlorinated water for your sourdough starter feeding. Chlorine in tap water can inhibit or kill the beneficial microbes in your starter. If you must use tap water, let it sit uncovered at room temperature for at least 24 hours to allow the chlorine to evaporate. Use lukewarm water (around 80-85°F / 27-30°C) when feeding to encourage activity.
Can I use a different type of flour to feed my rye starter?
While you can use other flours (like wheat or spelt) to feed your rye starter, doing so will change its character and potentially its flavor profile. To maintain a pure rye starter for authentic rye bread, it's recommended to use 100% rye flour (preferably whole rye) for your regular sourdough starter feeding. If you're baking mixed-grain breads, occasionally incorporating a small amount of the other grains you use in your dough can be an option, but keep rye as the primary flour for a "rye" starter.
How do I know if my starter is ready to bake with?
Your rye sourdough starter is ready to bake with when it has reached its peak activity after a feeding. This is typically when it has doubled or tripled in volume and is either at its highest point or has just begun to fall back down. This peak usually occurs 4-10 hours after feeding, depending on temperature and feeding ratio. It should look very bubbly and smell pleasantly tangy. Using your starter at its peak ensures maximum leavening power for your rye bread dough.
Conclusion: Mastering the Art of Rye Sourdough with a Well-Fed Starter
Embarking on the journey of baking sourdough rye bread is incredibly rewarding, and the heart of that journey is a thriving, well-maintained starter. By understanding the unique needs of a rye starter and implementing a consistent sourdough starter feeding schedule tailored to your environment and baking habits, you are setting yourself up for success. From recognizing the signs of a healthy starter to troubleshooting common issues and maintaining it long-term, each step in the rye sourdough starter feeding process contributes to the strength and vitality of your culture.
Nurturing your starter is an ongoing practice, but with attention and consistency, you'll cultivate a powerful leavening agent that infuses your rye loaves with incredible lift, texture, and that signature sourdough tang. Keep experimenting, keep baking, and enjoy the delicious results that come from mastering the art of feeding your starter for robust sourdough rye loaves. Happy baking!
Frequently Asked Questions
What is the ideal sourdough starter feeding schedule for rye loaves?
The ideal sourdough starter feeding schedule depends on factors like room temperature and desired activity. Generally, feeding your starter twice daily (every 12 hours) when at peak activity is recommended for rye loaves.
How do I know when my sourdough starter is ready to use for baking rye bread?
Your starter is ready when it has doubled in size after feeding and shows plenty of bubbles. This indicates active fermentation and the presence of robust yeast.
What type of flour is best for feeding my sourdough starter when baking rye bread?
While you can use all-purpose flour, feeding your starter with rye flour will enhance its rye-specific activity. This leads to a stronger rye flavor in your final loaf.
Can I adjust my sourdough starter feeding schedule based on the temperature?
Yes, temperature significantly impacts starter activity. In warmer environments, you might need to feed it more frequently. In cooler environments, you can feed it less often.
What happens if I miss a feeding in my sourdough starter feeding schedule?
Missing a feeding isn't the end of the world! Your starter might become more acidic, but you can usually revive it with one or two regular feedings. Discard a larger portion before feeding to help.
Final Reflection: The Enduring Magic of a Fed Starter
The rhythmic feeding of a sourdough starter is more than just a baking task; it's a testament to the enduring power of patience and the symbiotic relationship between human and microbe. The precise schedule detailed in this article, while crucial for consistent results, only scratches the surface of the deeper connection forged through this daily ritual. Understanding the nuances of starter feeding unlocks not only perfectly risen rye loaves but also a profound appreciation for the living organism at the heart of sourdough baking.
The impact of sourdough, and the mindful practice of starter care, extends far beyond the kitchen. It's a quiet rebellion against the instant gratification of modern life, a return to a slower, more deliberate pace. It's a connection to ancient baking traditions, a tangible link to generations past who nurtured their own starters, passing down their knowledge and their cultures through this simple act. Bread is the staff of life,
they say, and in the careful tending of our starters, we rediscover the profound truth in those words. It's not just about the bread; it's about the process, the patience, and the connection to something larger than ourselves.
Now, consider your own starter. What does its rhythm mean to you? Is it a source of calm amidst the chaos, a daily reminder to slow down and appreciate the small things? Perhaps it's a symbol of growth and transformation, mirroring your own journey of learning and discovery.
I invite you to reflect on your relationship with your starter, to observe its subtle changes, and to appreciate the living magic it brings to your baking and your life. Embrace the process, experiment with different feeding schedules, and most importantly, enjoy the journey. The perfect loaf is a wonderful reward, but the true satisfaction lies in the mindful practice itself.
Unlock the Secrets to a Thriving Sourdough Rye Starter!
Thanks for taking the time to learn more about nurturing your sourdough rye starter! We hope you now feel empowered to bake incredible, flavorful loaves. Ready to put your new knowledge into practice?
- Give your starter a delicious upgrade: Try adding a small amount of rye flour to your next feeding – you might be surprised by the enhanced flavor profile!
- Share your sourdough journey: Post a picture of your flourishing starter (or your amazing rye bread!) on social media and tag us – we’d love to see it!
- Explore different rye flour varieties: Experiment with different types of rye flour to discover your perfect sourdough rye bread recipe.
What unique flavor will you uncover in your next rye sourdough bake?