
Why Is My Focaccia Dense? Simple Solutions


Welcome to BakeWithEase, your guide to unlocking baking success! Ever wondered why your focaccia, instead of being airy and light, turns out dense and heavy? You're not alone! We're diving deep into dense focaccia troubleshooting tips to help you achieve that perfect, pillowy texture. Discover the common pitfalls and simple adjustments that will transform your baking, and get ready to impress with every slice. Let's get baking!
- Why Is My Focaccia Dense? Simple Solutions for BakeWithEase
- Understanding Dense Focaccia: Common Baking Problems
- Dense Focaccia Troubleshooting Tips: Practical Solutions
- Focaccia Baking Tips for a Light and Airy Result
- Frequently Asked Questions About Focaccia Baking
- BakeWithEase: Mastering Focaccia and Beyond
-
Frequently Asked Questions
- Why is my focaccia turning out dense instead of light and airy?
- What are the most common mistakes that lead to dense focaccia?
- How can I troubleshoot a dense focaccia after it's already baked?
- What type of flour is best for achieving a light and airy focaccia?
- How important is the hydration level for a light focaccia, and how do I adjust it?
- Final Reflection: The Unexpected Joys of a Perfectly Porous Loaf
- Unlock Your Focaccia's Airy Potential!
Why Is My Focaccia Dense? Simple Solutions for BakeWithEase
Understanding Dense Focaccia: Common Baking Problems
What Causes Dense Focaccia? Identifying the Culprits
A dense focaccia can be disappointing after anticipating that light, airy, olive-oil-rich crumb. Several factors commonly contribute to this undesirable texture. One of the primary culprits is insufficient yeast activity, which prevents the dough from rising properly and developing the necessary internal structure. If the yeast is old, inactive, or exposed to incorrect temperatures, it won't produce enough carbon dioxide gas to leaven the dough, resulting in a heavy, brick-like texture instead of a light and open one.
Another significant factor is improper hydration. Focaccia dough is typically quite wet, often having a hydration level of 70% to 80% or even higher (meaning the water weight is 70-80% of the flour weight). If the dough is too dry, the gluten network cannot develop adequately to trap the gases produced by the yeast. This leads to a tighter crumb structure and, inevitably, a dense focaccia. Conversely, while high hydration is key, handling an overly wet dough incorrectly can also lead to issues, but insufficient water is a more common cause of density.
The Impact of Gluten Development on Focaccia Texture
Gluten is the protein network formed when flour is mixed with water and kneaded. It provides the structure and elasticity needed to trap the gases produced by the yeast, allowing the dough to rise and create that characteristic open, airy crumb of a great focaccia. If gluten isn't developed properly, the dough won't have the strength to hold its shape or trap the gas effectively. This results in a flat, dense loaf because the structure collapses or simply can't expand.
Insufficient kneading is a common reason for poor gluten development. While some focaccia methods use minimal kneading, they often compensate with longer fermentation times. If a recipe calls for traditional kneading and you cut the time short, the gluten network won't be strong enough. On the other hand, over-kneading can also harm the dough, though it's less common than under-kneading for density issues. Over-kneaded dough can become tough and lose its elasticity, hindering its ability to rise fully. Finding the right balance is crucial for a light focaccia.
Yeast Activity and Its Role in Light and Airy Focaccia
Yeast is the magical ingredient responsible for leavening focaccia dough. Active yeast consumes sugars in the flour and produces carbon dioxide gas and alcohol. This gas gets trapped within the gluten network, causing the dough to expand or "proof." Proper yeast activity is absolutely essential for achieving a light and airy texture. If the yeast isn't active enough, insufficient gas is produced, and the dough won't rise significantly, leading to a dense focaccia.
Several factors influence yeast activity. Temperature is critical; yeast is most active between 75°F and 85°F (24°C to 30°C). Temperatures too cold slow activity drastically, while temperatures above 130°F (55°C) can kill the yeast entirely. The age and storage of the yeast also matter; expired or improperly stored yeast may be dead or dormant. Furthermore, the amount of sugar or other food sources available to the yeast and the presence of inhibitors like excessive salt can impact its performance. Ensuring your yeast is vibrant and happy is a fundamental step in dense focaccia troubleshooting tips.
Dense Focaccia Troubleshooting Tips: Practical Solutions
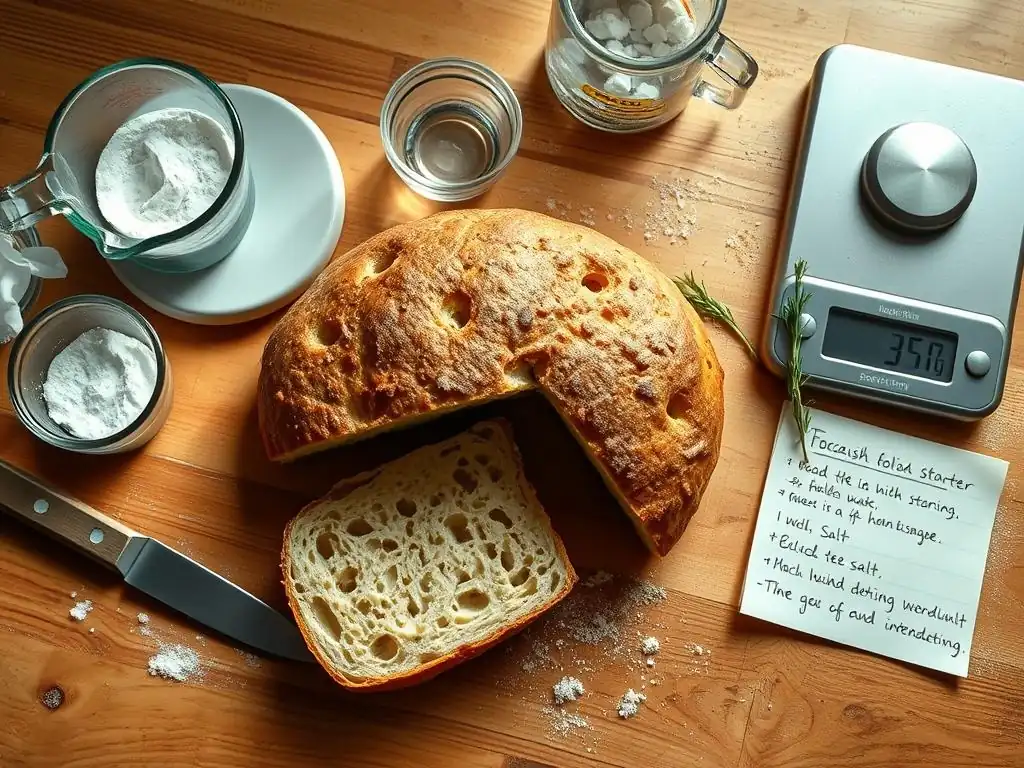
Solution 1: Optimizing Yeast for Focaccia
Checking Yeast Activity for Focaccia Success
Before you even mix your dough, it's wise to check if your yeast is active. This simple test, often called "proofing the yeast," can save you from a dense focaccia disappointment. Dissolve the specified amount of yeast for your recipe (e.g., 2.25 teaspoons or about 7 grams of active dry yeast) in about 1/4 cup of lukewarm water (around 105°F-115°F or 40°C-46°C) with a pinch of sugar. Let it sit for 5-10 minutes.
If the mixture becomes foamy and bubbly, your yeast is active and ready to work its magic. If nothing happens or you see just a few sad bubbles, your yeast is likely dead or inactive, and you should discard it and get a fresh packet. This proactive step is one of the most effective dense focaccia troubleshooting tips you can employ, ensuring your leavening agent is viable from the start.
Proper Hydration for Yeast Activation in Focaccia Dough
While water temperature is key for initially activating yeast, the overall hydration of the dough also impacts yeast activity during fermentation. Yeast needs moisture to thrive and move through the dough, accessing the sugars it needs for fuel. A dough that is too dry can impede yeast mobility and slow down fermentation significantly, contributing to a dense texture.
Ensuring your recipe has adequate water, often resulting in a very wet, sticky dough for focaccia, provides the necessary environment for the yeast to perform optimally. Aim for hydration levels typically ranging from 70% to 85% relative to the flour weight. This high water content not only helps the yeast but also contributes directly to the open crumb structure characteristic of good focaccia. If your dough feels stiff or dry during mixing, you may need to incrementally add a little more water.
Temperature Control: Creating the Ideal Environment for Yeast in Focaccia Baking
Temperature is arguably the most critical factor for successful yeast activity throughout the entire process, from mixing to proofing. Yeast performs best within a specific temperature range, typically between 75°F and 85°F (24°C to 30°C) for bulk fermentation and proofing. If your kitchen is too cold, yeast activity will slow down considerably, leading to underdeveloped dough and a dense focaccia.
To maintain an ideal temperature, you can find a warm spot in your kitchen, like near a sunny window (but not in direct, hot sun) or in an oven that's been briefly warmed and turned off. Some people use a proofing box or even their microwave (turned off) with a cup of hot water inside to create a warm, humid environment. Consistent warmth allows the yeast to produce gas steadily, resulting in a well-risen, light focaccia.
Solution 2: Hydration Levels in Focaccia Dough
The Importance of High Hydration for Focaccia's Open Crumb
Focaccia is known for its airy, open crumb structure dotted with characteristic large bubbles. This texture is largely a direct result of high dough hydration. A wetter dough allows the gluten network to expand more freely, trapping larger pockets of gas produced by the yeast. Think of it like blowing air into a very stretchy balloon versus a less stretchy one – the stretchier one (higher hydration) can hold more air and expand further.
Recipes for authentic focaccia often call for hydration levels significantly higher than those for standard bread, frequently exceeding 75%. This high water content makes the dough sticky and potentially challenging to handle, but it's a non-negotiable element for achieving that signature light and airy texture. Attempting to use a lower hydration typical of sandwich bread will almost certainly result in a denser focaccia.
Adjusting Water Content for a Lighter Focaccia Texture
If you're consistently getting a dense focaccia, your dough might not be hydrated enough. Start by checking your recipe's hydration percentage. If it seems low for focaccia (below 70%), consider gradually increasing the water in future batches. A good rule of thumb might be to start with 75% hydration and adjust based on the flour you are using (different flours absorb water differently).
When adjusting, add water gradually during the initial mixing stage until the dough is very wet and sticky. It should not resemble a firm bread dough; it should be quite loose and almost batter-like when starting with very high hydration (80%+). Don't be afraid of the stickiness; it's a sign you're on the right track for a light focaccia. Remember that accurate measurement, often by weight, is crucial when dealing with high hydration doughs.
Recognizing the Signs of a Properly Hydrated Focaccia Dough
A properly hydrated focaccia dough will be noticeably wet and sticky. When mixing by hand or machine, it might cling to the sides of the bowl. During the initial bulk fermentation, you'll see significant bubbling and the dough will appear quite loose and jiggly. When you transfer it to the baking pan, it won't hold a tight shape but will spread out relatively easily.
After proofing in the pan, a well-hydrated dough will show lots of bubbles on the surface, and when you dimple it with your fingers, it will feel soft and airy, readily accepting the indentations without springing back too quickly. If your dough feels firm, elastic, and holds a tight shape throughout the process, it's likely under-hydrated and will result in a dense focaccia. These visual and tactile cues are key dense focaccia troubleshooting tips.
Solution 3: Kneading Techniques for Focaccia
Developing Gluten Correctly for Focaccia Structure
Proper gluten development is essential for giving focaccia dough the strength and elasticity needed to rise and hold its airy structure. For traditional kneading methods, this involves working the dough until it becomes smooth, elastic, and can pass the "windowpane test" – stretching a small piece thinly enough to see light through it without tearing. This indicates a well-developed gluten network capable of trapping yeast gases.
However, many popular focaccia recipes utilize minimal or no-knead techniques, relying on long fermentation times (sometimes 12-24 hours or more) and periodic "stretch and folds" to develop gluten. During stretch and folds, you gently stretch a portion of the dough up and fold it over itself. This process aligns the gluten strands without the vigorous work of traditional kneading. Whether kneading or stretching and folding, the goal is to build sufficient structure without overworking the dough.
Avoiding Over-Kneading and Its Effects on Focaccia Density
While under-kneading is a more frequent cause of dense focaccia, over-kneading can also be detrimental. Overworked dough becomes very tight, tough, and loses its elasticity. Instead of being extensible and able to stretch and expand with the gas, it resists stretching. This can restrict the dough's ability to rise fully during proofing and baking.
Signs of over-kneaded dough include it tearing easily when stretched and feeling very stiff and difficult to work with. If using a stand mixer, over-kneading can happen quickly, sometimes in just a few extra minutes beyond the ideal point. For focaccia, which benefits from a somewhat relaxed gluten structure to achieve its open crumb, it's often better to err slightly on the side of less development than to risk overworking, especially when using stretch and folds.
The "No-Knead" Focaccia Method: A Beginner-Friendly Approach
The no-knead method is a fantastic technique for focaccia, particularly for beginners, as it simplifies gluten development and often yields a wonderfully light and airy result. This method typically involves mixing the ingredients until just combined, then letting the dough undergo a long, slow fermentation at room temperature or in the refrigerator. Over time, the enzymes in the flour naturally break down proteins, and the gentle movement from gas production helps the gluten strands align themselves.
This approach minimizes handling and relies on time rather than manual effort. While some no-knead recipes incorporate a few sets of stretch and folds within the first few hours, others require no manipulation after the initial mix. This passive development often results in a very extensible dough perfect for focaccia's high hydration and desired open crumb, making it a reliable dense focaccia troubleshooting tip for those struggling with traditional kneading.
Solution 4: Proofing Your Focaccia Dough Properly
Understanding the Proofing Process for Focaccia
Proofing, also known as fermentation, is the critical period during which the yeast produces the majority of the gas that gives focaccia its volume and airy texture. It's a two-stage process: the initial bulk fermentation (the first rise, usually in a bowl) and the final proof (the second rise, typically in the baking pan). Both stages are vital for successful focaccia. During proofing, not only does the dough increase in size, but complex flavors also develop as the yeast and enzymes work.
Insufficient proofing is a common reason for a dense focaccia. If the dough hasn't had enough time or the right conditions to rise adequately, it won't have the necessary internal structure and gas volume when it goes into the oven. It might rise slightly during baking (oven spring), but it won't achieve the desired lightness. Proper proofing is key among effective dense focaccia troubleshooting tips.
First Proof vs. Second Proof: Key Differences for Focaccia Baking
The first proof, or bulk fermentation, is typically longer and occurs immediately after mixing and initial gluten development. This stage is crucial for building overall volume and developing flavor. The dough is usually left in a bowl, often covered, until it has significantly increased in size, sometimes doubling or even tripling, depending on the recipe and temperature. This can take anywhere from 1 hour at warm room temperature to 12-24 hours or more in the refrigerator for a slow fermentation.
The second proof occurs after the dough has been transferred to its baking pan and dimpled. This stage is shorter than the first, usually lasting from 30 minutes to 1.5 hours. Its purpose is to allow the dough to relax into the pan, fill out slightly after dimpling, and build a final bit of lift before baking. Over-proofing during this stage can cause the dough to collapse in the oven, but under-proofing is a more common cause of density. The dough should look visibly puffy and bubbly before baking.
Visual Cues for Properly Proofed Focaccia Dough
Knowing what to look for during proofing is essential to avoid a dense focaccia. During the first proof, the dough should visibly increase in volume and develop bubbles, especially if it's a high-hydration dough. For the second proof in the pan, the dough should look puffy and relaxed, filling the corners of the pan. When you gently press a finger into the dough, the indentation should spring back slowly, but not completely disappear.
If the indentation springs back immediately, the dough needs more time to proof (it's under-proofed). If the indentation remains completely without any spring back, the dough might be slightly over-proofed, though for focaccia, slight over-proofing is often less detrimental than significant under-proofing and might still yield an airy result if handled gently. A dough that shows minimal increase in size and no visible bubbles during proofing is a sure sign of inactive yeast or insufficient proofing time, leading to a dense focaccia.
Solution 5: Baking Temperature and Time for Focaccia
Achieving the Right Oven Temperature for Focaccia
Baking temperature plays a significant role in focaccia's final texture. Focaccia is typically baked at relatively high temperatures, often between 400°F and 450°F (200°C to 230°C). A hot oven provides a strong initial burst of heat, known as "oven spring," which causes the gases within the dough to expand rapidly, contributing to a light and airy texture. Baking at too low a temperature will result in slower oven spring and a longer baking time, which can dry out the focaccia and make it dense.
It's crucial to preheat your oven thoroughly, often for 20-30 minutes or even longer, to ensure it reaches and maintains the target temperature. An oven thermometer is a valuable tool, as many home ovens can be off by 25-50°F (15-30°C) or more. Baking on a preheated baking stone or steel can also provide better heat transfer from the bottom, aiding in oven spring and preventing a soggy bottom, which is another common focaccia problem.
The Role of Baking Time in Focaccia Texture
Baking time works in conjunction with temperature to achieve the desired texture. The duration depends on the temperature, the size and thickness of the focaccia, and your oven. Typically, focaccia bakes for 20 to 30 minutes. During this time, the dough transforms from a wet mass into a cooked, structured bread with a golden-brown crust and a cooked interior.
Under-baking is a common cause of a gummy or slightly dense focaccia interior. If you pull the focaccia out too soon, the internal structure hasn't fully set, and the moisture hasn't properly evaporated. The focaccia should be deeply golden brown on top and cooked through. If you're unsure, you can check the internal temperature with an instant-read thermometer; a fully baked focaccia should register around 200°F to 210°F (93°C to 99°C).
Preventing a Soggy Bottom: Baking Tips for Focaccia
A soggy bottom is a common complaint with focaccia and can contribute to an overall unpleasant, dense texture. This often happens when the bottom of the pan doesn't receive enough direct heat during baking. Using a dark metal pan can help absorb heat better than a light-colored one. As mentioned, baking on a preheated baking stone or steel provides intense heat from underneath, significantly reducing the chance of a soggy bottom.
Another tip is to ensure you use enough olive oil in the pan. The oil conducts heat and helps the bottom crust crisp up beautifully. Some recipes also recommend placing the pan on the lowest rack in the oven, especially if you aren't using a baking stone, to maximize direct heat to the bottom. Proper baking temperature and time are crucial dense focaccia troubleshooting tips for achieving both a light crumb and a crisp base.
Focaccia Baking Tips for a Light and Airy Result
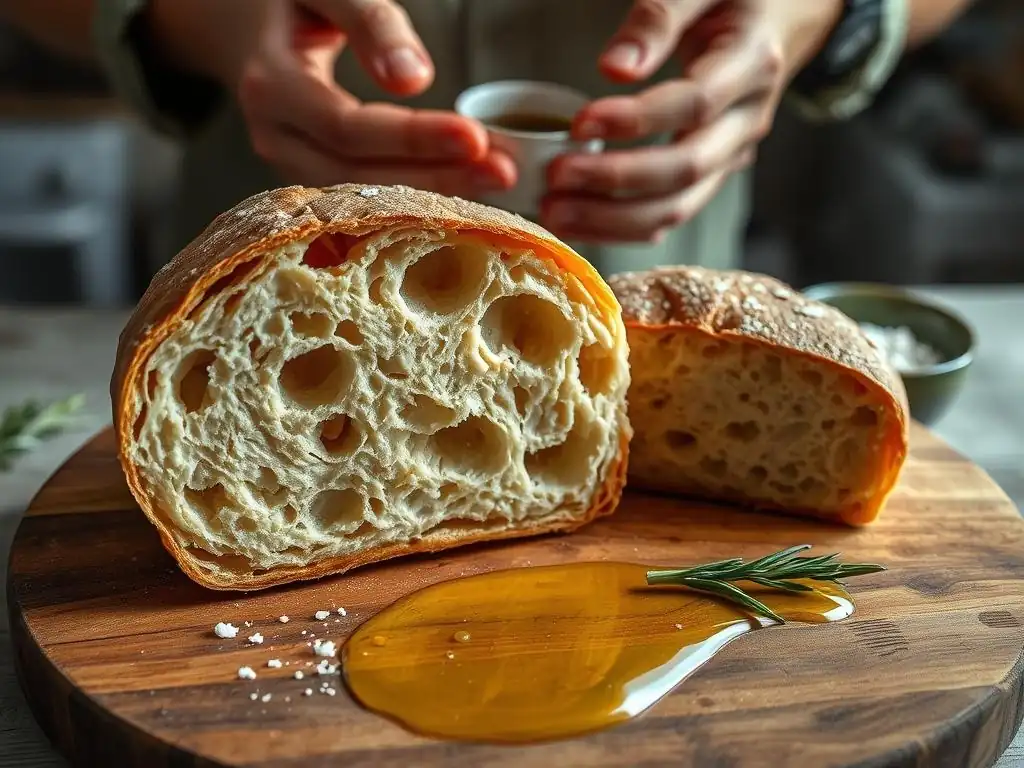
Measuring Ingredients Accurately for Focaccia Recipes
Accuracy in measuring ingredients is fundamental to successful baking, and focaccia is no exception. Using too much flour or not enough water, for instance, will directly impact the dough's hydration level, leading to a denser result. While volume measurements (cups) can be inconsistent due to how flour is scooped and packed, weighing ingredients, especially flour and water, provides the most precise results.
For example, a cup of all-purpose flour can weigh anywhere from 120g to 150g depending on how it's measured. Using a scale ensures you're adding the exact amount specified in the recipe, which is particularly critical for high-hydration doughs where the water-to-flour ratio is so important. Investing in a simple digital scale is one of the best steps you can take to improve your focaccia and troubleshoot density issues.
Using High-Quality Flour for Focaccia Baking
The type and quality of flour you use significantly impact the final texture of your focaccia. All-purpose flour works well, but bread flour, which has a higher protein content (around 12-14% compared to 10-12% in all-purpose), can provide a stronger gluten network. This stronger structure is better equipped to trap the large amounts of gas produced in a high-hydration dough, resulting in a more open and airy crumb.
Some recipes might even suggest using Italian Tipo 00 flour, traditionally used for pasta and pizza, which is finely milled and often has a specific protein quality that can contribute to a tender yet structured crumb. Experimenting with different flours and understanding their protein content can be a valuable part of your dense focaccia troubleshooting tips journey. Ensure your flour is fresh and stored properly, as old flour can affect dough performance.
Experimenting with Different Focaccia Variations
Once you've mastered the basic technique and consistently achieve a light, airy focaccia, don't hesitate to experiment! Focaccia is incredibly versatile and can be topped with almost anything. Classic toppings include fresh rosemary and coarse sea salt, but you can explore options like cherry tomatoes, olives, caramelized onions, garlic, or various herbs.
Adding toppings usually happens during the second proof or just before baking. Be mindful not to overload the focaccia, as excessive weight can sometimes slightly compress the dough, though this is less likely to cause significant density issues compared to fundamental problems like hydration or proofing. Experimenting with toppings adds variety and fun to your baking while reinforcing your understanding of the base dough's behavior.
Frequently Asked Questions About Focaccia Baking
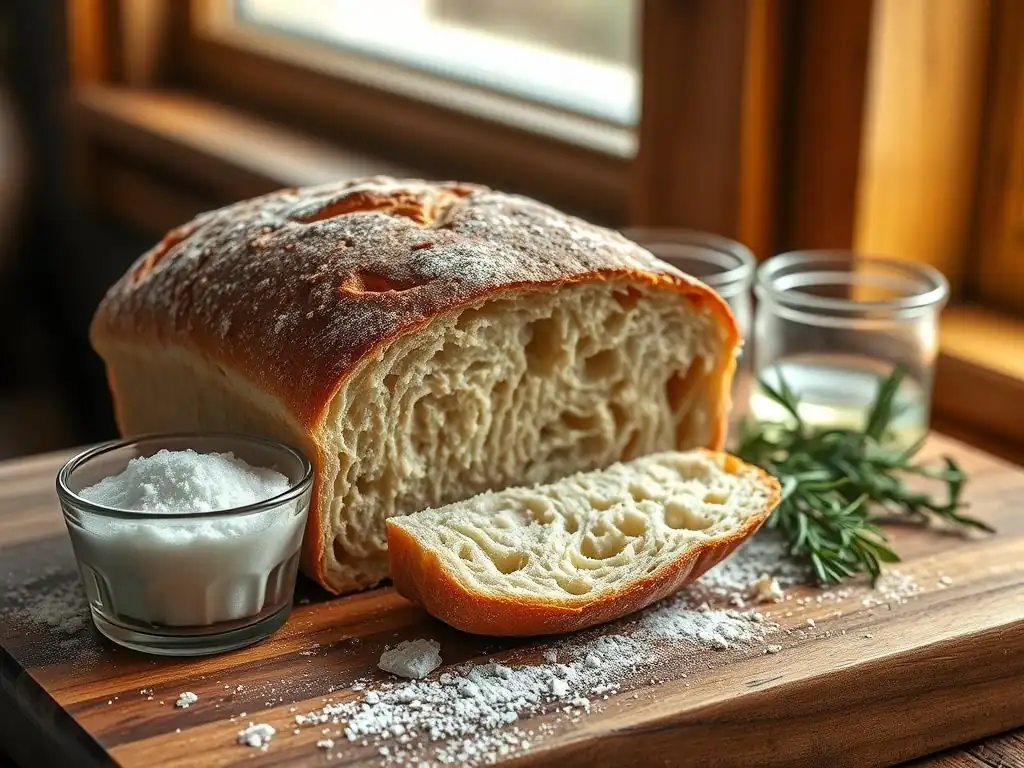
Can I rescue a dense focaccia?
Unfortunately, once a focaccia is baked and turns out dense, there's not much you can do to make it light and airy. The internal structure is set during baking. However, a dense focaccia isn't necessarily a complete loss! You can repurpose it. Consider slicing it horizontally and using it for sandwiches, cutting it into croutons for salads, or cubing and toasting it to serve with soup. While it won't be the light focaccia you aimed for, it can still be enjoyed in other ways.
What type of oil is best for focaccia?
Extra virgin olive oil is traditionally and widely considered the best oil for focaccia. Its rich flavor complements the bread beautifully, and it plays a crucial role in both the dough (contributing to tenderness and flavor) and the pan (preventing sticking and helping create a crisp bottom crust). A good quality extra virgin olive oil will impart a distinct, desirable taste. While you could use other oils, you would lose some of the characteristic flavor that defines focaccia.
How do I store focaccia to maintain its texture?
Focaccia is best enjoyed fresh, ideally within a day of baking, as its texture is at its peak then. To store it for a short period (1-2 days) at room temperature, wrap it loosely in plastic wrap or store it in a bread box. For longer storage, you can freeze focaccia. Allow it to cool completely, then wrap it tightly in plastic wrap and aluminum foil or place it in a freezer-safe bag. When ready to eat, thaw at room temperature and reheat in a warm oven (around 350°F or 175°C) for 5-10 minutes to crisp it up.
BakeWithEase: Mastering Focaccia and Beyond
Frequently Asked Questions
Why is my focaccia turning out dense instead of light and airy?
Dense focaccia is often caused by insufficient yeast activity or not allowing enough time for proper proofing. Over-kneading can also contribute to a dense texture.
What are the most common mistakes that lead to dense focaccia?
The most frequent errors are using old or inactive yeast, not allowing the dough to rise sufficiently, and failing to incorporate enough air during the mixing and shaping process.
How can I troubleshoot a dense focaccia after it's already baked?
Unfortunately, once a focaccia is baked and dense, there's no way to fix the texture. Focus on learning from the mistake. The next time, ensure active yeast and adequate proofing time.
What type of flour is best for achieving a light and airy focaccia?
Bread flour, with its higher gluten content, is generally recommended. It provides the structure needed for a light and airy focaccia. Strong gluten development is key.
How important is the hydration level for a light focaccia, and how do I adjust it?
High hydration is crucial for a light and airy focaccia. If your dough is too dry, gradually add water, a tablespoon at a time, until it reaches a slightly sticky consistency.
Final Reflection: The Unexpected Joys of a Perfectly Porous Loaf
The quest for the perfect focaccia, light and airy, is a journey shared by countless home bakers. A dense focaccia, sadly, is a common pitfall, but understanding the reasons behind it unlocks a world of improved baking techniques and, ultimately, delicious results. This article has explored the most frequent culprits – from overmixing and insufficient proofing to hydration levels and oven temperature – offering practical solutions to achieve that coveted airy crumb.
The pursuit of the perfect focaccia transcends mere culinary skill; it's a reflection of our desire for mastery and the satisfaction derived from transforming simple ingredients into something beautiful and delicious. Baking is at once child's play and adult joy. And love, of course.
This quote, though not specifically about focaccia, perfectly encapsulates the emotional connection we forge with our baking endeavors. The frustration of a dense loaf teaches patience and the importance of attention to detail, while the triumph of a perfectly risen crust rewards us with a sense of accomplishment that extends far beyond the kitchen.
Now, consider your own baking journey. Have you experienced the frustration of a dense focaccia? What did you learn from that experience? I encourage you to revisit your baking process, armed with the knowledge gained from this article, and experiment with the suggested solutions. Don't be discouraged by setbacks – each failed loaf is a step closer to mastering the art of focaccia baking, and the reward of that first perfectly porous slice will be all the sweeter for the effort.
Unlock Your Focaccia's Airy Potential!
Thanks for taking the time to explore the secrets of light and fluffy focaccia! We hope you gained valuable insights into achieving that perfect, airy crumb. Now it's time to put your newfound knowledge into action.
- Bake your best focaccia yet! Use the tips from this article to try again—this time, focusing on the crucial hydration and proofing stages. Remember, practice makes perfect!
- Share your focaccia success (or even your struggles!) with our community in the comments below. We love to see your creations and offer support.
- Challenge yourself: Experiment with different flours or herbs to create your signature focaccia recipe.
Ready to transform your baking game? What unique ingredient will you add to your next focaccia masterpiece?