
The Problem of Undercooked Bread Centers

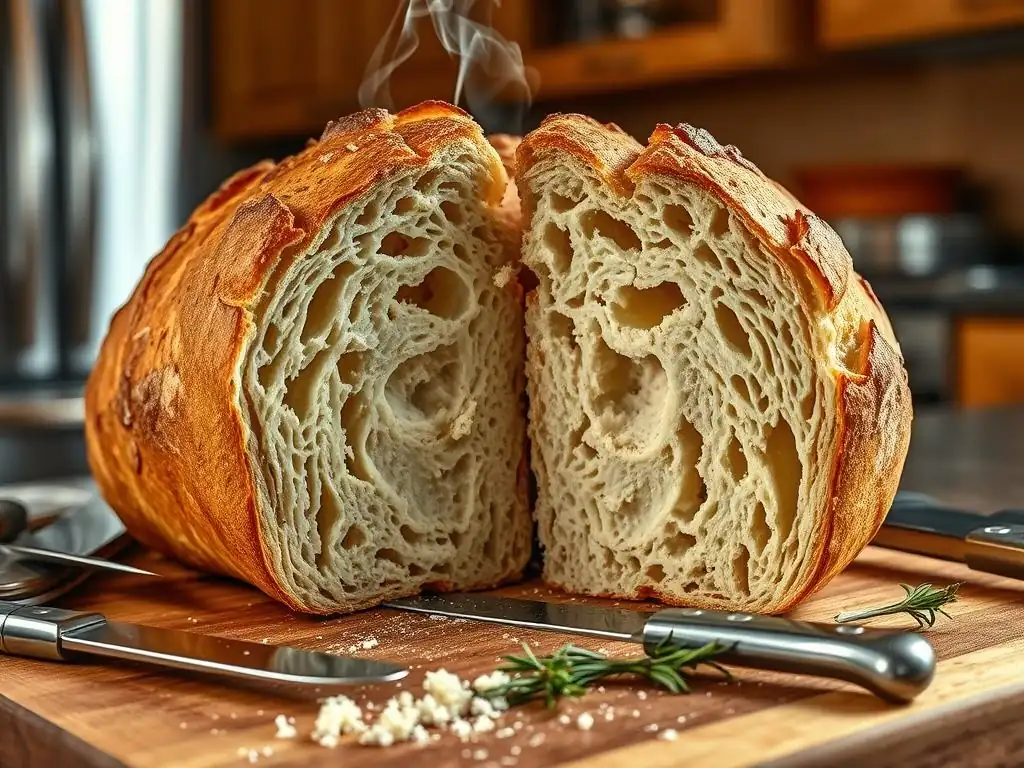
Welcome to BakeWithEase! Ever battled the frustration of a perfectly browned loaf, only to slice it open and discover a dreaded, doughy center? You're not alone! Many bakers face undercooked bread center problems, and this article is your definitive guide to conquering them. Discover the secrets to achieving consistently perfect bakes, and say goodbye to soggy middles for good. Intrigued? Let's dive in and unlock the secrets of beautifully baked bread!
- The Problem of Undercooked Bread Centers: Bake With Ease Troubleshooting Guide
- Introduction: Understanding Undercooked Bread Center Problems
- Identifying the Root Cause of Undercooked Bread Centers
- Solutions for Undercooked Bread Center Problems
- Advanced Techniques to Avoid Doughy Bread
- Preventing Future Undercooked Bread Center Issues
- Conclusion: Achieving Baking Success with Bake With Ease
- Frequently Asked Questions
- Final Reflection: The Enduring Crumb: Beyond Undercooked Centers
- Unleash Your Inner Baker: Perfect Bread Centers Every Time!
The Problem of Undercooked Bread Centers: Bake With Ease Troubleshooting Guide
Introduction: Understanding Undercooked Bread Center Problems
There are few things more disappointing in baking than slicing into a beautiful loaf of bread only to discover a dense, doughy, and undercooked center. This common issue, often referred to as undercooked bread center problems, can frustrate even experienced bakers. It's a signal that something went awry during the baking process, preventing the heat from fully penetrating and cooking the interior of the loaf.
At Bake With Ease, we understand this frustration. Our goal is to help you troubleshoot these challenges and achieve consistently perfect loaves. Addressing undercooked bread center problems involves understanding the potential culprits, which range from subtle inconsistencies in your ingredients or process to more significant issues with your equipment or technique. Let's delve into why this happens and how you can fix it.
Why is My Bread Doughy in the Middle? Common Causes
Finding your bread doughy in the middle is a classic symptom of undercooked bread center problems. This isn't usually due to a single factor, but rather a combination of potential issues that prevent the internal temperature of the loaf from reaching the point required for the starches to gelatinize and the gluten structure to set properly.
One of the most frequent reasons is insufficient baking time, simply not leaving the bread in the oven long enough for the heat to reach the core. Another significant factor is an inaccurate oven temperature; if your oven runs cooler than the setting indicates, the bread bakes slower than expected. Furthermore, issues like excessive dough hydration, using the wrong size or type of bread pan, or even problems with the dough's proofing can contribute significantly to undercooked bread center problems.
Bake With Ease: Your Resource for Perfect Bread Baking
Bake With Ease is dedicated to simplifying the baking process and helping you overcome common hurdles like undercooked bread center problems. We provide clear, step-by-step guides and practical tips tailored for bakers of all skill levels.
Whether you're struggling with your first sourdough loaf or trying to perfect a classic white bread, our resources cover essential techniques, ingredient science, and troubleshooting for issues like doughy centers, dense crumbs, or uneven crusts. Our aim is to empower you with the knowledge to confidently tackle any baking challenge and consistently produce delicious, perfectly baked bread right in your own kitchen.
Identifying the Root Cause of Undercooked Bread Centers
Pinpointing the exact reason behind undercooked bread center problems requires a bit of detective work. Since multiple factors can contribute, it's helpful to systematically evaluate each potential area. Often, the solution lies in a combination of minor adjustments rather than a single drastic change. Let's explore the most common culprits in detail.
Dough Hydration Levels: Too Much Moisture Retention
High hydration doughs, those with a high ratio of water to flour (often 75% or more hydration), are popular for creating open, airy crumbs. However, working with very wet dough can be challenging, and if not baked correctly, the excess moisture can prevent the center from reaching the necessary temperature to fully cook, leading to undercooked bread center problems. The water absorbs heat, and if the baking time or temperature isn't adjusted to account for this, the interior remains damp and doughy.
For instance, a lean sourdough dough at 80% hydration will require a longer baking time or potentially a higher initial temperature compared to a 65% hydration sandwich loaf of the same size. If you bake both for the same duration at 375°F, the higher hydration loaf is far more likely to suffer from an undercooked middle. Understanding the typical hydration range for the type of bread you're making is crucial, and sometimes, slightly reducing the hydration (say, from 78% to 75%) while you perfect your baking process can help mitigate doughy centers.
Oven Temperature Inaccuracies: A Major Culprit
One of the most common reasons for undercooked bread center problems is an oven that doesn't heat accurately. Most home ovens have temperature fluctuations or can be off by as much as 25-50°F (approx. 14-28°C) from the set temperature. If your oven is consistently running cooler than you think, your bread is baking at a lower temperature than the recipe intends, significantly increasing the required baking time and making a doughy center much more likely.
Using an inexpensive oven thermometer placed inside your oven is a simple yet effective way to verify its actual temperature. You might find that when set to 400°F (approx. 200°C), your oven is only reaching 370°F (approx. 188°C). This temperature difference can mean the difference between a perfectly cooked loaf and one with an undercooked middle after the standard baking time. Knowing your oven's true temperature allows you to adjust the dial accordingly or compensate with longer baking times.
Insufficient Baking Time: The Most Obvious Reason
Sometimes, the solution to undercooked bread center problems is simply more time in the oven. It's easy to pull a loaf out based solely on the golden-brown color of the crust, but the exterior often browns before the interior is fully cooked, especially with larger or higher-hydration loaves. Recipes provide estimated baking times, but these are just guidelines; actual baking time can vary based on your oven, the pan used, and the specific characteristics of your dough.
For a standard 1.5-pound loaf baked at 400°F (approx. 200°C), the baking time might be listed as 30-40 minutes. If you remove it at 30 minutes because the crust looks good, the internal temperature might still be below the critical 190-200°F (approx. 88-93°C) range needed for complete cooking. Extending the baking time by even 5-10 minutes can make a significant difference in preventing a doughy center, ensuring the heat fully penetrates to the core.
Bread Pan Size and Shape: Impact on Heat Distribution
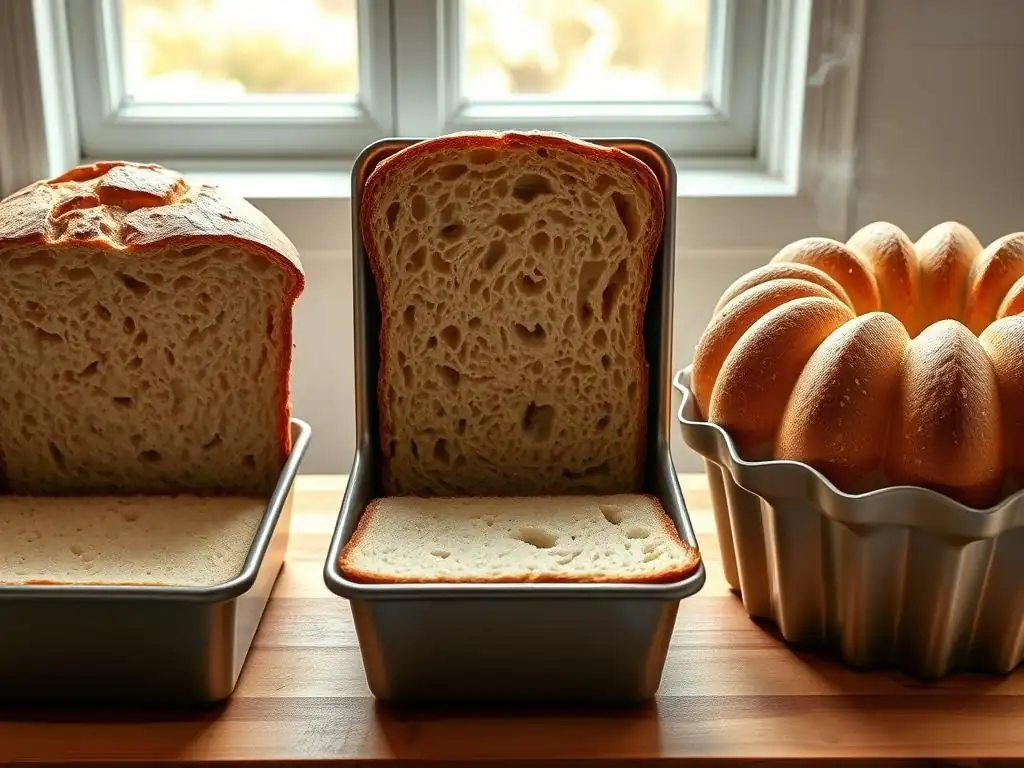
The dimensions and material of your bread pan play a role in how heat is distributed and penetrates the dough, which can contribute to undercooked bread center problems. Using a pan that is too small for the amount of dough can result in a very tall, narrow loaf. The center of a tall loaf is further from the heat source (the pan sides and bottom, and the air circulating the top), making it harder for the heat to reach and cook the core fully within the typical baking time.
For example, baking 900g of dough in an 8.5x4.5 inch loaf pan will produce a taller loaf than baking the same amount in a 9x5 inch pan. The taller loaf in the smaller pan will require a longer baking time to ensure the center reaches the target internal temperature. Similarly, the material matters; dark metal pans absorb and radiate heat more efficiently than shiny aluminum or glass pans, potentially leading to faster crust development but requiring careful monitoring to ensure the inside catches up.
Inadequate Dough Proofing: How it Affects Baking
While primarily affecting texture and volume, the proofing stage can indirectly contribute to undercooked bread center problems. Under-proofed dough is dense and compact. When it hits the hot oven, it experiences significant oven spring (rapid expansion). This sudden expansion can sometimes result in a less uniform structure and a denser core that takes longer for heat to penetrate, potentially leaving the center doughy if the baking time isn't adjusted.
Conversely, severely over-proofed dough can collapse slightly or have a weakened structure. While less common as a direct cause of doughy centers, it can lead to loaves with poor structure that don't bake evenly. Proper proofing ensures the dough has developed a strong, even structure filled with gas pockets, which allows for more uniform heat distribution during baking. A dough that has proofed correctly will have a more consistent texture throughout the loaf, facilitating even cooking.
Solutions for Undercooked Bread Center Problems
Now that we've explored the potential causes of undercooked bread center problems, let's look at practical solutions. Often, implementing one or more of these techniques can dramatically improve your results and help you achieve perfectly baked bread every time.
Adjusting Oven Temperature for Even Baking
If you suspect your oven temperature is contributing to undercooked bread center problems, adjusting the temperature setting is a key step. First, verify your oven's accuracy with an oven thermometer. Once you know how much it's off, you can compensate by setting the temperature higher or lower. For example, if your oven runs 25°F (approx. 14°C) cool, set it 25°F higher than the recipe calls for.
Alternatively, especially for larger or wetter loaves, you can try starting with a higher temperature for the first 15-20 minutes (e.g., 450-475°F or 230-245°C) to achieve good oven spring and crust set, then significantly lowering the temperature (e.g., to 375-400°F or 190-200°C) for the remainder of the baking time. This allows the interior to cook through gently without the crust burning. This two-stage approach is particularly effective for preventing undercooked bread center problems in freeform loaves or those baked in Dutch ovens.
Lowering Temperature and Extending Baking Time
A common strategy to combat undercooked bread center problems, especially with larger loaves or if your crust is browning too quickly, is to lower the oven temperature and bake for a longer duration. For instance, if a recipe calls for 40 minutes at 400°F (approx. 200°C), you might try baking at 375°F (approx. 190°C) for 45-55 minutes. This gentler heat allows the interior more time to catch up to the exterior's cooking rate.
This method is particularly useful if you notice your crust is already deeply colored while the internal temperature is still well below the target range (190-210°F or 88-99°C). Reducing the heat prevents the crust from burning while giving the necessary time for heat to slowly penetrate to the core, ensuring the starch gelatinization and protein coagulation needed for a fully cooked center. It's a balancing act that requires patience and observation.
Using an Oven Thermometer for Accuracy
Relying solely on your oven's dial is a common pitfall leading to undercooked bread center problems. As mentioned, home ovens can be significantly inaccurate. An oven thermometer is a simple, inexpensive tool that provides the true temperature inside your oven, allowing you to make necessary adjustments.
Place the thermometer in the center of your oven and preheat it to the desired temperature. Check the thermometer after the oven has preheated for at least 15-20 minutes to get an accurate reading. Knowing your oven runs hot or cool allows you to set the dial correctly (e.g., if it reads 375°F when set to 400°F, you know to set the dial to 425°F for future bakes). This single tool can dramatically improve consistency and help you avoid undercooked bread center problems.
Mastering Dough Hydration for Better Bread Texture
Controlling dough hydration is fundamental to successful bread baking and preventing undercooked bread center problems. While high hydration can produce desirable textures, it must be managed correctly during mixing and baking. If you're consistently getting doughy centers with a high-hydration recipe, consider slightly reducing the water amount (e.g., by 5-10 grams per 500 grams of flour) until you're more comfortable handling and baking wetter doughs.
Furthermore, ensuring your ingredients are measured accurately, especially flour and water, is paramount. The difference of just 20-30 grams of water in a typical loaf can significantly impact the final dough consistency and how it bakes. Using a kitchen scale for all ingredients, rather than volume measurements (cups), provides far greater accuracy and consistency, helping you better control hydration and reduce the likelihood of undercooked bread center problems related to excess moisture.
Measuring Ingredients Accurately: Grams vs. Cups
Accuracy in ingredient measurement is non-negotiable for consistent baking results and avoiding undercooked bread center problems. Measuring flour by volume (cups) is notoriously inaccurate because flour settles differently depending on how it's stored and scooped. A cup of flour can weigh anywhere from 115 grams to 150 grams, a significant variation that directly impacts the hydration percentage of your dough.
Using a digital kitchen scale to measure flour, water, and other ingredients in grams ensures precision. Most bread recipes include gram measurements, and following these will give you the intended hydration level. For example, if a recipe calls for 500g flour and 350g water, the hydration is exactly 70%. If you used cups and accidentally added too much water or too little flour due to inaccurate measurement, your hydration could be significantly higher, contributing to a doughy middle.
Adjusting Hydration Based on Flour Type
Different types of flour absorb water differently, which affects the optimal hydration level for a recipe and can influence undercooked bread center problems. Whole wheat flour and rye flour, for instance, absorb significantly more water than white all-purpose or bread flour due to their higher protein and fiber content. A recipe designed for white bread at 65% hydration might need to be 75-80% hydration when using a large proportion of whole wheat to achieve a similar dough consistency.
If you substitute flour types without adjusting hydration, you might end up with dough that is too dry (if using a more absorbent flour without adding water) or too wet (if using a less absorbent flour without reducing water). Baking dough with incorrectly adjusted hydration can lead to issues like dense crumb or, conversely, an overly wet interior that struggles to cook through, contributing to undercooked bread center problems. Always consider the flour type and adjust hydration as needed or find recipes specifically developed for that flour.
Optimizing Baking Time for Fully Cooked Bread
Determining the perfect baking time is crucial for preventing undercooked bread center problems. While recipes provide estimates, the best way to know if your bread is truly done is by checking its internal temperature. Visual cues like crust color are helpful indicators but shouldn't be the sole determinant.
Using an instant-read thermometer is the most reliable method. Insert the probe into the thickest part of the loaf, ideally from the bottom or side to avoid leaving a large hole in the top crust. For most lean bread (like sourdough or baguettes), the target internal temperature is between 200-210°F (approx. 93-99°C). For enriched bread containing milk, eggs, or sugar (like challah or brioche), the target is slightly lower, around 190-195°F (approx. 88-91°C). Reaching these temperatures ensures the starches have fully gelatinized and the gluten structure is set, preventing a doughy middle.
Using the Internal Temperature Test: The Best Indicator
Relying on internal temperature is the gold standard for knowing when your bread is fully baked and avoiding undercooked bread center problems. Unlike visual cues or tapping the bottom (which can be subjective), a thermometer provides an objective measurement of how far heat has penetrated the loaf.
Insert an instant-read thermometer into the very center of the loaf. If it reads below the target range (e.g., below 190°F or 88°C for lean bread), the bread is not yet done, regardless of how the crust looks. Continue baking and check the temperature every 5-10 minutes until it reaches the desired range. This simple step eliminates the guesswork and is the most effective way to guarantee a perfectly cooked interior, solving many undercooked bread center problems.
Signs of a Fully Baked Loaf: Visual Cues
While the internal temperature test is definitive, several visual and auditory cues can also indicate that your bread is likely done and help you avoid undercooked bread center problems. A fully baked loaf typically has a deep golden-brown to dark brown crust, depending on the recipe and desired flavor profile. The crust should look set and firm, not pale or soft.
Another classic test is tapping the bottom of the loaf. If it sounds hollow, it's generally considered a sign of doneness. This hollow sound indicates that the interior has dried out sufficiently and developed a proper crumb structure. While these cues are useful, especially in conjunction with temperature checks, remember they are secondary to achieving the correct internal temperature for preventing a doughy middle.
Selecting the Right Bread Pan for Optimal Heat Distribution
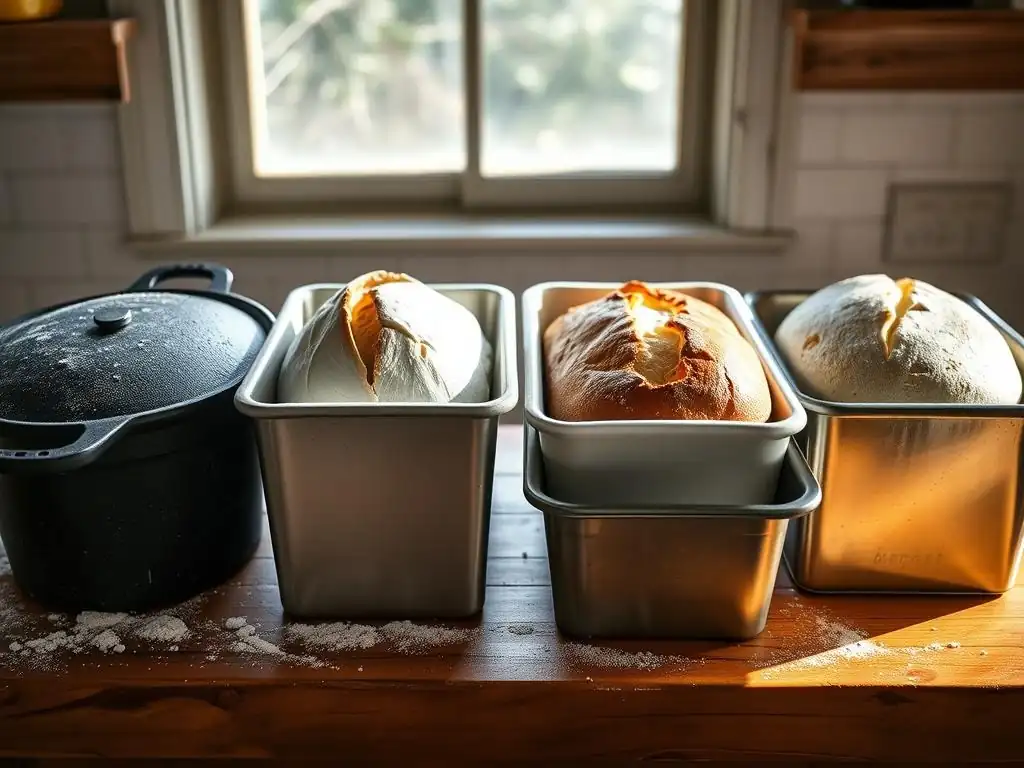
The pan you use can significantly impact heat distribution and contribute to or help prevent undercooked bread center problems. Choosing the right pan size and material for your specific recipe and dough amount is important. Using a pan that is too large for the dough can result in a flat, wide loaf, while one that's too small creates a tall, narrow loaf where the center is harder to cook.
For standard loaf bread, ensure your dough amount matches the pan size recommendation (e.g., typically 800-1000g of dough for a 9x5 inch pan). Consider the pan material as well. Metal pans, particularly dark ones, conduct heat efficiently, promoting good crust development. Glass pans are slower to heat but retain heat well, which can be beneficial but sometimes leads to darker bottoms. Silicone pans are non-stick but are poor heat conductors and can sometimes contribute to undercooked bottoms or sides.
Metal vs. Glass Pans: Which is Better?
The choice between metal and glass bread pans can influence baking time and crust development, indirectly affecting undercooked bread center problems. Metal pans, especially those made from aluminum or steel, are excellent heat conductors. They heat up quickly and distribute heat evenly, promoting good browning on the sides and bottom crust. Dark-coated metal pans absorb even more heat, leading to faster, darker crust development.
Glass pans, on the other hand, are insulators. They take longer to heat up but retain heat very well. This can sometimes result in the bottom and sides of the loaf browning more than the top, and the overall baking time might be slightly longer compared to metal to ensure the center is cooked.
Some bakers prefer glass for enriched breads as it can promote a tender crust, but for lean bread where a crisp crust is desired, metal is often preferred. If using glass, you might need to reduce your oven temperature by about 25°F (approx. 14°C) from a recipe designed for metal and potentially extend the baking time slightly.
Pan Size and Shape Considerations
Matching the amount of dough to the appropriate pan size is critical for even baking and avoiding undercooked bread center problems. A pan that is too small forces the dough upwards, creating a tall, narrow loaf where heat struggles to reach the center. A pan that is too large results in a loaf that spreads out, potentially baking faster but yielding a less desirable shape.
Standard loaf pan sizes are typically 8.5x4.5 inches or 9x5 inches. A good rule of thumb is that the dough should fill the pan about 2/3 to 3/4 of the way before final proofing. If you consistently use too much dough for your pan, try reducing the batch size or dividing the dough into two smaller loaves. Using the correctly sized pan ensures the loaf has a balanced height-to-width ratio, allowing heat to penetrate more evenly from all sides, which is key to preventing a doughy middle.
Inadequate Dough Proofing: How it Affects Baking
Proper proofing is essential for developing the correct structure and texture in your bread, which in turn affects how it bakes and can prevent undercooked bread center problems. Proofing allows the yeast to produce carbon dioxide gas, expanding the dough and creating an open, airy network of gluten strands. This structure facilitates even heat distribution during baking.
Under-proofing means the dough hasn't expanded enough. It will be dense, and when it hits the oven, it will experience excessive, rapid oven spring which can lead to a dense, potentially doughy core. Over-proofing means the dough has expanded too much and the gluten structure has weakened. It may collapse in the oven and bake unevenly, though this is less likely to cause a truly undercooked center than under-proofing or baking issues. Learning to recognize properly proofed dough (often passes the "poke test") is vital for consistent results.
Proper Proofing Techniques for Even Baking
Implementing proper proofing techniques helps ensure your dough develops the ideal structure for even baking and avoids undercooked bread center problems. Proofing temperature and time are key. Most doughs benefit from proofing in a warm, draft-free environment, typically between 75-80°F (approx. 24-27°C). This temperature range allows yeast to be active without being overly stimulated.
Allowing sufficient time for both the first rise (bulk fermentation) and the second rise (final proof) is necessary. The dough should roughly double in size during the first rise and increase significantly (often 50-80%) during the second rise, depending on the recipe and desired outcome. Using visual cues and the poke test (gently poke the dough; if the indentation slowly springs back halfway, it's usually ready) helps confirm proper proofing. Consistent proofing leads to consistent oven spring and more predictable baking, reducing the risk of undercooked bread center problems.
Avoiding Over-Proofing and Under-Proofing
Both over-proofing and under-proofing can negatively impact your final loaf, although under-proofing is more directly linked to undercooked bread center problems due to the dense structure. To avoid under-proofing, ensure your proofing environment is warm enough and allow ample time for the dough to expand according to the recipe's guidelines, using the poke test as confirmation. Don't rush the process, especially in cooler environments.
To avoid over-proofing, pay attention to the clock but also to the dough itself. Over-proofed dough will look overly puffy, may start to deflate slightly, and the poke test will result in an indentation that stays completely. If you suspect over-proofing, you can sometimes gently reshape the dough and give it a shorter second proof, or adjust baking by being extra diligent with temperature and time to ensure the weakened structure still cooks through. Consistent monitoring is key to hitting that sweet spot.
Advanced Techniques to Avoid Doughy Bread
Once you've mastered the basics of temperature, time, and pan selection, you can explore more advanced techniques that further enhance your bread baking and help prevent undercooked bread center problems, particularly in challenging recipes like high-hydration sourdough.
The Importance of Autolyse in Bread Baking
Autolyse is a simple technique that can significantly improve dough handling and structure, indirectly helping to prevent undercooked bread center problems by promoting more even gluten development. It involves mixing just the flour and water from a recipe and letting it rest for 20 minutes to several hours before adding the salt and yeast/starter.
During the autolyse period, the flour absorbs the water fully, and enzymatic activity begins to break down starches and proteins. This process allows the gluten network to start forming on its own without mechanical mixing. The result is a dough that is smoother, more extensible, and less sticky, making it easier to handle. A well-developed gluten structure facilitates the creation of a uniform crumb, allowing heat to penetrate more evenly during baking and reducing the likelihood of a dense, undercooked middle.
Using a Baking Stone or Dutch Oven for Even Heat
Employing a baking stone, steel, or a Dutch oven can dramatically improve heat transfer to your loaf, helping to prevent undercooked bread center problems and achieve a superior crust. A preheated baking stone or steel provides intense, even heat from the bottom, promoting excellent oven spring and ensuring the base of the loaf cooks thoroughly.
Baking bread in a preheated Dutch oven is particularly effective, especially for rustic or sourdough loaves. The heavy pot mimics a professional bread oven by trapping steam released from the dough, which keeps the crust soft initially, allowing the loaf to expand fully. After about 20-30 minutes, the lid is removed, allowing the steam to escape and the crust to brown beautifully.
The even, radiant heat from the cast iron surrounding the loaf ensures heat penetrates efficiently from all sides, greatly reducing the risk of an undercooked middle. Baking a standard 1kg loaf in a Dutch oven at 450°F (approx. 230°C) for 25 minutes with the lid on and 20-25 minutes with the lid off is a common method known for preventing doughy centers.
Adjusting Your Recipe for High Altitude Baking
Baking at high altitudes presents unique challenges that can lead to undercooked bread center problems if recipes aren't adjusted. At higher elevations, atmospheric pressure is lower, causing dough to rise faster. The boiling point of water is also lower (e.g., water boils around 203°F or 95°C at 5,000 feet compared to 212°F or 100°C at sea level).
To compensate, recipes often require adjustments like slightly reducing yeast, liquids, and sugar, and potentially increasing flour. The faster rising means fermentation needs careful monitoring to avoid over-proofing. The lower boiling point means the interior of the bread reaches its maximum temperature sooner but that temperature is lower, requiring longer baking times or slightly higher oven temperatures to ensure the starches fully gelatinize and the center cooks through. Baking time might need to be increased by 15-25% compared to a sea-level recipe to combat undercooked bread center problems at altitude.
Preventing Future Undercooked Bread Center Issues
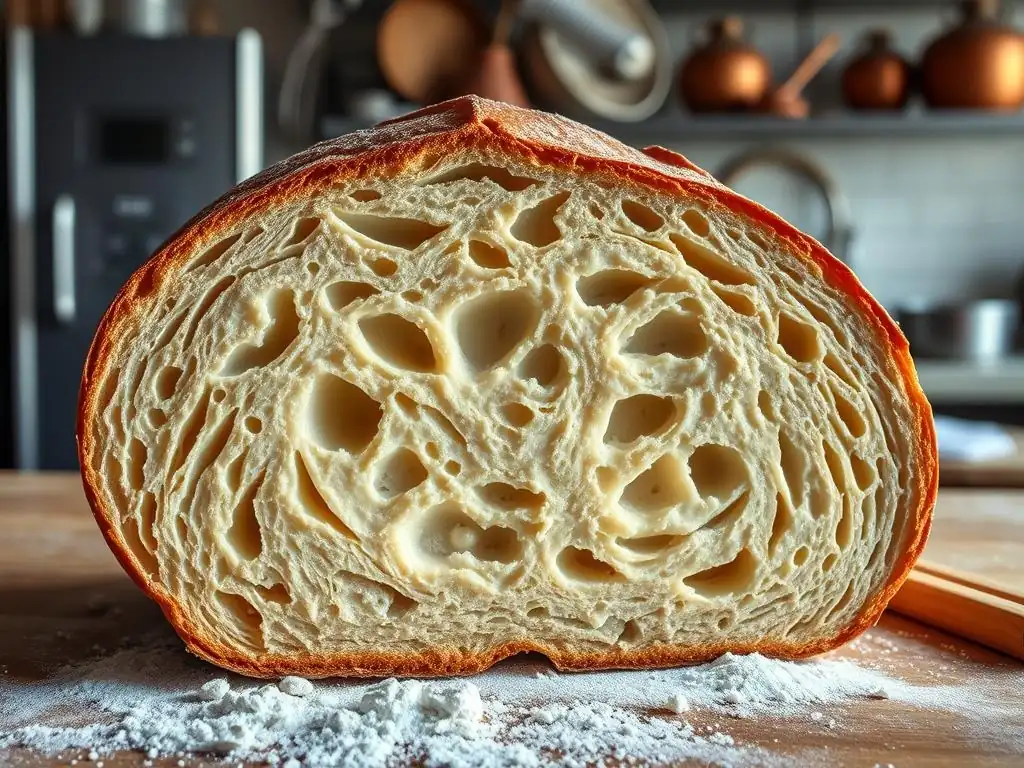
Consistency is key in baking. Once you've identified and corrected the issues causing your undercooked bread center problems, establishing practices that promote consistent results will help you avoid repeating the same mistakes.
Keeping a Baking Journal: Tracking Your Results
A baking journal is an invaluable tool for any baker, especially when troubleshooting issues like undercooked bread center problems. Recording details about each bake allows you to identify patterns and pinpoint what worked and what didn't.
For each loaf, note the recipe used, ingredient measurements (in grams! ), flour type and brand, hydration percentage, mixing times, bulk fermentation time and temperature, final proof time and temperature, oven temperature (verified with a thermometer), baking time, pan used, and the final outcome (crust color, crumb structure, and importantly, internal temperature). If you get an undercooked center, you can look back at your notes to see if you used a different flour, proofed for less time, or pulled the bread out too early compared to a successful bake. This systematic approach is highly effective for continuous improvement.
Regularly Calibrating Your Oven
Given how often inaccurate oven temperatures contribute to undercooked bread center problems, regularly checking and potentially calibrating your oven is a wise preventative measure. Use an oven thermometer to monitor your oven's temperature over time, as heating elements can age and performance can change.
If your oven consistently reads significantly differently from the set temperature (say, more than 25°F or 14°C off), you may be able to calibrate it. Consult your oven's manual, as many modern ovens have a calibration setting accessible through the control panel. You can typically adjust the temperature up or down by a small increment (e.g., +/- 30°F or 17°C). If calibration isn't an option or doesn't solve the problem, simply knowing how much your oven is off allows you to make the necessary temperature adjustments before baking.
Consistent Ingredient Sourcing and Measurement
Variability in ingredients, particularly flour, can subtly affect your dough and contribute to undercooked bread center problems. Different brands and types of flour have varying protein levels and absorption rates. Switching flour brands without considering this can alter your dough's hydration needs.
Sticking to the same brand and type of flour for a specific recipe can help ensure consistency. Always measure ingredients by weight using a digital scale. Store your flour properly in an airtight container to prevent moisture fluctuations. By minimizing variability in your ingredients and measurements, you gain better control over your dough's consistency, making it easier to predict how it will behave during proofing and baking, and reducing the likelihood of encountering undercooked bread center problems.
Conclusion: Achieving Baking Success with Bake With Ease
Dealing with undercooked bread center problems can be frustrating, but it's a challenge that every baker faces at some point. By understanding the common causes – from oven inaccuracies and insufficient baking time to issues with dough hydration and proofing – and implementing the right solutions, you can significantly improve your bread baking results.
Remember that baking is both an art and a science. Paying close attention to detail, using reliable tools like an oven thermometer and kitchen scale, and being patient with the process are key. Don't be discouraged by a few doughy loaves; view them as learning opportunities. Each bake provides valuable insights that will help you refine your technique.
Mastering the Art of Bread Baking: Tips and Tricks
Mastering bread baking, including avoiding undercooked bread center problems, comes with practice and attention to detail. Here are a few key tips:
- Always preheat your oven fully, allowing enough time for the heat to saturate the oven walls and baking surface (stone or steel) if using one.
- Use an instant-read thermometer to check the internal temperature of your bread; it's the most reliable indicator of doneness.
- Be patient during proofing; let the dough tell you when it's ready, rather than strictly following a time.
- Don't be afraid to adjust baking time or temperature based on how your bread looks and its internal temperature.
- Consider investing in a quality oven thermometer and kitchen scale if you don't have them.
Say Goodbye to Undercooked Bread: Final Thoughts
Undercooked bread center problems are solvable! By systematically addressing potential issues related to your oven, baking time, ingredients, and technique, you can achieve that perfect, evenly cooked crumb you've been striving for.
At Bake With Ease, we're here to support you on your baking journey. With the knowledge gained from troubleshooting doughy centers and implementing consistent best practices, you are well on your way to confidently baking delicious, perfectly cooked bread every time. Happy baking!
Frequently Asked Questions
Why is my bread center still doughy after baking?
The most common cause is that the bread hasn't reached a sufficient internal temperature during baking. This can be due to oven calibration issues or insufficient baking time.
How do I prevent undercooked bread centers?
Use a reliable oven thermometer to ensure your oven is accurate. Also, insert a digital thermometer into the center of the loaf to verify it reaches the recommended temperature.
What is the ideal internal temperature for baked bread?
Generally, you want your bread to reach an internal temperature between 200-210°F (93-99°C) for most loaves. This ensures the starch is fully gelatinized and the bread is cooked through.
Can I fix an undercooked bread center after baking?
Yes, you can often fix it! Wrap the loaf in foil and return it to the oven for another 10-15 minutes. Check the internal temperature again to ensure it's reached the target range.
Does the type of flour affect whether my bread is undercooked?
While not the primary factor, using low-protein flour or not using enough flour can contribute to a softer, potentially undercooked center. Ensure you are using the correct flour type as indicated in the recipe.
Final Reflection: The Enduring Crumb: Beyond Undercooked Centers
The persistent problem of undercooked bread centers isn't just a culinary frustration; it's a microcosm of the larger challenges we face in achieving perfection. From the seemingly simple act of baking bread, we can learn valuable lessons about precision, patience, and the importance of understanding the underlying processes. The seemingly minor issue of a soggy center speaks volumes about the intricate dance between ingredients, temperature, and time.
The quest for the perfectly baked loaf mirrors our own journeys towards achieving goals. The frustration of an undercooked center resonates deeply; it's a reminder that even with careful planning, unexpected obstacles can arise. The only way to do great work is to love what you do.
- Steve Jobs. This quote, while seemingly unrelated to baking, speaks to the dedication and passion required to overcome challenges, whether it's mastering a sourdough starter or navigating a complex project. The pursuit of perfection, even in baking, demands a similar level of commitment and attention to detail.
Now, consider your own "undercooked centers"—those areas in your life where you haven't quite reached your full potential. Perhaps it's a project that needs more attention, a skill you're still developing, or a relationship that requires more nurturing. Take a moment to reflect on what adjustments you need to make. Just as a baker adjusts their technique to achieve a perfectly baked loaf, you too can identify and address the factors hindering your progress. Embrace the lessons learned from imperfectly baked bread, and strive for a more fulfilling and complete experience in all aspects of your life.
Unleash Your Inner Baker: Perfect Bread Centers Every Time!
Thanks for taking the time to learn about achieving perfectly baked bread centers! You've now armed yourself with the knowledge to conquer uneven baking and say goodbye to gummy middles. Ready to put your new skills to the test?
- Bake a test loaf today: Use the techniques discussed in the article, paying close attention to your oven's temperature and the internal temperature of your bread. This is your chance to practice and perfect your craft!
- Share your baking journey: Snap a photo of your perfectly baked loaf and share it on social media – tag us! We'd love to see your success.
- Explore our advanced bread-making course (link removed per instructions): If you're ready to elevate your skills even further, our comprehensive course covers everything from sourdough to artisan loaves (This line would link to the course on the website).
What unique trick will you try first to ensure perfectly baked bread centers in your next bake?