
Understanding Fermentation in Whole Wheat Bread Dough

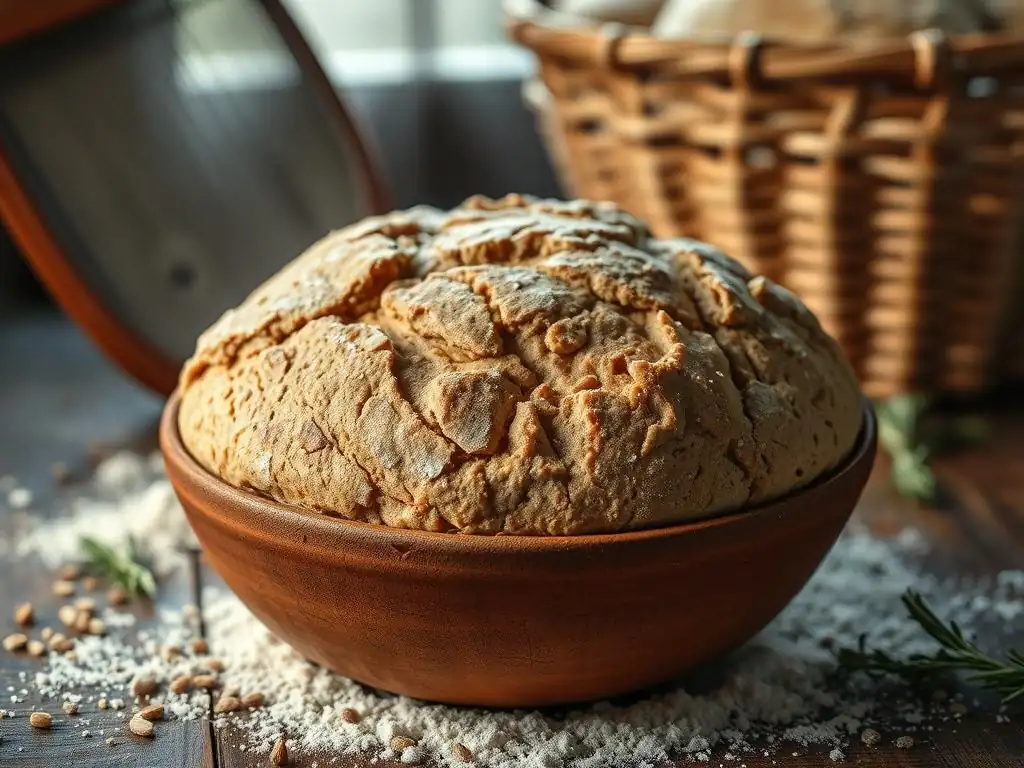
Welcome to BakeWithEase, your haven for all things baking! Are you ready to unlock the secret to a truly exceptional loaf? Dive in to discover the transformative power of fermentation, particularly when working with whole wheat fermentation bread dough. Find out how this critical process impacts flavor, texture, and digestibility, and learn how to cultivate the perfect rise. Let the baking adventure begin!
- Introduction to Whole Wheat Bread Fermentation
- The Science Behind Whole Wheat Dough Fermentation
- Key Factors Influencing Whole Wheat Bread Dough Fermentation
- The Stages of Whole Wheat Bread Dough Fermentation
- Techniques for Optimizing Whole Wheat Bread Dough Fermentation
- Troubleshooting Common Whole Wheat Bread Fermentation Problems
- Fermentation Times for Different Whole Wheat Bread Recipes
- Tips for Achieving the Perfect Whole Wheat Bread Fermentation
- Conclusion: Mastering Whole Wheat Bread Fermentation for Delicious Results
-
Frequently Asked Questions
- What is the purpose of fermentation in whole wheat bread dough?
- Why is fermentation potentially more challenging with whole wheat flour compared to white flour?
- How long should I ferment my whole wheat bread dough?
- Can I over-ferment my whole wheat bread dough? What are the signs?
- What are some tips for successful whole wheat bread dough fermentation?
- Final Reflection: The Living Dough: Unveiling the Magic of Whole Wheat Fermentation
- Unleash Your Inner Baker: Master the Art of Whole Wheat Fermentation!
Introduction to Whole Wheat Bread Fermentation
Mastering the art of baking whole wheat bread involves understanding a fundamental process: fermentation. This magical transformation is what gives your loaf its structure, flavor, and texture. While fermentation is key in all bread making, handling whole wheat presents its own unique set of considerations. At BakeWithEase, we believe demystifying this process is the first step to baking truly exceptional whole wheat bread.
What is Fermentation and Why is it Crucial for Whole Wheat Bread?
Fermentation in bread dough is primarily the process where yeast, a living microorganism, consumes sugars present in the flour and produces carbon dioxide gas and alcohol as byproducts. The carbon dioxide gas gets trapped within the gluten network of the dough, causing it to rise and develop a light, airy structure. The alcohol and other metabolic compounds contribute significantly to the complex flavors and aromas that we associate with delicious bread.
For whole wheat fermentation bread dough, this process is particularly crucial because whole wheat flour contains the bran and germ in addition to the endosperm. These components add nutritional value and flavor but also impact the dough's structure and how it ferments. Proper whole wheat fermentation ensures that the dough develops enough strength to hold the gas produced, leading to a good rise, while also allowing the beneficial enzymes in whole wheat to break down starches and proteins, enhancing flavor and digestibility. Without adequate fermentation, whole wheat bread can be dense, heavy, and lack depth of flavor.
The Unique Challenges of Whole Wheat Fermentation
Working with whole wheat flour introduces specific challenges compared to refining white flour. The presence of bran and germ particles is the main factor. These sharp particles can act like tiny knives, cutting through the developing gluten network, which is essential for trapping the fermentation gases. This often results in a dough that can feel weaker or less elastic than white dough.
Furthermore, whole wheat flour typically absorbs more water than white flour due to the bran, but it can also release it differently over time. The enzymes naturally present in the bran and germ are also more active than those in white flour and can sometimes speed up certain aspects of fermentation or affect the dough's handling properties. Successfully navigating whole wheat fermentation bread dough requires adjusting techniques, hydration levels, and monitoring the process closely to account for these unique characteristics.
BakeWithEase's Guide to Successful Whole Wheat Bread Fermentation
Achieving a perfectly fermented whole wheat loaf is absolutely within reach! Our guide at BakeWithEase breaks down the process into manageable steps, addressing the specific needs of whole wheat fermentation bread dough. We focus on understanding the dough's behavior, recognizing the signs of proper fermentation, and employing techniques that support the development of a strong yet flexible gluten network, even with the challenges posed by bran.
We'll cover everything from selecting the right flour to understanding the impact of temperature and time. By following these guidelines, you'll gain the confidence to handle whole wheat dough effectively, leading to beautifully risen loaves with wonderful flavor and texture. Think of this as your friendly roadmap to mastering whole wheat fermentation, turning potential challenges into opportunities for baking success.
The Science Behind Whole Wheat Dough Fermentation
Understanding the basic science helps unlock the secrets to great whole wheat bread. It's a fascinating interplay between ingredients, temperature, and time. Let's delve into the key players and how they interact specifically within whole wheat fermentation bread dough.
The Role of Yeast in Whole Wheat Bread Dough
Yeast is the primary engine driving the fermentation process. It's a single-celled fungus that, when active, feeds on simple sugars in the dough. These sugars are either naturally present in the flour or created as enzymes break down starches. The main byproducts of this metabolic feast are carbon dioxide (CO₂) and ethanol (alcohol). The CO₂ creates the bubbles that make the dough rise, while the ethanol contributes to the complex aroma and flavor of the finished bread.
In whole wheat fermentation bread dough, yeast behaves much the same way, but the environment is slightly different. The presence of bran can sometimes provide additional nutrients for the yeast, potentially leading to slightly faster initial activity.
However, the overall structure of the dough, weakened by bran, means that the gas produced needs to be managed carefully to prevent it from escaping too quickly. Using the correct amount and type of yeast is crucial – typically, commercial yeast is used at about 1% to 2% of the total flour weight, though this can vary based on desired fermentation time and temperature.
Understanding the Gluten Network in Whole Wheat Flour
Gluten is the protein network formed when two proteins, gliadin and glutenin, found in wheat flour, combine with water and are developed through mixing and kneading. This network is like a stretchy balloon that traps the carbon dioxide gas produced by the yeast during whole wheat fermentation bread dough. A strong, elastic gluten network is vital for the dough to rise properly and hold its shape.
However, as mentioned earlier, whole wheat flour contains bran particles. These sharp particles literally interfere with the formation and integrity of the gluten network. They can cut the long gluten strands, making the dough less elastic and more prone to tearing compared to dough made with refined white flour. This is why techniques that help build gluten strength gently, such as stretch and folds or an autolyse period, are particularly beneficial when working with whole wheat fermentation bread dough. Developing sufficient, but not excessive, gluten is a key balancing act.
How Whole Wheat Flour Affects Fermentation Time
The presence of bran and germ in whole wheat flour can influence the speed and characteristics of fermentation. While the enzymatic activity in whole wheat can sometimes accelerate the initial breakdown of starches into sugars, potentially giving the yeast a quicker food source, the overall fermentation time isn't necessarily shorter. The key difference often lies in how the dough behaves and how you monitor the fermentation.
Because the bran can weaken the gluten structure, whole wheat fermentation bread dough may not show the same dramatic volume increase or develop the same smooth, domed surface as white dough. This can make judging fermentation readiness by visual cues alone more challenging. Factors like flour freshness, grind size, and ambient temperature play significant roles. Generally, whole wheat dough might require similar bulk fermentation times to white dough, perhaps slightly shorter or longer depending on hydration and technique, but the proofing stage often needs careful monitoring to prevent over-proofing due to the weaker structure.
Key Factors Influencing Whole Wheat Bread Dough Fermentation
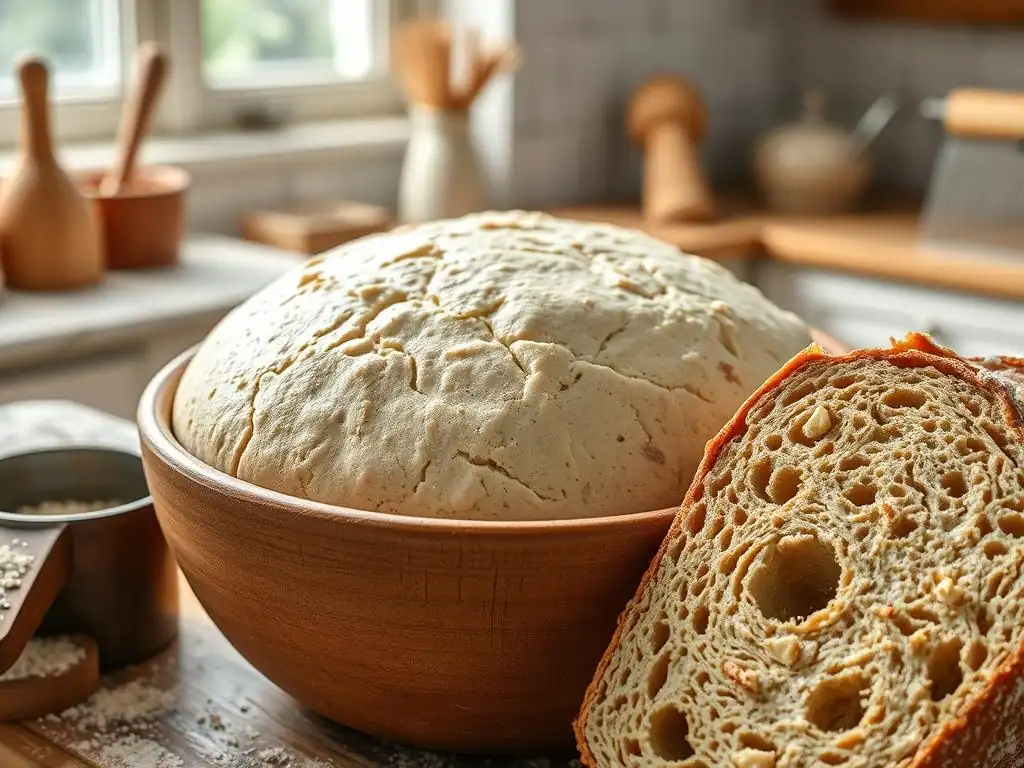
Several variables significantly impact the success of your whole wheat fermentation bread dough. Paying close attention to these factors allows you to control the process and achieve consistent, delicious results.
Whole Wheat Flour Quality and its Impact on Fermentation
The quality and characteristics of your whole wheat flour are paramount. Factors like protein content, freshness, and how finely the wheat was ground all play a role in whole wheat fermentation. Flour with a higher protein content (say, 13-15%) generally has the potential to form a stronger gluten network, which is advantageous when dealing with the bran. Fresher flour often has more active enzymes and better flavor potential.
The grind size is also critical. Coarsely ground whole wheat flour has larger, sharper bran particles that can damage the gluten network more severely than finely ground flour. Some bakers prefer finely ground whole wheat for this reason, as it makes developing a strong dough structure easier. Experimenting with flours from different millers or different grinds can reveal how significantly flour quality impacts the feel and behavior of your whole wheat fermentation bread dough.
Water Temperature: A Critical Component for Fermentation
Water temperature is perhaps the most easily controllable factor influencing yeast activity and, consequently, the speed of whole wheat fermentation bread dough. Yeast is a living organism that is sensitive to temperature. Too cold, and it will be sluggish; too hot, and you risk killing it.
An ideal water temperature for activating yeast and starting fermentation is typically between 75°F and 85°F (24°C to 29°C). Using water within this range helps ensure the yeast gets off to a good start. Remember that the final dough temperature is what truly matters for consistent fermentation rate.
A dough temperature around 75-78°F (24-26°C) is often targeted for standard bulk fermentation. You can adjust water temperature slightly to compensate for the temperature of your flour and the ambient room temperature. For instance, if your kitchen is cool, use slightly warmer water (within the safe range) to achieve the desired dough temperature.
Understanding the Importance of Salt in Whole Wheat Bread Dough Fermentation
Salt is a vital, yet often underestimated, ingredient in whole wheat fermentation bread dough. Beyond enhancing flavor, salt plays a crucial role in controlling yeast activity and strengthening the gluten network. Salt slows down fermentation slightly by drawing moisture out of the yeast cells through osmosis. This regulating effect helps prevent the dough from over-fermenting too quickly, allowing for better flavor development over time.
Additionally, salt tightens the gluten structure, making the dough stronger and more elastic. This is particularly beneficial in whole wheat dough where the bran weakens the gluten. A typical salt percentage is around 1.8% to 2.2% of the total flour weight.
Adding too little salt can result in a bland loaf and potentially overly rapid, uncontrolled fermentation. Adding too much can significantly inhibit yeast activity and result in a dense loaf with a harsh flavor. Always add salt after the initial mixing if using an autolyse technique, as adding it too early can interfere with water absorption by the flour.
The Stages of Whole Wheat Bread Dough Fermentation
Fermentation isn't a single event but a process that unfolds in stages. Understanding these stages and what to look for at each point is key to successful whole wheat fermentation bread dough.
Stage 1: Initial Mixing and Dough Development
This is where your ingredients come together and the magic begins. After combining your whole wheat flour, water, yeast, and potentially salt (depending on your method), you mix until everything is just incorporated. This initial mixing allows the flour to begin absorbing water, which is essential for gluten development and activating the yeast.
Following the initial mix, the dough development phase involves kneading or using alternative techniques like stretch and folds. This process aligns the gluten proteins, forming that crucial network. For whole wheat fermentation bread dough, dough development might feel different than with white flour – it can be stickier and less smooth initially. It's important to develop enough gluten to pass the "windowpane test" (stretching a small piece thinly without tearing) or achieve sufficient strength through alternative methods before the bulk fermentation begins. Proper initial development sets the stage for a successful first rise.
Stage 2: Bulk Fermentation (First Rise) for Whole Wheat Dough
Bulk fermentation, also known as the first rise, is arguably the most critical stage for flavor development and structure in whole wheat fermentation bread dough. This is the period after mixing and initial kneading when the entire mass of dough is left to ferment as a single unit. During this time, the yeast is actively producing CO₂ and alcohol, causing the dough to increase in volume.
For whole wheat dough, visual cues like doubling in size can be misleading due to the density and weaker structure. Instead, focus on the feel of the dough and the presence of gas bubbles. The dough should feel lighter, softer, and more airy.
You'll often see small bubbles on the surface or around the edges of the container. The duration of bulk fermentation depends heavily on temperature and the amount of yeast used, typically ranging from 1 to 4 hours at room temperature (around 70-75°F or 21-24°C), or much longer if fermenting in a cooler environment like a refrigerator. Gentle handling, often involving stretch and folds every 30-60 minutes during the first part of bulk fermentation, helps build strength without tearing the delicate whole wheat gluten network.
Stage 3: Proofing (Second Rise) of Whole Wheat Bread
Proofing, or the second rise, occurs after the dough has been shaped into its final form (like a loaf or boule). The goal here is to give the shaped loaf a final opportunity to expand and develop air pockets before baking. This stage is shorter and typically done at a slightly warmer temperature than bulk fermentation, though cold proofing in the refrigerator is also a popular technique for flavor development.
For whole wheat fermentation bread dough during proofing, monitoring is key. Because the gluten network can be less robust, whole wheat dough is more susceptible to over-proofing, where the structure collapses because it can no longer support the gas. The dough should look visibly larger, feel light and airy, and pass the "poke test" – when gently poked with a floured finger, the indentation should spring back slowly, but not completely.
If it springs back immediately, it needs more time. If it stays indented completely, it might be over-proofed. Proofing time varies greatly depending on temperature, but can range from 30-90 minutes at room temperature or several hours in the refrigerator.
Techniques for Optimizing Whole Wheat Bread Dough Fermentation
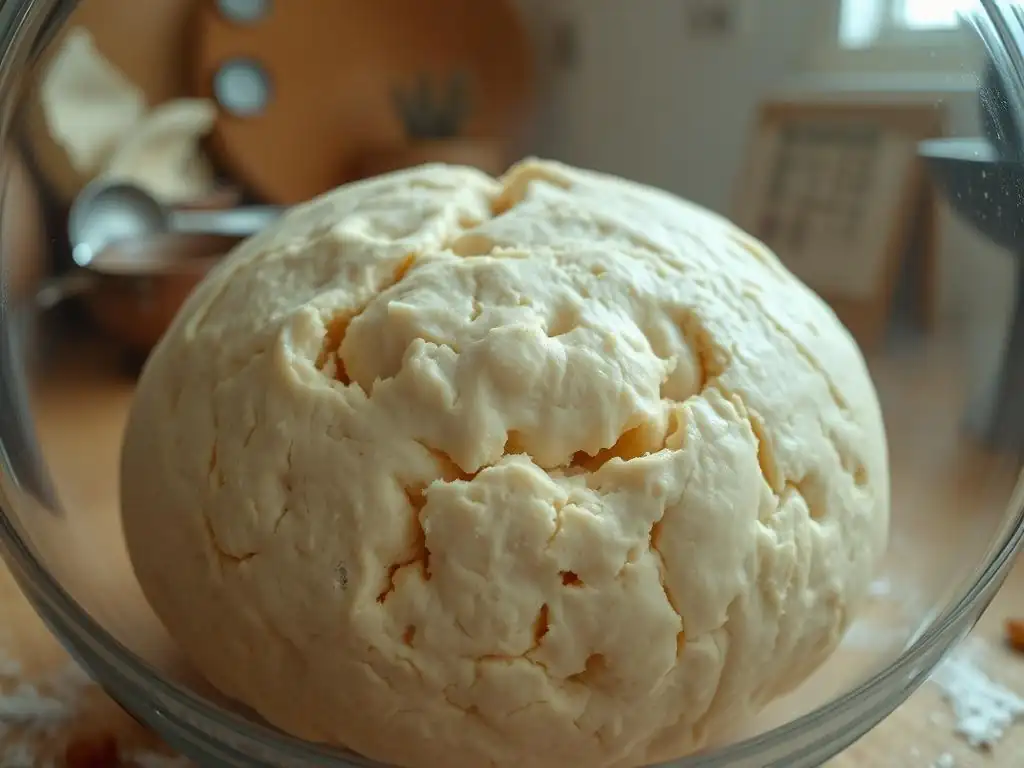
To help your whole wheat fermentation bread dough reach its full potential, several techniques can be employed to improve hydration, gluten development, and overall fermentation control.
Autolyse: Enhancing Hydration and Gluten Development
The autolyse technique involves mixing just the flour and water from your recipe and letting it rest for 20 minutes to an hour (or even longer) before adding the yeast and salt. This simple step allows the flour to fully hydrate and gives the gluten proteins a head start in forming a network without the interference of salt or yeast activity.
For whole wheat fermentation bread dough, autolyse is particularly beneficial because the bran absorbs a significant amount of water. This rest period ensures the bran is well-hydrated, making the dough less stiff and easier to handle. It also allows the gluten network to start forming more easily, which is helpful given the disruptive presence of the bran particles. Dough that has undergone an autolyse is often smoother, more extensible, and requires less kneading to develop adequate strength.
Using a Starter (Sourdough) for Whole Wheat Bread
Using a sourdough starter instead of commercial yeast introduces wild yeasts and lactic acid bacteria into your whole wheat fermentation bread dough. This symbiotic culture creates a different type of fermentation, typically slower and producing a wider range of acids (lactic and acetic). These acids contribute complex tangy flavors, improve the keeping quality of the bread, and can also help break down some of the phytic acid in whole wheat, potentially improving nutrient availability.
Working with a whole wheat sourdough starter for whole wheat fermentation adds another layer of depth. The starter itself contributes whole wheat flour to the dough, and its activity is influenced by the whole wheat environment. Sourdough fermentation timelines are often longer than commercial yeast fermentation, frequently involving overnight bulk fermentation or cold proofing in the refrigerator. This extended time allows for maximum flavor development, which pairs wonderfully with the robust taste of whole wheat.
The Stretch and Fold Technique for Stronger Gluten
Stretch and folds are a gentle method of developing gluten strength during the bulk fermentation of whole wheat fermentation bread dough. Instead of continuous kneading, you perform a series of folds on the dough at intervals (e.g., every 30-60 minutes) during the first part of the bulk rise. To perform a stretch and fold, you gently stretch one side of the dough up and fold it over the center, then repeat with the other three sides.
This technique helps align and strengthen the gluten network without tearing it, which is crucial for whole wheat dough's more delicate structure. It also helps redistribute yeast and nutrients throughout the dough and equalizes the temperature. Performing 3-5 sets of stretch and folds during the first 1.5-2 hours of bulk fermentation can significantly improve the structure and rise of your whole wheat loaf compared to dough that is just left to sit.
Troubleshooting Common Whole Wheat Bread Fermentation Problems
Even with the best intentions, sometimes whole wheat fermentation bread dough doesn't go exactly as planned. Knowing how to identify and address common issues can save your bake.
Over-Fermented Whole Wheat Dough: Signs and Solutions
Over-fermentation occurs when the dough has risen too much and for too long, exhausting the yeast and weakening the gluten structure excessively. Signs of over-fermented whole wheat dough include:
- A very large, potentially collapsed or deflated appearance.
- A strong, overly alcoholic or sour smell (beyond typical sourdough tang).
- A dough that feels very fragile, tears easily, and doesn't hold its shape when poked (the indentation stays completely).
- Difficulty shaping, as the dough lacks tension.
If you catch it early in bulk fermentation, you might be able to gently punch it down, reshape it, and give it a very short second rise. However, once significantly over-proofed, the structure is often compromised. The resulting bread will likely be dense, heavy, and potentially gummy, with a poor rise in the oven. While not ideal, it's still edible and can be repurposed into breadcrumbs or croutons. The best solution is prevention: monitor your dough closely, especially in warmer conditions, and use visual cues and the poke test.
Under-Fermented Whole Wheat Dough: Causes and Remedies
Under-fermentation happens when the dough hasn't had enough time or activity to develop sufficient gas and flavor. Signs of under-fermented whole wheat dough include:
- Little to no visible increase in volume during bulk fermentation or proofing.
- A dense, heavy feel.
- A tight, resistant structure when poked (springs back immediately).
- A lack of bubbly appearance.
Causes often include using inactive yeast, cold ingredients or environment, or simply not allowing enough time. If you realize your whole wheat fermentation bread dough is under-fermented before baking, the remedy is simple: give it more time! Place it in a warmer spot (like a turned-off oven with the light on, aiming for 75-80°F or 24-27°C) and let it continue fermenting until it shows the proper signs of readiness (increased volume, lighter feel, poke test results). Patience is key here.
Dealing with Sticky Whole Wheat Dough During Fermentation
Whole wheat dough can often feel stickier than white dough, primarily due to the water absorption properties of the bran and potentially higher hydration levels often used. Excessive stickiness during whole wheat fermentation can make handling difficult.
If your dough is excessively sticky and hard to manage during stretch and folds or shaping, consider these points:
- Hydration: Was the hydration level too high for the flour? Some whole wheat flours absorb less water than others.
- Dough Development: Was the gluten sufficiently developed? Underdeveloped dough often feels stickier. Perform a few extra gentle stretch and folds.
- Handling Technique: Are you using enough flour on your hands and work surface (but not too much, which can dry out the dough)? A bench scraper is also an invaluable tool for sticky dough.
- Resting: Sometimes a short rest (5-10 minutes) can help the dough become less sticky as the gluten relaxes slightly.
Avoid the temptation to add large amounts of flour while kneading or folding, as this can change the hydration ratio significantly and result in a dry loaf. Focus on proper dough development and using minimal flour for handling.
Fermentation Times for Different Whole Wheat Bread Recipes

Fermentation time is not a one-size-fits-all concept for whole wheat fermentation bread dough. It varies significantly based on the recipe, the amount and type of yeast used, and the ambient temperature.
Quick Whole Wheat Bread Fermentation Schedule
For bakers looking for a faster turnaround, a quick whole wheat bread fermentation schedule is possible using a higher percentage of commercial yeast and fermenting at a warmer temperature. For example, using 1.5% to 2% instant yeast (based on flour weight) and maintaining a dough temperature around 78-80°F (26-27°C) can significantly shorten fermentation times.
- Bulk Fermentation: Might only take 60-90 minutes, or until the dough is visibly airy and has increased significantly in volume (though perhaps not doubled).
- Proofing: Could be as short as 30-45 minutes.
While this method is fast, it often sacrifices some of the complex flavor development that comes with longer, slower fermentation. It's a good option for when you need a loaf quickly, but perhaps not for maximizing depth of flavor in your whole wheat fermentation bread dough.
Slow Fermentation Methods for Enhanced Flavor
Slow fermentation, particularly cold fermentation in the refrigerator, is a fantastic way to enhance the flavor and texture of whole wheat fermentation bread dough. The cooler temperatures (typically 35-40°F or 2-4°C) drastically slow down yeast activity while allowing enzymes and bacteria (especially in sourdough) more time to produce flavorful compounds.
- Bulk Fermentation: Can range from 8-12 hours at cool room temperature (around 65°F or 18°C) or 12-48 hours in the refrigerator after an initial period at room temp.
- Proofing: Often done entirely in the refrigerator for 8-24 hours after shaping.
This extended period allows the complex flavors of whole wheat flour to shine, results in a more developed gluten structure, and often leads to a better oven spring. While requiring more planning, the results in terms of taste and texture are often superior, making it a favored technique for many whole wheat bread enthusiasts.
Adjusting Fermentation Time Based on Environmental Factors
Temperature is the most significant environmental factor influencing whole wheat fermentation bread dough time. Yeast activity doubles with roughly every 15°F (8°C) increase in temperature within its optimal range. This means a dough that takes 3 hours to ferment at 70°F (21°C) might take only 1.5 hours at 85°F (29°C).
- Warm Environment: Fermentation will be faster. Monitor dough closely and reduce times.
- Cool Environment: Fermentation will be slower. Allow more time or find a warmer spot for the dough.
Humidity also plays a role; high humidity can slightly speed up fermentation and affect the dough's surface. Learning to read your dough, rather than strictly adhering to times in a recipe, is crucial for successful whole wheat fermentation. Use the recommended times as a guideline, but always adjust based on the dough's appearance, feel, and the ambient conditions in your kitchen.
Tips for Achieving the Perfect Whole Wheat Bread Fermentation
Consistency is key in baking, and controlling variables helps ensure predictable results for your whole wheat fermentation bread dough. Here are a few tips to help you master the process.
Using a Dough Thermometer for Accurate Temperature Control
One of the most effective ways to control and predict whole wheat fermentation bread dough is by monitoring its temperature. A simple digital probe thermometer can tell you the internal temperature of your dough.
- Target Dough Temperature: Aim for a dough temperature of 75-78°F (24-26°C) for standard room temperature fermentation.
- Calculate Water Temperature: Use the desired dough temperature, ambient room temperature, and flour temperature to calculate the ideal water temperature using formulas like the Desired Dough Temperature (DDT) formula. (DDT = (Room Temp + Flour Temp + Water Temp) / 3, roughly). You can adjust the water temperature up or down to hit your target dough temperature after mixing.
Consistent dough temperature leads to consistent fermentation rates, taking the guesswork out of timing your whole wheat fermentation.
Creating a Controlled Fermentation Environment
Providing a stable environment helps your whole wheat fermentation bread dough ferment evenly. Drafts and temperature fluctuations can negatively impact the process.
- Proofing Box: If you bake often, a dedicated proofing box offers precise temperature and humidity control.
- Oven with Light On: A common home baking trick is to place the dough in a turned-off oven with the oven light on. This typically creates a warm environment (often 75-85°F or 24-29°C), ideal for fermentation.
- Microwave or Cabinet: Simply placing the dough in a microwave or cupboard keeps it away from drafts and helps maintain a more stable temperature.
- Covering: Always cover your dough loosely with plastic wrap, a damp towel, or a proofing cover to prevent a skin from forming, which inhibits proper rising.
Maintaining a consistent temperature allows you to better predict fermentation time and ensures the yeast works efficiently throughout the whole wheat fermentation bread dough.
Visual Cues for Determining Readiness
While times and temperatures are guides, learning to "read" your whole wheat fermentation bread dough is the hallmark of an experienced baker. Visual cues are invaluable.
For bulk fermentation:
- Volume Increase: The dough should increase significantly in volume, often looking puffy and airy. While it might not double exactly like white dough, it should be clearly larger.
- Surface Bubbles: Look for visible bubbles on the surface or around the edges.
- Feel: The dough should feel lighter and softer when gently lifted or prodded.
For proofing:
- Volume Increase: The shaped loaf should look noticeably larger and well-inflated.
- Poke Test: Gently poke the side of the loaf with a floured finger. The indentation should spring back slowly, leaving a slight mark. If it springs back instantly, it needs more time. If it stays completely indented, it's likely over-proofed.
Learning these cues takes practice, but it's essential for judging the readiness of your whole wheat fermentation bread dough regardless of the clock.
Conclusion: Mastering Whole Wheat Bread Fermentation for Delicious Results
Successfully navigating the fermentation process is the cornerstone of baking fantastic whole wheat bread. While whole wheat flour presents unique characteristics compared to refined flours, understanding the science and applying appropriate techniques makes it entirely manageable and deeply rewarding. By paying attention to the role of yeast, the nuances of the gluten network in whole wheat, and the impact of factors like flour quality, water temperature, and salt, you gain control over your bake.
Embracing methods like autolyse, stretch and folds, and potentially using a sourdough starter can significantly improve the structure, flavor, and rise of your whole wheat loaves. Learning to troubleshoot common issues and adjust fermentation times based on environmental factors further refines your skills. Ultimately, it's about observing your whole wheat fermentation bread dough, understanding its needs at each stage, and responding accordingly.
Key Takeaways for Successful Whole Wheat Baking
Let's recap the essential points for mastering whole wheat fermentation bread dough:
- Whole wheat fermentation builds flavor, structure, and texture, but the bran interferes with gluten development.
- Control temperature precisely; aim for a final dough temperature around 75-78°F (24-26°C).
- Use salt (1.8-2.2% of flour weight) to regulate yeast activity and strengthen gluten.
- Employ techniques like autolyse and stretch and folds to build a strong yet flexible gluten network.
- Monitor dough readiness using visual cues and the poke test, as times are just guidelines.
- Be mindful of over-proofing, as whole wheat dough can be more susceptible.
- Slow fermentation methods enhance the complex flavor profile of whole wheat.
By focusing on these key areas, you'll consistently achieve well-risen, flavorful whole wheat loaves.
BakeWithEase: Continuing Your Whole Wheat Bread Baking Journey
At BakeWithEase.com, we are passionate about empowering you to bake incredible bread, including delicious and nutritious whole wheat varieties. Understanding whole wheat fermentation is a significant step in this journey, but it's just the beginning.
We offer a wealth of resources, from detailed recipes specifically designed for whole wheat fermentation bread dough to guides on maintaining a sourdough starter, shaping techniques, and baking methods. Our goal is to provide you with the knowledge and confidence to experiment, learn from your bakes, and ultimately enjoy the immense satisfaction of pulling a perfectly fermented, golden-brown whole wheat loaf from your oven. Keep exploring, keep practicing, and most importantly, keep baking with ease!
Frequently Asked Questions
What is the purpose of fermentation in whole wheat bread dough?
Fermentation is crucial for developing flavor and strength in whole wheat bread dough. It allows yeast to produce gases, creating a lighter texture and improving digestibility.
Why is fermentation potentially more challenging with whole wheat flour compared to white flour?
Whole wheat flour contains bran, which can interfere with gluten development and slow down fermentation. It also requires more moisture due to the bran's absorption.
How long should I ferment my whole wheat bread dough?
Fermentation time depends on factors like room temperature and the amount of yeast used. Look for the dough to approximately double in size and become slightly puffy. This usually takes between 1-2 hours.
Can I over-ferment my whole wheat bread dough? What are the signs?
Yes, over-fermentation can result in a collapsed, sticky dough with a sour or unpleasant smell. The dough may also have large, uneven bubbles.
What are some tips for successful whole wheat bread dough fermentation?
Use a warm environment to encourage yeast activity. Consider adding a small amount of vital wheat gluten to improve dough structure. Be patient and monitor the dough closely.
Final Reflection: The Living Dough: Unveiling the Magic of Whole Wheat Fermentation
The art of whole wheat bread baking, once a mystery confined to experienced bakers, is now increasingly accessible thanks to a deeper understanding of fermentation. Mastering this process unlocks not only superior texture and flavor but also a healthier, more nutritious loaf. The journey from simple flour and water to a beautifully risen, crusty masterpiece is a testament to the power of nature's own alchemy.
The impact of understanding fermentation extends far beyond the kitchen. It connects us to ancient traditions, reminding us of the symbiotic relationship between humans and microorganisms. It's a reminder that seemingly simple processes can yield extraordinary results, a lesson applicable to many aspects of life. Bread is the staff of life,
a common saying, but in the context of whole wheat fermentation, it becomes a statement about the life within the staff, the vibrant ecosystem contributing to its nourishment and deliciousness.
Now, consider your own baking journey. Will you embrace the challenge of understanding the nuances of whole wheat fermentation? Experiment with different starter cultures, timings, and temperatures. Observe the changes in your dough, the subtle shifts in aroma and texture. Each loaf you bake will be a step further on your path to mastering this ancient art, a testament to your patience, your curiosity, and your connection to the living world within the humble loaf of bread.
Unleash Your Inner Baker: Master the Art of Whole Wheat Fermentation!
Thanks for taking the time to explore the fascinating world of whole wheat fermentation! You've now got the knowledge to elevate your bread baking to a whole new level. Ready to put your newfound expertise into action?
- Bake a perfect loaf: Try experimenting with different hydration levels and fermentation times using the techniques discussed to see how they affect your dough's texture and flavor. This is your chance to create truly exceptional whole wheat bread!
- Share your sourdough journey: Post a picture of your perfectly fermented loaf on social media and tag us – we'd love to see your baking creations! Let's build a community of passionate bread bakers.
- Dive deeper into fermentation: Explore different types of starter cultures and their impact on flavor profiles – the possibilities are endless!
So, what unique flavor profile will your next whole wheat loaf showcase?