
Your Guide to Perfect Chocolate Decorations: Curls, Shards, and More

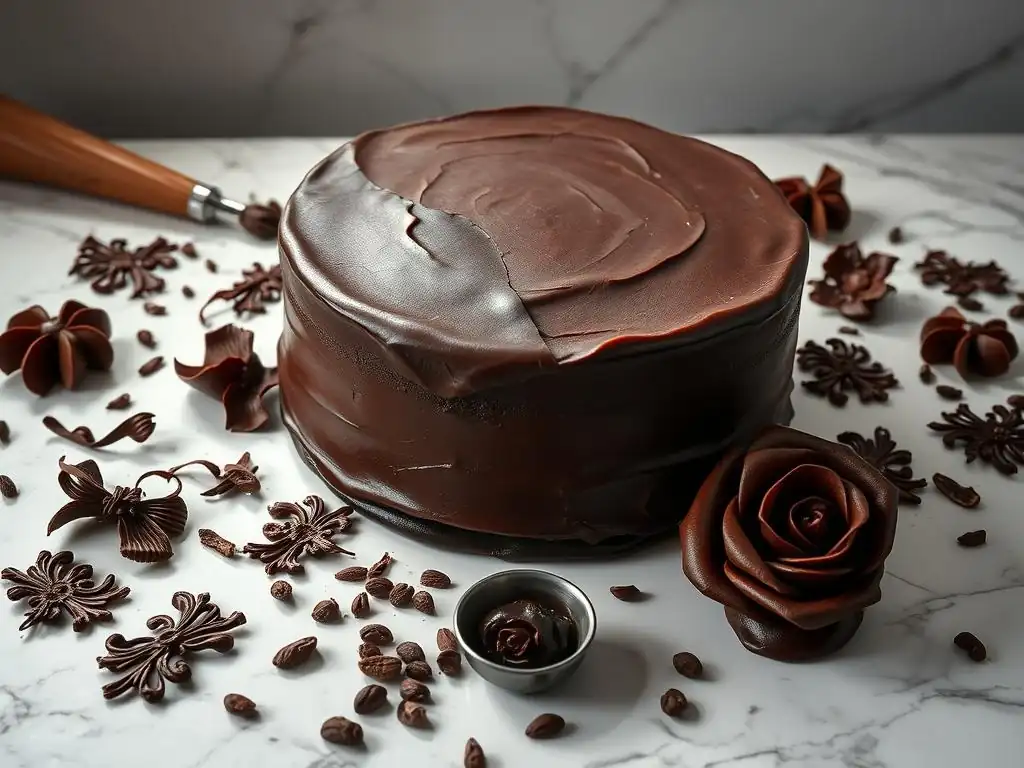
Welcome to BakeWithEase, your haven for all things baking! Ever wondered how professional bakers achieve those stunning chocolate decorations? Dive into our world of simple recipes and expert techniques as we unlock the secrets of chocolate decoration piping techniques. Prepare to elevate your desserts from ordinary to extraordinary, one perfect curl, shard, or swirl at a time. Ready to master the art?
- Mastering Chocolate Decoration Piping Techniques for Stunning Desserts
- Essential Tools and Ingredients for Chocolate Decorating
- Chocolate Decoration Techniques: A Step-by-Step Guide
- Troubleshooting Common Chocolate Decorating Problems
- Tips and Tricks for Professional-Looking Chocolate Decorations
- Inspiration and Ideas for Chocolate Decoration Piping Techniques
- Conclusion: Elevate Your Baking with Chocolate Artistry
-
Frequently Asked Questions
- What are some basic chocolate decoration piping techniques suitable for beginners?
- What type of chocolate is best for piping intricate decorations?
- How do I prevent my chocolate piping from cracking or breaking?
- What tools are essential for achieving professional-looking chocolate decorations?
- How can I store chocolate decorations that I've piped ahead of time?
- Final Reflection: Mastering the Art of Chocolate Decoration
- Unleash Your Inner Chocolatier Today!
Mastering Chocolate Decoration Piping Techniques for Stunning Desserts
Chocolate decorations can transform a simple dessert into a show-stopping masterpiece. Whether you're adding elegant curls to a cake, dramatic shards to a mousse, or intricate piped designs to cupcakes, understanding the fundamental techniques is key. Mastering chocolate decoration piping techniques, alongside other methods like creating curls and shards, allows you to add texture, height, and visual interest that elevates your baking from delicious to truly spectacular. It's a skill that requires practice, but the results are incredibly rewarding, adding a touch of professional flair to your homemade treats.
Beyond the visual appeal, chocolate decorations offer a delightful textural contrast and intensify the chocolate flavor of your dessert. Imagine the delicate crunch of a chocolate shard atop a smooth panna cotta, or the creamy richness of a piped chocolate ganache border on a layer cake. These elements not only look fantastic but enhance the overall eating experience. Learning various chocolate decoration piping techniques and other methods opens up a world of creative possibilities, allowing you to personalize your desserts for any occasion, from simple weeknight treats to elaborate celebration cakes.
Essential Tools and Ingredients for Chocolate Decorating
High-Quality Chocolate: Choosing the Right Type for Decorations
Choosing the right type of chocolate is perhaps the most critical step in creating beautiful decorations. For most techniques like curls, shards, and intricate piping, you'll need real chocolate that contains cocoa butter and can be tempered. Couverture chocolate, which has a higher percentage of cocoa butter (often 32% or more), is ideal because it melts smoothly, tempers well, and sets with a beautiful snap and gloss.
Look for brands known for quality, as the flavor and handling properties will be superior. Examples include Callebaut, Valrhona, or Guittard. While you can use high-quality baking bars (not chips, which contain stabilizers that prevent smooth melting and tempering), couverture offers the best results for techniques requiring tempering.
The type of chocolate – dark, milk, or white – depends on your desired color, flavor, and the specific decoration technique. Dark chocolate is often easiest to temper and provides a deep, rich color. Milk chocolate is sweeter and creamier but can be trickier to temper due to its milk solids and lower cocoa butter content.
White chocolate, containing no cocoa solids but only cocoa butter, sugar, and milk solids, is the most sensitive to heat and the hardest to temper correctly; however, it's perfect for coloring. Always use the best quality you can afford for optimal results in your chocolate decoration piping techniques and other creations.
Piping Bags, Nozzles, and Other Necessary Equipment
A set of reliable piping bags and nozzles (or tips) is essential for mastering chocolate decoration piping techniques. Piping bags come in various materials like disposable plastic, reusable silicone, or canvas. Disposable bags are convenient for cleanup, while silicone and canvas are more environmentally friendly.
For chocolate work, especially with ganache or melted chocolate, sturdy bags are preferable. You'll need a variety of piping tips, ranging from small round tips (like Wilton #1, #2, #3) for fine lines and writing, to star tips (like Wilton #1M, #21) for borders and swirls, and even petal tips (like Wilton #104) for creating shapes like leaves or ruffles.
Beyond piping equipment, several other tools are invaluable. A heat-resistant spatula or spoon is needed for stirring and handling melted chocolate. A double boiler or a microwave is necessary for melting and tempering chocolate.
For chocolate curls and shards, you'll need a smooth, clean surface, like a marble slab, the back of a baking sheet, or even a clean countertop. Parchment paper or acetate sheets are crucial for setting various chocolate decorations. Finally, a good quality thermometer, preferably an instant-read or candy thermometer, is vital for accurately tracking temperatures during the tempering process, which is fundamental to achieving professional results with chocolate decoration piping techniques and solid chocolate pieces.
Preparing Your Workspace for Success
A clean, dry, and temperature-controlled workspace is crucial when working with chocolate. Chocolate is highly sensitive to moisture and temperature fluctuations. Even a single drop of water can cause melted chocolate to seize, turning it into a thick, grainy paste unusable for decorations. Ensure all your tools and bowls are completely dry. The ideal room temperature for working with chocolate is typically between 68°F and 72°F (20°C-22°C). If your kitchen is too warm, the chocolate may not set properly or can melt too quickly in your hands or the piping bag.
Prepare all your tools and ingredients before you start melting the chocolate. Have your piping bags fitted with the correct nozzles, line baking sheets with parchment or acetate, and clear a suitable space for chilling decorations if needed. For techniques like curls or shards, ensure your marble slab or baking sheet is clean and cool. A well-organized workspace minimizes stress and allows you to work efficiently once the chocolate is at the correct temperature, significantly improving your success rate with delicate chocolate decoration piping techniques and other forms.
Chocolate Decoration Techniques: A Step-by-Step Guide
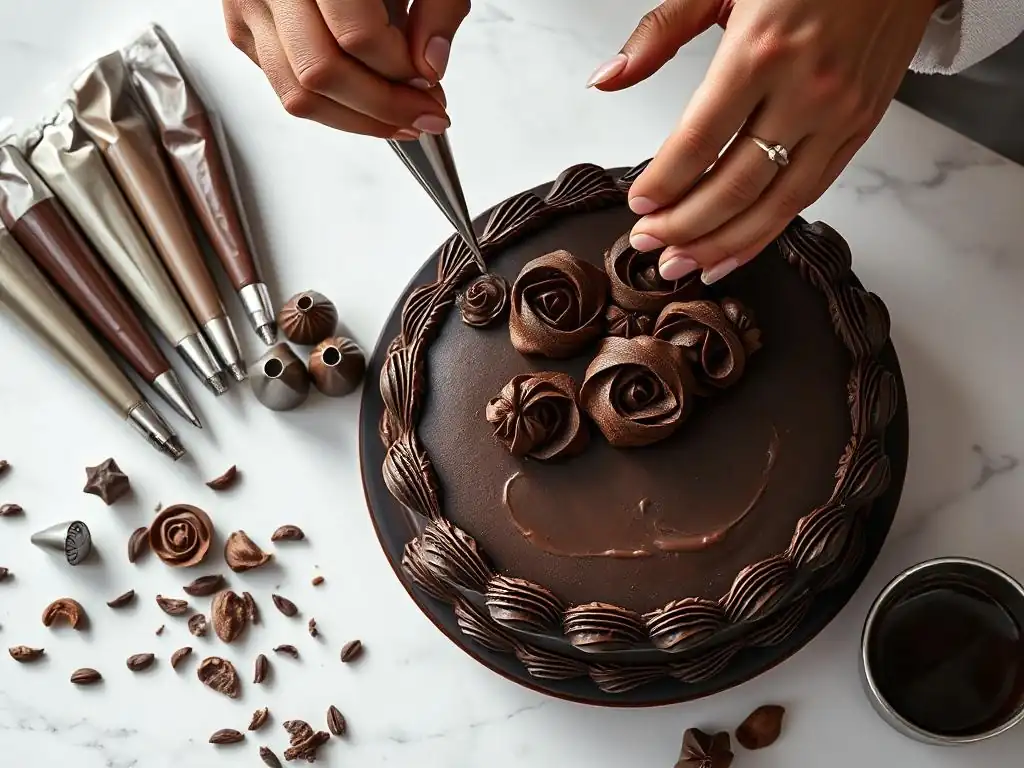
Creating Classic Chocolate Curls: The Cold Slab Method
Chocolate curls add an elegant touch to cakes and desserts. The cold slab method is a reliable way to create them, relying on properly tempered chocolate and a cool surface. The key is getting the chocolate to the right consistency – spreadable but starting to set. This technique showcases the importance of temperature control in achieving beautiful chocolate decorations. It's a classic approach that, once mastered, yields consistent and attractive results for garnishing any sweet treat.
Achieving the Perfect Chocolate Temper for Curls
Tempering chocolate is essential for creating glossy, snappy chocolate curls that hold their shape at room temperature. This process involves heating, cooling, and reheating chocolate to specific temperatures to stabilize the cocoa butter crystals. For dark chocolate, typical temperatures are melt to 115°F (46°C), cool to 80-82°F (27-28°C), and reheat slightly to 88-90°F (31-32°C). Milk chocolate requires slightly lower temperatures, often around 110°F (43°C) for melting and 86-88°F (30-31°C) for working. White chocolate is the most delicate, melting around 105°F (40°C) and working around 82-84°F (28-29°C). Using a reliable thermometer is non-negotiable for accuracy.
Once the chocolate is tempered, pour a small amount onto a clean, cool surface like a marble slab or the back of a cold metal baking sheet. Spread it thinly and evenly using an offset spatula or palette knife. Allow the chocolate to set partially – it should start to lose its glossy sheen and feel firm but still pliable when touched. This setting phase is critical; if it's too warm, it won't curl; if it's too cold, it will shatter. Observing the chocolate's transformation is key to knowing when it's ready for the next step.
Step-by-Step Guide to Making Chocolate Curls
- Temper your chocolate: Follow the temperature guidelines for your type of chocolate (dark, milk, or white) using a double boiler or microwave and a thermometer.
- Prepare the surface: Ensure a marble slab or metal baking sheet is clean, dry, and cool (you can chill a baking sheet in the fridge for a few minutes, but not so cold that it causes condensation).
- Spread the chocolate: Pour a small amount of tempered chocolate onto the surface and spread it into a thin, even layer, approximately 1-2 mm thick, using an offset spatula.
- Allow to set: Let the chocolate sit undisturbed until it is partially set. It should no longer be liquid but still flexible enough to curl without breaking. Test a small edge.
- Create the curls: Hold a metal scraper or wide, sharp knife at a shallow angle (about 45 degrees) against the chocolate. Push the scraper firmly and evenly along the surface, away from you, to shave off thin layers that curl as they detach.
- Collect and store: Carefully lift the delicate curls using the scraper or a toothpick and transfer them to a parchment-lined plate or tray. Chill briefly if needed to firm up completely, then store in an airtight container in a cool, dry place. Avoid stacking them if possible to prevent breakage.
Crafting Elegant Chocolate Shards: Adding Height and Texture
Chocolate shards are incredibly versatile, adding height, texture, and a modern aesthetic to desserts. They can be simple flat pieces or curved, textured shapes. Like curls, achieving the right snap and gloss requires properly tempered chocolate. Shards are relatively easy to make and offer endless creative possibilities for garnishes, from simple broken pieces to deliberately shaped elements that stand tall on a cake.
Tempering Chocolate for Shards: A Detailed Explanation
Just as with curls, tempering is non-negotiable for beautiful chocolate shards. Untempered chocolate will set with streaks, a dull finish, and will melt easily at room temperature, making it unsuitable for decorations that need to hold their shape. Use the same precise tempering temperatures as described for chocolate curls (around 88-90°F for dark, 86-88°F for milk, 82-84°F for white). The goal is to encourage the formation of stable Type V beta crystals in the cocoa butter, which provide structure, gloss, and snap.
Once tempered, the chocolate is ready to be spread for shards. Unlike curls where you need partial setting on a cold surface, shards are often made by spreading tempered chocolate onto parchment paper or acetate sheets and allowing it to set completely. This allows for more flexibility in shaping before it hardens. The thickness of the spread chocolate will determine the final thickness and sturdiness of the shards; a layer of about 2-3 mm is common for decorative shards.
Creating Different Shard Shapes and Sizes
- Prepare your surface: Lay out parchment paper or acetate sheets on a flat surface. Acetate provides a very smooth, glossy finish.
- Spread tempered chocolate: Pour tempered chocolate onto the prepared surface. Use an offset spatula to spread it into a thin, even layer. You can spread it into a large rectangle or freeform shapes.
- Add texture (optional): While the chocolate is still wet, you can create texture using a variety of tools. Drag a fork through it, swirl it with a spatula, or even press bubble wrap onto the surface for an interesting pattern.
- Allow to set: Let the chocolate set completely at cool room temperature or in the refrigerator for 10-15 minutes until firm and snappy. Avoid chilling for too long, as this can cause condensation which dulls the chocolate.
- Break into shards: Once fully set, simply break the large sheet of chocolate into desired shard shapes and sizes by hand. For more controlled shapes, you can score the chocolate lightly with a knife before it fully hardens and then break along the lines once set. For curved shards, spread the chocolate onto a piece of parchment paper, and then gently drape the parchment paper over a rolling pin or inside a curved mold while it sets.
Mastering Chocolate Piping Techniques for Intricate Designs
Chocolate decoration piping techniques are fundamental for creating detailed designs, borders, writing, and small elements like dots or stars. This typically involves using melted chocolate or, more commonly, a stable chocolate ganache or frosting that can hold its shape when piped. Precision and control are key to achieving clean lines and consistent patterns with chocolate decoration piping techniques.
Preparing Chocolate Ganache for Piping
Chocolate ganache is an excellent medium for chocolate decoration piping techniques because it is rich, flavorful, and can be made to various consistencies suitable for piping. A basic piping ganache is typically made with a higher ratio of chocolate to cream than a pouring ganache, often 2 parts chocolate to 1 part heavy cream by weight for dark chocolate, or 2.5-3 parts chocolate to 1 part cream for milk or white chocolate (which are softer).
Heat the cream just to a simmer, pour it over finely chopped chocolate, let it sit for a few minutes, then stir gently until smooth and emulsified.
For piping, the ganache needs to cool and thicken. Cover the ganache with plastic wrap pressed directly onto the surface to prevent a skin from forming, and let it cool at room temperature for several hours, or in the refrigerator for 1-2 hours, stirring occasionally. It should become thick and spreadable, like frosting, but still smooth.
If it gets too stiff, you can gently warm it slightly over a double boiler or in the microwave for a few seconds, then stir until it reaches the correct piping consistency. Ensure it's not too warm, or it will melt as you pipe.
Basic Piping Techniques: Lines, Dots, and Swirls
Once your ganache (or melted tempered chocolate) is in a piping bag fitted with the desired tip, you can practice basic chocolate decoration piping techniques.
- Lines: Hold the piping bag at a slight angle just above the surface. Apply even pressure and lift the tip slightly as you move along, letting the chocolate fall naturally into a line. Stop pressure before lifting the bag to create a clean end. Practice varying pressure for thicker or thinner lines.
- Dots: Hold the piping bag perpendicular to the surface. Apply pressure until the dot is the desired size, then stop pressure and lift the bag straight up. Varying pressure creates different dot sizes.
- Swirls: Using a star tip, hold the bag perpendicular and pipe a small mound, then swirl outwards or upwards in a circular motion, stopping pressure at the end of the swirl. This is perfect for cupcake tops or decorative elements.
Consistency in pressure and movement is key to mastering these fundamental chocolate decoration piping techniques. Start practicing on parchment paper before working directly on your dessert.
Advanced Piping Techniques: Flowers, Leaves, and Borders
Building on basic skills, advanced chocolate decoration piping techniques allow for more intricate designs.
- Rosettes and Flowers: Using a star tip (like 1M or 2D), start piping in the center and swirl outwards to create a rosette. For multi-petal flowers, use a petal tip (like 104), holding the wider end down and piping overlapping petals.
- Leaves: A leaf tip (like 352) creates realistic leaves with a central seam. Apply pressure, pull the tip slightly, then release pressure while pulling the tip away.
- Borders: Various tips can create decorative borders along the edge of a cake. Shell borders (using a star tip, starting with pressure, decreasing pressure while pulling away) or rope borders (piping overlapping shells) are classic examples.
- Lace and Filigree: Using a very fine round tip (like #1 or #2) and tempered chocolate, you can pipe intricate lace patterns onto parchment paper or acetate. Once set, carefully peel and apply to your dessert.
Mastering these chocolate decoration piping techniques requires patience and practice. Start with simpler designs and gradually work towards more complex ones.
Making Chocolate Leaves: A Natural and Beautiful Decoration
Chocolate leaves are a charming and natural-looking decoration, perfect for autumnal or nature-themed desserts. They can be made using real leaves as molds or crafted freehand. This technique requires careful handling but results in surprisingly realistic edible decorations.
Using Real Leaves as Molds for Chocolate Leaves
Using real leaves is a simple and effective way to create realistic chocolate leaves. Select non-toxic leaves with prominent veins on the underside, such as rose or mint leaves. Wash and thoroughly dry them. Melt and temper your chocolate (dark or milk works well). Using a small brush or spatula, carefully paint a layer of tempered chocolate onto the underside of the leaf, ensuring the chocolate gets into all the vein details. Avoid getting chocolate on the top side. Apply a second coat if needed for strength once the first layer is partially set.
Place the painted leaves, chocolate-side up, on a parchment-lined tray. Chill them in the refrigerator for about 10-15 minutes until the chocolate is completely set and firm. Carefully peel the real leaf away from the chocolate leaf, starting from the stem end. If the chocolate is properly tempered, it should detach cleanly, leaving behind a perfect chocolate replica of the leaf, complete with vein details. Handle the delicate chocolate leaves gently to avoid breakage.
Creating Chocolate Leaves from Scratch
You can also create chocolate leaf shapes without real leaves, offering more control over size and shape. Melt and temper chocolate. Spread a thin layer onto a piece of parchment paper or acetate. While still wet, use a knife or toothpick to draw leaf shapes. For vein details, you can lightly score the surface with a toothpick or the back of a knife before it sets, or pipe fine lines using a piping bag with a very fine tip (#1 or #2) filled with tempered chocolate.
Alternatively, you can pipe leaf shapes directly onto parchment paper using tempered chocolate in a piping bag with a small round tip, drawing the outline and then filling it in. For a more textured look, you can use a leaf piping tip (like #352) with tempered chocolate or a firm ganache, piping the leaf shape directly. Allow the chocolate leaves to set completely on parchment paper before carefully peeling them off. While perhaps less realistic than using real leaves as molds, this method allows for greater consistency and freedom in design.
Simple Chocolate Bark for Decoration
Chocolate bark is one of the easiest and most versatile chocolate decorations. It requires minimal skill and can be customized with various toppings, making it perfect for adding color, texture, and flavor to desserts. It's often broken into irregular pieces, similar to shards, and used as a simple yet effective garnish.
Making Chocolate Bark with Nuts and Dried Fruits
To make classic chocolate bark, melt and temper your chocolate. Spread the tempered chocolate onto a parchment-lined baking sheet in a layer about 1/4 inch thick. While the chocolate is still wet, sprinkle your desired toppings generously over the surface. Popular additions include chopped nuts (like almonds, pistachios, or pecans), dried fruits (cranberries, cherries, apricots), seeds, pretzels, cookies, or even candies. Gently press the toppings into the chocolate to ensure they adhere.
Allow the chocolate bark to set completely at cool room temperature or in the refrigerator for about 20-30 minutes. Once fully hardened, break the large sheet of bark into smaller pieces of varying sizes. These pieces can then be used to decorate cakes, cupcakes, platters, or simply enjoyed as a treat. The combination of the snappy chocolate and the textures of the toppings makes for an appealing decoration element.
Adding Color to Chocolate Bark
Adding color to chocolate bark makes it even more visually striking. White chocolate is the best base for coloring. You must use oil-based or specialized candy colors designed for chocolate. Water-based food coloring will cause the chocolate to seize. Melt and temper white chocolate. Stir in a small amount of oil-based food coloring until the desired shade is achieved. Spread the colored chocolate as usual onto parchment paper.
You can create marbled bark by spreading multiple colors of tempered white chocolate (or colored white chocolate alongside dark or milk chocolate) onto the parchment and swirling them together gently with a toothpick or knife before adding toppings and letting it set. Alternatively, you can drizzle contrasting colors of melted chocolate over the base layer before adding solid toppings. Once set, break into colorful shards of bark to use as vibrant decorations on your desserts.
Troubleshooting Common Chocolate Decorating Problems
Chocolate Not Tempering Properly
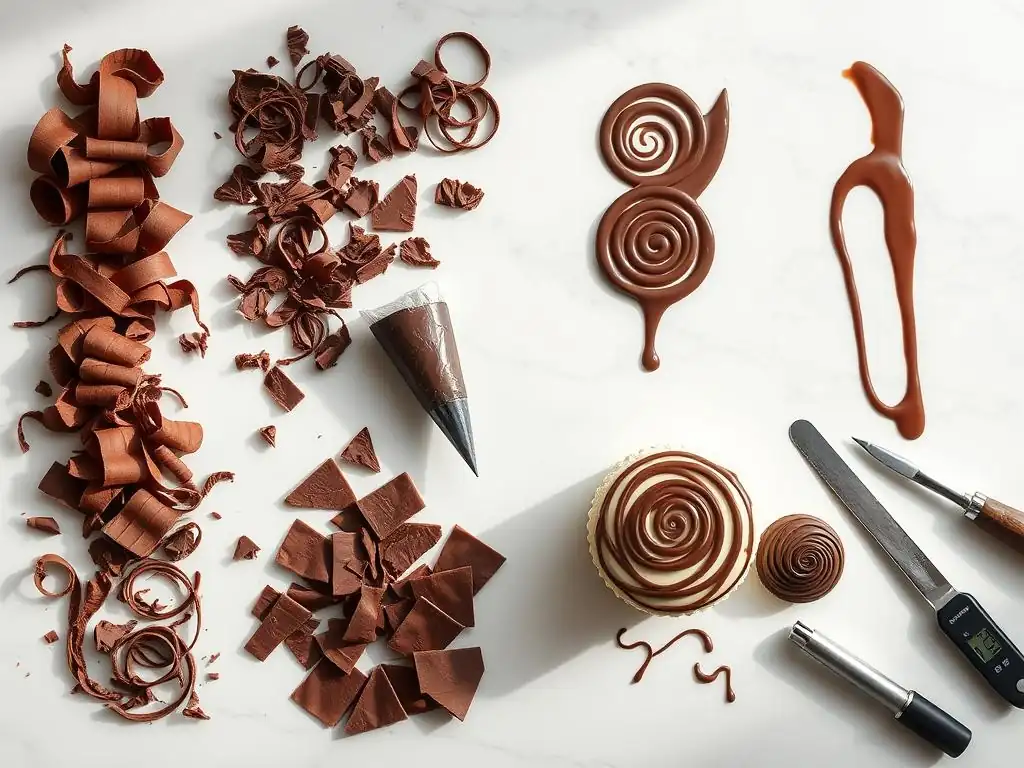
If your chocolate sets with streaks, a dull finish, or melts too easily, it likely wasn't tempered correctly. This is a common issue when learning chocolate decoration piping techniques and other methods. The most frequent causes are:
- Incorrect temperatures: Not reaching the correct melting, cooling, and reheating temperatures. Ensure your thermometer is accurate.
- Not enough seed chocolate (if using the seeding method): The seeding method relies on adding already-tempered chocolate pieces to melted chocolate to introduce stable crystals. If you don't add enough or they melt completely, tempering won't occur.
- Overheating during reheating: Reheating the chocolate too much after cooling will melt the stable crystals you just formed, untempering it.
- Moisture or contaminants: Even a tiny amount of water or food particles can disrupt the tempering process.
To fix untempered chocolate, you generally need to start over by remelting it and going through the tempering process again, paying close attention to the temperatures and avoiding moisture.
Chocolate Seizing or Becoming Grainy
Seizing is when melted chocolate suddenly turns from a smooth, liquid state into a thick, lumpy, or grainy paste. This is almost always caused by the introduction of moisture.
- Water contact: Even a drop of water or steam getting into melted chocolate can cause it to seize. Ensure bowls and tools are completely dry and be careful when melting over a double boiler that no steam escapes into the chocolate.
- Adding water-based color or flavoring: As mentioned earlier, use only oil-based or candy-specific colors and flavorings when working with melted chocolate.
- Overheating white chocolate: White chocolate is particularly prone to seizing if overheated or heated too quickly.
If chocolate has seized, it can sometimes be rescued by stirring in a very small amount of hot oil (like vegetable or canola oil) or melted cocoa butter, a teaspoon at a time, until it smooths out. However, this might change the consistency and flavor slightly and will not fix tempering issues if that was the original problem. For delicate chocolate decoration piping techniques or thin shards, seized chocolate is often unusable.
Piping Bag Clogging
A clogged piping bag can be frustrating when attempting fine chocolate decoration piping techniques. Common reasons include:
- Chocolate or ganache is too thick: If the ganache or melted chocolate is too cold or too stiff, it won't flow smoothly through the tip, especially with fine tips.
- Undissolved chocolate pieces: If the chocolate wasn't melted completely smooth, tiny solid particles can block the tip.
- Air bubbles: Large air bubbles trapped in the piping bag can create blockages or cause inconsistent flow.
- Using tempered chocolate that is starting to set: Tempered chocolate has a limited working time. If it starts to cool and set in the bag, it will become too firm to pipe.
To prevent clogging, ensure your ganache is at the correct consistency – smooth and thick but pliable. If using melted tempered chocolate for piping, work relatively quickly. Before filling the bag, tap it gently on the counter to help air bubbles rise. If clogging occurs, try warming the tip gently with your fingers or running it under warm water (being careful not to get water inside the bag). For ganache, you might need to empty the bag and gently rewarm the ganache before refilling.
Tips and Tricks for Professional-Looking Chocolate Decorations
Achieving a Smooth, Glossy Finish
The hallmark of professional chocolate decorations is a beautiful, glossy finish. The primary way to achieve this is through proper tempering. Tempered chocolate sets with a stable crystal structure that reflects light evenly, resulting in a high-gloss surface. Ensure you follow the correct temperature ranges precisely when tempering your chocolate.
Beyond tempering, the surface the chocolate sets on matters. Setting tempered chocolate on smooth surfaces like acetate sheets results in a mirror-like shine. Even parchment paper gives a decent finish, but acetate is superior for maximum gloss. Avoid touching the chocolate surface excessively while it's setting, as fingerprints can dull the finish. Finally, allowing the chocolate to set at a cool, consistent room temperature (rather than rushing it in a cold refrigerator) can also contribute to a better shine and snap.
Storing Your Chocolate Decorations
Proper storage is key to preserving the quality and appearance of your chocolate decorations. Once fully set, store chocolate decorations in a cool, dry place away from direct sunlight and strong odors. An airtight container is ideal to protect them from moisture and contaminants. The ideal storage temperature is typically between 60°F and 68°F (15°C-20°C).
Avoid storing chocolate decorations in the refrigerator if possible, as temperature fluctuations and condensation can cause sugar bloom (white streaks) or fat bloom (dull gray patches) on the surface, ruining the glossy finish. If refrigeration is necessary, place the container in the coldest part of the fridge and allow it to come to room temperature slowly before opening the container to minimize condensation. Delicate items made with chocolate decoration piping techniques should be handled with extreme care during storage.
Adding Color and Flavor to Your Chocolate
Adding color and flavor can make your chocolate decorations pop. As mentioned, use only oil-based or candy-specific colors for melted chocolate, especially white chocolate. Start with a tiny amount of color and add more gradually until you achieve the desired shade. You can create vibrant decorations for specific themes or holidays.
Flavor extracts can also be added, but again, ensure they are oil-based or specifically designed for chocolate. Water-based extracts can cause seizing. A few drops of peppermint, orange, or almond extract can add an extra dimension of flavor to your chocolate curls, shards, or piped elements, complementing the dessert they garnish. For instance, adding a hint of orange extract to dark chocolate shards on a chocolate orange cake.
Inspiration and Ideas for Chocolate Decoration Piping Techniques
Chocolate Decorations for Cakes
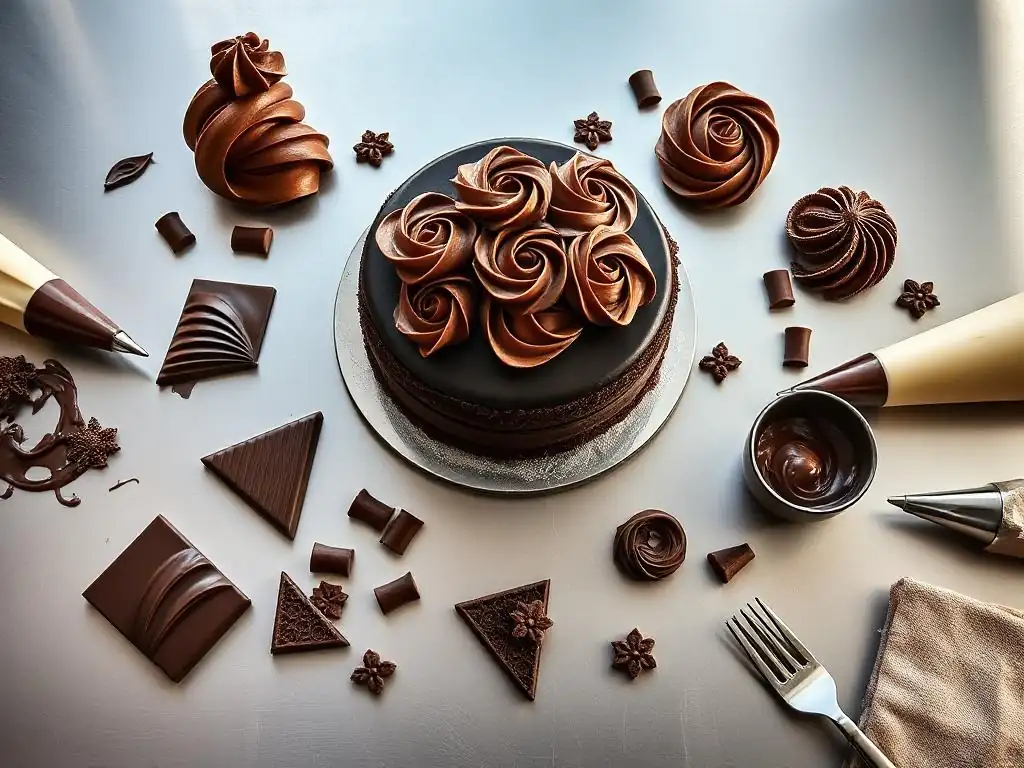
Cakes offer a large canvas for chocolate decoration piping techniques and other methods. Pipe intricate borders around the base or top edge using ganache and star or shell tips. Create elegant chocolate collars around the side of the cake using tempered chocolate spread on acetate. Pipe delicate filigree patterns onto parchment, let them set, and carefully apply them to the cake's sides.
Use tempered chocolate to create geometric shapes or abstract designs that stand upright on top. Chocolate curls, shards, and piped rosettes are classic cake decorations. Consider piping personalized messages or intricate patterns directly onto a smooth chocolate ganache or fondant surface using fine tips (#1 or #2) and melted tempered chocolate or stiff ganache.
Cupcakes are perfect for showcasing individual chocolate decoration piping techniques. Top swirls of frosting with chocolate curls or small chocolate shards. Pipe intricate designs directly onto the frosting using fine tips. Create chocolate toppers by piping shapes (like hearts, stars, or numbers) onto parchment paper using tempered chocolate, letting them set, and then inserting them into the frosting. Pipe small chocolate rosettes or flowers directly onto the cupcake top. Using different chocolate decoration piping techniques with colored white chocolate ganache can create vibrant and fun cupcake garnishes for parties.
Elevate simple cookies with chocolate decorations. Dip half the cookie in tempered chocolate and add sprinkles or nuts. Pipe intricate patterns, lines, or dots onto plain cookies using melted tempered chocolate or a stiff ganache and fine piping tips – this is a great way to practice detailed chocolate decoration piping techniques on a smaller scale. Make chocolate transfer sheets by piping designs onto acetate and pressing a cookie onto it before the chocolate sets. Create mini chocolate shards or curls to place on top of frosted cookies.
Chocolate Decorations for Desserts
Beyond cakes and cupcakes, chocolate decorations enhance a wide variety of desserts. Add chocolate shards to mousses, parfaits, or trifles for height and texture. Garnish panna cotta or crème brûlée with delicate chocolate curls or piped chocolate ganache designs. Use piped chocolate borders or lace patterns around the base of tarts or cheesecakes.
Create chocolate bowls or cups by coating small molds with tempered chocolate to serve individual desserts. Simple chocolate bark pieces can be placed alongside scoops of ice cream or sorbet. Mastering chocolate decoration piping techniques allows you to add professional finishing touches to virtually any sweet creation.
Conclusion: Elevate Your Baking with Chocolate Artistry
Frequently Asked Questions
What are some basic chocolate decoration piping techniques suitable for beginners?
Beginners can start with simple techniques like creating dots, lines, or basic swirls. These are easy to master and add instant elegance to any dessert. Practice on parchment paper first!
What type of chocolate is best for piping intricate decorations?
Tempered chocolate, especially dark or couverture chocolate, is ideal due to its smooth texture and ability to set firmly. Using high-quality chocolate will yield better results.
How do I prevent my chocolate piping from cracking or breaking?
Ensure your chocolate is properly tempered to avoid blooming or cracking. Also, avoid overworking the chocolate during the piping process.
What tools are essential for achieving professional-looking chocolate decorations?
Essential tools include a piping bag, various piping tips (round, star, leaf), parchment paper, and a spatula for smoothing. A chocolate tempering machine can also be helpful for consistent results.
How can I store chocolate decorations that I've piped ahead of time?
Store your piped chocolate decorations in an airtight container at room temperature, away from direct sunlight or heat. They can generally last for several weeks if properly stored.
Final Reflection: Mastering the Art of Chocolate Decoration
The pursuit of the perfect chocolate decoration transcends mere aesthetics; it's a testament to precision, creativity, and the enduring power of delicious artistry. In a world increasingly dominated by digital experiences, the tactile joy of crafting intricate chocolate designs offers a unique and rewarding counterpoint. From the elegant swirl of a chocolate curl to the satisfying snap of a perfectly tempered shard, each technique explored in this guide represents a step towards mastering a timeless craft.
The influence of chocolate artistry on our cultural landscape is undeniable. From the intricate designs adorning high-end desserts to the simple, heartfelt chocolate decorations on homemade treats, chocolate speaks a universal language of celebration and indulgence. The simplest things are often the truest.
This sentiment perfectly encapsulates the beauty of even the most basic chocolate decoration techniques – their simplicity belies the skill and artistry involved, creating moments of genuine delight. The enduring appeal of handcrafted chocolate, particularly when presented with such care, speaks volumes about our desire for authenticity and connection in a fast-paced world.
Now, it's your turn. Consider the techniques you've learned and the possibilities they unlock. Don't be afraid to experiment, to push your boundaries, and to find your own unique style within the world of chocolate decoration. Let the process be as enjoyable as the result, embracing the imperfections and celebrating the successes. The journey of mastering chocolate decoration is a continuous one, filled with endless opportunities for creativity and self-expression. So, grab your tools, melt your chocolate, and let your imagination run wild. The world awaits your delicious creations.
Unleash Your Inner Chocolatier Today!
Thank you for joining us on this delicious journey into the world of chocolate decorations! We hope you found inspiration and practical tips to elevate your baking game. Now it's time to put your newfound knowledge to good use and transform your creations into stunning showstoppers!
Here are some exciting steps you can take to start crafting your chocolate masterpieces:
- Dive into creativity: Experiment with different chocolate techniques you learned today! Try making curls, shards, or even your unique designs for your next baking project.
- Share your creations with friends and family! Host a chocolate-themed gathering where everyone can showcase their decorations and recipes.
- Join our community on social media and share your chocolate art with the hashtag #BakeWithEase. Inspire others and get inspired by their fantastic ideas!
What masterpiece will you create first to impress your taste testers?