
Baking GlutenFree Bread with Psyllium Husk Powder

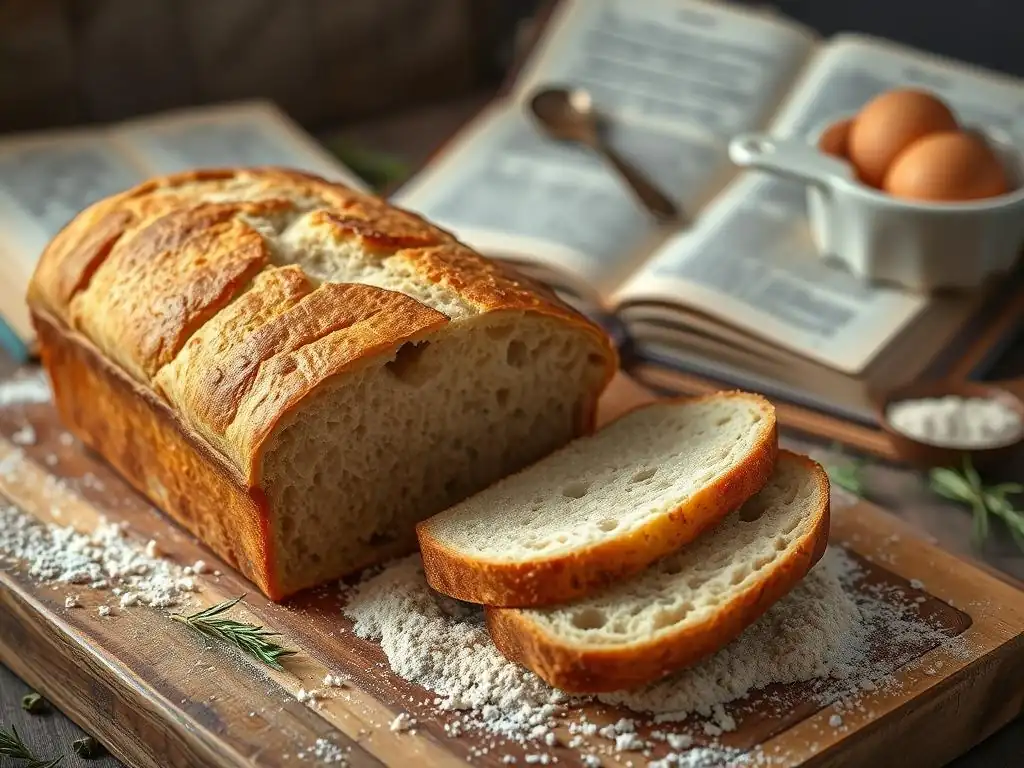
Welcome to BakeWithEase, your trusted companion on your baking journey! Ever wondered how to achieve that perfect texture and rise in gluten-free bread? Explore the secrets of using psyllium husk in our latest article and unlock a world of delicious possibilities. We'll guide you through simple techniques and easy-to-find ingredients, leaving you eager to bake your very own loaf. Discover the key to incredible gluten-free bread today!
- Baking Gluten-Free Bread with Psyllium Husk: A Comprehensive Guide
- Introduction to Gluten-Free Bread Baking with Psyllium Husk
- Understanding Psyllium Husk Powder for Gluten-Free Baking
- Essential Ingredients for Gluten-Free Bread with Psyllium Husk
- Step-by-Step Guide: Baking Gluten-Free Bread with Psyllium Husk
- Tips and Tricks for Gluten-Free Bread Success with Psyllium Husk
- Gluten-Free Bread Recipes with Psyllium Husk
- Storing Gluten-Free Bread for Optimal Freshness
- Conclusion: Baking Delicious Gluten-Free Bread
-
Frequently Asked Questions
- What is psyllium husk powder and why is it important in gluten-free bread baking?
- How much psyllium husk powder should I use when baking gluten-free bread?
- Can I substitute psyllium husk powder with other ingredients in gluten-free bread?
- What are the benefits of using psyllium husk powder in gluten-free bread compared to other gluten-free baking methods?
- Where can I purchase psyllium husk powder for my gluten-free bread baking?
- Final Reflection: The Humble Psyllium Husk and the Joy of Gluten-Free Baking
- Unlock the Secrets to Fluffy Gluten-Free Bread!
Baking Gluten-Free Bread with Psyllium Husk: A Comprehensive Guide
Introduction to Gluten-Free Bread Baking with Psyllium Husk
Why Psyllium Husk is Crucial for Gluten-Free Bread Structure
Baking gluten-free bread often presents challenges in achieving a structure comparable to traditional wheat bread. Gluten, a protein found in wheat, creates an elastic network that traps gases produced by yeast, allowing the dough to rise and form a stable crumb structure. Without gluten, doughs can be dense, crumbly, and lack elasticity. This is where psyllium husk powder becomes a game-changer for achieving successful gluten-free bread psyllium husk recipes.
Psyllium husk, derived from the seeds of the Plantago ovata plant, is a soluble fiber that forms a gel-like substance when mixed with liquid. In gluten-free baking, this gel mimics some of the functions of gluten by providing binding and elasticity to the dough. It helps create a cohesive structure, improves the dough's ability to trap air, and contributes to a softer crumb and better rise, essential qualities for great-tasting gluten-free bread.
Guide to Successful Gluten-Free Loaves
Mastering gluten-free bread psyllium husk baking involves understanding the unique properties of the ingredients and adjusting techniques accordingly. Unlike wheat dough, gluten-free doughs are often stickier and less elastic, requiring different handling. Psyllium husk powder plays a vital role in making these doughs more manageable and providing the necessary structure for a good rise and texture.
This guide will walk you through the process, from selecting the right ingredients to troubleshooting common issues. By incorporating psyllium husk powder correctly and following these steps, you can consistently bake delicious, well-structured gluten-free bread psyllium husk loaves right in your own kitchen, enjoying a satisfying baking experience and delightful results.
Understanding Psyllium Husk Powder for Gluten-Free Baking
What is Psyllium Husk Powder?
Psyllium husk powder is a finely ground fiber made from the outer coating, or husk, of the psyllium seeds. It is primarily composed of soluble fiber, accounting for approximately 70-80% of its weight. This high soluble fiber content is responsible for its remarkable ability to absorb water and form a viscous gel, often swelling up to 10-20 times its original volume when hydrated.
This unique gelling property makes psyllium husk powder an invaluable ingredient in various applications, including dietary supplements for digestive health. In the context of baking, particularly gluten-free baking, this gelling action is harnessed to provide structure, moisture retention, and elasticity to doughs that would otherwise be fragile and difficult to work with due to the absence of gluten.
Benefits of Using Psyllium Husk in Gluten-Free Bread
The inclusion of psyllium husk powder in gluten-free bread offers several significant benefits. Firstly, it acts as a powerful binder, holding together the various gluten-free flours and preventing the bread from becoming crumbly. This binding effect is crucial for creating a dough that can be shaped and handled without falling apart, leading to a more uniform and appealing loaf.
Secondly, psyllium husk improves the texture of gluten-free bread psyllium husk recipes. It contributes to a softer, more elastic crumb and a better crust. The fiber helps retain moisture during baking, preventing the bread from drying out and resulting in a more pleasant mouthfeel. Furthermore, its ability to trap air improves the loaf's volume and creates a lighter, less dense texture, making your homemade gluten-free bread psyllium husk truly satisfying.
Forms of Psyllium Husk: Whole vs. Powder
Psyllium is available in two primary forms for baking: whole psyllium husks and psyllium husk powder. Whole husks are less processed and appear as fluffy flakes. They absorb water more slowly than the powder form. When using whole husks in a recipe designed for powder, you generally need a slightly larger quantity by weight because the powder is more concentrated and has a greater surface area for water absorption. A common guideline is to use about 1.5 to 2 times the amount of whole husks compared to powder by weight, though this can vary by recipe and brand.
Psyllium husk powder, being finely ground, absorbs water much faster and forms a thicker gel more quickly. This rapid gelling makes it ideal for many gluten-free bread recipes as it helps develop structure early in the mixing process. However, the potency can vary between brands, so it's wise to start with the amount specified in a trusted gluten-free bread psyllium husk recipe and adjust slightly based on the dough's consistency. The fine powder also integrates more smoothly into the dough, reducing the chance of visible flakes in the finished bread.
Essential Ingredients for Gluten-Free Bread with Psyllium Husk
Gluten-Free Flour Blend: Selecting the Right Combination
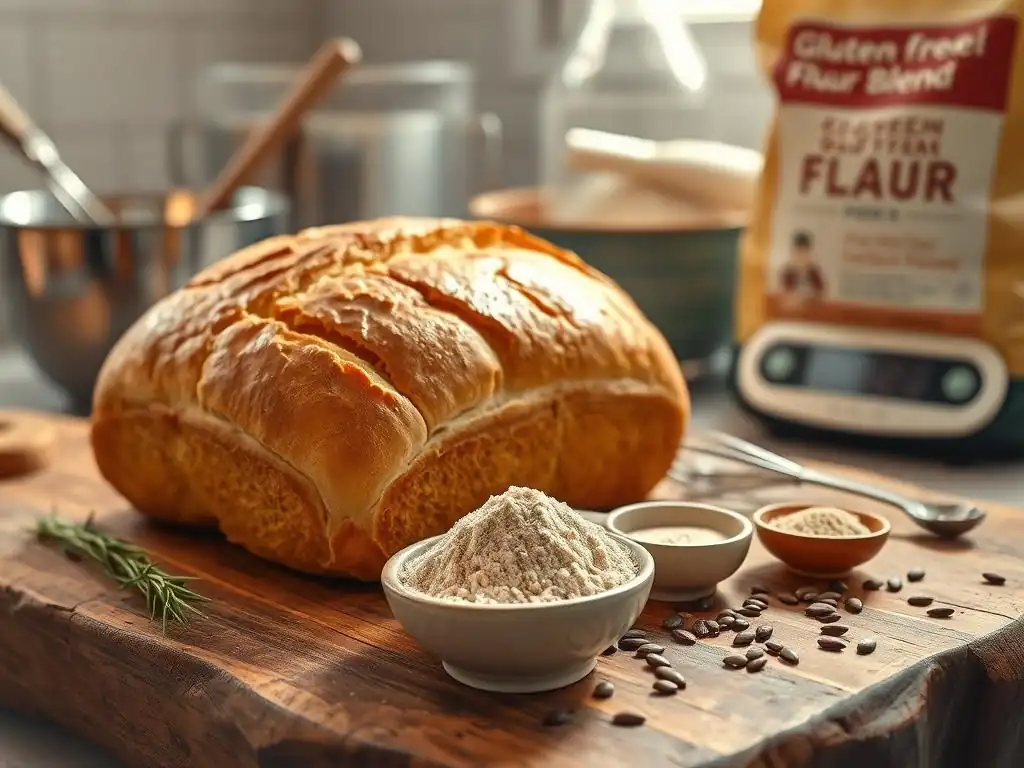
The foundation of any gluten-free bread is the flour blend. Unlike wheat flour, which has consistent properties due to gluten, gluten-free flours vary widely in starch and protein content, absorption rates, and flavor. A good gluten-free bread psyllium husk recipe typically uses a blend of several flours to mimic the structure and texture of wheat bread. Common components include starchy flours like rice flour (white or brown), tapioca starch, potato starch, or cornstarch, which provide structure and tenderness.
Combining these starches with protein-rich flours such as sorghum flour, millet flour, buckwheat flour, or oat flour (certified gluten-free) adds nutritional value and helps improve the crumb structure. Some blends also include nut flours like almond flour, which add flavor and moisture but can be heavier. Experimenting with different ratios is key, but starting with a commercially available gluten-free bread blend designed for yeast baking or a proven recipe blend is often the easiest path to successful gluten-free bread psyllium husk results.
Psyllium Husk Powder: Dosage and Quality Considerations
The correct dosage of psyllium husk powder is critical for achieving the desired texture and structure in your gluten-free bread. Too little, and the bread may be crumbly and dense; too much, and it can result in a gummy or heavy loaf. A typical range for psyllium husk powder in gluten-free bread psyllium husk recipes is between 2% and 5% of the total flour weight. For example, in a recipe using 500 grams of gluten-free flour, you might use between 10 and 25 grams of psyllium husk powder.
The quality and fineness of the psyllium husk powder can also impact its performance. Very fine powders absorb water more rapidly and intensely than coarser powders. Using a high-quality, finely ground psyllium husk powder specifically intended for baking is recommended for consistent results. Always measure psyllium husk powder accurately, preferably by weight using a digital scale, as volume measurements (like tablespoons) can be inconsistent depending on how densely the powder is packed.
Yeast: Ensuring Activation for Optimal Rise
Yeast is the leavening agent that makes bread light and airy by producing carbon dioxide gas. In gluten-free bread psyllium husk recipes, ensuring the yeast is active and happy is particularly important because the dough relies heavily on the gas produced for its rise, as there's no gluten network to assist. Most recipes call for instant dry yeast or active dry yeast.
If using active dry yeast, it's essential to "proof" it first by dissolving it in a warm liquid (usually water or milk) with a pinch of sugar for about 5-10 minutes until it becomes foamy. This confirms the yeast is alive and ready to work.
Instant dry yeast can often be mixed directly into the dry ingredients, but proofing it beforehand is still a good practice, especially if you are unsure about its freshness or the liquid temperature. The temperature of the liquid is crucial; it should be warm (around 105-115°F or 40-46°C) but not hot, as excessive heat will kill the yeast. Using expired or inactive yeast is a common reason for dense, unrisen gluten-free bread psyllium husk loaves.
Other Key Ingredients: Water, Salt, Olive Oil, and Optional Sweeteners
Beyond flour, psyllium husk, and yeast, several other ingredients are fundamental to gluten-free bread psyllium husk recipes. Water or another liquid (like plant-based milk) is essential for hydrating the flours and psyllium husk, activating the yeast, and bringing the dough together. The precise amount of liquid is critical in gluten-free baking, as the dough consistency is key – it's often wetter than traditional wheat dough.
Salt is vital for flavor and helps control yeast activity. Olive oil or another fat (like melted butter or vegetable oil) adds richness, improves texture, and helps keep the bread moist. Optional sweeteners like sugar, honey, or maple syrup can be added to feed the yeast and contribute to crust browning and flavor, although they are not strictly necessary for the structure provided by the gluten-free flour and psyllium husk blend.
Step-by-Step Guide: Baking Gluten-Free Bread with Psyllium Husk
Step 1: Preparing the Psyllium Husk Slurry
The first step in many successful gluten-free bread psyllium husk recipes is to create a psyllium husk "slurry" or gel. This involves whisking the measured psyllium husk powder into a portion of the warm liquid specified in the recipe, often the full amount or a significant portion. The mixture should be stirred vigorously for about 30 seconds to a minute until the psyllium is fully dispersed.
Once mixed, let the slurry sit for 5-10 minutes. During this time, the psyllium husk powder will absorb the liquid and swell, forming a thick, gel-like consistency. This pre-hydration step is crucial because it allows the psyllium to develop its binding properties fully before being incorporated into the dry ingredients, ensuring it distributes evenly and effectively throughout the dough for a consistent gluten-free bread psyllium husk structure.
Step 2: Mixing the Gluten-Free Dough
After the psyllium husk slurry has gelled, it's time to combine all the ingredients. In a large mixing bowl, whisk together the gluten-free flour blend, salt, and instant yeast (if not proofing active dry yeast separately). Add the psyllium husk slurry, any remaining liquid (like oil or sweetener), and the proofed active dry yeast mixture (if using).
Mix everything together using a stand mixer with a paddle attachment or a sturdy spoon until a cohesive dough forms. Gluten-free doughs are typically quite wet and sticky, more like a thick batter than a traditional kneadable dough. Mix for several minutes (often 5-7 minutes in a stand mixer) to ensure all ingredients are well combined and the psyllium husk is fully integrated, which helps develop the necessary structure for your gluten-free bread psyllium husk loaf.
Step 3: First Rise (Bulk Fermentation)
The first rise, or bulk fermentation, allows the yeast to produce carbon dioxide gas, causing the dough to expand. Transfer the mixed, sticky gluten-free dough into a lightly oiled bowl. Cover the bowl tightly with plastic wrap or a damp cloth to prevent the surface from drying out.
Place the covered bowl in a warm, draft-free location. The ideal temperature for rising is typically between 75-85°F (24-30°C). The rise time for gluten-free dough can vary greatly depending on the recipe, yeast activity, and room temperature, but it often takes 60 to 90 minutes, or until the dough has increased significantly in size, though it may not double like wheat dough. A successful rise during this stage is key to achieving a light gluten-free bread psyllium husk.
Step 4: Shaping the Gluten-Free Loaf
Gluten-free dough with psyllium husk is still quite soft and sticky after the first rise. To shape, gently scrape the dough onto a lightly floured surface (using gluten-free flour). Avoid excessive handling or kneading, as this can deflate the dough.
Using floured hands or a bench scraper, gently form the dough into your desired loaf shape. For a standard loaf pan, shape it into a log and place it seam-side down in the greased or parchment-lined pan. For a freeform loaf, you can shape it into a round or oval. Dusting the surface with a little extra flour or seeds can help with handling and adds a nice finish to your gluten-free bread psyllium husk.
Step 5: Second Rise (Proofing)
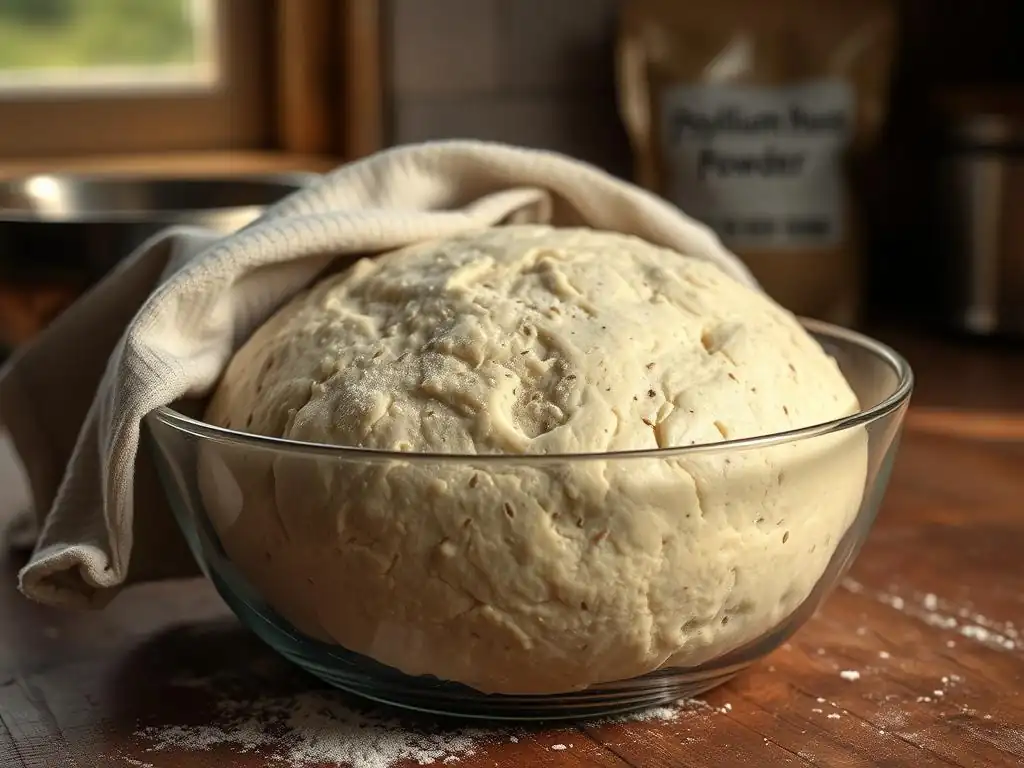
The second rise, or proofing, is a shorter period where the shaped loaf rises before baking. Cover the shaped loaf lightly with plastic wrap or a damp cloth, ensuring it doesn't stick to the dough. Place the loaf in a warm, draft-free spot for the final rise.
Proofing times vary, but typically range from 30 to 60 minutes. The dough should look visibly larger and feel slightly puffy. Be careful not to over-proof, as gluten-free doughs can collapse. While the loaf is proofing, preheat your oven according to the recipe instructions, often between 375-425°F (190-220°C). Proper proofing contributes significantly to the final volume and texture of your gluten-free bread psyllium husk.
Step 6: Baking the Gluten-Free Bread
Baking gluten-free bread with psyllium husk requires specific conditions to achieve a good crust and crumb. Many recipes benefit from baking in a steamy environment initially to allow for maximum oven spring before the crust sets. This can be achieved by placing a pan of hot water on the bottom rack of the oven during preheating or by baking the loaf in a lidded Dutch oven.
Bake the loaf for the time specified in the recipe, typically ranging from 45 to 70 minutes depending on the size and shape. The bread is done when the crust is golden brown and firm, and the internal temperature reaches about 200-210°F (93-99°C) when measured with an instant-read thermometer. Baking until fully done is crucial for a good texture and structure in your gluten-free bread psyllium husk.
Step 7: Cooling and Slicing
Once baked, immediately remove the gluten-free bread from the pan (if using one) and transfer it to a wire cooling rack. It is absolutely essential to let the bread cool completely before slicing. This can take anywhere from 2 to 4 hours, depending on the size of the loaf.
Cooling allows the internal structure of the bread to set properly and moisture to redistribute evenly. Slicing too early can result in a gummy, dense texture, even if the bread was perfectly baked. Patience at this stage is rewarded with the best possible crumb and texture for your gluten-free bread psyllium husk creation.
Tips and Tricks for Gluten-Free Bread Success with Psyllium Husk
Achieving the Ideal Texture: Preventing Gummy Bread
A common pitfall in gluten-free baking is a gummy texture. Several factors can contribute to this, including using too much psyllium husk powder, insufficient baking time, or slicing the bread before it has fully cooled. Ensuring you measure ingredients accurately, especially the psyllium husk, is the first defense.
Baking the bread until the internal temperature reaches the recommended range (200-210°F or 93-99°C) is crucial for cooking the starches and developing the structure. Furthermore, allowing the bread to cool completely on a wire rack before slicing is non-negotiable. This cooling period allows steam to escape and the internal structure to set, preventing that dreaded gummy layer often found just below the crust in improperly cooled gluten-free bread psyllium husk loaves.
Troubleshooting Common Gluten-Free Bread Baking Issues
If your gluten-free bread psyllium husk doesn't rise well, check the yeast's freshness and the liquid temperature used for activation. Ensure your oven is accurately calibrated and preheated fully. Dense bread can result from insufficient psyllium husk, not enough liquid, under-mixing, or poor yeast activity.
If the crust is too hard or thick, try reducing the baking temperature slightly after the initial oven spring or covering the bread loosely with foil halfway through baking. Crumbly bread often indicates too little psyllium husk or insufficient liquid. Pay close attention to the dough's consistency after mixing; it should be quite wet and sticky, not stiff. Adjusting the liquid content slightly based on your flour blend can help.
Using Psyllium Husk Effectively: Hydration and Mixing Techniques
The key to utilizing psyllium husk powder effectively in gluten-free bread is proper hydration and thorough mixing. As discussed, pre-hydrating the psyllium husk in liquid before adding it to the dry ingredients ensures it begins to form its gel structure and distributes evenly, preventing clumps.
Once all ingredients are combined, mixing thoroughly (often in a stand mixer for several minutes) is vital. This vigorous mixing helps the psyllium gel bind with the gluten-free flours, creating a more cohesive and elastic dough-like structure. This mixing action is different from kneading wheat dough; it's about developing the psyllium's network, not gluten. Proper hydration and mixing are fundamental steps for successful gluten-free bread psyllium husk results.
Achieving a Soft Crust
While a crispy crust is sometimes desired, many prefer a softer crust, especially for sandwich bread. Several techniques can help achieve this in gluten-free bread psyllium husk recipes. Adding a bit of oil or fat to the dough contributes to a softer texture throughout, including the crust.
During baking, you can reduce the initial steam period or bake without steam if you prefer a softer crust from the start. After baking, immediately transferring the hot bread to a wire rack is important. For an even softer crust, you can brush the warm loaf with melted butter or a little water after removing it from the oven, then cover it loosely with a clean kitchen towel while it cools completely. This traps some moisture and softens the crust.
Gluten-Free Bread Recipes with Psyllium Husk
Basic Gluten-Free Bread Recipe
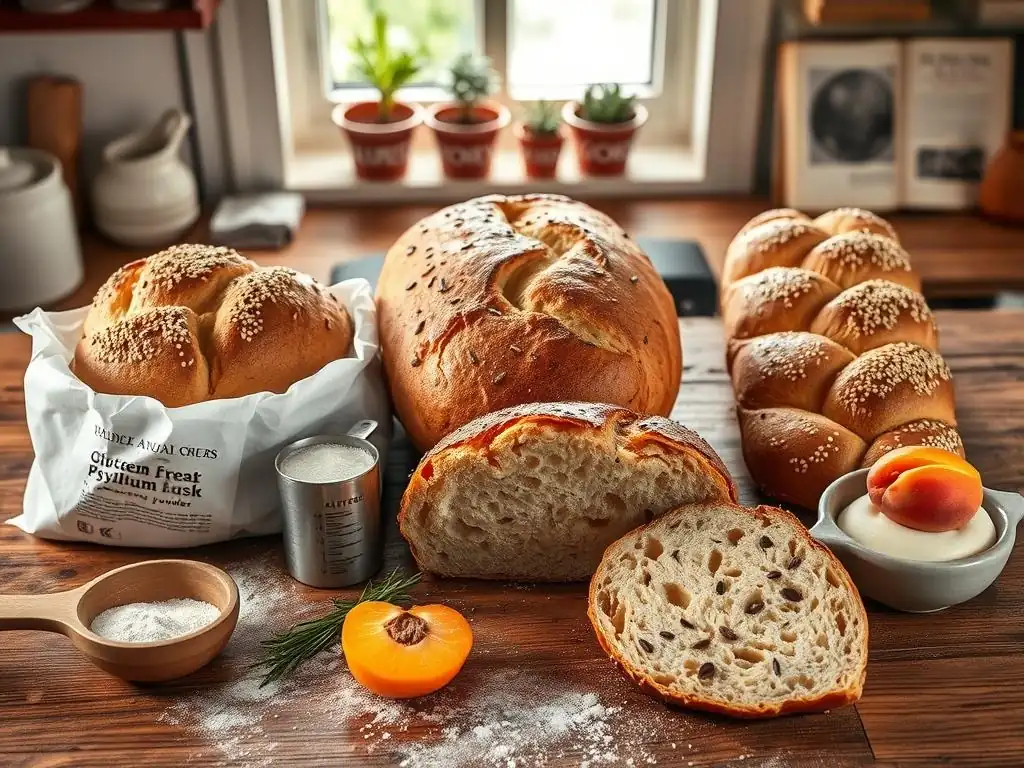
This basic gluten-free bread psyllium husk recipe is a great starting point. It typically involves a blend of rice flours, starch, and a protein flour. You'll need approximately 300g brown rice flour, 100g white rice flour, 100g tapioca starch, 15g psyllium husk powder, 10g salt, 7g instant yeast, about 450-500ml warm water, and 30g olive oil.
Start by whisking the psyllium husk into about 400ml of the warm water and let it sit for 5-10 minutes. In a large bowl, combine flours, starch, salt, and yeast. Add the psyllium gel, remaining water, and olive oil. Mix thoroughly for 5-7 minutes until a sticky dough forms. Proceed with rising, shaping, proofing, and baking as described in the steps above for a reliable gluten-free bread psyllium husk loaf.
Gluten-Free Seeded Bread Recipe with Psyllium Husk
Adding seeds not only boosts nutrition but also adds wonderful flavor and texture to gluten-free bread. For a seeded version of gluten-free bread psyllium husk, you can adapt the basic recipe. Use the same base ingredients but incorporate about 50-75g of mixed seeds (like sunflower, pumpkin, flax, chia, or sesame) into the dry ingredients before adding the wet components.
Some bakers like to soak a portion of the seeds (like flax or chia) in some of the liquid beforehand, similar to the psyllium husk slurry, as this helps them soften and integrate better into the dough. You can also reserve some seeds to sprinkle on top of the loaf before baking for an attractive finish. This variation adds a delightful crunch and nutty flavor to your gluten-free bread psyllium husk.
A good sandwich bread needs to be soft, sliceable, and hold up well to fillings. Achieving this with gluten-free bread psyllium husk involves careful ingredient balance. A recipe designed for sandwich bread might use a slightly different flour blend, perhaps with a bit more starchy flour for softness, or include ingredients like a small amount of sugar or milk powder (if dairy is tolerated) for tenderness and browning.
The amount of psyllium husk powder might be adjusted slightly to ensure enough structure for slicing without being too dense. Baking in a loaf pan designed specifically for sandwich bread often helps achieve a uniform, square shape ideal for sandwiches. Ensuring the bread is fully cooled and using a sharp serrated knife are also key steps for perfect slices of your homemade gluten-free bread psyllium husk.
Storing Gluten-Free Bread for Optimal Freshness
Best Practices for Storing Gluten-Free Loaves
Gluten-free bread tends to dry out faster than wheat bread because it lacks the gluten network that helps retain moisture. Therefore, proper storage is essential to maintain its freshness and texture. Once your gluten-free bread psyllium husk has completely cooled, store it at room temperature in an airtight container or bread bag.
Avoid storing it in the refrigerator, as this can actually speed up the staling process, making the bread dry and crumbly. If you plan to consume the loaf within 2-3 days, an airtight bag or container on the counter is sufficient. For longer storage, freezing is the best option to preserve the quality of your gluten-free bread psyllium husk.
Freezing Gluten-Free Bread with Psyllium Husk
Freezing is the most effective way to store gluten-free bread psyllium husk for longer periods, preserving its texture and preventing mold. Ensure the bread is completely cooled before freezing. It's best to slice the loaf first, as this allows you to take out only the amount you need at a time.
Wrap individual slices or pairs of slices tightly in plastic wrap, then place them in a freezer-safe bag or container. A whole loaf can also be wrapped tightly in plastic wrap and then placed in a freezer bag or wrapped in foil. Properly wrapped gluten-free bread can be stored in the freezer for up to 2-3 months. Thaw slices at room temperature or toast directly from frozen for convenience.
Conclusion: Baking Delicious Gluten-Free Bread
Mastering Gluten-Free Bread Baking with Psyllium Husk
Baking delicious, well-structured gluten-free bread is entirely achievable, and psyllium husk powder is a powerful ally in this endeavor. By understanding its role in mimicking gluten's binding and elastic properties, you can overcome the challenges of working with gluten-free flours. From preparing the psyllium slurry to mastering the baking temperature and cooling process, each step contributes to the final outcome.
With practice and attention to detail, especially regarding ingredient measurements and timing, you can consistently bake satisfying loaves of gluten-free bread psyllium husk. Embrace the process, experiment with different flour blends and additions like seeds, and enjoy the rewarding experience of pulling a beautiful, homemade loaf from your oven. Happy baking!
Frequently Asked Questions
What is psyllium husk powder and why is it important in gluten-free bread baking?
Psyllium husk powder is a soluble fiber derived from the Plantago ovata plant. It acts as a gluten replacement, providing structure and binding to gluten-free doughs, resulting in a better texture and improved rise.
How much psyllium husk powder should I use when baking gluten-free bread?
The amount of psyllium husk powder varies depending on the recipe, but a general guideline is to use between 1-2% of the total flour weight. Too much can result in a dense bread, while too little may lead to a crumbly texture.
Can I substitute psyllium husk powder with other ingredients in gluten-free bread?
While there are no direct substitutes that perfectly mimic psyllium husk powder, you can try using chia seeds or flaxseed meal. However, these will alter the texture and may require adjustments to other ingredients and baking time.
What are the benefits of using psyllium husk powder in gluten-free bread compared to other gluten-free baking methods?
Psyllium husk powder helps create a more elastic dough, mimicking the properties of gluten. It also improves the overall structure and crumb of the bread, making it less prone to crumbling and giving it a more palatable texture.
Where can I purchase psyllium husk powder for my gluten-free bread baking?
Psyllium husk powder is widely available at health food stores, baking supply shops, and online retailers like Amazon. Look for a fine powder for best results.
Final Reflection: The Humble Psyllium Husk and the Joy of Gluten-Free Baking
The quest for a truly satisfying gluten-free loaf is a journey many undertake, and the humble psyllium husk powder has emerged as a powerful ally in that pursuit. Its ability to mimic the elasticity and structure of gluten offers a solution to the often-dry and crumbly texture that plagues many gluten-free recipes. This article has explored the science behind psyllium husk's effectiveness, offering practical tips and recipes to help you achieve bakery-worthy results at home.
The impact of gluten-free baking extends far beyond simply providing an alternative for those with celiac disease or gluten intolerance. It represents a growing movement towards inclusivity and mindful eating, acknowledging the diverse dietary needs and preferences within our society. Food is symbolic of love when words are inadequate.
- Alan D. Wolfelt. This quote highlights the emotional connection we have with food, and the ability to create delicious and satisfying gluten-free bread using psyllium husk allows us to share that love and connection with a wider circle.
Now, I invite you to consider your own baking journey. Have you experimented with psyllium husk before? What challenges have you faced, and what successes have you celebrated? Perhaps this article has inspired you to try a new recipe, or to refine your existing techniques. More importantly, I hope it has instilled in you the confidence to embrace the possibilities of gluten-free baking and to discover the joy of creating delicious and nourishing bread, regardless of dietary restrictions. The journey of culinary exploration is a rewarding one; let psyllium husk be your guide.
Unlock the Secrets to Fluffy Gluten-Free Bread!
Thanks for joining us on this gluten-free baking adventure! We hope you gained valuable insights into using psyllium husk powder to create light and delicious loaves. Now it's time to put your new knowledge into action!
- Bake your own masterpiece! Try the recipe from the article, adjusting it to your taste preferences. Experiment with different herbs and spices to discover your signature gluten-free bread.
- Share your baking triumph! Post a picture of your creation on social media and tag #BakeWithEaseGlutenFree. Let's inspire others to enjoy the delicious world of gluten-free baking.
- Explore more gluten-free recipes: Dive deeper into our archives for more innovative gluten-free baking ideas and techniques. You'll find plenty of inspiration to expand your culinary horizons.
What unique flavor combinations will you explore in your next gluten-free bread creation?