
How to Tell if Your White Bread Dough is Kneaded Enough

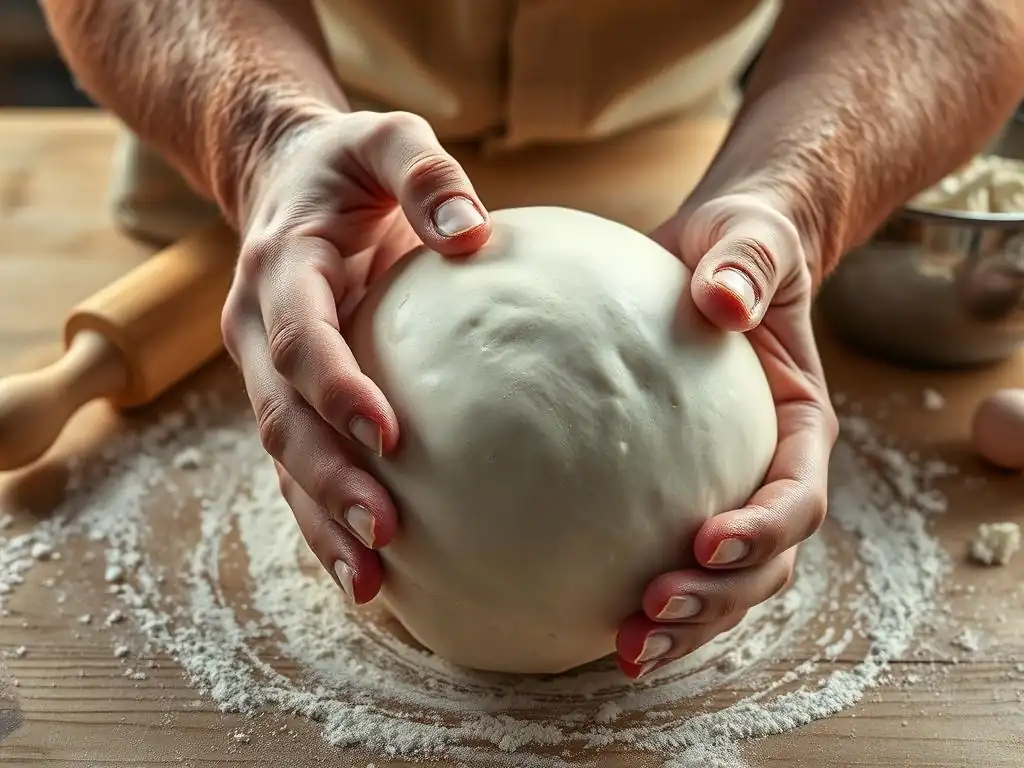
Welcome to BakeWithEase, your trusted companion on your baking journey! Ever wondered if you're really kneading your white bread dough enough? Achieving that perfect, airy texture is crucial for a delicious loaf. Our comprehensive white bread dough kneading guide unlocks the secrets to recognizing the ideal dough consistency. Stop guessing and start baking with confidence! Read on to discover the telltale signs and elevate your bread-making skills.
- Understanding the Importance of Proper Kneading for White Bread Dough
- White Bread Dough Kneading: The Windowpane Test Explained
- Visual Cues for Properly Kneaded White Bread Dough
- Tactile Clues: How the Dough Feels
- Kneading White Bread Dough By Hand: Tips and Techniques
- Kneading White Bread Dough with a Stand Mixer: A Guide
- What Happens If You Under-Knead White Bread Dough?
- Troubleshooting White Bread Dough Kneading Issues
- Achieving the Perfect Knead: Practice Makes Perfect
- White Bread Making: Beyond the Kneading Stage
- Frequently Asked Questions
- Final Reflection: The Humble Art of Kneading, and the Bread It Yields
- Unleash Your Inner Baker: Perfect Kneading, Perfect Loaf!
Understanding the Importance of Proper Kneading for White Bread Dough
Why Kneading Matters for Perfect White Bread Texture
Kneading is a fundamental step in making delicious white bread, and its importance cannot be overstated. It's the process that transforms a shaggy, sticky mixture of flour, water, yeast, and salt into a smooth, elastic mass capable of rising beautifully and developing a desirable texture. The primary goal of kneading is to develop the gluten network within the dough.
Without sufficient kneading, the dough will lack the necessary structure to trap the carbon dioxide gas produced by the yeast during fermentation. This would result in a dense, heavy loaf with a crumb that is tight and unappealing, far from the light and airy texture characteristic of good white bread.
Proper kneading ensures that the gluten proteins, gliadin and glutenin, link together to form a strong, elastic network. This network provides the dough with its strength and extensibility, allowing it to stretch and expand as the yeast produces gas. Think of it like building a flexible framework within the dough. This framework is what gives the bread its volume and contributes significantly to the final crumb structure, creating those lovely air pockets we associate with well-made white bread. Mastering the kneading process is key to achieving a successful bake and a satisfying loaf.
The Role of Gluten Development in White Bread Dough
Gluten is a protein complex formed when the proteins gliadin and glutenin, found in wheat flour, are hydrated with water and worked through kneading. As you knead white bread dough, you are essentially aligning and strengthening these protein chains, much like aligning strands of yarn to create a stronger rope. This developing gluten network is vital because it provides the dough with its viscoelastic properties – its ability to both stretch (extensibility) and spring back (elasticity).
This developed gluten network is crucial for trapping the gases released by the yeast during fermentation and proofing. As the yeast consumes sugars, it produces carbon dioxide and alcohol. The elastic gluten network forms tiny pockets that capture these gases, causing the dough to rise and increase in volume.
A well-developed gluten structure can hold a significant amount of gas, leading to a good oven spring and a light, open crumb structure in the finished white bread. Conversely, insufficient gluten development results in a weak structure that cannot hold the gas effectively, leading to a flat loaf with a dense, heavy texture.
White Bread Dough Kneading: The Windowpane Test Explained
What is the Windowpane Test and Why is it Important?
The windowpane test is a classic and highly reliable method used by bakers to assess the extent of gluten development in dough, including white bread dough. It's a visual test that directly demonstrates the strength and elasticity of the gluten network you've been building through kneading. Essentially, you're checking if the dough can be stretched thin enough to become translucent without tearing.
This test is important because it provides a clear indication of whether the gluten network is sufficiently developed to support a good rise and create the desired crumb structure for your white bread. If the dough tears easily when stretched, it means the gluten strands are still weak or not fully connected.
If it stretches into a thin membrane that you can see light through, like a windowpane, it signifies that the gluten is well-developed, elastic, and strong enough to trap gases and provide structure to the finished loaf. It's a tangible way to know you've reached a key milestone in the white bread dough kneading guide process.
Performing the Windowpane Test: A Step-by-Step Guide
Performing the windowpane test on your white bread dough is straightforward once you know the steps. It's best done towards the end of the estimated kneading time, as you suspect the dough might be ready.
Preparing Your Hands for the Windowpane Test
Before you begin, ensure your hands are clean. Lightly flouring your hands or wetting them slightly with water can help prevent the dough from sticking excessively as you handle it. You only need a small piece of dough for this test, so don't disrupt the entire mass.
Gently Stretching the Dough
Pinch off a small piece of dough, roughly the size of a golf ball or a large grape. Handle it gently to avoid degassing it too much. Begin to stretch the dough carefully between your fingers and thumbs, rotating it as you stretch. Imagine you are trying to stretch a small balloon. Be patient and work slowly to avoid tearing the delicate structure you are trying to assess.
Observing the Dough: What to Look For
As you stretch the dough, observe its behavior. You are aiming to stretch it until it is very thin and translucent in the center. If the dough stretches thinly enough that you can see light passing through it, and it doesn't tear easily, then the gluten is well-developed – it passes the windowpane test. If it tears quickly before becoming thin or translucent, it needs more kneading. Keep kneading for a few more minutes and test again. This process helps you fine-tune your white bread dough kneading guide techniques.
Visual Cues for Properly Kneaded White Bread Dough
Smooth and Elastic Dough: A Key Indicator
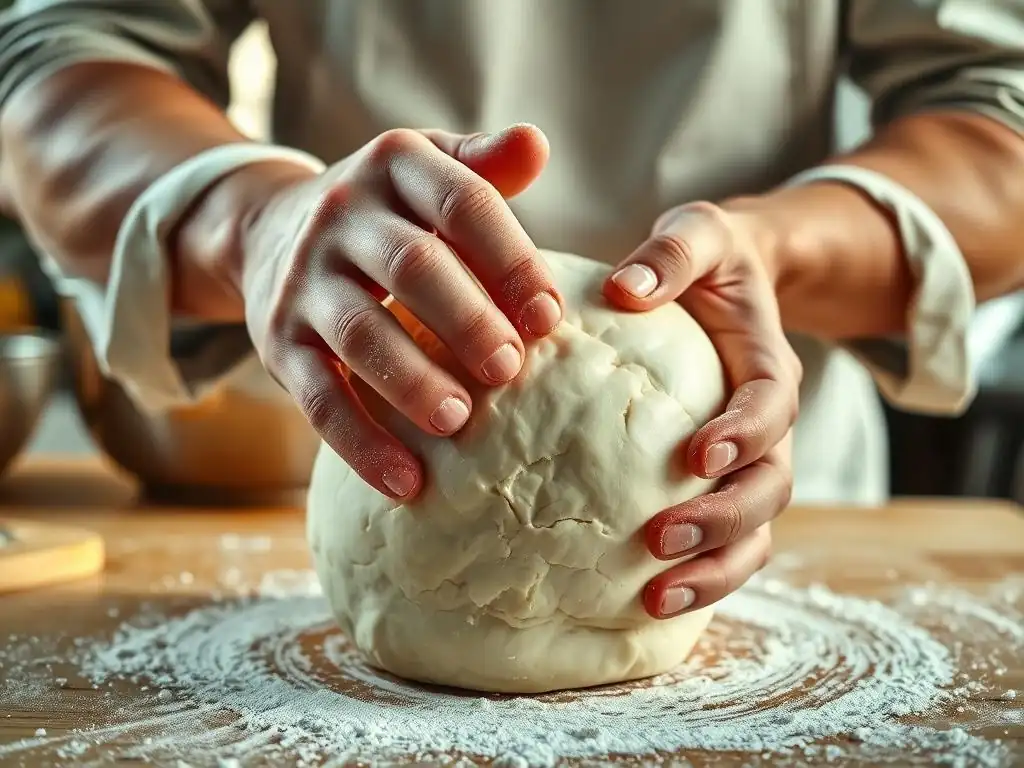
Beyond the windowpane test, there are several visual cues that indicate your white bread dough is properly kneaded. One of the most apparent signs is the transformation of the dough's surface. Initially, after mixing, white bread dough is often rough, shaggy, and may appear uneven. As you knead, whether by hand or machine, the surface should become progressively smoother and more satiny. This smooth appearance is a direct result of the developing gluten network aligning and tightening.
Furthermore, well-kneaded dough will feel and look elastic. When you press into it, it should slowly spring back to its original shape. It should also hold its shape relatively well when placed on a surface, rather than spreading out into a puddle. This elasticity and ability to hold shape are visual manifestations of the strong, flexible gluten structure you've built, indicating it's ready for the next stages of proofing and baking in your white bread journey.
Dough That Springs Back When Poked: The Poke Test
Another simple yet effective visual and tactile test is the poke test. This test helps confirm the dough's elasticity after kneading. To perform the poke test, lightly flour your finger and gently press it into the surface of the kneaded white bread dough, about half an inch deep.
Observe how the indentation behaves. If the dough is properly kneaded, the indentation should slowly spring back and fill in, though it may not disappear completely. This resilience is a sign that the gluten network has sufficient strength and elasticity. If the indentation remains without springing back, the dough likely needs more kneading to develop the gluten further. If it springs back immediately and forcefully, it might be slightly over-kneaded and tight, though for white bread, this is less common than under-kneading.
Checking for Air Bubbles in White Bread Dough
As you near the end of the kneading process for white bread dough, you might start to notice small air bubbles appearing just beneath the surface of the dough. These tiny bubbles are another positive visual cue that gluten development is progressing well.
These bubbles are formed as air gets incorporated into the dough during the kneading action itself, and the developing gluten network is beginning to trap this air. While not as definitive as the windowpane test, seeing these small bubbles pop up can serve as an encouraging sign that you are on the right track with your white bread dough kneading guide efforts and that the dough is developing the internal structure needed for a light crumb.
Tactile Clues: How the Dough Feels
The Tacky vs. Sticky Dough Distinction
How your white bread dough feels in your hands is a critical indicator of its kneading progress. It's important to distinguish between dough that is merely "tacky" and dough that is truly "sticky." Tacky dough will feel slightly adhesive when you touch it, but it should release relatively cleanly from your fingers or the kneading surface with minimal residue. This slight tackiness is desirable in most white bread doughs, especially those with moderate hydration, as it indicates good moisture content and elasticity.
Sticky dough, on the other hand, clings stubbornly to everything it touches – your hands, the counter, the mixer bowl. It's difficult to handle and leaves a significant amount of residue. While some very high-hydration doughs will remain sticky even when properly kneaded, typical white bread dough should move past the excessively sticky stage as gluten develops. If your dough remains very sticky after a reasonable kneading time, it might either be under-kneaded (gluten not developed enough to manage the hydration) or possibly too wet (needs a little more flour).
A Smooth and Silky Texture: The Ideal Feel
As you knead white bread dough, its texture will change significantly. Initially, it might feel rough, bumpy, and perhaps a bit lumpy. With proper kneading, the dough should transform into a smooth, soft, and almost silky mass. This smooth feel is a direct result of the gluten strands aligning and the dough becoming more homogeneous.
When you handle well-kneaded white bread dough, it should feel supple and pliable, not stiff or resistant. It should stretch smoothly without tearing when pulled gently. This smooth, silky texture is a tactile confirmation that the gluten network is well-developed, elastic, and ready for the first rise. It's a satisfying feeling that tells you your white bread dough kneading guide efforts are paying off.
Signs of Over-Kneading: What to Avoid
While under-kneading is a common issue, it is also possible to over-knead white bread dough, especially when using a stand mixer. Over-kneaded dough will feel tight, stiff, and resistant, almost like a rubber band that has been stretched too far. It might lose its elasticity and become difficult to work with.
In some cases, severely over-kneaded dough can become slack and even appear wet or greasy, as the overstressed gluten strands begin to break down. It might also tear very easily when you try to stretch it for the windowpane test, but unlike under-kneaded dough that tears because the gluten is weak, over-kneaded dough tears because the gluten structure has been damaged. Recognizing these tactile signs helps you avoid ruining the dough and ensures you achieve the perfect texture for your white bread.
Kneading White Bread Dough By Hand: Tips and Techniques
Best Practices for Hand Kneading White Bread Dough
Kneading white bread dough by hand is a rewarding process that allows you to truly feel the dough's transformation. Effective hand kneading involves a rhythmic push-and-fold motion. Start by folding the dough in half towards you, then use the heel of your hand to push the dough away from you, stretching it slightly. Rotate the dough a quarter turn and repeat the process. This continuous motion develops the gluten by stretching and aligning the protein strands.
Maintain a steady rhythm and use your body weight, not just your arm strength, to make the process less tiring. Keep your hands relaxed but firm. A lightly floured surface is helpful, but avoid adding too much flour, as this can make the dough dry and tough. The goal is to add just enough flour to prevent excessive sticking while still allowing the dough to develop correctly. Hand kneading for white bread typically takes longer than machine kneading, often 8-10 minutes or more, depending on the dough's hydration and your technique.
Ensuring Even Kneading Throughout the Dough
To ensure the gluten develops uniformly throughout the entire mass of white bread dough, it's important to work all parts of the dough during kneading. Don't just focus on the surface. The push-and-fold method naturally helps incorporate the outer layers into the center as you work.
Occasionally, you might want to gather the dough into a ball, flatten it slightly, and then resume the push-and-fold or stretch-and-fold technique. This helps ensure that all the dough gets worked evenly, preventing pockets of less developed gluten. Consistent rotation of the dough is key to achieving uniform development and is a vital part of any comprehensive white bread dough kneading guide.
Adjusting Dough Hydration During Kneading
Sometimes, even when following a recipe precisely, the dough's hydration might feel off due to variations in flour absorption or humidity. During hand kneading, you have the opportunity to make small adjustments. If the dough feels too sticky and isn't coming together after several minutes of kneading, you can add a small amount of flour, about a tablespoon at a time. Work it in completely before deciding if more is needed.
Conversely, if the dough feels too stiff or dry and isn't becoming elastic, you can add a tiny amount of water, perhaps a teaspoon at a time. Dip your fingers in water and work it into the dough, or sprinkle a few drops on the surface. These small, incremental adjustments are easier to manage when kneading by hand and allow you to fine-tune the dough's consistency for optimal gluten development and a successful white bread dough kneading guide experience.
Kneading White Bread Dough with a Stand Mixer: A Guide
Using a Dough Hook Effectively
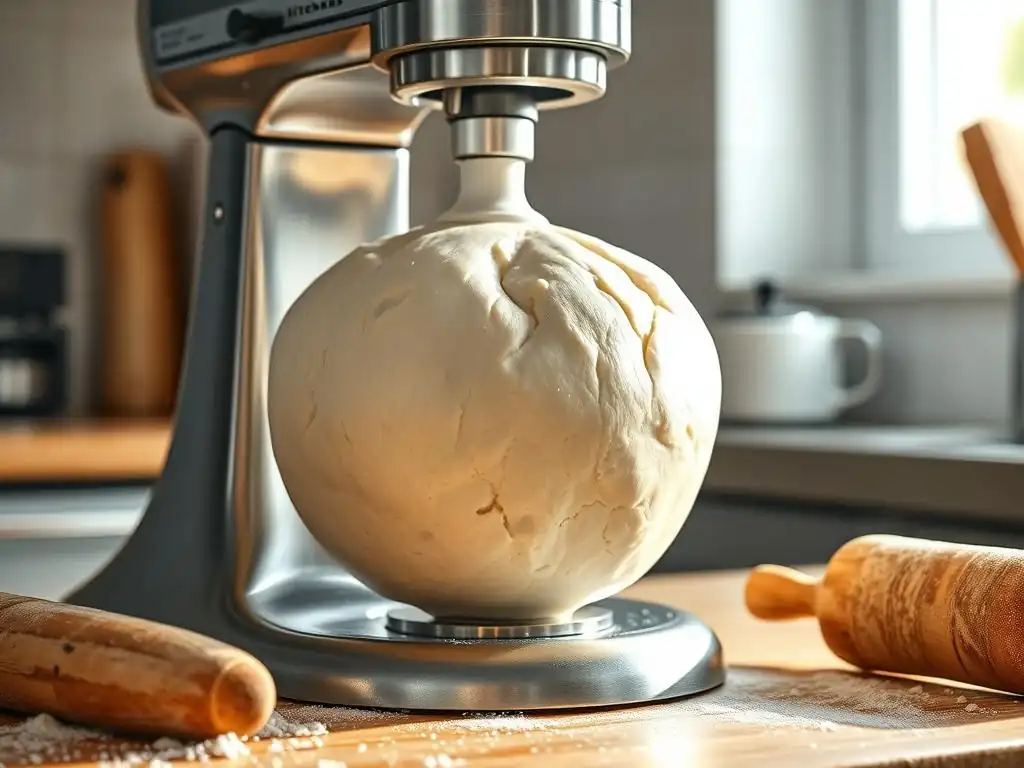
Using a stand mixer with a dough hook is a popular and efficient way to knead white bread dough, significantly reducing the time and effort required compared to hand kneading. Ensure the dough hook attachment is securely fastened to your mixer. Add your ingredients to the mixing bowl according to the recipe.
Start the mixer on a low speed (usually speed 1 or 2) to combine the ingredients into a shaggy mass. Once the flour is mostly hydrated, increase the speed slightly (often to speed 2 or 3 for kneading, depending on your mixer's power and the dough's consistency). The dough hook will pull and stretch the dough against the sides of the bowl, effectively developing the gluten network. Avoid using high speeds, as this can overheat the dough and potentially damage the mixer.
Monitoring the Dough's Progress in the Mixer
As the stand mixer kneads your white bread dough, it's crucial to monitor its progress visually and audibly. Initially, the dough will stick to the bottom and sides of the bowl. As gluten develops, the dough will become smoother and more elastic and should start to pull away from the sides of the bowl, often forming a ball that wraps around the dough hook.
Listen to the mixer as well; the sound it makes will change as the dough becomes more developed. It might sound less strained. Periodically stop the mixer to check the dough's consistency and perform the windowpane test. Unlike hand kneading, which might take 8-10+ minutes, stand mixer kneading for white bread often takes only 5-8 minutes, depending on the mixer and dough. Checking frequently prevents over-kneading.
Preventing Over-Kneading with a Stand Mixer
Stand mixers are powerful tools and can develop gluten very quickly, making over-kneading a potential risk. Over-kneaded white bread dough can become tough, tight, or even lose structure if the gluten network breaks down. The best way to prevent this is to pay close attention and rely on the visual and tactile cues, especially the windowpane test, rather than strictly adhering to a timer.
Start checking the dough after about 5 minutes of mixing on medium-low speed. If it passes the windowpane test and feels smooth and elastic, it's ready. If not, continue kneading for 30-60 second intervals, checking after each. Stop kneading as soon as the dough reaches the desired consistency and passes the windowpane test. Don't walk away from the mixer during the kneading stage; active monitoring is key to a successful white bread dough kneading guide approach using a machine.
What Happens If You Under-Knead White Bread Dough?
The Consequences of Insufficient Gluten Development
If your white bread dough is under-kneaded, it means the gluten network has not been sufficiently developed. The protein strands haven't properly linked up to form a strong, elastic structure. The most significant consequence is the dough's inability to effectively trap the carbon dioxide gas produced by the yeast during fermentation and proofing.
Without a robust gluten network, the dough cannot hold its shape or expand properly. The gas produced simply escapes, leading to a poor rise. The resulting loaf will be smaller in volume than it should be, and its internal structure will be compromised. This lack of development fundamentally impacts the bread's texture and overall quality, making it difficult to achieve that desirable light and airy white bread crumb.
Potential Problems with Under-Kneaded White Bread Dough:
- Tough crust: While counterintuitive, under-kneaded bread can sometimes develop a tough, leathery crust because the internal structure is dense and lacks expansion.
- Difficult to stretch: The dough will lack elasticity and tear easily when you try to shape it, rather than stretching smoothly.
- Dense, heavy crumb: This is the most common issue. The interior of the bread will be compact, lacking the open, airy structure of properly kneaded white bread.
- Poor oven spring: The loaf won't expand much, if at all, when it hits the hot oven.
- Uneven texture: The crumb might have pockets of very dense dough mixed with larger, irregular holes.
Recognizing the Signs of Over-Kneaded Dough
Over-kneading is less common than under-kneading, particularly with hand kneading, but it can happen, especially with powerful stand mixers. Recognizing the signs is important. Over-kneaded white bread dough often feels excessively tight, stiff, and resistant when you try to handle it. It might snap back aggressively when stretched or poked, lacking extensibility.
Visually, the dough might look very smooth, but it may also appear shiny or even slightly wet or greasy on the surface as the gluten structure starts to break down. The windowpane test might be difficult because the dough tears easily, but unlike under-kneaded dough, it tears because the gluten strands have been stressed beyond their limit and are breaking, rather than being too weak to begin with.
Potential Problems with Over-Kneaded White Bread Dough:
- Shrinking: The dough may shrink back excessively during shaping and proofing due to the tight gluten network.
- Tearing: The dough can tear easily when handled or shaped, making it frustrating to work with.
- Reduced loaf volume: Severe over-kneading can damage the gluten network to the point where it cannot hold gas, leading to a loaf with less volume or even collapse.
- Tough or crumbly texture: The resulting bread might have a tough texture or, in extreme cases, a crumbly texture if the gluten is severely degraded.
- Lack of oven spring: The loaf may not expand well in the oven if the gluten is too tight or broken.
Troubleshooting White Bread Dough Kneading Issues
Common Problems and Solutions for White Bread Dough
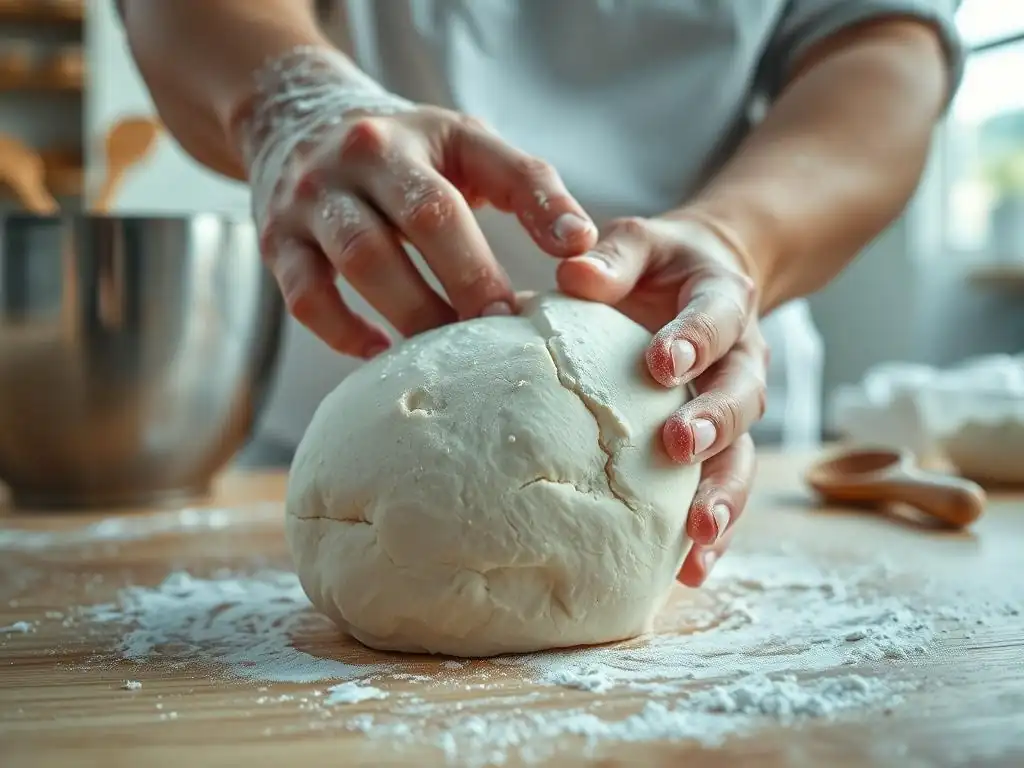
It's common to encounter issues while learning how to tell if your white bread dough is kneaded enough. If your dough feels too sticky and isn't developing structure after several minutes of kneading, it might be under-kneaded or too hydrated. Try kneading for a few more minutes; if it's still excessively sticky and doesn't pass the windowpane test, you can incorporate a tablespoon of flour at a time until it reaches the desired consistency.
If the dough feels too stiff or dry and isn't becoming elastic, it might be too dry. Add a teaspoon of water at a time, kneading it in thoroughly, until the dough becomes more pliable.
If the dough tears easily during the windowpane test, it could be under-kneaded (needs more development) or over-kneaded (gluten damaged). Perform the poke test: if the indentation springs back slowly, it's likely under-kneaded; if it springs back immediately or doesn't spring back at all and feels tight, it could be over-kneaded. For under-kneaded dough, continue kneading. For over-kneaded dough, unfortunately, there's no perfect fix, but letting it rest for 20-30 minutes can sometimes help relax the gluten slightly before proceeding with shaping.
Adjusting Kneading Time Based on Dough Hydration and Flour Type
The ideal kneading time for white bread dough is not a fixed number; it varies depending on factors like the dough's hydration level and the type of flour used. Higher hydration doughs (those with a higher ratio of water to flour) often feel stickier and can take longer to develop gluten compared to lower hydration doughs. They might require a longer kneading time or the use of techniques like stretch-and-folds during bulk fermentation to help build strength.
The type of flour also plays a significant role in the white bread dough kneading guide process. Bread flour, which typically has a higher protein content (around 12-14%) than all-purpose flour (around 10-12%), develops gluten more readily and forms a stronger network. Dough made with bread flour might require slightly less kneading time than dough made with all-purpose flour to reach the same level of gluten development. Always rely on the dough's feel and the windowpane test rather than just the clock to determine when kneading is complete.
Achieving the Perfect Knead: Practice Makes Perfect
Tips for Improving Your White Bread Dough Kneading Skills
Mastering the art of determining if your white bread dough is kneaded enough takes practice. Start with simple, basic white bread recipes that have moderate hydration levels. Pay close attention to the feel and appearance of the dough throughout the kneading process, noting how it changes from a shaggy mass to a smooth, elastic ball.
Don't be afraid to get your hands dirty if hand kneading, as this tactile experience is invaluable for learning the right feel. If using a mixer, stay present and observe the dough's behavior in the bowl. Practice the windowpane test regularly; the more you perform it, the better you'll become at judging the dough's development. Watch videos of experienced bakers kneading white bread dough to see what the process looks like at different stages. Each batch you make is an opportunity to refine your white bread dough kneading guide skills.
White Bread Recipe Recommendations to Practice Kneading Techniques
To specifically practice your white bread dough kneading skills, start with recipes designed for a classic sandwich loaf or a simple rustic white bread. These recipes typically use bread flour and have hydration levels that are easy to manage for beginners.
Focus on the kneading stage, using the windowpane test, poke test, and tactile cues discussed in this guide. Don't worry too much about achieving a perfect loaf initially; the goal is to understand how the dough behaves and feels as it develops. As you gain confidence in knowing when your white bread dough is kneaded enough, you can move on to slightly more complex recipes.
White Bread Making: Beyond the Kneading Stage
Shaping Your Properly Kneaded White Bread Dough
Once your white bread dough is perfectly kneaded, the journey isn't over. The next crucial step after the initial rise (bulk fermentation) is shaping. Proper shaping is essential for creating tension in the dough's surface, which helps the loaf hold its structure during the final proof and baking.
A well-kneaded dough that has passed the windowpane test will be extensible yet elastic, making it much easier to shape effectively. Whether you're forming a simple boule, a batard, or placing it into a loaf pan, the dough's strength and elasticity developed during kneading are foundational to achieving a good final shape and an even crumb structure in your white bread.
Baking Your White Bread to Perfection.
Having successfully kneaded and shaped your white bread dough, the final stage is baking. The effort put into properly kneading the dough pays off significantly in the oven. A well-developed gluten structure allows for excellent oven spring – the final burst of rising that occurs in the first few minutes of baking as gases expand rapidly in the heat.
This strong structure helps the loaf maintain its shape and contributes to a light, airy interior and a well-formed crust. While baking technique, temperature, and time are critical, achieving that desirable white bread texture and volume starts with ensuring your dough is kneaded just right. This guide to kneading white bread dough is a fundamental step towards baking delicious loaves consistently.
Frequently Asked Questions
How long should I generally knead white bread dough?
Generally, white bread dough requires kneading for about 8-10 minutes by machine or 10-12 minutes by hand. This time can vary based on humidity and flour type.
What does the dough look and feel like when it's properly kneaded?
Properly kneaded dough should be smooth and elastic, not sticky or shaggy. It should also pass the windowpane test, stretching thin without tearing.
What is the "windowpane test" and how do I perform it?
The windowpane test involves stretching a small piece of dough between your fingers. If you can stretch it thin enough to see light through it without tearing, it's properly kneaded.
What happens if I under-knead my white bread dough?
Under-kneaded dough will result in a dense, flat bread with a coarse texture. The gluten network won't be strong enough to trap gases, hindering proper rising.
Can I over-knead white bread dough, and what are the signs?
Yes, over-kneading can lead to a tough, dry bread. The dough will feel tight, and may tear easily. Avoid excessive kneading to prevent this.
Final Reflection: The Humble Art of Kneading, and the Bread It Yields
The perfect loaf of white bread begins, not in the oven, but in the hands of the baker. This seemingly simple act of kneading—the rhythmic push and pull, the gentle folding and turning—is far more crucial than many realize. Mastering this technique isn't just about achieving a specific texture; it's about understanding the fundamental transformation of flour and water into something nourishing and beautiful.
The process of kneading, for me, has become a meditative practice. It's a tangible connection to a long history of bread-making, a tradition passed down through generations. Bread is the staff of life,
they say, and the effort invested in kneading, in nurturing that dough, reflects the care and intention we bring to our own lives and the lives of those we share our bread with. It's a quiet act of creation, a reminder of the simple pleasures and the profound satisfaction found in the everyday.
So, reader, I invite you to consider the next time you bake: Don't rush the kneading. Feel the dough in your hands, observe its changing texture, and appreciate the transformation taking place. Let this act of kneading be a moment of mindfulness, a connection to something ancient and deeply human. The reward? Not just a perfectly risen loaf, but a deeper understanding of the process, and perhaps, even of yourself.
Unleash Your Inner Baker: Perfect Kneading, Perfect Loaf!
Thanks for taking the time to learn about kneading bread dough – you're one step closer to baking perfection! We hope you now feel confident in identifying that perfect dough consistency. Now it's time to put your new skills to the test.
- Bake your dream loaf: Use what you've learned to knead your next batch of white bread dough. Pay close attention to the texture and see the difference a perfectly kneaded dough makes!
- Share your baking journey: Snap a photo of your perfectly kneaded dough or your finished loaf and share it on social media using #BakeWithEase. Let's inspire each other!
- Explore new recipes: Dive into our website for more bread recipes, tips, and techniques to elevate your baking skills even further!
Ready to transform your bread-making experience? What kind of bread will you bake next?