
Simple Thai Coconut Pudding (Khanom Chan) Layers

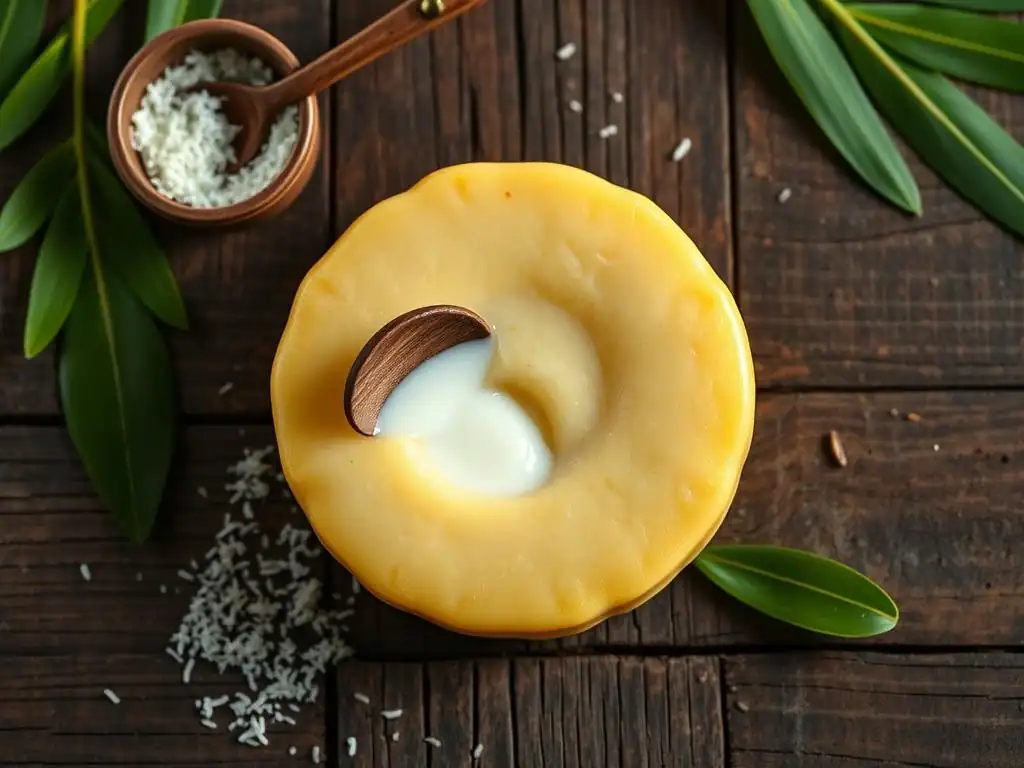
Welcome to BakeWithEase, your passport to a world of delectable baking! Ever dreamt of creating vibrant, layered desserts that transport you to exotic locales? Our latest article unlocks the secrets to a surprisingly Easy Thai Coconut Pudding Recipe, revealing how to craft this stunning Khanom Chan at home. Discover the simple steps and readily available ingredients to create this regional baking marvel, and prepare to impress with your newfound skills. Intrigued? Let's get baking!
- Simple Thai Layered Dessert (Khanom Chan) Recipe
- A Beginner's Guide to Khanom Chan
- What is Khanom Chan? Understanding Thai Layered Dessert
- Why You'll Love This Khanom Chan Recipe
- Khanom Chan Recipe: Ingredients List
- Step-by-Step Guide: Making Khanom Chan at Home
- Tips for Achieving Perfect Khanom Chan Layers
- Storing and Serving Your Homemade Khanom Chan
- Troubleshooting Your Khanom Chan
- Variations on the Classic Khanom Chan Recipe
- Further Dessert Adventures
-
Frequently Asked Questions
- What makes this Khanom Chan recipe "easy" compared to other versions?
- Can I substitute any ingredients in this Easy Thai Coconut Pudding recipe?
- How do I prevent the layers of the Thai Coconut Pudding from separating?
- What's the best way to store leftover Khanom Chan?
- Is there a specific type of coconut milk recommended for this recipe?
- Final Reflection: The Sweet Simplicity of Khanom Chan
- Unlock the Secrets of Creamy Coconut Bliss!
Simple Thai Layered Dessert (Khanom Chan) Recipe
A Beginner's Guide to Khanom Chan
Exploring the Delights of Thai Desserts
Thai desserts, often called Khanom Thai, are a vibrant and fascinating part of the country's culinary heritage. Unlike Western desserts that heavily rely on dairy and wheat flour, traditional Thai sweets frequently feature ingredients like coconut milk, rice flour, tapioca starch, palm sugar, and natural colorings from plants like pandan and butterfly pea flower. These ingredients contribute to unique textures – often soft, chewy, or jelly-like – and distinct, fragrant flavors. It's estimated that coconut milk is a key component in over 70% of classic Thai dessert recipes, providing richness and moisture.
The artistry in Thai desserts extends beyond just taste; presentation is paramount. Many sweets are molded into intricate shapes, dyed in brilliant colors, or served in delicate arrangements. This focus on aesthetics makes them popular offerings at celebrations, festivals, and for making merit at temples. Exploring this realm of sweets offers a delightful journey into Thai culture and its deep connection to natural ingredients and meticulous preparation methods, making the easy Thai coconut pudding recipe a perfect starting point.
What is Khanom Chan? Understanding Thai Layered Dessert
A Traditional Thai Dessert Explained
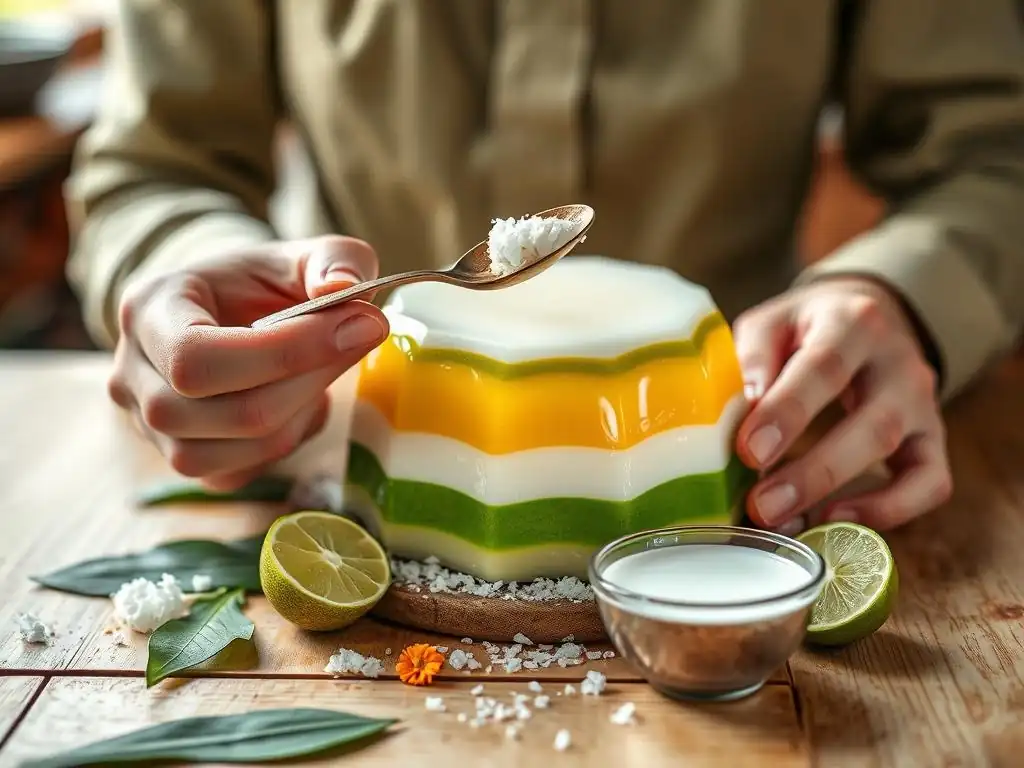
Khanom Chan, which literally translates to "layered sweets," is a classic Thai steamed dessert renowned for its distinctive pandan aroma, sweet coconut flavor, and uniquely soft, chewy texture. It is traditionally made from a blend of rice flour, tapioca starch, and sometimes mung bean starch, combined with coconut milk, sugar, and flavored with pandan extract for its signature green color and fragrance. The dessert is created by steaming thin layers of batter one on top of the other, allowing each layer to set slightly before adding the next. This meticulous process results in a beautiful, translucent, multi-layered confection.
The texture of Khanom Chan is one of its most defining characteristics – it should be firm enough to hold its shape when cut but pliable and delightfully chewy. Achieving the perfect texture often depends on the precise ratio of starches used; a common ratio might be roughly 1 part rice flour, 1 part tapioca starch, and 0.5 part mung bean starch, though variations exist.
The steaming time for each thin layer is typically brief, often just 3-5 minutes, while the final steaming of all layers together takes longer, ensuring the entire dessert is cooked through and has that characteristic chewiness. Mastering this easy Thai coconut pudding recipe is all about patience and attention to detail during the layering and steaming process.
The Cultural Significance of Khanom Chan
Khanom Chan holds significant cultural meaning in Thailand, often served during auspicious occasions, celebrations, and traditional ceremonies. Its name, "layered sweets," symbolizes prosperity, advancement, and success, representing ascending levels or ranks. Offering Khanom Chan is seen as wishing someone progress and achievement in life, whether in their career, studies, or personal endeavors. The nine layers traditionally used in the dessert are particularly significant, as the number nine ( kao in Thai) is considered highly lucky.
Beyond its symbolic meaning, Khanom Chan is appreciated for the care and effort involved in its preparation. Making the multiple layers requires patience and skill, reflecting the value placed on meticulous craftsmanship in Thai culture. It's a dessert often made at home for special events or purchased from skilled vendors who have perfected the technique over generations. Sharing Khanom Chan is an act of generosity and goodwill, embodying wishes for a sweet and prosperous future, making this easy Thai coconut pudding recipe not just a dessert, but a taste of tradition.
Why You'll Love This Khanom Chan Recipe
Simple Ingredients, Stunning Results
One of the most appealing aspects of this easy Thai coconut pudding recipe is that it achieves a visually stunning and delicious result using surprisingly simple and accessible ingredients. The core components – coconut milk, sugar, a blend of starches (rice and tapioca are most common), water, and pandan flavoring – are generally easy to find in most supermarkets or Asian grocery stores. You don't need exotic or hard-to-source items to create this beautiful layered dessert. The magic happens through the technique of combining and steaming these basic ingredients.
Despite the simplicity of the ingredient list, the outcome is far from ordinary. The vibrant green layers (or whatever colors you choose), the enticing aroma of pandan, and the unique chewy texture make Khanom Chan a truly special treat. It's a fantastic example of how humble ingredients, when prepared with care and a specific technique, can be transformed into something quite spectacular. This makes the easy Thai coconut pudding recipe perfect for impressing guests or simply enjoying a delightful homemade dessert.
Perfect for Beginner Bakers
While the layered appearance of Khanom Chan might seem intimidating at first glance, this easy Thai coconut pudding recipe is surprisingly approachable for beginner bakers. The process primarily involves simple steps: mixing ingredients, dividing batter, and steaming. There's no complex kneading, proofing, or precise oven temperature control required, unlike many traditional baking recipes. The main skill to develop is patience during the layering and steaming phases, which is a valuable lesson for any aspiring baker.
The recipe provides a clear, step-by-step guide that breaks down the process into manageable tasks. You'll learn about working with starch-based batters, understanding how steaming affects texture, and the satisfaction of building a dessert layer by layer. It's a wonderful way to practice foundational techniques like accurate measuring and gentle mixing while creating something beautiful. Don't be discouraged if your first attempt isn't perfectly uniform; the beauty of this easy Thai coconut pudding recipe is that even imperfect layers are delicious and rewarding to make.
Khanom Chan Recipe: Ingredients List
Key Ingredients for Authentic Khanom Chan
Creating authentic Khanom Chan relies on a few essential ingredients that provide its signature flavor, texture, and aroma. The foundation is typically a blend of starches. Rice flour contributes firmness, while tapioca starch provides the characteristic chewiness. Some recipes also include a small amount of mung bean starch for added softness and transparency. A common ratio for a balanced texture might involve using equal parts rice flour and tapioca starch, perhaps 150g of each for a standard batch, combined with around 50g of mung bean starch if desired.
Coconut milk is crucial for richness and moisture; full-fat coconut milk is highly recommended for the best flavor and texture. You'll likely need between 400ml to 600ml depending on the recipe size. Sweetness comes from sugar, traditionally palm sugar for a nuanced caramel note, but white granulated sugar works perfectly fine, especially if you want vibrant colors. A typical recipe might call for 200-300g of sugar, adjusted to taste. Finally, pandan extract or pandan paste is essential for the classic green color and aromatic flavor, usually just a teaspoon or two is sufficient.
Ingredient Considerations
When selecting ingredients for your easy Thai coconut pudding recipe, quality matters, especially for coconut milk and starches. Opt for full-fat canned coconut milk rather than reduced-fat versions, as the fat content contributes significantly to the dessert's creamy texture and rich flavor. Shake the can well before opening, or stir if the cream has separated. For starches, ensure they are fresh and free from lumps. Sifting your starches before measuring and mixing is a good practice to prevent a lumpy batter.
The type of sugar you use can slightly alter the flavor and color. White sugar results in clearer layers, allowing vibrant food colors to stand out. Palm sugar adds a lovely, subtle caramel flavor and a light brown tint. If using palm sugar, ensure it is finely chopped or dissolved in a bit of hot water before adding to the coconut milk mixture.
For coloring, natural pandan extract provides both color and flavor. If using artificial food coloring, gel colors are often more concentrated and provide brighter results than liquid drops. Remember to divide your batter accurately when coloring different layers for consistent shades.
Step-by-Step Guide: Making Khanom Chan at Home
Preparing the Coconut Milk Mixture
The first step in this easy Thai coconut pudding recipe is preparing the flavorful liquid base. Begin by gently heating the coconut milk with the sugar (either white or palm sugar) and a pinch of salt in a saucepan over medium heat. Stir continuously until the sugar is completely dissolved. It's important not to boil the mixture vigorously; you just want it warm enough to dissolve the sugar.
Overheating can cause the coconut milk to separate. Once the sugar is dissolved, remove the pan from the heat and let the mixture cool down slightly. This cooling step is important before combining it with the starch mixture to prevent the starches from cooking prematurely and becoming lumpy.
Allow the coconut milk mixture to cool to a warm or room temperature, perhaps around 30-40°C (86-104°F). This ensures that when you whisk it into the starch slurry, you get a smooth, pourable batter without clumps. You can speed up the cooling by transferring the mixture to a bowl set over an ice bath, stirring occasionally. Having a smooth, well-combined liquid base is fundamental to achieving uniform layers in your finished Khanom Chan.
Creating the Starch Base
While the coconut milk mixture is cooling, prepare your starch base. In a large mixing bowl, combine the rice flour, tapioca starch, and any optional mung bean starch. Whisk them together thoroughly to ensure they are well mixed. Gradually pour in the cooled coconut milk mixture into the bowl with the starches, whisking constantly. Start with a small amount of liquid to create a thick paste, then gradually add the rest, whisking until you have a smooth batter with no lumps. For extra insurance against lumps, you can strain the batter through a fine-mesh sieve into a clean bowl.
Once the batter is smooth, you can divide it if you plan to make multiple colored layers. For the classic green and white Khanom Chan, divide the batter into two portions, perhaps a slightly larger portion for the white layers and a smaller portion for the green layers (as the green is usually the top layer and sometimes thicker). Stir the pandan extract or green food coloring into the portion designated for the green layers.
If making other colors, divide the batter into the required number of portions and color each one accordingly. Let the batter rest for about 10-15 minutes; this brief rest can help hydrate the starches further and improve texture.
Layering the Dessert: Achieving the Perfect Texture
The heart of this easy Thai coconut pudding recipe is the layering process. You'll need a steaming setup ready – a pot with a lid and a steaming rack, and a mold (a square or rectangular pan, often 8x8 inches or similar, works well). Place the mold in the steamer and heat the water until it's boiling and producing steady steam.
Once the steamer is ready and hot, lightly brush the bottom of your mold with a tiny amount of oil (vegetable or coconut oil) to prevent sticking. Pour in your first thin layer of batter, typically 2-3 tablespoons depending on the mold size and desired layer thickness.
Carefully place the mold back in the hot steamer, cover, and steam for about 3-5 minutes. The first layer is often steamed slightly longer, maybe 5-7 minutes, to ensure it's fully set and provides a stable base. You'll know a layer is set when it appears translucent and slightly firm. After the first layer is ready, gently pour the next layer of a different color (or white) over the first layer.
Steam again for 3-5 minutes. Repeat this process, alternating colors, until you run out of batter. Aim for consistent layer thickness for a beautiful final result. A typical dessert might have 7-9 layers.
Steaming to Perfection
Once all the layers have been poured and individually steamed for their brief periods, the final step in this easy Thai coconut pudding recipe is a longer steam to ensure the entire dessert is cooked through and has the correct chewy texture. After pouring the final layer and steaming it for 3-5 minutes, leave the mold in the steamer, cover, and steam for an additional 20-30 minutes. This longer steaming time allows the heat to penetrate all the layers thoroughly, binding them together and developing the characteristic chewiness of Khanom Chan.
Ensure there is enough water in your steamer pot throughout this final steaming phase. The steam should be consistent and medium-high. Avoid opening the lid too often during this final steam. Once the 20-30 minutes are up, carefully remove the mold from the steamer. The Khanom Chan will be hot and appear quite soft. Let it cool completely at room temperature before attempting to cut or serve it. Cooling is crucial for the texture to set properly. For best results, refrigerate the cooled dessert for at least 2-3 hours, or ideally longer, before cutting.
Tips for Achieving Perfect Khanom Chan Layers
Mastering the Steaming Process
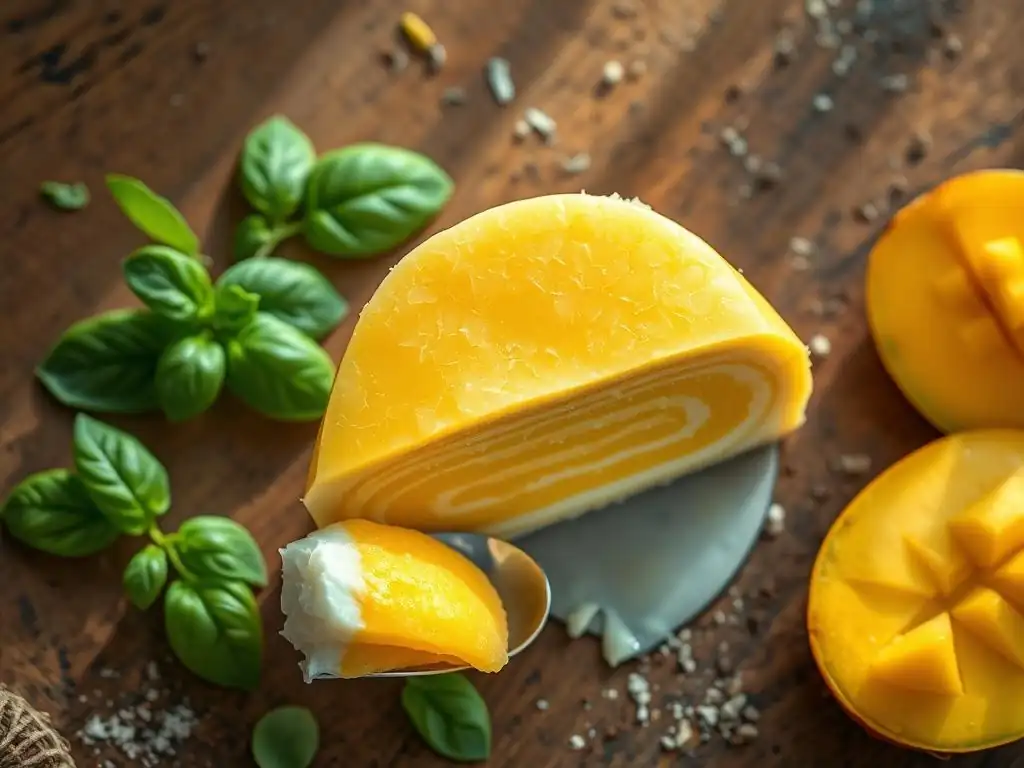
Achieving distinct, beautiful layers in your Khanom Chan hinges significantly on mastering the steaming process. Firstly, ensure your steamer is preheated and producing strong, steady steam before you place the mold inside. Starting in a hot environment ensures the first layer begins to set immediately. Secondly, control the heat; medium heat is generally best. High heat can cause the batter to bubble and create uneven surfaces or holes in your layers. Low heat might not set the layers quickly enough, potentially leading to layers merging.
Crucially, pay attention to the steaming time for each individual layer. Steaming each thin layer for approximately 3-5 minutes is usually sufficient for it to become translucent and set just enough to support the next layer. If you steam for too short a time, the layers might merge.
If you steam for too long, the previous layer might become too firm, causing the next layer to not adhere properly. Practice makes perfect with this timing! Also, consider wrapping the lid of your steamer with a cloth towel; this prevents condensation from dripping onto the dessert and marring the surface or creating pockmarks.
Preventing Layer Separation
Layer separation is a common issue when making Khanom Chan, and it's usually linked to the steaming process. The primary reason layers separate is that the previous layer was not sufficiently set before the next layer was poured on top. Each layer must be just cooked enough to form a distinct surface that the next layer can adhere to. Look for the layer to turn from opaque to mostly translucent before adding the next one. This visual cue is more reliable than strictly following a timer, as steamer efficiency can vary.
Another factor can be the temperature of the batter itself. While the base coconut milk mixture is cooled before mixing with starch, the batter should be at room temperature or slightly warm when pouring. Very cold batter hitting a hot, just-set layer can sometimes cause issues. Ensuring consistent batter temperature and careful timing during the 3-5 minute individual layer steaming is key. Also, make sure your mold is level in the steamer so that each layer is of uniform thickness, promoting even cooking and adhesion across the entire surface.
Achieving Vibrant Colors
Vibrant, distinct colors are a hallmark of beautiful Khanom Chan. While the classic uses natural pandan for green and leaves some layers plain white, you can easily experiment with other colors. Natural options include butterfly pea flowers (steeped in hot water) for blue/purple, or diluted roselle juice for red/pink. For brighter, more consistent colors, high-quality gel food coloring is an excellent choice. Gel colors are concentrated, so you typically need only a small amount, which doesn't add excess liquid to the batter.
When coloring the batter, divide the prepared, lump-free batter into separate bowls according to the number of colors you plan to use. Add the coloring agent to each bowl and stir thoroughly until the color is uniform. Start with a small amount of coloring and add more gradually until you achieve the desired intensity.
Remember that the colors might appear slightly less vibrant after steaming, especially if using natural extracts. If alternating colors, ensure you have enough batter of each color for the planned number of layers; typically, layers are quite thin, requiring relatively small amounts of batter per pour.
Storing and Serving Your Homemade Khanom Chan
Best Practices for Freshness
Once your beautiful Khanom Chan has been steamed and cooled completely at room temperature, it's essential to store it properly to maintain its texture and freshness. Khanom Chan is best stored in an airtight container in the refrigerator. This prevents it from drying out and keeps it cool, which is how it is traditionally served. Properly stored in the fridge, your homemade Khanom Chan should retain its quality for approximately 3 to 5 days.
Avoid leaving Khanom Chan out at room temperature for extended periods, especially in warm climates, as the coconut milk base can spoil. If you have a large batch, you can cut it into portions before storing, making it easier to grab a piece whenever you like. While it's tempting to sample it right away after steaming, allowing it to chill in the refrigerator for at least a few hours significantly improves the texture, making it firmer and chewier, which is key to the Khanom Chan experience.
Serving Suggestions for Khanom Chan
Serving Khanom Chan is part of the enjoyment of this easy Thai coconut pudding recipe. After chilling thoroughly in the refrigerator, carefully remove the dessert from the mold. You might need to run a thin, damp knife around the edges to loosen it. Traditionally, Khanom Chan is cut into small squares or diamond shapes. You can also use cookie cutters to create fun shapes for special occasions, though the chewy texture requires a sharp cutter and firm pressure.
Serve the Khanom Chan chilled, directly from the refrigerator. It's delicious on its own, allowing the pandan and coconut flavors to shine. Some people enjoy sprinkling a tiny bit of toasted sesame seeds or shredded coconut on top for added texture and aroma, though this is optional. Present the colorful pieces on a platter to showcase the beautiful layers. Khanom Chan makes a delightful dessert after a meal, a sweet snack, or a charming addition to a tea spread or party platter.
Troubleshooting Your Khanom Chan
Common Mistakes and How to Avoid Them
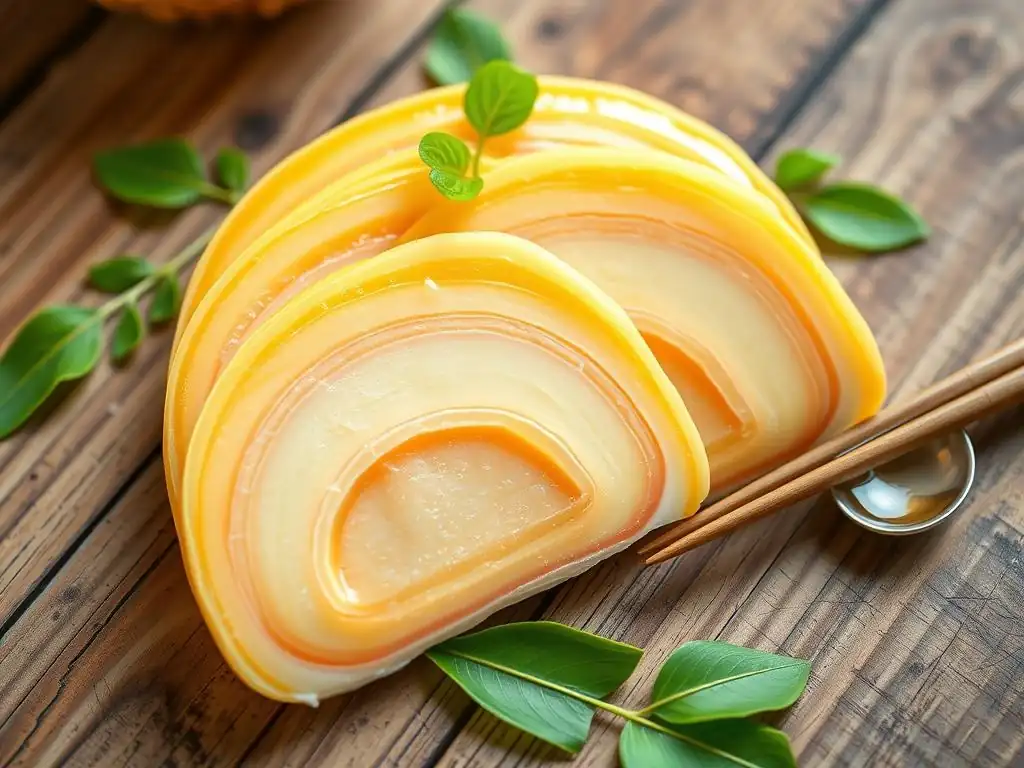
Even with an easy Thai coconut pudding recipe, minor issues can arise. One common mistake is layers sticking together or merging. This usually happens if the previous layer wasn't steamed long enough to set before the next layer was poured. Ensure each layer becomes slightly translucent before adding the next. Another issue is a hard or rubbery texture; this might be due to using too much rice flour or not enough tapioca starch relative to the recipe's balance, or potentially over-steaming the final block for too long at too high a heat.
Uneven layers can occur if the mold isn't level in the steamer or if you pour inconsistent amounts of batter for each layer. Use a measuring spoon or small ladle to pour roughly the same amount each time. Bubbles on the surface of layers are often caused by steaming at too high a heat, which makes the batter boil.
Reduce the heat to a steady medium steam. If layers are separating cleanly rather than sticking, it could mean the underlying layer was too set or cool, or the new batter layer was too thick for the steam to penetrate quickly and adhere.
Addressing Texture Issues
The texture of Khanom Chan should be delightfully soft and chewy, not hard, rubbery, or overly sticky. If your Khanom Chan turns out too hard or brittle, the starch ratio might be off, possibly with too much rice flour or not enough liquid. Review the recipe's recommended starch proportions and ensure accurate measurements.
If the texture is too soft and sticky, it could be undercooked. Ensure the final steaming time is sufficient, typically 20-30 minutes after the last layer is added. Also, make sure you are using the correct types of starches – using only rice flour, for example, would result in a much firmer texture than the traditional blend.
If the dessert is too chewy or rubbery, you might have used too much tapioca starch or steamed it for too long. Tapioca starch contributes chewiness, so adjusting its proportion relative to rice flour is key for texture control. Experimenting with slight variations in starch ratios in future batches is the best way to find the texture you prefer. Remember that proper cooling and chilling are also vital for the texture to set correctly after steaming; don't skip this step.
Variations on the Classic Khanom Chan Recipe
Exploring Different Flavors and Colors
While the classic Khanom Chan is pandan-flavored and green and white, the easy Thai coconut pudding recipe is incredibly adaptable to different flavors and colors. Instead of pandan, you could use other natural extracts or flavorings. For a lovely purple color and floral aroma, steep dried butterfly pea flowers in hot water and use that liquid, or use butterfly pea powder.
For a rosy red or pink hue and a slightly tart flavor, use diluted roselle juice. You could also experiment with taro powder for a light purple color and earthy flavor, or even cocoa powder for a chocolate version (though this is less traditional).
To introduce new flavors, consider adding a small amount of other extracts like vanilla or almond, though these are less traditional in Thai desserts. You could also infuse the coconut milk with other aromatics like a bruised stalk of lemongrass or a few kaffir lime leaves before heating and then straining them out. This adds subtle layers of flavor to the base. When adding new liquid flavorings or extracts, remember to account for the small amount of extra liquid to maintain the overall batter consistency.
Adding Textures and Flavors
Beyond changing the core flavor and color, you can add simple elements to enhance the texture and visual appeal of your Khanom Chan. Before steaming the final layer, you could sprinkle a thin layer of toasted white sesame seeds over the top. Once steamed, these provide a pleasant, slightly nutty crunch that contrasts nicely with the chewy pudding. Another option is to sprinkle finely shredded fresh or dried coconut (lightly toasted if desired) over the top layer before the final steam.
For serving, you could offer side garnishes like a dollop of thick coconut cream, a sprinkle of toasted coconut flakes, or even some fresh fruit like mango or jackfruit cut into small pieces. These additions aren't typically incorporated into the steamed layers themselves in the classic recipe, but they can add an extra dimension of flavor and texture when serving. These simple additions can elevate your easy Thai coconut pudding recipe and make it even more special.
Further Dessert Adventures
Explore More Dessert Recipes
Mastering this easy Thai coconut pudding recipe is just the beginning of your journey into the delightful world of Asian-inspired desserts and beyond. BakeWithEase.com offers a wide variety of recipes, from simple cakes and cookies to more intricate pastries and regional specialties. If you enjoyed working with starch-based desserts, you might explore recipes for mochi, other steamed rice cakes, or jelly-based sweets that utilize similar techniques.
Consider trying other Thai desserts like Mango Sticky Rice, Bua Loy (colorful rice balls in coconut milk), or Thai Custard (Sangkhaya). Each offers a different texture and flavor profile while often using familiar ingredients like coconut milk and rice. Expanding your repertoire not only builds your baking skills but also provides a wonderful way to explore global culinary traditions right in your own kitchen. Don't hesitate to try new things and adapt recipes to your taste!
Part of the joy of baking, especially with an easy Thai coconut pudding recipe, is sharing your creations with others! Once you've successfully made your beautiful, layered Khanom Chan, take photos and share them with friends, family, or online communities. Describe your experience, what you learned, and how delicious it turned out. Sharing your successes (and even your learning moments!) can inspire others to try the recipe themselves.
Discuss any variations you tried, like different colors or flavors, or tips you discovered while steaming. Engaging with other home bakers is a fantastic way to get feedback, learn new tricks, and feel connected through a shared passion for creating delicious treats. Your experience with this easy Thai coconut pudding recipe could be the spark that encourages another beginner baker to try making this unique and rewarding dessert.
Frequently Asked Questions
What makes this Khanom Chan recipe "easy" compared to other versions?
This recipe focuses on simplified techniques and easy-to-find ingredients, eliminating complex steps often found in traditional Khanom Chan recipes. We prioritize clarity and beginner-friendliness.
Can I substitute any ingredients in this Easy Thai Coconut Pudding recipe?
While we recommend sticking to the recipe for best results, you can experiment with different natural food colorings. However, altering the ratio of tapioca and rice flour may affect the texture.
How do I prevent the layers of the Thai Coconut Pudding from separating?
Ensuring each layer is slightly set but still tacky before adding the next is crucial. Also, avoid over-steaming to maintain layer adhesion.
What's the best way to store leftover Khanom Chan?
Store leftover pudding in an airtight container in the refrigerator. Consume within 2-3 days for optimal freshness and texture.
Is there a specific type of coconut milk recommended for this recipe?
We recommend using full-fat coconut milk for the richest flavor and creamiest texture. Avoid using "light" or reduced-fat varieties, as they may affect the final result.
Final Reflection: The Sweet Simplicity of Khanom Chan
The enduring appeal of Khanom Chan lies not just in its delicious taste, but in its ability to connect us to a rich culinary heritage while remaining surprisingly accessible. This simple Thai coconut pudding, with its layered beauty and delicate flavors, transcends mere dessert; it's a testament to the power of traditional recipes to endure and inspire. The ease with which even novice cooks can recreate this classic proves that authentic culinary experiences needn't be complicated.
The process of making Khanom Chan, from carefully preparing the coconut milk to patiently layering the pudding, became a meditative experience for me. It's a reminder that slowing down and appreciating the details can yield extraordinary results. The best things in life are simple,
a phrase often heard, rings especially true when considering the profound satisfaction derived from creating and sharing this delightful dessert. The recipe's simplicity allows for personal expression; each pudding is unique, reflecting the individual touch of its creator.
Now, I invite you to embark on your own Khanom Chan journey. Don't be intimidated by the seemingly intricate layers; embrace the simplicity and allow yourself to be transported to the heart of Thai culinary tradition. The sweet reward awaits – not just in the taste, but in the connection to a culture and the quiet satisfaction of creating something beautiful and delicious with your own hands. Try the recipe, adapt it to your preferences, and share the joy of Khanom Chan with those you love.
Unlock the Secrets of Creamy Coconut Bliss!
Thanks for joining us on this delicious journey into the world of Khanom Chan! We hope you've gained a newfound appreciation for this simple yet elegant Thai dessert. Ready to take your culinary skills to the next level?
- Master the art of layered perfection: Try making your own Khanom Chan today! Experiment with different toppings and textures to create your signature masterpiece.
- Share your culinary creation: Snap a picture of your beautiful Khanom Chan and post it on social media using #BakeWithEaseKhanomChan – let's inspire each other!
- Dive deeper into Thai desserts: Explore more traditional Thai recipes on our website – discover your next favorite sweet treat!
What unique twist will you add to your Khanom Chan to make it truly your own? Let us know in the comments below!