
The Key to Chocolate Success: Mastering Tempering Techniques.

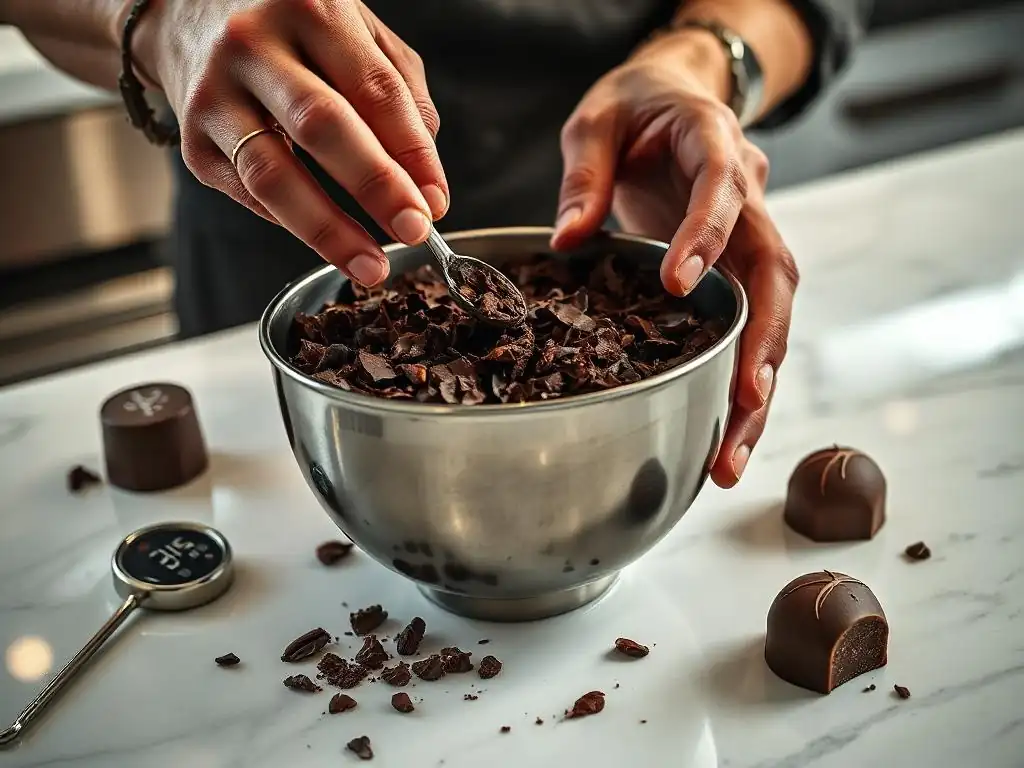
Welcome to BakeWithEase, your partner in turning baking dreams into delicious realities! Ever wondered why your homemade chocolates lack that professional snap and shine? Dive into our latest guide, "The Key to Chocolate Success: Mastering Tempering Techniques," and unlock the secrets of perfect chocolate tempering. It's easier than you think! Discover the fundamentals and finally banish that dull, streaky finish forever. Are you ready to elevate your chocolate creations?
- Mastering Tempering for Chocolate Excellence
- Introduction to Tempering
- Essential Tools and Chocolate Selection
- Tempering Methods: Step-by-Step
- Troubleshooting Tempering Issues
- Advanced Tempering Techniques
- Storage and Usage
- Conclusion: Achieving Chocolate Perfection
-
Frequently Asked Questions
- What is chocolate tempering, and why is it important?
- What are the different methods for tempering chocolate a beginner can use?
- What temperature range is crucial for tempering dark chocolate successfully?
- What does "blooming" mean in the context of chocolate, and how does tempering prevent it?
- What are some common mistakes beginners make when tempering chocolate, and how can they be avoided?
- Final Reflection: The Enduring Allure of Perfectly Tempered Chocolate
- Unlock Your Inner Chocolatier: Master the Art of Tempering!
Mastering Tempering for Chocolate Excellence
Tempering chocolate is a fundamental skill for any baker or confectioner aiming for professional-looking results. It's the process of carefully melting and cooling chocolate to stabilize the cocoa butter crystals, resulting in a finished product that is glossy, smooth, and has a satisfying snap when broken. Without proper tempering, chocolate will appear dull, melt easily in your hands, and develop unsightly white or grayish streaks over time, known as bloom.
This guide provides a comprehensive look at why tempering is essential and walks you through various techniques, making it an ideal chocolate tempering beginner guide for anyone wanting to elevate their chocolate work. Mastering this technique opens up a world of possibilities, from crafting beautiful molded chocolates to creating perfectly coated confections.
Introduction to Tempering
Importance of Tempering in Chocolate Work
Tempering is crucial for achieving the desirable characteristics of high-quality chocolate. When chocolate is simply melted and allowed to cool, the cocoa butter within it crystallizes randomly. This leads to a soft, crumbly texture and a lack of shine. Properly tempered chocolate, however, encourages the formation of stable, uniform cocoa butter crystals, specifically the 'beta prime' or Form V crystal.
The benefits of achieving this stable crystal structure are numerous. Tempered chocolate sets firmly with a beautiful, glossy sheen. It contracts slightly as it cools, making it easy to release from molds.
It has a clean, crisp snap when broken, rather than a soft bend. Furthermore, tempered chocolate is less susceptible to fat bloom (those white streaks) and has a higher melting point, meaning it stays solid longer at room temperature, improving its shelf life and handling properties. For instance, a piece of untempered chocolate might start softening around 25°C (77°F), while a tempered piece remains stable up to around 30-32°C (86-90°F), depending on the type.
Understanding Cocoa Butter Polymorphism
The science behind tempering lies in the unique properties of cocoa butter, the fat component of chocolate. Cocoa butter is polymorphic, meaning it can crystallize into several different forms, each with a distinct melting point and structure. There are six known crystal forms (I through VI). When chocolate is melted above 40°C (104°F), all these crystal forms are destroyed.
As the chocolate cools, the cocoa butter molecules begin to recrystallize. The goal of tempering is to encourage the formation of the most stable and desirable crystal form, Form V (Beta prime). This crystal form is stable at room temperature and melts sharply at around 33.8°C (92.8°F), which is just below body temperature, contributing to that smooth, melt-in-your-mouth sensation.
The tempering process involves heating the chocolate to melt all crystals, cooling it to a specific temperature range where Form V crystals can nucleate and grow, and then slightly reheating it to melt any unstable crystal forms that may have also formed, leaving only the stable ones. This precise temperature control is key to a successful chocolate tempering beginner guide process.
Essential Tools and Chocolate Selection
Required Tools for Tempering
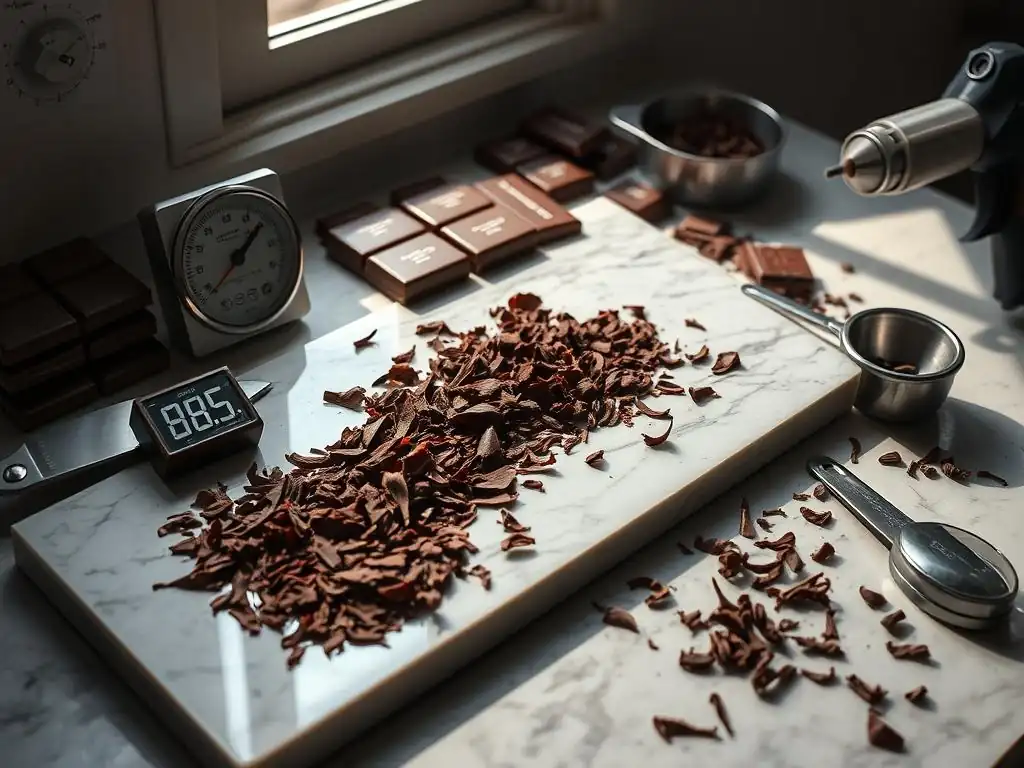
Having the right equipment makes the tempering process significantly easier and more reliable. The most critical tool is a reliable thermometer. An instant-read digital thermometer is highly recommended as it provides quick and accurate temperature readings, essential for hitting the narrow target temperature ranges required for tempering. Avoid old-fashioned candy thermometers that can be slow and inaccurate.
Other essential tools include:
- Heat Source: A double boiler (a bowl set over a pot of simmering water) or a microwave are common methods. A double boiler offers more gentle, controlled heat.
- Bowls: At least two heat-safe bowls (glass or stainless steel) are needed.
- Spatula: A sturdy rubber or silicone spatula for stirring is indispensable.
- Working Surface (for marble method): A clean, cool marble or granite slab is ideal.
- Scraper/Bench Knife (for marble method): For working the chocolate on the slab.
A digital scale is also very helpful for accurately measuring chocolate, especially when using the seeding method. For instance, when seeding, you'll typically add 20-30% of the total chocolate weight back in solid form, and a scale ensures precision.
Choosing Chocolate Based on Cocoa Content
Not all chocolate is created equal when it comes to tempering. The best type of chocolate for tempering is couverture chocolate. Couverture is a professional-grade chocolate that contains a higher percentage of cocoa butter (typically 31% or more) compared to standard baking chocolate or chocolate chips. This higher cocoa butter content allows it to melt smoothly and temper beautifully, resulting in a more fluid consistency when melted, which is ideal for dipping and molding.
While couverture is preferred, you can temper high-quality baking chocolate or even some types of chocolate chips if they contain sufficient cocoa butter and no added stabilizers or vegetable oils that interfere with crystallization. Check the ingredients list – if it lists ingredients like "partially hydrogenated vegetable oil," it will not temper correctly.
Dark chocolate (50-70% cocoa content) is generally the easiest to temper due to its higher proportion of cocoa solids and butter relative to sugar and milk solids. Milk and white chocolate, with less cocoa butter and more sugar/milk solids, require slightly lower working temperatures and can be a bit trickier for a chocolate tempering beginner guide.
Tempering Methods: Step-by-Step
Seed Tempering
Seed tempering is a widely used and relatively straightforward method, making it excellent for a chocolate tempering beginner guide. It relies on the principle of adding already tempered chocolate (the "seed") to properly cooled melted chocolate to initiate the formation of stable crystals.
Melting the Chocolate
Begin by finely chopping your chocolate. The smaller the pieces, the more evenly it will melt. Place about 70-80% of the chopped chocolate in a heat-safe bowl. Set the bowl over a pot of barely simmering water (double boiler), ensuring the bottom of the bowl does not touch the water. Stir the chocolate gently and continuously as it melts. Heat the chocolate until it reaches a temperature of approximately 45-50°C (113-122°F) for dark chocolate, or 40-45°C (104-113°F) for milk or white chocolate. This ensures that all the cocoa butter crystals are completely melted. Remove the bowl from the heat.
Adding Seed Chocolate
Once the chocolate has reached the target melting temperature and is smooth, dry the bottom of the bowl thoroughly if using a double boiler, ensuring no water gets into the chocolate (this causes seizing). Immediately add the reserved 20-30% of finely chopped, untempered chocolate (the "seed" chocolate) to the melted chocolate. Stir constantly.
The goal here is for the seed chocolate, which contains stable Form V crystals, to melt slowly while cooling the bulk of the chocolate down to the correct working temperature range. As the seed melts and cools the chocolate, it encourages the stable crystals to form throughout the mixture.
Temper Verification
Continue stirring the mixture until all the seed chocolate has melted and the temperature drops to the working range: approximately 31-32°C (88-90°F) for dark chocolate, or 29-30°C (84-86°F) for milk or white chocolate. If all the seed chocolate melts before reaching the target temperature, add a little more seed and continue stirring. If you reach the target temperature but still have unmelted seed, you can carefully remove the remaining solid pieces. To verify the temper, dip the tip of a clean knife, spoon, or piece of parchment paper into the chocolate.
Allow it to sit at room temperature for a few minutes. If it sets quickly (within 3-5 minutes), is glossy, and snaps when broken, your chocolate is in temper and ready to use. If it remains soft or looks dull, it's not in temper and needs to be re-tempered.
Marble Slab Tempering
The marble slab method, also known as tabling, is a classic technique favored by professional chocolatiers for its effectiveness in rapidly cooling and crystalizing the chocolate. It requires a clean, cool surface, typically marble or granite.
Slab Preparation
Ensure your marble or granite slab is perfectly clean, dry, and cool. Room temperature is usually sufficient, but avoid direct sunlight or warm spots. It's helpful to have the slab easily accessible next to your melting setup. Prepare your chocolate by finely chopping it, just as you would for the seed method.
Cooling and Spreading
Melt your chocolate using a double boiler, heating dark chocolate to 45-50°C (113-122°F) or milk/white chocolate to 40-45°C (104-113°F) to ensure all crystals are melted. Pour about two-thirds of the melted chocolate onto the cool marble slab. Using a metal scraper or bench knife and a spatula, work the chocolate back and forth, spreading it thin and then gathering it together.
This process rapidly cools the chocolate and encourages the formation of cocoa butter crystals. Continue working the chocolate until it visibly thickens and reaches a temperature of around 27-28°C (81-82°F) for dark chocolate, or 26-27°C (79-81°F) for milk or white chocolate. This indicates that a significant amount of stable (Form V) crystals have formed.
Reheating and Gathering
Once the chocolate on the slab has thickened and cooled to the target temperature, use your scraper to gather it up and scrape it back into the bowl with the remaining one-third of warm, melted chocolate. Stir the mixture thoroughly. The warm chocolate will slightly reheat the cooled, crystallized chocolate from the slab, melting any unstable crystals (Forms I-IV) that may have formed, leaving only the stable Form V crystals.
Stir until the mixture is smooth and reaches the final working temperature range: 31-32°C (88-90°F) for dark chocolate, or 29-30°C (84-86°F) for milk or white chocolate. Perform a temper test by dipping a knife tip; it should set quickly with a gloss.
Microwave Tempering
Microwave tempering is often considered the simplest method, making it a good starting point in a chocolate tempering beginner guide, especially for small quantities. It relies on careful, controlled heating to avoid overheating the chocolate and destroying the desirable crystals.
Controlled Melting
Start with finely chopped chocolate. Place the chopped chocolate in a microwave-safe bowl. Heat the chocolate in the microwave on medium power (around 50%) for short intervals, typically 30 seconds at a time. After each interval, remove the bowl and stir the chocolate thoroughly, even if it doesn't look melted. Stirring helps distribute the heat and prevents hot spots.
Stirring and Cooling
Continue heating in short bursts and stirring until the chocolate is about two-thirds to three-quarters melted. At this point, there should still be some small, solid pieces of chocolate remaining. Remove the bowl from the microwave. The residual heat in the melted chocolate, combined with vigorous stirring, will continue to melt the remaining solid pieces. Stir continuously until the chocolate is completely smooth and has cooled to the desired working temperature range: 31-32°C (88-90°F) for dark chocolate, or 29-30°C (84-86°F) for milk or white chocolate.
Temper Verification
Once the chocolate is smooth and within the target temperature range, perform a temper test. Dip a clean knife or piece of parchment paper into the chocolate and let it sit at room temperature. If it sets quickly (within 3-5 minutes), looks shiny, and has a good snap, it is tempered. If it doesn't set properly or looks dull, you may need to re-temper it by repeating the process, being careful not to overheat. This method requires practice and attention to temperature to avoid accidentally heating the chocolate too high and having to start over.
Troubleshooting Tempering Issues
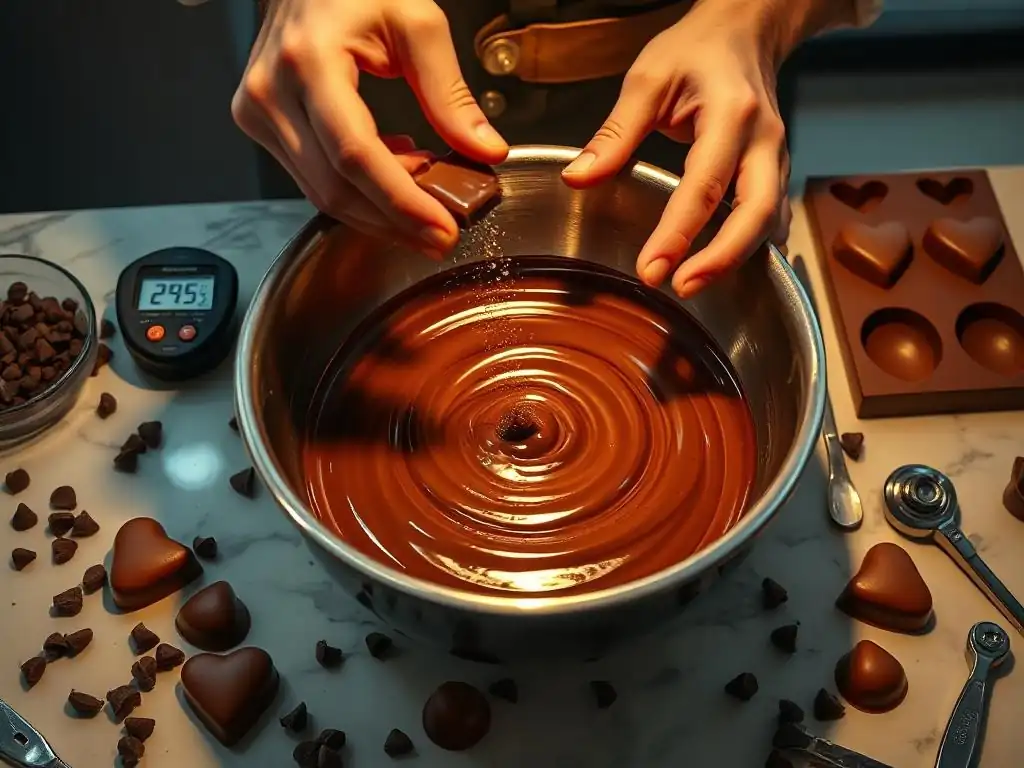
Even with careful technique, tempering can sometimes go wrong. Understanding common issues helps you identify the problem and attempt a fix.
Addressing Seizing
Seizing is perhaps the most frustrating tempering issue. It occurs when a small amount of water or steam comes into contact with melted chocolate. The sugar particles in the chocolate clump together around the water, causing the chocolate to instantly thicken into a stiff, unworkable paste. Even a single drop of water can seize a large batch.
Unfortunately, seized chocolate cannot be truly re-tempered back to its original smooth, fluid state. However, you can often salvage seized chocolate for other uses. One common method is to stir in a tablespoon or two of a neutral-flavored liquid fat, like melted vegetable shortening, cocoa butter, or even a small amount of vegetable oil (such as grapeseed oil), stirring vigorously until it becomes a workable, though still thick, consistency.
This mixture won't be suitable for dipping or molding where temper is needed, but it can be used in baked goods like brownies or cakes, or as a sauce. Prevention is key: ensure all tools are perfectly dry and protect chocolate from steam when melting over a double boiler.
Correcting Streaky or Dull Chocolate
If your finished chocolate product looks streaky, cloudy, or lacks shine, it's a clear sign that the tempering process was incomplete or incorrect. This dull appearance is characteristic of untempered or improperly tempered chocolate where unstable cocoa butter crystals have formed.
The good news is that dull or streaky chocolate can almost always be re-tempered. Simply gather the chocolate, reheat it carefully following the instructions for your chosen tempering method (seed, marble, or microwave), ensuring you reach the initial melt temperature to destroy all existing crystals, and then cool it down through the tempering process again. Pay close attention to your temperatures and stirring during the cooling phase to encourage the formation of stable Form V crystals. A common cause is not cooling the chocolate sufficiently or not stirring enough during cooling.
Preventing Bloom
Bloom appears as grayish or white streaks or patches on the surface of chocolate. There are two types: sugar bloom and fat bloom. Sugar bloom happens when moisture condenses on the chocolate surface, dissolves surface sugar, and then evaporates, leaving behind grainy sugar crystals. This is often caused by storing chocolate in humid conditions or moving it too quickly from a cold environment (like a refrigerator) to a warm one.
Fat bloom, the more common issue related to tempering, occurs when the cocoa butter is not properly tempered or when tempered chocolate is stored at fluctuating temperatures. Unstable cocoa butter crystals (Forms I-IV) melt and recrystallize on the surface as larger, visible crystals. Proper tempering ensures the cocoa butter is in the stable Form V configuration, which is less prone to migration and recrystallization. To prevent fat bloom, always temper your chocolate correctly and store finished tempered chocolate in a cool, dry place with a stable temperature, ideally between 18-20°C (64-68°F).
Advanced Tempering Techniques
Once you've mastered the basic methods in this chocolate tempering beginner guide, you might explore ways to achieve even more consistent results or handle larger batches.
Achieving Consistent Temper
Consistency in tempering boils down to precise temperature control and careful handling. Using a high-quality, accurate digital thermometer is paramount. Checking the temperature frequently throughout the cooling and reheating process is vital. Also, constant, gentle stirring during the cooling phase helps distribute the heat evenly and promotes uniform crystal formation.
Another factor is the quality and type of chocolate used; couverture with higher cocoa butter content is inherently easier to temper and maintain temper due to its fluidity. For larger batches, maintaining the working temperature is key. Tempered chocolate will slowly cool and eventually fall out of temper. Keeping it warm within its working range (e.g., 31-32°C for dark) is necessary for continuous use. This can be done by placing the bowl over a very slightly warm water bath (ensure the water is well below the working temp) or using a specialized chocolate warmer on a very low setting.
Using a Tempering Machine
For those working with significant volumes of chocolate regularly, a dedicated chocolate tempering machine can be a valuable investment. These machines are designed to automate the tempering process, providing precise temperature control through heating, cooling, and holding cycles.
Tempering machines typically work by melting the chocolate, cooling it down while agitating it to promote crystal formation, and then holding it at the correct working temperature for extended periods. They come in various sizes, from small tabletop models (which might hold 1-5 kg of chocolate) to large industrial units. While they represent a significant cost (tabletop models often start around $300-$500), they save considerable time and effort, ensuring a consistent temper batch after batch with minimal manual intervention. This is especially beneficial for businesses producing large quantities of molded chocolates, enrobed items, or confections.
Applications in Recipes
Mastering chocolate tempering unlocks numerous possibilities in baking and confectionery. Tempered chocolate is essential for creating professional-quality molded chocolates and bonbons; it contracts as it cools, allowing for easy release and a perfect shell.
It's also used for enrobing – dipping items like truffles, caramels, or fruit (like strawberries) in chocolate to create a smooth, shiny coating that sets firm. Tempered chocolate is also used to make decorative elements like chocolate curls, shavings, fans, or intricate piped designs that hold their shape at room temperature. While chocolate is often used in ganaches, mousses, and baked goods, tempering is specifically for applications where a hard, shiny, stable finish is desired, not for internal uses where the chocolate is meant to melt or contribute to a soft texture.
Storage and Usage
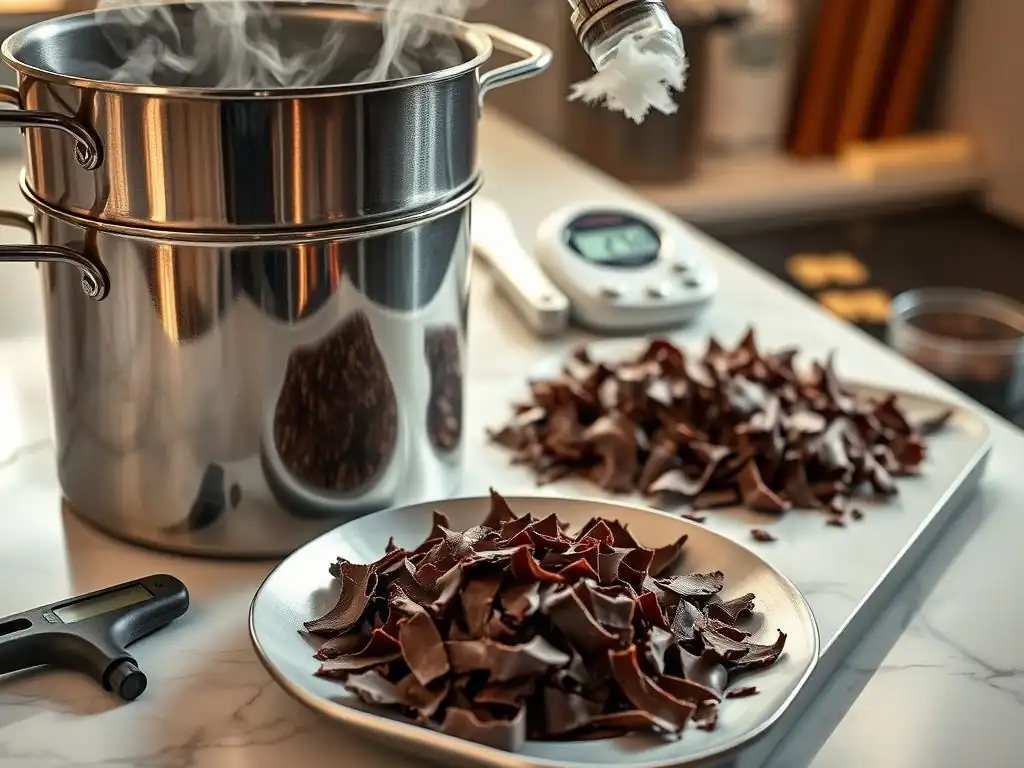
Proper handling and storage are just as important as the tempering process itself in maintaining the quality of your chocolate creations.
Optimal Storage Practices
Tempered chocolate should be stored in a cool, dry place away from direct sunlight and strong odors. The ideal storage temperature range is typically between 18-20°C (64-68°F) with low humidity (below 50% relative humidity). Avoid storing tempered chocolate in the refrigerator if possible, as the fluctuations in temperature and high humidity can cause sugar bloom and dulling of the surface. If refrigeration is necessary, place the chocolate in an airtight container to protect it from moisture and odors, and allow it to come to room temperature slowly before opening the container to prevent condensation.
Properly stored tempered chocolate can maintain its shine and snap for several months, though its flavor is best enjoyed within a few weeks or months depending on the specific type and ingredients. Always store chocolate away from items with strong smells, as chocolate can absorb odors easily.
Applications in Baking and Confectionery
Tempered chocolate is primarily used in applications where a firm, shiny, and stable coating or structure is desired. This includes:
- Dipping and Enrobing: Coating fruits, nuts, candies, or baked goods like cookies and cakes.
- Molding: Creating solid chocolate figures, bars, or filled bonbons.
- Decorations: Making chocolate curls, shavings, fans, or piped designs for cakes and pastries.
- Shells: Creating stable shells for tarts or other desserts.
While untempered chocolate or chocolate chips can be used within baked goods (like chocolate chip cookies) or for making ganache or mousse (where a firm set isn't achieved by tempering), using tempered chocolate for external coatings or decorative elements ensures a professional finish that is resistant to melting at room temperature and appealing to the eye and palate with its snap and shine.
Conclusion: Achieving Chocolate Perfection
Key Tempering Takeaways
Mastering chocolate tempering is a skill that significantly elevates the quality of your chocolate work. The core principle is controlling the temperature to encourage the formation of stable Form V cocoa butter crystals, which melt at around 33.8°C (92.8°F). This process results in chocolate that is glossy, sets firmly, has a crisp snap, and is resistant to fat bloom.
Remember the key temperature ranges: melt dark chocolate to 45-50°C (113-122°F), milk/white to 40-45°C (104-113°F). Cool dark chocolate to a working temperature of 31-32°C (88-90°F), and milk/white to 29-30°C (84-86°F). Use accurate tools like a digital thermometer and choose quality chocolate, ideally couverture, for the best results. While issues like seizing or dullness can occur, most problems related to temper can be corrected by re-tempering.
Elevating Baking with Tempering
Incorporating tempered chocolate into your baking and confectionery repertoire opens up a world of possibilities for creating visually stunning and texturally perfect treats. From elegantly coated truffles to intricate chocolate decorations on a cake, the difference that properly tempered chocolate makes is undeniable.
Think of tempering as adding a professional polish to your creations. It's a technique that requires practice and patience, but the rewards – beautiful, stable, delicious chocolate – are well worth the effort. This chocolate tempering beginner guide provides the foundation; with practice, you'll gain confidence and consistency, turning simple melted chocolate into culinary art. So grab your thermometer, choose your method, and start practicing the art of chocolate tempering today!
Frequently Asked Questions
What is chocolate tempering, and why is it important?
Chocolate tempering is the process of heating and cooling chocolate to create stable cocoa butter crystals. This results in a shiny, snappy finish and prevents blooming.
What are the different methods for tempering chocolate a beginner can use?
Beginners can try the seeding method or the microwave method. These are generally considered easier than the traditional table tempering method.
What temperature range is crucial for tempering dark chocolate successfully?
The ideal temperature range for tempering dark chocolate is between 88-90°F (31-32°C). Exceeding this range can ruin the temper.
What does "blooming" mean in the context of chocolate, and how does tempering prevent it?
Blooming refers to the white or gray streaks that appear on chocolate. Proper tempering ensures stable cocoa butter crystals, preventing fat or sugar from rising to the surface.
What are some common mistakes beginners make when tempering chocolate, and how can they be avoided?
Common mistakes include overheating the chocolate and not stirring enough. Using a reliable thermometer and stirring constantly can help avoid these pitfalls.
Final Reflection: The Enduring Allure of Perfectly Tempered Chocolate
The art of chocolate tempering, once a closely guarded secret of chocolatiers, is now accessible to home bakers and enthusiasts alike. Mastering this technique unlocks a world of possibilities, transforming ordinary chocolate into exquisitely smooth, glossy, and satisfying confections that melt flawlessly in the mouth. This isn't just about technical skill; it's about elevating the experience of chocolate itself.
The impact of perfectly tempered chocolate extends far beyond the individual enjoyment of a delicious treat. It's a testament to the power of precision and patience, mirroring the dedication and artistry found in countless other crafts. The pursuit of this seemingly simple technique reveals a deeper appreciation for the nuances of ingredients and the transformative power of careful process. As renowned pastry chef Jacques Torres once said, Chocolate is a magical ingredient, and tempering is the key to unlocking its full potential.
This quote encapsulates the essence of this article – it's not just about making chocolate, it's about understanding and respecting the process to achieve something truly special.
Now, it's your turn. Don't be intimidated by the initial steps; embrace the challenge of mastering chocolate tempering. Experiment, learn from your mistakes, and savor the journey. The reward? The sheer delight of creating stunning, professional-quality chocolate that will impress your friends, family, and most importantly, yourself. The satisfaction of a perfectly tempered piece is a testament to your dedication and a delicious reward for your efforts. So, gather your ingredients, follow the techniques outlined in this guide, and unlock the magic of perfectly tempered chocolate.
Unlock Your Inner Chocolatier: Master the Art of Tempering!
Thanks for taking the time to explore the world of chocolate tempering with us! You've now got the knowledge to create flawlessly smooth and shiny chocolate creations. Ready to put your new skills to the test?
- Craft your masterpiece: Try tempering a batch of your favorite chocolate recipe – and prepare to be amazed by the results!
- Share your success: Show off your perfectly tempered treats on social media using #BakeWithEaseTempering. Let's see those glossy beauties!
- Explore further: Dive deeper into our chocolate-making resources on BakeWithEase.com for more tips and tricks.
What delicious chocolate adventure will you embark on first?