
Proofing White Bread: Get the Perfect Rise Every Time

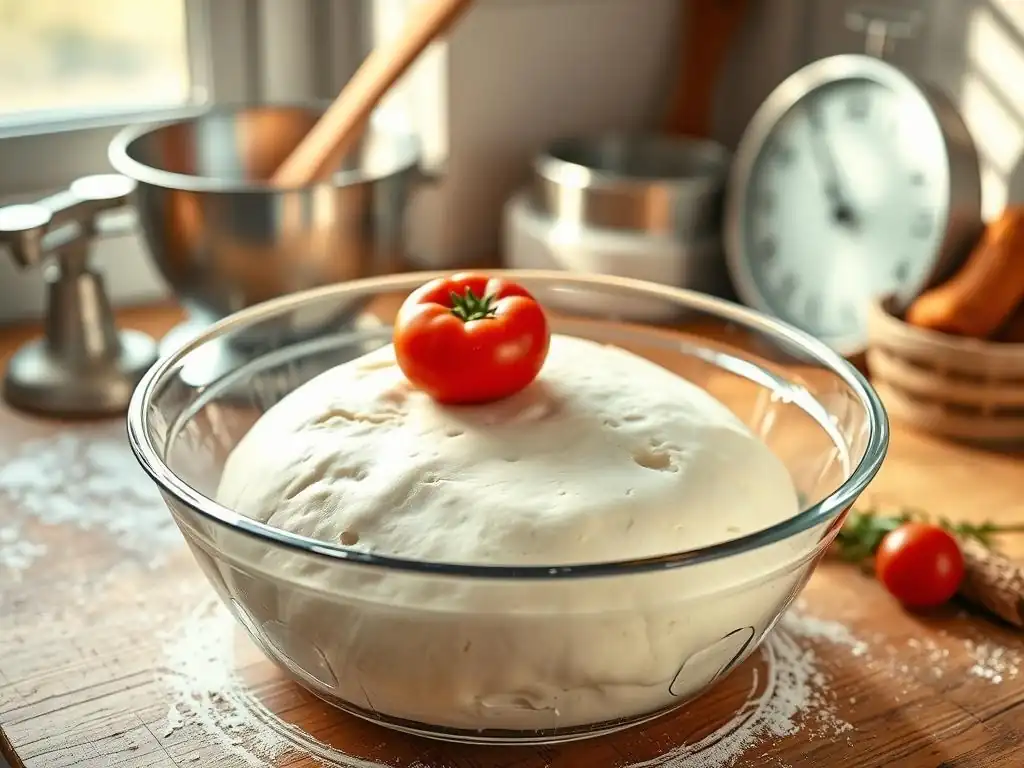
Welcome to BakeWithEase, your trusted guide to baking brilliance! Ever wondered if you're nailing the perfect white bread proofing time? Unlock the secrets to achieving that enviable, sky-high rise with our expert tips and techniques. Discover the crucial factors that influence proofing and avoid common pitfalls that lead to dense, disappointing loaves. Ready to elevate your bread baking game? Let's get started!
- Proofing Sourdough Bread: A Comprehensive Guide
- The Sourdough School's Guide to Mastering Sourdough Proofing
- Understanding the Importance of Proofing Sourdough Bread
- Achieving the Perfect Sourdough Proofing Time: A Step-by-Step Guide
- Troubleshooting Sourdough Proofing Issues
- Tips and Tricks for Consistent Sourdough Proofing Results
- Mastering Sourdough: Beyond the Proofing Process
- Enjoy Your Perfectly Proofed and Baked Sourdough Bread!
- Frequently Asked Questions
- Final Reflection: The Humble Loaf, Perfectly Proven
- Unlock Your Perfect Loaf: Take Your Bread Baking to the Next Level!
Proofing Sourdough Bread: A Comprehensive Guide
The Sourdough School's Guide to Mastering Sourdough Proofing
Welcome to The Sourdough School's Approach to Sourdough Bread
Embarking on the journey of sourdough baking is incredibly rewarding, leading to loaves with complex flavors and satisfying textures. At BakeWithEase, drawing inspiration from comprehensive approaches like The Sourdough School's philosophy, we emphasize that mastering the proofing stage is arguably the most critical step in achieving truly exceptional sourdough. This phase is where the wild yeasts and beneficial bacteria in your starter perform their magic, transforming simple dough into a living, breathing mass ready for the oven.
Understanding the nuances of proofing—how long, at what temperature, and what signs to look for—is key to unlocking the full potential of your sourdough starter and flour. It's a process that requires patience and observation, moving beyond strict adherence to recipes and learning to read the dough itself. This guide will walk you through each stage, helping you develop the intuition needed for consistently successful sourdough bakes, ensuring you get closer to that perfect proofing time with every loaf.
Understanding the Importance of Proofing Sourdough Bread
Why Proper Proofing is Crucial for Sourdough Success
Proper proofing is the cornerstone of great sourdough bread. It's during this period that fermentation takes place, driven by the activity of the microorganisms in your sourdough starter. This fermentation produces carbon dioxide gas, which is trapped within the gluten structure of the dough, causing it to rise. Simultaneously, organic acids like lactic and acetic acid are produced, contributing significantly to sourdough's characteristic tangy flavor and aroma.
Beyond just providing lift and flavor, proofing also improves the dough's texture and digestibility. Enzymes break down starches and proteins, making the final bread easier to digest and contributing to a more open, airy crumb structure. Skimping on proofing or letting it go too far can result in a dense, gummy loaf or one that collapses in the oven. Finding the perfect proofing time, whether aiming for a light sourdough or even contemplating the perfect white bread proofing time, is about balancing gas production with gluten development.
The Science Behind Sourdough Dough Proofing and Fermentation
Sourdough fermentation is a complex symbiotic relationship between wild yeasts (primarily Saccharomyces cerevisiae) and lactic acid bacteria (LAB). The yeasts consume simple sugars in the flour, producing ethanol and carbon dioxide. The LAB consume sugars and byproducts of yeast fermentation, producing lactic and acetic acids, which lower the dough's pH. This lowered pH inhibits spoilage organisms and strengthens the gluten network, allowing it to trap more gas.
The rate of these reactions is heavily influenced by temperature, hydration, and the microbial composition of your starter. Warmer temperatures accelerate both yeast and bacterial activity, leading to faster proofing, while cooler temperatures slow them down. The balance between yeast and bacterial activity, particularly the ratio of lactic to acetic acid, influences the final flavor profile—warmer temperatures often favor lactic acid (milder tang), while cooler temperatures can favor acetic acid (sharper tang). Understanding this science helps bakers manipulate conditions to achieve their desired result and consistently hit the perfect proofing time for their specific recipe and environment.
Achieving the Perfect Sourdough Proofing Time: A Step-by-Step Guide
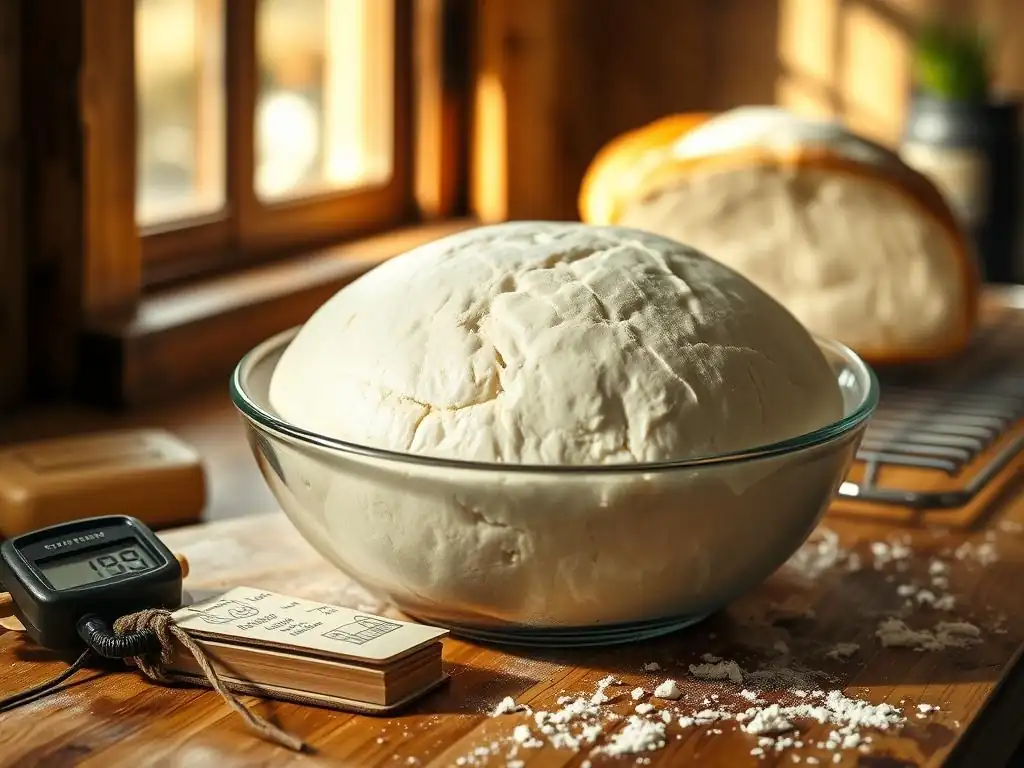
Step 1: Preparing Your Sourdough Dough for Proofing
Before the magic of fermentation can begin, the dough needs proper preparation. This involves combining your active sourdough starter, flour, water, and salt in the correct proportions (hydration level is key) and developing the gluten network. A well-developed gluten structure is essential because it provides the elasticity and strength needed to capture the gases produced during proofing, allowing the dough to rise properly without collapsing.
Ensuring your starter is vigorous and active is the absolute first step. A starter that hasn't been fed recently or isn't bubbling actively won't have the microbial power needed to leaven the dough effectively. Similarly, inadequate mixing or kneading means the gluten network won't be strong enough to hold the gas, leading to a dense loaf regardless of how perfectly you time the proofing.
Maintaining a Healthy Sourdough Starter for Optimal Proofing
A healthy, active sourdough starter is the engine driving your dough's proofing. Feed your starter regularly, ideally 4-12 hours before mixing your dough, depending on the temperature, so it's at its peak activity—visibly bubbly, doubled (or more) in size, and smells pleasantly tangy. The standard feeding ratio is often 1:1:1 (starter:water:flour) by weight, but you can adjust this based on your starter's needs and your baking schedule.
The hydration level of your starter also impacts its activity and the dough's overall hydration. A 100% hydration starter (equal parts water and flour by weight) is common and tends to be vigorous. Keeping your starter healthy ensures consistent leavening power, which is fundamental to hitting that ideal proofing time and achieving a beautiful rise.
Mixing and Kneading Techniques for Sourdough Dough
Mixing brings your ingredients together, and kneading (or equivalent techniques like stretch and folds) develops the gluten. For sourdough, especially higher hydration doughs, techniques like the autolyse (mixing flour and water and letting it rest before adding starter and salt) can help with gluten development with less manual work. Subsequent stretch and folds performed during the initial part of the bulk fermentation further strengthen the gluten network.
Proper mixing ensures that the starter, and thus the yeast and bacteria, are evenly distributed throughout the dough. Developing sufficient gluten allows the dough to trap the fermentation gases effectively. A dough that passes the "windowpane test" (a small piece can be stretched thin enough to see light through without tearing) indicates good gluten development, setting the stage for successful proofing and a good crumb structure.
Step 2: The Bulk Fermentation (First Proof)
Bulk fermentation, also known as the first rise, is the initial period of proofing that occurs after mixing and before shaping. The dough is left as a single mass, allowing fermentation to begin and the gluten structure to strengthen through periodic folds. This stage is crucial for flavor development and initial leavening.
During bulk fermentation, the dough should increase significantly in volume, often by 50-100%, depending on the temperature and dough hydration. Observing the dough's activity and volume increase is more reliable than strictly adhering to a time given in a recipe, as environmental factors play a huge role. Achieving the perfect proofing time for your sourdough often involves careful monitoring during this bulk phase.
Determining the Ideal Temperature for Bulk Fermentation
Temperature is the single most influential factor in controlling the speed of bulk fermentation. Yeast and LAB are most active within specific temperature ranges. A common temperature range for bulk fermentation is 75-80°F (24-27°C). At these temperatures, bulk fermentation might take 4-6 hours.
Lower temperatures, say 65-70°F (18-21°C), will significantly slow down fermentation, potentially extending the bulk ferment to 8-12 hours or longer. Higher temperatures, above 80°F (27°C), will speed things up considerably, potentially reducing the time to 2-4 hours, but risk developing too much acidity too quickly or over-proofing if not monitored carefully. Consistency in temperature is key to predictable results, helping you gauge the perfect white bread proofing time or sourdough equivalent.
How Long to Bulk Ferment Sourdough Dough
The duration of bulk fermentation varies widely based on temperature, starter activity, hydration, and the type of flour used. Instead of relying solely on a clock, focus on the dough's physical changes. A typical bulk ferment might last anywhere from 4 to 12 hours.
At around 75°F, a bulk ferment might be complete in 4-6 hours. If the ambient temperature is cooler, say 68°F, it could easily take 8-10 hours. Some bakers prefer longer, cooler bulk ferments for more complex flavors. It's a balance, and experience will help you judge the perfect proofing time for your specific conditions.
Signs Your Sourdough Dough is Ready for Shaping After Bulk Fermentation
Several indicators suggest your dough is ready for shaping after bulk fermentation. Visually, the dough should have increased significantly in volume, typically by at least 50%, and often closer to 75-100% depending on the recipe and desired outcome. You should see visible bubbles on the surface and throughout the dough if using a transparent container.
The dough should also feel lighter and more airy. A reliable test is the "poke test" for bulk fermentation: gently poke the dough with a wet finger. If the indentation slowly springs back only partially, it's likely ready. If it springs back immediately, it needs more time. If it leaves a permanent indentation and feels very airy, it might be nearing over-proofing. Observing these signs helps you determine the perfect proofing time before moving to the next stage.
Step 3: Shaping Your Sourdough Loaf
After bulk fermentation, the dough needs to be gently turned out and shaped. Shaping serves two main purposes: creating tension on the surface of the dough, which helps it hold its structure during the final proof and baking, and giving the loaf its desired form (round or oblong). It's important to handle the dough gently to avoid degassing it excessively, preserving the bubbles created during bulk fermentation.
Proper shaping creates a taut 'skin' on the exterior of the dough. This tension is crucial for achieving good oven spring. The shaping technique depends on whether you are making a round loaf (boule) or an oblong loaf (batard). Regardless of the shape, the goal is to build structure and surface tension without tearing the dough.
Techniques for Shaping Round and Oblong Sourdough Loaves
For a round loaf (boule), the goal is to gather the edges of the dough towards the center, then flip it over and use your hands to gently pull and rotate the dough against the surface to create a smooth, taut ball. This builds tension across the top surface.
For an oblong loaf (batard), the process often involves folding the dough like a letter (thirds), then rolling or folding it from one end to the other, sealing the seam. Tension is created by gently pulling the dough towards you as you roll or fold. Practice is key to shaping effectively while preserving the airy structure achieved during the perfect proofing time of the bulk ferment.
Step 4: The Cold Proof (Final Proof)
The cold proof, also known as retardation, is the final proofing stage that typically occurs in the refrigerator after shaping. While optional, it's a technique widely used by sourdough bakers for several reasons. The cold temperature significantly slows down fermentation, allowing for a longer proofing period, which develops more complex flavors as enzymes and bacteria continue their slow work.
Furthermore, a cold, firm dough is much easier to score just before baking, allowing for better control over the cuts. The cold temperature also provides thermal mass, which can contribute to better oven spring when the dough hits the hot oven. Determining the perfect sourdough proofing time in the refrigerator is a balance of desired flavor development, dough handling properties, and scheduling convenience.
Optimizing the Refrigerator Environment for the Final Proof
To optimize the cold proof, place your shaped dough seam-side up (if baking directly from the banneton) in a floured banneton or proofing basket. Dusting the banneton generously with rice flour helps prevent sticking. Place the banneton inside a plastic bag or cover it tightly with plastic wrap to prevent the dough from drying out and forming a skin, which would inhibit oven spring.
The ideal refrigerator temperature for cold proofing is typically between 38°F and 40°F (3-4°C). Temperatures much higher than this might not slow fermentation enough, while temperatures too close to freezing could halt it entirely. A consistent cold environment ensures predictable results for achieving the perfect proofing time during this final stage.
Determining the Perfect Sourdough Proofing Time in the Refrigerator
The perfect sourdough proofing time in the refrigerator is highly variable, ranging from a minimum of 12 hours up to 48 hours, or even longer for some recipes or desired outcomes. Factors influencing this time include the dough's hydration, the strength and activity of your starter, the bulk fermentation duration, and the refrigerator temperature.
A longer cold proof generally leads to a more pronounced sour flavor. If your bulk ferment was on the shorter side or at a cooler temperature, a longer cold proof might be beneficial. Conversely, if your bulk ferment was long and warm, a shorter cold proof might be sufficient. Observing the dough's expansion and using tactile cues are essential, as time alone isn't a reliable indicator for the perfect proofing time.
Visual and Tactile Cues for Perfectly Proofed Sourdough
Judging when your sourdough is perfectly proofed after the cold ferment requires careful observation. Visually, the dough should look expanded and aerated compared to when you placed it in the banneton, but it shouldn't look like it's ready to spill over.
The most reliable method is the cold poke test. Gently but firmly poke the side of the dough with a floured finger (while it's still in the banneton). If the indentation slowly springs back most of the way, but not completely, the dough is likely perfectly proofed. If it springs back immediately, it needs more time. If the indentation remains completely, it's likely over-proofed. This test helps confirm you've reached the perfect proofing time.
Step 5: Baking Your Perfectly Proofed Sourdough Bread
Baking is the final, exciting step where your perfectly proofed sourdough transforms into a beautiful loaf. Baking provides the intense heat needed for rapid expansion (oven spring) and sets the crust and crumb structure. Preparing your oven and baking vessel (like a Dutch oven) to the correct temperature is crucial.
Preheating your oven with your baking vessel inside to a high temperature, typically 450-500°F (230-260°C), is essential. This ensures that when the dough is placed inside, it receives immediate, intense heat, maximizing oven spring.
Scoring Your Sourdough Before Baking
Scoring involves making intentional cuts on the surface of your proofed dough just before it goes into the oven. These cuts serve a vital purpose: they provide weak points for the dough to expand predictably during oven spring. Without scoring, the dough would burst open randomly wherever the pressure builds most.
Scoring also allows bakers to add their artistic touch to the loaf. Use a sharp razor blade (lame) or a very sharp knife. Quick, confident cuts are best. The depth and pattern of your score will influence how the loaf expands and the shape of the final crust. A well-scored loaf, combined with the perfect proofing time, ensures a beautiful bloom.
Achieving Oven Spring with Steam
Oven spring is the rapid expansion of the dough during the first 10-15 minutes of baking. This happens because the heat activates the remaining yeast and causes the gases within the dough to expand rapidly. Steam in the oven is critical for maximizing oven spring.
Steam keeps the surface of the dough moist and pliable for longer, preventing a crust from forming prematurely. This allows the dough to expand fully before the crust sets. Baking in a preheated Dutch oven is an excellent way to create a steamy environment around the loaf. Alternatively, you can place a tray of hot water or ice cubes on the bottom rack of your oven just before loading the bread. Achieving significant oven spring is a strong indicator that you've successfully navigated the perfect proofing time and other crucial steps.
Troubleshooting Sourdough Proofing Issues
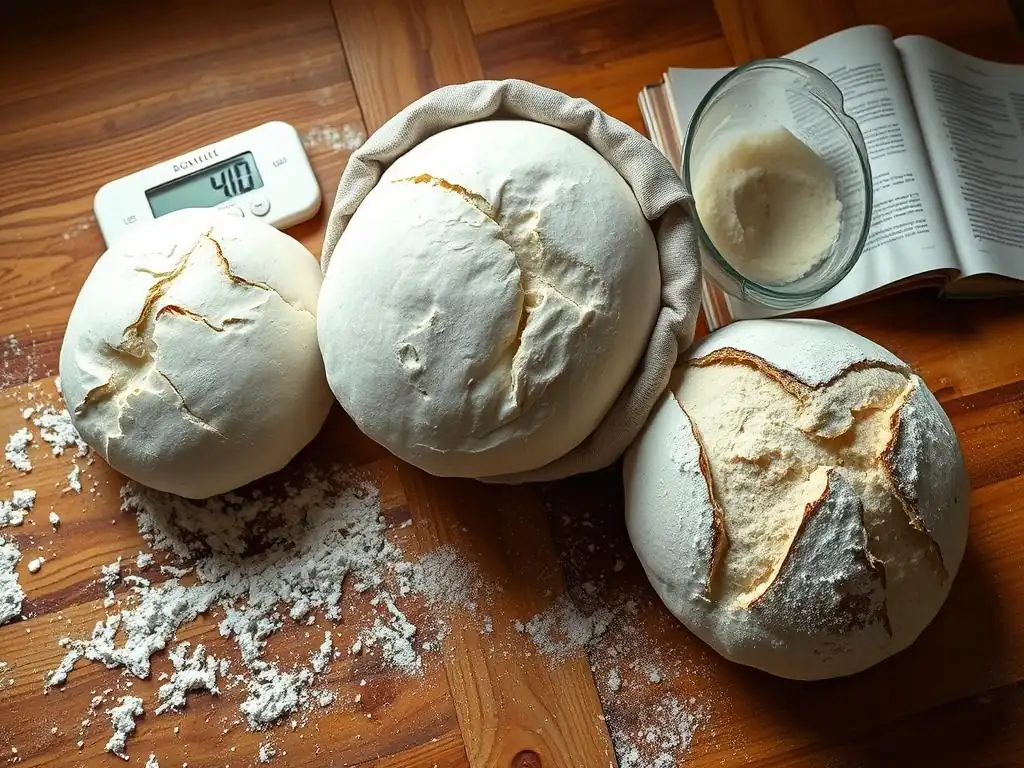
Even experienced bakers occasionally encounter proofing problems. Understanding the signs of under- or over-proofing and knowing how to potentially salvage the situation is invaluable. Proofing is a dynamic process, and variations in flour, starter activity, and environment can lead to unexpected results.
Being able to diagnose proofing issues allows you to learn from each bake and adjust your process for the next. Did the loaf spread too much? It might have been over-proofed. Is the crumb dense with a thick crust? Likely under-proofed. Recognizing these signs is a key step in consistently achieving the perfect proofing time.
Over-Proofed Sourdough: What Went Wrong?
Over-proofing occurs when the dough ferments for too long or at too warm a temperature. The yeast eventually exhausts its food supply or the gluten structure weakens from the prolonged acidic environment and excessive stretching from gas production. The dough becomes fragile and may lose its tension.
An over-proofed dough often lacks the strength to hold its shape and achieve good oven spring. The resulting loaf can be flat, dense, and may have a gummy texture. While frustrating, it's a common learning experience on the path to finding the perfect proofing time.
Identifying Over-Proofing Signs in Sourdough
Visual signs of over-proofing include the dough looking very inflated, potentially starting to spread out rather than holding its shape, and possibly showing large, irregular bubbles just beneath the surface. The dough might feel extremely airy and fragile when handled.
The poke test on an over-proofed dough results in the indentation remaining completely without springing back at all. The dough may also smell excessively acidic or alcoholic. If you see these signs, especially after the cold proof, proceed with caution.
Salvaging Over-Proofed Sourdough Dough (If Possible)
Salvaging severely over-proofed dough for a classic loaf is difficult, as the gluten structure is compromised. However, you can often repurpose it. Gently deflate the dough, reshape it as best you can, and place it in a loaf pan. Bake it like a sandwich loaf.
Alternatively, you can turn it into a focaccia or flatbread. Gently stretch or press the dough into a well-oiled pan, add toppings, and bake. While you won't get a lofty loaf with a perfect crumb, you can still make delicious bread and avoid waste. This is a pragmatic approach when the perfect proofing time was missed.
Under-Proofed Sourdough: Why It Happens
Under-proofing occurs when the dough hasn't fermented long enough or hasn't developed sufficient gas production before baking. This can happen due to too short a proofing time, a weak or inactive starter, or proofing at too cool a temperature.
An under-proofed dough doesn't have enough trapped gas to rise properly in the oven. The gluten structure might also be underdeveloped, contributing to a lack of expansion. The resulting loaf will be dense, heavy, and potentially gummy.
Recognizing Under-Proofing Indicators in Sourdough
Signs of under-proofing include the dough not increasing significantly in volume during bulk fermentation or cold proof. The dough might feel dense and heavy rather than light and airy.
The poke test on an under-proofed dough results in the indentation springing back quickly and completely. The loaf might also burst unpredictably in the oven, often along the sides or bottom, rather than expanding neatly through the scores, indicating insufficient internal pressure was built during proofing. The crumb will be tight and dense.
Extending Proofing Time for Under-Proofed Sourdough
If you suspect your dough is under-proofed during bulk fermentation, you can simply let it continue to ferment, perhaps moving it to a warmer spot if temperature was an issue. Monitor it using the visual and tactile cues until it shows signs of being ready.
If your dough is under-proofed after a cold proof, you have a couple of options. You can let it sit at room temperature for 30-60 minutes before baking (the warm environment will speed up fermentation). Alternatively, you can place it back in the refrigerator for a longer cold proof, adding several hours or even another day. This is a way to course-correct towards the perfect proofing time.
Tips and Tricks for Consistent Sourdough Proofing Results
Consistency is key in baking, and particularly so with sourdough proofing. Small variations in temperature, ingredients, or technique can significantly impact the outcome. Developing consistent habits and learning to read your dough are essential for reliable results.
Recording your baking conditions—ambient temperature, dough temperature, starter feeding time, proofing times, and results—in a baking journal can be incredibly helpful. This allows you to identify patterns and understand how different factors affect your proofing, helping you consistently achieve the perfect proofing time.
Using a Dough Thermometer for Accurate Temperature Readings
Temperature is such a critical factor in proofing speed that using a digital thermometer to check your dough's temperature is highly recommended. Ambient temperature can fluctuate, and the dough's internal temperature might be slightly different.
Aiming for a consistent dough temperature, such as 75-78°F (24-26°C) for bulk fermentation, helps ensure predictable fermentation rates. If your kitchen is cool, you might need to use a proofing box, oven with the light on, or another warm spot to maintain the desired dough temperature. Accurate temperature control is a powerful tool for hitting the perfect proofing time.
Adapting Proofing Times Based on Starter Activity
Not all sourdough starters are created equal, and their activity levels can vary depending on feeding schedule, hydration, and flour type. A very vigorous starter will cause the dough to proof faster than a less active one.
Pay attention to how quickly your starter doubles after feeding. If it's doubling in 4-6 hours, it's very active, and your dough will likely proof quickly. If it takes 8-12 hours to double, proofing will be slower. Learn to adjust your expected proofing times based on your starter's current vigor, complementing your pursuit of the perfect white bread proofing time (or sourdough equivalent).
The Importance of Dough Hydration in Sourdough Proofing
Dough hydration—the ratio of water to flour—significantly impacts proofing. Higher hydration doughs (e.g., 80% water compared to flour weight) ferment faster than lower hydration doughs (e.g., 65%). This is because the yeast and bacteria have easier access to the flour's starches and sugars in a wetter environment.
Higher hydration doughs also tend to be more extensible and can achieve a more open crumb structure if handled correctly. However, they are also stickier and more challenging to work with. Be mindful of the hydration level when estimating proofing times and handling the dough during shaping. Understanding this interaction is part of mastering the perfect proofing time.
Mastering Sourdough: Beyond the Proofing Process
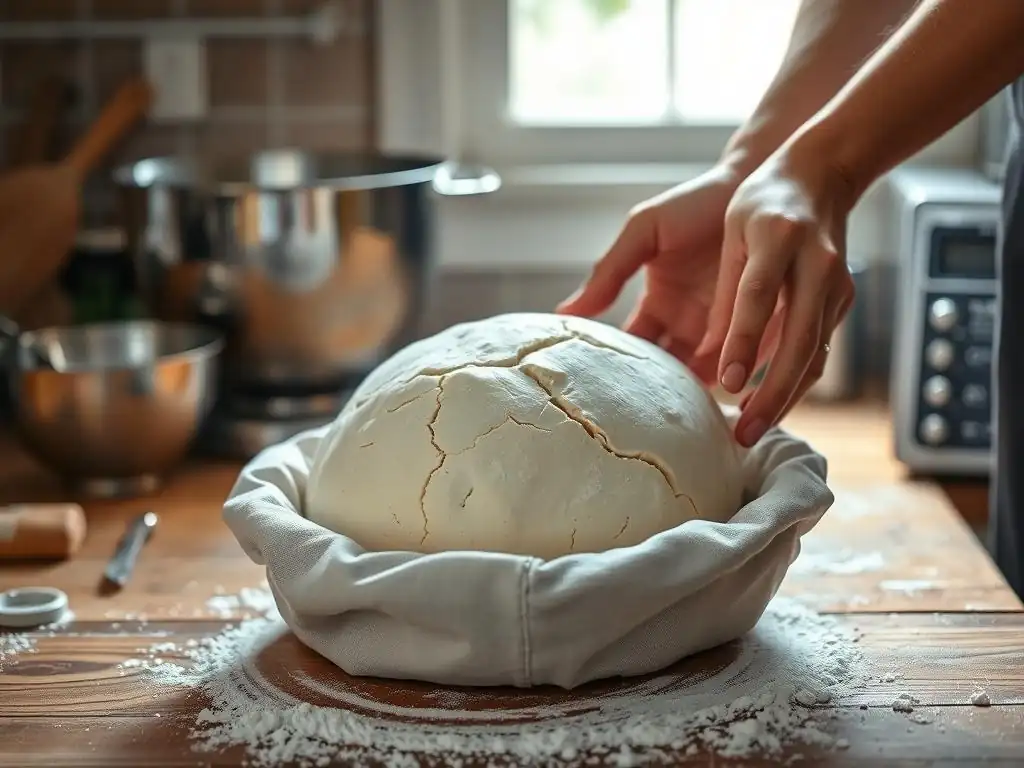
Proofing is a vital part of the sourdough journey, but it's just one piece of the puzzle. Achieving truly masterful sourdough involves understanding the entire process, from nurturing your starter to employing effective baking techniques.
A strong foundation in starter maintenance is non-negotiable. Without a healthy, active starter, even the most perfectly timed proof will fall short. Similarly, proper mixing, shaping, and baking techniques are necessary to translate successful proofing into a beautiful, delicious loaf.
[Link to The Sourdough School's Sourdough Starter Guide]
A comprehensive guide to maintaining and understanding your sourdough starter is fundamental. It covers topics like feeding schedules, hydration levels, flour types for feeding, recognizing starter activity, and troubleshooting common issues like mold or inactivity.
Such a guide would detail how to bring a sleepy starter back to life or how to adjust feeding ratios for different baking needs. Having a reliable, vigorous starter is the essential prerequisite for successful proofing and overall sourdough success.
[Link to The Sourdough School's Baking Techniques]
Beyond proofing, the techniques used during mixing, shaping, and baking play a significant role in the final bread quality. This includes methods like autolyse, stretch and folds, preshaping, final shaping, scoring, and using steam during baking.
Understanding and practicing these techniques helps develop gluten, create structure, control expansion, and achieve the desired crust and crumb. Mastering these skills, in conjunction with perfecting your proofing process, leads to consistently excellent sourdough bread.
Enjoy Your Perfectly Proofed and Baked Sourdough Bread!
Frequently Asked Questions
What is the ideal proofing time for white bread, according to BakeWithEase?
The ideal proofing time for white bread varies, but generally falls between 1 to 2 hours. This allows the dough to double in size for optimal texture and flavor. Factors like room temperature can affect this timeframe.
Why is proofing important when baking white bread?
Proofing is crucial because it allows the yeast to ferment and produce carbon dioxide. This gas creates air pockets in the dough, resulting in a light and airy texture in the finished bread. Without proper proofing, your bread will be dense and flat.
How can I tell if my white bread dough is properly proofed?
A properly proofed dough will have doubled in size. Gently poke the dough; it should slowly spring back, leaving a slight indentation. If it springs back immediately, it needs more time; if it collapses, it's over-proofed.
What happens if I over-proof my white bread dough?
Over-proofing occurs when the yeast has consumed all available sugar and the gluten structure weakens. This can lead to a collapsing dough and a bread with a sour taste and coarse texture. It is important to monitor the dough carefully.
Can I proof my white bread dough in the refrigerator?
Yes, you can proof white bread dough in the refrigerator. This slows down the fermentation process, allowing for a more complex flavor development. It typically requires a longer proofing time, often overnight.
Final Reflection: The Humble Loaf, Perfectly Proven
The quest for the perfect white bread loaf is more than just a culinary pursuit; it's a testament to the enduring power of simple ingredients transformed by time and technique. Mastering the proofing process, as we've explored, is the key to unlocking that airy, light crumb and satisfying chew we all crave. This isn't just about following a recipe; it's about understanding the subtle dance between yeast, flour, and time.
The influence of bread-making, particularly the seemingly simple act of proofing, extends far beyond the kitchen table. It speaks to a deeper connection with food production, a respect for the natural processes involved, and a satisfaction in creating something delicious from scratch. Bread is the staff of life,
a phrase often repeated, but rarely truly felt until you've wrestled with a dough and emerged victorious with a perfectly risen loaf. This process, even in its simplicity, fosters patience, observation, and a deep appreciation for the ingredients and the craft itself.
Now, I invite you to consider your own baking journey. Don't be discouraged by imperfect rises; see them as opportunities to learn and refine your technique. Experiment with different flours, temperatures, and proofing methods. Most importantly, remember the joy of the process – the kneading, the waiting, the anticipation – and the immense satisfaction of slicing into a loaf you've nurtured from humble beginnings. The perfect white bread, perfectly proven, awaits your next attempt.
Unlock Your Perfect Loaf: Take Your Bread Baking to the Next Level!
Thanks for taking the time to explore the secrets of proofing white bread! We hope you gained valuable insights into achieving that ideal rise. Now, let's put that knowledge into action:
- Master your proofing technique: Practice the methods outlined—paying close attention to temperature and timing—and observe the difference it makes in your next loaf. This is the key to consistently achieving a perfect rise.
- Experiment with different flours or hydration levels: Once you've mastered the basics, try adjusting the recipe to see how various ingredients influence the final product. This is where the real baking fun begins!
- Share your baking successes (or challenges!) with our community on social media or the baking forum: Let's connect and learn from each other!
Ready to bake the most amazing loaf you've ever made? What's the first change you'll make to your proofing process?