
Get Perfect Basic White Bread Every Single Time

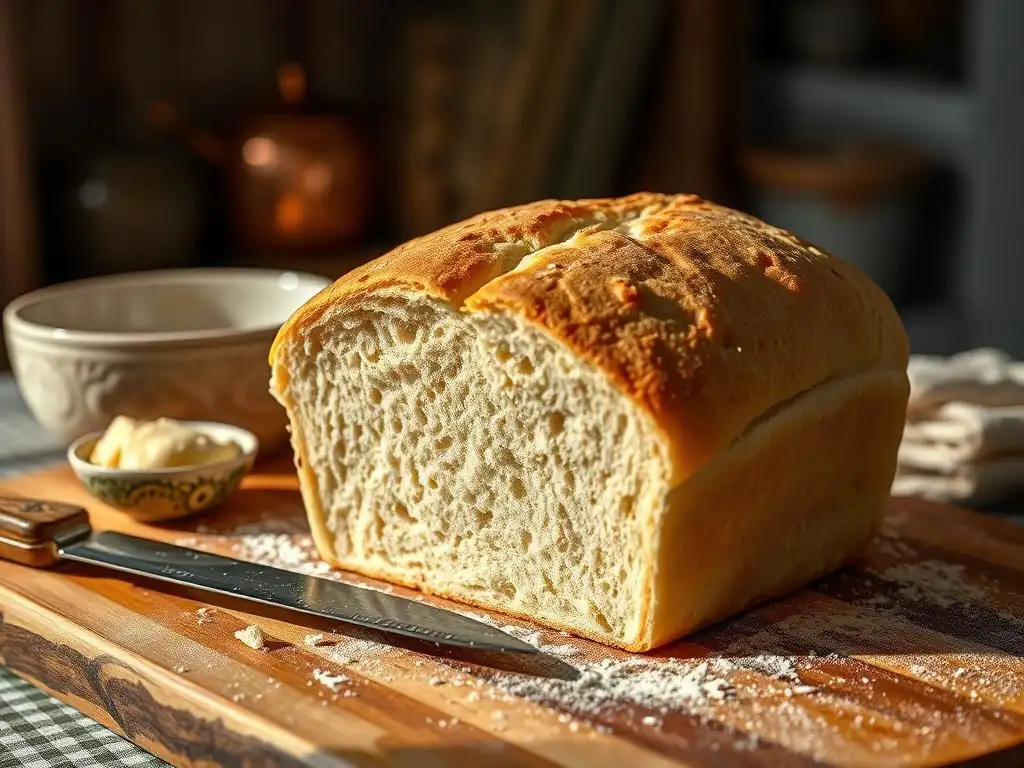
Welcome to BakeWithEase, where baking becomes a joy, not a chore! Tired of dense, uneven loaves? Unlock the secrets to perfect baking with our guide to the perfect basic white bread recipe. Discover the surprisingly simple steps that guarantee a light, airy, and delicious loaf every single time. Intrigued? Let's get baking!
- Get Perfect Basic White Bread Every Single Time: BakeWithEase's Guide
- Introduction to Baking the Perfect Basic White Bread
- Understanding the Key Ingredients for Perfect White Bread
-
Step-by-Step Guide to Baking Your Best Basic White Bread
- Step 1: Activating the Yeast for a Light and Airy Bread
- Step 2: Mixing the Dough: Achieving the Right Consistency
- Step 3: First Rise: Allowing the Dough to Double in Size
- Step 4: Shaping the Dough: Creating a Beautiful Bread Loaf
- Step 5: Second Rise: Proofing for Optimal Texture
- Step 6: Baking to Perfection: Temperature and Time
- Tips and Tricks for Achieving the Perfect Basic White Bread Texture
- Variations on the Basic White Bread Recipe
- Storing Your Homemade Basic White Bread
- Enjoying Your Perfect Basic White Bread
- Frequently Asked Questions
- Final Reflection: The Enduring Power of Perfect Bread
- Unlock Your Inner Baker: Master the Art of Perfect White Bread!
Get Perfect Basic White Bread Every Single Time: BakeWithEase's Guide
Introduction to Baking the Perfect Basic White Bread
Baking your own bread at home is one of the most rewarding kitchen experiences. There's nothing quite like the aroma of freshly baked bread filling your home or the satisfaction of biting into a warm slice with a perfectly crisp crust and soft, airy interior. While it might seem intimidating at first, mastering a perfect basic white bread recipe is entirely achievable, even for novice bakers. This guide is designed to demystify the process, breaking down each step and explaining the science behind it in simple terms.
At BakeWithEase, our goal is to empower you to bake with confidence. We believe that everyone can enjoy the simple pleasure of homemade bread. This comprehensive guide will walk you through everything from choosing the right ingredients to troubleshooting common issues, ensuring that your journey to baking the perfect basic white bread is smooth and successful. Get ready to bake a loaf that will impress everyone, including yourself!
Why This Basic White Bread Recipe is Foolproof
This particular basic white bread recipe is crafted with simplicity and reliability in mind. It focuses on fundamental techniques and readily available ingredients, eliminating unnecessary complexities that can often trip up beginners. We emphasize clear instructions and visual cues for each stage, making it easy to know exactly what your dough should look and feel like throughout the process. By following these steps closely, you'll build a solid foundation in bread baking.
What makes it truly foolproof is the emphasis on understanding why certain steps are necessary. We don't just tell you to knead the dough; we explain what kneading does for the gluten structure. We don't just say let it rise; we explain how fermentation develops flavor and texture. This knowledge empowers you to adapt and troubleshoot, turning potential mistakes into learning opportunities. Our perfect basic white bread recipe is designed for consistent success, leading to delicious results every single time you bake.
BakeWithEase's Promise: Simple Bread Baking for Everyone
BakeWithEase is founded on the principle that baking should be accessible and enjoyable for everyone, regardless of their experience level. We understand that the world of baking can seem vast and complicated, filled with jargon and precise measurements. Our promise is to cut through that complexity, offering clear, easy-to-follow guides that focus on the essentials needed to achieve fantastic results. This perfect basic white bread recipe is a prime example of that commitment.
We break down the process into manageable steps, using simple language and focusing on techniques that yield consistent results. Whether you're attempting your very first loaf of bread or looking to refine your skills, our resources are designed to support you. We aim to build your confidence in the kitchen, showing you that baking beautiful, delicious bread like this perfect basic white bread is well within your reach. Join us on this baking adventure, and discover the joy of homemade goodness.
Understanding the Key Ingredients for Perfect White Bread
Creating the perfect basic white bread starts with understanding the role of each ingredient. While the list is short – typically flour, water, yeast, and salt – the quality and interaction of these components are crucial. Think of them as the building blocks that come together to form the structure, texture, and flavor of your loaf. Getting these right is the first step towards a consistently excellent bake.
Each ingredient plays a distinct part in the transformation from simple elements into a complex, airy bread. Flour provides the structure through gluten development, yeast makes the dough rise, water hydrates everything and activates the yeast, and salt enhances flavor and controls fermentation. Knowing how they work together will not only help you follow this perfect basic white bread recipe but also understand why certain steps are necessary.
Flour Power: Choosing the Right Flour for White Bread
For a classic perfect basic white bread, all-purpose flour is typically the go-to choice for home bakers. It strikes a good balance between protein content (which develops gluten) and ease of use. Look for unbleached all-purpose flour, as the bleaching process can sometimes weaken the protein structure. A flour with a protein content around 10-12% is ideal for developing enough gluten to give the bread structure and chewiness without being too dense.
Bread flour is another excellent option, containing a higher protein content (usually 12-14%). This results in more gluten development, which can lead to a chewier crumb and a loaf that holds its shape very well. While all-purpose flour works beautifully for a soft perfect basic white bread, using bread flour can give you a slightly different texture. Experimenting with both can help you discover your preference!
Yeast 101: Active Dry vs. Instant Yeast for Bread Baking
Yeast is the living organism that makes your bread rise by producing carbon dioxide gas. There are two main types commonly used in home baking: active dry yeast and instant yeast. Active dry yeast typically comes in small granules and needs to be dissolved and activated in warm water before being added to the dry ingredients. This process, often called "proofing the yeast," ensures it's alive and ready to work.
Instant yeast, on the other hand, has finer granules and can usually be mixed directly with the dry ingredients without prior activation. It's often more reliable and faster-acting than active dry yeast. For this perfect basic white bread recipe, we'll provide instructions adaptable for either type. If using active dry, ensure your water is around 105-115°F (40-46°C) for activation. For instant yeast, slightly cooler water (around 95-105°F or 35-40°C) is sufficient, or you can mix it dry and use warmer water overall.
Water Temperature: The Secret to Activating Yeast Properly
The temperature of your water is critical for yeast activity. If the water is too cold, the yeast will be sluggish and may not activate properly, resulting in a dense loaf that doesn't rise well. If the water is too hot, it can kill the yeast, rendering it inactive and again preventing your bread from rising. Getting this temperature just right is a key step in achieving a light and airy perfect basic white bread.
For active dry yeast, aim for water between 105°F and 115°F (40°C and 46°C). This range is warm enough to wake up the yeast without harming it. You can check this with an instant-read thermometer or by feeling; it should feel like warm bathwater, not hot. For instant yeast, which is more robust, water between 95°F and 105°F (35°C and 40°C) is sufficient if mixing directly into dry ingredients, or follow the temperature needed for active dry if proofing it separately.
Salt's Role: Flavor and Gluten Development in White Bread
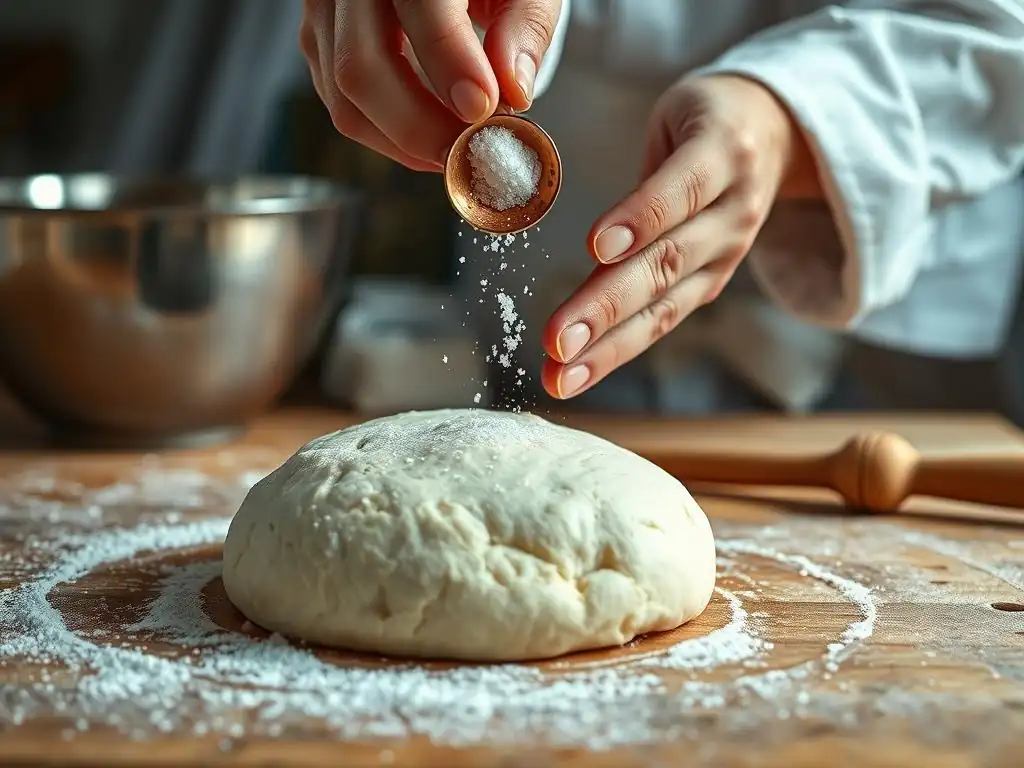
Salt might seem like just a flavor enhancer, and while it certainly is – it brings out the natural sweetness of the flour and balances the flavors – it plays a crucial technical role in bread baking as well. Salt helps to control the rate of yeast fermentation. Without salt, yeast would ferment too quickly, potentially leading to an over-proofed dough that collapses during baking.
Furthermore, salt strengthens the gluten structure in the dough. It tightens the gluten network, making the dough more elastic and easier to handle. This stronger structure helps the dough trap the carbon dioxide gas produced by the yeast, resulting in a better rise and a more open, airy crumb structure in your perfect basic white bread. Adding the correct amount of salt is essential for both taste and texture.
Optional Ingredients: Sugar and Fat in Basic White Bread
While flour, water, yeast, and salt are the core ingredients for a perfect basic white bread, many recipes include small amounts of sugar and/or fat (like butter or oil). Sugar acts as food for the yeast, giving it a little boost at the start of fermentation. It also contributes to browning of the crust during baking, giving your loaf a lovely golden color.
Fat, such as a tablespoon or two of butter or vegetable oil, adds richness and tenderness to the crumb. It can also help extend the shelf life of the bread slightly. While not strictly necessary, these optional ingredients can subtly enhance the flavor and texture of your perfect basic white bread, making it even more delicious. This recipe includes small amounts for optimal results.
Step-by-Step Guide to Baking Your Best Basic White Bread
Baking the perfect basic white bread involves a series of steps, each building upon the last. Following these steps in sequence is key to success. Don't rush the process, especially the rising times, as these are crucial for developing flavor and texture. This guide breaks down each stage clearly, making the journey from ingredients to a beautiful loaf straightforward and enjoyable.
Remember that baking is also about observation and feel. While times and temperatures are provided, paying attention to how your dough looks and feels at each stage is vital. Is it sticky enough? Has it doubled in size? These are questions you'll learn to answer as you gain experience with this perfect basic white bread recipe.
Step 1: Activating the Yeast for a Light and Airy Bread
Begin by combining your yeast (active dry or instant) with warm water and a pinch of sugar (if using) in a small bowl. The water temperature should be between 105°F and 115°F (40°C and 46°C) for active dry yeast, or around 95-105°F (35-40°C) if proofing instant yeast separately. Stir gently and let it sit for 5-10 minutes.
If using active dry yeast, you should see a foamy layer develop on the surface, indicating the yeast is active and alive. If using instant yeast and mixing it directly with dry ingredients, you can skip this separate activation step and just ensure your liquid is at the correct temperature range.
If you are using active dry yeast and your mixture does not foam after 10 minutes, your yeast may be dead or the water temperature was incorrect. Discard the mixture and start again with fresh yeast and correctly heated water. This initial proofing step is a simple check that ensures your perfect basic white bread will rise properly later on. It's a small but crucial insurance policy for a successful bake.
Step 2: Mixing the Dough: Achieving the Right Consistency
In a large mixing bowl, whisk together the flour and salt. If you are using instant yeast and did not proof it separately, whisk it in here as well. Create a well in the center of the dry ingredients. Pour in the activated yeast mixture (or the warm water/yeast mixture if using instant yeast mixed dry) and any optional ingredients like melted butter or oil.
Using a wooden spoon or dough whisk, start mixing from the center outwards, gradually incorporating the flour into the wet ingredients. Mix until a shaggy, sticky dough forms. At this point, if using a stand mixer, attach the dough hook. If mixing by hand, turn the dough out onto a lightly floured surface.
Knead for 8-10 minutes by machine or 10-12 minutes by hand until the dough is smooth, elastic, and springs back slowly when poked. It should no longer be excessively sticky. This kneading develops the gluten, which is essential for the structure of your perfect basic white bread.
Step 3: First Rise: Allowing the Dough to Double in Size
Lightly grease a clean large bowl with oil. Place the kneaded dough in the bowl, turning it to coat all sides with a thin layer of oil. This prevents the dough from sticking to the bowl as it rises. Cover the bowl tightly with plastic wrap or a damp kitchen towel.
Place the covered bowl in a warm, draft-free spot. The ideal temperature for rising is around 75-80°F (24-27°C). Let the dough rise until it has doubled in size. This typically takes 60-90 minutes, but the time can vary depending on your room temperature and the activity of your yeast. You can test if it's ready by gently poking it with two fingers; if the indentations remain, it's ready. This slow fermentation develops flavor and creates the airy structure needed for a perfect basic white bread.
Step 4: Shaping the Dough: Creating a Beautiful Bread Loaf
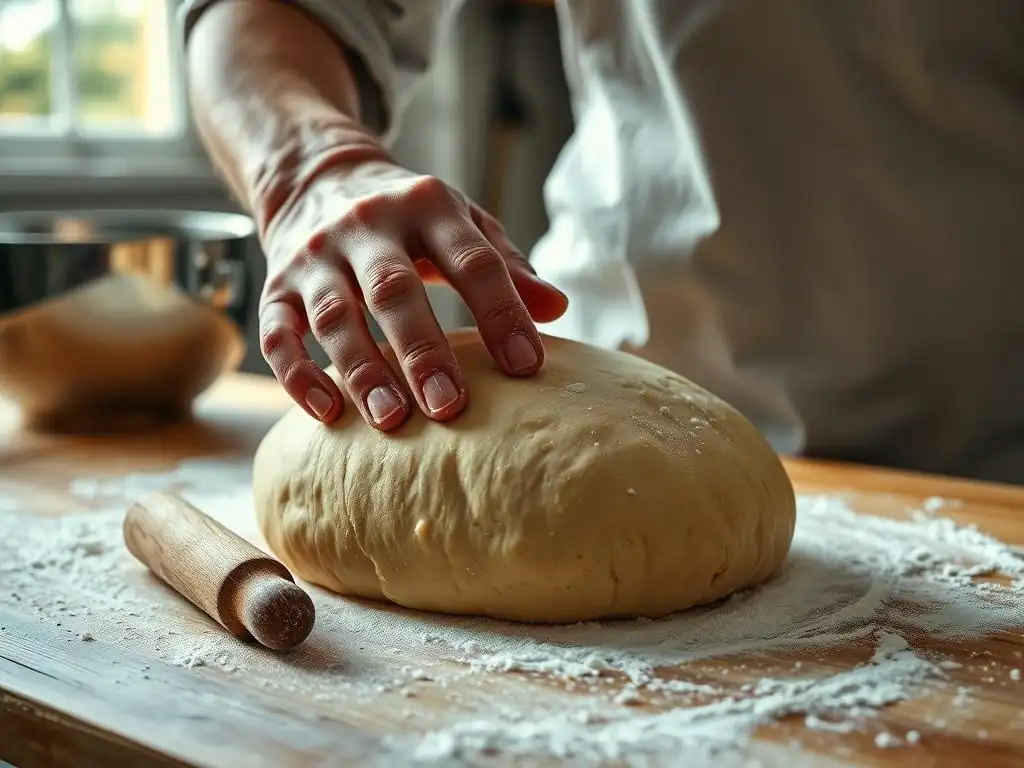
Once the dough has doubled, gently punch it down to release the gases. Turn the dough out onto a lightly floured surface. Shape the dough into a loaf. There are several ways to do this, but a simple method is to gently flatten the dough into a rectangle, about 8x10 inches. Fold the top third down towards the center, then fold the bottom third up over the top fold, like a letter.
Turn the dough seam-side down and gently cup your hands around it, pulling it towards you while pushing away slightly with your fingertips to create tension on the surface. This process tightens the dough into a smooth, taut log. Place the shaped loaf seam-side down in a greased standard 9x5-inch loaf pan. This shaping step is crucial for the final appearance and structure of your perfect basic white bread.
Step 5: Second Rise: Proofing for Optimal Texture
Once the loaf is shaped and placed in the pan, it needs a second rise, also known as proofing. Cover the loaf pan loosely with plastic wrap or a light kitchen towel. Place it back in a warm, draft-free spot.
Allow the dough to rise until it has nearly doubled in size again and is nicely domed over the top of the pan. This second rise usually takes less time than the first, typically 30-45 minutes. The dough should look puffy and feel light. To check if it's ready, gently press a finger into the side of the loaf; if the indentation springs back very slowly or only partially, it's perfectly proofed. Over-proofing can lead to a loaf that collapses in the oven, while under-proofing results in a dense perfect basic white bread.
Step 6: Baking to Perfection: Temperature and Time
Preheat your oven to 375°F (190°C) about 15-20 minutes before the second rise is complete. This ensures the oven is fully heated. Once the loaf is proofed, place the pan in the preheated oven, preferably on the middle rack.
Bake for 30-40 minutes, or until the crust is a deep golden brown and the internal temperature of the bread reaches 190-200°F (88-93°C) when measured with an instant-read thermometer. If the top is browning too quickly, you can loosely tent the loaf with aluminum foil. Once baked, immediately remove the loaf from the pan and place it on a wire rack to cool completely before slicing. Cooling is essential; slicing warm bread can result in a gummy texture. Patience is key for that perfect basic white bread!
Tips and Tricks for Achieving the Perfect Basic White Bread Texture
Achieving that ideal soft, airy crumb and lovely crust on your perfect basic white bread involves more than just following the steps; it's also about understanding the nuances of dough handling and baking. Small details can make a significant difference in the final outcome. Paying attention to these tips will elevate your baking game and consistently produce excellent results.
From how you develop the gluten to how you manage the rising process, mastering these techniques will help you troubleshoot and refine your perfect basic white bread recipe. Don't be discouraged if your first loaf isn't absolutely perfect; baking is a skill that improves with practice. Use these tips to guide your journey.
Kneading Techniques: Mastering the Art of Gluten Development
Kneading is the process of working the dough to develop the gluten network. Gluten, formed from proteins in the flour when combined with water, creates the elastic structure that traps gases and allows the bread to rise. Proper kneading is crucial for a light, airy crumb. If kneading by hand, use a push-fold-turn motion: push the dough away with the heels of your hands, fold it back over itself, and turn the dough a quarter turn. Repeat this motion rhythmically for 10-12 minutes.
You can tell the dough is sufficiently kneaded when it becomes smooth, elastic, and less sticky. A common test is the "windowpane test": pinch off a small piece of dough and gently stretch it between your fingers. If you can stretch it thin enough to see light through it without it tearing, the gluten is well-developed. If it tears easily, it needs more kneading. Adequate kneading is fundamental to a well-structured perfect basic white bread.
Troubleshooting Common Bread Baking Problems
Even with a foolproof recipe, sometimes things don't go exactly as planned. Understanding common issues and how to address them is part of the baking process. Don't view these as failures, but as opportunities to learn and improve your perfect basic white bread skills.
Here are a few common problems and their potential solutions:
Dough Too Sticky? Solutions for a Manageable Dough
If your dough is excessively sticky after mixing, resist the urge to add a lot of extra flour immediately. A little stickiness is normal, especially at the start of kneading. Too much added flour can make the bread dense and dry.
- Try kneading for a few minutes first; as gluten develops, the dough often becomes less sticky.
- Lightly flour your hands and the work surface, adding just a tablespoon or two of flour at a time if absolutely necessary, until the dough is manageable but still slightly tacky.
- Ensure your measurements were accurate, especially the flour-to-liquid ratio. Using metric weights is the most accurate way to measure flour.
Bread Not Rising? Identifying Yeast Issues
A loaf that doesn't rise is usually due to inactive yeast. This could be because the yeast was old, the water temperature was too hot or too cold during activation, or the rising environment was too cold.
- Always check the expiration date on your yeast.
- Use a thermometer to verify water temperature in Step 1.
- Ensure your rising spot is warm and draft-free, ideally 75-80°F (24-27°C). If your kitchen is cold, you can create a warm environment by placing the covered bowl in a turned-off oven with just the oven light on, or in a microwave with a cup of hot water placed alongside the bowl.
Avoiding a Dense Bread: Proper Proofing Techniques
A dense perfect basic white bread can be a result of under-proofing or insufficient kneading. If the gluten structure isn't properly developed or the dough hasn't had enough time to rise and fill with gases, the final loaf will be heavy.
- Ensure you knead the dough until it passes the windowpane test (Step 2).
- Allow the dough to complete both the first and second rises fully (Steps 3 & 5). Check for the doubling in size and the slow spring-back when poked. Don't rush these steps, even if they take longer than the estimated time.
- Avoid over-handling the dough after the second rise; gently shape and transfer it to the pan to preserve the airy structure.
Pro Tips for a Golden-Brown Crust Every Time
A beautiful golden-brown crust adds appeal and flavor to your perfect basic white bread. Several factors influence crust color and texture.
- Oven Temperature: Ensure your oven is accurately preheated to 375°F (190°C). An oven thermometer can help verify this.
- Baking Time: Bake for the full recommended time (30-40 minutes) or until the internal temperature is reached. Don't pull it out too early, even if it looks done on the outside.
- Sugar/Fat: The small amounts of sugar and fat in this recipe contribute to browning.
- Steam (Optional but effective): For an even better crust, you can create steam in your oven during the first 10-15 minutes of baking. Place a metal pan on the bottom rack while preheating. Carefully pour about a cup of hot water into the hot pan just before you put the bread in. Close the oven door quickly to trap the steam. Be very cautious when doing this.
Variations on the Basic White Bread Recipe
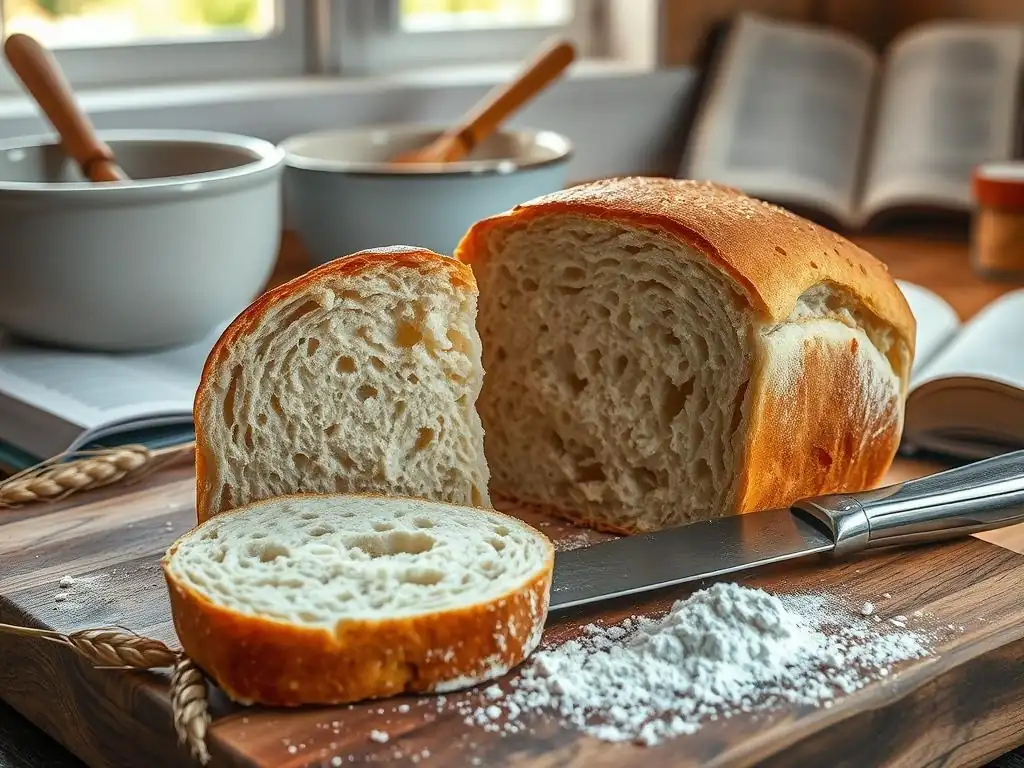
Once you've mastered the perfect basic white bread, you can start experimenting with variations. The beauty of this recipe is that it serves as a fantastic base for countless delicious additions and modifications. Exploring these options allows you to customize your bread and keep your baking exciting.
These variations can involve adding ingredients for flavor, changing the shape of the loaf, or even swapping out some of the flour for a different type. Each modification will subtly change the texture and taste, opening up a whole new world of bread baking possibilities beyond the classic perfect basic white bread.
Adding Flavors: Herbs, Cheese, and More
Infusing your perfect basic white bread with additional flavors is simple and rewarding. During the mixing stage (Step 2), you can incorporate various ingredients.
- For an herb bread, add 1-2 tablespoons of dried herbs like rosemary, thyme, or Italian seasoning to the dry ingredients.
- For cheese bread, mix in 1/2 to 1 cup of shredded cheese (cheddar, Parmesan, or a blend) towards the end of kneading.
- Other additions could include finely chopped garlic, toasted sesame seeds, or even a swirl of cinnamon sugar before the second rise. Experiment with your favorite flavors!
Different Shapes: Rolls, Boules, and Braided Bread
This versatile perfect basic white bread dough can be shaped into more than just a standard loaf. You can divide the dough after the first rise and shape it into rolls, a round boule (ball), or even a braided loaf.
- For rolls, divide the dough into 10-12 equal pieces, shape into small balls, and place on a baking sheet.
- For a boule, simply shape the dough into a smooth ball after the first rise and place it on a baking sheet or in a proofing basket.
- For a braided loaf, divide the dough into three equal pieces, roll each into a rope, and braid them together.
- Adjust baking times accordingly for smaller shapes; rolls might only take 15-20 minutes, while a boule might take 30-45 minutes depending on size. Ensure the internal temperature is still 190-200°F (88-93°C).
Whole Wheat White Bread: A Healthier Twist
For a slightly healthier perfect basic white bread, you can substitute a portion of the all-purpose flour with whole wheat flour. Whole wheat flour contains more fiber and nutrients but also affects the gluten development.
- Start by substituting 1/4 to 1/2 cup of the all-purpose flour with whole wheat flour. You may need to add an extra tablespoon or two of water as whole wheat flour absorbs more liquid.
- The dough might feel slightly different and rise a bit less than 100% white bread. Kneading might take a little longer to develop sufficient structure.
- This substitution results in a loaf with a slightly denser texture and nuttier flavor, offering a nutritious variation on the classic perfect basic white bread.
Storing Your Homemade Basic White Bread
Once you've baked your perfect basic white bread, proper storage is key to keeping it fresh and delicious for as long as possible. Unlike commercial breads that contain preservatives, homemade bread is best enjoyed within the first few days. Knowing how to store it correctly will help maintain its texture and prevent it from going stale too quickly.
Whether you plan to eat it all within a day or two or save some for later, these storage techniques will help you preserve the quality of your beautiful loaf. Don't let your hard work go to waste by improper storage!
Keeping Bread Fresh: Proper Storage Techniques
Once your perfect basic white bread has cooled completely on a wire rack (this is crucial! ), the best way to store it depends on how quickly you plan to eat it. For consumption within 1-2 days, storing the loaf at room temperature is ideal.
- Wrap the cooled loaf tightly in plastic wrap, beeswax wrap, or place it in a clean bread bag. This helps prevent it from drying out.
- Avoid refrigerating bread, as this can actually make it go stale faster. The starch molecules recrystallize rapidly at refrigerator temperatures, leading to a dry, hard texture.
- For a crustier loaf, you might opt for a paper bag for the first day to preserve the crust, but the interior will dry out faster. A combination of paper bag inside a plastic bag can offer a compromise.
Freezing and Reheating Basic White Bread
If you won't finish your perfect basic white bread within a couple of days, freezing is the best option to preserve its freshness for longer. Freezing halts the staling process.
- Ensure the loaf is completely cooled.
- You can freeze the whole loaf, half a loaf, or slice it first. Slicing before freezing allows you to take out just what you need.
- Wrap the bread tightly in plastic wrap, then in a layer of aluminum foil or place it in a freezer-safe bag, pressing out as much air as possible. This prevents freezer burn.
- Frozen bread can last for up to 3-4 months.
- To thaw, unwrap the bread and let it sit at room temperature for a few hours. If sliced, you can often toast slices directly from frozen. To reheat a whole or partial loaf, place it in a preheated oven at 350°F (175°C) for 10-15 minutes until warmed through.
Enjoying Your Perfect Basic White Bread
You've done it! You've baked a perfect basic white bread. Now comes the best part: enjoying the fruits of your labor. There are countless ways to savor a fresh, homemade loaf. The simple, comforting flavor and wonderful texture make it incredibly versatile.
From a simple piece of toast to the foundation of a gourmet sandwich, your homemade perfect basic white bread is ready to elevate any meal or snack. Share it with friends and family, or simply enjoy a quiet moment with a warm slice and butter.
Serving Suggestions: From Toast to Sandwiches
A slice of perfect basic white bread, still slightly warm from the oven, spread with butter is a classic, unbeatable treat. But the possibilities don't stop there!
- Toast: Lightly toasted, it's the perfect base for jam, honey, avocado, or eggs.
- Sandwiches: Its soft crumb and sturdy structure make it ideal for packing lunches or building hearty sandwiches. Think grilled cheese, classic deli meat, or a BLT.
- Crostini/Bruschetta: Slice thinly, toast or grill, and top with your favorite spreads or toppings.
- Bread Pudding: Stale or slightly dry slices can be transformed into a comforting dessert.
Basic White Bread: The Foundation for Delicious Meals
Beyond simple serving suggestions, your perfect basic white bread can be a key ingredient in numerous dishes. Its neutral flavor profile makes it adaptable to both sweet and savory applications.
- Use cubes of day-old bread to make homemade croutons for salads or soups.
- Tear it into pieces for a delicious bread stuffing or dressing for poultry.
- Blend it into fresh breadcrumbs for coatings on meats or vegetables.
- Soak slices in egg mixture for the best French toast you've ever had.
Your perfect basic white bread is more than just a loaf; it's a versatile foundation for countless delicious culinary creations. Enjoy the process and enjoy the bread!
Frequently Asked Questions
What makes this white bread recipe "perfect"?
This recipe focuses on foolproof techniques and precise measurements to ensure a consistent and delicious loaf every time. It also utilizes readily available ingredients for easy baking.
What kind of flour is best for this basic white bread?
We recommend using bread flour for the best results. Bread flour has a higher protein content, which helps develop strong gluten and a chewy texture.
Can I use active dry yeast instead of instant yeast?
Yes, you can! However, you'll need to activate the active dry yeast in warm water with a little sugar for about 5-10 minutes before adding it to the other ingredients. This ensures the yeast is alive and ready to work.
How do I know when the dough is properly kneaded?
The dough should be smooth and elastic, and it should pass the "windowpane test". This means you can stretch a small piece of dough thin enough to see light through it without tearing.
What's the secret to achieving a golden-brown crust?
Brushing the loaf with an egg wash (egg beaten with a little water or milk) before baking is key. You can also bake the bread in a preheated oven at the correct temperature for optimal browning.
Final Reflection: The Enduring Power of Perfect Bread
The quest for the perfect loaf of white bread transcends mere culinary ambition; it's a journey into the heart of comfort, tradition, and the simple pleasures of life. This article has explored the seemingly straightforward process of baking basic white bread, highlighting the crucial elements that elevate a simple recipe into a consistently satisfying experience.
From the precise measurements of ingredients to the nuances of kneading and proofing, we've uncovered the secrets to achieving that perfect, fluffy crumb and golden-brown crust every single time. This isn't just about baking bread; it's about mastering a fundamental skill that connects us to generations past.
The act of baking bread, especially a classic like white bread, is deeply intertwined with our cultural heritage. It's a practice that has sustained communities for centuries, representing nourishment, sustenance, and the comforting aroma of home. Bread is the staff of life,
a proverb often repeated, speaks to its fundamental importance. This simple recipe, perfected through careful attention to detail, allows us to participate in this rich tradition, connecting us to something larger than ourselves while simultaneously providing a delicious and satisfying result. The satisfaction derived from creating something so fundamental, so universally appreciated, is a powerful reminder of the simple joys life offers.
Now, consider your own kitchen. Imagine the warmth of the oven, the satisfying thud of the dough as you knead it, and the incredible aroma that fills your home as your perfect loaf bakes. Don't just read this recipe; live it. Embrace the process, experiment with variations, and share the joy of freshly baked bread with those you love. The journey to perfect bread is a journey of self-discovery, patience, and the rewarding satisfaction of creating something beautiful and delicious from simple ingredients. The perfect loaf awaits – begin your baking journey today.
Unlock Your Inner Baker: Master the Art of Perfect White Bread!
Thanks for taking the time to explore the world of perfect white bread with us! We hope you now feel confident in tackling this baking classic. Ready to put your new skills to the test?
- Bake a loaf today! Use the recipe and tips from this article to create your own masterpiece. Remember, practice makes perfect!
- Share your baking journey! Post a picture of your freshly baked loaf on social media and tag us – we'd love to see your success!
- Explore our other bread recipes: Discover a world of flavour and texture with our extensive collection of bread recipes on BakeWithEase.com.
What unique twist will you add to your next loaf of perfect white bread?