
Beginner's Guide to Baking Delicious Vegan Bread

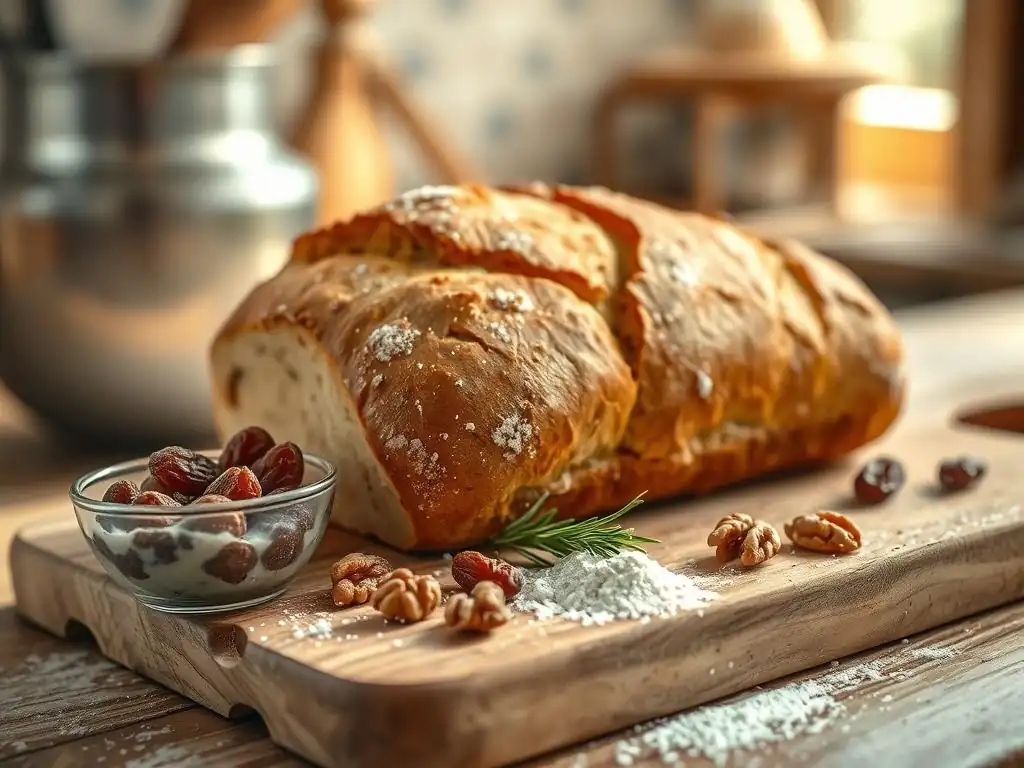
Welcome to BakeWithEase, your companion on a delicious baking journey! Ever wondered if crafting incredibly flavorful bread, completely free from animal products, was within your reach? It is! Dive into our Beginner's Guide to Baking Delicious Vegan Bread and unlock a world of surprisingly simple and satisfying vegan bread baking recipes. We'll show you how to create loaves that are not only cruelty-free but also bursting with flavor. Ready to rise to the occasion? Let's get baking!
- Introduction to Vegan Bread Baking: BakeWithEase's Simple Guide
- Understanding the Basics of Vegan Bread Baking Recipes
- Simple Vegan Bread Recipes for Beginners
- Mastering Vegan Bread Baking Techniques
- Troubleshooting Common Vegan Bread Baking Problems
- Flavor Variations for Your Vegan Bread Recipes
- Storing Your Delicious Vegan Bread
- Advanced Vegan Bread Baking: Next Steps
- Conclusion: Enjoy the Art of Vegan Bread Baking
- Frequently Asked Questions
- Final Reflection: The Joyful Rise of Vegan Baking
- Unleash Your Inner Baker: Craft Your First Vegan Loaf!
Introduction to Vegan Bread Baking: BakeWithEase's Simple Guide
Welcome to the wonderful world of baking delicious vegan bread! Whether you're new to baking entirely or just exploring plant-based options, you've come to the right place. At BakeWithEase, we believe that creating beautiful and tasty loaves shouldn't be complicated. Vegan bread baking recipes offer a fantastic opportunity to experiment with different flours, techniques, and flavors, all while keeping your baking entirely plant-based.
This guide will walk you through the essentials, from understanding what makes bread vegan to mastering simple techniques and troubleshooting common issues. We'll share easy-to-follow vegan bread baking recipes perfect for beginners, helping you build confidence in the kitchen. Get ready to fill your home with the comforting aroma of freshly baked bread that everyone can enjoy!
Understanding the Basics of Vegan Bread Baking Recipes
What Makes Bread Vegan? Key Ingredients and Substitutions
Traditionally, many bread recipes include ingredients derived from animals, such as milk (for tenderness and crust color), butter (for flavor and texture), or eggs (for richness, binding, and lift). Honey is also a common sweetener found in some bread recipes. To make bread vegan, we simply replace these animal-derived ingredients with plant-based alternatives. This often involves using water or plant-based milks like soy, almond, oat, or rice milk, and plant-based fats such as vegetable oil, olive oil, or vegan butter.
Finding suitable substitutions is key to successful vegan bread baking recipes. Instead of eggs, you might use a "flax egg" (ground flaxseed mixed with water), aquafaba (the liquid from canned chickpeas), or commercial egg replacers, depending on the recipe's needs for binding or leavening. For sweetness, common vegan alternatives to honey include maple syrup, agave nectar, or sugar. Understanding these basic swaps allows you to adapt many traditional bread recipes or confidently tackle recipes specifically designed for vegan diets, ensuring your bread is delicious and aligns with your plant-based lifestyle.
Essential Equipment for Baking Vegan Bread at Home
Having the right tools can significantly simplify the process of baking vegan bread and improve your results. You don't need a professional kitchen setup, but a few key items are highly recommended. A large mixing bowl (glass, ceramic, or metal) is essential for combining ingredients and allowing the dough to rise.
Accurate measuring cups and spoons are crucial for consistency in vegan bread baking recipes, as ratios are important, especially when working with different flours or hydration levels. A kitchen scale, while not strictly necessary for every beginner recipe, offers the highest accuracy, measuring ingredients by weight (e.g., 500 grams of flour) which is often preferred by experienced bakers for more reliable outcomes.
Other useful tools include a sturdy wooden spoon or Danish dough whisk for mixing, a bench scraper for handling and portioning sticky dough, and a clean kitchen towel or plastic wrap to cover the dough during proofing. For baking, a baking sheet is standard, but investing in a loaf pan (typically 9x5 inches or 23x13 cm) is ideal for shaping sandwich-style vegan bread. Some recipes might benefit from a Dutch oven or baking stone to create a crispier crust, especially for rustic loaves, but these are items you can acquire as you become more comfortable with vegan bread baking.
Simple Vegan Bread Recipes for Beginners
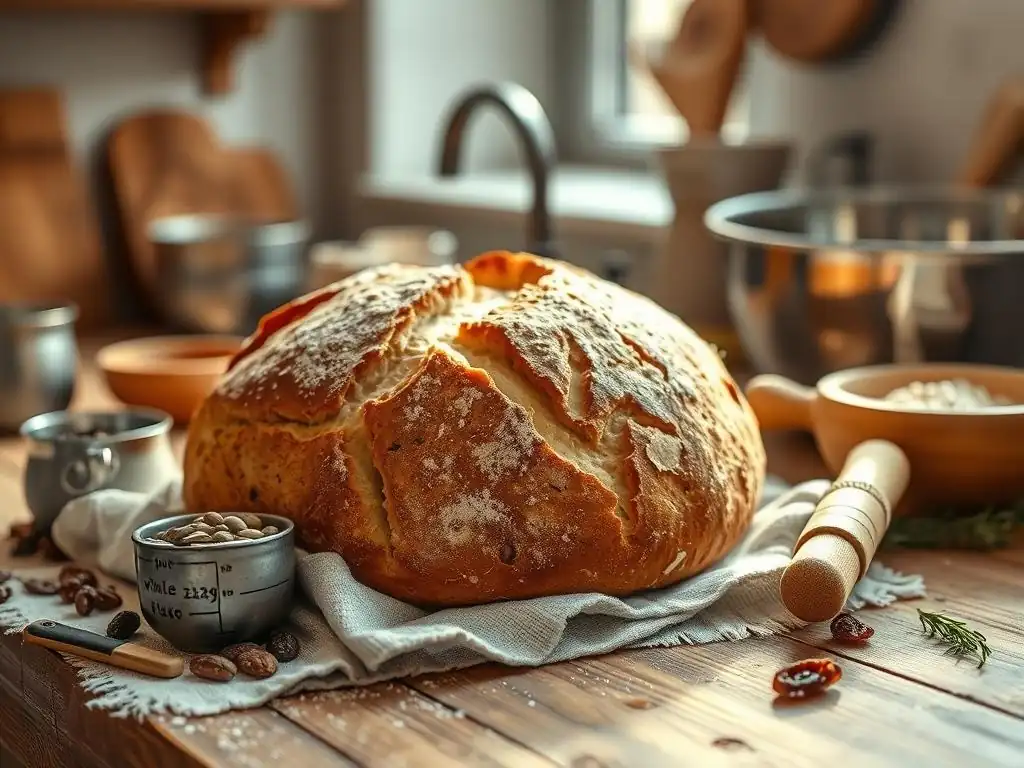
Recipe 1: Easy No-Knead Vegan Bread Recipe
This no-knead vegan bread recipe is incredibly forgiving and requires minimal effort, making it perfect for beginners. It relies on a long, slow fermentation to develop flavor and texture, eliminating the need for vigorous kneading. The dough is mixed the night before or at least 12 hours in advance, using just a few basic ingredients.
Ingredients for the No-Knead Vegan Bread
- 3 cups (about 375g) all-purpose flour
- 1 ¾ teaspoons instant yeast
- 1 ¼ teaspoons salt
- 1 ½ cups (about 350ml) lukewarm water
- Optional: a pinch of sugar for the yeast (though instant yeast doesn't strictly require it)
Step-by-Step Instructions for the No-Knead Vegan Bread
- In a large bowl, whisk together the flour, instant yeast, and salt. If using, add the pinch of sugar.
- Add the lukewarm water and mix with a wooden spoon or spatula until a shaggy, sticky dough forms. There should be no dry flour pockets.
- Cover the bowl tightly with plastic wrap or a clean kitchen towel and let it rest at room temperature for 12-18 hours. The dough should be bubbly and at least doubled in size.
- After the long rise, gently scrape the dough onto a lightly floured surface. It will be very wet. Fold the dough over onto itself a couple of times using a bench scraper or floured hands to form a rough ball.
- Let the dough rest, covered loosely, for about 30 minutes while you preheat your oven and baking vessel.
- Place a Dutch oven or heavy pot with a lid in your oven and preheat to 450°F (230°C). Allow it to heat for at least 30 minutes.
- Carefully remove the hot pot from the oven. Gently transfer the dough into the hot pot. You can lift it with parchment paper if you rested it on that, or just carefully drop it in. Be cautious as the pot is very hot.
- Cover the pot with the lid and bake for 30 minutes.
- Remove the lid and bake for another 15-20 minutes, or until the crust is deeply golden brown and the internal temperature reaches around 200-210°F (93-99°C).
- Carefully remove the bread from the pot and let it cool completely on a wire rack before slicing. This resting period is crucial for the texture.
Recipe 2: Quick Vegan Sandwich Bread Recipe
This recipe is designed for a quicker bake, perfect for making a soft, sliceable loaf ideal for sandwiches and toast. It involves a bit of kneading but is still straightforward for beginners looking to practice this technique. This type of vegan bread baking recipe often uses a bit more yeast and warmer liquids to speed up the proofing process compared to the no-knead method.
Ingredients for the Vegan Sandwich Bread
- 3 ½ cups (about 440g) all-purpose flour or bread flour
- 2 ¼ teaspoons active dry yeast
- 1 tablespoon sugar (or maple syrup/agave)
- 1 teaspoon salt
- 1 ½ cups (about 350ml) warm plant-based milk (soy, almond, oat, etc. ), around 105-115°F (40-46°C)
- 2 tablespoons melted vegan butter or vegetable oil
Baking Instructions for the Vegan Sandwich Bread
- In a large mixing bowl, combine the warm plant-based milk, sugar, and active dry yeast. Stir gently and let stand for 5-10 minutes, or until the mixture is foamy. This confirms your yeast is active.
- Add the salt and melted vegan butter or oil to the yeast mixture.
- Gradually add the flour, one cup at a time, mixing with a wooden spoon or dough hook until a shaggy dough forms.
- Turn the dough out onto a lightly floured surface and knead for 8-10 minutes, or until the dough is smooth and elastic. It should spring back slowly when poked. Alternatively, use a stand mixer with a dough hook for 6-8 minutes.
- Lightly grease the mixing bowl with a little oil. Place the dough in the bowl, turning to coat. Cover the bowl with plastic wrap or a clean towel.
- Let the dough rise in a warm place for 60-90 minutes, or until doubled in size.
- Punch down the dough to deflate it gently. Turn it out onto a lightly floured surface and shape it into a loaf that fits your greased 9x5 inch loaf pan.
- Place the shaped dough in the loaf pan. Cover loosely and let it rise again for 30-45 minutes, or until it has risen about 1 inch above the rim of the pan. While it's rising, preheat your oven to 375°F (190°C).
- Bake for 30-40 minutes, or until the crust is golden brown and the bread sounds hollow when tapped on the bottom. The internal temperature should register around 190-200°F (88-93°C).
- Remove the bread from the oven and immediately turn it out onto a wire rack to cool completely before slicing.
Mastering Vegan Bread Baking Techniques
Working with Yeast in Vegan Baking: Tips and Tricks
Yeast is a living organism crucial for leavening most bread, including vegan varieties. It feeds on sugars in the dough and produces carbon dioxide gas, which makes the bread rise. For successful vegan bread baking recipes, understanding how yeast works is key. There are two main types commonly used: active dry yeast and instant yeast.
Active dry yeast typically needs to be "activated" or proofed in warm liquid (around 105-115°F or 40-46°C) with a pinch of sugar for 5-10 minutes until it becomes foamy. This step confirms the yeast is alive and ready to work. Instant yeast, on the other hand, can usually be mixed directly into the dry ingredients without proofing, as it's designed to be faster acting.
Proper temperature is vital for yeast activity. Liquids that are too hot can kill the yeast, while liquids that are too cold will slow it down significantly. Aim for the recommended temperature ranges in your recipe.
Also, ensure that salt doesn't come into direct contact with the yeast for extended periods before mixing, as salt can inhibit yeast activity. Storing yeast properly is also important; keep it in an airtight container in the refrigerator or freezer to maintain its potency. By paying attention to these details, you'll help ensure your yeast is happy and your vegan bread baking recipes result in well-risen loaves.
Kneading Vegan Bread Dough: Essential Techniques
Kneading is the process of working bread dough to develop gluten, a protein network that gives bread its structure and elasticity. Vegan bread dough, like traditional dough, requires kneading unless it's a no-knead recipe. The goal is to align the gluten strands, creating a strong framework that can trap the gases produced by the yeast, allowing the bread to rise and hold its shape. Proper kneading results in a smooth, elastic dough that is easy to handle and produces bread with a good texture, neither too dense nor too crumbly.
There are several ways to knead: by hand or using a stand mixer with a dough hook. When kneading by hand, turn the dough out onto a lightly floured surface, flatten it slightly, fold the far edge towards you, and push it away with the heels of your hands. Rotate the dough slightly and repeat the fold-push-rotate motion rhythmically.
The dough will initially be sticky but will become smoother and less sticky as you knead. This process typically takes 8-12 minutes by hand or 6-8 minutes in a stand mixer. You can test for sufficient kneading by performing the "windowpane test": stretch a small piece of dough gently; if it can be stretched thin enough to see light through it without tearing, the gluten is well-developed.
Proofing Vegan Bread Dough for Optimal Rise
Proofing, also known as rising, is a critical step in vegan bread baking recipes where the yeast ferments and produces carbon dioxide, causing the dough to expand and become light and airy. The first rise, or bulk fermentation, happens after kneading, where the entire mass of dough is allowed to double in size.
This typically takes 60-90 minutes at room temperature (around 70-75°F or 21-24°C), but can take longer in cooler environments or if using less yeast. A warm, draft-free spot is ideal for proofing; some bakers use a slightly warmed oven (turned off) or place the bowl near a sunny window.
After the first rise, the dough is punched down gently to release some of the gas, then shaped into its final form (e.g., a loaf). The shaped dough undergoes a second rise, or proofing, in the loaf pan or on a baking sheet. This final rise is shorter, usually 30-60 minutes, until the dough is puffy and has increased significantly in volume. Over-proofing can cause the dough to collapse in the oven (leading to a dense texture), while under-proofing results in a dense loaf with poor volume.
A good indicator of proper proofing is the "poke test": gently poke the dough with a floured finger; if the indentation springs back slowly and only partially, it's ready to bake. If it springs back immediately, it needs more time. If it stays indented completely, it might be over-proofed.
Troubleshooting Common Vegan Bread Baking Problems
Why is my Vegan Bread Dense? Solutions for Dense Bread.
A dense texture is one of the most common frustrations for beginner vegan bread bakers. Several factors can contribute to this. One primary reason is insufficient kneading or gluten development. If the gluten structure isn't strong enough, it can't trap the gases produced by the yeast, resulting in a heavy, compact loaf.
Ensure you are kneading for the full recommended time or until the dough passes the windowpane test. Another culprit is yeast that isn't active or hasn't been given enough time to proof. Check your yeast's expiration date and ensure your liquids are at the correct temperature for activation.
Over-handling the dough after the first rise can also lead to density. Be gentle when shaping the loaf to avoid knocking out too much air. Lastly, under-proofing or over-proofing can affect the final texture. If the dough didn't rise enough before baking, it won't achieve the desired lightness. If it over-proofed and collapsed, the structure is compromised, leading to a dense crumb. Paying close attention to proofing times and using the poke test can help prevent this. Adjusting baking temperature can also help; sometimes baking at too low a temperature prevents adequate oven spring, contributing to a denser loaf.
My Vegan Bread Didn't Rise: Troubleshooting Rise Issues.
Discovering your vegan bread dough hasn't risen as expected after waiting patiently can be disheartening. The most frequent reason for a lack of rise is inactive or dead yeast. Yeast is a living organism sensitive to temperature and age.
If your yeast is expired or was exposed to excessive heat or cold during storage, it might not be viable. Always check the expiration date on your yeast package. If using active dry yeast, proofing it in warm, slightly sweetened liquid before adding flour is a good way to confirm it's active; if it doesn't become foamy within 10-15 minutes, your yeast is likely dead.
Another common issue is the temperature of the liquid used to activate the yeast or the proofing environment. Water or milk that is too hot (above 120°F or 49°C) can kill the yeast instantly, while cold temperatures (below 70°F or 21°C) will significantly slow down or prevent yeast activity. Ensure your liquids are within the recommended temperature range.
Also, the ambient temperature of your kitchen affects proofing time; cold drafts can inhibit rising. Find a warm spot for your dough, perhaps in a turned-off oven with the light on, or near a heating vent. Lastly, too much salt can hinder yeast activity, so ensure salt is mixed into the flour rather than placed directly on top of the yeast.
Preventing a Soggy Bottom in Vegan Bread: Baking Tips
A soggy bottom is often caused by steam getting trapped underneath the loaf during baking or inadequate air circulation during the final stages of baking and cooling. When baking bread in a loaf pan, the bottom crust can sometimes remain soft or damp if the heat isn't penetrating effectively. One way to combat this in vegan bread baking recipes is to ensure your oven is fully preheated to the correct temperature. Sometimes, ovens don't reach the set temperature evenly. An oven thermometer can help verify accuracy.
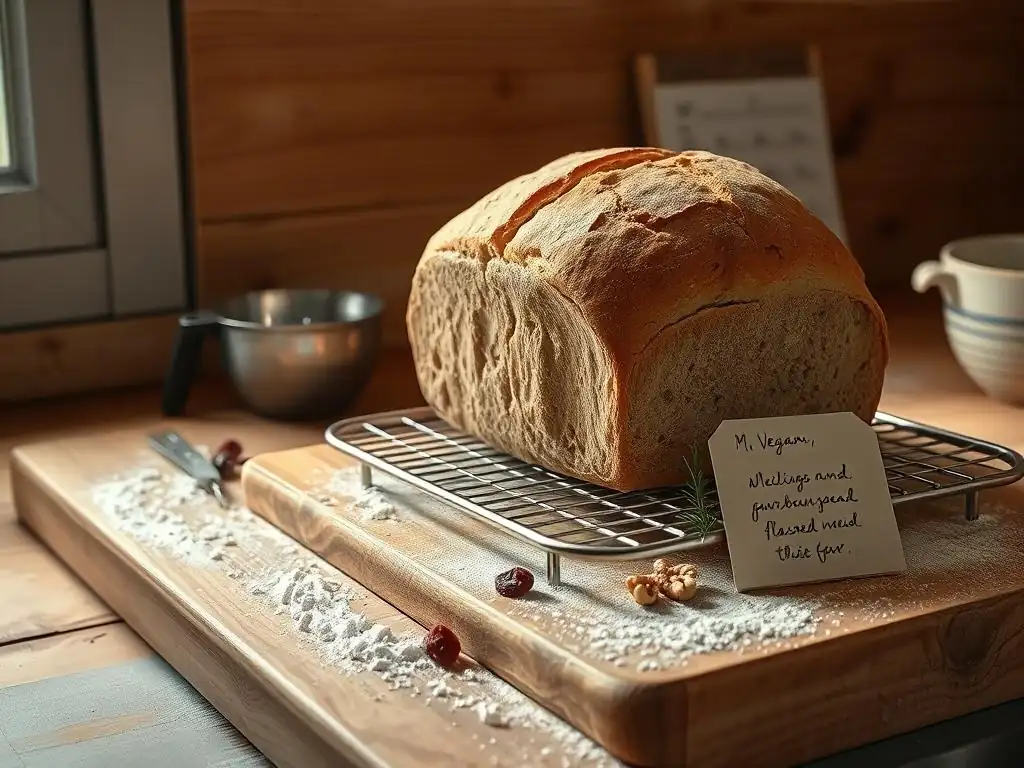
Using a baking stone or steel placed on the bottom rack of your oven can also help radiate heat upwards, ensuring the bottom of the pan (or loaf) bakes thoroughly. If baking directly on a baking sheet, ensure it's not warped, which could create uneven heating. After baking, it is absolutely crucial to remove the bread from the pan immediately (if using one) and let it cool completely on a wire rack.
Cooling on a wire rack allows air to circulate around the entire loaf, preventing steam from condensing on the bottom crust and making it soggy. Cooling bread properly can take 1-2 hours for a standard loaf, so be patient!
Flavor Variations for Your Vegan Bread Recipes
Adding Herbs and Spices to Vegan Bread
Elevating your vegan bread baking recipes beyond the basic loaf is easy and fun by incorporating herbs and spices. These additions not only infuse your bread with wonderful aromas and flavors but also add visual appeal. Dried herbs like rosemary, thyme, oregano, and basil work exceptionally well. For a standard loaf of bread using around 3-4 cups of flour, you might add 1-2 tablespoons of dried herbs directly into the dry ingredients. Fresh herbs can also be used, though they might require slightly more (around 2-3 tablespoons) and are best added towards the end of kneading.
Spices offer another dimension. Cumin, coriander, black pepper, or even a pinch of chili flakes can add warmth and complexity to savory vegan bread. Consider pairing flavors; rosemary and sea salt is a classic combination, while garlic powder or granules (about 1-2 teaspoons per loaf) can create a delicious garlic bread base. Caraway seeds are popular in rye breads, and onion flakes or dried minced onion can add a savory depth. Experiment by adding these to the dry ingredients before mixing, or folding them in during the last minute of kneading to distribute them evenly throughout the dough.
Creating Sweet Vegan Breads: Recipes and Ideas
Vegan bread baking isn't limited to savory loaves; you can easily create delightful sweet breads too! While traditional sweet breads often rely on eggs and dairy, vegan versions use plant-based milk, oil or vegan butter, and alternative sweeteners. Common additions include dried fruits like raisins, cranberries, or chopped apricots (typically ½ cup to 1 cup per loaf).
Citrus zest, such as orange or lemon, adds a bright, fresh flavor (use the zest of one large fruit). Spices like cinnamon, nutmeg, cardamom, or ginger are perfect for creating warm, aromatic sweet breads, often used in amounts ranging from 1 teaspoon to 1 tablespoon depending on potency and desired flavor.
For richer sweet breads, you might incorporate vegan chocolate chips, cocoa powder (replace a small amount of flour with cocoa), or even pureed pumpkin or mashed banana, which also add moisture. When adding these ingredients to your vegan bread baking recipes, they are usually mixed in after the initial dough is formed and partially kneaded, or during the last few minutes of kneading, to ensure they are evenly distributed without disrupting gluten development too much. Sweet vegan breads often benefit from a slightly softer dough and can be baked in loaf pans or shaped into rolls.
Incorporating Seeds and Nuts for Texture and Flavor
Adding seeds and nuts is a fantastic way to enhance the texture, flavor, and nutritional value of your vegan bread. They provide a pleasant crunch and introduce earthy, nutty notes that complement the bread's base flavor. Common seeds used in vegan bread baking recipes include poppy seeds, sesame seeds, sunflower seeds, pumpkin seeds (pepitas), and flaxseeds. You can use them whole, chopped, or lightly toasted to intensify their flavor. For a standard loaf, adding ¼ to ½ cup of seeds is usually sufficient.
Nuts like walnuts, pecans, or chopped almonds also work well, adding a heartier texture and rich flavor. If using larger nuts, chopping them into smaller pieces helps distribute them evenly throughout the dough. Like herbs and spices, seeds and nuts can be mixed into the dry ingredients or folded into the dough during the later stages of kneading.
Some bakers also like to sprinkle seeds on top of the shaped loaf before the final proof or baking for visual appeal and extra crunch. Toasting seeds or nuts lightly in a dry pan before adding them to the dough can significantly boost their flavor profile.
Storing Your Delicious Vegan Bread
Best Practices for Storing Vegan Bread
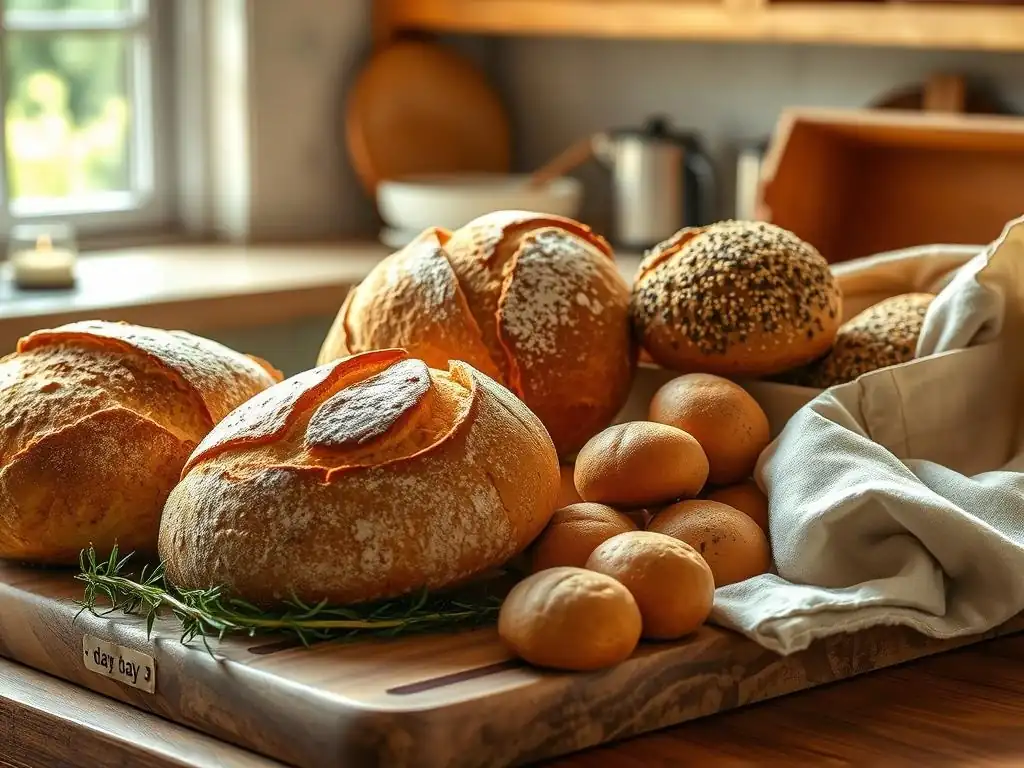
Proper storage is essential to keep your homemade vegan bread fresh and delicious for as long as possible. Unlike commercial breads that often contain preservatives, homemade bread has a shorter shelf life, typically lasting 2-4 days at room temperature. Once the bread has cooled completely on a wire rack (this is crucial – storing warm bread creates condensation and makes it soggy), the best way to store it depends on how quickly you plan to eat it.
For bread that will be consumed within a day or two, storing it cut-side down on a cutting board or in a paper bag allows the crust to remain crisp while protecting the cut surface from drying out. For slightly longer storage at room temperature (up to 3-4 days), an airtight bread box, a clean linen bread bag, or wrapping the loaf tightly in plastic wrap or beeswax wraps helps maintain moisture and prevent it from going stale too quickly. Avoid refrigerating bread, as this can actually accelerate staling due to a process called starch retrogradation.
Freezing Vegan Bread: Tips for Long-Term Storage
Freezing is an excellent option for storing homemade vegan bread for longer periods, typically up to 2-3 months, without significant loss of quality. This is particularly useful if you bake larger batches or want to have fresh bread on hand without baking frequently. The key to successful freezing is to freeze the bread as soon as it has cooled completely after baking. Freezing fresh bread locks in its moisture and texture before it starts to stale.
You can freeze a whole loaf, half a loaf, or slice the entire loaf before freezing. Slicing before freezing is very convenient as you can simply take out the number of slices you need to thaw. Wrap the bread tightly in plastic wrap, then place it in a freezer-safe bag or wrap it again in aluminum foil to prevent freezer burn. Label the package with the date.
To thaw, simply remove the bread from the freezer and let it sit at room temperature. Slices thaw quickly (15-30 minutes), while a whole loaf may take several hours. You can refresh frozen slices by toasting them directly from the freezer or warming them gently in an oven.
Advanced Vegan Bread Baking: Next Steps
Exploring Sourdough Vegan Bread Recipes
Once you're comfortable with basic yeasted vegan bread baking recipes, venturing into the world of sourdough is a rewarding next step. Sourdough bread uses a natural leavening agent called a starter, a fermented mixture of flour and water teeming with wild yeast and beneficial bacteria. Creating and maintaining a vegan sourdough starter is no different from a traditional one, as it only requires flour and water. The unique flavor and chewy texture of sourdough come from the lactic acid bacteria present in the starter, which produce acids during fermentation.
Baking vegan sourdough bread typically involves a longer fermentation process compared to commercial yeast, often including an overnight bulk fermentation at room temperature or in the refrigerator, followed by a final proof. This extended fermentation develops complex flavors and a characteristic tangy profile. While the process requires patience and practice to understand your starter and how it interacts with different flours and temperatures, the result is a deeply satisfying loaf with a beautiful crust and airy crumb, a truly advanced and delicious form of vegan bread baking.
Baking with Different Vegan Flours: A Guide to Experimentation
Expanding your repertoire of vegan bread baking recipes can involve experimenting with different types of flours. While all-purpose and bread flour are common starting points, exploring alternative flours can introduce new flavors, textures, and nutritional benefits. Whole wheat flour, for example, adds a nuttier flavor and more fiber but typically requires more liquid and can result in a denser loaf if not mixed with white flour. Spelt, rye, and barley flours offer distinct flavors and textures and behave differently due to varying gluten levels or types.
Gluten-free vegan bread baking recipes utilize flours like rice flour, oat flour, almond flour, buckwheat flour, or sorghum flour, often combined with starches (like tapioca or potato starch) and binders (like xanthan gum or psyllium husk) to mimic the structure provided by gluten. Baking with these flours requires understanding their unique properties – some absorb more liquid, others less; some provide structure, while others add tenderness.
Experimenting with blends of different flours (e.g., adding a percentage of whole wheat or rye to your white bread) or trying recipes specifically designed for alternative flours is a great way to broaden your vegan bread baking skills and discover new favorites.
Conclusion: Enjoy the Art of Vegan Bread Baking
Embarking on your journey with vegan bread baking recipes opens up a world of delicious possibilities. From simple no-knead loaves to more advanced sourdough techniques and diverse flour explorations, there's always something new to learn and create. Remember that baking is a process of patience and practice; not every loaf will be perfect, but each attempt teaches you something valuable.
By understanding the basics of vegan ingredients, mastering essential techniques like kneading and proofing, and knowing how to troubleshoot common issues, you're well-equipped to bake wonderful bread at home. Don't hesitate to experiment with flavors by adding herbs, spices, seeds, or nuts to make each loaf uniquely yours. So, preheat your oven, gather your ingredients, and enjoy the rewarding art of baking delicious vegan bread with BakeWithEase!
Frequently Asked Questions
How can I substitute eggs in vegan bread recipes?
Eggs are often used for binding and moisture. Common substitutes include applesauce, flaxseed meal mixed with water (a "flax egg"), or mashed banana.
What kind of flour is best for vegan bread baking?
While all-purpose flour works, bread flour is often preferred for its higher gluten content, leading to a chewier texture. You can also experiment with whole wheat flour for a nuttier flavor.
What is the best way to activate yeast for vegan bread?
Yeast thrives in a warm and slightly sweet environment. Use lukewarm water (around 105-115°F) and a pinch of sugar or maple syrup to proof the yeast before adding it to the other ingredients.
Are there any specific oils that work better than others in vegan bread recipes?
Neutral-flavored oils like canola oil, vegetable oil, or light olive oil are good choices. Avoid strong-flavored oils that could overpower the bread's taste. Coconut oil can also be used, but it can impart a slight coconut flavor.
How do I achieve a good crust on my vegan bread?
Brushing the loaf with aquafaba (the liquid from canned chickpeas) or plant-based milk before baking can help. Also, baking with steam by placing a pan of hot water in the oven can create a crispier crust.
Final Reflection: The Joyful Rise of Vegan Baking
The accessibility and deliciousness of vegan baking are no longer niche interests; they're a burgeoning culinary movement transforming kitchens and palates worldwide. This guide has explored the fundamental techniques for crafting delectable vegan bread, proving that plant-based baking isn't just possible, it's incredibly rewarding. From mastering the nuances of yeast activation to understanding the role of different flours, we've journeyed through the essential steps to baking bread that's both ethical and exquisite.
The shift towards veganism reflects a growing awareness of our impact on the planet and a desire for healthier, more compassionate food choices. This isn't just about dietary restrictions; it's a cultural shift, a testament to our evolving relationship with food and its production. Food is symbolic of love when words are inadequate.
- Alan D. Wolfelt. This sentiment rings true whether you're sharing a loaf of sourdough with loved ones or simply enjoying the quiet satisfaction of a perfectly risen loaf – the act of baking itself becomes a powerful expression of care and intention.
Now, it's your turn. Don't be intimidated by the seemingly complex world of bread baking. Take the knowledge you've gained here, experiment with different flours and flavors, and most importantly, enjoy the process. The smell of freshly baked bread, the satisfying knead of the dough, the golden-brown crust – these are the simple joys that make baking such a fulfilling experience. Embrace the challenge, embrace the creativity, and embrace the delicious results. Your next vegan bread masterpiece awaits!
Unleash Your Inner Baker: Craft Your First Vegan Loaf!
Thanks for joining us on this delicious journey into the world of vegan baking! We hope you've gained the confidence to tackle bread making, even with plant-based ingredients. Now it's time to put your new skills to the test!
- Bake your first vegan loaf: Grab those ingredients and follow the recipe – you’ve got this! Don't be afraid to experiment with different flours or add-ins.
- Share your baking triumph: Post a picture of your creation on social media and tag us @BakeWithEase! Let's inspire others to bake vegan bread too.
- Consider trying a different recipe: Explore our other vegan recipes on the site to expand your baking horizons.
What exciting flavors will you create in your next vegan baking adventure?