
Common Mistakes Beginners Make with Drop Cookies (And How to Fix Them)

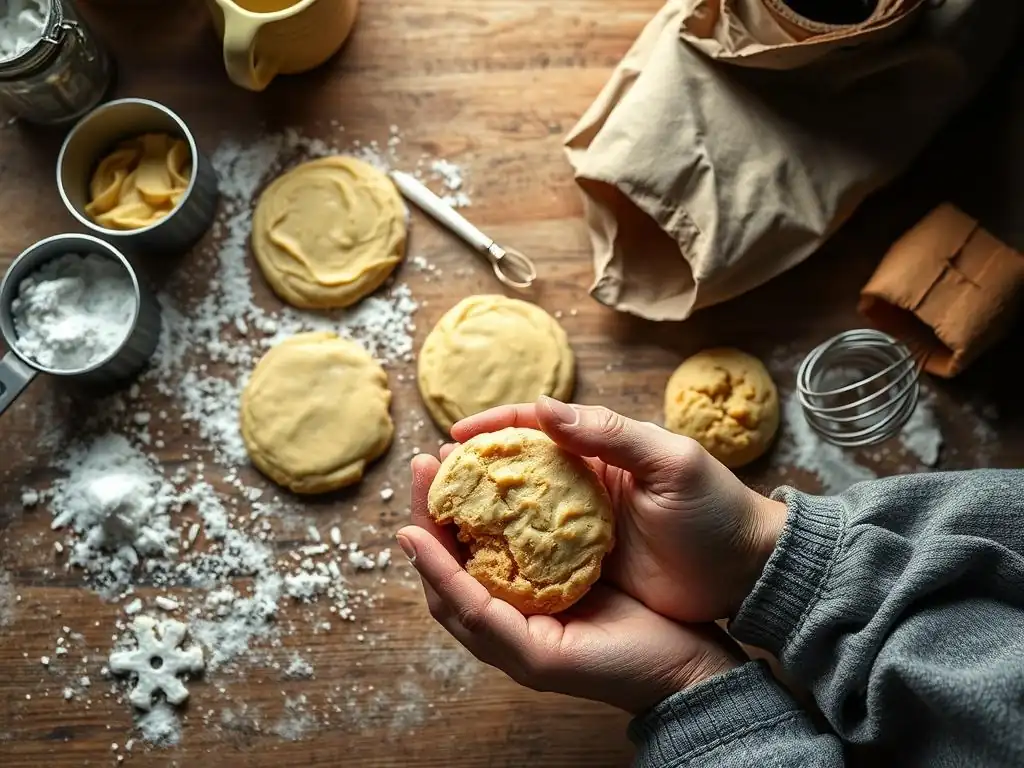
Welcome to BakeWithEase, your haven for all things baking! Are your beginner drop cookies turning out less than perfect? Don't worry, you're not alone! We've compiled a list of the most common mistakes new bakers make and, more importantly, how to easily fix them. Discover the secrets to achieving perfectly textured, delightfully delicious drop cookies, and say goodbye to baking frustrations. Read on to unlock the simple solutions that will transform your baking game!
- Chocolate Chip Cookie Problems Solved: Avoid These Common Mistakes!
- Introduction: Baking Perfect Chocolate Chip Cookies is Easier Than You Think!
-
Common Chocolate Chip Cookie Mistakes (and How to Avoid Them!)
- Mistake #1: Incorrect Ingredient Measurements
- Mistake #2: Overmixing the Dough
- Mistake #3: Using Melted Butter Instead of Softened
- Mistake #4: Baking at the Wrong Temperature
- Mistake #5: Not Using Parchment Paper or a Silicone Baking Mat
- Mistake #6: Overbaking or Underbaking
- Mistake #7: Using Low-Quality Chocolate Chips
- Mistake #8: Not Chilling the Dough (When Required)
- Troubleshooting Your Chocolate Chip Cookies: Quick Fixes for Common Issues
- Advanced Chocolate Chip Cookie Baking Tips for Beginners
- Conclusion: Bake Delicious Chocolate Chip Cookies with Confidence!
- Frequently Asked Questions
- Final Reflection: The Sweet Science of Drop Cookie Success
- Unleash Your Inner Baker: Perfect Drop Cookies Await!
Welcome to BakeWithEase, your friendly corner of the internet dedicated to making baking simple, fun, and successful for everyone. We understand that starting out can feel a little intimidating, especially when you're aiming for that perfect, classic chocolate chip cookie. But guess what? Those common beginner drop cookie problems solved are within reach, and we're here to guide you every step of the way. Forget the frustration of flat discs or hard hockey pucks; let's turn those baking woes into wins!
Our mission is to equip you with the knowledge and techniques to tackle any recipe with confidence. This guide focuses specifically on solving beginner drop cookie problems, using the ever-popular chocolate chip cookie as our delicious example. By understanding the 'why' behind common issues, you'll not only fix the problems you encounter today but also build a strong foundation for all your future baking adventures. Let's dive in and unlock the secrets to consistently amazing cookies!
Chocolate chip cookies are often one of the first recipes bakers attempt, and for good reason. They typically require minimal equipment, readily available ingredients, and the process is relatively straightforward compared to more complex pastries or breads. Mastering this simple drop cookie recipe provides a fantastic introduction to fundamental baking principles like creaming butter and sugar, incorporating dry ingredients, and understanding baking times and temperatures.
Despite their apparent simplicity, chocolate chip cookies are also incredibly forgiving, allowing beginners to learn from mistakes without completely ruining a batch. Unlike delicate cakes or intricate pies, even a slightly imperfect chocolate chip cookie is usually still quite tasty! This makes them ideal for troubleshooting common beginner drop cookie problems solved in a low-pressure environment, building confidence as you learn what works and why.

Mistake #1: Incorrect Ingredient Measurements
One of the most frequent beginner drop cookie problems solved is tied directly to how ingredients are measured. Baking is a science, and unlike cooking where you can often adjust on the fly, precise ratios are crucial for the desired chemical reactions and structure. Scooping flour directly from the bag with a measuring cup, for example, can pack it down, resulting in significantly more flour than the recipe calls for – sometimes up to 25% more by weight! This excess dry ingredient leads to a host of issues.
When your ingredient proportions are off, particularly the balance between wet and dry, the outcome is predictable and disappointing. Too much flour, sugar, or cocoa powder without a corresponding increase in butter or eggs results in a dry, crumbly dough that doesn't spread properly in the oven. Conversely, too little flour or too much liquid/fat can cause cookies to spread excessively thin and become greasy. Understanding how to measure correctly is fundamental to solving beginner drop cookie problems right from the start.
The Problem: Dry, crumbly, or flat cookies
The Solution: Precise Measuring Techniques for Baking Success
Tip: Use a Kitchen Scale for Accuracy
Mistake #2: Overmixing the Dough
Mixing seems simple enough, but it's a critical step where beginner drop cookie problems solved can make a huge difference in texture. Once you add the dry ingredients (flour, baking soda/powder, salt) to the wet ingredients (creamed butter/sugar, eggs, vanilla), the goal is simply to combine them. Overmixing at this stage develops the gluten in the flour. While gluten development is desirable in bread for structure, it leads to tough, dense cookies.
The visual cue for overmixing is often a dough that becomes very smooth and elastic, pulling away from the sides of the bowl. This indicates that the gluten network is forming. For tender cookies, you want minimal gluten development. Stopping as soon as the last streaks of flour disappear prevents this toughening, ensuring your cookies have that delightful, melt-in-your-mouth texture. This is a key technique for solving beginner drop cookie problems related to chewiness.
The Problem: Tough, chewy cookies instead of tender ones
The Solution: Gentle Mixing for Optimal Texture
Tip: Stop Mixing When Just Combined
Mistake #3: Using Melted Butter Instead of Softened
The state of your butter is paramount in many cookie recipes, and using it incorrectly is a common cause of beginner drop cookie problems solved. Most classic drop cookie recipes call for "softened" butter, which means the butter is pliable and gives slightly when pressed, but is still cool to the touch – around 65-68°F (18-20°C). Creaming softened butter with sugar creates tiny air pockets that expand in the oven, contributing to the cookie's rise and texture.
Using melted butter skips this crucial aeration step. Melted butter incorporates differently, leading to a denser dough that spreads much faster and thinner in the oven because it lacks the structural support and air pockets created by creaming. The result is often a flat, greasy cookie that lacks the desired thickness and chewiness. Ensuring your butter is properly softened is a simple yet effective step in solving beginner drop cookie problems.
The Problem: Flat, greasy cookies
The Solution: Understanding the Role of Butter Temperature
Tip: Softened butter should be cool to the touch, not melted.
Mistake #4: Baking at the Wrong Temperature
Your oven temperature plays a significant role in how your cookies bake and is a frequent area for beginner drop cookie problems solved. An oven that runs too hot can cause the edges to burn before the center is cooked through, while an oven that's too cool will result in cookies that spread too much, are pale, and may remain undercooked in the middle. Most home ovens aren't perfectly calibrated; they can be off by as much as 25-50°F (15-30°C) from the temperature you set.
Baking at the correct temperature ensures the cookies bake evenly, achieving the desired texture and color. For chocolate chip cookies, a standard temperature is 350°F (175°C). This allows the edges to set and brown while the center cooks through without becoming hard. If your oven temperature is inaccurate, you'll constantly battle uneven results. Calibrating your oven or simply using a reliable oven thermometer is a straightforward way to address this common beginner drop cookie problem.
The Problem: Unevenly baked cookies, burnt bottoms, or raw centers
The Solution: Calibrating Your Oven and Understanding Baking Times
Tip: Use an Oven Thermometer for Accuracy
Mistake #5: Not Using Parchment Paper or a Silicone Baking Mat
While not strictly a mistake that ruins the cookie itself, skipping parchment paper or a silicone mat is a common beginner drop cookie problem solved related to ease and presentation. Baking directly on a greased or ungreased metal sheet can lead to cookies sticking, breaking when you try to remove them, and uneven browning on the bottom.
Parchment paper and silicone mats create a non-stick surface that ensures easy release of the baked cookies. They also provide a layer of insulation and promote more even heat distribution, which helps prevent burnt bottoms and promotes uniform baking across the sheet. Using one of these simple tools makes cleanup a breeze and guarantees your perfectly baked cookies lift off the tray without a fuss, enhancing the overall success of your batch.
The Problem: Cookies sticking to the baking sheet
The Solution: Easy Release for Perfect Cookie Presentation
Tip: Parchment paper is disposable; silicone mats are reusable and provide even heat distribution.
Mistake #6: Overbaking or Underbaking
Knowing when a cookie is done is a skill that comes with practice and is a common point of confusion leading to beginner drop cookie problems solved. Overbaking results in hard, dry cookies because all the moisture has evaporated. Underbaking leaves you with doughy, potentially crumbly cookies that may not hold their shape well once cooled.
For most chocolate chip cookies, the visual cues are key. Look for edges that are set and lightly golden brown, while the center still appears slightly soft and perhaps a bit paler. Remember that cookies continue to cook for a minute or two on the hot baking sheet after they are removed from the oven. Removing them when they look almost done in the center ensures they reach perfect doneness as they cool. Learning to read these cues is essential for solving beginner drop cookie problems related to texture.
The Problem: Hard, dry cookies or doughy, undercooked cookies
The Solution: Visual Cues and Doneness Tests for Perfect Baking
Tip: Look for golden brown edges and a slightly soft center.
Mistake #7: Using Low-Quality Chocolate Chips
The quality of your chocolate chips might seem secondary, but it significantly impacts the flavor of your finished cookies and is a subtle source of beginner drop cookie problems solved. Cheap chocolate chips often contain less cocoa butter and more sugar and stabilizers, which can result in a waxy texture and a less intense, sometimes artificial flavor. They may also not melt as beautifully in the oven, remaining as hard chips rather than creating those desirable pockets of melted chocolate.
Investing in good quality chocolate chips or chopped chocolate makes a noticeable difference. Look for brands that list cocoa butter as a primary ingredient and have a higher percentage of cocoa solids if you prefer a richer, less sweet chocolate flavor. Using better chocolate elevates your cookies from simply okay to truly exceptional, proving that sometimes, the best way to solve beginner drop cookie problems is to start with better ingredients.
The Problem: Lackluster flavor
The Solution: The Importance of High-Quality Chocolate for Baking Success
Tip: Use chocolate chips with a higher cocoa percentage for a richer flavor.
Mistake #8: Not Chilling the Dough (When Required)
Many modern chocolate chip cookie recipes, especially those aiming for a thicker, chewier cookie, recommend chilling the dough before baking. Skipping this step is a common beginner drop cookie problem solved by simply waiting! Chilling does several things: it solidifies the fat (butter), which slows down spreading in the oven; it allows the flour to hydrate fully, which can improve texture; and it concentrates the flavors.
Dough that isn't chilled, especially if the recipe intends for it to be, will often spread excessively thin in the oven because the butter melts too quickly. Chilling the dough for at least 30 minutes, or even up to 72 hours for enhanced flavor development, helps the cookies hold their shape better and results in a thicker, more satisfying cookie. If your cookies are consistently too flat, chilling the dough might be the simple solution you need.
The Problem: Flat, spread-out cookies
The Solution: The Benefits of Chilling Cookie Dough
Tip: Chilling allows the butter to solidify, preventing excessive spreading.
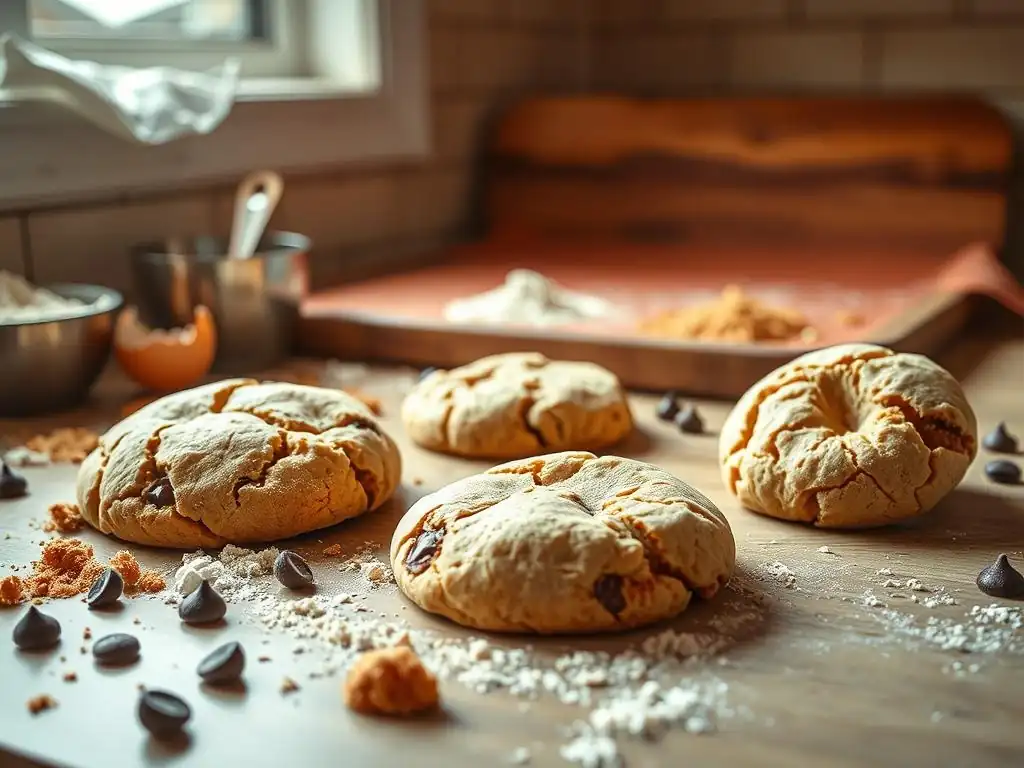
Flat cookies are one of the most common beginner drop cookie problems solved with a bit of detective work. The usual suspects include using melted or overly soft butter (which melts too fast), overmixing the dough (developing gluten that makes them spread), or the oven temperature being too low (not setting the structure quickly enough).
Another frequent culprit is measuring too little flour or too much sugar relative to the fat. For example, if you accidentally use 1/2 cup less flour than required in a standard recipe calling for 2 1/4 cups, your wet-to-dry ratio will be off, leading to excessive spread.
To fix future batches, ensure your butter is properly softened (cool, not greasy). Use precise measuring techniques, ideally weighing your flour (1 cup of all-purpose flour is typically around 120-125 grams, but check your recipe). Invest in an oven thermometer to verify your oven temperature is accurate. And if the recipe suggests chilling the dough, don't skip it! Chilling for even 30-60 minutes can make a significant difference in preventing excessive spread and solving this beginner drop cookie problem.
Dry, crumbly cookies are often the result of too much dry ingredient, usually flour, or overbaking. As mentioned earlier, improperly scooping flour can add a substantial amount more than intended – a cup of scooped and packed flour can weigh 150 grams or more, compared to 120-125 grams for properly measured flour. This excess flour absorbs too much moisture, leaving the cookies dense and dry.
To prevent this in the future, always spoon flour lightly into your measuring cup and level it off, or better yet, use a kitchen scale for accuracy. If you've already baked a batch of dry cookies, while you can't truly re-moisturize them, you can sometimes improve their texture slightly by storing them in an airtight container with a piece of bread or an apple slice overnight (the cookies will absorb moisture from the bread/fruit). The best approach, however, is preventing this common beginner drop cookie problem solved by careful measurement and watching the baking time closely.
Hard cookies are usually a symptom of overbaking. When cookies bake for too long, moisture evaporates, and the sugars caramelize and harden excessively upon cooling. Even baking just a minute or two past the optimal time can turn tender cookies into hard ones. Another reason can be using too little fat (butter or shortening) in the recipe, as fat contributes to tenderness.
Ensure you are baking for the minimum time specified in the recipe and look for the visual cues of doneness: set, lightly golden edges and a slightly soft center. Remove the cookies from the oven and let them finish setting on the hot baking sheet for a minute or two before transferring them to a cooling rack. If your recipe resulted in hard cookies, double-check your ingredient measurements, especially the fat, and reduce your baking time in future attempts. Focusing on these timing and visual cues is key to solving beginner drop cookie problems related to hardness.
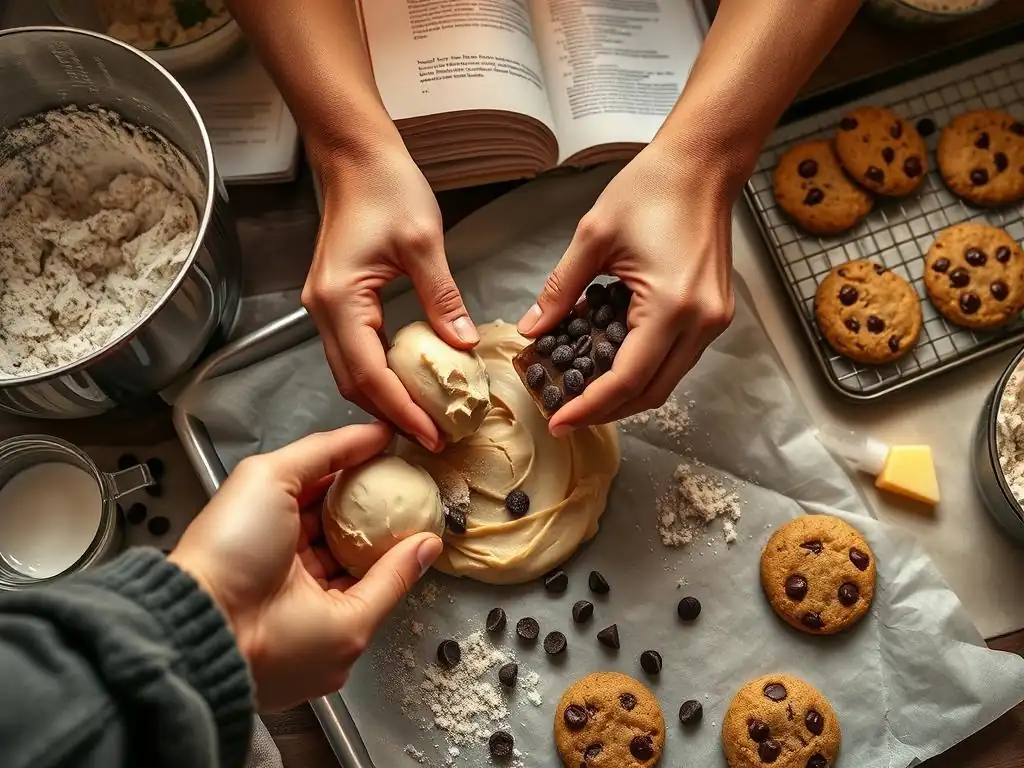
Experimenting with Different Types of Chocolate
Once you've mastered the basics and are consistently solving beginner drop cookie problems, experimenting with different types of chocolate can elevate your cookies. While standard semi-sweet chips are classic, trying milk chocolate, dark chocolate (with varying cocoa percentages like 60%, 70%, or even 80%), or a mix can dramatically change the flavor profile. Using chopped chocolate from a bar instead of chips often results in beautiful puddles of melted chocolate throughout the cookie, as bar chocolate contains more cocoa butter and melts more smoothly than chips (which contain stabilizers to help them hold their shape).
Consider the sweetness and intensity you prefer. A mix of semi-sweet and dark chocolate chips offers complexity, while milk chocolate provides a sweeter, creamier bite. You can also experiment with white chocolate, though technically not chocolate as it contains no cocoa solids. Exploring different chocolate options allows you to personalize your classic recipe and discover new favorite flavor combinations, moving beyond just solving beginner drop cookie problems to actively enhancing your bakes.
Mastering the Brown Butter Technique
Browning your butter before adding it to the cookie dough is a technique that adds incredible depth and a nutty, toffee-like flavor to chocolate chip cookies. This process involves melting the butter in a saucepan and continuing to cook it gently until the milk solids separate and sink to the bottom, turning amber brown. This requires careful watching, as it can go from perfectly browned to burnt in seconds.
Once browned, the butter needs to cool slightly before being used in the recipe, often solidifying to a paste-like consistency, which is then creamed with the sugar as usual. This extra step adds complexity and richness that a standard recipe lacks. While it adds a few minutes to the process, mastering the brown butter technique is a fantastic way for beginners who have solved common drop cookie problems to take their cookies to the next level and impress themselves and others with enhanced flavor.
Recap of Common Mistakes and Their Solutions
We've covered some of the most common beginner drop cookie problems solved right here on BakeWithEase. From the critical importance of accurate ingredient measurements – ideally using a kitchen scale to avoid adding too much flour – to understanding how butter temperature and mixing technique affect texture, each mistake has a clear path to correction. We also discussed the impact of oven temperature, the benefits of parchment paper, the visual cues for perfect doneness, the difference quality chocolate makes, and the power of chilling dough.
Remember, baking is a learning process, and encountering issues is part of the journey. By understanding why these problems occur, you're better equipped to prevent them in the future. Whether your cookies are too flat, too dry, or too hard, revisiting these common pitfalls and their solutions will help you refine your technique and consistently achieve delicious results.
Your Next Baking Adventure Awaits with BakeWithEase!
You've taken the first step in solving beginner drop cookie problems and building your baking confidence. Armed with this knowledge, you're ready to tackle your next batch of chocolate chip cookies with greater skill and anticipation. Don't be afraid to try again, applying the tips and techniques you've learned here. Each batch is an opportunity to improve!
At BakeWithEase, we're committed to providing simple, reliable guidance for bakers of all levels. Now that you've got a handle on common drop cookie issues for beginners, explore our other easy recipes and guides. Whether you want to try a new type of cookie, bake your first loaf of bread, or decorate a simple cake, we have resources to help you succeed. Happy baking – your kitchen adventures are just beginning!
Frequently Asked Questions
Beginners often struggle with incorrect measurements, overmixing, and not using room temperature ingredients. These issues can lead to cookies that are too flat, tough, or unevenly baked.
To prevent excessive spreading, ensure you use cold butter and chill the dough for at least 30 minutes before baking. This helps maintain the shape during baking.
If your cookies turn out dry, the likely culprit is too much flour. To fix this, try adding a bit more fat or liquid to the recipe, and be cautious with your measurements.
If your drop cookies aren't rising, check that your baking powder or baking soda is fresh. Additionally, ensure that you're incorporating the right amount of leavening agents in your mix.
Yes, you can substitute ingredients, but be cautious. For instance, using applesauce in place of some butter can reduce fat, but may alter the texture and taste. Always test small batches first!
Mastering the art of the drop cookie isn't just about following a recipe; it's about understanding the fundamental principles of baking and embracing the journey of experimentation. A perfectly crisp-edged, chewy-centered cookie is a testament to patience and a keen eye for detail, and avoiding common pitfalls is the first step towards achieving that delicious goal. This article highlighted some of the most frequent mistakes beginners make, from improper ingredient measurements to oven temperature inconsistencies, and offered practical solutions to overcome these challenges.
The impact of a perfectly baked cookie extends far beyond the simple act of eating it. It's a symbol of comfort, a shared experience, and a tangible representation of creativity. The joy of baking, especially for beginners, lies in the process of learning and refining one's skills. As the old adage goes, The best things in life are homemade,
and this sentiment rings especially true when it comes to the simple pleasure of a warm, homemade cookie. The journey of mastering drop cookies, with its occasional mishaps and eventual triumphs, mirrors the larger journey of life itself – a process of learning, adapting, and finding joy in the imperfections.
Now, it's your turn. Don't be discouraged by a slightly burnt batch or a flat cookie; these are valuable lessons in the baking process. Take what you've learned here, experiment with different recipes and techniques, and most importantly, have fun! The next time you reach for a cookie recipe, remember the principles outlined in this article, and approach the process with confidence and a dash of playful experimentation. Your perfectly baked drop cookies await!
Thanks for joining us on this delicious journey into the world of drop cookies! We hope you've gained valuable insights and are ready to bake up a storm. Now it's time to put your new knowledge to the test.
- Bake a batch of your favorite drop cookies today, incorporating the tips and tricks you learned. Don't be afraid to experiment!
- Share your baking success (or even your delicious failures!) with us on social media using #BakeWithEaseDropCookies. Let's build a supportive baking community!
- Try a completely new drop cookie recipe – challenge yourself to master a flavor combination you’ve never attempted before.
Ready to create your perfect drop cookie? What exciting flavor combinations will you explore next?