
Troubleshooting: Why Your White Chocolate Seized (and How to Prevent It)

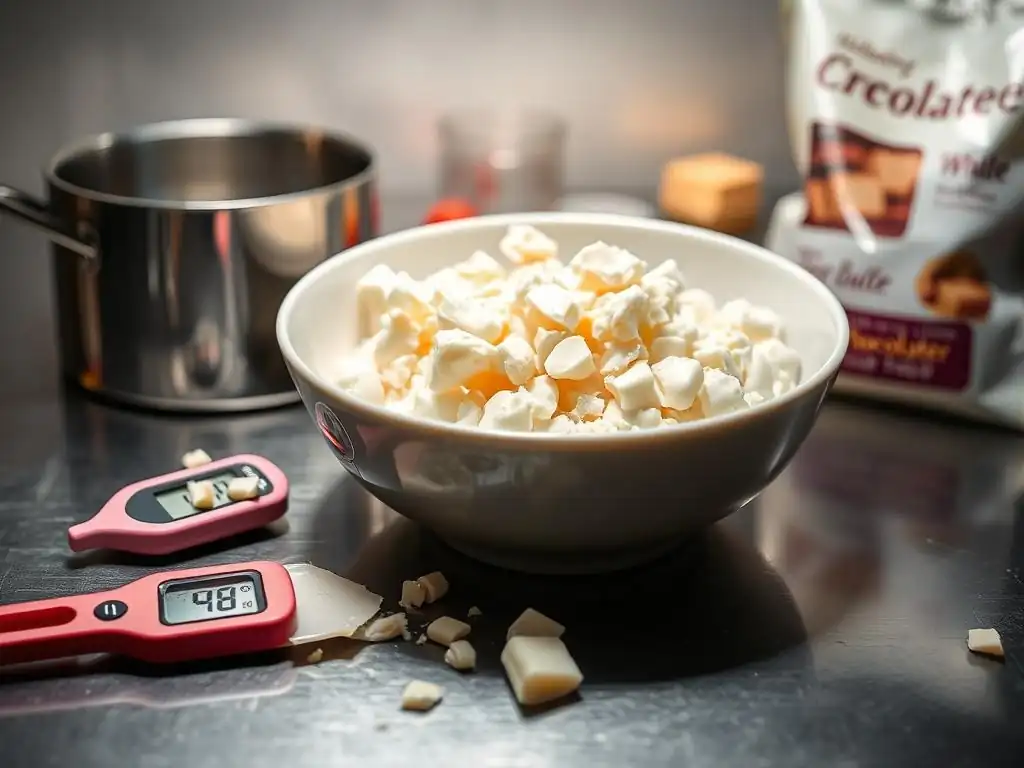
Welcome to BakeWithEase, your trusted guide to the delectable world of baking! Ever wrestled with stubborn white chocolate? Dive in as we explore the frustrating phenomenon of white chocolate seizing, offering practical solutions and preventative measures. Unlock the secrets to smooth, silky ganaches and flawless confections – let's conquer this common baking challenge together!
- Troubleshooting: Why Your White Chocolate Seized (and How to Prevent It) - BakeWithEase.com
- Understanding White Chocolate Seizing: A Baker's Guide
- Common Causes of White Chocolate Seizing During Baking
- White Chocolate Seizing Troubleshooting: Step-by-Step Solutions
-
Preventing White Chocolate Seizing: Best Practices for Baking Success
- Choosing the Right White Chocolate: Quality Matters
- Proper Melting Techniques: The Double Boiler Method for White Chocolate
- Microwaving White Chocolate: A Controlled Approach
- Avoiding Moisture: Keeping Your Equipment and Chocolate Dry
- Temperature Control: Maintaining the Ideal Melting Range for White Chocolate
- White Chocolate Tempering and Seizing: Understanding the Connection
- White Chocolate Seizing Troubleshooting: Advanced Tips and Tricks
- White Chocolate Seizing Troubleshooting: Addressing Specific Scenarios
- Mastering White Chocolate: Avoiding Seizing and Achieving Baking Perfection
- Frequently Asked Questions
- Final Reflection: The Sweet Science of Saving Seized White Chocolate
- Rediscover Perfectly Smooth White Chocolate!
Troubleshooting: Why Your White Chocolate Seized (and How to Prevent It) - BakeWithEase.com
White chocolate is a delightful ingredient in baking, adding a creamy sweetness to everything from cookies to ganaches. However, it can be notoriously finicky, often transforming from a smooth, molten state into a lumpy, unusable mess. This frustrating phenomenon is known as "seizing," and it's a common hurdle for bakers. Understanding why white chocolate seizes is the first step to mastering this delicate ingredient and ensuring your baking projects are a success. This guide will walk you through the causes of white chocolate seized troubleshooting and provide practical solutions and prevention tips.
Understanding White Chocolate Seizing: A Baker's Guide
Working with chocolate in baking requires a bit of finesse, and white chocolate presents its own unique challenges. Unlike dark or milk chocolate, its composition makes it particularly susceptible to certain environmental factors. Learning to anticipate and avoid these issues is key to achieving that perfectly smooth, melt-in-your-mouth texture.
What Does "Seized" White Chocolate Mean? Identifying the Problem
When white chocolate seizes, it undergoes a rapid transformation from a smooth, liquid state to a thick, grainy, and often lumpy paste. It loses its characteristic sheen and becomes stiff, making it impossible to pour, dip, or incorporate into recipes as intended. This change happens almost instantly and can feel quite alarming when you're in the middle of a recipe.
The science behind seizing involves the cocoa butter, which is the primary fat in white chocolate. Cocoa butter is a stable fat, but it's highly sensitive to moisture and sudden temperature changes.
When even a tiny amount of water comes into contact with melted chocolate, it causes the sugar and cocoa solids (in dark/milk chocolate) or just the sugar and milk solids (in white chocolate) to clump together. Since white chocolate has a higher proportion of sugar and milk solids relative to cocoa butter compared to dark chocolate, this clumping effect is more pronounced and happens more easily, leading to the characteristic grainy texture of seized white chocolate.
Why is White Chocolate More Prone to Seizing Than Dark Chocolate?
The key difference lies in the composition. White chocolate contains cocoa butter, sugar, milk solids, and often vanilla and lecithin, but it does not contain cocoa solids. Dark chocolate, conversely, contains cocoa solids, cocoa butter, sugar, and sometimes lecithin and vanilla. Cocoa solids contain natural emulsifiers and are less reactive to small amounts of moisture than the sugar and milk solids prevalent in white chocolate.
Because white chocolate has a higher concentration of sugar and milk solids and lacks the buffering effect of cocoa solids, it is significantly more sensitive to moisture. Even a single drop of water introduced into melted white chocolate can cause the sugar particles to stick together and form clumps, initiating the seizing process. Dark chocolate can tolerate slightly more moisture before seizing occurs, making white chocolate a more challenging ingredient to handle, especially for novice bakers learning white chocolate seized troubleshooting techniques.
Common Causes of White Chocolate Seizing During Baking
Several factors can trigger white chocolate seizing. Understanding these common culprits is crucial for preventing the issue before it starts. Often, seizing is a result of improper handling or environmental conditions rather than a fault with the chocolate itself, assuming you've chosen a quality product.
The Role of Moisture: How Water Affects White Chocolate
Moisture is arguably the most common cause of white chocolate seizing. As mentioned, water causes the sugar particles in the chocolate to clump together. This doesn't mean the chocolate has gone "bad," but rather that the sugar has crystallized out of the cocoa butter phase.
Imagine adding a drop of water to a bowl of powdered sugar – it immediately forms a hard lump. A similar process happens on a microscopic level with the sugar in melted white chocolate when it encounters water. Sources of moisture can be sneaky: a drop of condensation from a double boiler lid, a wet utensil, residual water in a bowl, or even steam from a nearby pot. It's paramount to ensure all your equipment is bone dry when melting white chocolate.
Overheating White Chocolate: Understanding Temperature Sensitivity
White chocolate has a relatively low melting point, typically between 80-86°F (27-30°C). However, it is very sensitive to high heat. If white chocolate is heated too quickly or to too high a temperature, the milk solids and sugar can scorch or burn, leading to a grainy texture that resembles seizing, even if no moisture was involved.
Direct heat, like melting chocolate directly in a saucepan over a flame, is particularly risky. The bottom layer of chocolate can quickly overheat while the rest is still melting. Even in a microwave, using too high power or heating for too long without stirring can cause localized overheating. Maintaining a gentle, consistent heat and stirring frequently is vital to prevent overheating and subsequent seizing or scorching.
Seed Chocolate: Understanding the Importance of Adding Chocolate
While often discussed in the context of tempering, adding "seed" chocolate (solid, unmelted pieces of the same type of chocolate) can also help prevent seizing, particularly when using methods like microwaving or melting over a double boiler off the heat. Seed chocolate helps regulate the temperature.
When you melt most of the chocolate and then stir in finely chopped pieces of solid chocolate, these pieces absorb some of the heat from the melted chocolate. This process brings the overall temperature down slightly and ensures that the melted chocolate remains at a safe, workable temperature, preventing it from overheating. It also helps ensure all the cocoa butter crystals melt properly, contributing to a smooth texture and preventing seizing due to improper melting.
Using Old or Poor Quality White Chocolate: Impact on Melting
The quality and freshness of your white chocolate can significantly impact how it melts. Low-quality white chocolate may contain less cocoa butter and more sugar or vegetable fats, which can affect its melting properties and make it more prone to seizing or a less-than-smooth texture.
Old white chocolate, even if stored correctly, can sometimes develop a "bloom" (fat or sugar crystals on the surface) and its overall structure can change. While bloom doesn't necessarily mean the chocolate is unusable, it can affect its melting characteristics. Using fresh, high-quality white chocolate specifically designed for baking, like couverture, which has a higher cocoa butter content (often 30-35% or higher), provides the best chance for smooth, consistent melting and reduces the likelihood of white chocolate seized troubleshooting issues.
White Chocolate Seizing Troubleshooting: Step-by-Step Solutions
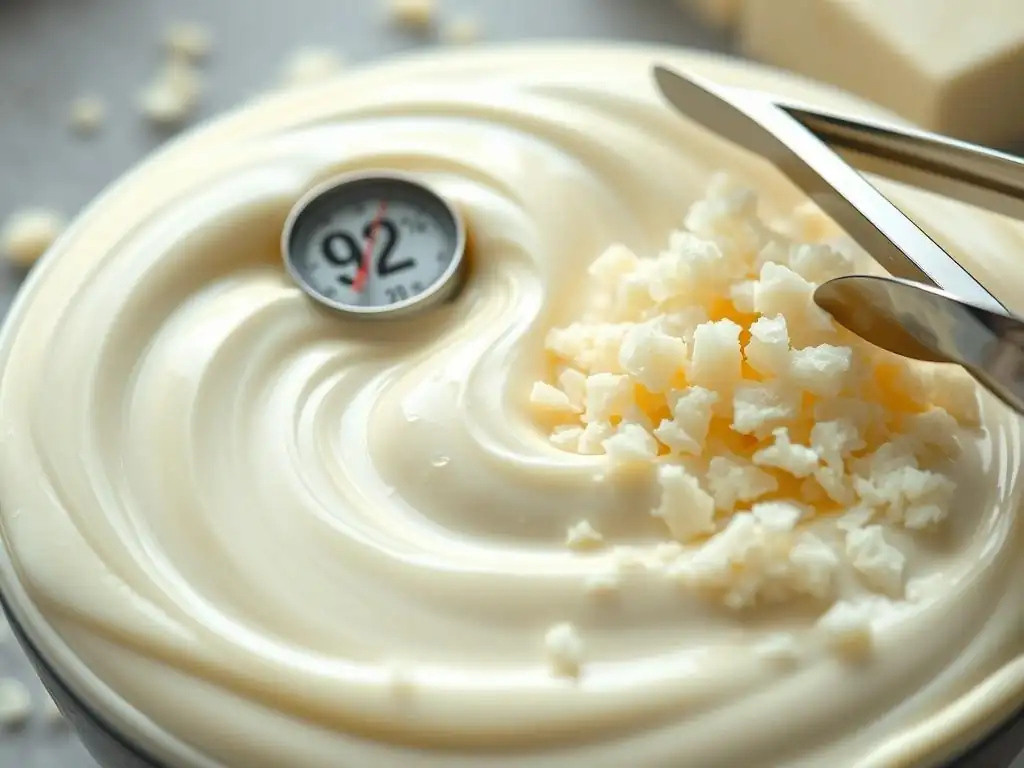
Discovering your white chocolate has seized can feel like a disaster, but don't despair immediately! There are a few techniques you can try to rescue it, or at least salvage it for another purpose. Acting quickly is often key.
Immediate Actions: What to Do When Your White Chocolate Starts to Seize
If you notice your white chocolate starting to thicken and become grainy while melting, the first thing to do is remove it immediately from the heat source. Stop stirring and assess the situation. If only a small portion has seized, sometimes vigorous stirring off the heat can sometimes smooth it out slightly, though this is less likely with white chocolate than dark chocolate due to its composition.
If the seizing is widespread, do not add more water, as this will only make it worse. The goal now is to try and re-emulsify the mixture. Have a small amount of hot liquid fat ready, such as melted cocoa butter, vegetable oil (like canola or sunflower), or even heavy cream. You'll need about 1-2 tablespoons of hot liquid per 6-8 ounces (approx. 170-225g) of seized white chocolate.
The "Cream Rescue" Technique: How to Potentially Save Seized White Chocolate
One of the most popular methods for attempting to rescue seized white chocolate is the "cream rescue" technique. This involves stirring in a small amount of very hot liquid fat or dairy. Heavy cream is often recommended because its fat content helps re-incorporate the sugar and milk solids into a smoother mixture.
Heat a small amount of heavy cream (about 1-2 tablespoons per cup of seized chocolate) until it is very hot, almost simmering. Remove the seized chocolate from the heat and add the hot cream one tablespoon at a time, stirring vigorously and continuously with a whisk or spatula. The mixture might look worse initially, but keep stirring.
The hot fat/liquid can help break down the clumps and create a more fluid consistency. You may need to add a second tablespoon. This method often results in a consistency more like a ganache or a thick sauce rather than pure melted chocolate, but it can save the batch from being completely wasted for some applications.
Salvaging Seized White Chocolate: Alternative Uses and Recipes [Example: Making White Chocolate Mousse]
Sometimes, despite your best efforts, the seized white chocolate cannot be returned to a perfectly smooth, pourable consistency suitable for dipping or fine coating. However, a slightly grainy or thickened texture is perfectly acceptable for other uses. Don't throw it away!
Seized white chocolate can often be salvaged for recipes where texture is less critical or where it will be combined with other ingredients that mask the graininess. For example, you can use seized white chocolate to make a quick white chocolate mousse. Simply melt the seized chocolate gently (perhaps with a little more cream if needed to make it somewhat workable), let it cool slightly, and then fold it into whipped cream.
The texture of the whipped cream helps hide any slight graininess. Other uses include incorporating it into cookie doughs, brownie batter, or using it as a base for a no-bake cheesecake filling, where its slightly firmer, grainier texture won't negatively impact the final product. Learning white chocolate seized troubleshooting includes finding creative ways to use imperfect results.
Preventing White Chocolate Seizing: Best Practices for Baking Success
Prevention is always better than cure, especially when it comes to the finicky nature of white chocolate. By adopting careful melting techniques and being mindful of potential hazards, you can dramatically reduce the chances of your white chocolate seizing. These best practices are essential for anyone frequently working with white chocolate in baking.
Choosing the Right White Chocolate: Quality Matters
Starting with high-quality white chocolate is the first step in preventing seizing issues and ensuring a good final product. Look for white chocolate that lists cocoa butter as the first or second ingredient (after sugar). Couverture white chocolate, which contains a higher percentage of cocoa butter (often 30-35% or more), is generally preferred for melting, dipping, and coating because the extra cocoa butter contributes to a smoother melt and a better texture.
Avoid "white baking chips" or "confectionery coating" that list vegetable oils or palm kernel oil as the primary fat instead of cocoa butter. These products are designed to hold their shape and melt differently than real white chocolate; while some might melt smoothly, they are not true chocolate and may not behave as expected in recipes calling for real white chocolate, and their composition can sometimes make them more susceptible to clumping under heat.
Proper Melting Techniques: The Double Boiler Method for White Chocolate
The double boiler is widely considered one of the safest methods for melting white chocolate because it provides gentle, indirect heat. To use a double boiler, fill a saucepan with about an inch or two of water and bring it to a gentle simmer. Place a heatproof bowl (glass or stainless steel) containing the chopped white chocolate over the saucepan, ensuring the bottom of the bowl does not touch the water.
The steam from the simmering water will gently heat the bowl and melt the chocolate. Stir the chocolate frequently with a dry rubber spatula or spoon. Remove the bowl from the heat just as a few small pieces of chocolate remain, and continue stirring until the residual heat melts them completely. This prevents overheating. Always use a bowl that fits snugly over the pan to prevent steam from escaping and dripping condensation into your chocolate. This is a key technique in white chocolate seized troubleshooting prevention.
Microwaving White Chocolate: A Controlled Approach
Melting white chocolate in the microwave is faster than a double boiler but requires more vigilance to prevent overheating. Use a microwave-safe bowl and start by heating the chopped white chocolate on 50% power for 30-second intervals.
After each 30-second burst, remove the bowl and stir the chocolate thoroughly, even if it doesn't look melted. The chocolate retains its shape even when melting, and stirring helps distribute the heat evenly. Continue heating in 15-20 second intervals, stirring well after each, until the chocolate is mostly melted with just a few small lumps remaining. Remove it from the microwave and stir until completely smooth. Overheating is the primary risk with this method, so low power and frequent stirring are non-negotiable.
Avoiding Moisture: Keeping Your Equipment and Chocolate Dry
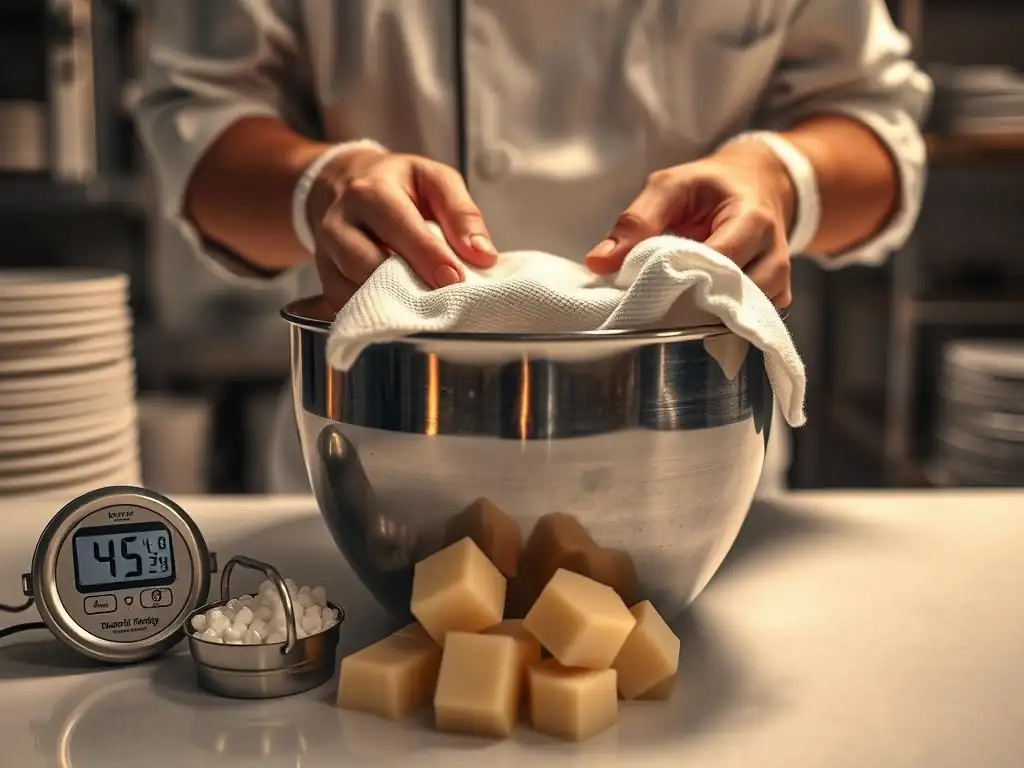
This cannot be stressed enough: any contact with water is the enemy of melting white chocolate. Ensure every single piece of equipment that will touch the chocolate – your bowl, spatula, spoon, and even the surface you chop the chocolate on – is completely, absolutely dry.
Wash and dry everything thoroughly beforehand. If using a double boiler, be mindful of steam and condensation. Use a bowl that creates a good seal over the saucepan. If working in a steamy kitchen environment, consider moving to a drier spot. Even residual water droplets from washed fruit or condensation from a cold ingredient added too soon can trigger seizing. Diligence in keeping everything dry is a fundamental step in avoiding white chocolate seized troubleshooting.
Temperature Control: Maintaining the Ideal Melting Range for White Chocolate
White chocolate melts at a relatively low temperature (80-86°F or 27-30°C). The goal is to reach this melted state without exceeding it significantly. Overheating causes the milk solids and sugar to become grainy and can initiate seizing.
When using a double boiler, remove the chocolate from the heat as soon as most of it is melted. The residual heat will finish the job. When microwaving, use low power and short bursts.
If you are incorporating melted white chocolate into a warm mixture (like a ganache), ensure the other ingredients are not excessively hot. Ideally, they should be warm enough to keep the chocolate melted but not so hot as to scorch it. Aim for temperatures generally below 100-110°F (38-43°C) when combining melted white chocolate with other ingredients, unless the recipe specifically dictates a higher temperature for emulsification (like a hot ganache).
White Chocolate Tempering and Seizing: Understanding the Connection
Tempering chocolate is a process of carefully melting and cooling chocolate to specific temperatures to stabilize the cocoa butter crystals. This results in chocolate that sets up firm, shiny, and with a satisfying snap. While tempering is a separate process from simply melting, issues during tempering can sometimes lead to a texture that resembles seizing.
Does Tempering Prevent Seizing? Exploring the Relationship
Tempering itself doesn't directly prevent seizing caused by moisture, but proper tempering techniques inherently involve careful temperature control and often the use of seed chocolate, which are also key strategies for preventing seizing.
If chocolate seizes due to moisture or overheating before or during the tempering process, it cannot be tempered successfully. The grainy, clumpy texture of seized chocolate means the cocoa butter crystals cannot align properly. So, while tempering doesn't make chocolate impervious to water, the practices used in successful tempering (gentle heat, avoiding overheating, sometimes using seed chocolate) are the same practices that help prevent seizing in the first place. A successful temper requires the chocolate to be perfectly smooth and free of any seizing.
When to Temper White Chocolate: Recommended Applications
Tempering is necessary when you need white chocolate to set hard, shiny, and stable at room temperature. This is typically for applications like dipping candies, making molded chocolates, creating chocolate decorations, or coating cakes and pastries.
If you are simply melting white chocolate to incorporate into a batter, dough, ganache, or sauce where it will remain soft or be combined with other ingredients, tempering is usually not necessary. For example, melting white chocolate for a mousse or cookie dough does not require tempering. Understanding when tempering is needed helps you decide whether to follow the more rigorous temperature steps of tempering or simply focus on gentle melting to avoid seizing.
White Chocolate Seizing Troubleshooting: Advanced Tips and Tricks
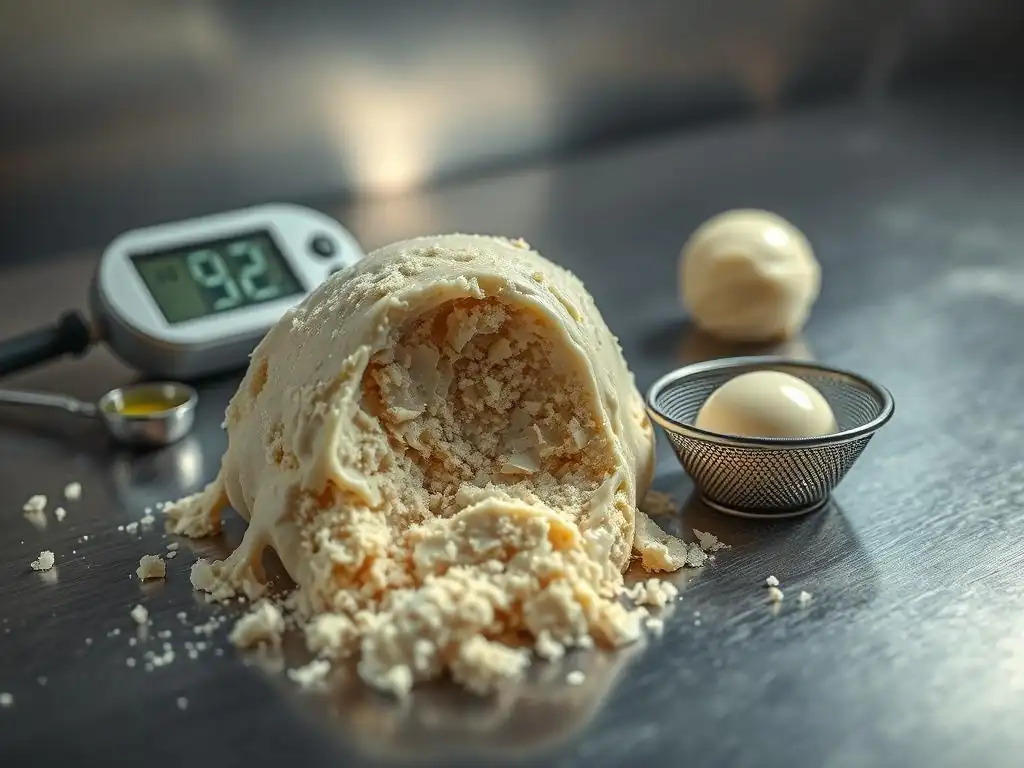
Beyond the basic prevention and rescue techniques, a few advanced strategies can help you work successfully with white chocolate, especially in challenging recipes. These tips often involve understanding the role of fats and emulsifiers.
Adding Fat to Prevent Seizing: Cocoa Butter or Vegetable Shortening?
Adding a small amount of fat can sometimes help improve the flow and prevent seizing, especially in slightly problematic situations. Pure cocoa butter is the ideal addition as it is the natural fat of chocolate. Adding 1-2 teaspoons of melted cocoa butter per cup of white chocolate can make it more fluid and potentially more forgiving of minor temperature fluctuations.
While vegetable shortening (like Crisco) or other vegetable oils can be added to make melted chocolate more fluid, be aware that this changes the composition of the chocolate. It will no longer be "pure" white chocolate, and the final texture and flavor will be affected. This is more common in confectionery coatings than high-quality white chocolate work. If you choose this route for white chocolate seized troubleshooting, use a neutral-flavored oil sparingly.
Using Emulsifiers: Lecithin and Its Benefits for White Chocolate
Lecithin is a natural emulsifier commonly found in chocolate (often derived from soy or sunflower). It helps bind the fat and water components together, creating a smoother, more stable mixture. High-quality white chocolate often contains lecithin.
If you are working with a white chocolate that seems particularly prone to seizing or has a lower cocoa butter content, adding a tiny amount of lecithin powder or liquid (available at specialty baking stores) might help. Use it very sparingly, as too much can affect the texture. A common recommendation is about 0.25-0.5% of the chocolate's weight. The lecithin helps improve the flow properties and can slightly increase the chocolate's tolerance for minor errors in temperature or moisture.
Adjusting Recipes to Account for White Chocolate's Sensitivity
Sometimes, it's necessary to adjust a recipe slightly when working with white chocolate compared to dark or milk chocolate. Due to its sensitivity, it's often best to add melted white chocolate as the last ingredient when combining it with liquids or batters.
For example, when making a white chocolate ganache, ensure the cream is hot enough to melt the chocolate but not boiling. Pour the hot cream over the chopped white chocolate, let it sit for a minute or two to start melting, and then stir gently from the center outwards. For batters, ensure the melted white chocolate has cooled slightly before incorporating it to avoid cooking other ingredients like eggs or causing rapid temperature shock. Planning the order of operations and temperature of ingredients is key to avoiding white chocolate seized troubleshooting.
White Chocolate Seizing Troubleshooting: Addressing Specific Scenarios
Seizing can occur in various baking applications involving white chocolate. Understanding the unique challenges of each scenario can help you apply the right prevention and troubleshooting techniques.
Seizing in Ganache: Troubleshooting White Chocolate Ganache
White chocolate ganache, a simple mixture of white chocolate and cream, is a common place for seizing to occur, often due to incorrect ratios or temperature. The standard ratio for a pourable ganache is roughly 2 parts white chocolate to 1 part heavy cream by weight. For a thicker, whipable ganache, it might be closer to 3:1.
To prevent seizing, heat the cream until it's hot but not boiling. Pour it over finely chopped white chocolate in a heatproof bowl. Let it sit undisturbed for 5 minutes to allow the heat to transfer, then stir gently from the center outwards until smooth.
If it looks slightly separated or oily (on the verge of seizing or breaking), try whisking in a tiny amount of hot milk or cream (a teaspoon at a time) to bring it back together. Vigorous whisking can sometimes help re-emulsify a ganache that is just starting to separate, a common white chocolate seized troubleshooting step in this context.
Seizing in Fondue: Keeping the Flow Smooth
White chocolate fondue can seize if it gets too hot or if someone dips something wet into it (like a piece of fruit just out of the wash). To keep white chocolate fondue smooth, melt it gently over very low, indirect heat (like a fondue pot designed for chocolate or a double boiler).
Maintain the temperature just warm enough to keep it liquid, not hot. If the fondue starts to thicken or show signs of graininess, remove it from the heat immediately. You can try stirring in a tablespoon of hot heavy cream or melted cocoa butter to see if you can smooth it out. Ensure anything being dipped is completely dry. Adding a splash of liqueur or a tiny bit of neutral oil before melting can also sometimes help maintain a smoother consistency, though this changes the fondue's flavor and texture.
Seizing During Chocolate Dipping: Maintaining a Consistent Coating
Dipping items like strawberries, pretzels, or cookies in white chocolate requires the chocolate to remain smooth and fluid. Seizing during dipping can happen if the chocolate cools too much, if moisture is introduced (from the items being dipped or condensation), or if it's reheated improperly.
Keep the melted white chocolate warm using a gentle method, like setting the bowl over a pan of warm (not simmering) water off the heat or using a chocolate melting pot. Ensure the items you are dipping are completely dry and at room temperature (cold items cause the chocolate to set too quickly and can introduce condensation). If the chocolate starts to thicken, reheat it very gently using one of the approved methods (double boiler off the heat, or short bursts in the microwave on low power), stirring constantly.
Do not overheat it in an attempt to make it more fluid. Proper temperature maintenance is key for successful dipping and avoiding white chocolate seized troubleshooting.
Mastering White Chocolate: Avoiding Seizing and Achieving Baking Perfection
Working with white chocolate doesn't have to be a source of frustration. By understanding its unique properties, practicing careful technique, and being mindful of moisture and temperature, you can confidently incorporate this sweet ingredient into your baking.
Remember the core principles: use quality chocolate, melt it gently using indirect heat (double boiler) or controlled microwave power, ensure all equipment is perfectly dry, and avoid overheating. If seizing does occur, don't give up – try the rescue techniques or find an alternative use for the chocolate. With practice and attention to detail, you'll master working with white chocolate, leaving white chocolate seized troubleshooting behind and achieving beautiful, smooth, and delicious results in all your baking endeavors.
Frequently Asked Questions
Why did my white chocolate seize?
White chocolate seizes primarily due to excessive heat or the introduction of even a small amount of water or steam. This causes the sugar crystals to clump together.
How can I prevent white chocolate from seizing in the first place?
The best way to prevent seizing is to melt white chocolate gently over low heat, using a double boiler or microwave in short intervals. Ensure all utensils are completely dry.
What temperature should I aim for when melting white chocolate?
White chocolate is delicate. Aim for a temperature range of 110-115°F (43-46°C). Exceeding this temperature significantly increases the risk of seizing.
Can I fix seized white chocolate?
Sometimes, yes! Adding a very small amount of vegetable shortening or melted coconut oil, stirring vigorously, can sometimes re-emulsify the mixture. Don't add water, as this will make it worse.
Is seized white chocolate still usable?
Even if you can't completely fix it, seized white chocolate can still be used. It might not be ideal for dipping or coating, but it can work well in baked goods like cookies or brownies where the texture is less critical.
Final Reflection: The Sweet Science of Saving Seized White Chocolate
The delicate dance of tempering white chocolate remains a crucial skill for bakers, and understanding why it seizes is the first step to mastering this art. A seemingly small issue, seized white chocolate can derail even the most meticulously planned dessert, highlighting the importance of understanding the underlying science. This knowledge isn't just for professional pastry chefs; it empowers every home baker to achieve consistently smooth, glossy results.
The frustration of a seized batch is a universal experience for anyone who works with white chocolate. It's a stark reminder of the delicate balance required in baking, a balance that extends beyond just the precise measurements of ingredients. The secret to success is to always keep learning, keep experimenting, and keep tasting.
This quote, while not specifically about white chocolate, perfectly encapsulates the spirit of baking and the continuous learning process involved in perfecting techniques like tempering. The ongoing struggle and eventual triumph over seized chocolate becomes a metaphor for perseverance in any creative endeavor.
Now, armed with the troubleshooting techniques outlined in this article, you have the power to prevent this culinary catastrophe. Consider this not just a guide to fixing a problem, but a pathway to greater confidence in your baking abilities. Don't let seized white chocolate discourage you; let it inspire you to delve deeper into the fascinating world of chocolate tempering. The next time you face a challenge in the kitchen, remember the lessons learned here – patience, precision, and a willingness to learn from mistakes are the keys to unlocking your full baking potential.
Rediscover Perfectly Smooth White Chocolate!
Thanks for taking the time to learn about the mysteries of white chocolate seizing! We hope you now feel more confident in avoiding this baking mishap. Ready to put your newfound knowledge to the test?
- Try our foolproof white chocolate melting technique: Practice makes perfect! Our article provides detailed steps, but don't hesitate to experiment and find what works best for your kitchen and equipment.
- Share your successes (and even your "oops" moments!) in the comments below – we'd love to hear your experiences and learn from each other!
- Challenge yourself: Try baking a recipe featuring white chocolate this week! What delicious creation will you make?
Are you ready to conquer white chocolate and create flawlessly smooth treats?