
NoKnead Bread Rolls: Effortless Baking for Busy Days

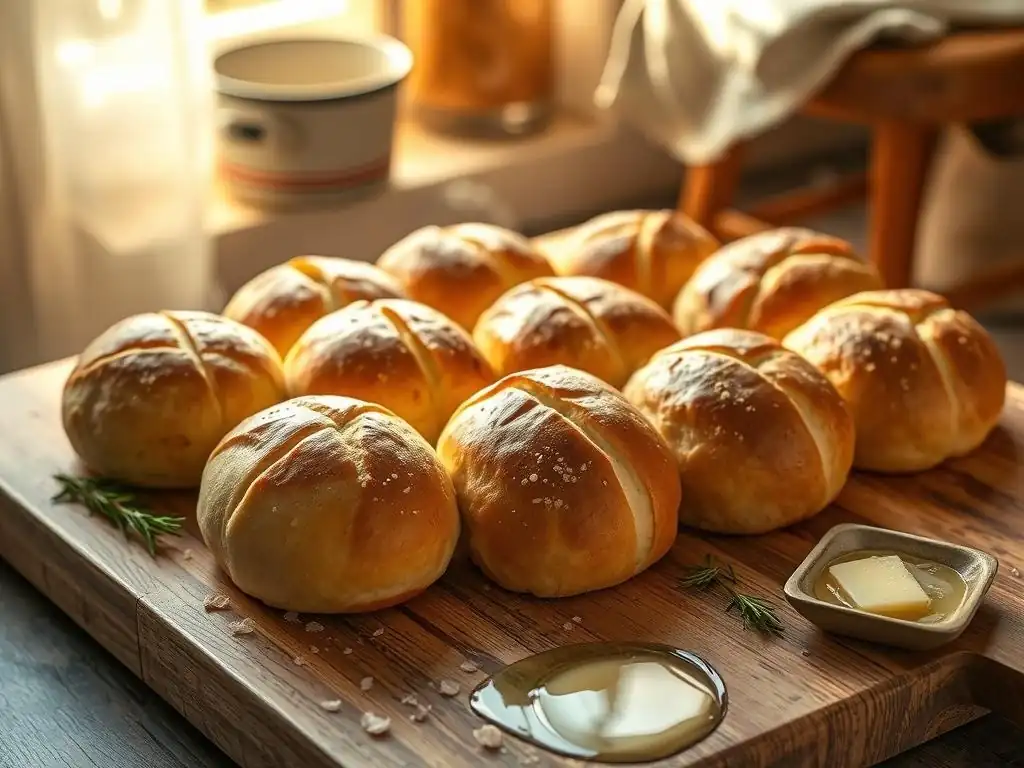
Welcome to BakeWithEase, your kitchen companion for delicious baking adventures! Ready to enjoy the satisfying aroma of freshly baked bread without the fuss? Discover the secret to incredibly soft and flavorful no-knead bread rolls with our easy-to-follow guide. Intrigued by the simplicity? Let's unlock the magic of effortless bread baking and transform your busy days with warm, homemade goodness – read on to discover how!
- NoKnead Bread Rolls: Effortless Baking for Busy Days | BakeWithEase.com
- Introduction to NoKnead Bread Rolls: Effortless Baking for Busy Days
- Understanding Sourdough Fermentation
-
Step-by-Step Guide: Baking Your Own Sourdough Dinner Rolls
- Preparing the Sourdough Starter: Feeding and Maintaining Your Culture
- Mixing the Dough: Achieving Optimal Hydration and Texture
- Bulk Fermentation: Developing Flavor and Structure
- Shaping Your Rolls: Techniques for Consistent Results
- Proofing: Preparing the Rolls for Baking
- Baking to Perfection: Achieving a Golden Crust and Soft Interior
- Variations and Flavor Enhancements for Sourdough Rolls
- Tips and Tricks for Sourdough Bread Roll Success
- Serving Suggestions: Enjoying Your Freshly Baked Rolls
- Conclusion: Embrace Effortless Baking with No-Knead Bread Rolls from BakeWithEase
- Frequently Asked Questions
- Final Reflection: The Joy of Effortless Baking
- Unleash Your Inner Baker: Effortless Rolls Await!
NoKnead Bread Rolls: Effortless Baking for Busy Days | BakeWithEase.com
Introduction to NoKnead Bread Rolls: Effortless Baking for Busy Days
Why Sourdough Rolls Offer a Unique Flavor Profile
No-knead bread rolls represent the pinnacle of easy baking, making them perfect for busy schedules. Unlike traditional bread that demands vigorous kneading to develop gluten, the no-knead method relies on time. A long fermentation period, often stretching 12 to 18 hours at room temperature, allows enzymes and yeast activity to naturally build the dough's structure and complex flavors. This passive approach means you spend mere minutes mixing ingredients, then simply wait for nature to do its work, resulting in wonderfully textured rolls with minimal effort.
The beauty of no-knead bread rolls lies in their simplicity and the depth of flavor achievable with just four basic ingredients: flour, water, yeast, and salt. While lacking the specific tang of sourdough, the extended fermentation develops nuanced flavors often missing in quick breads. The high hydration typical in these doughs contributes to a moist interior and a wonderfully crisp crust when baked correctly. It's a technique that proves you don't need hours of hands-on work to produce impressive, delicious bread rolls right in your own kitchen.
TheArtisanBaker Presents: A Guide to Baking Authentic Sourdough Rolls
Welcome to BakeWithEase! We understand that finding time for baking can be a challenge, but the desire for warm, fresh bread rolls is universal. That's why we're thrilled to present our guide to baking effortless no knead bread rolls. This method simplifies the process dramatically, requiring no special equipment like stand mixers and very little active time. It's perfect for beginners and seasoned bakers alike who appreciate efficiency without sacrificing quality.
Our step-by-step guide will walk you through the entire process, from the initial mix to the final golden-brown roll. We'll share tips for success, common pitfalls to avoid, and ideas for customizing your no-knead bread rolls. Imagine pulling warm, fragrant rolls from your oven with only minutes of preparation time. This guide is designed to make that a reality, proving that delicious, homemade bread is accessible even on your busiest days. Let's dive into the world of no-knead baking!
Understanding Sourdough Fermentation
The Science Behind Sourdough: Wild Yeast and Tangy Flavor
In the world of no-knead bread rolls, the "science" is less about wild yeast tang and more about the magic of time and minimal effort. Unlike sourdough, which relies on a symbiotic culture of wild yeast and bacteria, no-knead recipes typically use commercial yeast. However, the principle of fermentation is still key. The long, slow fermentation period allows amylase enzymes in the flour to break down complex starches into simpler sugars. This provides ample food for the yeast, which then produces carbon dioxide gas, causing the dough to rise, and alcohol, which contributes to flavor.
Crucially, this extended rest also allows gluten development to occur passively. As the dough hydrates and rests over many hours, the protein strands in the flour (glutenin and gliadin) naturally bond and align, forming the gluten network that gives bread its structure and chewiness. This process, known as autolysis and enzymatic activity, replaces the need for mechanical kneading. The result is a dough that, while initially shaggy and wet, transforms into a cohesive, bubbly mass ready to become beautiful no knead bread rolls, all thanks to patience and chemistry.
Key Ingredients for Perfect Sourdough Rolls: A TheArtisanBaker Guide
Crafting perfect no-knead bread rolls requires just a handful of standard pantry ingredients. The foundation is flour, typically all-purpose or bread flour. All-purpose flour works well and is readily available, usually containing around 10-12% protein. Bread flour, with its higher protein content (often 12-14%), can provide a slightly chewier texture and more robust structure, which some bakers prefer for high-hydration doughs. Experimenting with a mix, like 50% all-purpose and 50% bread flour, is also an option.
Water is essential for hydrating the flour and activating the yeast. The exact amount relative to flour determines the hydration level, which is crucial in no-knead methods, often ranging from 75% to 80% hydration (meaning 75-80 grams of water per 100 grams of flour).
Yeast, usually instant or active dry yeast, is the leavening agent; just a small amount (perhaps 0.25 to 0.5% of the flour weight for a long ferment) is needed for the extended fermentation. Finally, salt (around 1.5-2% of the flour weight) is vital for flavor and also helps regulate yeast activity and strengthen the gluten structure.
Step-by-Step Guide: Baking Your Own Sourdough Dinner Rolls
Preparing the Sourdough Starter: Feeding and Maintaining Your Culture
For no-knead bread rolls, the first step isn't about feeding a starter, but simply combining the core ingredients. In a large bowl, measure your flour, salt, and yeast. If using active dry yeast instead of instant, you might bloom it first in a small amount of the warm water with a pinch of sugar for 5-10 minutes until frothy, although this is often unnecessary with fresh yeast. The water temperature for mixing is often lukewarm, around 100-110°F (38-43°C), to help activate the yeast initially, though room temperature water works fine for the long ferment.
Once the dry ingredients are combined, add the measured water. Using a spoon or spatula, stir everything together until no dry pockets of flour remain. The dough will look shaggy, wet, and sticky – this is exactly the right consistency for no-knead dough. Do not attempt to knead it smooth. Simply scrape down the sides of the bowl, cover the bowl tightly with plastic wrap, and leave it at room temperature for the long fermentation period, typically 12 to 18 hours, or even up to 24 hours depending on the room temperature.
Mixing the Dough: Achieving Optimal Hydration and Texture
The mixing process for no-knead bread rolls is refreshingly simple. After combining the flour, salt, and yeast in your mixing bowl, add the total amount of water specified in the recipe. A typical recipe for a batch of rolls might use around 300-400 grams of flour and 225-320 grams of water, achieving that high hydration level (75-80%). Use a sturdy spoon or a dough whisk to mix the ingredients until they just come together. There's no need for a stand mixer or hand kneading.
The goal is simply to ensure all the flour is hydrated and incorporated into the dough. The resulting mixture will be very sticky and wet, much wetter than traditional bread dough. This high hydration is key to the no-knead method, as it facilitates the enzymatic activity and gluten development during the long rest. Don't be tempted to add more flour at this stage; embrace the stickiness! Cover the bowl, and let time work its magic. The dough will transform significantly over the next several hours as fermentation progresses.
Bulk Fermentation: Developing Flavor and Structure
Bulk fermentation is the cornerstone of developing flavor and structure in no-knead bread rolls. After mixing, the covered dough rests at room temperature for an extended period, usually 12 to 18 hours. During this time, the yeast consumes sugars, producing carbon dioxide bubbles that cause the dough to rise and become airy. Enzymes break down starches, contributing to a more complex flavor profile. Simultaneously, the gluten network strengthens passively through hydration and time.
You'll notice the dough approximately doubles in size and the surface will be covered in small bubbles. The dough might also have a slightly alcoholic or yeasty aroma. For optimal results, the ideal room temperature is often cited as 68-75°F (20-24°C). Temperatures significantly outside this range can alter the fermentation time; warmer temperatures speed it up, while cooler temperatures slow it down. A properly bulk-fermented dough is crucial for the final texture and taste of your no knead bread rolls.
Shaping Your Rolls: Techniques for Consistent Results
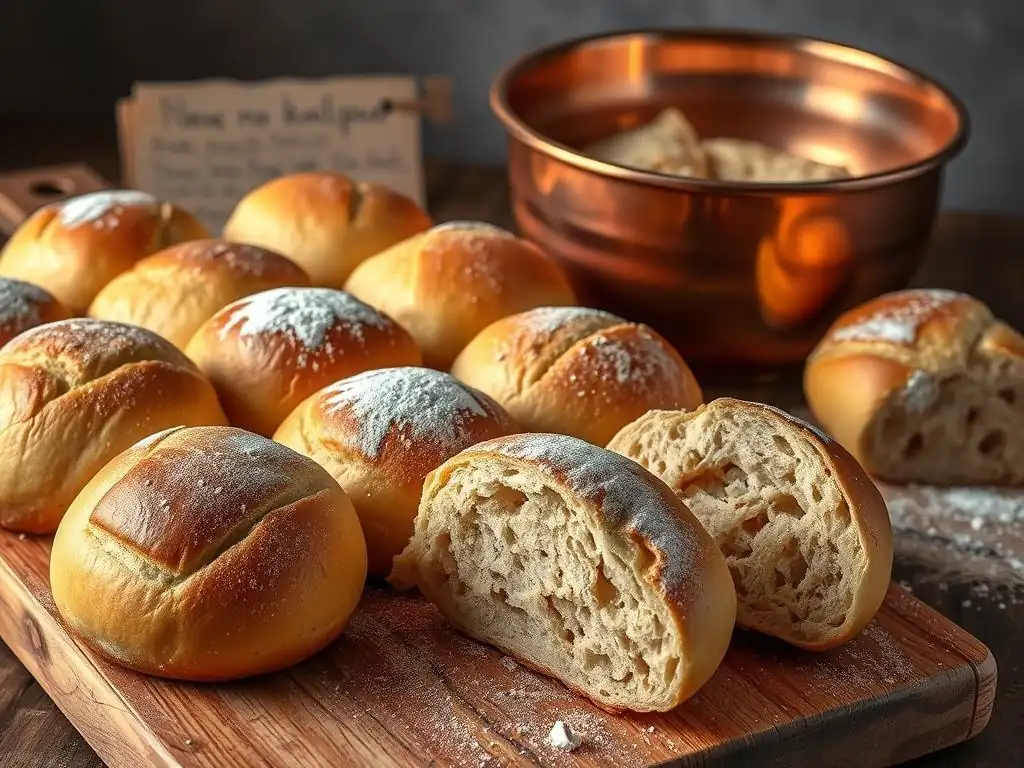
After the long bulk fermentation, your no-knead dough will be bubbly and significantly increased in volume. Handling this wet dough requires a light touch. First, generously flour your work surface – parchment paper or a silicone mat works well to prevent sticking. Gently scrape the dough out of the bowl onto the floured surface. Avoid punching down the dough or degassing it aggressively, as you want to preserve the airy structure developed during fermentation.
Using a bench scraper or floured hands, divide the dough into equal portions for your rolls. A common size for dinner rolls is around 60-80 grams each, yielding about 8-12 rolls from a standard recipe. To shape, gently fold the edges of each portion underneath to create tension on the surface, forming a rough ball. You can also cup your hand around the dough portion and gently swirl it against the surface to create a tight, smooth top surface. Arrange the shaped no knead bread rolls on a baking sheet lined with parchment paper, leaving space between them.
Proofing: Preparing the Rolls for Baking
Once shaped, the no-knead bread rolls need a final proofing period before baking. Cover the baking sheet loosely with plastic wrap or a clean kitchen towel to prevent the rolls from drying out. The rolls should proof at room temperature for typically 30 to 60 minutes. The exact time will depend on the temperature of your kitchen and how active your dough is.
During proofing, the rolls will increase in size, becoming visibly puffier. A good way to test if they are ready is the "poke test": gently press a floured finger into the side of a roll. If the indentation springs back slowly and not completely, the roll is properly proofed. If it springs back immediately, it needs more time. If the indentation remains completely, it might be slightly over-proofed, but can likely still be baked successfully. Proper proofing ensures your no knead bread rolls have a light, airy texture after baking.
Baking to Perfection: Achieving a Golden Crust and Soft Interior
Baking no-knead bread rolls at a high temperature is key to achieving a beautiful golden crust and excellent oven spring. Preheat your oven, ideally with a baking stone or steel inside if you have one, to a high temperature like 450°F (230°C) or even 475°F (245°C). High heat sets the crust quickly, allowing the inside to continue expanding.
To promote a crisp crust, creating steam in the oven is highly recommended. You can do this by placing a tray of hot water on the bottom rack of the oven when preheating, or by carefully pouring a cup of hot water into a preheated cast iron pan on the bottom rack right after placing the rolls in the oven.
Carefully transfer the baking sheet with the proofed no knead bread rolls into the preheated oven. Bake for approximately 20-30 minutes. The baking time will vary depending on your oven and the size of your rolls. The rolls are done when they are deeply golden brown on top and bottom and sound hollow when tapped on the bottom. An internal temperature of 200-210°F (93-99°C) also indicates they are fully baked. Remove the rolls from the oven and transfer them to a wire rack to cool completely before slicing or serving, although they are also heavenly warm.
Variations and Flavor Enhancements for Sourdough Rolls
Adding Seeds and Grains: Enhancing Texture and Flavor
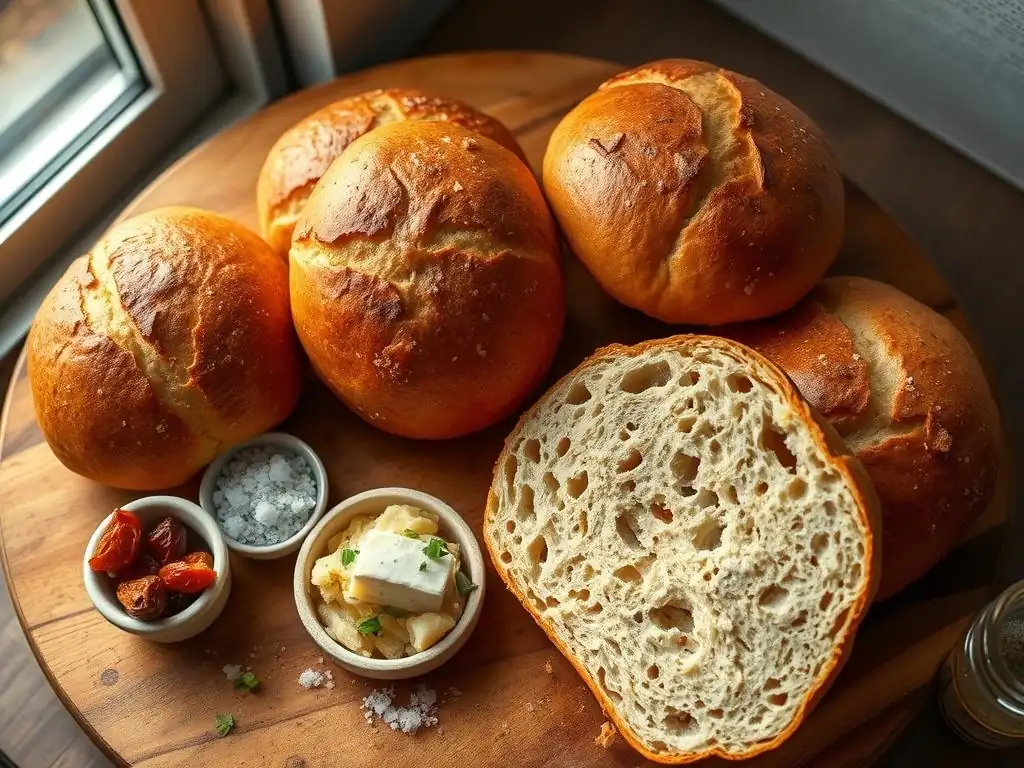
Enhancing your basic no-knead bread rolls with seeds and grains is a simple way to add extra texture, flavor, and nutritional value. You can incorporate seeds like sesame, poppy, sunflower, or flax seeds directly into the dough during the initial mixing phase. For a batch using 300-400g of flour, start with 2-3 tablespoons of mixed seeds. Alternatively, you can sprinkle seeds on top of the shaped rolls just before proofing or baking.
Adding cooked grains like oats, quinoa, or cracked wheat (soaked overnight) can also add chewiness and depth. If adding grains, you might need to slightly adjust the water content as grains absorb moisture. As a starting point, you could replace 10-15% of the white flour with whole wheat flour for a nuttier flavor and denser crumb, or mix in a few tablespoons of rolled oats. These additions transform simple no knead bread rolls into heartier, more complex delights.
Garlic Herb Sourdough Rolls: A Savory Delight
Transform your no-knead bread rolls into a savory treat by incorporating garlic and herbs. Finely minced fresh garlic, roasted garlic cloves, or even garlic powder can be added to the dough during the initial mixing. For a standard batch, 1-2 cloves of minced fresh garlic or 1 teaspoon of garlic powder is a good starting point. Be mindful that fresh garlic can sometimes inhibit yeast activity if used in very large quantities, so moderation is key.
Fresh or dried herbs like rosemary, thyme, chives, or parsley work wonderfully. Add about 1-2 tablespoons of chopped fresh herbs or 1-2 teaspoons of dried herbs to the dry ingredients before mixing in the water. The long fermentation allows the flavors of the garlic and herbs to infuse throughout the dough. These savory no knead bread rolls are perfect served warm with soup or pasta dishes.
Cinnamon Swirl Sourdough Rolls: A Sweet and Tangy Treat
While the no-knead method is traditionally used for rustic loaves, it can be adapted for sweeter applications like cinnamon swirl rolls. This adaptation typically involves adding a small amount of sugar (perhaps 1-2 tablespoons per 400g flour) to the dough mix to feed the yeast and add a hint of sweetness. After the bulk fermentation, instead of just shaping simple rolls, you'd gently turn the dough out, shape it into a rectangle, sprinkle generously with cinnamon and sugar (and perhaps softened butter), roll it up like a jelly roll, and then slice into individual rolls before the final proof.
The process is slightly more hands-on during the shaping stage than basic no-knead bread rolls, but still avoids the initial intensive kneading. The long fermentation still contributes flavor and texture. Baking these sweet rolls might require a slightly lower temperature or shorter time than savory rolls to prevent the sugar from burning. They offer a delightful twist on the classic no-knead technique, resulting in soft, sweet buns perfect for breakfast or dessert.
Tips and Tricks for Sourdough Bread Roll Success
Troubleshooting Common Sourdough Baking Problems
When baking no-knead bread rolls, encountering issues is part of the learning process. One common problem is dense or heavy rolls. This can often be attributed to under-proofing; the dough didn't have enough time to develop sufficient gas before baking. Ensure your bulk ferment and final proof are adequate, considering your kitchen temperature. Conversely, flat rolls that spread too much can be a sign of over-proofing, where the gluten structure has weakened, or the dough was too wet (too high hydration).
Another issue is a pale crust. This usually means the oven wasn't hot enough, or there wasn't enough steam during the initial baking phase. Make sure your oven is fully preheated, ideally for 30-60 minutes, and use a steam method. Sticky dough that's hard to handle is normal for high-hydration no-knead doughs; use generous flour on your hands and work surface, and handle the dough gently and minimally. Patience and attention to dough consistency throughout the process are key to successful no knead bread rolls.
Scoring Techniques: Achieving Beautiful Oven Spring
Scoring, or making cuts on the surface of bread dough before baking, isn't strictly necessary for all no-knead bread rolls, but it serves a purpose beyond aesthetics. Scoring provides weak points on the dough's surface, allowing the rapidly expanding dough to burst open in a controlled manner during oven spring (the final burst of rising in the oven). Without scoring, the crust might tear unpredictably as the dough expands.
For rolls, simple cuts are usually sufficient. A single slash across the top or a cross pattern works well. Use a very sharp blade, like a razor blade (lame) or a sharp knife, and make quick, clean cuts about 1/4 to 1/2 inch deep just before placing the rolls in the oven. The dough surface will be taut from proofing, making scoring easier. Proper scoring helps ensure even expansion and contributes to the rustic charm of homemade no knead bread rolls.
Storing and Reheating Your Sourdough Bread Rolls
Freshly baked no-knead bread rolls are best enjoyed warm from the oven, but they can be stored for later. At room temperature, store cooled rolls in a paper bag to maintain a crisp crust, or in a plastic bag or airtight container to keep them softer, for 2-3 days. Avoid refrigerating bread, as it tends to dry it out quickly.
For longer storage, no knead bread rolls freeze exceptionally well. Once completely cooled, place them in a freezer-safe bag or container and freeze for up to 3 months. To reheat, thaw frozen rolls at room temperature for an hour or two. For best results, reheat rolls in a preheated oven at around 350°F (175°C) for 5-10 minutes until warmed through and the crust is refreshed. A quick refresh brings back that wonderful texture and aroma.
Serving Suggestions: Enjoying Your Freshly Baked Rolls
Complementary Dishes: Perfect Pairings for Your Sourdough Rolls
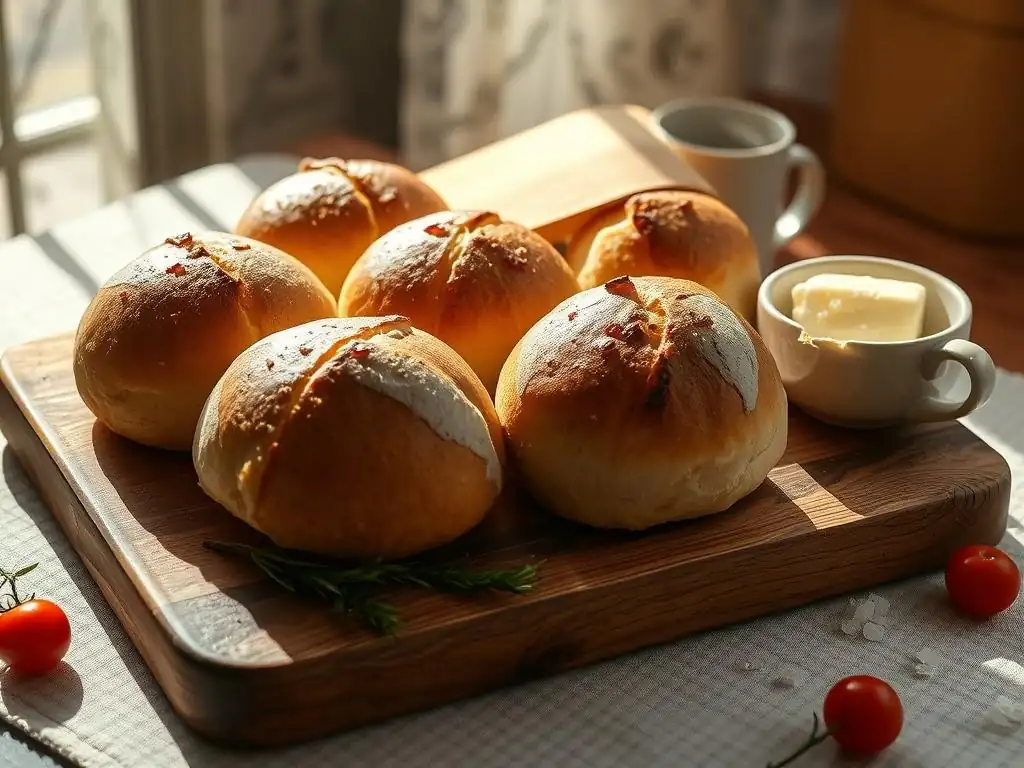
Warm, fresh no-knead bread rolls are incredibly versatile and pair beautifully with a wide range of dishes. Their slightly chewy interior and rustic crust make them an excellent accompaniment to hearty soups and stews, perfect for soaking up every last drop. Think classic tomato soup, beef stew, or a comforting lentil soup. They also make a fantastic side for pasta dishes, like spaghetti Bolognese or lasagna, serving as the ideal vehicle for rich sauces.
Beyond main courses, they are wonderful simply served with butter, jam, or honey. Slice them open and use them for mini sandwiches or sliders. Their sturdy structure holds up well to various fillings. A basket of these easy no knead bread rolls at the dinner table is guaranteed to be a crowd-pleaser, disappearing quickly as everyone reaches for seconds.
Sourdough Rolls for Holiday Feasts: Thanksgiving and Christmas
No-knead bread rolls are an absolute lifesaver for busy holiday meal preparation, like Thanksgiving and Christmas feasts. The majority of the work – the long fermentation – happens passively overnight or while you're busy with other holiday tasks. This means you can mix the dough the day before and simply shape and bake the rolls on the day of the gathering, freeing up valuable time and oven space until the final baking push.
Having warm, homemade no-knead bread rolls on your holiday table adds a special touch without adding stress. They are delicious alongside roasted turkey, ham, mashed potatoes, gravy, and cranberry sauce. The simple, comforting nature of these rolls complements the richness of holiday meals perfectly. Planning ahead with this easy technique allows you to serve impressive, fresh bread rolls and still enjoy the festivities.
Conclusion: Embrace Effortless Baking with No-Knead Bread Rolls from BakeWithEase
Baking delicious, homemade bread rolls doesn't have to be a daunting task that consumes your entire day. With the no-knead method, you can achieve wonderful results with minimal hands-on effort. This technique leverages the power of time and simple ingredients to develop flavor and structure, proving that effortless baking is truly possible. From the initial simple mix to the satisfying moment you pull golden no knead bread rolls from your oven, the process is designed for convenience.
We hope this guide from BakeWithEase inspires you to try baking no-knead bread rolls. Whether you're a complete beginner or looking for a reliable, low-effort recipe for busy days, this method delivers. Experiment with variations, enjoy the process, and savor the incredible taste and aroma of fresh bread made with ease. Happy baking!
Frequently Asked Questions
What exactly are No-Knead Bread Rolls?
They are bread rolls made using a simple method that eliminates the need for traditional kneading. The dough relies on a long fermentation period to develop its flavor and texture.
How much time commitment is actually required for No-Knead Bread Rolls?
While the recipe is "no-knead," it does require time. The bulk fermentation typically takes at least 12 hours, or even longer, so plan ahead.
What makes No-Knead Bread Rolls so easy for beginners?
The ease comes from the minimal hands-on time. You simply mix the ingredients, let it rest, shape, and bake, making it very forgiving.
Can I customize the flavors of my No-Knead Bread Rolls?
Absolutely! You can easily add herbs, cheeses, or spices to the dough to create unique flavor profiles. Experimentation is encouraged!
What's the secret to achieving a crispy crust on No-Knead Bread Rolls?
Baking in a Dutch oven or preheated baking sheet helps trap steam, which is essential for creating a crispy crust. Alternatively, you can add ice cubes to the oven during baking.
Final Reflection: The Joy of Effortless Baking
The simplicity of no-knead bread rolls transcends mere convenience; it unlocks a world of baking accessibility for everyone. In a time-pressed world, the ability to create delicious, homemade bread without the commitment of extensive kneading is not just a skill, but a liberating experience. This method empowers even the busiest individuals to enjoy the warmth and satisfaction of freshly baked goods.
The impact of no-knead baking extends beyond individual kitchens; it fosters a connection to traditional food preparation while simultaneously embracing modern efficiency. It's a beautiful blend of old and new, a testament to how culinary traditions can adapt and thrive. This resonates deeply with me, as it reflects my own desire to balance the demands of modern life with the simple pleasures of home cooking. The best things in life are simple.
This quote, though often cliché, perfectly captures the essence of no-knead baking – simple ingredients, simple process, extraordinary results.
Now, I invite you to embrace the ease and joy of no-knead bread rolls. Don't let the perceived complexity of baking hold you back. Try the recipe, experiment with different flavors, and share the delicious results with loved ones. The aroma of freshly baked bread, the soft texture, the satisfying crunch – these are experiences worth savoring, and they're more accessible than you might think. So, roll up your sleeves (metaphorically, of course! ), and discover the magic of effortless baking.
Unleash Your Inner Baker: Effortless Rolls Await!
Thanks for joining us on this baking adventure! We hope you now feel empowered to tackle delicious, homemade rolls without the fuss. Ready to roll up your sleeves (figuratively, mostly! )?
- Bake a batch of your own No-Knead Rolls today! Use the recipe as a jumping-off point – experiment with different herbs, cheeses, or even sweet additions.
- Share your baking triumphs (or even your funny fails!) on social media using #BakeWithEaseNoKnead. Let's inspire each other!
- Explore other easy bread recipes on BakeWithEase.com – we've got a whole world of deliciousness waiting for you.
What unexpected flavor combination will you try in your next batch of No-Knead Rolls? Let us know in the comments!