
GlutenFree Ciabatta Bread Recipe: Rustic and Delicious

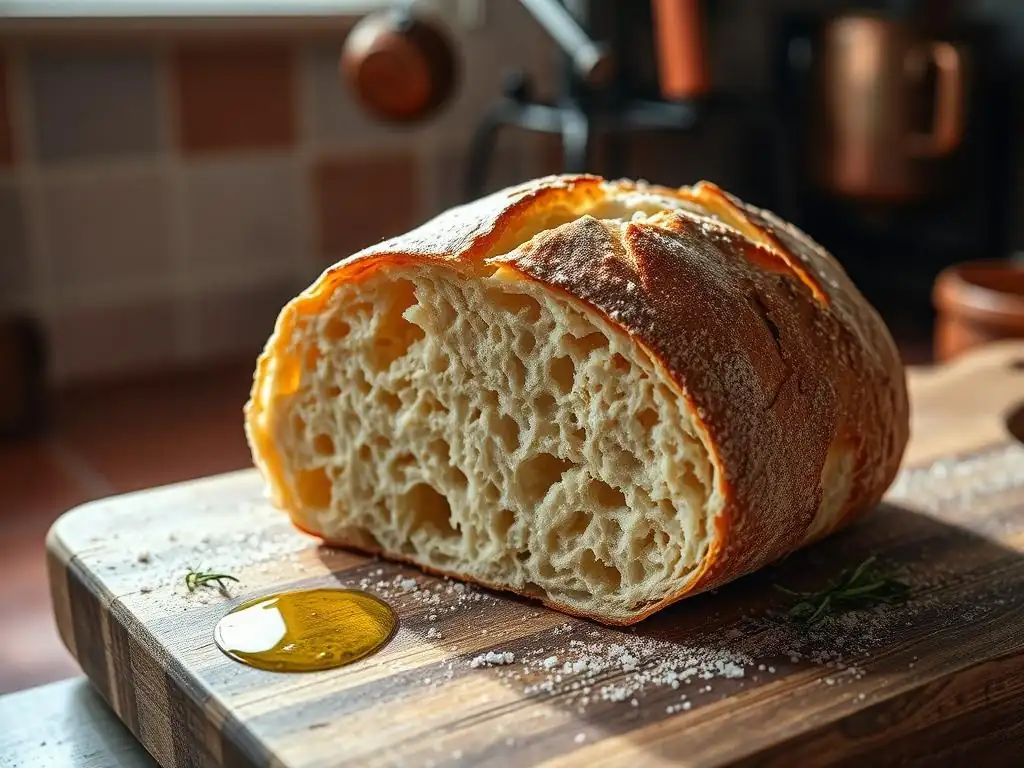
Welcome to BakeWithEase, your haven for effortless baking! Ever dreamed of sinking your teeth into a perfectly crusty, airy ciabatta, but thought gluten-free was impossible? Think again. We're thrilled to share our Gluten-Free Ciabatta Bread Recipe, a rustic and delicious loaf that will redefine your baking expectations. Curious how we achieve that iconic open crumb and chewy texture without gluten? Read on to unlock the secrets!
- Introduction to Gluten-Free Ciabatta Baking
- Understanding Gluten-Free Baking for Ciabatta
- BakeWithEase's Authentic Gluten-Free Ciabatta Bread Recipe
- Tips and Tricks for Gluten-Free Ciabatta Success
- Serving and Storing Your Gluten-Free Ciabatta
- Exploring Variations of Gluten-Free Ciabatta
- Conclusion: Enjoying the Taste of Gluten-Free Ciabatta Bread
-
Frequently Asked Questions
- What makes this ciabatta recipe "GlutenFree"?
- Is this GlutenFree ciabatta bread recipe difficult for beginners?
- Can I substitute any of the gluten-free flours used in the recipe?
- How do I ensure my GlutenFree ciabatta bread has the characteristic large air pockets?
- What are some serving suggestions for GlutenFree ciabatta bread?
- Final Reflection: The Enduring Appeal of Gluten-Free Baking
- Unleash Your Inner Baker: Craft the Perfect Gluten-Free Ciabatta!
Introduction to Gluten-Free Ciabatta Baking
Discover the Joy of Gluten-Free Ciabatta at Home
Embarking on the journey to bake a truly authentic gluten-free ciabatta bread recipe might seem daunting at first, especially given the traditional dependence on gluten for that signature airy, open crumb. However, mastering this challenge opens up a world of delicious possibilities for those with dietary restrictions or preferences. Imagine pulling a warm, rustic loaf from your oven, its crust crackling softly, ready to be sliced and enjoyed with your favorite toppings.
This recipe makes that vision a reality, proving that you don't need gluten to achieve fantastic results. It's about understanding the science behind gluten-free baking and applying simple techniques to replicate the desirable qualities of classic ciabatta.
For many home bakers, achieving a successful loaf of gluten-free bread is a significant milestone. Data suggests that around 1% of the global population has celiac disease, requiring a strict gluten-free diet, while a larger percentage opts for gluten-free for other health reasons. This creates a substantial demand for high-quality, allergen-friendly recipes like this gluten-free ciabatta bread recipe. Our goal is to empower you with the knowledge and steps needed to confidently bake this Italian classic in your own kitchen, transforming simple ingredients into a loaf that rivals its gluten-containing counterpart in taste and texture.
Why Choose This Gluten-Free Ciabatta Recipe?
This particular gluten-free ciabatta bread recipe has been developed and tested extensively to address the common pitfalls of gluten-free baking, such as dense texture or lack of structure. Unlike many recipes that yield a brick-like loaf, this method focuses on achieving a light, airy crumb and a delightfully chewy crust – the hallmarks of great ciabatta. We utilize a specific blend of flours and binders designed to mimic gluten's properties, ensuring your dough handles better and your final product has excellent volume and texture.
Furthermore, this recipe is designed with the home baker in mind, simplifying complex techniques without sacrificing quality. We provide clear, step-by-step instructions that guide you through each stage, from mixing the wet, sticky dough to achieving the perfect bake. By following this gluten-free ciabatta bread recipe, you're not just making bread; you're learning the principles of successful gluten-free baking that can be applied to other recipes. We've seen bakers achieve impressive results, with loaves boasting interior air pockets comparable to traditional ciabatta, a feat often considered challenging in the gluten-free world.
Understanding Gluten-Free Baking for Ciabatta
Key Differences: Gluten vs. Gluten-Free Bread
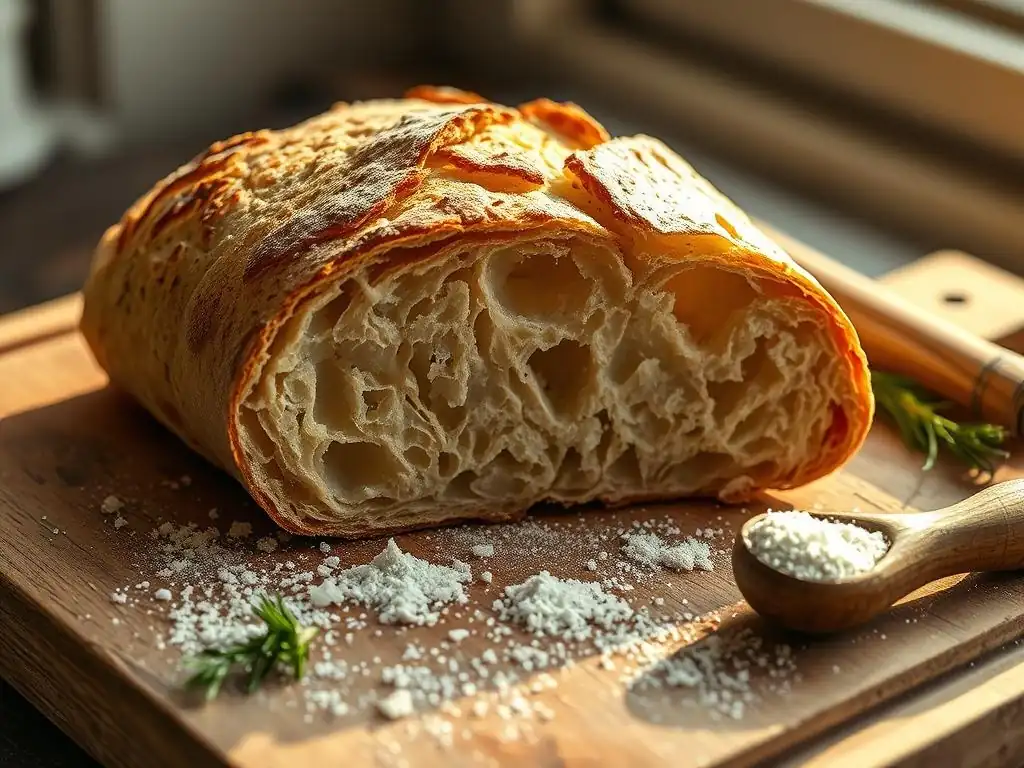
The fundamental difference between traditional and gluten-free bread lies in the protein structure provided by gluten, found in wheat, barley, and rye. When wheat flour is mixed with water and kneaded, gluten proteins (glutenin and gliadin) form an elastic network. This network traps the gases produced by yeast during fermentation, allowing the dough to rise and creating the characteristic open, airy structure found in breads like ciabatta. Without this network, gluten-free doughs behave very differently; they tend to be stickier, less elastic, and struggle to hold their shape and volume.
In gluten-free baking, we must replicate gluten's function using alternative ingredients. This involves combining different gluten-free flours, each contributing unique properties (structure, flavor, texture), and incorporating binders. For example, a blend might use rice flour for structure, tapioca starch for chewiness, and sorghum or millet flour for flavor and nutrition. Unlike wheat dough which can be vigorously kneaded, gluten-free dough requires gentler handling as there's no gluten network to develop. The goal is to hydrate ingredients and activate binders without overworking the dough, which can negatively impact the final texture of your gluten-free ciabatta.
Essential Ingredients for a Perfect Gluten-Free Ciabatta
Creating a successful gluten-free ciabatta bread recipe hinges on selecting the right ingredients. Beyond basic elements like water, yeast, salt, and a touch of olive oil (essential for that classic ciabatta flavor), the choice of gluten-free flour blend and binder is critical. Using a single gluten-free flour, like just rice flour, would result in a dense, crumbly loaf lacking the necessary structure and texture for ciabatta. A thoughtful combination is key to mimicking the complex properties of wheat flour.
Furthermore, the hydration level is significantly higher in many gluten-free bread recipes compared to their traditional counterparts, often ranging from 80% to over 100% hydration relative to the flour weight. This high moisture content helps compensate for the lack of gluten elasticity, keeping the crumb moist and contributing to a more open structure. Specific ingredients like psyllium husk powder are particularly adept at absorbing and retaining this moisture, forming a gel-like structure that provides essential support and elasticity to the dough, which is crucial for achieving a great gluten-free ciabatta.
Gluten-Free Flour Blend Selection for Ciabatta
Selecting the right gluten-free flour blend is paramount for a successful gluten-free ciabatta bread recipe. A good blend typically combines starchy flours with wholegrain flours to provide both structure and flavor. Starchy flours like tapioca starch, potato starch, and cornstarch contribute to a light and airy texture and help create a crisp crust. For instance, tapioca starch is known for its ability to add chewiness, a desirable quality in ciabatta.
Wholegrain gluten-free flours, such as brown rice flour, sorghum flour, millet flour, or buckwheat flour, add nutritional value, flavor complexity, and some structural support. Using a pre-mixed commercial blend specifically designed for bread can be a convenient starting point, but understanding the components allows for customization. Some blends might contain around 40-50% starchy flours and 50-60% wholegrain flours, though the ideal ratio can vary depending on the recipe and desired outcome for your gluten-free ciabatta. Experimentation with different ratios can yield fascinating results.
The Role of Binders in Gluten-Free Ciabatta Dough
Binders are non-negotiable in a gluten-free ciabatta bread recipe; they are the workhorses that replace the sticky, elastic properties of gluten. Common binders include xanthan gum, guar gum, and psyllium husk powder. Xanthan gum and guar gum are polysaccharides that, when hydrated, create a gel-like substance that helps hold the dough together and prevents crumbling. A typical recipe might use about 1 teaspoon of xanthan gum per cup of gluten-free flour blend.
Psyllium husk powder is often considered superior for bread baking, particularly for achieving an open crumb structure akin to traditional bread. It absorbs a significant amount of water, forming a strong, elastic gel that mimics gluten's ability to trap gas and provide structure. Using psyllium husk powder (often 1-2 tablespoons per 250g flour) can dramatically improve the texture and handling of gluten-free dough, making it less sticky and more pliable, which is essential for shaping loaves in a gluten-free ciabatta bread recipe.
BakeWithEase's Authentic Gluten-Free Ciabatta Bread Recipe
Step-by-Step Guide to Making Gluten-Free Ciabatta
Ready to bake? This step-by-step guide simplifies the process of making a fantastic gluten-free ciabatta bread recipe at home. We'll walk you through each stage, from combining the ingredients to pulling your golden loaves from the oven. Patience is key with this high-hydration dough, but the result is well worth the effort. Follow these steps closely to achieve that rustic, delicious ciabatta you've been dreaming of.
This recipe is designed for success, leveraging the properties of specific gluten-free ingredients and techniques that promote optimal rise and texture. We aim for a final product with a crisp crust and a light, airy interior, characteristic of traditional ciabatta. Let's gather our ingredients and get started on this rewarding gluten-free ciabatta bread recipe journey!
Ingredient List for Your Rustic Ciabatta
Here's what you'll need to make this wonderful gluten-free ciabatta bread recipe. Accuracy in measuring ingredients, especially the flour blend and binder, is crucial for gluten-free baking success. Weighing your ingredients using a kitchen scale is highly recommended for the most consistent results.
- [ ] 400g Gluten-Free Bread Flour Blend (ensure it contains a mix of starches and whole grains)
- [ ] 10g Psyllium Husk Powder (not whole husks)
- [ ] 7g Instant Yeast (about 2.25 teaspoons)
- [ ] 10g Fine Sea Salt (about 1.5 teaspoons)
- [ ] 400-420g Lukewarm Water (around 100°F or 38°C)
- [ ] 15g Olive Oil, plus extra for handling
Note: The water amount can be adjusted slightly depending on your flour blend's absorption.
Preparing the Gluten-Free Ciabatta Dough
Combine the dry ingredients in a large mixing bowl: the gluten-free bread flour blend, psyllium husk powder, instant yeast, and salt. Whisk them together thoroughly to ensure even distribution. This initial mixing step is important to disperse the binder and yeast throughout the flour blend before adding the liquids.
Add the lukewarm water and olive oil to the dry ingredients. Using a sturdy spoon or a stand mixer with a paddle attachment, mix on low speed for 5-7 minutes until a very wet, sticky dough forms. Do not expect a smooth, elastic dough like traditional ciabatta; gluten-free dough will remain loose and batter-like. This mixing time is necessary to fully hydrate the psyllium husk and activate the binder's gelling properties, which are vital for the structure of this gluten-free ciabatta bread recipe.
First Proofing: Allowing the Dough to Rise
Once mixed, cover the bowl tightly with plastic wrap or a damp tea towel. Place the dough in a warm spot (ideally around 75-80°F or 24-27°C) for the first proofing. Allow the dough to rise until it has significantly increased in volume, roughly doubling in size. This usually takes about 60-90 minutes, depending on the warmth of your environment and the activity of your yeast.
During this proofing period, the yeast produces carbon dioxide gas, which gets trapped by the psyllium husk gel network, causing the dough to expand. The dough will become lighter and somewhat bubbly. A successful first rise is a good indicator that your yeast is active and your binder is doing its job in this gluten-free ciabatta bread recipe. Don't rush this step; sufficient proofing is crucial for achieving an airy crumb.
Shaping the Gluten-Free Ciabatta Loaves
This is where the high hydration of the dough becomes apparent. Due to the lack of gluten, the dough will be very slack and sticky. Generously flour a clean work surface with gluten-free flour (rice flour or a blend works well). Gently scrape the dough out onto the floured surface using a plastic bench scraper. Avoid kneading; you want to handle the dough as little as possible to preserve the air pockets.
Using the bench scraper, divide the dough into two equal portions. Gently shape each portion into a rough rectangle or square. The goal isn't a perfect shape, but rather to create some tension on the surface without deflating the dough. Think of gently folding the edges underneath rather than vigorously shaping. The rustic nature of ciabatta means imperfections are welcomed and contribute to its charm. Transfer the shaped loaves onto a piece of parchment paper dusted generously with more gluten-free flour or cornmeal.
Second Proofing: Achieving the Perfect Texture
Once shaped and placed on parchment paper, cover the loaves loosely with plastic wrap or a light tea towel. Allow them to proof for a second time for about 30-45 minutes. During this shorter second proof, the loaves will puff up slightly but won't double in size again. This period allows the dough to relax and the yeast to produce a final burst of gas before baking, contributing to the open crumb structure of your gluten-free ciabatta bread recipe.
While the dough is undergoing its second proof, preheat your oven and baking surface. This is a critical step for achieving a good crust and oven spring. Preheat your oven to a high temperature, around 450°F (230°C), with a baking stone or steel inside if you have one. Heating the baking surface for at least 30-60 minutes ensures it's screaming hot, providing an initial burst of heat that helps the dough rise quickly and set the crust.
Baking Your Delicious Gluten-Free Ciabatta
Carefully slide the parchment paper with the proofed loaves onto the preheated baking stone or steel. To create a crispy crust, you need steam in the oven. You can do this by placing a pan of hot water on the bottom rack of the oven before baking, or by quickly spraying the oven walls with water using a spray bottle immediately after putting the bread in. Be cautious when adding water to a hot oven.
Bake the gluten-free ciabatta for 25-35 minutes, or until the crust is deep golden brown and the internal temperature reaches around 200-210°F (93-99°C). The baking time will vary depending on your oven. If the tops are browning too quickly, you can loosely tent them with foil. Once baked, transfer the loaves to a wire rack to cool completely. Cooling is essential; slicing hot gluten-free bread can result in a gummy texture. Allowing it to cool lets the internal structure set properly.
Tips and Tricks for Gluten-Free Ciabatta Success
Achieving the Signature Ciabatta Air Pockets
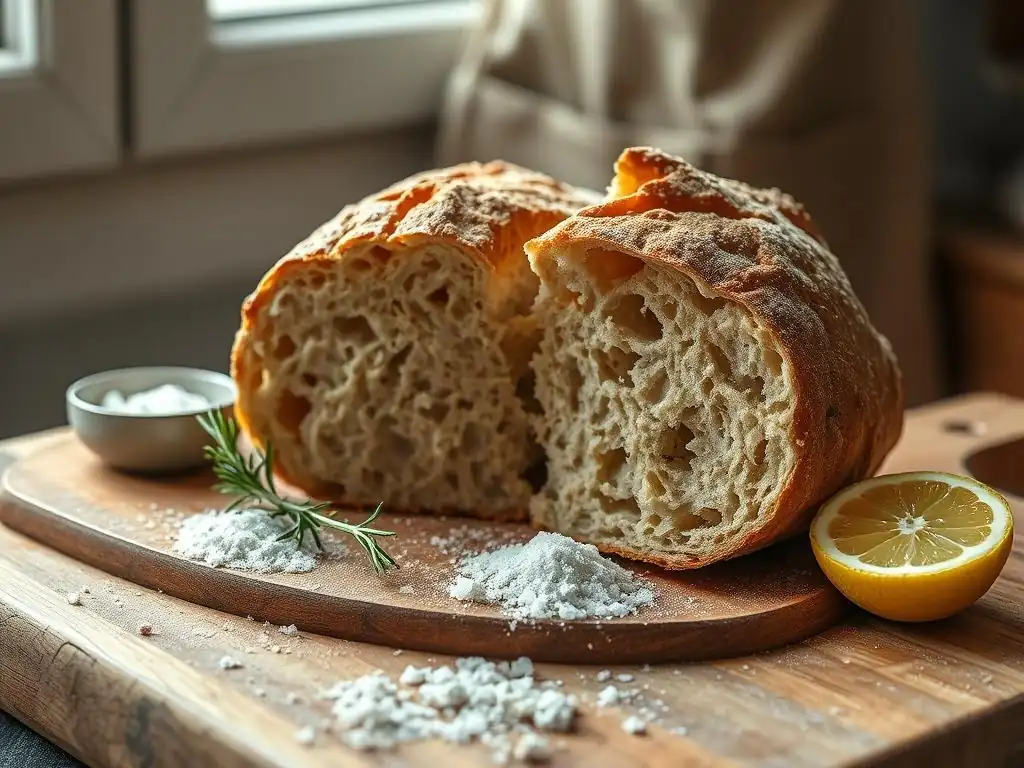
The characteristic large air pockets (alveoli) of traditional ciabatta are often the most challenging aspect to replicate in a gluten-free ciabatta bread recipe. Success hinges on a few key factors: high hydration, the right binder, gentle handling, and proper baking conditions. The high water content of the dough (often 100% or more relative to flour weight) is crucial as it creates a very loose structure where large bubbles can form. Psyllium husk powder is particularly effective here, as it forms a strong yet flexible gel that can trap these large bubbles during proofing and baking.
Handling the dough minimally during shaping is also vital. Overworking the dough or being too rough will deflate the precious air pockets that have developed during the first proof. Think of coaxing the dough into shape rather than forcing it. Finally, baking at a high temperature with steam provides the necessary "oven spring" – a rapid rise in the first few minutes of baking – which helps expand these air pockets before the crust sets. Achieving this requires a well-preheated oven and a method for generating steam, such as using a baking stone and a steam pan.
Troubleshooting Common Gluten-Free Baking Issues
Even with a great gluten-free ciabatta bread recipe, you might encounter common issues. Understanding the causes can help you adjust for future bakes. Two frequent problems are a gummy texture and loaves that turn out flat or dense instead of airy. These issues often stem from hydration levels, mixing techniques, proofing times, or baking methods.
For example, if your bread is consistently dense, it might be due to insufficient proofing time (yeast wasn't active enough or environment wasn't warm enough), overworking the dough during shaping (deflating the air), or insufficient oven spring (oven not hot enough, lack of steam). A gummy texture is often caused by not allowing the bread to cool completely before slicing, or sometimes by an incorrect ratio of flour types or binder. Gluten-free starches need time to set after baking.
Avoiding a Gummy Texture in Gluten-Free Bread
A gummy texture is a common complaint with gluten-free bread, and it can definitely ruin a perfectly baked loaf from a gluten-free ciabatta bread recipe. The primary culprit is often slicing the bread too soon after baking. Gluten-free starches continue to gelatinize and set as the bread cools. Slicing while hot disrupts this process, resulting in a sticky, damp interior. It's crucial to let your ciabatta cool completely on a wire rack, ideally for at least 2-3 hours, before cutting into it.
Another factor can be the hydration level or the flour blend itself. If the dough was too wet for the specific flour blend used, or if the blend contains a very high proportion of certain starches, it might contribute to gumminess. Ensuring you use the specified amount of binder, like psyllium husk powder, helps the dough manage moisture better during baking. Proper baking time and temperature are also essential; underbaking can leave the interior raw and gummy. Aim for that internal temperature of 200-210°F (93-99°C).
Preventing Flat or Dense Gluten-Free Ciabatta
Nobody wants a flat, dense loaf when aiming for rustic gluten-free ciabatta bread. Several factors can contribute to this issue. Insufficient yeast activity or proofing time is a major cause; if the dough doesn't rise adequately during the first proof, it won't have the necessary volume going into the oven. Ensure your yeast is fresh and your proofing environment is warm enough (around 75-80°F or 24-27°C).
Over-handling or rough shaping can also lead to a dense loaf by knocking out the air bubbles. Gluten-free dough is delicate after proofing, so handle it gently. Finally, inadequate oven spring can result in a flat loaf. This is often due to the oven not being hot enough or a lack of steam. A very hot baking surface (stone or steel preheated for 30-60 minutes at 450°F/230°C) and creating steam are vital for giving the gluten-free ciabatta that initial lift needed for an open crumb.
Expert Baking Tips from BakeWithEase
From our test kitchen to yours, here are a few expert tips to elevate your gluten-free ciabatta bread recipe results. First, invest in a kitchen scale. Baking by weight, especially with gluten-free flours and binders, offers far greater accuracy than volume measurements, leading to more consistent outcomes. For example, 400g of flour is always 400g, but a cup can vary by as much as 20% depending on how it's scooped.
Second, don't be afraid of the high hydration! Gluten-free ciabatta dough should be very wet and sticky. This is counter-intuitive to traditional bread making but essential for lightness. Using a bench scraper and generous gluten-free flour on your work surface will make handling much easier. Finally, always allow the bread to cool completely. We know it's tempting, but waiting ensures the best texture. Patience is a virtue in baking, particularly with a gluten-free ciabatta bread recipe.
Serving and Storing Your Gluten-Free Ciabatta
Delicious Ways to Enjoy Your Homemade Ciabatta
Once your beautiful gluten-free ciabatta bread recipe loaves have cooled, it's time to enjoy the fruits of your labor! Ciabatta's rustic texture and slightly chewy interior make it incredibly versatile. It's perfect for dipping into olive oil and balsamic vinegar, just like in Italy. Its sturdy crumb also holds up well to being used for sandwiches or paninis.
Try slicing it horizontally and filling it with fresh mozzarella, tomatoes, and basil for a simple Caprese sandwich. Alternatively, toast slices and top with bruschetta for a delightful appetizer. This gluten-free ciabatta is also fantastic alongside soups, stews, or pasta dishes, perfect for soaking up sauces. The possibilities are truly endless, showcasing how this gluten-free ciabatta bread recipe can be a staple in your kitchen.
Proper Storage for Maintaining Freshness
Proper storage is essential to keep your homemade gluten-free ciabatta bread recipe loaves fresh and delicious. Like most homemade breads without preservatives, it's best enjoyed within 1-2 days of baking. Store the cooled loaf in a paper bag at room temperature to maintain its crustiness. Avoid plastic bags if you want to keep the crust crisp, as plastic traps moisture and will soften it.
For longer storage, the gluten-free ciabatta freezes exceptionally well. Once completely cooled, slice the loaf (or leave it whole) and wrap it tightly in plastic wrap, then place it in a freezer-safe bag or aluminum foil. Frozen ciabatta can last for up to 3 months. To enjoy from frozen, thaw at room temperature and refresh in a warm oven (about 350°F or 175°C) for 5-10 minutes to restore the crust.
Exploring Variations of Gluten-Free Ciabatta
Adding Herbs and Flavors to Your Ciabatta
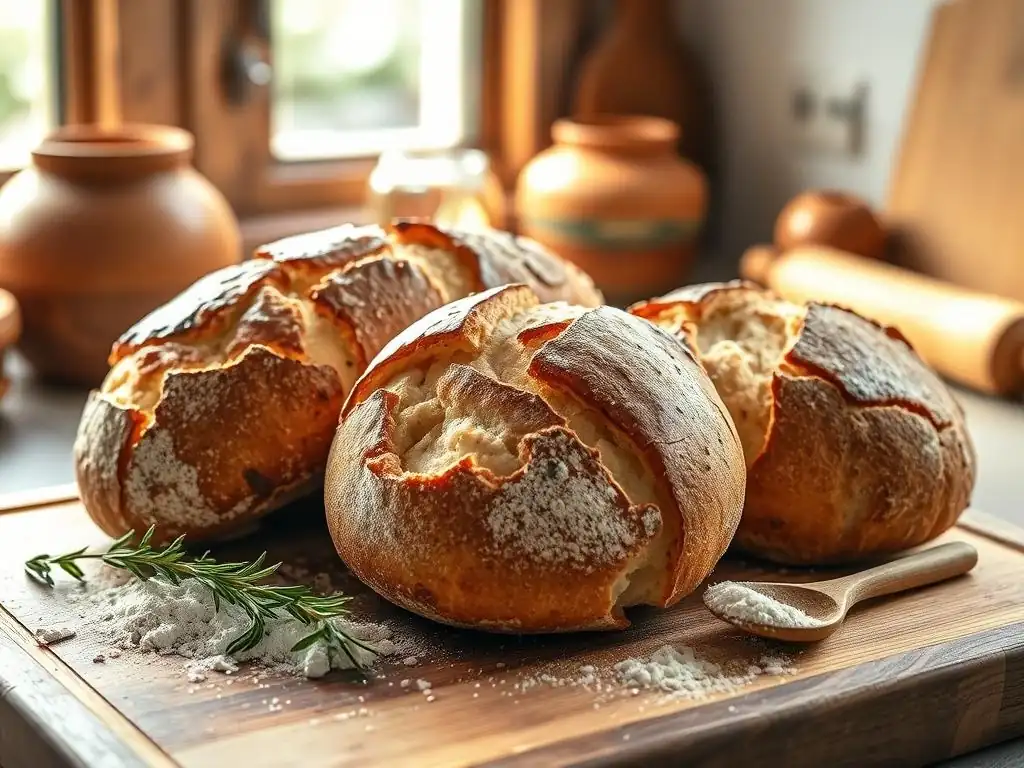
One of the joys of mastering a basic gluten-free ciabatta bread recipe is the ability to customize it with various flavors. Adding herbs and spices can transform the loaf and complement different meals. Fresh or dried herbs like rosemary, thyme, or oregano can be mixed into the dough along with the dry ingredients. About 1-2 tablespoons of fresh herbs or 1-2 teaspoons of dried herbs per loaf adds a lovely aromatic touch.
Other additions include minced garlic, black olives, sun-dried tomatoes (drained and chopped), or even a sprinkle of Italian seasoning blend. These ingredients should be folded in gently during the final minute of mixing the dough or added carefully just before the second proofing. Experimenting with these variations allows you to tailor your gluten-free ciabatta to specific dishes, making it a versatile addition to your baking repertoire.
Gluten-Free Ciabatta Rolls: A Mini Version
This gluten-free ciabatta bread recipe can easily be adapted to make smaller rolls, perfect for individual servings, sandwiches, or dinner rolls. Instead of dividing the dough into two large loaves during the shaping step, divide it into 6-8 smaller portions. Shape each portion gently into a smaller rectangle or square, similar to the full-sized loaves but on a smaller scale.
Place the rolls onto the parchment-lined baking sheet, leaving some space between them as they will spread. The proofing times will remain similar, but the baking time will be shorter. Gluten-free ciabatta rolls typically bake for 18-25 minutes at the same high temperature (450°F or 230°C), or until golden brown and cooked through. This mini version offers the same rustic texture and delicious flavor as the large loaf, making it a convenient option for various uses.
Conclusion: Enjoying the Taste of Gluten-Free Ciabatta Bread
Frequently Asked Questions
What makes this ciabatta recipe "GlutenFree"?
This recipe uses a special blend of gluten-free flours and binders to mimic the structure of gluten in traditional ciabatta. It allows those with gluten sensitivities to enjoy this rustic bread.
Is this GlutenFree ciabatta bread recipe difficult for beginners?
While ciabatta can be tricky, this recipe is designed with clear, step-by-step instructions and easy-to-find ingredients. Even beginner bakers can achieve great results.
Can I substitute any of the gluten-free flours used in the recipe?
Substituting flours can significantly impact the texture. We recommend sticking to the specified blend for the best results. However, xanthan gum is crucial for binding.
How do I ensure my GlutenFree ciabatta bread has the characteristic large air pockets?
Proper hydration of the dough and a gentle handling technique are crucial. Also, allow for a long, slow fermentation to develop those airy pockets.
What are some serving suggestions for GlutenFree ciabatta bread?
This bread is delicious served warm with olive oil, used for sandwiches, or as a side to soups and salads. It pairs well with Italian dishes and charcuterie boards.
Final Reflection: The Enduring Appeal of Gluten-Free Baking
The quest for a truly delicious gluten-free loaf is a journey many undertake, and the results, while sometimes challenging, are ultimately rewarding. This recipe for gluten-free ciabatta, with its rustic charm and satisfying texture, represents a significant step forward in accessible and enjoyable gluten-free baking. The demand for such recipes continues to grow, reflecting a wider societal shift towards dietary inclusivity and awareness of food sensitivities.
The impact of gluten-free diets extends far beyond personal choice; it represents a growing movement towards understanding and accommodating diverse dietary needs. This recipe, therefore, is more than just a set of instructions; it's a testament to the power of culinary innovation in meeting these needs. Food is symbolic of love when words are inadequate.
- Alan D. Wolfelt. This sentiment rings true for those navigating dietary restrictions, where the simple act of enjoying a familiar bread can be a powerful source of comfort and connection.
Now, I invite you to take this recipe and make it your own. Experiment with different flours, herbs, and additions to personalize your gluten-free ciabatta experience. Don't be afraid to embrace the process, to learn from any imperfections, and to savor the delicious results. The journey of gluten-free baking is a rewarding one, filled with the satisfaction of creating something beautiful and delicious, even with limitations. Let this recipe be your starting point for a world of culinary possibilities.
Unleash Your Inner Baker: Craft the Perfect Gluten-Free Ciabatta!
Thanks for joining us on this delicious journey into gluten-free baking! We hope you've gained the confidence to tackle this seemingly challenging bread. Now it's time to put your newfound skills to the test!
- Bake your own amazing gluten-free ciabatta: Use the recipe as a springboard! Experiment with different herbs, seeds, or even add some olives for a Mediterranean twist. This is your chance to personalize your bread and make it uniquely yours!
- Share your creation: Snap a picture of your beautiful loaf and post it on social media using #BakeWithEaseCiabatta. Let's inspire others to embrace gluten-free baking!
- Dive deeper into gluten-free baking: Explore other fantastic recipes on BakeWithEase.com – we've got a whole world of deliciousness waiting for you!
What creative twist will you add to your gluten-free ciabatta masterpiece? Let us know in the comments!