
Easy German Roggenbrot (Rye Bread) for Beginner Bread Bakers

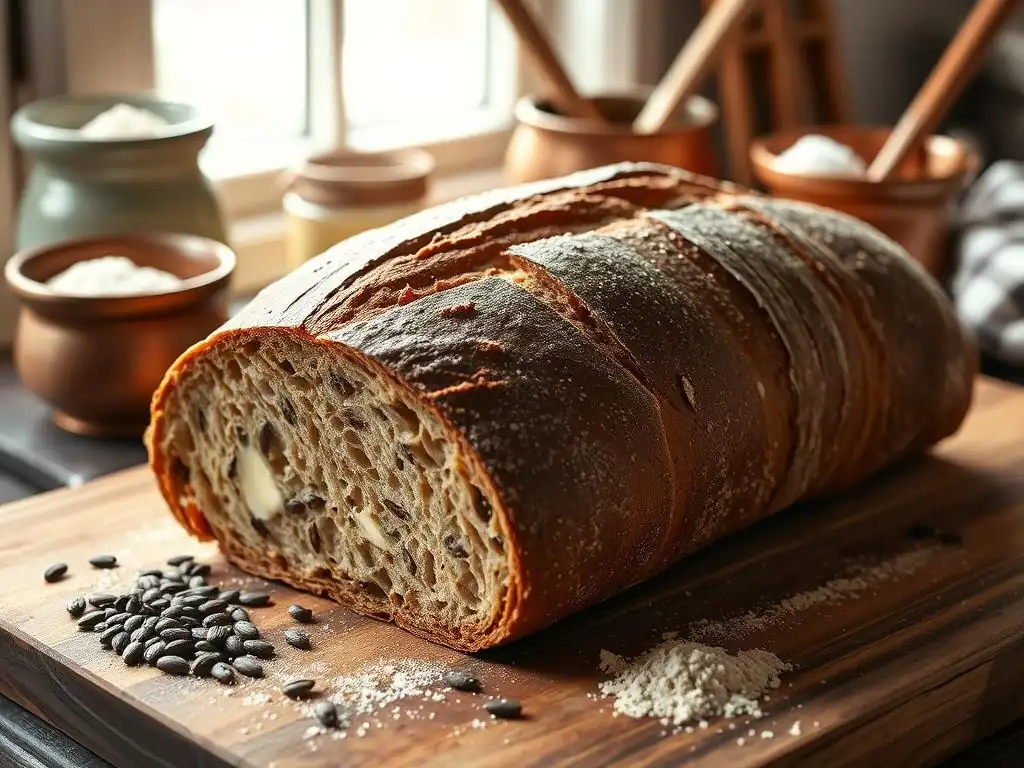
Welcome to BakeWithEase, your trusted guide to the delightful world of baking! Ever wondered how to create authentic flavors in your own kitchen? Dive in and discover the secrets to crafting a truly exceptional loaf. Today, we're demystifying the process with our guide to Easy German Rye Bread, known as Roggenbrot, a regional favorite that's surprisingly simple to master. Prepare to unlock the rich, satisfying taste of Germany right from your oven. What makes our Roggenbrot so easy? Keep reading to find out!
- Bake Authentic German Rye Bread at Home: A Beginner's Guide
- Why Bake German Roggenbrot? The Appeal of Homemade Rye Bread
- Essential Ingredients for Easy German Rye Bread
- Step-by-Step Guide: Baking Your First German Roggenbrot
- Horizontal Line:
- Tips and Tricks for Perfect German Rye Bread Every Time
- Storing Your Homemade German Roggenbrot
- Enjoying Your Easy German Rye Bread
- More German Baking Delights.
-
Frequently Asked Questions
- How easy is this German Rye Bread recipe for absolute beginners?
- What makes this recipe specifically "German" Rye Bread (Roggenbrot)?
- Can I substitute any of the ingredients in this Easy German Rye Bread recipe?
- How long does it take to make this Easy German Rye Bread from start to finish?
- What's the best way to store leftover Easy German Rye Bread?
- Final Reflection: The Humble Loaf and the Joy of Baking
- Unleash Your Inner Baker: Craft Your Own Roggenbrot!
Bake Authentic German Rye Bread at Home: A Beginner's Guide
Welcome, beginner bakers, to the wonderful world of German rye bread! Baking your own bread can seem daunting, especially something as traditional as Roggenbrot. However, with this easy German rye bread guide, you'll discover that creating a delicious, authentic loaf in your own kitchen is entirely achievable. We'll walk you through the process, from understanding the ingredients to mastering the bake, making your first attempt at baking German rye bread a success.
This article is designed specifically for those new to bread making, focusing on simplicity and clarity. We'll demystify the steps involved in creating a hearty, flavorful rye loaf, often referred to simply as Roggenbrot in Germany. By the end, you'll not only have a beautiful loaf of easy German rye bread to enjoy but also the confidence to explore other traditional baking delights.
Why Bake German Roggenbrot? The Appeal of Homemade Rye Bread
Baking your own bread, especially a traditional loaf like German Roggenbrot, offers immense satisfaction. Beyond the comforting aroma filling your kitchen, there's the pride of creating something wholesome and delicious from scratch. This particular bread, known for its distinctive taste and texture, is a staple in German households and provides a unique baking experience different from standard wheat loaves.
Choosing to bake easy German rye bread at home means you control the ingredients, ensuring quality and avoiding additives often found in commercial breads. It's an opportunity to connect with a rich culinary tradition and develop new skills in your baking journey. Plus, the resulting loaf is incredibly versatile, perfect for everything from simple toast to elaborate open-faced sandwiches.
The Unique Flavor and Texture of German Rye Bread
German rye bread, or Roggenbrot, is celebrated for its deep, earthy flavor and dense, moist crumb. Unlike breads made primarily with wheat, rye flour contains less gluten, resulting in a loaf that is typically more compact and less airy. The flavor profile is often tangy, especially when made with a sourdough starter, and can be enhanced by additions like caraway seeds, which are classic in many German variations.
This distinctive texture means the bread holds up well to toppings and spreads without becoming soggy. A typical German Roggenbrot might contain anywhere from 50% to 100% rye flour. For an easy German rye bread recipe suitable for beginners, a blend of rye and wheat flour (around 60-70% rye) is often recommended to make the dough easier to handle while still retaining the characteristic rye flavor and density.
Health Benefits of Rye Bread
Beyond its delicious taste, German rye bread offers significant health benefits, making it a popular choice for those seeking nutritious options. Rye flour is a good source of dietary fiber, often containing more fiber per serving than wheat flour. For instance, 100 grams of whole grain rye flour can contain approximately 15 grams of fiber, compared to about 12 grams in whole wheat flour.
The high fiber content in rye bread contributes to better digestive health and can help you feel fuller for longer, potentially aiding in weight management. Rye also has a lower glycemic index than wheat, meaning it causes a slower, more gradual rise in blood sugar levels, which can be beneficial for managing blood sugar. Baking your own easy German rye bread allows you to maximize these benefits by using high-quality, whole grain rye flour.
Easy Roggenbrot Recipe for Beginners: No Experience Needed
This easy German rye bread recipe is specifically designed for those new to bread baking, proving that you don't need years of experience to create a fantastic loaf of Roggenbrot. We've simplified the process while maintaining the authentic character of the bread. The key is patience and following the steps carefully, focusing on understanding what the dough is telling you.
We'll guide you through managing a rye sourdough starter, which is crucial for the flavor and texture of traditional German rye bread. Don't worry if you've never used a starter before; our instructions break it down into manageable steps. This approach ensures that even a beginner baker can confidently tackle this project and achieve a delicious, satisfying result with their first attempt at easy German rye bread.
Essential Ingredients for Easy German Rye Bread
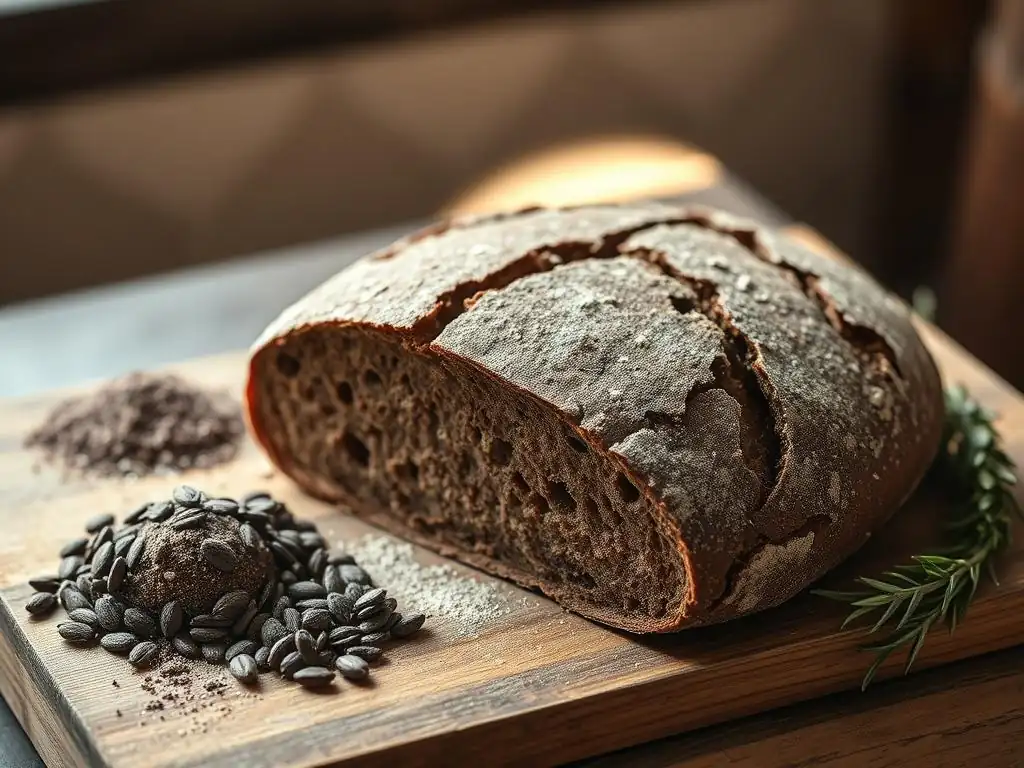
Creating a great loaf of easy German rye bread starts with understanding your ingredients. While the list is relatively simple, the quality and type of each component play a significant role in the final outcome. Rye flour is obviously the star, but the other ingredients are equally important in developing flavor, structure, and texture.
Using the right ingredients ensures your dough behaves as expected during mixing, fermentation, and baking. For this beginner-friendly recipe, we focus on readily available ingredients. Paying attention to details, like the type of flour and the state of your sourdough starter, will set you up for success when baking German rye bread.
Understanding Rye Flour: Types and Uses
Rye flour is the foundation of German Roggenbrot and comes in different forms, primarily light, medium, and dark, based on how much of the bran and germ are included. For a traditional, robust flavor, dark rye flour is often preferred, as it contains more of the outer layers of the rye berry. However, for an easy German rye bread recipe, especially for beginners, a medium rye flour or a blend with dark rye can be more forgiving and still deliver excellent results.
Whole grain rye flour, which is used in many authentic Roggenbrot recipes, provides the most nutrients and deepest flavor. It's important to note that rye flour absorbs water differently than wheat flour and develops gluten less readily. This means rye doughs tend to be stickier and denser. For this easy German rye bread, we might use a blend, perhaps 60% medium rye and 40% strong bread flour, to make handling easier while keeping the core rye characteristics.
The Importance of Sourdough Starter for Roggenbrot
A sourdough starter is a living culture of wild yeast and bacteria, and it's fundamental to traditional German rye bread. It serves as the leavening agent, causing the bread to rise, but more importantly, it imparts the characteristic tangy flavor and improves the texture and keeping quality of the loaf. Rye flour is particularly well-suited for cultivating a strong starter due to its nutrient profile.
Using a mature and active rye sourdough starter is crucial for successful Roggenbrot. A healthy starter contributes to a better rise and develops complex flavors during the long fermentation typical of rye breads. While creating a starter from scratch takes about a week or two, you can often obtain one from a fellow baker or a specialty bakery to get started faster on your easy German rye bread journey.
Other Key Ingredients: Water, Salt, and Caraway Seeds
Beyond flour and starter, the other ingredients in easy German rye bread are simple but vital. Water hydrates the flour, allowing gluten development (even limited in rye) and activating the yeast in the starter. The temperature of the water can influence fermentation speed; lukewarm water (around 25-30°C) is often ideal for activating the starter effectively.
Salt is essential for flavor, controlling fermentation speed, and strengthening the dough structure. Using fine sea salt or kosher salt is recommended. Caraway seeds, while optional in some variations, are a classic addition to German rye bread, providing a warm, aromatic, slightly peppery note that complements the tanginess of the rye. Adding about 1-2 teaspoons of whole caraway seeds per standard loaf size (around 700-800g dough) is a common practice.
Step-by-Step Guide: Baking Your First German Roggenbrot
Baking your first loaf of easy German rye bread is an exciting process. This step-by-step guide breaks down the journey into manageable phases, ensuring you understand what's happening at each stage. We'll cover everything from preparing your starter to the final bake, providing clear instructions for beginners.
Remember that baking is also about intuition. Pay attention to how your dough feels and looks, as environmental factors like room temperature can influence timings. This easy German rye bread guide aims to give you a solid foundation, allowing you to adapt slightly as you gain experience.
Step 1: Preparing the Rye Sourdough Starter (Levain)
The first crucial step for your easy German rye bread is preparing your sourdough starter, often called a levain when specifically built for a bake. This involves taking a small amount of your mature starter and feeding it with fresh rye flour and water to create a vigorous, active culture ready to leaven your bread. Typically, you'll feed your starter 4-12 hours before you plan to mix the dough, depending on its activity and room temperature.
For an 800g loaf of easy German rye bread, you might build a levain using 20g of active starter, 100g of rye flour, and 100g of water. Mix these in a clean jar or container, cover loosely, and let it ferment at room temperature (ideally 20-24°C). A starter fed with rye flour tends to become active relatively quickly.
Feeding Your Starter for Optimal Rise
Feeding your starter correctly is key to ensuring it's potent enough to lift the dense rye dough. For the levain build mentioned above, using equal weights of flour and water (1:5:5 ratio of starter:flour:water) is a common method. Ensure the water is lukewarm, not hot or cold, to encourage yeast activity.
- Measure ingredients accurately using a kitchen scale.
- Mix thoroughly until no dry flour remains.
- Scrape down the sides of the container.
- Mark the starting level with a rubber band or marker.
Signs of a Ready-to-Use Starter
Knowing when your starter (levain) is ready is vital for successful easy German rye bread. An active rye starter will show significant signs of fermentation.
- It will have roughly doubled or tripled in volume since being fed.
- The surface will be bubbly and domed.
- It will have a pleasant, slightly tangy aroma, not overly sour or alcoholic.
- The float test: Drop a small spoonful into a glass of water; if it floats, it's ready. This usually happens 4-12 hours after feeding, depending on temperature.
Step 2: Mixing the Roggenbrot Dough
Mixing the dough for easy German rye bread is different from mixing wheat dough. Rye dough is inherently sticky and doesn't develop structure through kneading in the same way. The goal is to combine the ingredients thoroughly until a cohesive, very sticky mass forms.
In a large mixing bowl, combine your ready-to-use rye levain with the water. Stir to disperse the starter. Then, add the rye flour, any wheat flour if using a blend, salt, and caraway seeds (if desired). Mix with a sturdy spoon or dough whisk, or use a stand mixer with a dough hook on low speed.
Combining Ingredients for a Smooth Dough
Combine all the ingredients until no pockets of dry flour remain. Rye dough will be much stickier than wheat dough, similar to thick porridge or wet cement. Avoid the urge to add more flour at this stage; the hydration is necessary for the texture of the final bread.
- Ensure all ingredients are fully incorporated.
- Mix just until combined; overmixing rye dough can break down its limited structure.
- The dough will look shaggy and wet.
Achieving the Right Dough Consistency
The right consistency for easy German rye bread dough is crucial. It should be very wet and sticky, not firm like a wheat dough. When mixing by hand, it will be difficult to handle without wet hands or a scraper. If using a mixer, the dough will cling to the hook but won't form a smooth ball that pulls away from the sides of the bowl.
Block Quote: Rye dough is a lesson in patience; it teaches you that structure comes from time and fermentation, not just kneading.
This high hydration is what contributes to the moist crumb characteristic of authentic German rye bread. Don't be alarmed by the stickiness; it's normal for this type of bread.
Step 3: Bulk Fermentation: The First Rise
Bulk fermentation is the period after mixing the dough and before shaping it. During this time, the yeast in the starter produces carbon dioxide, causing the dough to rise and flavors to develop. For easy German rye bread, bulk fermentation is typically shorter than for wheat sourdough, but still crucial.
Place the mixed dough in a lightly oiled bowl or container. Cover tightly to prevent a skin from forming. Let the dough ferment at room temperature (ideally 22-25°C) for 1 to 2 hours. Rye dough doesn't double in size like wheat dough; a 30-50% increase in volume is more typical.
Optimal Temperature and Time for Bulk Fermentation
Temperature significantly impacts fermentation speed. A warmer room will speed things up, while a cooler room will slow them down. Aim for a consistent temperature if possible. For this easy German rye bread recipe, 1-2 hours at 22-25°C is a good starting point.
If your kitchen is cooler, the bulk fermentation might take longer, perhaps 2.5-3 hours. If it's warmer, it might be ready in just 1 hour. It's more important to watch the dough than the clock.
Signs Your Dough is Ready to Shape
Determining when your rye dough is ready for shaping requires observing its subtle changes.
- The dough will have visibly increased in volume (30-50%).
- The surface may show a few bubbles.
- The dough will feel slightly lighter and airier when gently prodded.
- It should still be very sticky, but with a hint of structure compared to when it was first mixed. Avoid letting it over-ferment, as this can lead to a dense crumb.
Step 4: Shaping the Roggenbrot Loaf
Shaping rye dough is different from shaping wheat dough due to its stickiness and lack of gluten development. The goal is to create a relatively tight surface tension while handling the dough as little as possible to avoid it sticking everywhere.
Lightly flour your work surface with rye flour. Gently scrape the dough out of the bowl using a dough scraper. Rye dough doesn't require complex shaping techniques like those used for high-hydration wheat loaves. A simple round (boule) or oval (batard) shape works well.
Techniques for Shaping a Rustic Rye Loaf
For a simple round shape suitable for easy German rye bread:
- Gently fold the edges of the dough towards the center to create a rough ball.
- Flip the dough over so the seam is underneath.
- Using slightly wet hands or a wet bench scraper, gently cup the dough and rotate it against the surface to create surface tension. The dough will stick, so use the scraper to help guide it.
- Aim for a relatively smooth, rounded top. Don't worry if it's not perfectly smooth; rustic is part of the charm.
Preparing Your Baking Pan or Banneton
Properly preparing your proofing vessel prevents the sticky rye dough from adhering. If using a banneton (proofing basket), heavily flour it with rye flour or rice flour, which is less likely to be absorbed by the dough. Rye flour works well for rye loaves.
If using a loaf pan, grease it thoroughly and flour it, or line it with parchment paper. For a freeform loaf baked on a baking stone or tray, you'll proof it in a banneton. Place the shaped dough seam-side up in the prepared banneton or seam-side down in the prepared loaf pan.
Step 5: Proofing the Shaped Roggenbrot
Proofing is the final rise after shaping and before baking. This allows the dough to gain volume and develop its final structure. Rye bread typically requires a shorter proofing time than wheat bread.
Cover the shaped loaf loosely with plastic wrap or place the banneton inside a plastic bag to prevent drying. Proof at room temperature (22-25°C) for 45-75 minutes, or until the loaf looks puffy and has increased noticeably in size (perhaps 30-40%). Alternatively, a cold proof in the refrigerator for 8-12 hours can develop deeper flavors, though it requires more time.
Creating the Ideal Proofing Environment
A consistent temperature is helpful for proofing. If your kitchen is cool, finding a warmer spot (like inside a turned-off oven with the light on) can help. Ensure the dough is well-covered to maintain humidity and prevent a crust from forming prematurely, which would restrict the final rise.
Horizontal Line:
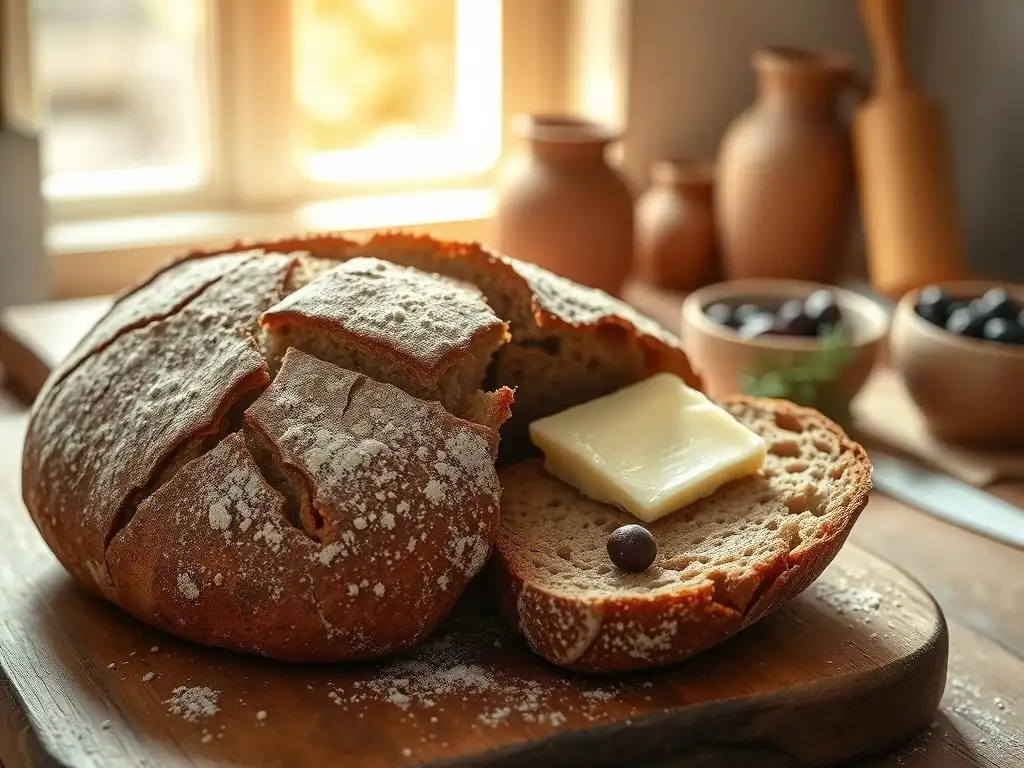
Task List:
- [ ] Place shaped dough in prepared banneton or loaf pan.
- [ ] Cover loosely to prevent drying.
- [ ] Proof at room temperature for 45-75 minutes, or cold proof for 8-12 hours.
- [ ] Check for readiness using the poke test (described below).
Determining When the Dough is Ready to Bake
The poke test is a reliable way to check if your easy German rye bread is ready to bake. Gently press your finger into the side of the loaf.
- If the indentation springs back immediately, the dough needs more time.
- If the indentation springs back slowly and only partially, the dough is ready to bake.
- If the indentation remains completely, the dough is likely over-proofed.
Rye dough is denser, so the poke test might feel slightly different than with wheat dough, but the principle is the same.
Step 6: Baking the German Rye Bread
Baking is where your easy German rye bread transforms from a sticky dough into a beautiful loaf. Achieving a good crust and a well-baked interior requires high heat and steam.
Preheat your oven with a baking stone or Dutch oven inside to a high temperature, typically 230-250°C (450-480°F). This high initial heat provides a strong oven spring. If using a baking stone, place a tray or cast iron pan on the rack below it for creating steam.
Oven Temperature and Baking Time
Bake rye bread at a high temperature initially, then reduce it. A common method is to bake at 240°C (465°F) for the first 15-20 minutes to encourage oven spring, then reduce the temperature to 200-210°C (390-410°F) for the remaining 30-40 minutes. Total baking time for an 800g loaf is often around 45-60 minutes.
The bread is done when the crust is dark brown and firm, and the internal temperature reaches 96-99°C (205-210°F). Using an instant-read thermometer is the most accurate way to check for doneness.
Creating Steam for a Crispy Crust
Steam is crucial during the initial phase of baking to keep the surface of the dough moist, allowing it to expand fully before the crust sets. This results in better oven spring and a thinner, crispier crust.
If using a baking stone, carefully pour about half a cup of hot water into the preheated tray on the rack below just after loading the bread. Close the oven door quickly to trap the steam. Be cautious of the hot steam. If using a Dutch oven, the sealed environment naturally creates steam from the moisture in the dough. Bake covered for the first 20-25 minutes, then uncover to allow the crust to brown.
Step 7: Cooling and Slicing Your Homemade Roggenbrot
After the anticipation of baking, the final step is perhaps the most challenging: waiting for your easy German rye bread to cool. This step is not just about preventing burns; it's essential for the bread's texture and flavor.
Once baked, transfer the loaf to a wire rack immediately. Allow it to cool completely. Rye bread, due to its density and moisture, requires a longer cooling time than wheat bread, often 2-3 hours or even longer for very dense loaves. Slicing too early can result in a gummy interior.
Allowing the Bread to Cool Completely
Cooling allows the internal moisture to redistribute and the starches to fully set. This process is crucial for achieving the characteristic firm yet moist crumb of German rye bread. Slicing a warm rye loaf will likely result in a sticky, unpleasant texture.
Be patient! Set your beautiful loaf on the rack and resist the urge to cut into it until it is fully cool to the touch. This waiting period is a final test of discipline in your easy German rye bread baking journey.
Best Practices for Slicing Rye Bread
Once fully cooled, slicing rye bread requires a good bread knife, preferably a serrated one. Because of the dense crumb, a sharp knife will make clean cuts without tearing or compressing the loaf.
Slice the bread to your desired thickness. German rye bread is often sliced relatively thinly for open-faced sandwiches (Butterbrot or Smørrebrød variations) but can also be cut thicker for heartier servings. Store the unsliced portion correctly to maintain freshness.
Tips and Tricks for Perfect German Rye Bread Every Time
Baking easy German rye bread becomes even more rewarding as you learn to fine-tune the process. These tips and tricks address common challenges and offer ways to elevate your baking game.
Don't be discouraged if your first loaf isn't perfect. Every bake is a learning opportunity. Pay attention to what worked and what didn't, and adjust for your next attempt at baking German rye bread.
Troubleshooting Common Rye Bread Baking Issues
Several issues can arise when baking rye bread. One common problem is a dense, brick-like loaf. This can be caused by an inactive starter, under-proofing, or insufficient baking time. Ensure your starter is vigorous (passes the float test) and allow adequate time for proofing (the poke test is key). Baking until the internal temperature is 96-99°C (205-210°F) ensures the loaf is cooked through.
Another issue is a gummy interior. This is almost always due to slicing the bread before it has cooled completely. Patience is vital! Ensure the loaf is fully cool, which can take several hours, before slicing. If your crust is too hard, try increasing the steam during the initial bake or reducing the overall baking time slightly once the internal temperature is reached.
Mastering the Art of Sourdough Rye Bread
Mastering sourdough rye bread is largely about understanding your starter and how rye flour behaves. Rye starters tend to be very active, but the dough's lack of strong gluten requires gentle handling.
Practice makes perfect. The more you bake easy German rye bread, the better you'll become at recognizing the right dough consistency, judging proofing times, and managing your starter. Keeping a baking journal can help you track variables like room temperature, starter activity, and timing, allowing you to refine your process over time.
Variations and Adaptations: Exploring Different Rye Bread Recipes
Once you're comfortable with a basic easy German rye bread recipe, you can explore variations. German baking features numerous types of rye bread, from lighter Mischbrot (mixed bread, often 50% rye) to darker, denser Pumpernickel (a steamed, very dark rye bread).
Experimenting with different ratios of rye to wheat flour, incorporating different types of rye flour (like whole grain or pumpernickel meal), and adding various seeds or spices can significantly change the flavor and texture of your loaf.
Adding Seeds and Grains for Texture and Flavor
Many German rye bread recipes include seeds and grains. Pumpkin seeds, sunflower seeds, flax seeds, and cracked rye or wheat kernels are common additions. These add delightful texture and nutty flavors.
You can soak seeds or grains overnight before adding them to the dough to soften them and prevent them from absorbing moisture from the bread during baking, which could otherwise lead to a drier crumb. A typical addition might be 50-100g of mixed seeds per loaf.
Experimenting with Different Rye Flour Blends
Varying the type and percentage of rye flour will dramatically alter the final bread. Using 100% whole grain dark rye flour will result in a very dense, strongly flavored loaf requiring a very active starter and often a longer fermentation.
For an easy German rye bread, starting with a blend (e.g., 60% medium rye, 40% strong bread flour) is recommended. As you gain confidence, you can gradually increase the percentage of rye flour or try different types like light rye for a milder flavor or pumpernickel meal for a coarser texture.
Storing Your Homemade German Roggenbrot
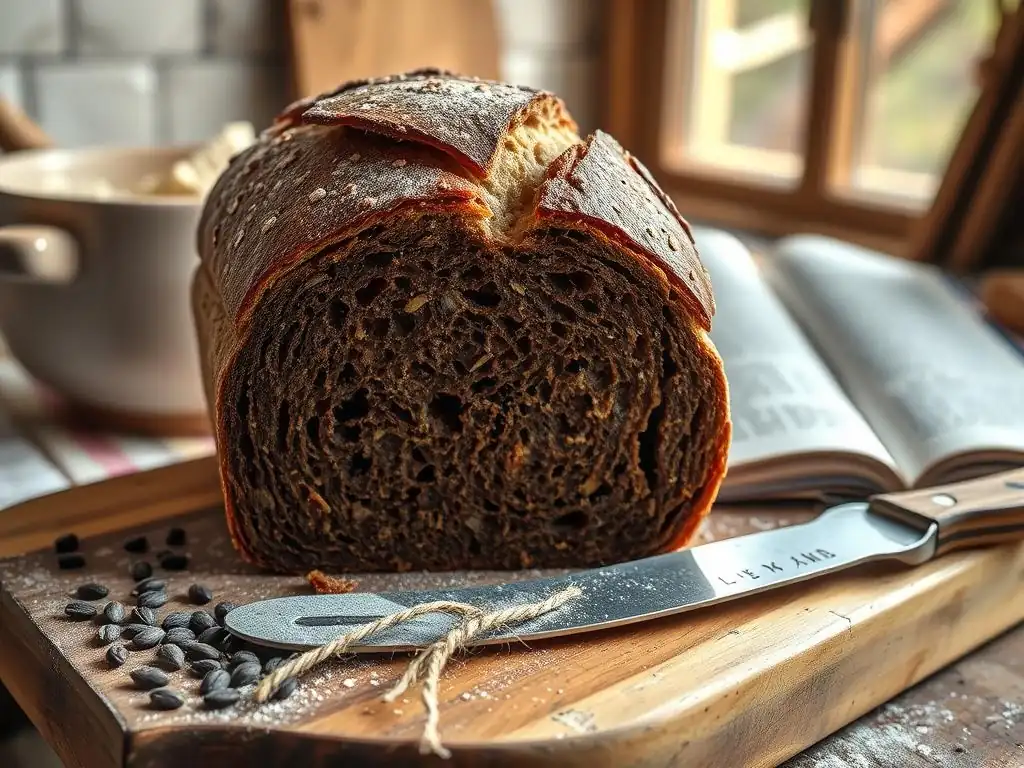
Proper storage is key to keeping your delicious easy German rye bread fresh and enjoyable for as long as possible. Due to its density and lower moisture loss compared to airy wheat breads, rye bread tends to stay fresh longer.
Avoid refrigerating rye bread, as this can actually make it stale faster. Instead, opt for room temperature storage or freezing for longer periods.
Keeping Your Rye Bread Fresh for Longer
Once your loaf is completely cool, store it in a breathable bread bag (linen or cotton) or wrapped in beeswax wrap. A plastic bag can also work but might soften the crust over time. Store the bread cut-side down on a clean surface if you've already sliced it.
Stored at room temperature in a bread bag or container, a homemade easy German rye bread can typically stay fresh and moist for 4-7 days. The natural acidity from the sourdough starter also acts as a natural preservative.
Freezing Rye Bread for Future Enjoyment
If you won't finish your loaf within a few days, freezing is an excellent option to preserve its quality. Ensure the bread is completely cooled before freezing.
You can freeze the entire loaf or slice it first and freeze individual slices. Wrap the bread tightly in plastic wrap, then place it in a freezer bag or aluminum foil to prevent freezer burn. Properly wrapped, easy German rye bread can be frozen for up to 3-4 months. Thaw at room temperature, either the whole loaf or individual slices as needed.
Enjoying Your Easy German Rye Bread
The best part of baking easy German rye bread is finally getting to enjoy your creation! Its unique flavor and texture make it incredibly versatile for various uses.
Whether you prefer it simple with butter or as the base for a hearty meal, your homemade Roggenbrot is sure to be a hit.
Serving Suggestions and Pairing Ideas
German rye bread pairs wonderfully with a variety of toppings. Classic pairings include:
- Simple butter (Butterbrot)
- Cream cheese or quark
- Cheese (like Emmental or Gouda)
- Cold cuts (ham, salami)
- Smoked fish (salmon, herring)
- Hard-boiled eggs
- Pickled vegetables (gherkins, onions)
Its robust flavor also stands up well to strong cheeses and savory spreads.
Make Delicious Sandwiches and More With Your Roggenbrot
Beyond simple open-faced sandwiches, your easy German rye bread can be used in many ways. Toasting slices brings out its nutty flavor and adds a satisfying crunch.
Consider using it for:
- Hearty breakfast toast
- Base for avocado toast
- Croutons for salads or soups
- Served alongside stews or hearty soups to soak up the broth
Your homemade easy German rye bread is a versatile foundation for countless delicious meals and snacks.
More German Baking Delights.
Frequently Asked Questions
How easy is this German Rye Bread recipe for absolute beginners?
This recipe is designed with beginners in mind. It uses simple ingredients and provides step-by-step instructions to ensure success, even if you've never baked bread before.
What makes this recipe specifically "German" Rye Bread (Roggenbrot)?
The recipe utilizes a high percentage of rye flour, a characteristic feature of many German rye breads, resulting in a dense crumb and distinctive flavor.
Can I substitute any of the ingredients in this Easy German Rye Bread recipe?
While it's best to follow the recipe closely for optimal results, you could experiment. However, substituting rye flour will significantly impact the texture and flavor.
How long does it take to make this Easy German Rye Bread from start to finish?
The total time, including preparation, proofing, and baking, is approximately 3-4 hours. This includes significant resting time for the dough to develop flavor.
What's the best way to store leftover Easy German Rye Bread?
Wrap the cooled bread tightly in plastic wrap or store it in an airtight container at room temperature. This will help maintain its moisture and freshness for several days.
Final Reflection: The Humble Loaf and the Joy of Baking
The simple act of baking a loaf of bread, even a seemingly complex one like Roggenbrot, connects us to a rich culinary history and offers a profound sense of accomplishment. This recipe, designed for beginner bakers, demystifies the process of creating this hearty German staple, proving that even seemingly intimidating recipes can be approachable and rewarding. The satisfaction of slicing into a warm, crusty loaf, fragrant with the earthy notes of rye, is a testament to the power of simple ingredients and patient effort.
The enduring appeal of bread, particularly traditional breads like Roggenbrot, lies in its ability to transcend mere sustenance and become a symbol of comfort, community, and cultural heritage. It's a food that has nourished generations, a constant in a world of ever-changing trends. Bread is the staff of life,
a simple phrase, yet it encapsulates the profound significance of this humble food. This recipe, therefore, is more than just instructions; it's a pathway to connecting with a tradition, a chance to slow down and appreciate the process of creation, and a delicious way to share a piece of culture with friends and family.
Now, I invite you to roll up your sleeves, gather your ingredients, and embark on this baking adventure. Don't be intimidated by the seemingly long list of steps; each one is a small step towards a larger reward. Remember the satisfaction of kneading the dough, the anticipation of the rising loaves, and the ultimate joy of sharing your freshly baked Roggenbrot. Let this recipe be a springboard to further exploration in the world of baking, a testament to your capabilities, and a delicious reminder that even the most challenging endeavors can yield incredibly rewarding results.
Unleash Your Inner Baker: Craft Your Own Roggenbrot!
Thanks for joining us on this rye bread baking adventure! We hope you gained confidence and a newfound appreciation for the simple joys of homemade bread. Now it's time to put your skills to the test.
- Bake your own Roggenbrot: Use the recipe as a springboard – experiment with different flours, seeds, or even add some dried fruit for a unique twist! This is your chance to truly personalize your loaf.
- Share your creation: Post a picture of your masterpiece on social media and tag us – we'd love to see your delicious results! Use #BakeWithEaseRoggenbrot.
- Explore other beginner-friendly recipes: Dive into our recipe archive for more easy-to-follow baking projects that will expand your culinary horizons.
Ready to taste the satisfaction of crafting your perfect loaf? What unique ingredient will you add to your next Roggenbrot?