
Avoiding Collapsed Choux: Essential Baking Techniques

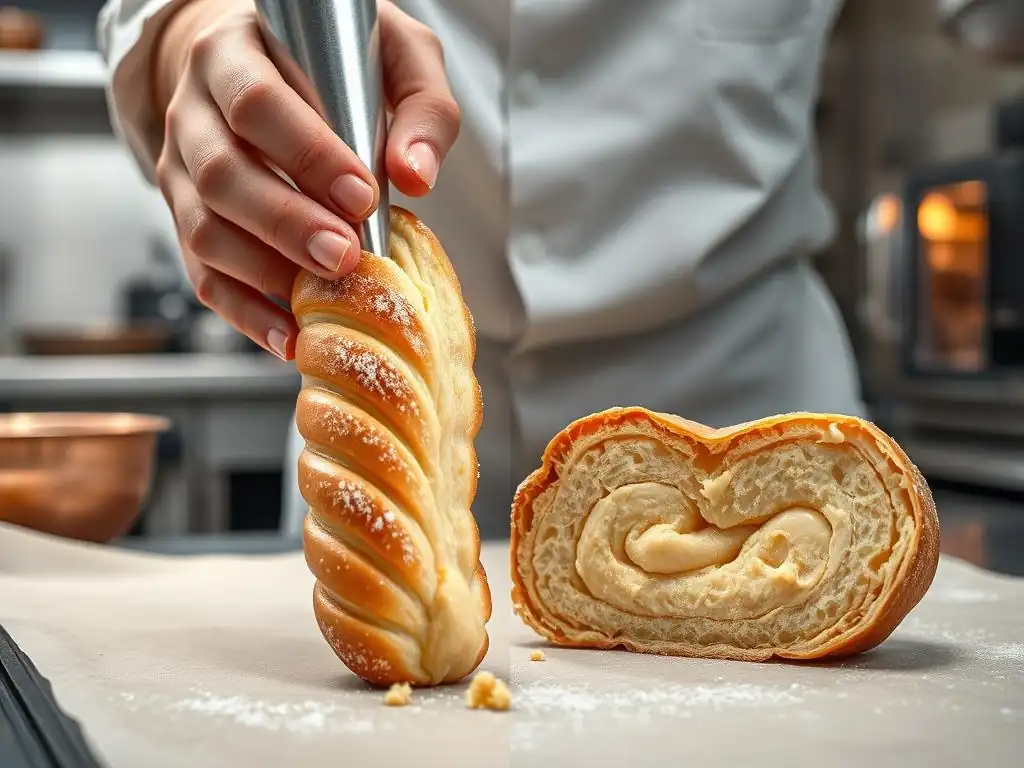
Welcome to BakeWithEase, where we unravel the secrets to baking success! Are you tired of your delicate creations falling flat? Dive into our expert guide on preventing choux pastry collapse, a common hurdle even for seasoned bakers. Discover the essential techniques that separate a perfectly puffed pastry from a soggy disappointment, and unlock the secrets to consistently light and airy results. Ready to elevate your baking game? Let's get started!
- Avoiding Collapsed Choux: Essential Baking Techniques for Perfect Puffs
- Introduction: Achieving Choux Pastry Perfection
- Understanding Why Choux Pastry Collapses
- Key Techniques for Preventing Choux Pastry Collapse
- Troubleshooting Common Choux Pastry Problems
- Expert Tips for Baking Stable Choux Pastry
- Conclusion: Consistently Perfect Choux
-
Frequently Asked Questions
- How crucial is the oven temperature when baking choux pastry to prevent collapse?
- What role does moisture play in the success of choux pastry and preventing it from collapsing?
- Why is it so important not to open the oven door while baking choux pastry?
- What ingredients are most vital in achieving a stable choux pastry structure that resists collapse?
- After baking, is there a specific cooling technique recommended to prevent choux pastry from collapsing?
- Final Reflection: The Triumphant Choux: Mastering the Art of Puffed Perfection
- Unlock Your Perfect Choux Pastry!
Avoiding Collapsed Choux: Essential Baking Techniques for Perfect Puffs
Introduction: Achieving Choux Pastry Perfection
Baking choux pastry, those delightful airy shells used for éclairs, cream puffs, and gougères, can feel like a delicate dance. Achieving that perfect puff – hollow, light, and beautifully golden – is the goal for every baker. However, a common frustration is dealing with collapsed choux. You pull them from the oven, proud of their initial rise, only for them to deflate into sad, flat discs. Preventing choux pastry collapse is a key skill that elevates your baking from good to consistently great. This article will guide you through the essential techniques to master this classic pastry.
Understanding the science behind why choux behaves the way it does is the first step towards success. It's a relatively simple dough made from just four core ingredients: water (or milk), butter, flour, and eggs. Yet, the magic happens through precise technique and controlled conditions. By focusing on key stages like dough consistency, cooking, and cooling, you can significantly improve your results and say goodbye to collapsed choux for good. Let's dive into the secrets of achieving pastry perfection every time you bake.
Understanding Why Choux Pastry Collapses
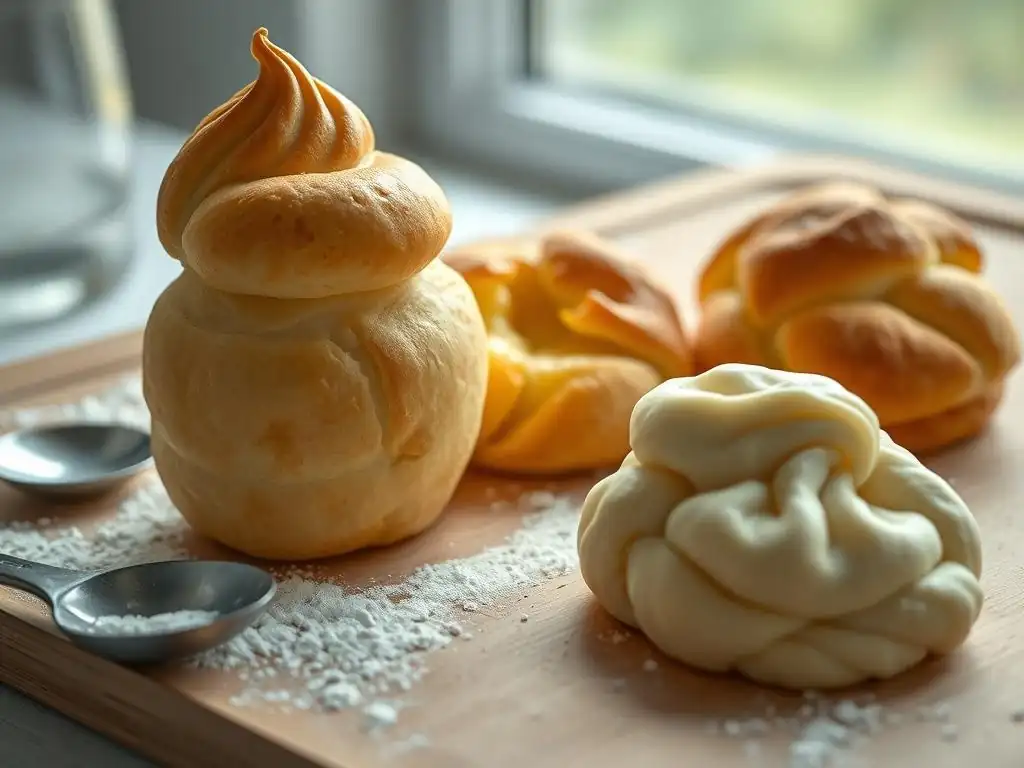
Choux pastry relies on steam to create its signature hollow interior and impressive rise. When the dough is baked, the high water content quickly turns to steam, which expands rapidly, inflating the pastry shell. The proteins in the eggs and flour then set, creating a stable structure that holds this shape. If any part of this process is compromised – insufficient steam, weak structure, or rapid cooling – the pastry can lose its internal support and collapse. Identifying the root cause is crucial for preventing choux pastry collapse in future baking endeavors.
Several factors can contribute to this frustrating deflation, ranging from issues with the dough itself to problems during the baking and cooling process. The key is to ensure the pastry is fully cooked and properly dried out in the oven before being exposed to the cooler external air. A choux puff that looks done but still holds too much internal moisture is highly susceptible to collapsing as it cools. Understanding these common pitfalls is the first step in mastering the art of stable choux.
Common Causes of Choux Pastry Deflation
One of the most frequent culprits behind collapsed choux is underbaking. If the pastry doesn't spend enough time in the oven, the internal structure, primarily formed by the cooked proteins from the eggs and flour, won't be sufficiently set. The moisture inside will still be too high. Imagine a balloon that hasn't been fully inflated or tied off properly; it will lose air and deflate.
Similarly, an underbaked choux relies on the hot steam to keep its shape. Once removed from the heat, this steam condenses, and without a strong, dry shell, the pastry collapses under its own weight. This is a major factor in preventing choux pastry collapse.
Another significant cause is opening the oven door too early or too often during the baking process. Choux pastry is very sensitive to sudden temperature changes, especially in the initial stages of rising. A blast of cooler air can shock the delicate structure before it has set, leading to immediate deflation.
Furthermore, using ingredients that aren't fresh or measured precisely can also contribute. For instance, using too much liquid or not enough egg can result in a dough that is too weak to support the steam expansion, making it prone to collapse. Ensuring ingredients are weighed accurately, often in grams, is a best practice for consistent choux.
The Science Behind Choux: Steam, Eggs, and Structure
The magic of choux pastry lies in the interplay of steam, eggs, and the gelatinization of starch. When the initial dough (panada) is cooked on the stovetop, the starch in the flour absorbs the liquid and gelatinizes, forming a thick paste. This traps moisture within the dough. Once the eggs are incorporated, they add structure through their proteins and emulsifying fats, creating a stable network. When this dough hits the hot oven, the trapped water rapidly turns into steam. This steam creates immense internal pressure, forcing the dough to expand dramatically.
As the pastry expands, the high heat of the oven not only generates steam but also begins to cook the egg proteins, causing them to coagulate and set the structure. Simultaneously, the outer shell starts to dry out and crisp up. For a choux puff to remain inflated, this outer shell must become rigid enough to support the now-hollow interior as the steam dissipates and the pastry cools.
If the shell is still soft or moist due to underbaking or insufficient drying, it will buckle and collapse. Mastering this balance of expansion and setting is key to preventing choux pastry collapse.
Key Techniques for Preventing Choux Pastry Collapse
Preventing choux pastry collapse boils down to controlling the process from start to finish. It involves paying close attention to the dough consistency, the baking environment, and the cooling phase. By implementing specific techniques at each stage, you can build a stronger, more reliable pastry that holds its shape beautifully. Think of it as constructing a tiny edible building – each step is crucial for structural integrity.
Success with choux isn't about luck; it's about precision and understanding. From how you cook the initial paste to how you add the final egg, every detail matters. Let's explore the fundamental techniques that will make a significant difference in your choux pastry results, ensuring those perfect, airy puffs every time.
1. Mastering the Dough Consistency: The Ribbony Texture
The texture of your choux dough before it goes into the oven is perhaps the single most critical factor in preventing choux pastry collapse. The goal is a smooth, glossy, and thick paste that, when lifted with a spoon or paddle, falls back into the bowl in a slow "ribbon" or "V" shape. This indicates the correct balance of moisture and structure provided by the eggs relative to the cooked flour paste.
If the dough is too stiff, it won't expand properly. If it's too loose or runny, it won't have the strength to hold its shape as it rises and will likely collapse.
Achieving this consistency requires careful attention during the egg incorporation stage. The number of eggs needed can vary slightly depending on factors like the size of the eggs, the humidity, and how much moisture evaporated during the stovetop cooking of the panada. This is why recipes often specify adding the last egg (or portion) gradually.
You're looking for that specific visual cue – the ribbon falling from the spoon – rather than relying solely on a fixed number of eggs. For example, a recipe might call for 3-4 large eggs; you might find that 3 and a half eggs is the perfect amount for your specific batch.
Achieving the Perfect Ribbony Consistency Explained
The "ribbony" consistency, also known as the "bird's beak" or "V" test, is the benchmark for properly hydrated choux dough. After beating in the eggs, lift some dough on a spoon or the paddle attachment of a stand mixer. The dough should hang from the spoon in a thick mass for a moment, then slowly detach and fall back into the bowl, forming a trail that resembles a ribbon or an inverted 'V'.
The tip of this 'V' should hold its shape briefly before melting back into the main dough mass. If the dough snaps cleanly without forming a ribbon, it's too stiff and likely needs a little more egg.
Conversely, if the dough is too runny and drips off the spoon quickly without holding any shape, it's too wet. This usually means too many eggs have been added. This excess moisture weakens the structure, making the pastry prone to collapsing in the oven. Achieving this specific consistency ensures the dough has the right balance of elasticity and firmness to expand dramatically from the steam while also possessing enough structural integrity to set into a stable shell. This step is paramount for preventing choux pastry collapse.
Troubleshooting Dough Consistency Issues
If your choux dough is too stiff after adding the recommended eggs, it means it needs more liquid. The easiest way to correct this is by adding a small amount of beaten egg, a teaspoon at a time, mixing thoroughly after each addition, until the desired ribbony consistency is achieved. It's crucial to add the egg incrementally to avoid over-wetting the dough. A common mistake is adding a whole extra egg at once, which can quickly make the dough too loose.
If your choux dough is too loose or runny, it's unfortunately much harder to fix. This typically happens when too much egg has been added. While some bakers suggest trying to cook the dough gently on the stovetop again to evaporate some moisture, this often scrambles the egg proteins and negatively impacts the final texture. Prevention is key here: always add the eggs gradually, especially the last one, and stop as soon as the ribbony consistency is reached. If the dough is significantly too wet, it might be better to start over to ensure successful choux pastry.
2. The Importance of Proper Cooking Temperature and Time
Baking choux pastry at the correct temperature and for the sufficient amount of time is absolutely vital for preventing choux pastry collapse. The baking process for choux is typically done in two stages: an initial high temperature to create a rapid burst of steam and achieve maximum expansion, followed by a lower temperature to dry out the interior and set the structure without burning the exterior. Getting this sequence right is non-negotiable for stable puffs.
Many recipes recommend starting at a temperature around 400-425°F (200-220°C) for the first 10-15 minutes, then reducing the heat to 350-375°F (180-190°C) for the remainder of the baking time. This initial high heat is critical for generating that powerful steam lift. Reducing the temperature allows the inside to cook through and dry out gradually, preventing the shell from getting too dark before the interior is done. Skipping the second, lower-temperature phase almost guarantees underbaked, collapsible choux.
Baking Choux at the Right Temperature: A Step-by-Step Guide
Preheat your oven thoroughly to the initial high temperature, typically between 400-425°F (200-220°C). An accurately calibrated oven is essential here; consider using an oven thermometer if you suspect your oven runs hot or cold. Pipe your choux dough onto baking sheets lined with parchment paper, leaving enough space for expansion (they will double or triple in size).
Place the baking sheet in the preheated oven. Do not open the oven door during this initial high-heat phase, as it will interrupt the crucial steam expansion. Bake at this temperature for the time specified in your recipe, usually 10-15 minutes, until the pastries are significantly puffed and just starting to turn golden.
After the initial high-heat period, reduce the oven temperature to the lower range, typically 350-375°F (180-190°C). Continue baking for an additional 20-30 minutes (or longer for larger pastries), or until the choux is deeply golden brown, feels light when lifted, and sounds hollow when tapped on the bottom. The longer baking time at the lower temperature is what dries out the interior and sets the structure, which is paramount for preventing choux pastry collapse. Resist the urge to take them out too early based solely on color; they must be cooked through.
Recognizing Doneness: Visual Cues and Internal Temperature
Knowing when choux pastry is truly done is a skill that develops with practice, but there are clear indicators. Visually, properly baked choux should be a rich, deep golden-brown color all over, not just on the edges. They should look matte and dry, not shiny. They should also feel very light for their size. If you gently tap the bottom of a choux puff (carefully, as they are hot! ), it should sound hollow. This hollow sound indicates that the interior has dried out and formed a stable cavity.
For ultimate certainty, especially when learning, you can check the internal temperature. A fully baked choux pastry shell should reach an internal temperature of around 200-210°F (93-99°C). Using an instant-read thermometer is a reliable way to confirm doneness, ensuring the interior is cooked and dry enough to prevent collapsing. Once baked, some recipes suggest turning off the oven and leaving the choux inside with the door slightly ajar for another 10-15 minutes to cool down gradually and dry out further, adding an extra layer of insurance against deflation.
3. Releasing Steam Effectively: Avoiding Soggy Interiors
Even if choux pastry is baked at the correct temperatures and for the right amount of time, trapping steam inside during the cooling process can lead to a soggy interior and potential collapse. As the steam inside cools, it condenses back into water. If this moisture has nowhere to go, it softens the hard-earned crisp shell from the inside out, weakening the structure. This is why proper venting is an important technique for preventing choux pastry collapse and achieving that desired crisp exterior and hollow inside.
Venting allows the excess steam to escape from the pastry after its structure has set but while it is still warm. This helps to dry out the interior cavity, ensuring the shell remains firm and stable as it cools completely. Without effective venting, even a perfectly baked choux can become soft and risk deflating, particularly if it's large or densely piped.
The Role of Venting in Choux Pastry Baking
Venting serves a crucial function in the final stages of choux pastry baking and cooling. It allows the significant amount of steam generated during baking to escape, preventing it from condensing inside the shell and making it soggy. Think of it as letting the building "air out" after construction is complete.
By creating a small opening, you facilitate the drying process of the interior, which is essential for the pastry to maintain its shape and crispness once it's removed from the oven and exposed to cooler air. This step is particularly important for preventing choux pastry collapse in humid environments or with larger choux pieces like éclairs.
Many recipes incorporate venting as part of the baking process. This might involve piercing each choux puff with a sharp knife tip or skewer immediately after removing them from the oven, or even during the last few minutes of baking. Some techniques involve turning off the oven and leaving the choux inside with the oven door slightly ajar for a period, which allows for gentle drying and steam release before they face the cooler room air.
Techniques for Proper Venting
There are a couple of common methods for venting choux pastry. One popular technique is to make a small slit (about 1/4 to 1/2 inch) in the side or bottom of each choux puff or éclair shell using a sharp paring knife immediately after they come out of the oven. This provides a direct escape route for the hot steam trapped inside. Be careful when doing this, as the steam is very hot.
Another method, often used in conjunction with the knife slit or sometimes instead of it, is to turn off the oven after the choux are fully baked and leave them inside with the oven door propped open slightly (using a wooden spoon, for example) for 10-15 minutes. This allows the pastries to cool down very gradually while the residual heat helps to continue drying the interior and letting steam escape slowly. Both methods contribute significantly to preventing choux pastry collapse by ensuring the interior is dry and stable.
4. Egg Incorporation: The Foundation of Choux Structure
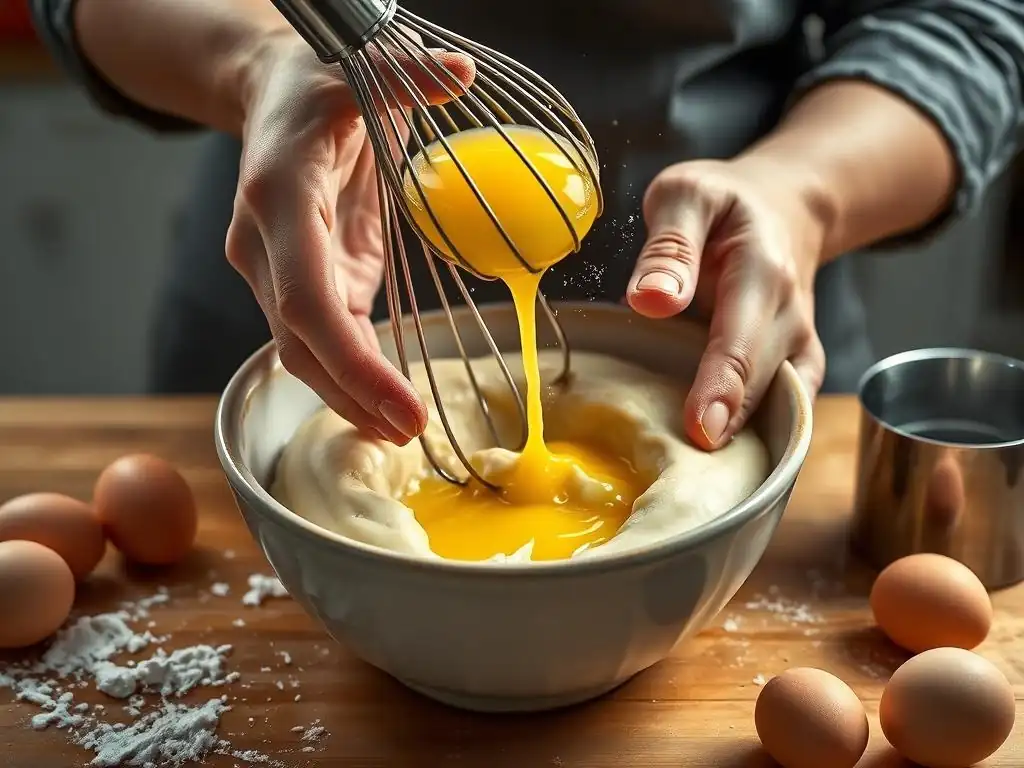
Eggs are the powerhouse ingredient in choux pastry, providing the structure and elasticity needed for the dough to expand with steam and set into a stable shell. They also contribute richness, color, and flavor. However, the way eggs are added and the quantity used are critical. Adding them correctly ensures they emulsify properly with the cooked flour-butter mixture, creating a smooth, cohesive dough with the right consistency. This step is fundamental for preventing choux pastry collapse.
The proteins in the eggs coagulate when heated, forming a network that provides the framework for the risen choux. The fat in the yolks contributes tenderness and richness, while the lecithin acts as an emulsifier, helping to bind the fat and water together. Using fresh, large eggs is generally recommended for consistent results.
Adding Eggs Gradually for Optimum Emulsification
The key to incorporating eggs into choux pastry is to add them one at a time (or in small portions if using a stand mixer) and beat thoroughly after each addition until the egg is fully absorbed before adding the next. This process, often done with a wooden spoon or a stand mixer with a paddle attachment, helps to emulsify the fat and water, creating a smooth, cohesive dough. Adding all the eggs at once can result in a lumpy, greasy dough where the fat separates, leading to poor expansion and a weaker structure prone to collapse.
Beating after each egg also cools the dough slightly from its initial stovetop temperature, preventing the eggs from scrambling. Continue adding eggs gradually, checking the consistency frequently, until the dough reaches that specific "ribbony" stage described earlier.
This gradual addition ensures the right amount of egg is incorporated for optimum hydration and structure, a vital step in preventing choux pastry collapse. For example, if a recipe calls for 4 eggs, you would add one, beat it in, add the second, beat it in, and so on, until you add the fourth egg and check for the ribbon consistency, possibly stopping if it's achieved before adding the entire fourth egg.
Troubleshooting Egg Incorporation Problems
If you add the eggs too quickly, or if the panada is still too hot, you might end up with scrambled egg bits in your dough. If this happens, unfortunately, there's no real fix. The scrambled proteins won't provide the necessary structure, and the pastry will likely not rise correctly and will be prone to collapse. Ensure your panada has cooled slightly (it should be warm, not piping hot) before adding the eggs, and add them one by one, beating well.
If, despite adding eggs gradually, your dough appears greasy or the fat seems to be separating, it might indicate that the panada wasn't cooked long enough on the stovetop to fully gelatinize the starch and absorb the fat/liquid. While difficult to fully correct at this stage, you can try beating it vigorously for an extended period to see if the emulsion can be restored. However, if the separation is significant, the dough's structure will be compromised, and it may be best to start a new batch to ensure success with preventing choux pastry collapse.
5. Using the Right Ingredients: Flour, Butter, and Liquids
While seemingly simple, the quality and type of ingredients used in choux pastry can influence the final outcome and its stability. The choice of flour, the fat used (usually butter), and the liquid base (water or milk) all play a role in the dough's structure and how it behaves during baking. Using the correct ingredients as specified in a reliable recipe is a foundational step in preventing choux pastry collapse.
Small variations in ingredient properties can affect moisture absorption, gluten development, and fat distribution, all of which impact the final pastry's ability to rise and hold its shape. Let's look at how each key ingredient contributes to the success or failure of your choux.
The Impact of Flour Type on Choux Pastry
Most choux pastry recipes call for all-purpose flour. All-purpose flour has a moderate protein content (typically 10-12%), which provides enough gluten structure to support the steam expansion without making the pastry tough. Using flour with a significantly lower protein content, like cake flour (around 8%), might result in a weaker structure that is more susceptible to collapse. Conversely, using a high-protein flour like bread flour (12-14%+) could develop too much gluten, leading to a tougher texture, although it might offer slightly more structural support.
For consistent results and optimal structure for preventing choux pastry collapse, sticking to standard unbleached all-purpose flour is generally recommended. The starch in the flour is crucial for absorbing the liquid and creating the gelatinized panada, which holds the moisture necessary for steam generation. Using accurately measured flour (preferably by weight, e.g., 120 grams per cup) is also essential, as too much or too little flour will disrupt the liquid-to-starch ratio.
The Role of Butter and Liquid in Choux Expansion
Butter provides fat, which contributes to tenderness and richness, and also water (typically around 15-18% in unsalted butter). This water contributes to the steam needed for expansion. Using a good quality unsalted butter is standard. The fat also helps to coat the flour particles, controlling gluten development to some extent and contributing to the light texture.
The liquid base, usually water or a mix of water and milk, is the source of the steam. Water creates a crispier shell due to its higher boiling point and lack of solids. Milk adds richness and promotes browning due to its fat and sugar content, but can result in a slightly softer shell.
The total amount of liquid relative to the flour is critical for achieving the right panada consistency. Using the exact amount specified in the recipe is important for preventing choux pastry collapse, as too much liquid will make the dough too wet and weak, while too little will make it too stiff to expand properly. For instance, a typical ratio might involve starting with 100g butter and 250ml liquid (water or milk) for 150g flour.
Troubleshooting Common Choux Pastry Problems
Even with the best techniques, sometimes things go wrong. Identifying the specific problem with your choux pastry is the first step to fixing it or preventing it in the future. Collapsed choux is just one issue; others include pastries that don't rise, are too flat, or have thick, dense interiors. Understanding the potential causes behind these failures helps you adjust your technique.
This section focuses on diagnosing the most common issues bakers face when working with choux and provides practical advice on how to address them. By learning from mistakes, you'll build confidence and consistently achieve better results, becoming an expert in preventing choux pastry collapse and other common pitfalls.
Identifying and Fixing Collapsed Choux
If your choux pastry puffs up beautifully in the oven but then collapses dramatically when you take them out, the most likely culprits are underbaking or insufficient drying. As discussed earlier, this means the internal structure wasn't set firmly enough to support the shell as the steam condensed and the pastry cooled. The fix involves adjusting your baking time and temperature.
To prevent this next time, ensure you bake the choux until they are a deep golden brown and feel light and hollow. Extend the baking time at the lower temperature setting. Consider leaving them in the turned-off oven with the door ajar for an extra 10-15 minutes after baking. If you catch them collapsing immediately upon removal, you can sometimes salvage them slightly by putting them back into a moderately hot oven (around 300°F / 150°C) for another 10-15 minutes to try and dry them out further, though they won't regain their full height.
Troubleshooting Éclair Shells
Éclair shells present a specific challenge because of their elongated shape. They are prone to collapsing in the middle or becoming misshapen if the dough consistency isn't perfect or if they are underbaked. A common issue is éclairs that look done on the ends but are still soft and moist in the center, leading to a saggy middle after cooling. Preventing choux pastry collapse in éclairs requires meticulous attention to piping technique and baking time.
Ensure your éclair dough is the correct consistency – firm enough to hold its shape when piped but still able to expand. Pipe even, consistent lengths to ensure uniform baking. Bake éclairs until they are uniformly deep golden brown along their entire length and feel light. Because they are longer, they often require slightly longer baking times than round puffs. Venting is particularly important for éclairs; make a slit along the side or bottom of each one immediately after baking to release steam and help them dry out evenly, crucial for preventing the dreaded éclair sag.
Expert Tips for Baking Stable Choux Pastry
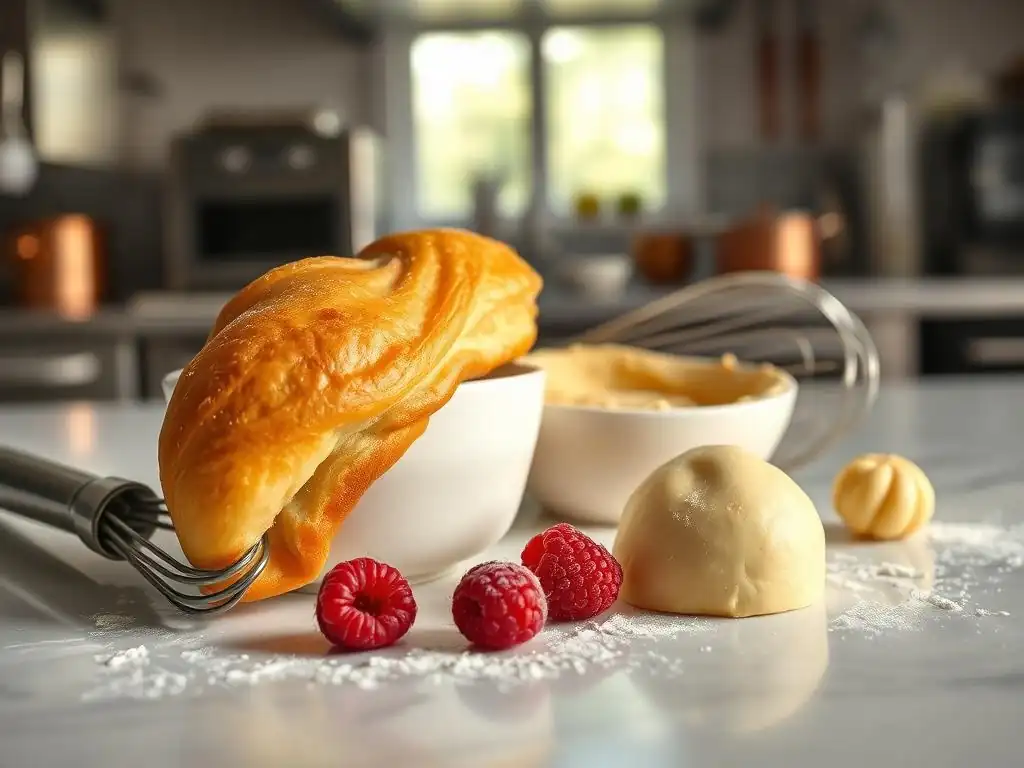
Moving beyond the basics, there are several expert tips and nuances that seasoned bakers use to ensure consistently stable and perfect choux pastry. These insights often come from years of experience and paying attention to subtle details that can make a big difference in the final outcome. Incorporating these pro tips into your routine will further enhance your ability to bake beautiful, non-collapsing choux every time.
From specific ingredient handling to oven techniques, these recommendations go the extra mile in preventing choux pastry collapse and achieving that professional-quality result. Let's look at some secrets of the pros.
Pro Baking Secrets for Consistent Results
One key pro tip is to age your choux dough slightly before piping. After the eggs are fully incorporated and the dough is smooth and glossy, cover it and let it rest at room temperature for 15-30 minutes. This allows the gluten to relax and the moisture to distribute evenly, potentially leading to a more consistent rise and a stronger structure. While not strictly necessary, many bakers find this improves the dough's handling and the final pastry's stability, contributing to preventing choux pastry collapse.
Another expert technique is egg wash. Brushing the piped choux with a thin layer of egg wash (a beaten egg mixed with a little water or milk) before baking helps them achieve a beautiful, even golden-brown color and a slightly crisper exterior. This helps the outside set firmly, providing better support for the expanding interior. Be careful not to let the egg wash drip down the sides onto the baking sheet, as this can impede the rise.
Equipment Recommendations for Successful Choux
While you can certainly make choux pastry with just a wooden spoon and a sturdy saucepan, certain equipment can make the process easier and improve consistency, aiding in preventing choux pastry collapse. A heavy-bottomed saucepan is essential for cooking the panada evenly without scorching. A stand mixer with a paddle attachment is highly recommended for incorporating the eggs; it ensures thorough mixing and emulsification without overworking the dough, and it's much less labor-intensive than hand mixing, especially for larger batches.
For piping consistent shapes and sizes (which helps with even baking), piping bags fitted with plain round or star tips are invaluable. Piping ensures uniformity, which is critical for achieving consistent results and preventing some pastries from collapsing while others succeed. Finally, an accurate oven thermometer is a relatively inexpensive tool that can significantly impact your success, ensuring your oven is truly at the temperature you set, which is fundamental for proper choux expansion and drying.
Conclusion: Consistently Perfect Choux
Mastering choux pastry requires attention to detail at every stage, but the reward is consistently beautiful, airy, and stable puffs. By understanding the science behind the steam expansion and structural setting, and by focusing on key techniques like achieving the correct dough consistency, baking thoroughly at the right temperatures, and ensuring proper venting, you can significantly reduce the likelihood of collapsed choux.
Remember to add eggs gradually, use fresh ingredients, and don't be afraid to bake your choux until they are deeply golden and feel light. With practice and patience, preventing choux pastry collapse will become second nature, allowing you to confidently create éclairs, cream puffs, and other delightful choux creations that are light, hollow, and perfectly stable every time. Happy baking!
Frequently Asked Questions
How crucial is the oven temperature when baking choux pastry to prevent collapse?
Oven temperature is absolutely critical. Baking at the correct temperature ensures the pastry puffs properly and sets before it deflates. Too low and the pastry won't rise enough; too high and it will burn before it sets.
What role does moisture play in the success of choux pastry and preventing it from collapsing?
Moisture, both in the dough and in the oven, is essential for steam generation. This steam is what causes the pastry to puff up. Insufficient moisture leads to a dry, flat result, prone to collapse.
Why is it so important not to open the oven door while baking choux pastry?
Opening the oven door causes a sudden drop in temperature. This can halt the steam production within the pastry, leading to a collapse. Resist the urge to peek!
What ingredients are most vital in achieving a stable choux pastry structure that resists collapse?
The ratio of flour, eggs, and liquid is vital. Enough flour provides structure, eggs add richness and binding, and liquid creates steam for puffing. Incorrect ratios lead to unstable pastry.
After baking, is there a specific cooling technique recommended to prevent choux pastry from collapsing?
Yes, piercing the baked choux allows steam to escape gradually. This prevents the pastry from becoming soggy and collapsing inwards as it cools. Let cool completely on a wire rack.
Final Reflection: The Triumphant Choux: Mastering the Art of Puffed Perfection
The delicate dance of choux pastry, a seemingly simple recipe yielding either airy delight or deflated disappointment, remains a crucial lesson in precision baking. Mastering choux demands not just following instructions, but understanding the why behind each step, a principle applicable far beyond the kitchen. The ability to troubleshoot and adapt, to understand the science behind the rise and fall, is a skill transferable to countless other endeavors.
The journey of perfecting choux pastry is a microcosm of life itself; it's about embracing the challenges, learning from failures, and celebrating the small victories. The only true wisdom is in knowing you know nothing.
- Socrates. This quote, while seemingly unrelated to baking, perfectly encapsulates the continuous learning process involved in mastering choux. Each batch, each experiment, brings us closer to understanding the nuances of this temperamental dough, mirroring our own personal growth and development. The frustration of a collapsed batch can teach us patience and resilience, while the joy of a perfectly puffed cream puff underscores the rewards of perseverance.
Now, consider your own "choux pastry" – that project, that goal, that dream that seems daunting and prone to collapse. What steps can you take to ensure its success? What are the "ingredients" you need to gather, the "techniques" you need to master? Remember the lessons learned from the choux: precision, patience, and a willingness to learn from mistakes are key to achieving your own puffed-up triumphs. Embrace the challenge, and let the journey be as rewarding as the final result.
Unlock Your Perfect Choux Pastry!
Thanks for joining us on this choux pastry adventure! We hope you've gained the confidence to tackle this delicious (and sometimes tricky!) baking challenge. Now it's time to put your newfound knowledge into action.
- Bake your dream choux: Choose your favorite recipe (or try a new one inspired by what you've learned!) and get baking. Don't be afraid to experiment!
- Share your success (or even your stumbles!): Post a picture of your choux creations on social media and tag us – we'd love to see them!
- Explore more baking techniques: Dive deeper into our other articles on BakeWithEase.com for more tips and tricks on mastering various baking styles.
What unique choux pastry creation will you bake next? Let us know in the comments below!