
Baking Viennoiseries in Different Oven Types: Adjustments

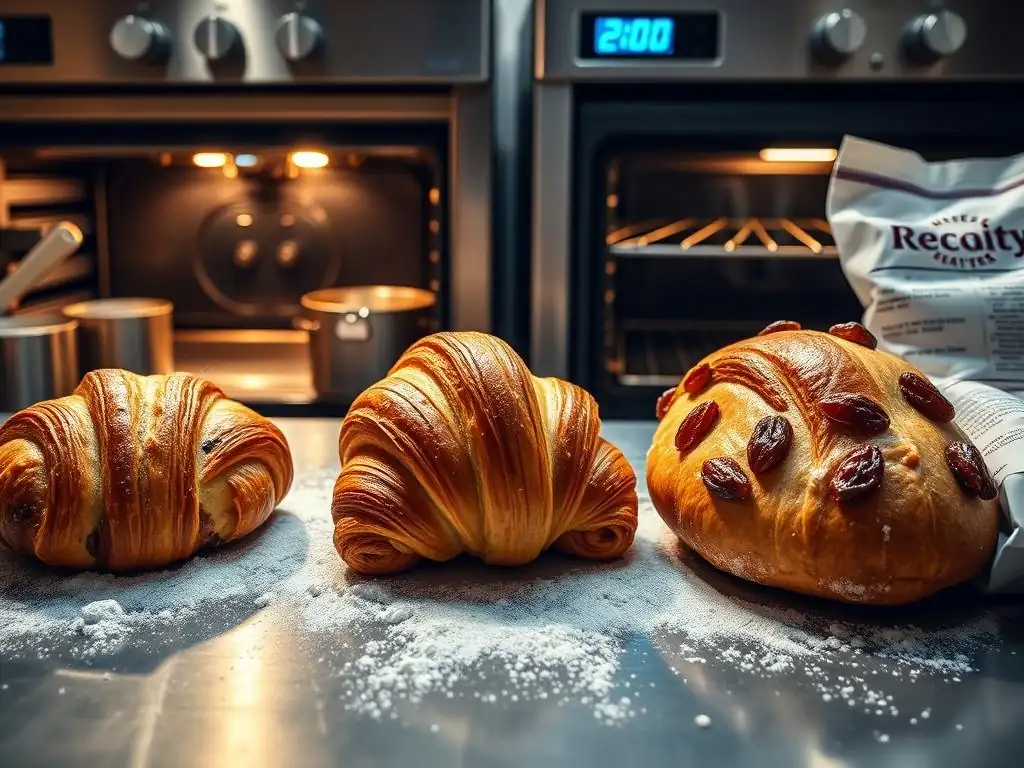
Welcome to BakeWithEase, your companion in the delightful world of baking! Ever wondered how to achieve that perfect, flaky crust on your Viennoiseries, regardless of your oven type? This article dives deep into the essential oven adjustments required for baking these delicate pastries. Unlock the secrets to achieving bakery-quality results at home. Are you ready to fine-tune your baking skills and master the art of Viennoiseries? Let's get started!
- Baking Viennoiseries in Different Oven Types: Adjustments for Perfect Results
- Introduction to Viennoiseries Baking and Oven Types
- Oven Adjustments for Classic Viennoiseries: A Comprehensive Guide
- Baking Viennoiseries in a Conventional Oven: Tips and Tricks
- Baking Viennoiseries in a Convection Oven: Mastering Airflow
- Baking Viennoiseries in a Toaster Oven: Small-Batch Success
- Baking Viennoiseries in a Gas Oven: Temperature Control
- Viennoiseries Dough Proofing and Oven Performance
- Viennoiseries Baking Temperature and Time Adjustments Chart
- Common Viennoiseries Baking Problems and Solutions by Oven Type
- Mastering Viennoiseries: Final Tips for Oven Success
- Conclusion: Achieving Viennoiseries Success with Oven Adjustments
-
Frequently Asked Questions
- What are Viennoiseries, and why do oven adjustments matter when baking them?
- What are some common oven types and how do their heating characteristics differ?
- How do I adjust baking times and temperatures for Viennoiseries in a convection oven versus a conventional oven?
- What role does humidity play in baking Viennoiseries, and how can I manage it in my oven?
- Where can I find reliable Viennoiseries oven adjustments recipes that cater to different skill levels?
- Final Reflection: Mastering the Art of Viennoiserie Across Ovens
- Unleash Your Inner Boulanger: Master Viennoiserie Baking!
Baking Viennoiseries in Different Oven Types: Adjustments for Perfect Results
Introduction to Viennoiseries Baking and Oven Types
Understanding Viennoiseries: A Baker's Guide
Viennoiseries are a delightful category of baked goods, distinct from standard bread due to their enriched dough, often containing eggs, butter, milk, and sugar. This richness contributes to their tender crumb and often flaky texture. Classic examples include croissants, pain au chocolat, brioche, and Danish pastries. The process of making Viennoiseries is often intricate, involving lamination (folding butter into dough to create layers), precise proofing, and specific baking conditions. Mastering these techniques is key to achieving the characteristic light, airy, and buttery results.
Unlike lean bread doughs that rely primarily on flour, water, yeast, and salt, Viennoiseries dough benefits significantly from the added fats and sugars. These ingredients tenderize the crumb and contribute to browning and flavor development during baking. Successful Viennoiseries baking hinges on controlling temperature at every stage – from chilling the dough and butter for lamination to the final bake in the oven. The interplay between dough structure, butter layers, and heat is what creates the desired flakiness and rise.
The Impact of Oven Type on Viennoiseries Quality
The type of oven you use profoundly impacts the outcome of your Viennoiseries. Different ovens distribute heat in distinct ways, affecting everything from oven spring (the final rapid rise in the oven) to crust development and evenness of bake. A conventional oven relies on radiant heat, which can lead to hot spots and uneven browning.
Convection ovens use fans to circulate hot air, promoting faster, more even baking and often better lift, but they can also dry out delicate pastries quickly. Gas ovens tend to have moist heat but can also suffer from temperature fluctuations and hot spots, particularly near the flame.
Understanding how your specific oven type behaves is crucial for achieving perfect Viennoiseries. The intense, dry heat needed to set the delicate layers and create a crisp exterior requires careful management. Factors like rack position, baking stone usage, and even how many pastries you load into the oven can influence the final result. Without proper oven adjustments for Viennoiseries, you might end up with pastries that are burnt on the bottom, undercooked inside, or lack the characteristic flaky layers.
Common Oven Types for Baking Viennoiseries at Home
Home bakers typically encounter three main types of ovens: conventional electric, convection electric, and gas. Each has its own set of characteristics that affect baking. Conventional ovens heat elements on the top and bottom, relying on natural airflow and radiant heat. They are common and relatively simple but often require rotating trays for even baking.
Convection ovens add a fan to circulate air, ensuring more uniform temperature distribution and faster cooking times. This can be a great advantage for Viennoiseries, promoting even browning and lift, but requires temperature and time adjustments compared to conventional recipes. Gas ovens use a flame at the bottom to heat the cavity. They often produce moist heat, which can be beneficial for some baked goods, but maintaining a consistent temperature can be challenging, and hot spots are common. Mastering Viennoiseries oven adjustments recipes means learning to work with the quirks of your specific appliance.
Oven Adjustments for Classic Viennoiseries: A Comprehensive Guide
General Guidelines for Adjusting Viennoiseries Recipes
When adapting a standard Viennoiseries recipe for your specific oven, a good rule of thumb for convection ovens is to reduce the temperature by about 25°F (15°C) and potentially decrease the baking time by 10-20%. Conventional and gas ovens often require baking at the temperature specified in a standard recipe, though adjustments for hot spots or uneven heating may be necessary. For example, if a recipe calls for baking croissants at 400°F (200°C) in a conventional oven, you would likely use 375°F (190°C) in a convection oven.
Beyond temperature, monitoring the pastries closely is vital. Baking time is always an estimate and can vary by several minutes depending on the oven and the size of the Viennoiseries. Look for visual cues: a deep golden-brown color indicates the pastries are likely done. Using an oven thermometer is highly recommended to verify that your oven's internal temperature matches the setting, as many home ovens can be off by 25-50°F (15-30°C). These general Viennoiseries oven adjustments recipes serve as a starting point for experimentation.
Key Considerations for Baking Viennoiseries
Several factors beyond oven type influence successful Viennoiseries baking. Proper dough handling, including chilling and lamination, is non-negotiable for creating flaky layers. The butter must be cold and pliable, not soft or melted, to create distinct layers when folded into the dough. Proofing is another critical stage; under-proofed Viennoiseries will lack oven spring and can be dense, while over-proofed ones may collapse or lose their structure in the oven.
Temperature and humidity during proofing also play a significant role. A warm, slightly humid environment is ideal, but too much heat can melt the butter within the dough, ruining the layers. Typically, proofing takes 1.5 to 2.5 hours at room temperature (around 75°F/24°C). The final bake should be in a preheated oven, often starting at a higher temperature to encourage rapid spring before potentially reducing the heat to ensure even cooking without burning the exterior. Effective Viennoiseries oven adjustments recipes take all these elements into account.
Baking Viennoiseries in a Conventional Oven: Tips and Tricks
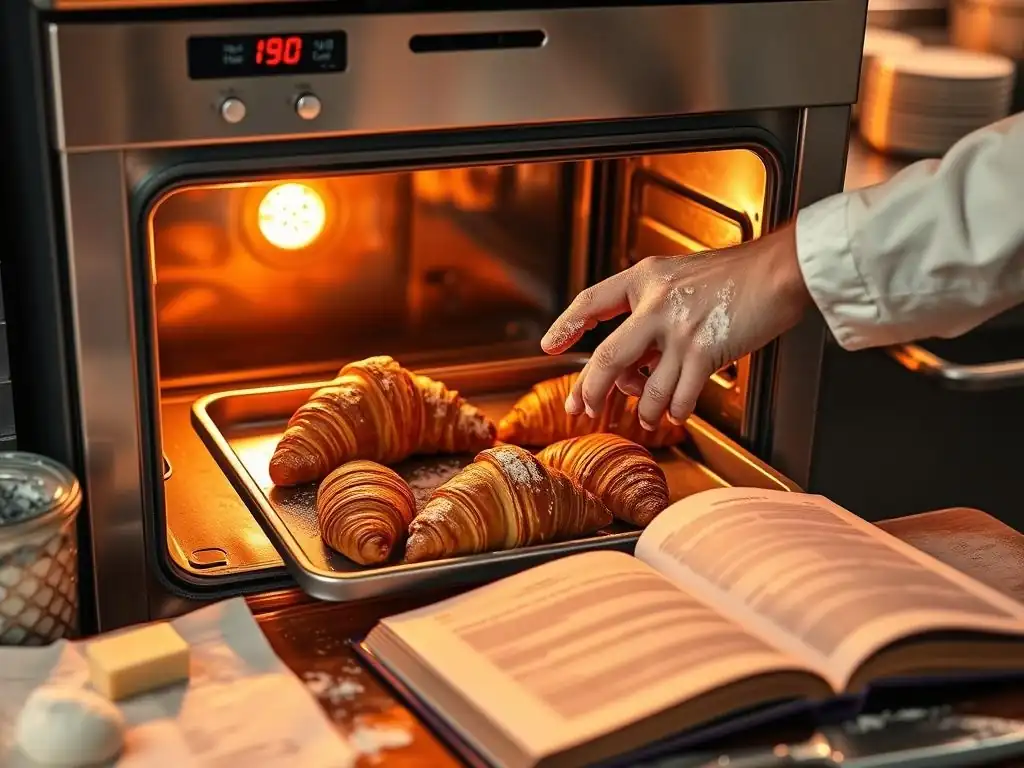
Conventional Oven Adjustments for Croissants and Pain au Chocolat
Baking croissants and pain au chocolat in a conventional oven often requires baking at the recipe's specified temperature, typically around 375-400°F (190-200°C). The challenge is achieving even heat distribution. Since conventional ovens heat from the top and bottom, the pastries on the top rack might brown faster than those on the bottom, or edges might brown faster than the center. Rotating your baking sheets halfway through the bake is a common and effective strategy to combat this unevenness.
For example, if baking croissants at 380°F (195°C) for 18-20 minutes, plan to open the oven carefully around the 9-10 minute mark to rotate the tray 180 degrees. If using multiple trays, swap their positions as well. This ensures that all pastries receive similar exposure to the radiant heat sources, leading to more uniform browning and doneness. Pay attention to the position of your oven's heating elements; items placed too close to the top or bottom element can burn quickly.
Achieving Even Baking in a Conventional Oven
To further promote even baking in a conventional oven, consider using a baking stone or steel on the bottom rack. While not strictly necessary, a preheated stone or steel can help stabilize the oven temperature and provide a consistent heat source from below, which is beneficial for developing a crisp bottom crust on Viennoiseries. Preheat the stone with the oven for at least 30-45 minutes.
Avoid overcrowding the oven. Leave space between the pastries on the baking sheet and between the sheets themselves if using multiple racks. This allows hot air to circulate more freely around each pastry, reducing the chances of uneven baking. If your oven has significant hot spots, you might need to experiment with slightly lower temperatures or shorter baking times, relying more on visual cues of doneness. These specific Viennoiseries oven adjustments recipes help mitigate the challenges of conventional heat.
Preventing Burning and Ensuring Proper Rise
Preventing the bottoms of your Viennoiseries from burning in a conventional oven, especially if the bottom element is very strong, can be tricky. Using a baking stone or steel can help absorb some of the direct radiant heat. Alternatively, you can try using a double baking sheet – placing one sheet directly on top of another – to create an insulating layer. This is a simple trick that can significantly reduce the heat transferred to the bottom of the pastries.
Ensuring a proper rise (oven spring) relies heavily on adequate proofing and the initial oven temperature. Make sure your oven is fully preheated to the correct temperature before putting the pastries in. The initial burst of heat is crucial for activating the yeast and expanding the steam within the layers. If the tops of your Viennoiseries are browning too quickly before the inside is cooked, you can loosely tent them with aluminum foil for the last 5-10 minutes of baking. These are essential Viennoiseries oven adjustments recipes for conventional ovens.
Baking Viennoiseries in a Convection Oven: Mastering Airflow
Convection Oven Adjustments for Danish Pastries and Kouign Amann
Convection ovens excel at circulating hot air, leading to faster and more even baking, which is fantastic for laminated doughs like those used in Danish pastries and Kouign Amann, promoting maximum lift and flakiness. However, the circulating air can also cause the exterior to set and brown very quickly, sometimes before the interior is fully cooked, or it can dry out the pastries. The standard adjustment is to reduce the recipe's specified temperature by about 25°F (15°C). For example, if a Danish recipe calls for 375°F (190°C) in a conventional oven, try 350°F (175°C) in a convection oven.
Baking time will also likely be shorter. A recipe calling for 20 minutes in a conventional oven might only take 15-18 minutes in a convection oven. Start checking for doneness earlier than you would in a conventional oven, perhaps 5 minutes before the recipe's minimum time. Look for the characteristic deep golden-brown color and listen for a hollow sound when tapping the bottom of the pastry. These are key Viennoiseries oven adjustments recipes for convection use.
Optimizing Airflow for Flaky Layers
The circulating air in a convection oven is what helps create those beautiful, distinct layers in Viennoiseries. To optimize this, ensure there is adequate space around each pastry on the baking sheet. Avoid using parchment paper that extends significantly beyond the edges of the sheet, as it can impede airflow. Using a perforated baking sheet can further enhance air circulation around the base of the pastries.
While convection is great for even heat, the fan can sometimes cause lighter pastries to shift or can create intense heat zones right in front of the fan. If you notice uneven browning despite the convection setting, try rotating your tray halfway through the bake, just as you might in a conventional oven. Some convection ovens have a "convection bake" setting which cycles the fan on and off, providing a gentler heat distribution which might be preferable for delicate Viennoiseries. Experimenting with these settings is part of mastering Viennoiseries oven adjustments recipes.
Troubleshooting Common Convection Oven Issues
One common issue with convection ovens and Viennoiseries is over-browning or drying out the pastries. If the tops are browning too quickly, you can tent the pastries loosely with foil. If they seem dry, ensure you are not over-baking them; relying on a visual check and potentially an internal temperature check (around 190-200°F / 88-93°C for the interior crumb) is more reliable than solely following time.
Another potential issue is that the fan might cause pastries to bake unevenly if they are placed too close to the fan source or if the oven is overloaded. Ensure proper spacing. If your convection oven has multiple fan speeds, a lower speed might be beneficial for Viennoiseries to prevent the exterior from setting too fast. Remember that every oven is different, and slight adjustments to the temperature and time provided in Viennoiseries oven adjustments recipes might be necessary based on your specific appliance's performance.
Baking Viennoiseries in a Toaster Oven: Small-Batch Success
Toaster Oven Adjustments for Croissants and Pain au Chocolat
Baking small batches of croissants or pain au chocolat in a toaster oven is feasible, but requires careful management due to their small size and often intense, close heat sources. Toaster ovens heat up very quickly and can develop hot spots. A good starting point for temperature adjustment is to reduce the recipe's conventional oven temperature by about 25-30°F (15-17°C). If a recipe calls for 400°F (200°C), try 370°F (185°C).
Baking times will also be significantly shorter than in a full-sized oven, potentially by 20-30%. A croissant that takes 20 minutes in a conventional oven might be done in 14-16 minutes in a toaster oven. Always start checking for doneness early, around the halfway point. The intense heat means the exterior can go from perfectly golden to burnt very quickly. These are crucial Viennoiseries oven adjustments recipes for small-scale baking.
Achieving the Right Temperature in a Toaster Oven
Toaster ovens are notorious for inaccurate thermostats and rapid temperature fluctuations. Using a small oven thermometer inside the toaster oven is highly recommended to ensure you are baking at the intended temperature. Place the thermometer where you can easily see it, away from direct contact with the heating elements or the pastries.
Preheat the toaster oven thoroughly. While it heats up quickly, giving it a few extra minutes after the light goes off can help stabilize the temperature. Place the baking sheet on the middle rack position if available. Avoid using the bottom rack, which is usually too close to the lower heating element and will likely burn the bottoms of your Viennoiseries.
Preventing Over-Browning in a Toaster Oven
The close proximity of the heating elements in a toaster oven makes over-browning a significant risk. If the tops or bottoms are browning too quickly, tenting the pastries with a small piece of aluminum foil is often necessary. You might need to do this relatively early in the baking process, perhaps after the first 8-10 minutes, especially for items like croissants where the tips can burn easily.
Another trick is to use a double layer of foil under the parchment paper or even a double baking sheet if your toaster oven is large enough to accommodate it without blocking the heating elements. This creates an insulating layer to protect the bottom. Given the small size, it's easy to open the door frequently to check progress, but try to minimize this to avoid losing too much heat. Careful monitoring is the most important Viennoiseries oven adjustments recipe for toaster ovens.
Baking Viennoiseries in a Gas Oven: Temperature Control
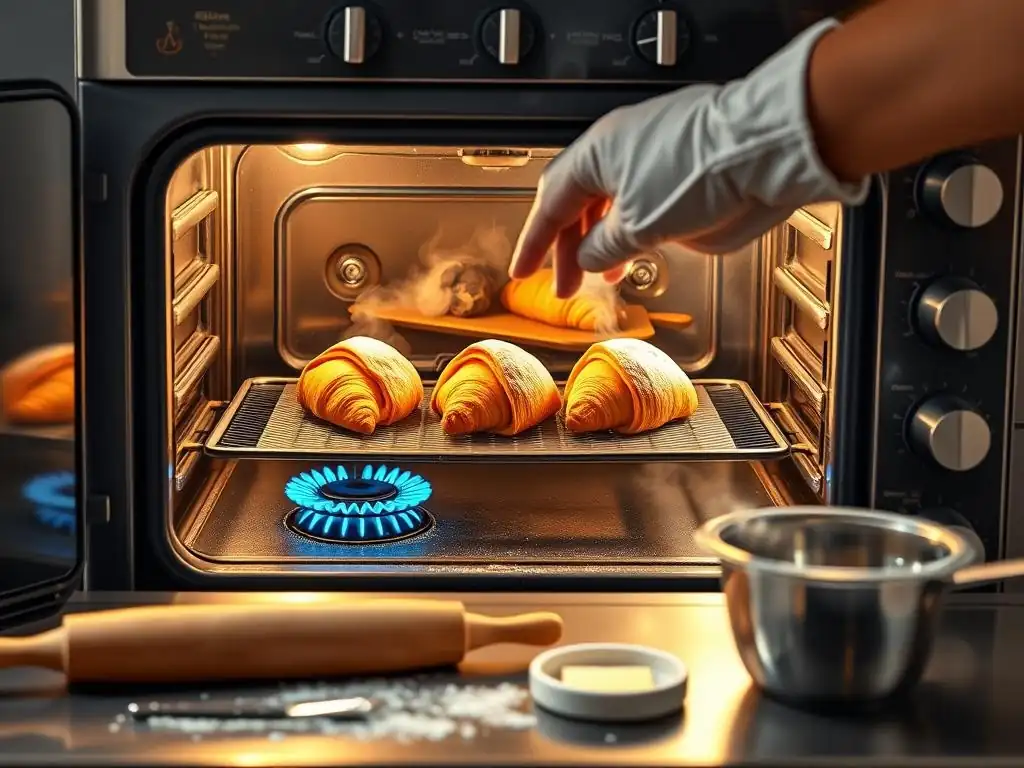
Gas Oven Adjustments for Danish Pastries and Kouign Amann
Gas ovens typically produce a more moist heat than electric ovens, which can be beneficial for keeping the interior of Viennoiseries tender. However, they often have less consistent temperatures and distinct hot spots, usually towards the back and bottom where the flame is located. For Danish pastries and Kouign Amann, you'll likely use the temperature specified in a standard recipe, often in the 350-375°F (175-190°C) range, but managing the hot spots is key.
Place your baking sheet on a middle or slightly upper-middle rack to avoid the most intense heat from the bottom flame. If you notice pastries at the back browning significantly faster than those at the front, rotate the tray 180 degrees halfway through the bake. Some bakers using gas ovens also benefit from using a baking stone or steel on a lower rack to help absorb and radiate heat more evenly throughout the cavity. These are crucial Viennoiseries oven adjustments recipes for gas ovens.
Maintaining Consistent Temperature in a Gas Oven
Maintaining a consistent temperature in a gas oven can be challenging due to the cycling of the flame. Using an oven thermometer is essential to get an accurate reading of the actual temperature inside. Gas ovens can often overshoot or undershoot the set temperature. Preheat the oven for at least 20-30 minutes after the indicator light suggests it's ready to ensure the internal temperature has stabilized.
Avoid opening the oven door unnecessarily, as gas ovens lose heat rapidly when opened, and it takes time for the flame to cycle back on and restore the temperature. If you must open the door to rotate trays, do it quickly. Baking multiple trays at once in a gas oven can exacerbate temperature inconsistencies and hot spots; baking one sheet at a time often yields better results.
Addressing Hot Spots in a Gas Oven
Hot spots are the primary challenge when baking Viennoiseries in a gas oven. The most common hot spot is directly above the burner at the bottom. Placing your baking sheet too low will almost certainly result in burnt bottoms. Using a baking stone on a lower rack can help diffuse some of this heat.
If rotating the tray isn't enough to combat uneven browning from hot spots (e.g., one corner consistently browns faster), you might need to strategically place your pastries on the tray, perhaps keeping the ones prone to over-browning away from known hot zones. Some bakers even shield parts of the tray with small pieces of foil. Identifying your oven's specific hot spots through trial and error is part of mastering these Viennoiseries oven adjustments recipes.
Viennoiseries Dough Proofing and Oven Performance
The Importance of Proper Proofing
Proper proofing is a cornerstone of successful Viennoiseries baking, just as important as the lamination itself. Proofing allows the yeast to produce carbon dioxide gas, which expands the dough, creating a light and airy structure. It also allows the gluten to relax, resulting in a tender crumb, and develops flavor through fermentation. Under-proofed Viennoiseries will be dense and heavy, with poor oven spring because the yeast hasn't produced enough gas to expand the dough fully in the oven's heat.
Over-proofed Viennoiseries, on the other hand, can expand too much, causing the butter to leak out of the layers. The structure can also become too weak to hold the gas produced during baking, leading to collapse or a lack of upward spring. The ideal proofed Viennoiserie will be visibly larger, feel light for its size, and jiggle slightly when gently shaken.
A common test is the "poke test": gently indent the dough; if it springs back slowly, leaving a slight indentation, it's likely ready. If it springs back immediately, it needs more time. If the indentation remains completely, it's likely over-proofed.
How Proofing Affects Oven Spring
The state of proofing directly influences oven spring. When a properly proofed Viennoiserie enters a hot oven, the yeast gets a final burst of activity, and more importantly, the water in the dough and butter rapidly turns to steam. This steam is trapped by the layers of dough and butter, forcing the layers apart and causing the pastry to puff up dramatically – this is oven spring.
If the dough is under-proofed, there isn't enough gas built up, and the gluten structure might be too tight to expand fully. If it's over-proofed, the structure is too weak, and the gas and steam might escape prematurely, leading to less rise or collapse. The intense initial heat of the oven is critical for setting the structure during this rapid expansion phase. Oven type and its ability to deliver consistent, high heat influence how effectively this oven spring occurs. Effective Viennoiseries oven adjustments recipes consider the interaction between proofing and oven performance.
Adjusting Proofing Time Based on Oven Type
While the ideal state of proofing is the same regardless of oven type, some bakers adjust proofing time slightly based on how their oven performs. For instance, if your oven is known to be slower to heat or less powerful, you might slightly increase proofing time to ensure there's ample gas production for oven spring. However, this is a subtle adjustment and less impactful than ensuring the pastries are simply properly proofed according to the poke test.
A more common adjustment related to the oven is ensuring the proofed Viennoiseries are placed into a fully preheated oven as quickly as possible. Lingering at room temperature after reaching optimal proof can lead to over-proofing before they even hit the heat. If you are baking multiple batches, keep the unbaked, proofed Viennoiseries chilled slightly while the first batch bakes to prevent them from over-proofing. This coordination between proofing readiness and oven availability is part of successful Viennoiseries oven adjustments recipes.
Viennoiseries Baking Temperature and Time Adjustments Chart
Chart: Oven Type, Croissant Temperature Adjustment, Croissant Time Adjustment, Danish Pastry Temperature Adjustment, Danish Pastry Time Adjustment
Here is a general guideline for Viennoiseries oven adjustments recipes across common oven types. These are starting points and may need fine-tuning based on your specific oven's quirks and the size/filling of your pastries. Assume the "Standard Recipe" temperature and time are for a conventional oven.
| Oven Type | Croissant Temp Adjustment (vs. Standard) | Croissant Time Adjustment (vs. Standard) | Danish Temp Adjustment (vs. Standard) | Danish Time Adjustment (vs. Standard) |
|---|---|---|---|---|
| Conventional | None (Use recipe temp) | None (Use recipe time) | None (Use recipe temp) | None (Use recipe time) |
| Convection | Reduce by 25°F (15°C) | Reduce by 10-20% | Reduce by 25°F (15°C) | Reduce by 10-20% |
| Toaster Oven | Reduce by 25-30°F (15-17°C) | Reduce by 20-30% | Reduce by 25-30°F (15-17°C) | Reduce by 20-30% |
| Gas Oven | None (Use recipe temp, manage hot spots) | None (Use recipe time, monitor closely) | None (Use recipe temp, manage hot spots) | None (Use recipe time, monitor closely) |
- Example: If a recipe says bake croissants at 400°F (200°C) for 20 minutes in a conventional oven:
- In a convection oven, start at 375°F (190°C) for 16-18 minutes.
- In a toaster oven, start at 370°F (185°C) for 14-16 minutes.
- In a gas oven, start at 400°F (200°C) for 20 minutes, but watch for hot spots and potentially rotate.
These adjustments provide a framework for adapting Viennoiseries oven adjustments recipes to your equipment.
Common Viennoiseries Baking Problems and Solutions by Oven Type
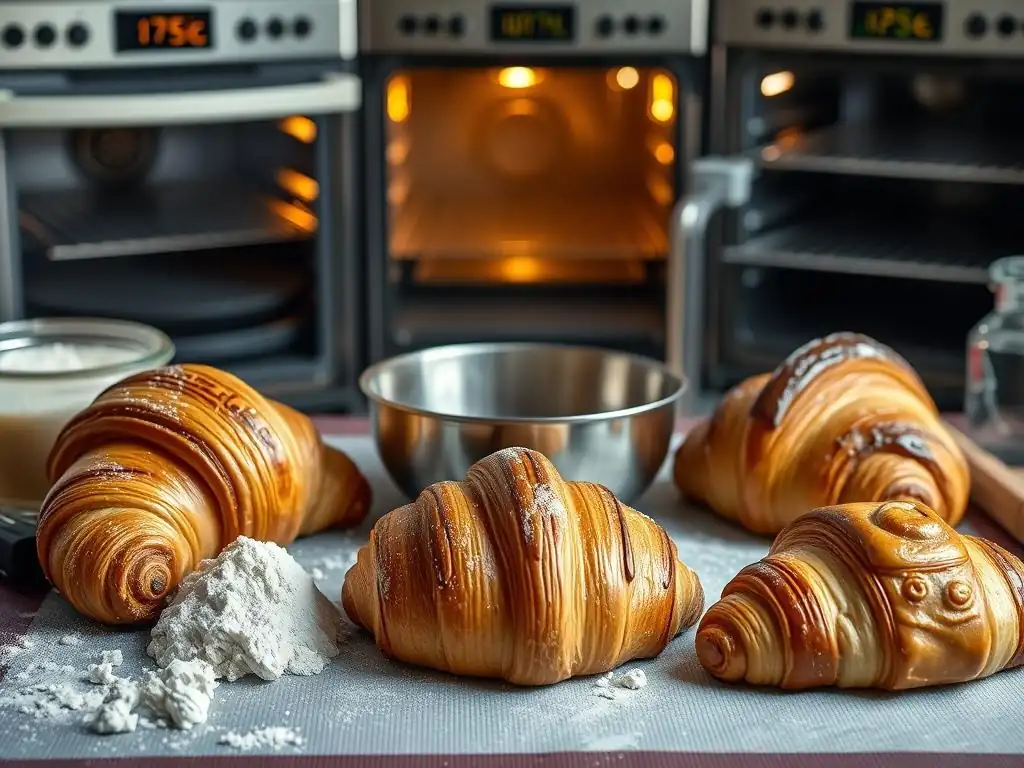
Troubleshooting Under-Baked Viennoiseries
Under-baked Viennoiseries are often pale, feel heavy, and have a doughy interior. This can happen in any oven if the temperature is too low, the baking time is too short, or the oven isn't properly preheated. In a conventional oven, ensure you are baking on the correct rack position (usually middle) and that the oven is fully preheated. If the tops are browning but the insides are still raw, your oven might run cool; try increasing the temperature slightly (e.g., by 10-15°F / 5-8°C) or extending the baking time.
In a convection oven, under-baking often occurs if the temperature reduction was too aggressive or the time was cut too short. Remember the circulating air browns the exterior faster. Check the internal temperature (should be ~190-200°F / 88-93°C). If the exterior is perfect but the interior is underdone, next time try increasing the temperature slightly or baking for a few extra minutes.
For gas ovens, inconsistent temperature is often the culprit. Ensure the oven is fully preheated and consider using an oven thermometer. If the bottoms are burning but the tops are pale (indicating low ambient heat), try moving the rack up and using a baking stone on the bottom rack. Proper Viennoiseries oven adjustments recipes help prevent this.
Troubleshooting Over-Browned Viennoiseries
Over-browned Viennoiseries, especially on the top or edges, are a common issue, particularly in convection and toaster ovens due to intense, direct heat. In a conventional oven, over-browning might indicate the rack is too high, or there are hot spots. Try moving the rack down one level. If the tops brown too fast, loosely tent the pastries with aluminum foil for the latter part of the bake.
Convection ovens are prone to over-browning because of the fan. If reducing the temperature isn't enough, try reducing the baking time and checking frequently. Tent the pastries with foil if necessary. For toaster ovens, over-browning is almost guaranteed without intervention. Always use a middle rack position and be prepared to tent with foil early in the baking process, perhaps after just 8-10 minutes, especially for delicate points like croissant tips. Using a double baking sheet can also help protect the bottom. These specific Viennoiseries oven adjustments recipes address browning issues.
Troubleshooting Unevenly Baked Viennoiseries
Uneven baking, where some pastries on the tray are done while others are not, or parts of the same pastry are unevenly browned, is usually a sign of inconsistent heat distribution within the oven. Conventional and gas ovens are most susceptible to this due to hot spots and reliance on radiant heat. The primary solution is rotating the baking sheet halfway through the bake. If using multiple sheets, swap their positions from top to bottom racks as well.
In a convection oven, while generally more even, issues can still arise if the oven is overloaded, pastries are too close together, or there's a strong direct airflow from the fan. Ensure adequate spacing between pastries. If your oven has a strong fan, rotating the tray may still be necessary. For gas ovens, identifying and mitigating hot spots (as discussed earlier, potentially using a baking stone and strategic placement) is key to achieving more uniform results. Consistent Viennoiseries oven adjustments recipes include strategies for dealing with uneven heat.
Mastering Viennoiseries: Final Tips for Oven Success
The Importance of Oven Thermometers
One of the single most valuable tools for successful Viennoiseries baking, regardless of oven type, is a reliable oven thermometer. Many home ovens are calibrated incorrectly and can be off by as much as 50°F (30°C) or more. If your oven says it's 400°F but is actually only 350°F, your Viennoiseries will be under-baked and lack proper spring. Conversely, if it's running hot, they'll burn quickly.
Place the oven thermometer in the center of the oven rack where you'll be baking your Viennoiseries. Check it after the oven has preheated for the recommended time (and ideally a bit longer for stability). Note the difference between the set temperature and the actual temperature. You can then adjust your oven dial accordingly in the future, or simply know that when you set it to 400°F, you're actually baking at, say, 375°F, and adjust your expectations and timing. This simple step dramatically improves the reliability of any Viennoiseries oven adjustments recipes.
Experimenting and Documenting Your Results
Baking is a science, but also an art that requires practice and adaptation, especially when dealing with different ovens. The best way to master Viennoiseries oven adjustments recipes for your specific oven is through experimentation. Don't expect perfection on your first attempt. Try a batch using the general guidelines provided for your oven type.
Take notes: What temperature did you use? How long did you bake? What rack position? Did you rotate the tray? Where were the hot spots? How did the Viennoiseries look and taste? Were they under-baked, over-browned, or uneven? Based on these observations, make small adjustments for your next batch. Perhaps increase or decrease the temperature by 10°F (5°C), add or subtract 2 minutes from the baking time, or try a different rack. Documenting these changes and their outcomes will build your personal library of Viennoiseries oven adjustments recipes tailored to your kitchen.
Building Your Viennoiseries Baking Expertise
Mastering Viennoiseries goes beyond just oven adjustments; it involves understanding the entire process, from ingredient quality and lamination technique to precise proofing. However, getting the bake right in your specific oven is the final, crucial step that brings all your hard work to fruition. By paying attention to how your oven behaves, using tools like an oven thermometer, and being willing to experiment and learn from each bake, you will steadily improve your results.
Don't be discouraged by initial setbacks. Every experienced baker has had their share of less-than-perfect batches. Each one is a learning opportunity. As you gain experience with your oven and different Viennoiseries recipes, you'll develop an intuition for the subtle cues that indicate when your pastries are perfectly proofed and perfectly baked. Combining solid technique with tailored Viennoiseries oven adjustments recipes is the path to consistently achieving those coveted flaky layers and golden-brown exteriors.
Conclusion: Achieving Viennoiseries Success with Oven Adjustments
Consistent Results with Oven Specific Techniques
Achieving consistently excellent Viennoiseries at home is a rewarding endeavor that requires attention to detail at every stage, including the critical baking phase. While standard recipes provide a solid foundation, the unique characteristics of different oven types necessitate thoughtful adjustments. Whether you're working with the radiant heat of a conventional oven, the circulating air of a convection oven, the intense heat of a toaster oven, or the variable temperatures of a gas oven, understanding your appliance is key.
By applying the appropriate Viennoiseries oven adjustments recipes – adjusting temperature, time, rack position, and utilizing techniques like tray rotation, tenting with foil, or using baking stones – you can overcome common baking challenges like uneven browning, burning, and under-baking. Using an oven thermometer and meticulously documenting your experiments are invaluable steps in tailoring these adjustments to your specific kitchen environment. With practice and patience, these oven-specific techniques will become second nature, allowing you to reliably produce beautiful, flaky, and delicious Viennoiseries that rival those from your favorite patisserie.
Frequently Asked Questions
What are Viennoiseries, and why do oven adjustments matter when baking them?
Viennoiseries are yeast-leavened baked goods, like croissants and pain au chocolat, known for their flaky texture. Oven adjustments are crucial to achieve the proper rise and browning.
What are some common oven types and how do their heating characteristics differ?
Common oven types include conventional, convection, and gas ovens. Conventional ovens heat from the bottom, convection ovens circulate air, and gas ovens can have varying heat distribution.
How do I adjust baking times and temperatures for Viennoiseries in a convection oven versus a conventional oven?
Generally, reduce the temperature by 25°F and the baking time by about 20% when using a convection oven. This is because convection ovens circulate heat more efficiently, leading to faster and more even baking.
What role does humidity play in baking Viennoiseries, and how can I manage it in my oven?
Humidity helps with the initial proofing and crust development of Viennoiseries. You can introduce humidity by placing a pan of hot water in the oven during the first part of baking.
Where can I find reliable Viennoiseries oven adjustments recipes that cater to different skill levels?
BakeWithEase.com offers a range of Viennoiseries recipes with oven adjustment guidance, suitable for beginners to experienced bakers. These recipes provide step-by-step instructions and easy-to-find ingredients.
Final Reflection: Mastering the Art of Viennoiserie Across Ovens
The pursuit of the perfect croissant, pain au chocolat, or brioche transcends mere baking; it's a testament to precision and adaptation. Understanding how different oven types impact the final product is crucial for achieving consistent, professional-quality results, regardless of your equipment. This article has explored the nuances of baking viennoiseries in various ovens, highlighting the critical adjustments needed to overcome the unique challenges each presents.
The journey of perfecting viennoiserie is a continuous learning process, deeply intertwined with the evolution of baking technology. Each oven, from the humble home oven to the sophisticated professional model, presents its own set of variables that demand careful consideration. The subtle differences in heat distribution, temperature accuracy, and even the type of heating element can significantly impact the final rise, browning, and overall texture of your pastries. The baker's skill lies not only in the recipe but in the understanding of the tools at their disposal.
This quote underscores the importance of adapting our techniques to the specific characteristics of our ovens.
Now, it's your turn. Consider the unique features of your own oven. Experiment with the adjustments outlined in this article, and don't be afraid to refine your techniques further. The path to mastering viennoiserie is paved with experimentation and a willingness to learn from each bake. Embrace the challenge, savor the process, and most importantly, enjoy the delicious rewards of your efforts. The perfect viennoiserie awaits!
Unleash Your Inner Boulanger: Master Viennoiserie Baking!
Thanks for joining us on this delicious journey into the world of viennoiserie! We hope you gained valuable insights into adapting your baking techniques for different oven types. Now it's time to put your newfound knowledge into practice.
- Bake your masterpiece! Try out one of the techniques we discussed, focusing on the adjustments specific to your oven. Document your results—you might even discover a new favorite method!
- Share your successes (and even your stumbles!) Join our baking community on social media and share your viennoiserie creations using #BakeWithEaseViennoiserie. We'd love to see them!
- Explore our other baking guides: Discover more tips and techniques to elevate your baking game on BakeWithEase.com.
What unique twist will you add to your next batch of croissants or pain au chocolat?