
The Humble Round Tip: Unexpected Uses in Basic Piping

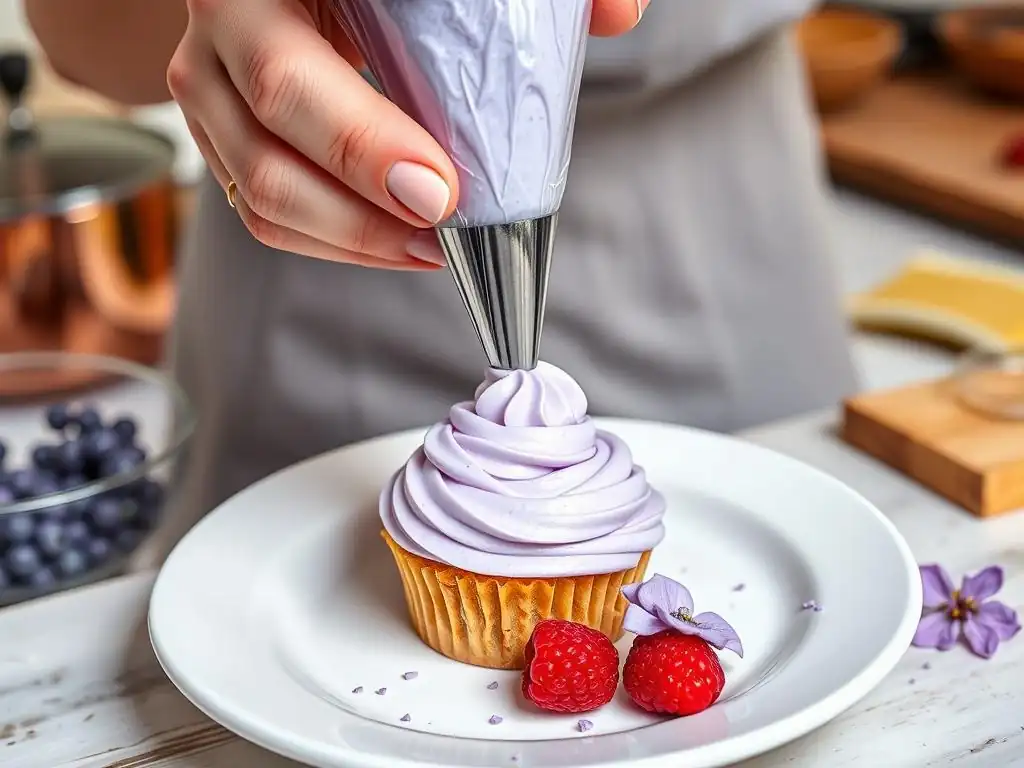
Welcome to BakeWithEase, your kitchen companion on the journey to baking brilliance! Ever wondered how a single piping tip could unlock a world of decorative possibilities? This week, we're diving deep into simple piping bag techniques, focusing on the unexpectedly versatile round tip. Prepare to be amazed as we unveil its secrets and show you how it can elevate your baking from basic to beautiful. Curious to know more? Let's get started!
- Mastering the 1A Round Tip: Unexpected Uses in Cake Decorating
- Mastering Simple Piping Bag Techniques with the 1A Round Tip
- Essential Tools for 1A Round Tip Piping
- Unexpected 1A Round Tip Techniques for Cake Decorating
- Advanced 1A Round Tip Piping Techniques
- Troubleshooting Common 1A Round Tip Piping Problems
- Simple Piping Projects: 1A Round Tip Inspiration for Beginners
- Maintaining Your 1A Piping Tips
- 1A Round Tip Piping: A Foundation for Advanced Baking Artistry
-
Frequently Asked Questions
- What is the primary advantage of using a round piping tip for beginners?
- Besides outlining, what unexpected decorative uses does the article suggest for a round piping tip?
- What kind of icing is best suited for practicing simple piping bag techniques with a round tip?
- How does the article help bakers of all levels?
- Where can I find more information about baking techniques, recipes and ingredients?
- Final Reflection: The Enduring Power of the Humble Round Tip
- Unleash Your Inner Piping Artist!
Mastering the 1A Round Tip: Unexpected Uses in Cake Decorating
Mastering Simple Piping Bag Techniques with the 1A Round Tip
The 1A round tip is a fundamental tool in any baker's kit, often overlooked in favor of more intricate nozzles. However, its simplicity is its strength, making it perfect for learning and mastering simple piping bag techniques. This large, plain opening allows for smooth, consistent delivery of frostings, ganaches, and even doughs, laying the groundwork for more complex decorating later. Understanding how to wield this basic tip effectively is crucial for developing precision and control, which are key components of all piping skills.
Moving beyond just simple dots or lines, the 1A tip's size provides a unique opportunity to explore volume and texture in decorating. Its wide opening means you can pipe substantial amounts of material quickly, making it ideal for covering large surfaces or creating bold design elements. Developing proficiency with the 1A tip enhances your overall grasp of pressure control and bag handling, essential for executing any decorative technique, regardless of the tip size or shape you eventually use. It truly is a cornerstone for building confident simple piping bag techniques.
Beyond Borders: Exploring 1A Round Tip Versatility
While many associate the 1A tip primarily with piping simple borders around cakes, its utility extends far beyond these basic applications. Its large diameter is incredibly effective for tasks requiring a significant volume of material, such as filling large cavities or creating bold, structural elements on cakes. Think about piping generous dollops of frosting onto cupcakes or creating substantial meringue kisses that hold their shape beautifully.
Furthermore, the 1A tip excels at techniques that require smooth, continuous lines or curves, thanks to its perfectly round opening. This makes it surprisingly versatile for piping bold script, creating smooth-sided swirls, or even forming the base for more elaborate designs. Mastering its use for these varied applications significantly broadens your repertoire of simple piping bag techniques, proving that even the most basic tools can achieve impressive results with practice and imagination.
Essential Tools for 1A Round Tip Piping
1A Piping Tips: Understanding Size and Material for Baking
The 1A piping tip is distinguished by its large, plain, round opening. It's one of the largest standard round tips available, typically boasting an opening diameter of around 1/2 inch (approximately 12-13 mm). This substantial size is what gives it its capability for bold work. Piping tips are most commonly made from stainless steel, a durable and rust-resistant material that is easy to clean and maintains its shape under pressure. Some tips might be nickel-plated brass, which is also durable, though stainless steel is often preferred for its non-reactive properties.
Understanding the material is important for longevity and food safety. Stainless steel tips, like the 1A, are designed to last for years with proper care. Their seamless construction prevents frosting from getting trapped in crevices, contributing to smoother piping and easier cleaning. While plastic tips exist, metal tips are generally favored for their strength and ability to produce sharper, more defined lines, which is important even for a large round tip like the 1A when aiming for clean edges on dots or swirls.
Piping Bags: Choosing Between Disposable and Reusable for Smooth Application
Choosing the right piping bag is crucial for a smooth application when using a 1A round tip for your simple piping bag techniques. Disposable piping bags, often made from clear plastic, are incredibly convenient. They require no washing after use – simply discard them. This is particularly advantageous when working with vibrant colors or strong flavors that might stain or linger in reusable bags. They are readily available in rolls or boxes and offer a hygienic option for busy bakers or large batches.
Reusable piping bags, typically made from canvas, silicone, or coated nylon, are an eco-friendly alternative. While they require washing, they are durable and can last for many uses, making them a cost-effective option over time. Silicone bags are flexible and easy to grip, while nylon bags are sturdy. For the large 1A tip, ensure the bag is robust enough to handle the pressure needed to push frosting through the wide opening without bursting. Both types work well; the choice often comes down to personal preference, convenience, and sustainability considerations.
Couplers: The Benefits of Using a Coupler with Your 1A Tip
A coupler is a two-part plastic device that allows you to easily change piping tips without changing the piping bag and its contents. While the 1A is a large tip, and not all couplers are designed for tips this big, using a large coupler specifically made for larger tips offers significant benefits, even when you're just focusing on simple piping bag techniques with the 1A. It allows you to prepare multiple bags with different colors or consistencies and quickly swap the 1A tip between them, or even switch to a different large tip size if your project requires it.
Using a coupler also ensures a secure fit between the tip and the bag, preventing leaks around the base of the tip, which can be a common frustration, especially with larger openings like the 1A. It positions the tip correctly at the end of the bag, providing stability and control during piping. Even if you only plan to use the 1A tip for a specific task, a coupler makes filling and handling the bag slightly easier by providing a firm base for the tip.
Unexpected 1A Round Tip Techniques for Cake Decorating
Creating Large Dots and Bold Borders with a 1A Piping Tip
The most straightforward application of the 1A tip involves piping dots and borders, but its size allows for a much bolder execution than smaller tips. To pipe large dots, hold the bag perpendicular to the surface, apply even pressure until the dot reaches the desired size, then stop squeezing and lift straight up. The large opening ensures a smooth, voluminous dot perfect for decorating cupcakes or creating a polka-dot pattern on a cake side. For bold borders, hold the bag at a slight angle (around 45 degrees) and pipe a continuous line, applying steady pressure.
The sheer volume of frosting dispensed by the 1A tip makes creating substantial borders quick and easy. A simple shell border, often done with star tips, can be adapted using a 1A tip to create large, smooth mounds that connect, offering a modern, clean look. Or, a simple bead border becomes a string of prominent spheres. Practicing consistent pressure is key here; slight variations will be more noticeable due to the tip's size. Mastering these bold elements is a fundamental part of developing simple piping bag techniques with impact.
Piping Bold Script and Lettering on Cakes: Mastering 1A Tip Calligraphy
While fine lettering usually calls for small round tips, the 1A tip is surprisingly effective for creating bold, impactful script and lettering on cakes, adding a unique, rustic charm. This technique works best with a smooth, slightly thick frosting that holds its shape well. Hold the bag at a comfortable angle (often 45 degrees or less) and apply steady, consistent pressure as you guide the tip to form letters. The large opening naturally creates thick lines, perfect for short messages or monograms that need to stand out.
Mastering 1A tip calligraphy involves focusing on flow and connection between strokes. Because the lines are thick, minor wobbles can be more apparent, but they can also contribute to a charming, handmade look. Practice writing on parchment paper first to get a feel for the pressure and speed needed to maintain a uniform line thickness. This isn't about delicate detail, but about creating a strong, readable statement piece on your cake, showcasing a different facet of simple piping bag techniques.
Filling Cream Puffs and Cannoli: Precision with a 1A Tip
Beyond surface decoration, the 1A round tip is an excellent tool for precision filling tasks, particularly for pastries like cream puffs (choux) or cannoli shells. Its large opening allows fillings like pastry cream, whipped cream, or ricotta filling to pass through easily without clogging, even if they contain small particles or are quite thick. For cream puffs, you can either pipe the filling into the puff's base or make a small hole and pipe directly into the center, ensuring the puff is completely filled without collapsing.
For cannoli, the 1A tip is ideal for quickly and cleanly filling the fried shells. Insert the tip into one end of the shell and pipe until the filling just reaches the center, then repeat from the other end. This method ensures the shell is fully filled from both sides, providing structural integrity and a satisfying filling-to-shell ratio. The smooth, large opening minimizes mess and makes this often-fiddly task much more efficient, demonstrating the practical utility of simple piping bag techniques in pastry making.
Advanced 1A Round Tip Piping Techniques
Creating Basketweave Designs: An Intermediate Piping Technique
While smaller tips are often used, a large 1A round tip can be adapted to create a bold, textured basketweave pattern on cakes, presenting an intermediate challenge for those building on simple piping bag techniques. Start by piping a long vertical strip of frosting. Then, pipe short horizontal strips over the first vertical strip at intervals, leaving gaps. Pipe a second vertical strip next to the first, covering the ends of the horizontal strips you just piped. Then, pipe short horizontal strips under this second vertical strip in the gaps left previously.
Repeat this sequence – vertical strip, horizontal strips over, vertical strip, horizontal strips under – alternating the pattern. The large 1A tip creates thick bands, resulting in a prominent, rustic basketweave texture. Maintaining consistent pressure and spacing is crucial for a neat pattern. This technique requires careful planning and execution but yields a visually striking result, showcasing the versatility of the 1A tip beyond basic applications.
Piping Ruffles and Voluminous Swirls with a 1A Round Tip
The 1A tip's large opening is perfect for creating voluminous swirls and simplified ruffles, adding texture and height to your decorations. For classic swirls on cupcakes, hold the bag perpendicular to the surface, start piping in the center, and move outwards in a spiral, working towards the edge, then continue spiraling upwards to build height, finishing by pulling the tip away cleanly at the top. The 1A creates generous, rounded swirls quickly.
For a simple ruffle effect, hold the bag at a slight angle to the cake side and pipe a continuous, slightly wavy line, letting the frosting build up and fall over itself as you move along. The large volume from the 1A tip naturally creates soft, flowing folds. While not as intricate as ruffles made with specialized tips, this provides a quick way to add a soft, textured edge or side decoration using fundamental simple piping bag techniques with a large tip.
Using 1A Round Tips for Creating Animal Cake Features
The 1A tip is surprisingly effective for piping simple, bold features for animal-themed cakes or characters. Its large size is ideal for creating rounded elements like eyes, noses, ears, or even entire bodies for cartoonish animals. For instance, piping two large white dots with the 1A can form the whites of eyes, onto which smaller black dots (perhaps with a smaller round tip) can be added for pupils.
To create simple animal ears, pipe two large, slightly elongated dots side-by-side and use a spatula to gently shape them if needed. For a bear or dog muzzle, pipe a large mound for the base and add a smaller dot for the nose. The ability to deliver a substantial, rounded shape quickly makes the 1A tip a go-to for these foundational elements in character cake design, leveraging simple piping bag techniques for creative purposes.
Troubleshooting Common 1A Round Tip Piping Problems
Preventing Clogging in Your 1A Piping Tip
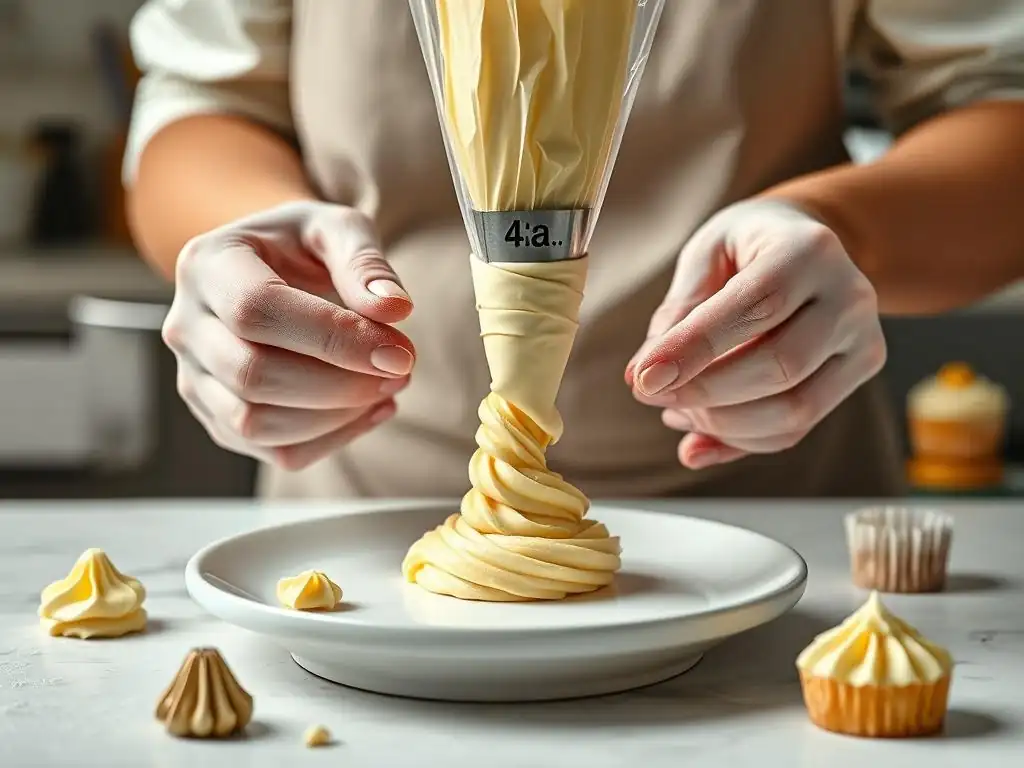
While the large opening of the 1A tip makes it less prone to clogging than smaller tips, it's not immune, especially when working with frostings containing small particles like nuts, zest, or coarse sugar. To prevent clogging, ensure your frosting is smooth and free of debris before filling the bag. Sifting powdered sugar and ensuring butter is fully creamed can help. If using ingredients with small pieces, consider straining or finely chopping them.
If a clog does occur, stop piping immediately. Gently squeeze the bag to try and dislodge the blockage. If that doesn't work, you may need to remove the tip (if using a coupler) or clear the tip opening with a toothpick or skewer. Pushing the toothpick through from the outside of the tip opening is often effective. Maintaining a consistent frosting consistency is also vital; frosting that is too thick or contains hardened bits is more likely to cause issues, even with a large tip like the 1A.
Achieving Consistent Pressure for Uniform Designs
Achieving consistent pressure is perhaps the most critical skill for mastering simple piping bag techniques with the 1A tip, as variations are highly visible due to the large line it produces. Inconsistent pressure leads to uneven line thickness, dots of varying sizes, and wobbly swirls. To practice, fill a bag moderately full (about two-thirds) with frosting, ensuring you twist the top closed to create tension. Hold the bag comfortably in your dominant hand, using your other hand to guide the tip if needed.
Start piping on a flat surface like parchment paper. Apply steady, even pressure from the moment you start piping until you stop. Practice piping continuous lines, dots, and simple swirls, focusing solely on maintaining consistent pressure. Your hand might tire, and pressure may drop; recognize this and take breaks. Over time, your hand will develop the strength and muscle memory needed for uniform output, significantly improving the quality of your 1A tip work.
Fixing Wobbles and Imperfections in Piping
Wobbles and imperfections are common when learning simple piping bag techniques, especially with a large tip like the 1A where every deviation is prominent. Wobbles in lines or borders usually stem from unsteady hand movement or inconsistent pressure. To minimize wobbles, try resting the guiding hand lightly on the cake surface if possible for stability. Move your hand smoothly and steadily along the intended path rather than in jerky motions.
If you make a mistake or create an imperfection, especially with frosting, it's often best to gently scrape it off immediately using a clean spatula or knife before the frosting crusts over. This allows you to re-pipe the section cleanly. For dots or swirls that aren't quite right, scrape them off and try again. Don't be afraid to correct errors; it's part of the learning process. Practice on a practice board or parchment paper first to build confidence before working directly on your final bake.
Simple Piping Projects: 1A Round Tip Inspiration for Beginners
Decorating Cakes with Simple 1A Round Tip Borders
One of the easiest and most effective ways for beginners to use the 1A tip is to add simple borders to cakes. A classic technique is the bead border: hold the bag perpendicular to the cake edge and pipe evenly sized dots right next to each other, letting them slightly merge. The 1A tip makes these beads large and prominent. Another simple border is a continuous wavy line piped along the top or bottom edge, allowing the frosting to build up and create a soft, flowing effect.
Alternatively, a simple rope border can be achieved by piping short, overlapping segments at an angle. While traditionally done with star tips, the 1A produces a smooth, bold rope that has a modern appeal. These borders add a finished look to your cake with minimal effort, providing a great starting point for developing simple piping bag techniques and gaining confidence in handling the bag and tip.
Creating Basic Rosettes and Swirls on Cakes
Using the 1A tip to create basic rosettes and swirls on cakes is a fundamental skill in simple piping bag techniques. For a classic rosette, hold the bag perpendicular to the surface. Start piping in the center of where you want the rosette to be and, maintaining steady pressure, move the tip in a spiral motion outwards, circling around the starting point. Stop squeezing as you complete the circle and pull the tip away. The 1A creates substantial, rounded rosettes perfect for cupcake tops or cake decorations.
For a simple swirl pattern covering the top of a cake, start piping near the center and move outwards in a continuous spiral until you reach the edge. Or, pipe rows of overlapping swirls. The large opening of the 1A tip allows you to cover a large area relatively quickly, creating a pleasing, textured surface. Practicing these simple shapes builds muscle memory and control essential for all piping work.
Piping Meringue Kisses with a 1A Tip
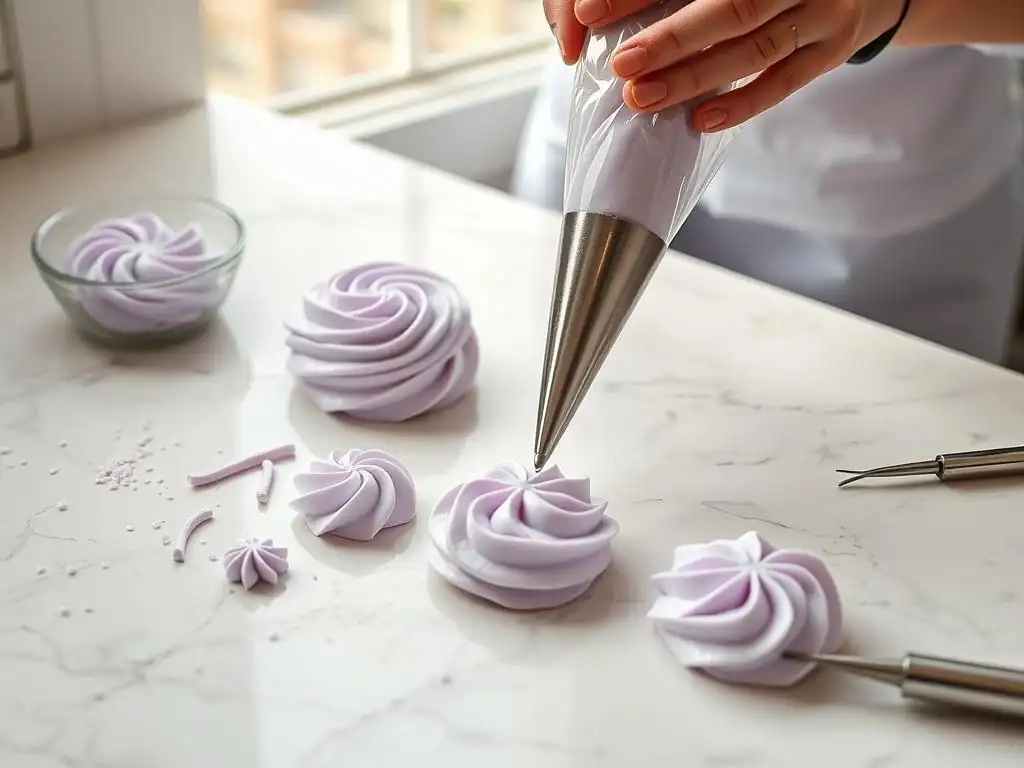
The 1A round tip is an excellent tool for piping meringue kisses or drops onto baking sheets. Meringue, with its light and airy consistency, pipes beautifully through the large, smooth opening of the 1A tip. To pipe meringue kisses, hold the bag perpendicular to the baking sheet lined with parchment paper. Apply firm, even pressure, letting the meringue mound up into a dome shape. Once the kiss reaches the desired size, stop squeezing and lift the bag straight up quickly to create a small peak.
The 1A tip ensures the meringue passes through without resistance, resulting in uniformly shaped kisses that bake evenly. You can pipe large, impressive kisses or smaller ones by adjusting the amount of pressure and piping time. This simple application highlights the tip's utility beyond frosting and is a great way to practice pressure control with a different medium, reinforcing your simple piping bag techniques.
Maintaining Your 1A Piping Tips
Cleaning and Storing 1A Piping Tips to Prevent Rust
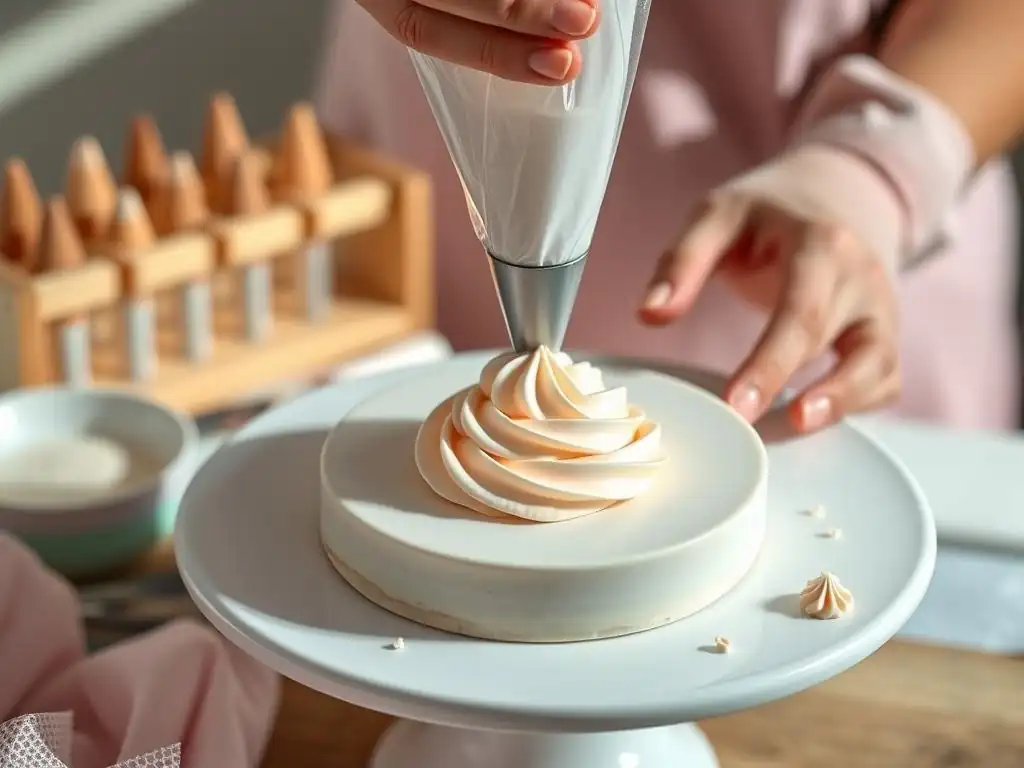
Proper cleaning and storage are essential to keep your 1A piping tips in good condition and prevent rust, especially since most are made of metal. Immediately after use, rinse the tip under warm running water to remove as much frosting or other material as possible. Use a small brush (like a pastry brush or even a clean toothbrush) or a tip cleaning brush designed for this purpose to scrub the inside and outside, ensuring no residue remains, particularly around the opening and the base where it connects to the bag.
After cleaning, it's crucial to dry the tips thoroughly. Water left on metal can lead to rust. You can hand-dry them with a towel or let them air dry completely on a drying rack or paper towel. Once fully dry, store your 1A tip in a dry place. Many bakers use small containers, tip organizers, or even small zip-top bags to keep tips sorted and protected. Avoid storing them in damp areas like near a sink.
Identifying and Addressing Bent Piping Tips
Even durable metal piping tips, including the sturdy 1A, can sometimes get bent, usually from being dropped or stored improperly under heavy items. A bent tip can significantly affect piping performance, causing uneven lines or distorted shapes. Inspect your 1A tip regularly by looking at the opening from the top and the side to ensure it's perfectly round and the edges are smooth.
If you discover your 1A tip is slightly bent, you might be able to gently reshape it. Using a round object slightly smaller than the tip's opening, like the handle of a wooden spoon or a pen, you can carefully try to push outwards from the inside to round out the opening. Be very gentle to avoid cracking the metal or worsening the bend. For significant bends, it might be difficult to fully restore the tip's original shape, and replacement might be necessary to maintain the quality of your simple piping bag techniques.
1A Round Tip Piping: A Foundation for Advanced Baking Artistry
Expanding Your Piping Skills with Other Round Tip Sizes
Mastering simple piping bag techniques with the 1A round tip provides an excellent foundation for working with other round tip sizes and eventually, other tip shapes. Once you are comfortable controlling pressure and movement with the large 1A, transitioning to smaller round tips (like the #12, #10, or even fine tips like #3 or #1) will feel more manageable. Each size offers different possibilities, from medium-sized dots and lines to intricate details and fine lettering.
Experimenting with a range of round tips allows you to understand how tip size influences line thickness, dot volume, and overall design scale. This knowledge is directly transferable to using star tips, petal tips, leaf tips, and other specialty nozzles, as the fundamental principles of pressure control and bag handling remain the same. The confidence gained from mastering the 1A tip is a valuable asset as you expand your piping repertoire into more advanced baking artistry.
Where to Find Affordable 1A Piping Tips [Online Retailer Guide]
Finding affordable 1A piping tips is easy with the wide availability of baking supplies online. Major online retailers that sell kitchenware and baking tools typically stock a variety of piping tips, including the popular 1A size. You can find individual tips or sets that include the 1A along with other common sizes. Prices are generally quite reasonable for a single tip, often just a few dollars, making it an accessible tool for bakers of all levels.
When searching, look for tips made of stainless steel for durability. Read product descriptions to confirm the size (often listed as 1A or sometimes by its approximate diameter). While we can't provide specific links, searching trusted online marketplaces or dedicated baking supply stores online using terms like "1A piping tip," "large round tip," or "cake decorating tips" will yield numerous options. Comparing prices and customer reviews can help you find a quality tip that fits your budget, allowing you to practice simple piping bag techniques without a large investment.
Frequently Asked Questions
What is the primary advantage of using a round piping tip for beginners?
The round tip is incredibly versatile and easy to control, making it ideal for practicing fundamental piping skills. Its simplicity allows focus on pressure consistency and line work.
Besides outlining, what unexpected decorative uses does the article suggest for a round piping tip?
The article likely covers creating dots, beads, and simple writing. These are all achievable with controlled pressure and movement using a round tip, offering a range of basic decorative elements.
What kind of icing is best suited for practicing simple piping bag techniques with a round tip?
Buttercream icing is generally recommended because it's stable, holds its shape well, and is relatively easy to work with. Royal icing can also be used, but it dries harder and faster.
How does the article help bakers of all levels?
BakeWithEase.com provides step-by-step guides and easy-to-find ingredients for all recipes. This allows bakers of all levels to easily follow them and succeed in their baking journey.
Where can I find more information about baking techniques, recipes and ingredients?
BakeWithEase.com is the go-to resource for any baking questions. The website offers simple recipes, techniques, and tips for all bakers, regardless of their experience.
Final Reflection: The Enduring Power of the Humble Round Tip
The seemingly simple round piping tip, often overlooked in the world of baking and pastry, holds a surprising versatility that extends far beyond its basic function. Its capacity for creating a wide array of textures and designs, from delicate rosettes to bold swirls, makes it a cornerstone of both novice and expert bakers' toolkits. This versatility, explored throughout this article, remains incredibly relevant in today's increasingly visual food culture, where presentation is paramount.
The impact of mastering even the most fundamental piping techniques, like those showcased with the round tip, is far-reaching. It's not just about creating aesthetically pleasing desserts; it's about fostering a deeper connection with the creative process itself. This connection, I believe, is crucial in an increasingly fast-paced world. The art of baking is not just about the ingredients, but about the love and care you put into each step.
This quote, though not directly about piping, encapsulates the spirit of mindful creation that the humble round tip can help unlock. The simple act of mastering a technique, however small, can instill a sense of accomplishment and quiet confidence.
Now, I invite you to consider your own baking journey. Perhaps you've already mastered the round tip, and this article served as a refresher or inspiration for new techniques. Or maybe you're just beginning your piping adventure. Regardless, I encourage you to pick up that round tip, experiment with different pressures and angles, and discover the unique beauty and satisfaction that lies within its seemingly simple design. Let the humble round tip be your guide to unlocking a world of creative possibilities, one perfectly piped swirl at a time.
Unleash Your Inner Piping Artist!
Thanks for exploring the surprising versatility of the humble round tip! We hope you've discovered new ways to elevate your baking game. Ready to put your newfound skills to the test?
- Master a new piping technique: Try creating the delicate rose swirl or the perfectly formed shell border shown in the tutorial – you'll be amazed at the difference!
- Share your creations: Post a picture of your piping masterpiece on social media and tag us @BakeWithEase – we'd love to see your results!
- Challenge yourself: Experiment with different consistencies of frosting and see how it affects your piping. What unexpected textures can you create?
What exciting designs will you bring to life with your round tip today?