
Shaping Batards vs. Baguettes: Key Differences

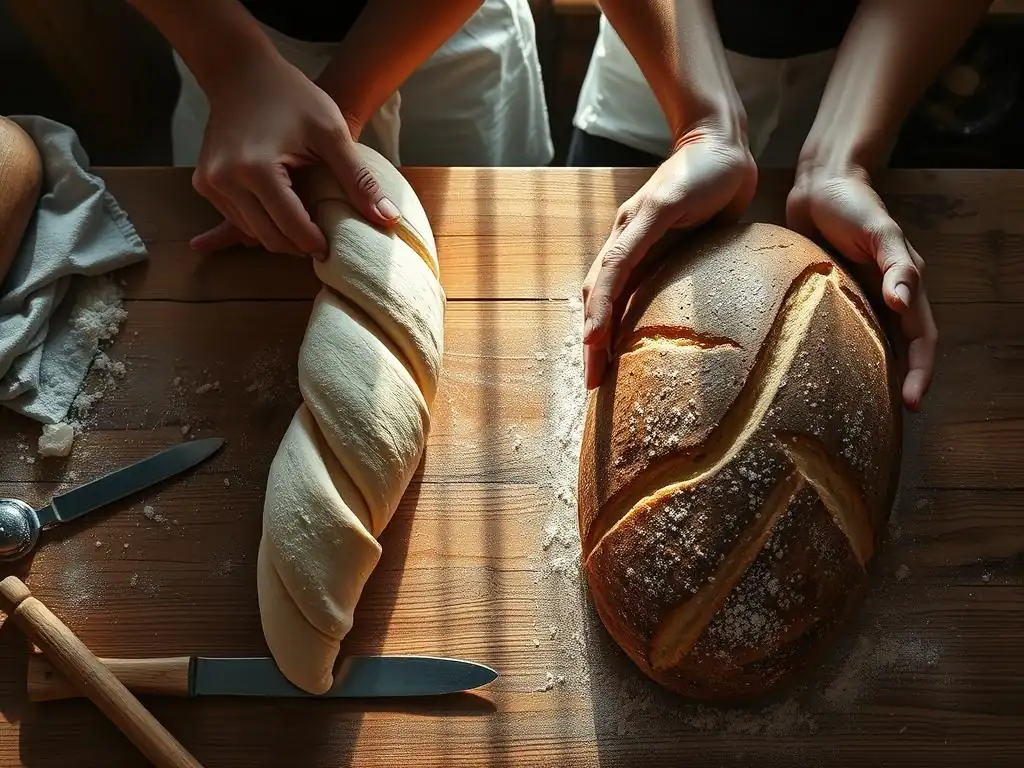
Welcome to BakeWithEase, your partner in creating delicious baked goods! Ever wondered how to transform a simple dough into a perfectly shaped loaf? This week, we're diving deep into the world of bread baking with a focus on baguette shaping techniques. Discover the key differences between shaping baguettes and batards and unlock the secrets to achieving that coveted crusty exterior and airy interior. Ready to elevate your bread baking game? Let's get shaping!
- Shaping Boules vs. Batards: Key Differences for Sourdough Bread
- Introduction to Shaping Sourdough Bread: Boules and Batards
- Boule Shaping Techniques: A Step-by-Step Guide
- Batard Shaping: A Guide to Oval Sourdough Loaves
- Boule vs. Batard: Key Differences in Shaping Techniques
- Achieving the Perfect Crust and Crumb: Shaping's Role
- Troubleshooting Common Shaping Problems: Boules and Batards
- Advanced Shaping Techniques for Boules and Batards
- Choosing the Right Shape for Your Bread: Boule or Batard?
- Conclusion: Mastering Sourdough Shaping for Baking Success
-
Frequently Asked Questions
- What are the primary differences in shaping a batard versus a baguette?
- What baguette shaping techniques are considered "easy" for beginners?
- Why is proper tension important in baguette shaping?
- What ingredients are essential for a successful baguette?
- Can shaping techniques be adjusted based on the dough's hydration level?
- Final Reflection: The Art and Science of Bread Shaping
- Unleash Your Inner Baker: Master the Art of Shaping!
Shaping Boules vs. Batards: Key Differences for Sourdough Bread
Introduction to Shaping Sourdough Bread: Boules and Batards
Understanding the Basics of Sourdough Shaping for Home Bakers
Shaping is a fundamental step in the sourdough bread-making process, serving as the crucial bridge between fermentation and baking. At its core, shaping is about developing surface tension in the dough and creating a structure that will support the loaf during its final proof and the intense heat of the oven spring. Think of it as creating a skin or membrane around the dough mass; this skin is what helps the loaf hold its form and directs the expansion upwards rather than outwards. For home bakers, mastering this skill is key to achieving consistently beautiful and well-risen loaves.
The two most common shapes for sourdough are the boule (a round loaf) and the batard (an oval loaf). Both shapes offer distinct advantages and present unique shaping challenges. Regardless of the final form, the basic principles remain the same: handle the dough gently to preserve the gas created during fermentation while simultaneously building enough tension to give the loaf strength and structure. A well-shaped dough is easier to score cleanly and will bake into a loaf with a better crust and crumb structure.
Why Mastering Shaping Techniques Matters for Sourdough Bread
The effort you put into shaping directly impacts the final quality of your sourdough bread. Proper shaping is essential for achieving maximum oven spring – that final burst of expansion in the hot oven. A dough with insufficient surface tension will tend to spread out rather than rise upwards, resulting in a flatter, denser loaf. Conversely, a loaf shaped with just the right amount of tension will hold its structure beautifully, allowing the heat to penetrate effectively and promoting a significant vertical rise.
Beyond oven spring, shaping plays a critical role in developing the desired crumb structure. The folding and manipulation during shaping help to align the gluten network and distribute the gas pockets evenly throughout the dough. This process contributes to the open, airy crumb with irregular holes that is characteristic of artisan sourdough. A poorly shaped loaf might have a dense, tight crumb at the base or large, uneven tunnels where air was trapped incorrectly. Mastering shaping ensures your efforts in fermentation translate into a loaf that's not just pretty on the outside but also has that perfect texture inside.
Boule Shaping Techniques: A Step-by-Step Guide
Preparing Your Dough for Boule Shaping: Essential Steps
Before you even think about shaping your boule, it's vital that your dough has completed its bulk fermentation successfully. This stage is where the dough develops flavor and gas. Look for signs like the dough having increased significantly in volume, perhaps by 50-100%, and showing visible bubbles on the surface. Once bulk fermentation is complete, gently turn the dough out onto a lightly floured surface. Avoid aggressive handling that would knock out all the precious gas.
Next, it's time for pre-shaping. This intermediate step is particularly helpful for wetter doughs and helps create initial tension. Gently gather the dough into a rough ball or mound. Use a bench scraper or your hands to tuck the edges underneath, creating a somewhat taut surface on top. Allow the dough to rest on the counter for about 20-30 minutes, uncovered or lightly covered. This bench rest allows the gluten to relax slightly after the initial handling, making the final shaping much easier and preventing the dough from tearing.
The Classic Boule Shaping Method: Achieving a Tight Round
Once the dough has rested, you're ready for the final boule shape. Lightly flour your work surface, but don't overdo it, as too much flour can prevent the dough layers from sticking to themselves and developing tension. Gently flip your pre-shaped dough over so the seam is now facing up. The classic method involves gently stretching the edges of the dough outwards like a circle, then folding each edge in towards the center, overlapping slightly, until you have a roughly round package.
After folding, flip the dough over so the smooth side is now facing up. Using your hands or a bench scraper, gently cup the dough and drag it towards you across the unfloured part of the surface. The friction against the counter helps to tighten the surface skin. Rotate the dough slightly and repeat the dragging motion. Continue this rotation and dragging until the dough forms a tight, smooth ball with significant surface tension. The seam should be neatly gathered underneath. Carefully transfer the shaped boule, seam-side up, into a floured round proofing basket (banneton) for its final rise.
Key Considerations for Successful Boule Shaping at Home
Dough hydration is a major factor in boule shaping. Higher hydration doughs (those with a higher percentage of water compared to flour, say 75% or more) will be stickier and more challenging to shape tightly. For these wetter doughs, you might need to use a little extra flour on your hands and the surface, or wet your hands slightly to prevent sticking. The key is finding the balance – enough to prevent sticking, but not so much that it interferes with the dough creating tension against itself.
Temperature also plays a role; warmer dough can be more relaxed and harder to get taut. Be patient and gentle. Avoid tearing the dough during folding or dragging, as this breaks the gluten network and will negatively impact your crumb. Common mistakes include not creating enough tension, resulting in a flat loaf, or being too rough and degassing the dough completely. Practice is paramount; the feel of a properly tensioned boule comes with experience.
Batard Shaping: A Guide to Oval Sourdough Loaves
Preparing Your Dough for Batard Shaping: Simple Steps
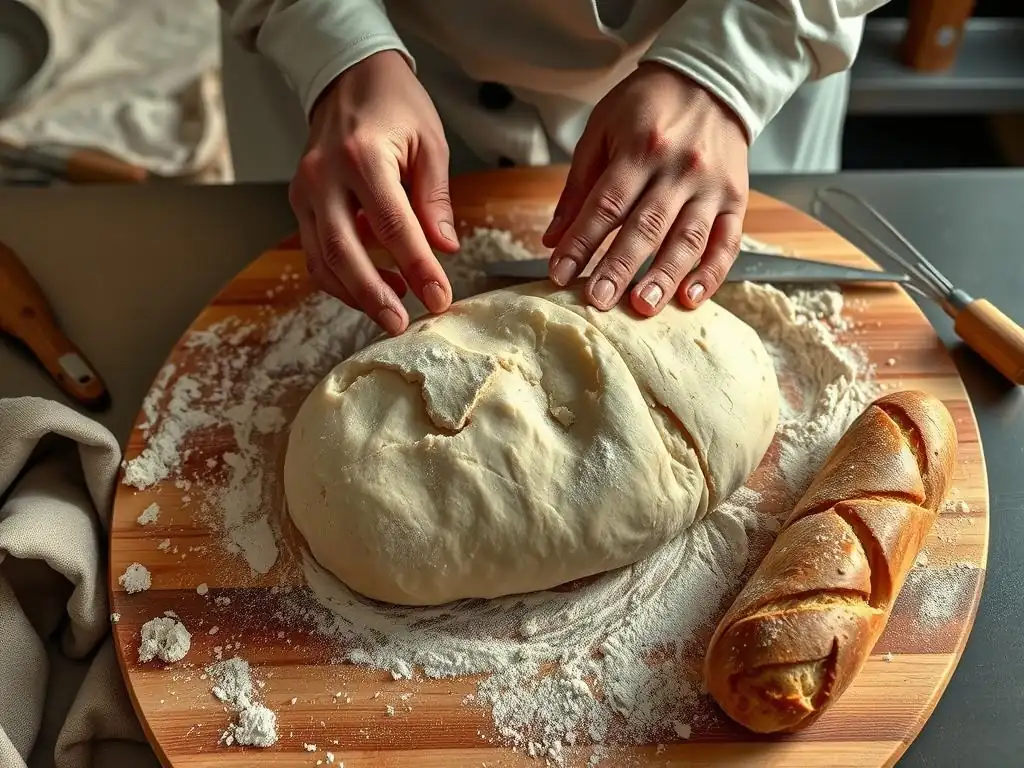
Just like with boules, the journey to a well-shaped batard begins with properly bulk-fermented dough. Ensure your dough has developed adequately, showing signs of life and increased volume. Turn the dough out gently onto a lightly floured surface. For batards, the pre-shaping step often involves forming the dough into a rough oval or rectangle, which helps set the stage for the final elongated shape.
To pre-shape for a batard, gently pat the dough into a rectangle. Then, fold the top third down and the bottom third up, like folding a letter. You can then fold it in half lengthwise. This creates a rough oblong form. Allow this pre-shaped dough to rest for 20-30 minutes, allowing the gluten to relax so you can shape it without tearing. This rest period is crucial for getting a smooth, even final batard shape.
The Basic Batard Shaping Method: Creating a Uniform Oval
After the bench rest, lightly flour your surface. Gently flatten the pre-shaped dough into a rectangle or oval again. Fold the top third of the dough down towards the center, pressing gently to seal. Then, fold the bottom third up and over the folded top section, pressing the seam firmly with the heel of your hand.
Now, the key to the batard shape: rolling and sealing. Starting from the end closest to you, gently roll the dough upwards, away from you, using your fingers to tuck the dough into itself as you roll. Apply gentle, even pressure to create tension and a tight spiral inside. Once rolled into a cylinder, use your hands to seal the seam along the bottom by pinching or tucking it under.
Gently lengthen the batard to the desired length, ensuring the thickness is relatively uniform from end to end. This method is similar to some baguette shaping techniques easy approaches, focusing on creating length and surface tension. Place the shaped batard, seam-side up, into a floured oval proofing basket.
Tips and Tricks for Shaping Beautiful Batards Every Time
Consistency in your folding and rolling is key to a uniform batard shape. Uneven pressure can lead to a loaf that's thicker on one end than the other. Pay close attention to sealing the seam; a poorly sealed seam can burst open during baking in an undesirable way. Use the edge of your hand or a bench scraper to help create tension as you roll the dough, especially with wetter doughs that tend to spread.
Avoiding trapped air pockets during the rolling process is also important for a good crumb. Roll smoothly and apply consistent pressure. If your dough is very high hydration (e.g., 80% or higher), shaping a batard can be quite challenging as it wants to spread. Consider using slightly less hydration, practicing with a medium hydration dough first (around 70-75%), or utilizing a very taut pre-shape and a quick, confident final shape. Mastering batard shaping techniques easy or complex requires practice to develop the necessary feel.
Boule vs. Batard: Key Differences in Shaping Techniques
Dough Handling Differences: Boules vs. Batards
The fundamental difference in handling dough for boules versus batards lies in the direction of tension. For a boule, you are working to create tension that radiates outwards from the center point of the top surface, pulling the dough into a sphere. This typically involves folding edges towards the center and then using a circular motion or dragging technique to tighten the surface into a taut dome. The handling focuses on gathering the dough into a compact mass.
In contrast, shaping a batard focuses on creating linear tension along the length of the dough. The process involves folding the dough over itself lengthwise and then rolling or stitching to create tension along the long axis. The handling is about elongating the dough while building a strong, taut skin along its surface. While both require gentle handling to preserve gas, the specific movements and goals differ significantly.
Shaping Motion Variations: Achieving Distinct Forms
The physical motions used to achieve the distinct forms of boules and batards are quite different. Boule shaping often involves a rotational movement, either by cupping the dough with your hands and rotating it while dragging it towards you, or by using a bench scraper to spin the dough and tighten the surface against the counter. The motion is centered around creating a smooth, taut sphere.
Batard shaping, on the other hand, utilizes primarily linear motions – folding and rolling. The movement is focused on creating a tight cylinder and then elongating it evenly. While a final gentle rolling or dragging motion along the length might be used to smooth and tighten, the core movements are about building tension through folding and rolling along a straight line. This contrasts with the often faster, more complex movements needed for shaping very thin baguettes using baguette shaping techniques easy.
Proofing Considerations: Boule vs. Batard Proofing Techniques
The shape of the loaf dictates the type of proofing basket used and has implications for managing the dough during proofing. Boules are typically proofed in round bannetons or bowls lined with floured cloth. Their stable, compact shape makes them relatively easy to handle and less prone to spreading horizontally during proofing, provided they were shaped with sufficient tension. They take up less horizontal space in a proofing area.
Batards require oval bannetons or proofing containers. Their elongated shape means that maintaining tension along the length is crucial throughout the proofing period. If not shaped tightly enough, a batard can spread significantly, becoming flat and wide rather than maintaining its oval height. They also require more horizontal space for proofing compared to boules. Managing higher hydration doughs during batard proofing can be slightly more challenging than with a boule due to the shape's propensity to spread.
Achieving the Perfect Crust and Crumb: Shaping's Role
How Shaping Impacts Crust Development in Boules and Batards
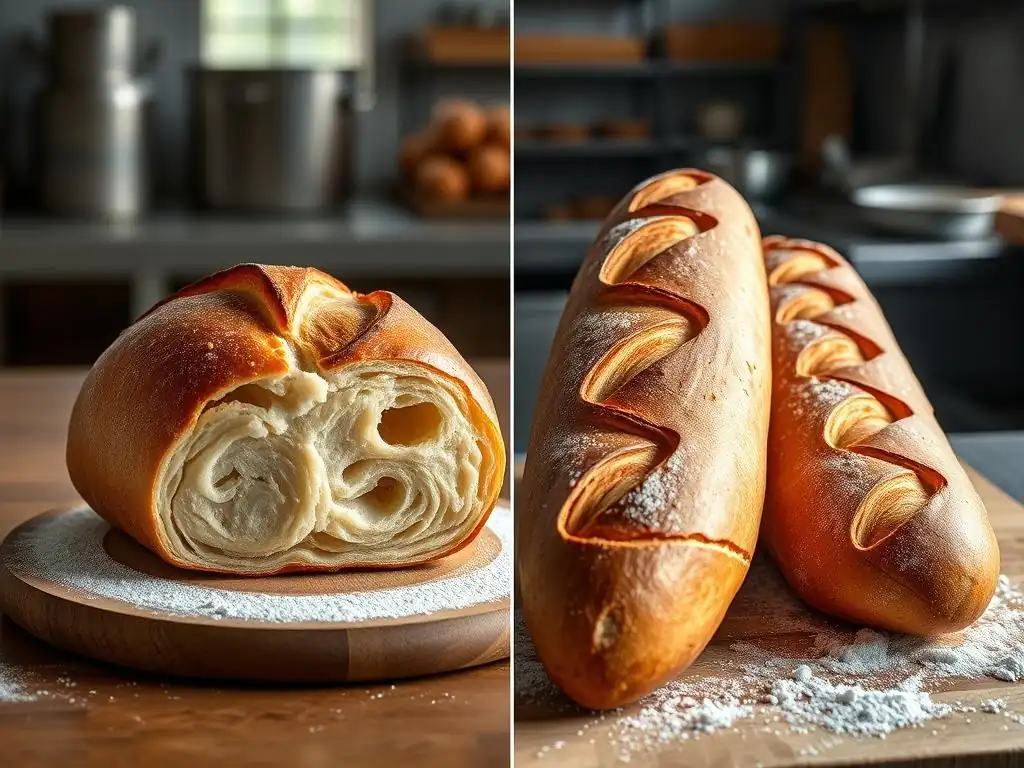
Proper shaping is absolutely essential for developing a beautiful, crispy crust on both boules and batards. The process of creating surface tension stretches the dough's outer layer into a taut skin. This taut surface is what allows you to make clean, controlled score marks with a lame just before baking. As the loaf expands in the oven (oven spring), these score marks act as controlled vents, allowing the steam to escape and the loaf to expand predictably along the cuts. This controlled expansion is what creates those desirable "ears" and allows the crust to open up dramatically.
Without sufficient surface tension from proper shaping, the dough won't expand predictably. Instead of opening along the scores, it might burst open randomly at the weakest point, resulting in an uneven and less appealing crust. Furthermore, a well-tensioned surface promotes even browning and crisping. The uniform expansion facilitated by good shaping ensures that the crust develops evenly across the entire surface of the boule or batard, leading to a more consistent texture and color.
The Influence of Shaping on Crumb Structure and Texture
Beyond the crust, shaping has a profound impact on the internal structure, or crumb, of your sourdough bread. The folding and manipulation steps during shaping help to strengthen and align the gluten network. This alignment is crucial for creating the framework that traps the gases produced by the yeast and bacteria. A well-shaped dough will have a strong, elastic structure capable of holding onto these gases, resulting in an open, airy crumb with irregular holes – the hallmark of artisan sourdough.
Conversely, poor shaping can lead to various crumb issues. If the dough isn't folded and tensioned correctly, you might end up with a dense layer at the bottom of the loaf where tension wasn't developed, or large, uneven tunnels of air where pockets were accidentally trapped rather than integrated into the overall structure. The goal of shaping is to create uniform tension and distribute the gas pockets evenly, leading to a consistent and desirable crumb texture throughout the entire boule or batard.
Troubleshooting Common Shaping Problems: Boules and Batards
Addressing Common Boule Shaping Challenges
One of the most common problems when shaping boules is the loaf spreading flat during proofing or baking instead of holding its round shape. This is usually a sign that insufficient tension was created during the final shaping step, or the dough is over-fermented and lacks structure. To address this, focus on creating a really tight surface skin when dragging the dough across the counter. Ensure your bulk fermentation hasn't gone too long, as this weakens the dough's ability to hold tension.
Another issue is the dough tearing during shaping. This can happen if you're using too much force, if the dough is underdeveloped and lacks elasticity, or if you've used too much flour on your surface, preventing the dough from gripping and creating tension. Try being gentler, assess your bulk fermentation time to ensure the dough is properly developed, and use minimal flour, or wet your hands/scraper instead.
Solving Common Batard Shaping Issues
A frequent challenge with batard shaping is the loaf losing its elongated shape and spreading horizontally during proofing or baking. This often indicates that the seam wasn't sealed properly, insufficient tension was created along the length of the loaf during the rolling process, or the dough is too wet or over-proofed. Ensure the seam is pinched or tucked firmly underneath. Focus on maintaining consistent, firm tension as you roll the dough cylinder. For very wet doughs, consider proofing in a slightly tighter oval banneton or reducing the hydration slightly for easier handling.
Uneven thickness or an irregular oval shape is another common problem. This usually stems from inconsistent folding or rolling pressure during the shaping process. Practice maintaining even pressure throughout the roll, ensuring your initial folds create a neat foundation before you start rolling. Like mastering baguette shaping techniques easy steps, consistency in pressure and motion is key for a uniform final form.
Advanced Shaping Techniques for Boules and Batards
Exploring More Complex Boule Scoring Designs
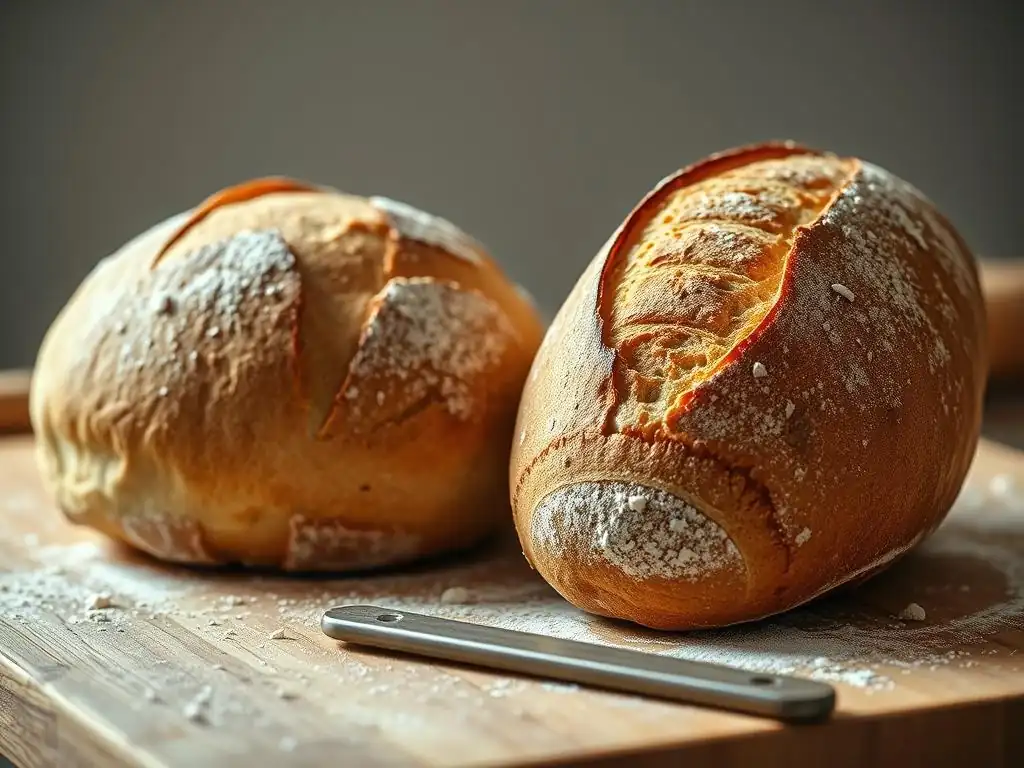
Once you've mastered the basic shaping and scoring (like a simple cross or square) of your boules, you can explore more intricate scoring designs. These aren't just for show; they still influence how the loaf expands. Complex patterns require a well-tensioned boule surface to open cleanly. Examples include creating detailed leaf patterns using overlapping curved cuts, geometric designs with multiple straight lines, or creating concentric circles or spirals.
These advanced designs often utilize specialized tools like a lame holder for better control over the angle and depth of the cut. Techniques involve scoring swiftly and confidently. For instance, a series of shallow, parallel cuts around the edge can create a beautiful frilled effect, while careful, deep cuts can direct expansion into specific shapes. Experimenting with these designs adds an artistic element to your baking and demands precision in your shaping beforehand.
Experimenting with Decorative Batard Scoring Patterns
Batards offer a fantastic canvas for decorative scoring, especially for creating a prominent "ear" along the length of the loaf. Beyond the standard single slash, you can experiment with multiple parallel slashes along the top, overlapping diagonal cuts, or combining a deep functional slash (to create the ear) with smaller, shallower decorative cuts elsewhere on the loaf. Achieving a beautiful, well-defined ear is a satisfying milestone for many bakers.
The angle and depth of your score are critical in batard scoring. A cut held at a shallow angle (almost parallel to the surface) will encourage the dough to peel back and form an ear, while a deeper, more vertical cut will simply create an opening without a prominent lip. You can combine a single ear-producing score with decorative patterns like wheat stalks or geometric shapes on the flatter surface. Practicing different angles and patterns on your batards helps refine your scoring technique and artistry, building upon basic batard shaping techniques easy steps.
Choosing the Right Shape for Your Bread: Boule or Batard?
Considering the Hydration Level: When to Choose a Boule
The hydration level of your dough is a significant factor when deciding between shaping a boule or a batard. Boules are generally more forgiving and easier to shape successfully, especially for higher hydration doughs. A round shape is inherently more stable and less likely to spread outwards excessively during proofing and baking compared to an elongated shape like a batard or baguette.
If you are working with a very wet dough, perhaps 78% hydration or higher, or if you are new to sourdough shaping, starting with a boule can be a wise choice. The round shape makes it easier to build and maintain sufficient tension, increasing your chances of a well-risen loaf with good oven spring, even if the dough is a bit slack.
Batards work well with a wide range of hydration levels, typically from medium to high (say, 65% up to 78%). While you can shape very high hydration doughs into batards, it requires more skill and practice to prevent them from spreading too much. A batard might be a good choice if you are comfortable with shaping and working with doughs in the 70-75% hydration range.
Choose a batard if you prefer the aesthetic of an oval loaf or if your primary baking vessel (like an oval Dutch oven) is better suited for this shape. Batards also yield more uniformly sized slices compared to a round boule, which can be preferable for sandwiches. Successfully shaping a batard is also a great stepping stone towards attempting more challenging elongated shapes, such as mastering baguette shaping techniques easy for home bakers.
Conclusion: Mastering Sourdough Shaping for Baking Success
Recap of Boule and Batard Shaping Differences
Shaping sourdough boules and batards involves distinct techniques aimed at achieving different forms while building essential surface tension. Boule shaping focuses on creating a round loaf by gathering dough towards a central point and using rotational movements to tighten the surface. Batard shaping focuses on creating an oval loaf through folding, rolling, and building tension along the length. Both methods are vital for ensuring a loaf holds its shape and achieves good oven spring.
Regardless of the shape, the goal remains consistent: create a taut outer skin that supports the dough during proofing and baking. This tension is key to controlled expansion through scoring and contributes significantly to both crust development and the desired open, airy crumb structure characteristic of artisan sourdough bread.
Encouragement for Practicing and Perfecting Your Shaping Skills
Shaping is a skill that truly improves with practice. Don't be discouraged if your first few attempts at shaping boules or batards aren't perfectly symmetrical or if your loaf spreads more than you'd like. Each bake provides valuable feedback on how your dough behaved and how your shaping technique influenced the outcome. Pay attention to the feel of the dough – is it slack or resilient? Did you create enough tension?
Embrace the learning process. Try shaping both boules and batards to see which technique feels more intuitive to you or which shape better suits your baking needs and preferences. Experiment with different hydration levels and observe how they affect the shaping process. Mastering shaping is a rewarding part of the sourdough journey, bringing you closer to consistently baking beautiful, delicious loaves, whether they are round boules, elegant batards, or even when you eventually tackle baguette shaping techniques easy methods. Keep practicing, and your shaping skills will undoubtedly flourish!
Frequently Asked Questions
What are the primary differences in shaping a batard versus a baguette?
The primary difference lies in the final shape. A batard is oval and football-shaped, while a baguette is long and cylindrical. The folding and tapering techniques also differ slightly to achieve these distinct forms.
What baguette shaping techniques are considered "easy" for beginners?
Easy techniques include the gentle rolling method, where you roll the dough into a cylinder using light pressure. Avoid overworking the dough to maintain a light and airy crumb.
Why is proper tension important in baguette shaping?
Proper tension is crucial for creating a strong crust and preventing the baguette from spreading out during baking. It also helps develop a beautiful oven spring.
What ingredients are essential for a successful baguette?
While flour, water, salt, and yeast are fundamental, using high-quality bread flour is highly recommended for optimal gluten development. This leads to a chewier and more flavorful baguette.
Can shaping techniques be adjusted based on the dough's hydration level?
Yes, dough hydration significantly impacts shaping. A higher hydration dough may require more careful handling and a lighter touch during shaping. A lower hydration dough will be easier to handle.
Final Reflection: The Art and Science of Bread Shaping
Mastering the art of baguette and batard shaping isn't just about creating beautiful loaves; it's about understanding the fundamental principles of gluten development and dough manipulation that translate to better baking across the board. The seemingly simple act of shaping profoundly impacts the final product's texture, rise, and overall appeal. This understanding, readily accessible through practice and observation, empowers every baker, from novice to expert.
The subtle differences between shaping a baguette and a batard, while seemingly minor, reflect a broader cultural appreciation for bread-making as both a craft and a science. The precision required highlights the dedication and patience involved in transforming simple ingredients into something truly special. Bread is the staff of life,
a common saying, but it's also a testament to human ingenuity and our enduring connection to the earth and its bounty. The techniques explored here are not merely recipes; they are pathways to understanding this deeper connection.
Now, consider your own baking journey. What have you learned about the importance of technique and precision? Perhaps you've discovered a new appreciation for the nuances of dough handling, or maybe you've found a newfound confidence in your ability to create beautiful, delicious loaves. I encourage you to experiment, to embrace the imperfections, and to find joy in the process. The next time you shape a baguette or batard, remember the subtle power you hold in your hands – the power to transform simple flour and water into something truly extraordinary.
Unleash Your Inner Baker: Master the Art of Shaping!
Thanks for taking the time to explore the fascinating world of batard and baguette shaping! You've now gained valuable insights into the subtle differences that create dramatically different loaves. Ready to put your new knowledge to the test?
- Shape your own masterpiece: Try shaping a batard today! Experiment with different flours and hydration levels to see how it affects the final product.
- Share your baking journey: Post a picture of your perfectly shaped loaf on social media and tag #BakeWithEase – let's inspire each other!
- Challenge your skills: Attempt a challenging baguette shaping technique – try the couche method! See what a difference technique makes.
Which shaping technique will you conquer first – the classic batard or the elegant baguette?