
Canelés de Bordeaux: Unlocking the Mystery of Their Crispy Crust

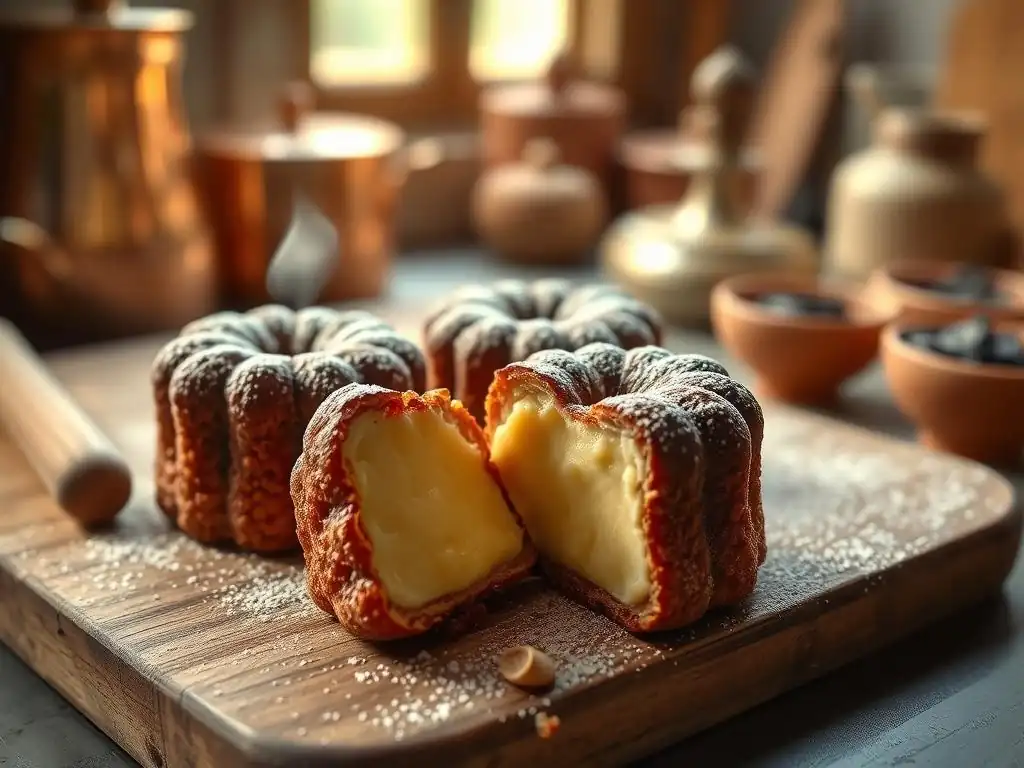
Welcome to BakeWithEase, your guide to effortless baking! Ever dreamt of achieving that iconic, perfectly caramelized crust on a Canelé de Bordeaux? You're in the right place. We're about to unveil the secrets behind crafting the ultimate crispy canelé baking recipe, demystifying the process and empowering you to create this elegant French pastry in your own kitchen. Intrigued? Let's get baking!
- Introduction to Canelés: A French Pastry Delight
- Understanding the Key Ingredients for Crispy Canelés
- The Secret to a Perfectly Crispy Canelé Crust: Mastering the Technique
- Baking Canelés: Temperature and Time Mastery
- Troubleshooting Common Canelé Baking Problems
- Crispy Canelé Baking Recipe: A Step-by-Step Guide
- Serving and Storing Your Homemade Canelés
- Beyond the Basics: Exploring Canelé Variations
- Conclusion: Mastering the Art of the Crispy Canelé
-
Frequently Asked Questions
- What makes a canelé's crust so uniquely crispy?
- What is the role of beeswax in achieving a crispy canelé?
- Can I bake canelés without beeswax molds?
- What are some common mistakes that prevent a canelé's crust from becoming crispy?
- How long does it typically take to bake canelés to achieve that perfect crispy crust?
- Final Reflection: The Enduring Allure of the Perfect Canelé Crust
- Unlock Your Inner Pâtissier: Master the Canelé!
Introduction to Canelés: A French Pastry Delight
What are Canelés de Bordeaux? A Brief Overview
Canelés de Bordeaux are small, cylindrical French pastries characterized by a deeply caramelized, dark crust and a soft, custardy interior. Hailing from the Bordeaux region of France, their name, "canelé," translates roughly to "fluted" or "grooved," referencing the distinctive shape imparted by their traditional molds. Historically, canelés are said to have been created by nuns in Bordeaux using egg yolks discarded by local wine producers who used the whites for fining wine. They are flavored predominantly with rum and vanilla, creating a truly unique and exquisite flavor profile.
While seemingly simple, the canelé is renowned among bakers for being notoriously difficult to perfect. The challenge lies squarely in achieving that signature contrast: a thick, almost brittle, dark crust that audibly cracks when bitten into, enveloping a tender, moist, and airy interior. Mastering this balance is the ultimate goal for anyone attempting this classic French pastry.
Why Canelés are a Baker's Challenge: Achieving the Perfect Crispy Crust
The difficulty in baking crispy canelés stems from the interplay of several factors, including ingredients, technique, and oven management. Unlike many pastries where a gentle bake is desired, canelés require intense heat to develop their characteristic dark, caramelized crust. This high heat, however, must be carefully managed to prevent the interior from becoming dry or the crust from burning entirely. It's a delicate balance between sufficient caramelization on the exterior and proper cooking of the custard within.
Furthermore, issues like sticking to the molds, uneven browning, or a soggy bottom crust are common pitfalls that can frustrate even experienced bakers. The specific properties of the batter, the type of mold used, the greasing method, and the precise oven temperature and timing all play critical roles. Understanding each of these elements is crucial for unlocking the mystery behind a truly perfect, crispy canelé baking recipe.
Understanding the Key Ingredients for Crispy Canelés
The Role of Flour in Canelé Texture: Choosing the Right Type
Flour provides the structure for the canelé batter, but its impact on the final texture, particularly the crust, is significant. A standard all-purpose flour is typically used. The protein content of the flour affects gluten development, and while some gluten is needed for the batter's structure, too much can result in a tougher interior rather than the desired soft custard. Using a flour with a moderate protein level, around 10-12%, is generally recommended for achieving the right balance.
The amount of flour in the recipe is also critical. Too much flour can lead to a dense interior and hinder the development of the signature hollow center that often forms beneath the crust. Precision in measuring flour, ideally by weight, is essential for consistent results when following a crispy canelé baking recipe. Sifting the flour before incorporating it can also help prevent lumps and ensure a smooth batter consistency.
Sugar's Impact on Caramelization and Crust Formation
Sugar is absolutely fundamental to the canelé's crispy crust and dark color. As the batter bakes at high temperatures, the sugar on the exterior caramelizes intensely. This Maillard reaction and caramelization process not only contribute significantly to the flavor but are directly responsible for creating that hard, dark, and brittle crust. Granulated sugar is the standard choice for canelés due to its ability to caramelize effectively under high heat.
The quantity of sugar is key; too little sugar will result in a pale, soft crust that lacks the characteristic crunch and color. Conversely, too much sugar can lead to the crust burning before the interior is fully cooked. The sugar also contributes to the tenderness of the interior custard by interfering with protein coagulation, ensuring it remains soft and moist. A typical canelé recipe might use a ratio of sugar to flour that seems quite high compared to other pastries, precisely because of its crucial role in crust development.
The Importance of High-Quality Milk and Butter
Milk forms the liquid base of the canelé custard and significantly impacts its richness and texture. Whole milk is preferred over lower-fat alternatives because the milk fat contributes to the creamy mouthfeel of the interior. Heating the milk (often infused with vanilla) is a common step in canelé recipes. This process helps dissolve the sugar and butter more effectively and initiates the cooking of the starch in the flour, leading to a smoother, more homogenous batter that is less likely to separate during the long resting period.
Butter adds richness and flavor, and melted butter is incorporated into the warm milk mixture. The fat from the butter also plays a role in the crust formation process, contributing to its crispiness and helping the canelés release cleanly from the molds, especially when combined with beeswax. Using unsalted butter allows the baker to control the salt content, although salt is usually only present in minimal amounts, primarily to balance the sweetness. High-quality dairy products will undeniably elevate the overall flavor of your crispy canelé baking recipe.
Rum and Vanilla: Flavor Enhancers and Crust Contributors
Rum and vanilla are the signature flavorings of Canelés de Bordeaux, providing their distinctive aromatic profile. Dark rum is traditionally used, offering deep, complex notes that complement the rich custard and caramelized crust. The alcohol content in the rum is also believed by some bakers to contribute to the texture, potentially aiding in the formation of air pockets during baking or slightly modifying the gelatinization of starch. While the primary role is flavor, the alcohol might also influence the drying of the crust surface initially, promoting crispness.
Vanilla, particularly from high-quality vanilla beans scraped directly into the warmed milk, imparts a classic, comforting aroma and taste. The tiny black specks of vanilla bean seeds are often visible in the finished custard, a hallmark of authenticity. While vanilla's contribution is primarily flavor, its presence works in harmony with the rum and caramelized sugar to create the complex, irresistible taste that defines a canelé. Using real vanilla bean or a high-quality extract is essential for the best results in your crispy canelé baking recipe.
The Secret to a Perfectly Crispy Canelé Crust: Mastering the Technique
Preparing the Batter: Achieving the Right Consistency
The canelé batter is unique; it's a thin, crêpe-like consistency that is made by whisking dry ingredients into a warm liquid mixture. The process typically involves heating milk with butter and vanilla, then gradually incorporating this liquid into a mixture of flour and sugar. It's crucial to avoid overmixing, which can develop too much gluten and result in a chewy, rather than custardy, interior. Gentle whisking until just combined and smooth is key.
Lumps can be a common issue when preparing the batter. Ensuring the warm milk mixture is added gradually while whisking constantly helps prevent this. If lumps persist, straining the batter through a fine-mesh sieve is a vital step to achieve the perfectly smooth consistency required for the custard to set correctly and for the crust to form evenly during baking. A smooth batter is foundational to a successful crispy canelé baking recipe.
The Significance of Resting the Batter: Time is of the Essence
Perhaps one of the most critical, yet often overlooked, steps in achieving a crispy canelé is the resting period for the batter. After mixing, the batter should be refrigerated for a minimum of 24 hours, and ideally 48 to 72 hours. This long rest allows several things to happen: the flour is fully hydrated, the gluten has time to relax (contributing to a tender interior), and the flavors, particularly the rum and vanilla, have time to meld and deepen.
More importantly, this rest period allows air bubbles introduced during mixing to dissipate. A batter with fewer trapped air bubbles tends to bake more evenly and is less prone to rising excessively and then collapsing in the oven, which can lead to uneven crust development or the canelés sticking to the top of the mold. This patient waiting period is a non-negotiable step for anyone serious about perfecting their crispy canelé baking recipe.
Choosing the Right Canelé Molds: Copper vs. Silicone
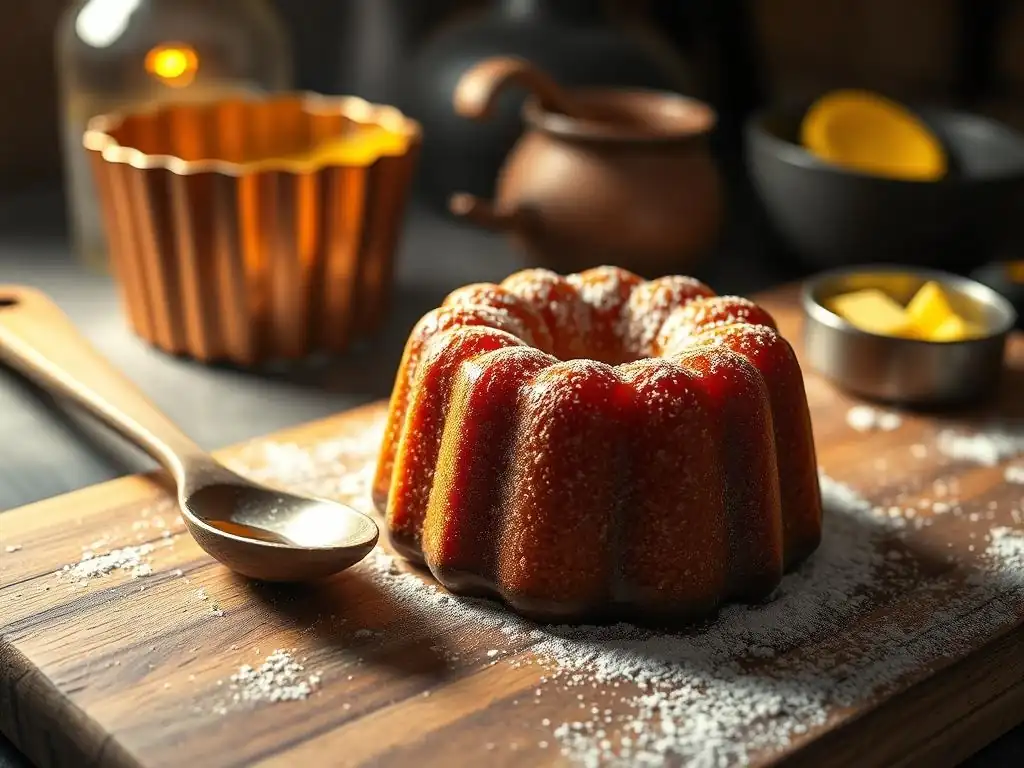
The type of mold used has a profound impact on the canelé's crust. Traditionally, canelés are baked in heavy, fluted copper molds lined with beeswax. Copper is an excellent conductor of heat, allowing the intense heat of the oven to be transferred efficiently and evenly to the batter's surface. This promotes rapid and uniform caramelization, which is essential for the thick, dark, and crispy crust. While expensive, copper molds are considered the gold standard for achieving authentic results.
Silicone molds are a more accessible and affordable alternative. They are non-stick and easy to use, but they do not conduct heat as efficiently as copper. This often results in a less caramelized, paler, and potentially less crispy crust compared to those baked in copper. While silicone can produce tasty canelés, achieving the signature hard, dark, crispy canelé crust is significantly easier and more reliable with copper molds.
Properly Greasing Canelé Molds for Easy Release and Crispiness
Properly preparing the molds is absolutely vital for achieving a perfect crispy crust and ensuring the canelés release without sticking. Traditionally, copper molds are seasoned with a mixture of beeswax and butter. This creates a robust non-stick coating that also contributes to the crust's flavor and color as the beeswax melts and caramelizes slightly during baking. The molds should be coated evenly, often by melting the wax/butter mixture and pouring it in, then inverting the molds to let the excess drain out, leaving a thin, uniform layer.
Beeswax vs. Baking Spray: What's Best for Canelé Molds?
The debate between beeswax and other methods for greasing canelé molds often comes down to traditional results versus convenience. Beeswax, typically mixed with a small amount of butter, provides the most authentic and effective non-stick coating for copper molds. It creates a barrier that allows the canelé to slide out easily while also contributing to the unique flavor and dark, crispy texture of the crust. It requires a bit more effort to prepare the molds, often involving heating the mixture and coating each mold carefully.
Baking spray, especially those containing flour, or simply buttering and flouring the molds, can be used with silicone or even non-traditional metal molds. While these methods are much quicker and easier, they generally do not produce the same level of deep caramelization or the characteristic hard, glossy finish that beeswax provides on copper. For the truly authentic, super crispy canelé crust, the beeswax and butter method, especially with copper molds, is superior and a key part of the traditional crispy canelé baking recipe.
Baking Canelés: Temperature and Time Mastery
The Initial High-Heat Blast: Setting the Crust
Baking canelés requires a specific oven strategy that begins with an initial period of high heat. Ovens should be preheated to a very high temperature, often around 475°F (250°C). The canelé molds, filled with the cold, rested batter, are placed into this intensely hot oven. This sudden blast of heat is critical for rapidly setting the exterior of the batter and initiating the vigorous caramelization process that forms the thick, hard crust. It's this initial phase that largely determines the ultimate crispiness and color of the canelé exterior.
This high temperature helps the batter near the mold surface to caramelize quickly before the interior has a chance to fully cook. It also helps the edges of the batter pull away from the mold slightly as the crust forms, which can aid in achieving that signature shape and preventing sticking. Maintaining this high heat for the right amount of time, typically 10-15 minutes, is a crucial step in any successful crispy canelé baking recipe.
Reducing the Temperature: Baking Through the Center
After the initial high-heat period sets the crust, the oven temperature must be significantly reduced. This second phase of baking, often at around 375°F (190°C), allows the interior custard to finish cooking gently without the exterior burning. The goal here is to bake the center until it is set but remains soft and custardy, while the crust continues to darken and crisp up at a slower rate. The canelés will continue to cook and caramelize during this longer, lower-temperature phase.
The total baking time can range from 50 to 70 minutes or even longer, depending on the oven and molds used. The canelés should be a deep, dark brown color, almost mahogany, when they are ready. Tapping the bottom of the mold can sometimes indicate readiness – a hollow sound suggests the interior is properly set. This two-stage baking process, starting hot and finishing at a lower temperature, is essential for achieving both the crispy exterior and the tender interior of a perfect canelé.
Understanding Oven Variations: Adjusting Baking Time Accordingly
Oven temperatures can vary significantly from one appliance to another, even when set to the same temperature. This variability is a major factor in canelé baking success. What works perfectly in one oven might lead to burnt canelés or pale, undercooked ones in another. Factors like oven calibration, whether it's a convection or conventional oven (convection circulates air, often requiring lower temperatures or shorter times), and even the amount of moisture in the oven can affect the outcome.
It is highly recommended to use an oven thermometer to verify the actual temperature inside your oven. Be prepared to adjust both the initial high temperature and the subsequent lower temperature, as well as the baking times for each stage, based on how your specific oven performs. Observing the canelés closely, especially during the first few attempts with a new crispy canelé baking recipe, is key to learning how your oven handles this challenging pastry. Don't be discouraged if the first batch isn't perfect; slight adjustments in temperature or time can make a world of difference.
Troubleshooting Common Canelé Baking Problems
Canelés Sticking to the Molds: Prevention and Solutions
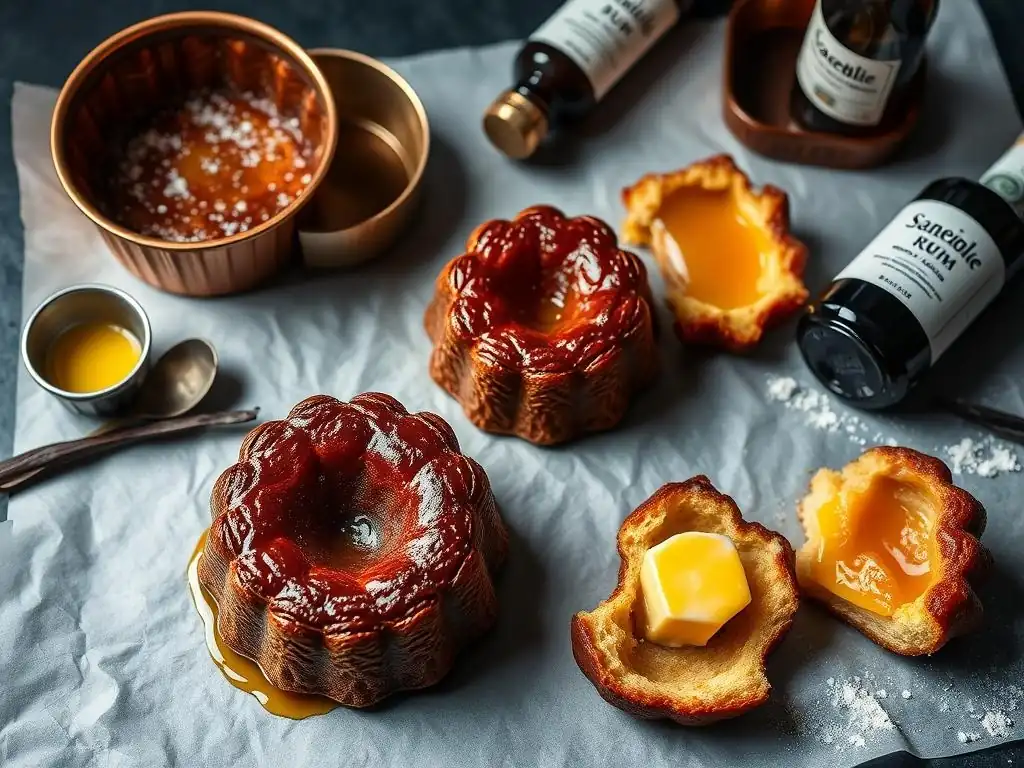
One of the most frustrating issues when baking canelés is them sticking stubbornly to the molds. This ruins the perfect shape and can tear the delicate crust. The primary cause is usually inadequate mold preparation. If using copper molds, ensure they are properly seasoned with a sufficient, even layer of beeswax and butter. For silicone molds, a light coating of baking spray specifically designed for baking (often containing flour) can help, but sticking is less common with silicone unless there's significant overflow.
Prevention is the best solution. Make sure your molds are impeccably clean before greasing. Heat the molds slightly before pouring in the beeswax mixture to help it coat evenly. After coating, invert the molds on a wire rack over a tray to allow excess wax to drain completely, leaving just a thin film. If canelés still stick, try increasing the amount of wax/butter slightly for the next batch. If one does stick, sometimes a gentle tap on a hard surface will help, or running a thin, flexible spatula carefully around the edge before attempting to unmold.
Unevenly Baked Canelés: Identifying and Correcting the Issue
Uneven baking can manifest as some canelés being perfectly dark and crispy while others in the same batch are pale or undercooked, or even individual canelés having dark spots and light spots. This is often due to uneven heat distribution within the oven or inconsistent placement of the molds. Hot spots in the oven can cause some canelés to caramelize faster than others.
To correct this, first, ensure your oven temperature is accurate using a thermometer. Avoid crowding the oven; bake canelés on a single rack with space between the molds for heat to circulate. Rotating the baking sheet halfway through the baking time can also help promote more even browning. If using multiple baking sheets, swap their positions on the racks. For persistent unevenness, consider baking fewer canelés at a time or using a different oven rack position.
Soft or Soggy Crust: Causes and Remedies
A canelé with a soft or soggy crust is a common disappointment and indicates that the crust did not caramelize and crisp up properly. Several factors can contribute to this. Insufficient baking time or temperature is a major culprit; the canelés were likely removed from the oven before the caramelization process was complete. A batter that is too warm when it goes into the oven can also cause issues, as the initial rapid set of the crust is less effective.
Remedies involve ensuring the oven is properly preheated to the high initial temperature and maintaining it for the recommended time before reducing. Ensure the total baking time is sufficient – the canelés should look very dark, almost burnt, while still in the oven. They will cool and the color will appear less intense. If your canelés are consistently pale and soft, try increasing the total baking time by 5-10 minutes or slightly increasing the temperature during the lower-heat phase. Ensure the batter is thoroughly chilled before filling the molds.
Canelés Burning: Preventing Over-Caramelization
While a dark crust is desired, a burnt crust is bitter and unpleasant. Burning typically occurs when the baking time is too long, the temperature is too high, or the molds were over-greased with a substance that burned easily. Over-caramelization happens rapidly once the sugar reaches a certain temperature threshold.
To prevent burning, closely monitor the canelés, especially towards the end of the baking time. Use an oven thermometer to ensure your oven isn't running hotter than intended. If the crust is darkening too quickly while the interior isn't done, you may need to reduce the oven temperature slightly or cover the tops of the molds loosely with foil for the last part of the baking time. Ensure your beeswax/butter mixture for greasing isn't applied too thickly, as excess can pool and burn. Adjusting your crispy canelé baking recipe's time and temperature based on observation is key.
Crispy Canelé Baking Recipe: A Step-by-Step Guide
Ingredients List for the Perfect Canelé
To make approximately 12 standard-sized crispy canelés, you will need:
- 500 ml (2 cups) whole milk
- 50 g (approx. 3.5 tbsp) unsalted butter, cut into pieces
- 1 vanilla bean, split lengthwise, seeds scraped (or 2 tsp high-quality vanilla extract)
- 200 g (approx. 1 cup) granulated sugar
- 100 g (approx. 3/4 cup + 2 tbsp) all-purpose flour
- 2 large eggs + 2 large egg yolks
- 50 ml (approx. 3.5 tbsp) dark rum
- Pinch of salt (optional, but helps balance sweetness)
- Beeswax and butter mixture for greasing molds (approx. 50g beeswax + 50g butter)
Detailed Instructions for Preparing the Batter
- In a medium saucepan, heat the milk, butter, and vanilla bean (pod and seeds) over medium heat until the butter is melted and the mixture is warm but not boiling. Remove from heat, cover, and let steep for 10-15 minutes to infuse the vanilla flavor. Remove the vanilla bean pod.
- In a large bowl, whisk together the sugar, flour, and optional pinch of salt.
- In a separate small bowl, whisk the eggs and egg yolks together gently, just until combined.
- Gradually pour about one-third of the warm milk mixture into the dry ingredients, whisking constantly to create a thick paste.
- Gradually pour in the remaining milk mixture, whisking until smooth.
- Slowly whisk in the beaten eggs and yolks until fully incorporated.
- Stir in the dark rum.
- Strain the batter through a fine-mesh sieve into a clean bowl or container. This removes any lumps or bits of vanilla bean pod.
- Cover the batter tightly with plastic wrap, pressing it directly onto the surface to prevent a skin from forming.
- Refrigerate the batter for a minimum of 24 hours, and ideally 48 hours, to allow it to rest and for flavors to develop.
Baking Instructions: Achieving the Ideal Color and Texture
- Preheat your oven to 475°F (250°C). If using copper molds, ensure they are properly greased with the beeswax/butter mixture. If using silicone, a light spray might be helpful.
- Place the greased molds on a baking sheet.
- Remove the chilled batter from the refrigerator and give it a gentle stir (do not whisk vigorously).
- Fill each mold about three-quarters full with the batter. Do not overfill, as they will rise.
- Place the baking sheet with the filled molds in the preheated 475°F (250°C) oven for 10-15 minutes. You should see them rise and the edges start to darken.
- Reduce the oven temperature to 375°F (190°C). Continue baking for another 45-60 minutes, or until the canelés are a deep, dark brown color, almost mahogany. The total baking time is typically 55-75 minutes.
- Optional: If the canelés rise excessively and threaten to overflow or create a 'hat', open the oven door briefly (just a few seconds) around the 20-30 minute mark. This shock of cool air can sometimes help them sink back down.
Cooling and Demolding: Ensuring a Perfect Finish
- Once the canelés are baked to a deep, dark color, carefully remove the baking sheet from the oven.
- Immediately invert the molds onto a wire cooling rack set over a tray or paper towels. The canelés should slide out easily if the molds were properly greased. If any stick, a gentle tap on the top of the mold might help. Do not force them out while hot.
- Allow the canelés to cool completely on the wire rack. As they cool, the crust will continue to crisp up and harden. Do not be tempted to touch them while they are hot, as the crust is fragile.
- Once fully cooled, usually after at least 30-60 minutes, they are ready to be enjoyed.
Serving and Storing Your Homemade Canelés
Best Ways to Enjoy Canelés: Pairing Suggestions
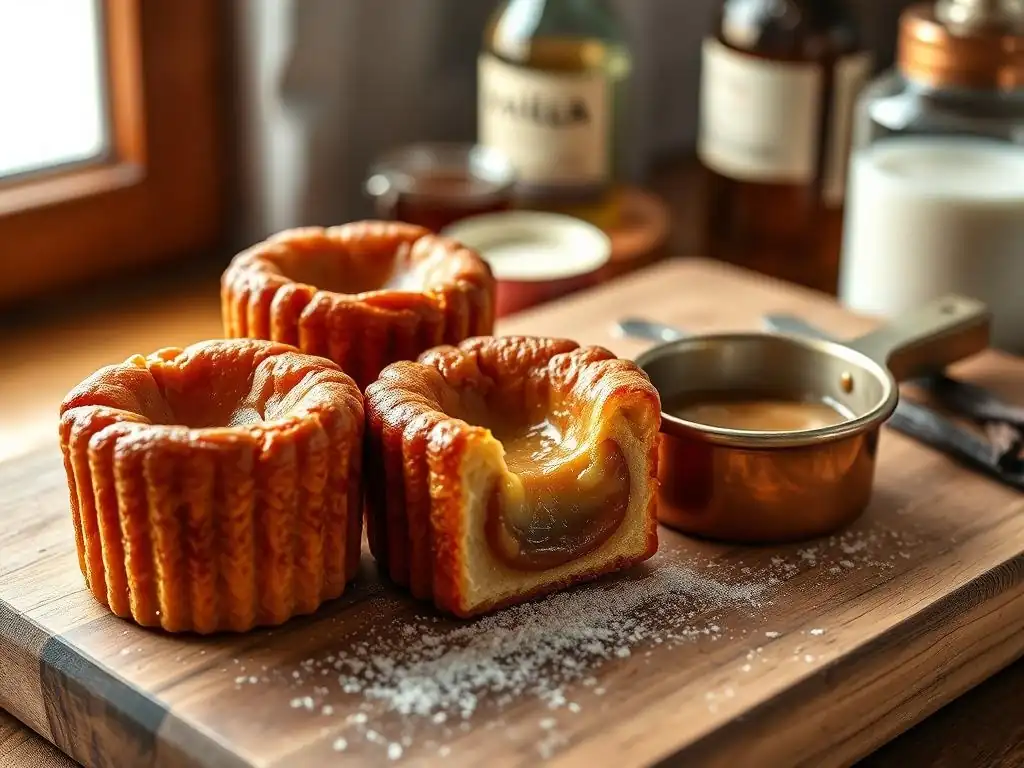
Crispy canelés are best enjoyed fresh, ideally within a few hours of baking when their crust is at its peak crispness. They are wonderful simply on their own, perhaps with a cup of coffee or tea. The rich, custardy interior and caramelized crust make them a delightful treat any time of day.
For a more indulgent experience, canelés pair beautifully with a glass of Sauternes, a sweet white wine from the Bordeaux region, or a strong espresso. They can also be served alongside fresh berries or a dollop of crème fraîche. The contrast between the warm, soft interior and the cool, crispy exterior is part of their charm. Enjoying them slightly warm can also be lovely.
How to Store Canelés to Maintain Their Crispiness
Storing canelés correctly is crucial for preserving their signature crispy crust. Since moisture is the enemy of crispiness, canelés should never be stored in an airtight container at room temperature for more than a few hours. This will trap moisture and quickly turn the crust soft and chewy.
The best way to store canelés to maintain as much crispiness as possible is at room temperature, loosely covered with a paper towel or simply left exposed on a cooling rack, away from direct sunlight or humidity. This allows air to circulate, helping to keep the crust dry. While they will lose some crispness over time, this method is superior to airtight storage. For longer storage (though not ideal for crispness), they can be refrigerated, but their texture will suffer significantly.
Reheating Canelés: Restoring the Texture
If your canelés have lost some of their crispiness during storage, you can often revive the crust by reheating them. The best method is to place them directly on an oven rack in a preheated oven at around 300°F (150°C) for 5-10 minutes. Watch them closely to prevent burning.
Alternatively, you can use a toaster oven or even an air fryer set to a similar temperature for a few minutes. The goal is to gently heat them through and drive out any absorbed moisture from the crust, restoring some of its original crispiness without further cooking the interior. Avoid using a microwave, as this will make the crust even softer and chewier.
Beyond the Basics: Exploring Canelé Variations
Experimenting with Different Flavors: Lavender Honey Canelés, Espresso Canelés
While the classic rum and vanilla crispy canelé is iconic, there's room for creative variations once you've mastered the basic technique. Infusing the milk with different flavors can yield exciting results. For example, adding culinary lavender buds to the warm milk along with vanilla can create delicate Lavender Honey Canelés, especially if a touch of honey replaces some of the sugar.
For coffee lovers, adding a shot of strong espresso or a tablespoon of instant espresso powder to the warm milk mixture can produce rich Espresso Canelés. Other possibilities include infusing the milk with citrus zest (orange or lemon), spices like cinnamon or cardamom, or even using different types of alcohol like Grand Marnier or other liqueurs instead of rum for a different flavor profile. The key is to maintain the correct liquid-to-dry ingredient ratio from the base crispy canelé baking recipe.
Vegan Canelés: Adapting the Recipe
Creating a vegan version of canelés presents a significant challenge, primarily due to the reliance on milk, butter, and eggs for the custard interior and crust formation. Substituting these ingredients while maintaining the characteristic texture is difficult. Vegan milk alternatives (soy, almond, oat) can replace dairy milk, and vegan butter substitutes can replace dairy butter.
The biggest hurdle is replacing the eggs and egg yolks, which provide structure, richness, and contribute to browning. Flax eggs, commercial egg replacers, or combinations of silken tofu and starches might be attempted, but replicating the specific custardy texture and the egg-driven browning of the crust is complex. While some vegan canelé recipes exist, achieving the identical crispy crust and tender interior of the traditional version remains a significant baking challenge.
Gluten-Free Canelés: Alternative Flour Options
Adapting a crispy canelé baking recipe to be gluten-free requires replacing the wheat flour with a gluten-free blend. A simple swap with a single gluten-free flour like almond or rice flour is unlikely to yield the correct texture. A blend of different gluten-free flours and starches, such as rice flour, tapioca starch, and potato starch, often works better to mimic the properties of wheat flour.
Xanthan gum is frequently added to gluten-free baking to provide structure that gluten would normally offer. The ratio of liquid to dry ingredients might need slight adjustments depending on the absorption properties of the gluten-free flour blend used. While achieving a similar crust might be possible with careful temperature control and mold preparation, the interior texture may differ slightly from the traditional canelé.
Conclusion: Mastering the Art of the Crispy Canelé
Frequently Asked Questions
What makes a canelé's crust so uniquely crispy?
The crispy crust of a canelé is achieved through a combination of factors, including a high oven temperature, the use of beeswax-lined molds, and the interaction of the batter's ingredients during baking.
What is the role of beeswax in achieving a crispy canelé?
Beeswax acts as a release agent and contributes significantly to the texture. It allows the canelé to caramelize evenly at high temperatures, creating that desired crispy exterior.
Can I bake canelés without beeswax molds?
While traditional canelés require beeswax-lined copper molds, you can use silicone molds. However, the crispy crust will be more difficult to achieve and the results may differ.
What are some common mistakes that prevent a canelé's crust from becoming crispy?
Common mistakes include baking at too low a temperature, overfilling the molds, and not allowing the batter to rest properly. Insufficient caramelization will result in a softer crust.
How long does it typically take to bake canelés to achieve that perfect crispy crust?
Baking time varies depending on the oven, but it generally takes around one to one and a half hours at a high temperature to achieve the signature crispy, dark crust and a soft, custardy interior.
Final Reflection: The Enduring Allure of the Perfect Canelé Crust
The quest for the perfectly crisp canelé crust is more than just a culinary pursuit; it's a testament to the enduring power of tradition and the boundless creativity of the baking world. This article has explored the science behind that iconic caramelized exterior, delving into the intricacies of the batter, the unique mold, and the precise baking techniques that contribute to its unparalleled texture. But beyond the technical aspects, the canelé's enduring popularity speaks volumes about our desire for both mastery and simple pleasures.
The canelé's journey from a humble Bordeaux confection to a globally recognized delicacy highlights the transformative power of food. It's a story of cultural preservation and culinary innovation, a delicious bridge connecting generations. The canelé's crisp exterior, a symbol of perfection achieved through patience and precision, resonates deeply with bakers and eaters alike. The best things in life are worth waiting for,
a sentiment perfectly embodied by the slow, deliberate process of making canelé. This journey of discovery, both in the kitchen and in the history of this unique pastry, has been a rewarding one, reminding us of the beauty found in meticulous detail and the joy of sharing culinary traditions.
Now, it's your turn. Don't just read about the perfect canelé crust – bake it. Embrace the challenge, experiment with the techniques, and savor the satisfaction of creating something truly special. Let the crisp crackle of the caramelized exterior be a reminder of your own potential for mastery, and share the delicious results with those you love. The journey to the perfect canelé is a journey of culinary exploration, and the reward is a taste of history, tradition, and pure deliciousness.
Unlock Your Inner Pâtissier: Master the Canelé!
Thanks for exploring the delightful world of Canelés de Bordeaux with us! We hope you now feel confident in tackling this seemingly complex pastry. Ready to take your baking to the next level?
- Bake your own batch of Canelés: Use the recipe and tips from the article to create your own perfectly crispy, custardy Canelés. Don't forget to adjust the oven temperature based on your own equipment.
- Share your Canelé creations: Post a picture of your amazing Canelés on social media and tag us! We'd love to see your results and celebrate your success.
- Experiment with different flavors: Try adding a hint of vanilla, orange zest, or even a touch of cardamom to create your unique Canelé twist.
What unique ingredient will you add to your next batch of Canelés to elevate them from good to extraordinary?