
The Art of Tempering Milk Chocolate for a Silky Smooth Finish.

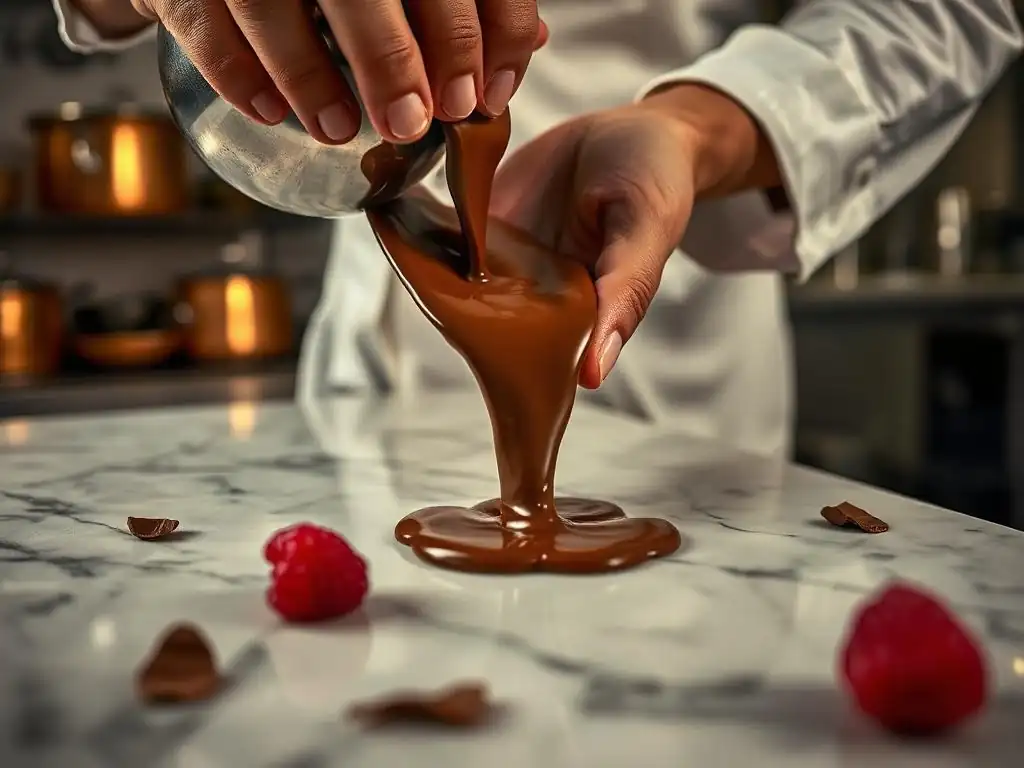
Welcome to BakeWithEase, where turning kitchen dreams into delectable realities is our specialty! Ever wondered how professional chocolatiers achieve that perfect shine and snap? This week, we're diving deep into Advanced Baking Techniques to unlock the secrets of tempering milk chocolate smoothly. It's easier than you think, and mastering this skill will elevate all your chocolate creations. Ready to discover the art of perfectly tempered chocolate? Let's get started!
- The Art of Tempering 38% Milk Chocolate for a Silky Smooth Finish
- Introduction to Tempering 38% Milk Chocolate: Achieve a Professional Finish
- Preparing for Tempering 38% Milk Chocolate: Tools and Ingredients
- Step-by-Step Guide to Tempering 38% Milk Chocolate Using the Seeding Method
- Tempering 38% Milk Chocolate using the Tablier Method (Marble Slab Technique)
- Troubleshooting Common 38% Milk Chocolate Tempering Issues
- Tips and Tricks for Perfect 38% Milk Chocolate Tempering
- Using Tempered 38% Milk Chocolate in Your Baking Creations
- Advanced 38% Milk Chocolate Tempering Techniques [Optional: Using a Sous Vide]
- Conclusion: Mastering the Skill of Tempering 38% Milk Chocolate for Confectionery Excellence
-
Frequently Asked Questions
- How does tempering milk chocolate differ from tempering dark chocolate?
- What is the "seed" method for tempering milk chocolate, and why is it effective?
- What are the signs that my milk chocolate is not properly tempered?
- Can I temper milk chocolate in the microwave?
- What tools are essential for successfully tempering milk chocolate?
- Final Reflection: The Enduring Allure of Perfectly Tempered Chocolate
- Unlock Your Inner Chocolatier: Master the Art of Tempering!
The Art of Tempering 38% Milk Chocolate for a Silky Smooth Finish
Introduction to Tempering 38% Milk Chocolate: Achieve a Professional Finish
Tempering chocolate might sound intimidating, but it's a fundamental skill that unlocks a world of professional-looking confectionery. When you temper milk chocolate, especially a beautiful 38% variety, you're aligning the cocoa butter crystals within the chocolate. This precise alignment is what gives properly tempered chocolate its desirable snap, glossy finish, and resistance to melting easily at room temperature. Without tempering, your chocolate creations would be dull, soft, and prone to developing unsightly white or grey streaks known as 'bloom'.
Mastering the art of tempering milk chocolate smoothly is essential for anyone serious about working with chocolate beyond simply melting it for ganache or sauces. Whether you dream of crafting your own chocolate bars, dipping fruits and confections, or creating delicate chocolate decorations, achieving a perfect temper ensures your final product looks stunning and has the correct texture. It's about transforming simple melted chocolate into a stable, professional-grade ingredient ready for molding, dipping, or coating.
Why Tempering 38% Milk Chocolate is Essential for Confectionery
Tempering 38% milk chocolate is crucial for several reasons, primarily related to the behavior of cocoa butter. Cocoa butter is polymorphic, meaning it can crystallize in different forms depending on temperature. Only one specific form (Form V) provides the desired characteristics of tempered chocolate: a firm texture, a clean snap when broken, a shiny surface, and stability at room temperature (around 20-22°C or 68-72°F). Untempered chocolate, or chocolate where the cocoa butter crystals are not properly aligned, will be soft, brittle, dull, and susceptible to fat bloom.
For confectionery applications like molding, dipping, and coating, a smooth, stable finish is paramount. Imagine dipping a strawberry in untempered milk chocolate; it would take ages to set, likely develop bloom quickly, and melt in your fingers. Properly tempering milk chocolate ensures that when it cools, it contracts slightly, making it easy to release from molds, and sets quickly with that satisfying snap. This makes the tempering milk chocolate smoothly process indispensable for producing high-quality candies, bonbons, and decorations that look and feel professional.
Understanding the Science Behind 38% Milk Chocolate Tempering
The science behind tempering milk chocolate revolves around controlling the crystallization of cocoa butter. Cocoa butter contains different types of fatty acid crystals, each melting at a different temperature. When you melt chocolate completely, all these crystal structures are destroyed. The goal of tempering is to cool the chocolate down and then gently warm it back up to a specific temperature range where only the stable Form V crystals can form and propagate throughout the chocolate mass.
For 38% milk chocolate, which contains cocoa solids, sugar, milk solids, and cocoa butter, the ideal temperature range for working with properly tempered chocolate is typically between 29°C and 30.5°C (84°F to 87°F). Achieving this involves first melting the chocolate to destroy all existing crystals (usually around 45-50°C or 113-122°F), then cooling it down to encourage the formation of some stable crystals (around 27-28°C or 81-83°F for milk chocolate), and finally raising it slightly to the working temperature to melt out any unstable crystals, leaving only the desirable Form V crystals suspended in the liquid chocolate.
This process ensures you achieve that smooth, glossy, and stable finish when the chocolate sets.
Preparing for Tempering 38% Milk Chocolate: Tools and Ingredients
Successful tempering begins before you even melt the chocolate. Having the right tools and ingredients ready, and preparing your workspace, significantly increases your chances of achieving a perfect temper and tempering milk chocolate smoothly. Just like any baking project, mise en place is key!
Getting everything set up in advance minimizes distractions and allows you to focus on the crucial temperature control steps. This is especially important when working with milk chocolate, as its lower working temperature window requires precise handling. Being prepared helps you react quickly and efficiently throughout the process, leading to a more consistent and successful outcome.
Essential Tools for Successfully Tempering 38% Milk Chocolate
Having the correct equipment is non-negotiable for tempering milk chocolate accurately. You'll need a reliable way to heat and cool the chocolate precisely.
- Accurate Thermometer: This is perhaps the most critical tool. A digital probe thermometer is ideal, as it provides fast and accurate temperature readings, which are essential for hitting those narrow tempering windows.
- Heat Source: A double boiler setup (a heatproof bowl set over a pot of simmering water) is a classic and gentle way to melt chocolate. Alternatively, a microwave on low power (50% or less) can work, but requires careful monitoring and frequent stirring.
- Bowls: Use dry, clean, heatproof bowls. Glass or stainless steel are good choices. Avoid plastic, as it can retain moisture or odors.
- Spatula: A flexible silicone spatula is perfect for stirring the chocolate smoothly and scraping down the sides of the bowl.
- Scale: Weighing your chocolate ensures accuracy, especially for methods like seeding where you need a specific ratio of melted to solid chocolate.
- Surface for Cooling (Optional for Tablier Method): A marble slab or other cool, smooth surface is needed if you plan to use the tablier (marble) method.
Using these tools correctly helps you maintain the necessary control over temperature and movement, vital steps for tempering milk chocolate smoothly and effectively.
38% Milk Chocolate: Choosing a Reputable Brand for Tempering
The quality of your chocolate significantly impacts the tempering process and the final result. Not all chocolate is created equal, especially when it comes to its composition, particularly the cocoa butter content and quality. For tempering, you need "real" chocolate made with cocoa butter, not compound chocolate which uses vegetable oils and does not require tempering. A 38% milk chocolate is a great choice for many applications, offering a good balance of milky sweetness and distinct chocolate flavor.
Opt for a reputable brand of couverture chocolate. Couverture chocolate has a higher percentage of cocoa butter (typically 32-39% or more) compared to standard eating chocolate, which makes it melt more fluidly and easier to temper. Brands like Callebaut, Valrhona, or Guittard offer high-quality milk couverture chocolates specifically designed for professional use, including tempering. Using a consistent, quality 38% milk chocolate from a known producer ensures predictable results when you are learning or practicing how to temper milk chocolate smoothly.
Preparing Your Workspace for a Smooth Tempering Process
A well-prepared workspace is crucial for successful chocolate tempering. Ensure your work area is cool, dry, and free from drafts. Chocolate is highly sensitive to temperature fluctuations and moisture, both of which can ruin the tempering process. The ideal room temperature for tempering is around 20-22°C (68-72°F). Avoid working in a hot or humid kitchen.
Clear your workspace of any water sources, like sinks or steamy dishwashers. Have all your tools, the chocolate, and any items you plan to dip or mold ready before you start melting. This allows you to move efficiently through the cooling and working stages, which are time-sensitive. Laying out parchment paper or silicone mats for finished items is also a good step. A clean, organized, and temperature-controlled environment sets the stage for tempering milk chocolate smoothly and efficiently.
Step-by-Step Guide to Tempering 38% Milk Chocolate Using the Seeding Method
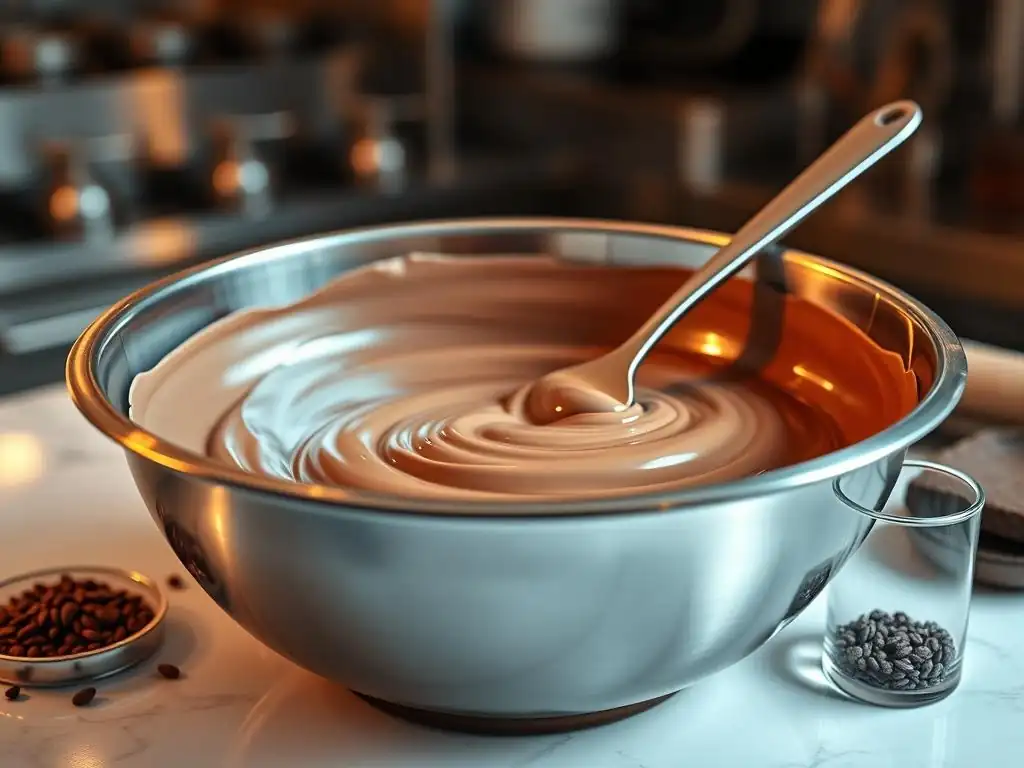
The seeding method is one of the most common and approachable ways to temper chocolate, ideal for home bakers. It involves melting the majority of the chocolate and then adding finely chopped, untempered chocolate (the "seed") to cool it down and introduce stable cocoa butter crystals. This guides the rest of the melted chocolate into the correct crystalline structure.
This method is effective because the added solid chocolate contains stable Form V crystals. As the melted chocolate cools in contact with these seeds, the cocoa butter molecules in the melted portion are encouraged to crystallize into the same stable form. It's a controlled way to lower the temperature and initiate the correct crystallization process necessary for tempering milk chocolate smoothly.
Step 1: Melting 38% Milk Chocolate Properly
Start by finely chopping your 38% milk chocolate. Smaller pieces melt more evenly. Reserve about 20-25% of the chopped chocolate to use as "seed" later. Place the remaining 75-80% of the chocolate in a clean, dry heatproof bowl set over a pot of simmering, not boiling, water. Ensure the bottom of the bowl does not touch the water.
Heat the chocolate gently, stirring occasionally with a dry spatula. Melt the chocolate until it reaches a temperature of 45-48°C (113-118°F). It's important to fully melt the chocolate to destroy all existing crystal structures. Remove the bowl from the heat once it reaches the target temperature. Ensure no steam or water droplets get into the chocolate, as even a tiny amount can cause it to seize.
Step 2: Seeding the Melted 38% Milk Chocolate
Once the chocolate is fully melted and off the heat, add about half of your reserved finely chopped "seed" chocolate to the bowl. Stir continuously with your spatula. The goal is for the heat from the melted chocolate to melt these seed pieces while simultaneously cooling the overall mass.
Keep stirring and adding small amounts of the remaining seed chocolate as the mixture cools. You are looking for the temperature to drop gradually while the added chocolate melts smoothly into the mass. This process introduces the stable Form V crystals needed to properly temper the milk chocolate.
Step 3: Stirring and Cooling the 38% Milk Chocolate
Continue stirring the chocolate as it cools and the seed chocolate melts. Use your thermometer to monitor the temperature. You want the chocolate to cool down to the crystallization temperature range for milk chocolate, which is typically between 27°C and 28°C (81°F to 83°F). Stirring helps distribute the stable crystals forming around the seed chocolate throughout the entire batch.
If you've added all your seed chocolate and the temperature hasn't quite reached the target, you can add a little more chopped chocolate, or simply continue stirring over an ice bath for just a few seconds at a time, lifting the bowl frequently. The constant stirring is key to ensuring uniform crystal formation and achieving a smooth texture. Once the temperature is within the 27-28°C range and all the seed chocolate has melted, you are ready for the final step.
Step 4: Testing the Temper of Your 38% Milk Chocolate
After reaching the crystallization temperature and ensuring all seed chocolate is melted, gently warm the chocolate very slightly back up to its working temperature. For 38% milk chocolate, this is usually between 29°C and 30.5°C (84°F to 87°F). You can do this by placing the bowl back over the warm, not simmering, water for just a few seconds, or by using a heat gun on a low setting from a distance, stirring constantly. Be extremely careful not to overheat it, or you'll ruin the temper and have to start over.
To test if your milk chocolate is properly tempered, dip the tip of a clean knife, spoon, or a piece of parchment paper into the chocolate. Scrape off the excess so there's a thin layer. Set it aside at room temperature (ideally around 20-22°C or 68-72°F). Properly tempered milk chocolate should set and become firm within 3-5 minutes and have a glossy appearance. If it takes longer to set, looks dull, or has streaks, it is not properly tempered, and you'll need to re-temper it. This test is crucial for confirming you have successfully achieved a silky smooth finish.
Tempering 38% Milk Chocolate using the Tablier Method (Marble Slab Technique)
The tablier method, also known as the marble slab technique or table method, is a more traditional approach to tempering chocolate. It relies on spreading melted chocolate onto a cool surface, like a marble slab, to quickly cool it down and encourage crystallization, then gathering and working it to reach the correct temperature for use. While it requires a bit more practice and a suitable surface, it can be very effective for tempering larger quantities and achieving that professional, silky smooth finish.
This technique offers a more direct way to control the cooling process compared to the seeding method. By physically manipulating the chocolate on a cool surface, you rapidly bring down its temperature while agitating it, which promotes the formation of stable cocoa butter crystals. It's a hands-on method that gives you a tactile feel for the chocolate's consistency as it tempers, helping you learn to recognize when it's ready.
Preparing the Marble Slab for Tempering
Before starting, ensure your marble slab (or other non-porous, cool surface like granite or stainless steel) is spotlessly clean and completely dry. Any moisture will cause the chocolate to seize. The slab should be at a cool room temperature, ideally slightly below the ambient air temperature, but not so cold that it freezes the chocolate on contact. Around 18-20°C (64-68°F) is suitable for the slab itself.
Have a metal bench scraper or sturdy spatula ready to spread and work the chocolate on the slab. Also, keep your heatproof bowl and spatula handy. You'll be returning the chocolate to the bowl after cooling it on the slab. Ensure your thermometer is also within easy reach to monitor temperatures throughout the process. Proper preparation of the slab and tools is essential for executing the tablier method successfully and tempering milk chocolate smoothly.
Spreading and Cooling the Melted 38% Milk Chocolate
Start by melting your 38% milk chocolate in a heatproof bowl over a double boiler until it reaches 45-48°C (113-118°F), just as you would for the seeding method. Once fully melted and off the heat, pour about two-thirds of the melted chocolate directly onto the center of your prepared marble slab. Keep the remaining one-third in the warm bowl – this will be used later to bring the temperature back up.
Using your bench scraper and/or spatula, immediately begin spreading the chocolate into a thin layer across the slab. Work the chocolate by scraping it up and spreading it out repeatedly. The goal is to cool the chocolate down rapidly while constantly moving it to encourage the formation of stable crystals (Form V) and prevent unstable crystals from forming. Continue working the chocolate until it thickens slightly and reaches a temperature of about 26-27°C (79-81°F) for milk chocolate. It will start to look slightly less shiny and begin to hold its shape a little.
Working the 38% Milk Chocolate and Achieving the Correct Temper
Once the chocolate on the slab has cooled to the crystallization temperature (26-27°C or 79-81°F) and has thickened slightly, use your bench scraper to gather it all up and scrape it back into the bowl containing the reserved one-third of warm, melted chocolate.
Stir the mixture thoroughly with your spatula. The warmer chocolate in the bowl will gently raise the temperature of the cooled chocolate from the slab. Continue stirring and checking the temperature until the chocolate reaches its working temperature range: 29°C to 30.5°C (84°F to 87°F) for 38% milk chocolate. Once it's within this range and has a smooth, fluid consistency, it should be properly tempered and ready for use. Perform the temper test (dipping a knife tip or parchment) to confirm you have achieved a silky smooth finish.
Troubleshooting Common 38% Milk Chocolate Tempering Issues
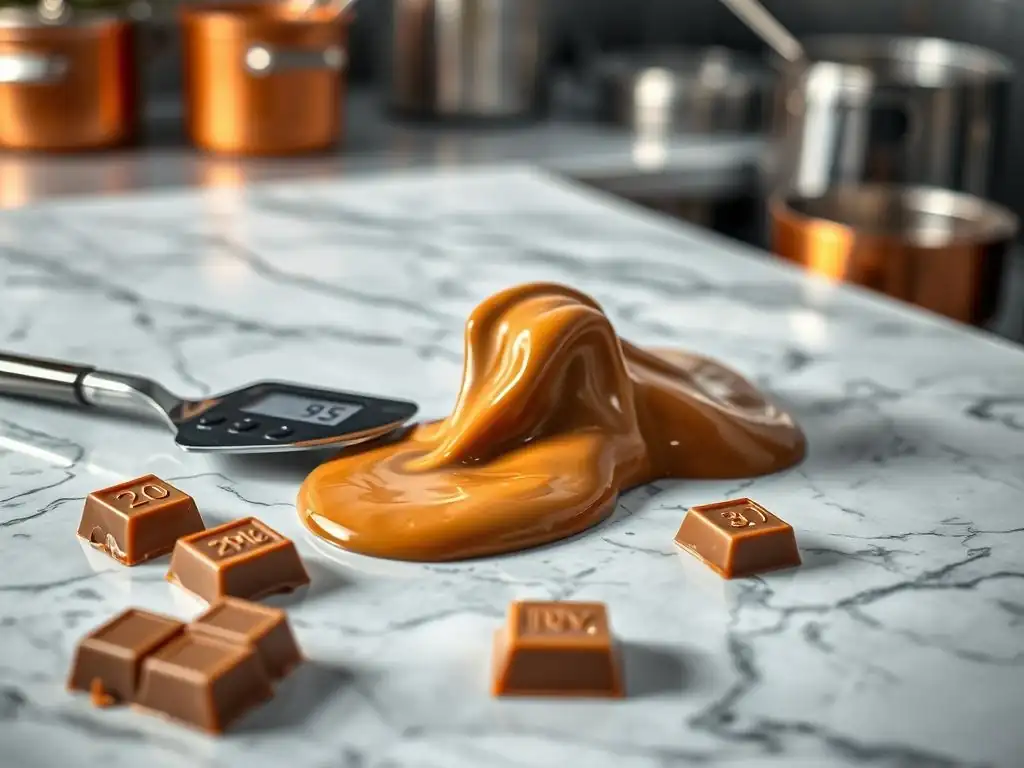
Even with careful attention, things can sometimes go wrong when tempering milk chocolate. Understanding common issues and how to address them is part of mastering the skill. Don't be discouraged if your first attempt isn't perfect; tempering takes practice. Most problems relate to incorrect temperatures or the presence of moisture.
Identifying the problem quickly is key to potentially salvaging your chocolate batch. Often, the solution involves reheating the chocolate slightly or, in some cases, starting the tempering process over from the beginning. Patience and a willingness to troubleshoot will help you learn how to consistently achieve a silky smooth finish when tempering milk chocolate.
Dealing with Seizing 38% Milk Chocolate
Chocolate seizes when it comes into contact with even a tiny amount of moisture. The sugar particles in the chocolate clump together, turning the smooth liquid into a thick, grainy, unusable paste. Seizing can happen if water or steam gets into the melting chocolate, or if you use wet tools or bowls.
If your chocolate seizes, it is no longer tempered and cannot be used for molding or dipping where a smooth, glossy finish is required. While you can sometimes rescue seized chocolate for other uses, like ganache or hot chocolate, by stirring in a tablespoon or two of hot oil or melted butter (which turns it into a paste suitable for mixing into other things), it cannot be brought back to a temperable state for confectionery use. Prevention is key: ensure all equipment and your workspace are completely dry.
Addressing Bloom (Fat Bloom and Sugar Bloom) in Tempered 38% Milk Chocolate
Bloom appears as grey or white streaks or patches on the surface of chocolate. There are two types: fat bloom and sugar bloom. Fat bloom is far more common and occurs when the cocoa butter crystals in untempered or poorly tempered chocolate melt and recrystallize on the surface in an unstable form. This happens when chocolate is stored at inconsistent temperatures or wasn't tempered correctly initially.
Sugar bloom occurs when moisture condenses on the surface of chocolate (e.g., moving cold chocolate into a warm, humid room), dissolving some surface sugar crystals. When the moisture evaporates, the sugar recrystallizes in larger, visible crystals. While bloom affects appearance and texture, bloomed chocolate is still safe to eat and can often be re-melted and re-tempered (if it's fat bloom on real chocolate) or used in baked goods. Proper tempering and storage are the best ways to prevent bloom and maintain a silky smooth finish.
Adjusting Temperature for Optimal Tempering
Temperature control is paramount in tempering milk chocolate. If your chocolate cools too much during the seeding or tablier method, it can become too thick to work with effectively, and you might end up with too many unstable crystals. If you overheat it during the final warming step, you can destroy the stable crystals you've worked to create, taking the chocolate out of temper.
If your chocolate cools too much (below 29°C/84°F) while you are working with it, you can gently warm it back up to the working temperature range (29-30.5°C/84-87°F) by briefly placing the bowl over warm water or using a heat gun on a low setting, stirring constantly. If you overheat the chocolate above the working temperature after tempering, you will likely need to cool it down again and re-temper it using your chosen method. Constant monitoring with an accurate thermometer and making small, controlled adjustments are essential for maintaining the correct temperature for tempering milk chocolate smoothly.
Tips and Tricks for Perfect 38% Milk Chocolate Tempering
Achieving a perfect temper every time requires practice and attention to detail. Beyond the basic steps, a few extra tips can help you refine your technique and consistently produce beautifully tempered 38% milk chocolate with a silky smooth finish. These small details can make a big difference in your results.
Remember that each batch of chocolate, and even the ambient conditions in your kitchen, can slightly affect the tempering process. Being mindful of these factors and employing these tips will increase your success rate and build your confidence in tempering milk chocolate smoothly.
Maintaining the Correct Temperature Throughout the Process
Once your 38% milk chocolate is tempered and at its working temperature (29-30.5°C or 84-87°F), it's crucial to keep it within this narrow range while you are using it. If it cools too much, it will start to set prematurely and lose its fluidity. If it gets too warm, it will go out of temper.
For longer working times, you can keep the bowl of tempered chocolate over a very gentle heat source, like a warming pad specifically designed for chocolate, or over a bowl of warm (not hot) water, checking the temperature frequently with your thermometer. Alternatively, you can use a heat gun on a low setting from a distance, stirring constantly, to maintain the temperature.
Stirring the chocolate periodically even when not heating helps keep the temperature even and prevents it from starting to set around the edges. Maintaining this temperature is key to continuous tempering milk chocolate smoothly for dipping or molding.
Avoiding Moisture Contamination
As mentioned earlier, moisture is the enemy of tempered chocolate. Even a single drop of water or condensation can cause chocolate to seize. This is why it's vital to use completely dry bowls, spatulas, and other equipment.
Work in a dry environment, away from sinks, boiling pots, or steamy appliances. If using a double boiler, ensure the simmering water does not touch the bottom of the chocolate bowl, and be careful when removing the bowl from the heat source to prevent steam from entering. Even condensation from a cold surface can cause problems. Being hyper-vigilant about keeping moisture away from your chocolate is fundamental for successfully tempering milk chocolate smoothly.
Re-Tempering 38% Milk Chocolate if Necessary
Sometimes, despite your best efforts, your chocolate might go out of temper while you're working with it, or your temper test might fail. The good news is that real chocolate made with cocoa butter can be re-tempered. You don't need to discard the batch.
If your tempered chocolate cools too much and becomes too thick to work with, you can gently reheat it back up to the working temperature (29-30.5°C/84-87°F) while stirring constantly. If your temper test failed, meaning the chocolate didn't set correctly or looks dull, you need to start the tempering process over.
This involves reheating the entire batch back up to the initial melting temperature (45-48°C/113-118°F) to destroy all existing crystals, and then going through the seeding or tablier method again to form the correct stable crystals. Don't be afraid to re-temper; it's a common part of the process when learning to temper milk chocolate smoothly.
Using Tempered 38% Milk Chocolate in Your Baking Creations
Once you've successfully tempered your 38% milk chocolate, a world of confectionery possibilities opens up! Properly tempered chocolate is versatile and essential for achieving professional results in many applications that require the chocolate to set firm, glossy, and stable.
From simple dipped items to intricate molded shapes, the quality of your tempered chocolate directly impacts the final look and feel of your creations. Learning how to use tempered milk chocolate effectively is the reward for mastering the tempering process itself and achieving that silky smooth finish.
Applications of Properly Tempered 38% Milk Chocolate
Properly tempered 38% milk chocolate is perfect for any application where you need the chocolate to set hard and shiny at room temperature.
- Dipping: Use it to dip fruits (like strawberries or cherries), nuts, cookies, pretzels, or candies like caramels and nougat. The tempered chocolate will set quickly, giving a crisp shell and a beautiful sheen.
- Molding: Pour tempered chocolate into polycarbonate or silicone molds to create solid chocolate bars, bonbons, figures, or shapes. Tempered chocolate shrinks slightly as it cools, making it easy to release from molds.
- Coating: Use it to coat cakes, cake pops, or pastries, creating a smooth, firm outer layer.
- Decorations: Create intricate chocolate decorations by piping tempered chocolate onto parchment paper or using transfer sheets. The decorations will set quickly and hold their shape.
Using properly tempered milk chocolate ensures your finished products are not only delicious but also visually appealing and stable. It's the secret to that professional look you see in patisseries.
Creating Chocolate Decorations with Tempered 38% Milk Chocolate
Tempered 38% milk chocolate is ideal for making delicate and stable chocolate decorations. Because it sets firmly and maintains its snap, you can create elegant garnishes for cakes, pastries, or plated desserts.
You can pipe intricate designs, lattice work, or abstract shapes onto parchment paper using a piping bag filled with tempered chocolate. Once piped, allow the chocolate to set completely at room temperature (this should happen within minutes if tempered correctly) before carefully peeling the decorations off the paper. For curved decorations, pipe onto acetate strips and shape them before they set.
Tempered chocolate is also perfect for making chocolate curls or shards by spreading it thinly onto a surface and scraping it when it's partially set. These decorations add a touch of sophistication and demonstrate the beautiful properties of tempered milk chocolate with a silky smooth finish.
Storing Tempered 38% Milk Chocolate for Future Use
While tempered chocolate is more stable than untempered chocolate, it still needs to be stored properly to maintain its quality and prevent bloom. The ideal storage conditions are cool, dry, and consistent temperature.
Store tempered chocolate creations or leftover tempered chocolate in an airtight container in a cool, dry place, ideally between 15-18°C (59-64°F). Avoid storing it in the refrigerator if possible, as the humidity and low temperature can cause sugar bloom. If you must refrigerate, place the chocolate in a sealed container to protect it from moisture and allow it to come back to room temperature very gradually before opening the container to prevent condensation. Properly stored, tempered 38% milk chocolate can last for several months, retaining its snap and shine, ready for your next baking project.
Advanced 38% Milk Chocolate Tempering Techniques [Optional: Using a Sous Vide]
Beyond the traditional seeding and tablier methods, there are other techniques for tempering milk chocolate that offer precise control, especially for achieving a consistent silky smooth finish on a larger scale or with less active effort. Exploring these can further enhance your chocolate work skills.
These methods often rely on technology to maintain exact temperatures, taking some of the guesswork out of the process. While potentially requiring specialized equipment, they can be excellent for ensuring reliability and consistency, particularly when working with different types of chocolate that have slightly different tempering curves.
Exploring Alternative Tempering Methods
One increasingly popular alternative method for tempering milk chocolate is using a sous vide immersion circulator. This method provides extremely accurate temperature control. You place the chopped chocolate in a sealed bag (like a vacuum seal bag or a heavy-duty zip-top bag with air removed) and immerse it in a water bath heated by the sous vide circulator.
For 38% milk chocolate, you would typically heat the water bath to the initial melting temperature (around 45-48°C or 113-118°F) until the chocolate is fully melted. Then, you reset the sous vide to the crystallization temperature (around 27-28°C or 81-83°F) and let it cool while massaging the bag to encourage crystal formation. Finally, you raise the temperature slightly to the working temperature (29-30.5°C or 84-87°F) and hold it there. This method keeps the chocolate at the perfect working temperature indefinitely, making it easy to maintain a perfect temper for extended periods, ensuring tempering milk chocolate smoothly is effortless.
Mastering Different Tempering Curves for Various 38% Milk Chocolates
While the general temperature ranges for milk chocolate tempering (melt: 45-48°C, cool: 27-28°C, work: 29-30.5°C) are a good starting point, the exact optimal temperatures can vary slightly depending on the specific brand and cocoa butter percentage of the 38% milk chocolate you are using. Some manufacturers provide recommended tempering curves for their specific chocolates.
Mastering advanced tempering involves understanding that these temperatures are not absolute and might need slight adjustments based on the chocolate's composition and even ambient conditions. Experimenting with small batches and carefully noting the temperatures that yield the best results (quick set, good snap, high gloss) for your preferred 38% milk chocolate brand is key to achieving truly consistent, silky smooth finishes every time. Paying attention to the nuances of different chocolates allows you to fine-tune your technique.
Conclusion: Mastering the Skill of Tempering 38% Milk Chocolate for Confectionery Excellence
Tempering 38% milk chocolate is a skill that significantly elevates your baking and confectionery capabilities. It's the difference between homemade treats and professional-quality confections that snap crisply, shine brightly, and resist melting. While it involves precise temperature control and a bit of practice, the rewards in terms of appearance, texture, and stability are well worth the effort.
By understanding the science of cocoa butter crystallization, using the right tools, and following proven methods like seeding or tablier, you can confidently temper milk chocolate smoothly. Don't be discouraged by initial challenges; troubleshooting is part of the learning process. With practice, patience, and attention to detail, you'll master the art of tempering 38% milk chocolate, opening up exciting new possibilities for your chocolate creations and ensuring a consistently silky smooth finish. Happy tempering!
Frequently Asked Questions
How does tempering milk chocolate differ from tempering dark chocolate?
Tempering milk chocolate requires a slightly lower temperature range than dark chocolate due to its higher milk solids and sugar content. This makes it more prone to burning if overheated.
What is the "seed" method for tempering milk chocolate, and why is it effective?
The seed method involves adding small pieces of untempered chocolate (the "seed") to melted chocolate. This helps the melted chocolate form the correct stable crystal structure needed for a smooth finish.
What are the signs that my milk chocolate is not properly tempered?
Untempered milk chocolate will often have a dull, streaky appearance. It will also melt easily at room temperature and may develop blooms (white or gray streaks) on the surface.
Can I temper milk chocolate in the microwave?
Yes, you can temper milk chocolate in the microwave, but it requires very careful monitoring and frequent stirring. It's crucial to use short bursts of heat and avoid overheating, as burning is a common issue.
What tools are essential for successfully tempering milk chocolate?
A reliable digital thermometer is essential for accurate temperature control. A double boiler or heat-safe bowl and pot for gentle melting, and a spatula for stirring are also highly recommended.
Final Reflection: The Enduring Allure of Perfectly Tempered Chocolate
The pursuit of the perfect chocolate experience, a silky smooth, melt-in-your-mouth sensation, remains a timeless culinary quest. This article has explored the intricacies of tempering milk chocolate, a process that, while demanding precision, ultimately unlocks the full potential of this beloved ingredient. The results, as many home bakers and chocolatiers can attest, are well worth the effort, transforming a simple bar of chocolate into a luxurious, unforgettable treat.
The impact of mastering chocolate tempering extends far beyond the individual enjoyment of a perfectly crafted confection. It speaks to a deeper appreciation for craftsmanship, patience, and the transformative power of meticulous technique. The subtle nuances of crystal formation, the delicate balance of temperature, and the satisfying snap of a well-tempered piece all contribute to a sensory experience that resonates deeply. The best things in life are worth waiting for,
and this rings especially true when it comes to the art of chocolate tempering. The dedication required fosters a sense of accomplishment and pride, enriching the entire process from start to finish.
Now, consider your own approach to achieving perfection in your culinary endeavors. What seemingly small details, like the precise tempering of chocolate, might elevate your creations to a new level of excellence? I encourage you to embrace the challenge, to experiment with the techniques outlined in this article, and to discover the joy of creating something truly exceptional. The journey towards mastering the art of tempering milk chocolate is a journey towards mastering a deeper understanding of your craft, and the rewards are undeniably sweet.
Unlock Your Inner Chocolatier: Master the Art of Tempering!
Thanks for joining us on this delicious journey into the world of milk chocolate tempering! We hope you've gained valuable insights into achieving that perfect, silky smooth finish. Ready to put your new skills to the test?
- Dive into your next chocolate project: Now's the time to experiment with tempering your own milk chocolate – try making truffles, bonbons, or even a stunning chocolate bark!
- Share your creations: Show off your perfectly tempered chocolate on social media using #BakeWithEaseTempering – we’d love to see your masterpieces!
- Explore advanced tempering techniques: Want to go even further? Research different tempering methods and explore using various types of chocolate.
What innovative chocolate treat will you create with your newfound tempering expertise? Let us know in the comments below!