
The Art of Drying Meringue: Achieving That Perfectly Crisp and Delicate Texture

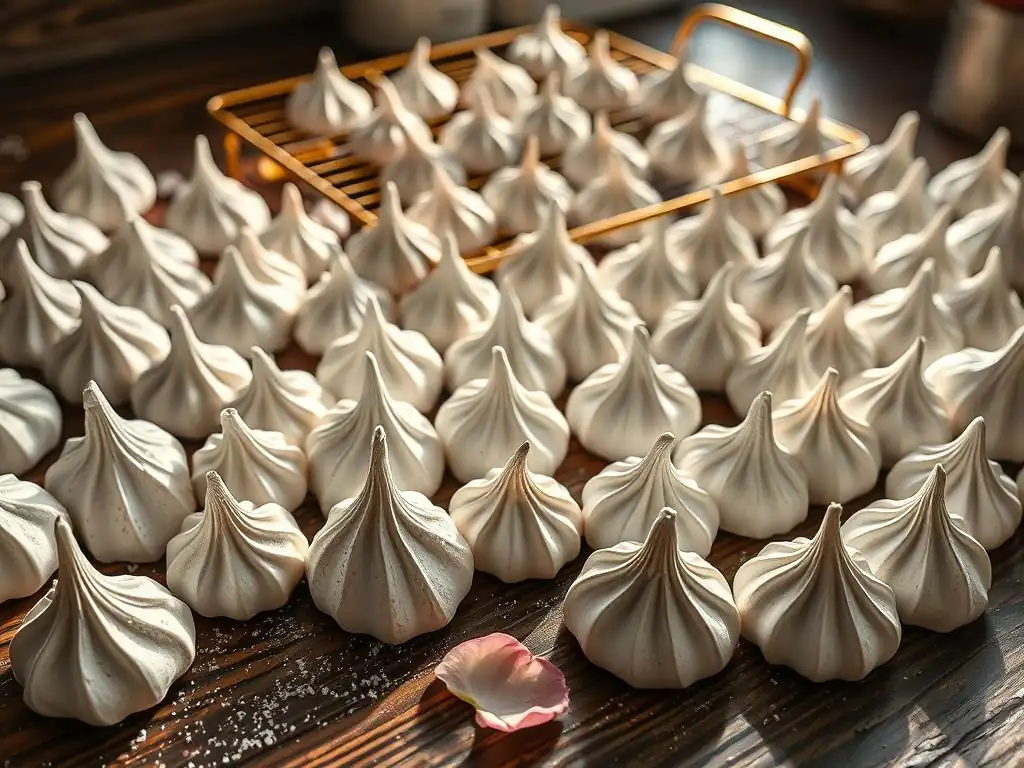
Welcome to BakeWithEase, where achieving baking brilliance is simpler than you think! Ever wondered how to get that perfectly crisp and delicate texture in your meringues? Our latest guide dives deep into Crispy meringue drying techniques, unlocking the secrets to mastering this often-challenging art. Curious to discover the methods that separate a soggy meringue from a showstopper? Keep reading to unveil the secrets!
- Introduction to Meringue Drying: The Secret to Crispy Perfection
- Crispy Meringue Drying Techniques Guide: A Comprehensive Overview
- Mastering Oven Drying for Crispy Meringues
- Dehydrator Drying: An Alternative Method for Perfect Meringues
- Air Drying Meringues: A Patient Baker's Approach
- Achieving the Perfect Crispy Meringue: Essential Tips and Tricks
- Storing Your Crispy Meringues: Maintaining Freshness and Texture
- Troubleshooting Common Meringue Drying Issues
- Conclusion: Enjoying Your Perfectly Dried Meringues
- Frequently Asked Questions
- Final Reflection: The Enduring Allure of the Perfectly Crisp Meringue
- Unlock the Secrets to Perfectly Crisp Meringues!
Introduction to Meringue Drying: The Secret to Crispy Perfection
Meringue, in its simplest form, is a delightful concoction of whipped egg whites and sugar. While it appears light and airy, achieving that signature crisp, melt-in-your-mouth texture requires more than just whipping; it demands careful drying. Think of a perfectly formed meringue kiss – its surface should be smooth and firm, yielding with a delicate snap rather than a chewy resistance. This is the magic of proper drying, transforming a foamy structure into a stable, crispy treat. Mastering the drying process is key to elevating your meringue creations from merely sweet to truly sublime.
This guide will walk you through the nuances of drying meringue, exploring various techniques from the traditional low-temperature oven method to alternative approaches like dehydrators and even air drying. We'll delve into the science behind why drying is essential, discuss the factors that influence crispness, and provide a comprehensive Crispy meringue drying techniques guide to help you achieve consistent, beautiful results every time. Whether you're aiming for elegant meringue shells, delicate pavlova bases, or simple meringue cookies, understanding how to properly dry your meringue is fundamental.
Why Drying is Crucial for Meringue Texture
Drying is not merely an optional step for meringue; it's fundamental to achieving the desired texture. When meringue is baked at high temperatures, the proteins in the egg whites set quickly, often resulting in a chewy interior and a risk of cracking or browning. Drying, however, involves baking at a very low temperature for an extended period. This gentle heat slowly evaporates the moisture from the whipped egg white and sugar structure, allowing the sugar crystals to form a stable matrix and the proteins to set without collapsing or becoming tough.
Consider the difference between a soft, sticky marshmallow and a crisp, airy meringue kiss. Both contain sugar and air, but the meringue's crispness comes from the deliberate removal of moisture through low-and-slow drying. Without adequate drying, meringue remains soft, often sticky, and susceptible to weeping (leaking liquid). A properly dried meringue, on the other hand, will be light, airy, and shatteringly crisp, holding its shape perfectly and resisting humidity much better, though it's never entirely impervious. This process is the heart of creating a truly crispy meringue.
Understanding the Science Behind Meringue Drying
The science behind meringue drying revolves around the interaction of egg white proteins, sugar, and heat. When egg whites are whipped, proteins like ovalbumin denature and unfold, trapping air bubbles. Sugar is then gradually added, dissolving and stabilizing this foam structure. When heat is applied, the proteins coagulate further, solidifying the foam. Crucially, the low temperature used in drying allows water molecules trapped within the sugar-protein matrix to slowly evaporate.
As water leaves the structure, the sugar crystals within the meringue matrix become more prominent and tightly packed. This creates a rigid, glassy structure that gives dried meringue its characteristic crispness and fragility. If the temperature is too high or the drying time too short, insufficient moisture is removed, leading to a soft or chewy center.
Conversely, too high a temperature can cause the sugar to caramelize (leading to browning) or the rapid expansion of trapped air and steam, causing cracks. The goal is to find the sweet spot where moisture evaporates slowly and completely, solidifying the structure into a delightful crispy meringue.
Crispy Meringue Drying Techniques Guide: A Comprehensive Overview
Achieving the perfect crispy meringue involves understanding that not all meringues are created equal, and various factors influence the drying process. This section provides a Crispy meringue drying techniques guide, outlining the different types of meringue suitable for drying and the critical environmental and compositional factors that affect the outcome.
Choosing the Right Meringue Type for Drying (French, Swiss, Italian)
While all three main types of meringue (French, Swiss, Italian) can be dried, some are more commonly used and yield slightly different results when aiming for a crispy texture. French meringue, made by whipping sugar directly into raw egg whites, is the lightest and most fragile. It dries beautifully into delicate, melt-in-your-mouth cookies or shells and is perhaps the most popular choice for dried meringues. Its simple composition makes it straightforward to dry at low temperatures.
Swiss meringue involves heating egg whites and sugar over a water bath before whipping. This method creates a more stable and slightly denser meringue than French. It still dries well, producing a crisp exterior with a slightly more substantial interior compared to French meringue.
Italian meringue, made by pouring hot sugar syrup into whipped egg whites, is the most stable and densest due to the cooked sugar syrup. While excellent for toppings and frostings, it's less commonly used for making purely dried meringue cookies because its denser structure can take longer to dry completely through, though it results in a very stable, crisp exterior. For a comprehensive Crispy meringue drying techniques guide, French meringue is often the starting point due to its ease and classic crispness.
Key Factors Affecting Meringue Drying Time and Texture
Several factors critically influence how well and how quickly meringue dries, impacting its final crispness and texture. The humidity of your environment is paramount; high humidity prevents moisture from evaporating effectively, leading to sticky or soft meringues. A dry day is always preferable for drying meringue. The size and shape of your meringues also matter significantly; smaller, flatter shapes will dry much faster than large, tall, or intricately piped ones.
Furthermore, the ratio of sugar to egg white plays a role; a higher sugar content generally results in a more stable and crisp meringue, provided it's dried properly. The temperature and air circulation during drying are also crucial. Too high a temperature bakes rather than dries, while insufficient air circulation traps moisture around the meringues.
Understanding and controlling these variables is essential for successful drying, forming a core part of any Crispy meringue drying techniques guide. For instance, on a humid day (say, above 60% relative humidity), drying times can easily double compared to a dry day (below 40% humidity), and even then, the meringues might not achieve perfect crispness.
Mastering Oven Drying for Crispy Meringues
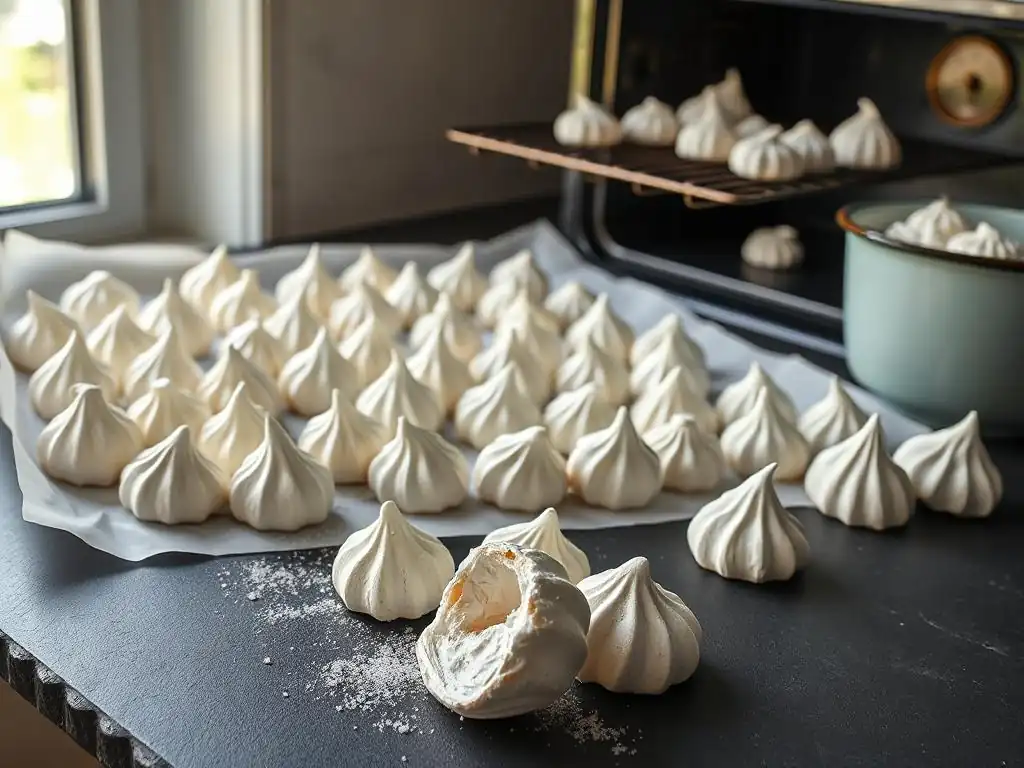
The oven is the most common tool for drying meringues, offering controlled, low heat. Mastering this method is fundamental to achieving that coveted crispy texture. It's a process of patience, requiring careful temperature management and attention to detail.
Optimal Oven Temperature for Meringue Drying: Low and Slow is Key
The cornerstone of oven drying meringue is using a very low temperature. Baking at high temperatures (like 350°F or 175°C) bakes the meringue, causing it to expand rapidly, brown, and potentially crack, resulting in a soft or chewy interior. True drying occurs at temperatures typically between 180°F and 225°F (approximately 80°C to 107°C). Some bakers even go as low as 175°F (about 79°C) or lower if their oven allows, especially for pure white meringues.
This low heat allows the moisture to evaporate slowly and evenly without burning the sugar or causing the meringue to collapse. The exact optimal temperature can vary slightly depending on your oven's calibration and the size of your meringues, but staying within this low range is critical. For example, drying small meringue kisses might take 1.5 to 2 hours at 200°F (93°C), while larger shells for a pavlova could require 3 to 4 hours or more at the same temperature. Experimentation with your specific oven is part of refining your Crispy meringue drying techniques guide.
Preparing Your Oven for Meringue Drying: Ventilation Tips
Proper oven preparation and ventilation are crucial for successful meringue drying. Because the goal is evaporation, you need to allow the moisture-laden air to escape the oven cavity. Simply setting the low temperature isn't enough if the humid air remains trapped inside.
To ensure adequate ventilation, it's common practice to prop the oven door slightly ajar using the handle of a wooden spoon or a heatproof oven mitt. This creates a small gap (perhaps 1/2 inch to 1 inch, or 1-2.5 cm) that allows the humid air to escape and fresh, drier air to enter. Some ovens have a 'convection' setting, which can also help circulate air, but propping the door is still often recommended, especially in older ovens or those without powerful fans.
Always preheat your oven to the desired low temperature before placing the meringues inside, and maintain consistent temperature throughout the drying time. Proper ventilation is a non-negotiable step in any effective Crispy meringue drying techniques guide.
Step-by-Step Oven Drying Process for Meringues: A Detailed Guide
Here's a step-by-step process for drying meringues in the oven:
- Preheat: Preheat your oven to a low temperature, typically between 180°F and 225°F (80°C to 107°C). Aim for the lower end for pure white meringues.
- Pipe/Shape: Pipe or spoon your meringue onto baking sheets lined with parchment paper or a silicone mat. Ensure adequate spacing, as humidity trapped between meringues can hinder drying.
- Place in Oven: Carefully place the baking sheets into the preheated oven. Use multiple racks if needed, but ensure there's still good air circulation.
- Vent the Oven: Prop the oven door open slightly (using a wooden spoon or similar) to allow moisture to escape.
- Dry: Bake for the required time, which depends on the size of the meringues and the oven temperature. Small kisses might take 1.5-2 hours, while larger items could take 3-4+ hours. Check for doneness by gently lifting a meringue; it should feel light, be easy to detach from the paper, and sound hollow when tapped on the bottom. It should not feel sticky or soft in the center.
- Cool: Once dried, turn the oven off, but leave the meringues inside with the door still propped open. Allow them to cool completely inside the cooling oven. This gradual cooling further helps prevent cracking and keeps moisture out. This is a vital step in a successful Crispy meringue drying techniques guide.
Troubleshooting Oven Drying Problems: Cracked Surfaces, Discoloration
Even with the right steps, oven drying can sometimes present challenges. Cracked surfaces are often caused by too high a temperature or too rapid cooling. If the temperature is too high, the exterior sets before the interior is fully dried, and the expanding moisture/air inside causes cracks. To prevent this, ensure your oven temperature is truly low (verify with an oven thermometer if unsure) and cool the meringues slowly inside the turned-off oven.
Discoloration (browning or yellowing) is almost always a result of the temperature being too high, causing the sugar to caramelize. Again, verify your oven temperature and use the lowest effective setting, especially for meringues where pure white is desired. Sticky bottoms or centers indicate insufficient drying time. Increase the drying time until the meringues are light, crisp, and detach easily. Addressing these common issues is a key part of refining your Crispy meringue drying techniques guide.
Dehydrator Drying: An Alternative Method for Perfect Meringues
While the oven is traditional, a food dehydrator offers another excellent method for achieving perfectly crispy meringues, often with more precise control over the drying environment.
Benefits of Using a Dehydrator for Meringue Drying
Using a food dehydrator for drying meringues offers several distinct advantages. Dehydrators are specifically designed for low-temperature, moisture-removing processes, making them ideal for meringue. They typically circulate air very efficiently and consistently, which promotes even drying without the need to constantly monitor or manually vent an oven door.
Furthermore, dehydrators generally use less energy than a full-sized oven running for hours. They also free up your oven for other baking tasks. While an initial investment is required, a dehydrator provides a stable environment less affected by ambient room humidity, making it a reliable tool for achieving consistent results, a valuable asset in any Crispy meringue drying techniques guide. For example, a dehydrator set at 135°F (57°C) can reliably dry meringues even on a moderately humid day when oven drying might be problematic.
Setting Up Your Dehydrator for Optimal Meringue Crispness
Setting up a dehydrator for meringue drying is straightforward but requires attention to tray placement and temperature. Most dehydrators have multiple trays; arrange your piped meringues on these trays, leaving ample space between them to allow for good air circulation. Avoid overcrowding the trays.
Set the dehydrator temperature to a low setting, typically between 130°F and 145°F (about 55°C to 63°C). Some bakers prefer even lower temperatures, around 120°F (49°C), for very delicate meringues. Ensure your dehydrator is placed in a well-ventilated area. Unlike an oven, you don't need to prop the door (most dehydrators don't have doors in the oven sense, but lids or fronts that seal); the machine's design handles air circulation and moisture venting. Proper setup ensures even airflow, which is critical for a successful Crispy meringue drying techniques guide.
Dehydrator Drying Time and Temperature Guidelines for Meringues
Drying times in a dehydrator vary based on the temperature, the size and thickness of the meringues, and the specific dehydrator model. As a general guideline, at 135°F (57°C), small meringue kisses might take anywhere from 4 to 8 hours to dry completely. Larger meringues or pavlova bases will require significantly longer, potentially 8 to 12 hours or even more.
It's best to check the meringues periodically after the first few hours. They are done when they are hard, lift easily off the tray, and sound hollow when tapped. They should not feel soft, sticky, or chewy in the center. The lower temperature in a dehydrator means drying takes longer than in an oven, but it also reduces the risk of browning and cracking, often resulting in beautifully white and uniformly crisp meringues. This extended, gentle drying is a key aspect of this Crispy meringue drying techniques guide alternative.
Air Drying Meringues: A Patient Baker's Approach
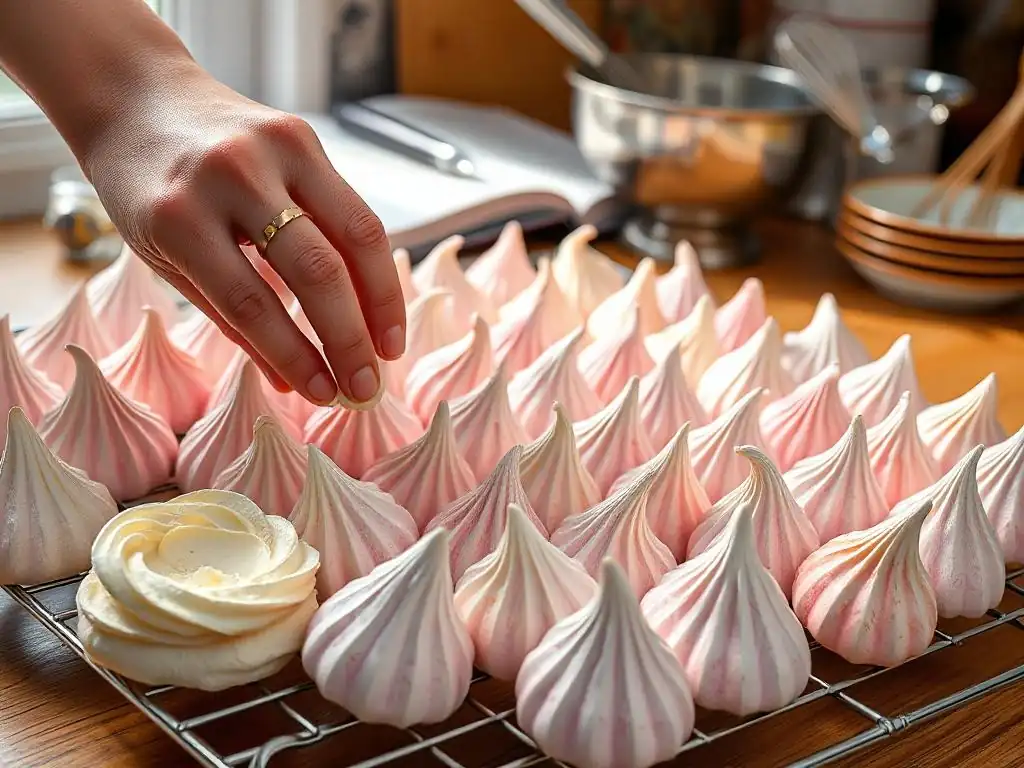
Air drying is the simplest method in terms of equipment, requiring just the right environmental conditions and a lot of patience. It relies solely on the ambient air to evaporate moisture from the meringues.
Best Conditions for Air Drying Meringues: Humidity and Temperature
Air drying meringue is highly dependent on the environment. This method is only feasible in conditions of very low humidity and moderate room temperature. Ideally, the relative humidity should be below 40%, and the room temperature should be stable, neither too cold (which slows evaporation) nor too hot (which can cause weeping). A cool, dry, breezy day is perfect for air drying.
Attempting to air dry meringues in a humid environment (say, above 60% humidity, common in many climates) will likely result in sticky, soft, and potentially weeping meringues that never achieve true crispness. Air circulation is also beneficial, so a gentle fan in the room (not blowing directly on the meringues) can help move moist air away. Choosing the right day is the absolute prerequisite for this method within a Crispy meringue drying techniques guide.
How to Air Dry Meringues Effectively: Using a Rack
To air dry meringues effectively, they need to be placed on a surface that allows air circulation on all sides. Piping or spooning meringues directly onto parchment paper on a baking sheet isn't ideal for air drying because the bottom remains flat against the paper, hindering evaporation from underneath.
The best approach is to use a cooling rack set over a baking sheet (to catch any potential drips, though properly made meringue shouldn't drip). Pipe or place the meringues onto the cooling rack, ensuring they are not touching each other. This allows air to circulate freely around the entire surface of each meringue, facilitating even drying. Place the rack in a dry, stable room away from direct sunlight or heat sources. Using a rack is a simple but crucial technique for successful air drying in this Crispy meringue drying techniques guide.
Timeframe for Air Drying: Achieving the Ideal Texture
The timeframe for air drying meringues is significantly longer than oven or dehydrator drying and is highly variable depending on the exact environmental conditions and the size of the meringues. Small meringues might take 24 to 48 hours or even longer to dry completely. Larger meringues could take several days.
You'll know they are done when they are completely hard, feel very light, and lift easily off the rack. They should not yield or feel soft anywhere. Patience is key with this method. While it requires no special equipment, the extended drying time and dependence on ideal weather make it less reliable for consistent results compared to controlled heat methods in a Crispy meringue drying techniques guide. However, when conditions are right, it's a simple and effective way to achieve crisp meringues.
Achieving the Perfect Crispy Meringue: Essential Tips and Tricks
Beyond the drying method, several factors contribute to the overall success and crispness of your meringues, starting with the basic ingredients and preparation.
Egg White Preparation: The Foundation of a Great Meringue
The quality and preparation of your egg whites are foundational to a stable meringue structure that can dry properly. Always use fresh, room-temperature egg whites. Room temperature eggs whip up to a greater volume and create a more stable foam than cold ones. Ensure your egg whites are completely free of any trace of yolk, as fat inhibits the whipping process and can prevent the meringue from drying crisp.
Use clean, dry equipment – a grease-free bowl and whisk are paramount. Even a tiny amount of grease can ruin the meringue. Whip the egg whites to soft peaks before gradually adding sugar. Over-whipping before adding sugar can make the meringue grainy. Proper egg white preparation ensures a strong, stable foam structure ready for drying, a critical first step in any Crispy meringue drying techniques guide. For instance, using 100g of egg whites at room temperature (around 70°F or 21°C) compared to chilled ones (say 40°F or 4°C) can increase final whipped volume by 20-30%.
Sugar Selection: Impact on Texture and Drying
The type of sugar used significantly impacts the texture and drying of meringue. Fine granulated sugar is the most common choice. Its small crystals dissolve relatively easily in the egg whites, creating a smooth, stable foam. Ensure the sugar is completely dissolved before piping and drying; undissolved sugar crystals can cause weeping or a gritty texture.
Using superfine or caster sugar is often recommended because its smaller crystal size dissolves even more readily, leading to a smoother meringue and reducing the risk of grittiness. Powdered sugar (icing sugar) is generally not recommended as the sole sugar source for dried meringues because it contains cornstarch (an anti-caking agent) which can affect the texture and appearance, sometimes making them less crisp or slightly dull.
A common ratio is 2 parts sugar to 1 part egg white by weight for a stable, crisp meringue. Using superfine sugar can make a subtle difference in the final smoothness, contributing to a superior Crispy meringue drying techniques guide.
Stabilizers and Their Role in Meringue Structure: Cream of Tartar, Cornstarch
Stabilizers can be added to meringue to help strengthen the protein structure, making it more resilient to weeping and collapse during drying. Cream of tartar (potassium bitartrate) is a common acidic stabilizer. A pinch (about 1/8 teaspoon per large egg white) added to the egg whites before whipping helps denature the proteins, creating a more stable foam that holds air better and is less prone to shrinking or cracking during drying.
Cornstarch is another stabilizer sometimes added, particularly in recipes for pavlova bases. A small amount (perhaps 1/2 teaspoon per cup of sugar) can be sifted in with the sugar towards the end of whipping. Cornstarch absorbs moisture, which can contribute to a slightly chewy interior while still allowing for a crisp exterior, characteristic of pavlova. For purely crispy meringue cookies, cream of tartar is usually sufficient and preferred. Using stabilizers is a smart technique detailed in any good Crispy meringue drying techniques guide.
Flavoring Meringues: Adding Extracts, Zest, and Spices
Flavoring dried meringues adds another dimension to these delicate treats. Extracts like vanilla, almond, or peppermint are commonly used. Add extracts towards the end of the whipping process, after the sugar has been fully incorporated. Be mindful that liquid extracts can slightly destabilize the meringue if added in large quantities, so use them judiciously.
Citrus zest (like lemon or orange) can add a bright, fresh flavor. Grate the zest finely and fold it in gently at the very end. Spices like cinnamon or ginger can also be incorporated. For powdered spices, you can sift them with the sugar. For whole spices, consider infusing the sugar first. Avoid adding fatty flavorings like oil-based extracts or melted chocolate directly into the meringue before drying, as fat will compromise the structure and prevent crisping. Flavoring is the final touch in a Crispy meringue drying techniques guide, allowing for creative variations.
Storing Your Crispy Meringues: Maintaining Freshness and Texture
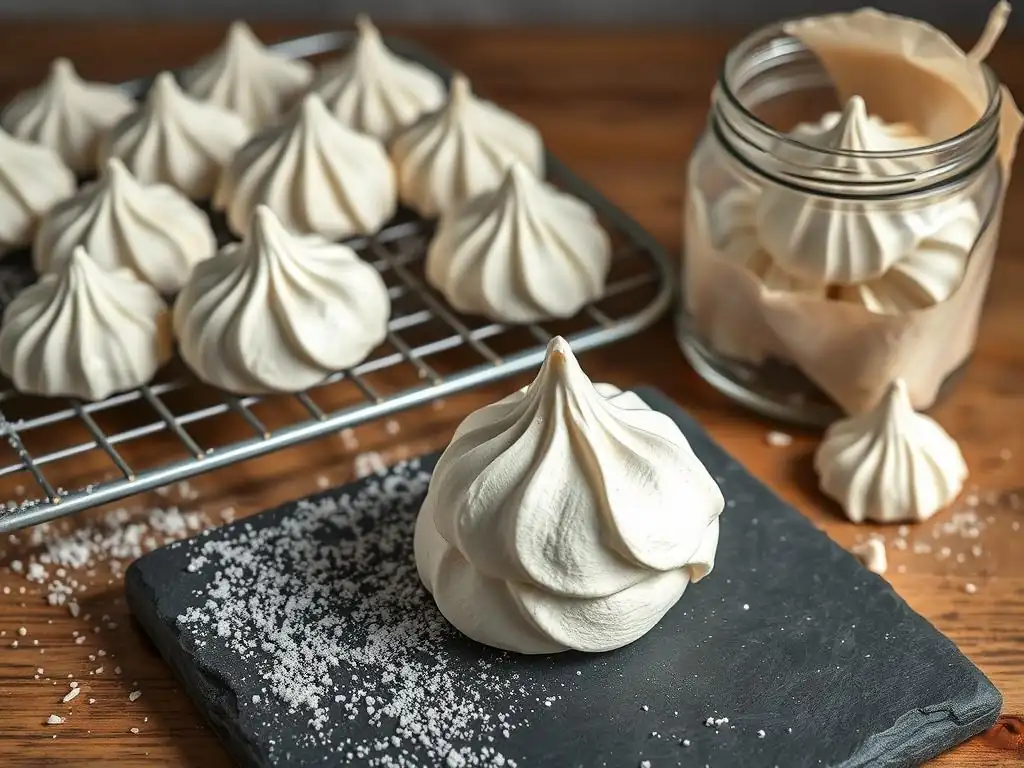
Once your meringues are perfectly dried and crispy, proper storage is essential to protect them from humidity and maintain their delicate texture. Exposure to moisture is their greatest enemy.
Proper Storage Containers for Dried Meringues
The key to storing crispy meringues is an airtight container. Any container that prevents moisture from entering will work, such as:
- Glass jars with tight-fitting lids
- Plastic containers with snap-on lids
- Metal tins with tight seals
Avoid storing meringues in the refrigerator, as refrigerators are often humid environments. Also, avoid soft plastic bags unless they are specifically designed to be airtight, as many allow moisture to penetrate over time. The container should be clean and completely dry before you place the meringues inside. Storing in an airtight container is paramount in a Crispy meringue drying techniques guide for longevity.
Preventing Meringue Softening: Moisture Control
Even in an airtight container, residual moisture in the air trapped inside can eventually soften meringues, especially in humid climates. To combat this, you can add a moisture-absorbing agent to the container. A common and effective method is to place a layer of plain, uncooked white rice at the bottom of the container (underneath a layer of parchment paper to separate it from the meringues) or to place a small sachet of food-grade silica gel packets inside.
These agents help absorb any moisture that might be present in the air inside the container, creating a drier micro-environment around the meringues. This extra step significantly extends the shelf life and maintains the crispness of your dried meringues. Preventing softening is a critical aspect of the post-drying phase in a Crispy meringue drying techniques guide.
Shelf Life of Properly Dried Meringues
When properly dried and stored in an airtight container with moisture control, crispy meringues have a surprisingly long shelf life. They can typically last for 2 to 3 weeks, and sometimes even longer, while maintaining their crisp texture.
The main factor that degrades them is exposure to humidity, which causes them to become soft and sticky. While they might still be edible when soft (unless they've absorbed excessive moisture and become truly gummy or developed off-flavors), they lose their signature crispness. Always check for texture before using stored meringues. If they've gone soft, they can sometimes be briefly redried at a very low temperature (around 180°F/80°C for 30-60 minutes) to regain some crispness, though they may not be as perfect as when freshly dried. Understanding shelf life is part of a complete Crispy meringue drying techniques guide.
Troubleshooting Common Meringue Drying Issues
Even with the best techniques, problems can arise during the meringue drying process. Knowing how to identify and address them is crucial for success.
Meringues Cracking During Drying: Causes and Prevention
Cracking is a frequent issue when drying meringues, often resulting in visually imperfect but still edible treats. The primary cause is usually too rapid expansion or contraction due to temperature fluctuations. Baking at too high a temperature causes the exterior to set quickly while the interior is still moist and expanding, leading to cracks as trapped steam pushes outwards.
Prevention involves using a genuinely low drying temperature (180-225°F / 80-107°C) and ensuring the oven temperature remains stable. Another common cause is rapid cooling; taking hot meringues directly from the oven into cooler room air can cause them to contract too quickly and crack. Always cool meringues slowly inside the turned-off oven with the door propped open. Over-whipping the meringue can also create an unstable structure prone to cracking. Addressing temperature and cooling is key to preventing this issue in a Crispy meringue drying techniques guide.
Sticky Meringues: Identifying and Addressing the Problem
Sticky meringues are a clear sign that they haven't been dried long enough or that the drying environment was too humid. If the bottoms are sticky or the centers feel soft and chewy, they still contain too much moisture.
To address this, simply return the meringues to the low-temperature oven or dehydrator and continue drying. Check them again after another 30 minutes to an hour (for oven drying) or several hours (for dehydrator drying). Ensure your oven is properly vented or your dehydrator is set up correctly. If the ambient humidity is very high, oven drying might be challenging; a dehydrator or air conditioning can help create a drier environment. Patience is key; extend the drying time until the meringues are uniformly crisp and non-sticky, a crucial point in this Crispy meringue drying techniques guide.
Uneven Drying: Achieving Consistent Texture
Uneven drying occurs when different parts of the same meringue, or different meringues on the same tray, dry at different rates. This can result in some parts being perfectly crisp while others are still soft or sticky. Common causes include:
- Inconsistent oven temperature: Hot spots in the oven can dry meringues faster in certain areas. Rotate your baking sheets halfway through the drying time.
- Meringues too close together: Overcrowding trays restricts air circulation. Give meringues ample space.
- Varying sizes/thicknesses: Meringues of significantly different sizes on the same tray will dry at different rates. Try to pipe or spoon meringues of a similar size together on trays.
Using a dehydrator often provides more uniform drying due to forced air circulation. For oven drying, rotating trays and ensuring proper spacing are your best defenses against uneven drying, helping you achieve consistent results as outlined in a complete Crispy meringue drying techniques guide.
Weeping Meringues: Diagnostic and Solution
Weeping, where liquid beads or pools on the surface or base of the meringue, is typically caused by undissolved sugar or exposure to excessive moisture after drying. If weeping occurs during or shortly after drying, it's often due to sugar crystals that didn't fully dissolve during the whipping process. These crystals attract moisture from the air or the meringue itself.
Prevention involves ensuring your sugar is completely dissolved before piping – rub a small amount of the meringue between your fingers; it should feel smooth, not gritty. Using superfine sugar can help. If weeping occurs after storage, it's almost certainly due to exposure to humidity. Ensure meringues are cooled completely before storing and kept in an airtight container with moisture control. While you can't reverse weeping once it happens, understanding the cause helps prevent it in future batches, a key piece of knowledge in this Crispy meringue drying techniques guide.
Conclusion: Enjoying Your Perfectly Dried Meringues
Mastering the art of drying meringue is a rewarding process that transforms simple ingredients into delicate, crispy delights. Whether you choose the traditional oven method, the controlled environment of a dehydrator, or patient air drying, understanding the principles of low heat, moisture evaporation, and proper cooling is the key to success.
Perfectly dried meringues are incredibly versatile. Enjoy them simply as melt-in-your-mouth cookies or kisses, perhaps flavored with vanilla or peppermint. Crush them into pieces to use as a light and airy topping for ice cream, puddings, or fruit salads. They add a wonderful textural contrast.
Larger meringue shells are the base for the classic Pavlova, typically filled with whipped cream and fresh fruit. You can also use crushed meringues as an inclusion in ice cream or mousses for a delightful crunch. Their light texture makes them ideal for decorative elements on cakes and pastries. Having a stash of reliably crispy meringue opens up a world of dessert possibilities.
The Satisfaction of Mastering Meringue Drying
Achieving that perfect crispy texture in your meringues provides immense satisfaction. It's a test of patience and precision, but the result – light, airy, and shatteringly crisp meringues that hold their shape and melt delicately on the tongue – is well worth the effort. Each successful batch is a testament to understanding the subtle science and technique involved.
Armed with this Crispy meringue drying techniques guide, you have the knowledge to tackle common issues and consistently produce beautiful, delicious dried meringues. Experiment with different sizes, shapes, and flavors, and enjoy the process of perfecting this classic baking skill. The journey from a simple foam to a stable, crisp confection is one of baking's true pleasures.
Frequently Asked Questions
What is the most important factor for achieving a crispy meringue?
The most crucial factor is low and slow oven temperature. This allows the meringue to dry out completely without browning, leading to that perfectly crisp texture.
Can I dry meringues in a dehydrator instead of an oven?
Yes, you can! A dehydrator offers a very low and consistent temperature, ideal for drying meringues. Just be sure to check them frequently for desired crispness.
What happens if my meringues crack while drying?
Cracking usually indicates that the oven temperature is too high or that the meringues dried too quickly. Lower the temperature and consider venting the oven slightly.
How do I store dried meringues to keep them crisp?
Store dried meringues in an airtight container at room temperature. Avoid humidity, as it can cause them to become sticky and lose their crispness.
What are some common mistakes that prevent meringues from drying properly?
Common mistakes include using old egg whites, not whipping the meringue to stiff peaks, and baking at too high a temperature. Ensure your equipment is clean and dry for best results.
Final Reflection: The Enduring Allure of the Perfectly Crisp Meringue
The pursuit of the perfect meringue—that delicate balance of crisp exterior and marshmallowy interior—remains a culinary quest as relevant today as it was centuries ago. The seemingly simple act of whipping egg whites and sugar transforms into a fascinating exploration of texture, temperature, and timing, demanding precision and patience. Mastering this art isn't just about achieving a visually stunning dessert; it's about understanding the fundamental principles of food science and embracing the rewarding process of culinary creation.
The journey to a flawlessly crisp meringue has profoundly impacted my own understanding of baking, pushing me to appreciate the subtle nuances of ingredient interaction and the importance of controlled environments. The most beautiful things are the most fragile,
a sentiment that perfectly encapsulates the delicate nature of a well-dried meringue and the care required to achieve its perfection. This pursuit has also highlighted the enduring power of simple ingredients to create something truly extraordinary, a testament to the artistry inherent in even the most basic of recipes.
Now, it's your turn. Don't be intimidated by the seemingly complex process. Experiment with the techniques outlined in this guide, embrace the occasional imperfections, and savor the journey towards achieving your own perfectly crisp meringue. The satisfaction of biting into that delicate shell, yielding to a soft, sweet center, is a reward well worth the effort. Remember, the art of meringue making is a continuous learning process; each batch brings you closer to mastering this delightful culinary challenge.
Unlock the Secrets to Perfectly Crisp Meringues!
Thanks for diving into the delightful world of meringue making! We hope you now feel confident in achieving that perfect crisp, delicate texture. Ready to put your newfound skills to the test?
- Bake a batch of your favorite meringue recipe today! Use what you've learned to perfect your technique and impress your friends and family.
- Share your meringue masterpieces! Post a picture on social media using #BakeWithEaseMeringues and inspire others.
- Try a new meringue flavor combination – experiment with different extracts or add-ins to create unique and delicious treats.
What exciting meringue creations will you bake next? Let us know in the comments below!