
Deep Dive: Understanding the Macaronage Technique for Ideal Shells

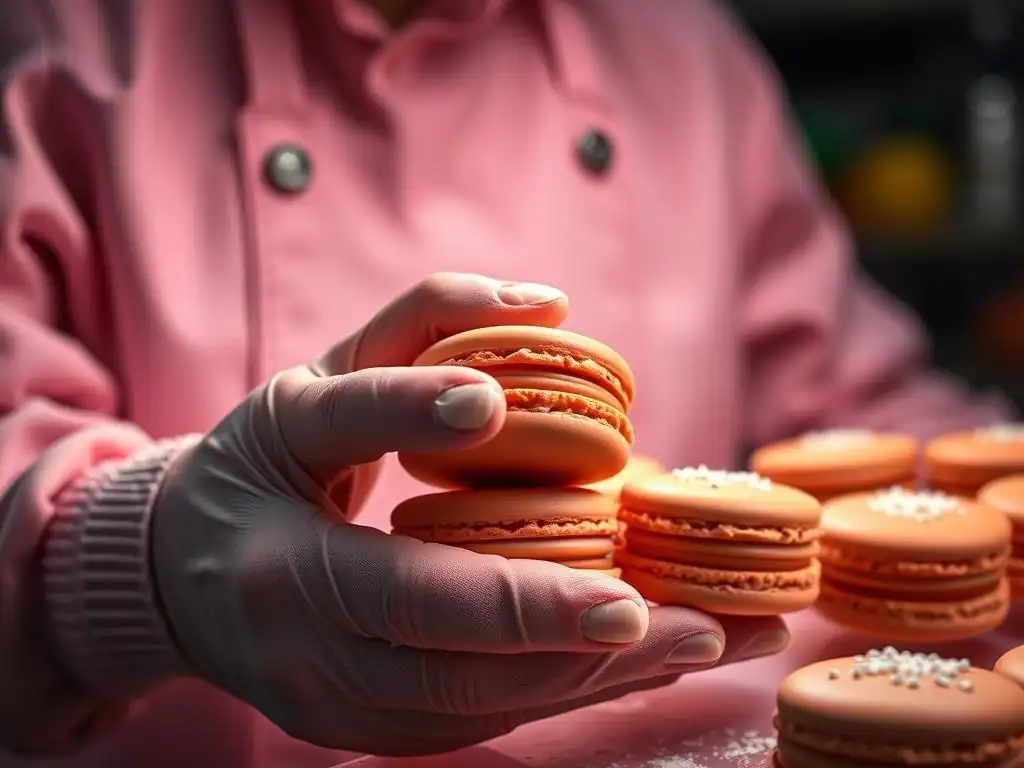
Welcome to BakeWithEase, your trusted guide to the delightful world of baking! Ever wondered about the secret to achieving those flawlessly smooth, perfectly footed macarons? Prepare to unlock the mysteries! This time, we're taking a deep dive into the heart of macaron mastery: the macaronage technique. Discover how this crucial step transforms your batter and unlocks the secret to creating ideal shells. Ready to elevate your macaron game? Let's get baking!
- What is Macaronage and Why Is It Crucial for Perfect Macarons?
- Macaronage Technique: A Step-by-Step Guide
- Factors Affecting the Macaronage Process
- Common Macaronage Mistakes and How to Avoid Them
- Achieving the Perfect Macaron Shell: Advanced Macaronage Tips
- Macaronage for Different Macaron Flavors
- Macaronage Equipment and Tools: What You Need
- Macaronage Visual Guide: Examples of Correct and Incorrect Batter
- Beyond the Technique: Post-Macaronage Steps for Beautiful Macarons
-
Frequently Asked Questions
- What is the macaronage technique and why is it so important for macarons?
- How do I know when my macaronage is done correctly?
- What happens if I overmix during macaronage?
- Can I use a stand mixer for macaronage, or is it best to do it by hand?
- What are some common mistakes to avoid during macaronage?
- Final Reflection: Mastering the Macaronage: A Journey to Perfect Shells
- Unlock Your Perfect Macaron: Master the Macaronage!
What is Macaronage and Why Is It Crucial for Perfect Macarons?
Defining Macaronage: Achieving the Right Batter Consistency
Macaronage is the specific technique used in macaron making to combine the dry ingredients (almond flour and powdered sugar) with the meringue. It's not just mixing; it's a controlled process of deflating the meringue slightly while incorporating the dry elements to achieve a specific batter consistency. This consistency is often described as "lava-like" or forming a "ribbon" when lifted with a spatula.
The goal is to create a smooth, homogeneous batter that is neither too stiff nor too runny, which is absolutely fundamental for achieving ideal macaron shells. The success of your macarons hinges significantly on mastering this delicate balance, as it dictates how the shells will spread, rise, and form their characteristic "feet."
The precision required in macaronage distinguishes it from standard cake or cookie batter mixing. Unlike vigorously beating dough, macaronage involves a series of gentle folding and pressing motions. Imagine gently persuading the ingredients to come together, rather than forcing them. This technique ensures that the delicate air bubbles in the meringue are partially, but not completely, deflated. Too many air bubbles left intact can lead to cracked shells, while too few can result in flat, dense cookies. Therefore, understanding and executing the macaronage technique correctly is the cornerstone of producing beautiful, airy, and uniform macaron shells.
The Impact of Macaronage on Macaron Shell Development
The macaronage technique directly influences several critical aspects of macaron shell development during baking. Primarily, it affects the batter's viscosity, which in turn determines how the shells spread on the baking sheet. A properly macaronaged batter will spread just enough to create smooth tops without losing their circular shape.
Crucially, macaronage is responsible for the formation of the macaron's distinct "foot" – the ruffled base that lifts during baking. This foot is created when the top layer of the shell sets quickly in the oven, while the moister interior continues to expand, pushing the unset batter outwards and upwards at the base.
Furthermore, the degree of macaronage impacts the internal structure and texture of the finished shells. Over-macaronaging can lead to a batter that is too liquid, resulting in shells that spread excessively, become thin, and bake into brittle, flat disks without a foot.
Conversely, under-macaronaging leaves too much air in the batter, causing shells to be lumpy, cracked on top, and lacking a well-defined foot. The perfect macaronage technique ensures a batter consistency that promotes even rising, proper foot development, and a delicate, slightly chewy interior texture encased in a thin, crisp outer shell – the hallmarks of ideal macaron shells.
Achieving the Ideal Macaron Shell: The Macaronage Connection
Achieving the ideal macaron shell – smooth, round, with a prominent foot and perfect texture – is inextricably linked to mastering the macaronage technique. This stage is often cited as the most challenging part of the macaron-making process, as it requires developing a feel for the batter's consistency. The ratio of dry ingredients to meringue is important, but it's the way they are combined during macaronage that unlocks the potential for perfect shells. Think of it as the bridge between your ingredients and the final baked product; a weak bridge means a failed journey.
Many common macaron problems, such as hollow shells, cracked tops, or lack of feet, can be traced back to incorrect macaronage. For instance, overly hollow shells are often a result of under-macaronaging, where too much air remains, causing the shell to rise too quickly and then collapse slightly upon cooling. Cracked tops frequently occur from insufficient macaronage, preventing the surface from setting smoothly. By focusing on achieving the correct ribbon consistency during macaronage, bakers significantly increase their chances of producing those coveted ideal macaron shells that are both beautiful and delicious.
Macaronage Technique: A Step-by-Step Guide
Preparing Your Macaron Batter for Macaronage
Before you even begin the folding process, proper preparation of your two main components – the dry ingredients and the meringue – is essential for successful macaronage. Your almond flour and powdered sugar should be finely ground and sifted together meticulously. Passing them through a fine-mesh sieve, perhaps even twice, removes any larger almond pieces or sugar lumps that could compromise the smooth texture of the macaron shells.
Some bakers pulse the almond flour and powdered sugar together briefly in a food processor before sifting to ensure maximum fineness, but be careful not to over-process, which can release oils from the almonds. Have this mixture ready in a large, wide bowl – ideally the one you will perform the macaronage in.
Your meringue should be prepared according to your chosen method (French, Italian, or Swiss) and brought to the correct stiffness – typically medium-stiff to stiff peaks, depending on the method. The meringue should be glossy and stable. Gently add about one-third of your dry ingredient mixture to the meringue. This initial addition is often mixed in more vigorously than the subsequent additions, sometimes just stirred with a spatula, to make the initial incorporation easier before the more delicate folding begins. Ensure no dry pockets remain before adding the next portion.
The Folding Process: Mastering the Macaronage Fold
The core of the macaronage technique lies in the folding process itself. Once the initial portion of dry ingredients is incorporated, add the remaining dry mixture in two or three additions. The standard macaronage fold involves using a spatula to scoop from the edge of the bowl towards the center, then pressing down through the center of the batter. Rotate the bowl as you fold. This motion simultaneously folds the dry ingredients into the meringue and gently deflates the meringue. The technique is often described as a J-motion or a scrape-and-fold.
The key is to be deliberate but not aggressive. You are aiming to fold the air out, not beat it out. Continue this folding and pressing motion, rotating the bowl, until the batter reaches the desired consistency. This can take anywhere from 50 to 70 folds, though counting is less important than observing the batter's appearance. Stop frequently to check the consistency. Over-folding is a common pitfall that ruins the batter, so it's better to err on the side of slightly under-folding when you are first learning.
Identifying the Correct Macaronage Consistency: Visual Cues
Knowing when to stop macaronaging is perhaps the most critical skill to develop. The ideal macaronage consistency is often referred to as "lava-like" or "ribbon stage." To test, lift your spatula from the bowl and let the batter fall back in. A properly macaronaged batter will flow slowly and continuously in a thick, shiny ribbon. This ribbon should hold its shape for a few seconds before slowly melting back into the mass of batter in the bowl. If the batter breaks into chunks or falls unevenly, it's likely under-macaronaged and needs a few more folds.
Conversely, if the batter flows too quickly, is very liquid, and immediately disappears back into the bowl without holding any shape, you have likely over-macaronaged it. Another test is to draw a line through the center of the batter in the bowl with your spatula; if the line slowly disappears and the batter comes back together within 10-15 seconds, you are likely at the correct stage. If the line holds indefinitely, it's under-macaronaged.
If the batter is too liquid to even hold a line for a second, it's over-macaronaged. Developing an eye for this consistency is key to consistent macaronage technique ideal shells.
Factors Affecting the Macaronage Process
Almond Flour Quality and Its Role in Macaronage
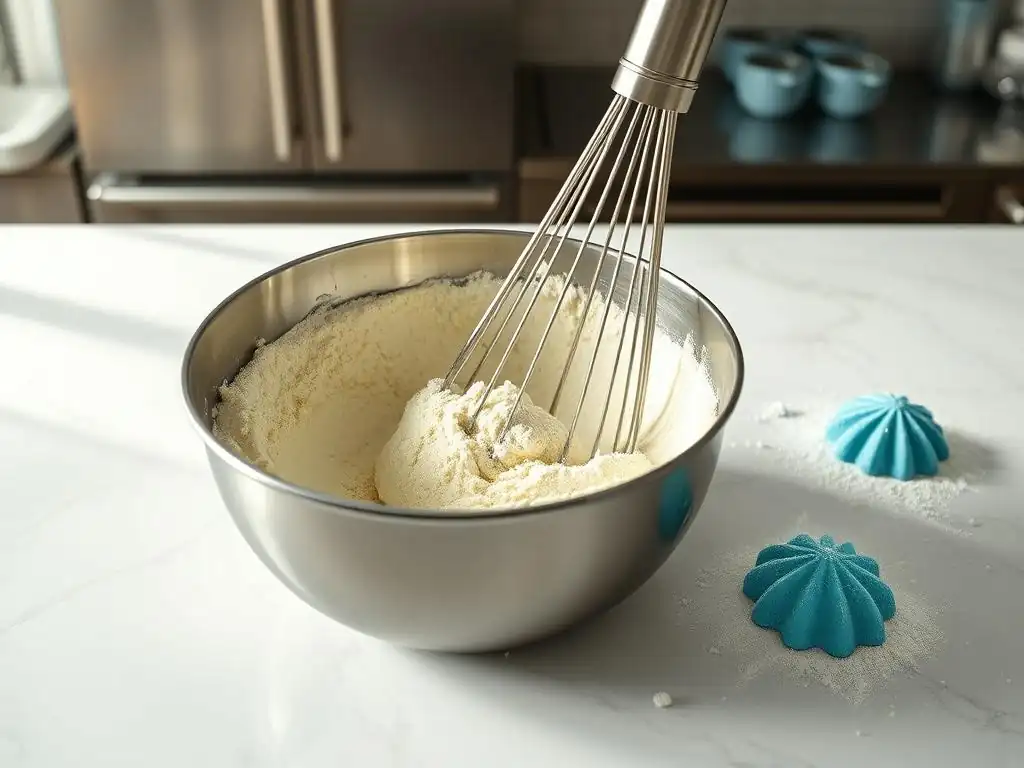
The quality and preparation of your almond flour significantly impact the macaronage process and the final texture of your ideal macaron shells. Using finely ground, blanched almond flour is crucial. Coarsely ground flour can make the batter grainy and prevent the smooth spreading necessary for perfect tops and feet. Even with "superfine" almond flour, sifting is non-negotiable to remove any remaining larger particles. Some bakers recommend aging almond flour slightly in the pantry to reduce moisture content, which can affect batter consistency.
The presence of excess oil in the almond flour can also interfere with macaronage. If your almond flour seems oily, pulsing it with the powdered sugar and sifting can help distribute the oil and prevent it from clumping. The absorption rate of different almond flours can vary, meaning you might need slight adjustments in your folding depending on the brand or batch. A consistent, high-quality, finely sifted almond flour provides a predictable base for your macaronage technique, making it easier to achieve the desired batter consistency consistently.
Meringue Type: French, Italian, and Swiss Macaronage Differences
The type of meringue used – French, Italian, or Swiss – fundamentally alters the stability of the batter and thus affects the macaronage process. French meringue, made by whipping sugar into raw egg whites, is the least stable. It contains larger, more fragile air bubbles, requiring a very gentle macaronage. Over-folding French meringue batter is incredibly easy and quickly leads to a runny consistency.
Italian meringue, made by pouring hot sugar syrup into whipped egg whites, is the most stable due to the cooked sugar structure. This stability allows for a slightly more vigorous macaronage. The batter made with Italian meringue is generally thicker initially and requires more folding to reach the ribbon stage, making it more forgiving for beginners learning the macaronage technique ideal shells.
Swiss meringue, made by heating egg whites and sugar over a water bath before whipping, falls in between French and Italian in terms of stability, requiring a moderate macaronage approach. Understanding the characteristics of your chosen meringue is vital for adjusting your folding technique appropriately.
Humidity and Temperature Considerations During Macaronage
Environmental factors like humidity and temperature play a significant role in the success of the macaronage process. High humidity is the arch-nemesis of macarons. Excess moisture in the air can be absorbed by the dry ingredients and the meringue, making the batter more prone to becoming too wet or sticky. In humid conditions, you might find the batter reaches the correct ribbon consistency with fewer folds than usual, or it might feel slightly heavier. Working in an air-conditioned environment can help mitigate humidity issues.
Temperature also matters. Very warm conditions can cause the meringue to become less stable more quickly and the batter to reach the desired consistency faster. Conversely, cold conditions might make the batter stiffer and require more folding. Ideally, work in a cool, dry kitchen. Aim for a room temperature around 68-72°F (20-22°C) with low humidity. While you can't always control the weather, being aware of these factors allows you to anticipate how they might affect your macaronage technique and make slight adjustments to your folding.
Common Macaronage Mistakes and How to Avoid Them
Over-Macaronaging: Recognizing and Preventing Runny Batter
Over-macaronaging is arguably the most common mistake when learning this technique. It occurs when the batter is folded too many times or too vigorously, deflating too much of the meringue's structure. The result is a batter that is too liquid, spreading excessively on the baking sheet and failing to form proper feet during baking. Signs of over-macaronaged batter include it flowing off the spatula very quickly without holding any shape, or the "ribbon" immediately disappearing back into the mass.
To prevent over-macaronaging, stop frequently to check the batter's consistency using the ribbon test. It's better to under-fold slightly and do a few more folds if needed than to over-fold. Pay attention to the visual cues described earlier. If you are using French meringue, be especially gentle and stop folding as soon as the ribbon stage is achieved.
With Italian meringue, you have a bit more buffer, but vigilance is still required. If you suspect you are close to over-macaronaging, stop folding immediately and proceed to piping. While slightly over-macaronaged batter is difficult to salvage, stopping in time is key to avoiding complete failure.
Under-Macaronaging: Ensuring Proper Shell Formation
Under-macaronaging is the opposite problem, where the batter hasn't been folded enough. This leaves too much air in the mixture, resulting in a batter that is too stiff. Under-macaronaged batter will not spread properly when piped, often retaining peaks or appearing lumpy. During baking, the excess air can cause the shells to rise too rapidly and unevenly, leading to cracked tops and poorly formed or absent feet. The batter will fall off the spatula in large clumps or break apart instead of flowing in a ribbon.
To avoid under-macaronaging, ensure you continue folding until the batter consistently forms the desired ribbon that slowly melts back. Don't be afraid to fold the recommended number of times (often cited between 50-70 folds, depending on recipe and meringue type), but always prioritize the visual consistency test over a strict fold count. If your batter is stiff and doesn't spread after piping, it needed more macaronage. While you can't fix under-macaronaged batter after piping, recognizing the signs during the process means you can continue folding until the correct consistency is reached.
Troubleshooting Macaronage Issues: A Practical Guide
Troubleshooting macaronage often involves identifying whether the batter is too stiff (under-macaronaged) or too loose (over-macaronaged) and adjusting your technique in future batches. If your shells consistently crack, are lumpy, or lack feet, you are likely under-macaronaging. Focus on folding more deliberately until the ribbon stage is clearly achieved. Practice the ribbon test until you recognize it instantly.
If your shells consistently spread too much, are flat, or have no feet, you are likely over-macaronaging. Be gentler with your folds and stop sooner. Pay close attention to the batter's flow; as soon as it starts to flow readily off the spatula, perform the ribbon test carefully.
Consider factors like humidity and meringue stability, as these can influence how quickly the batter reaches the correct stage. Keeping a baking journal can help you track how many folds or how long you macaronage for each batch and correlate it with your results, allowing you to fine-tune your macaronage technique ideal shells over time.
Achieving the Perfect Macaron Shell: Advanced Macaronage Tips
Fine-Tuning Your Macaronage Technique for Consistent Results
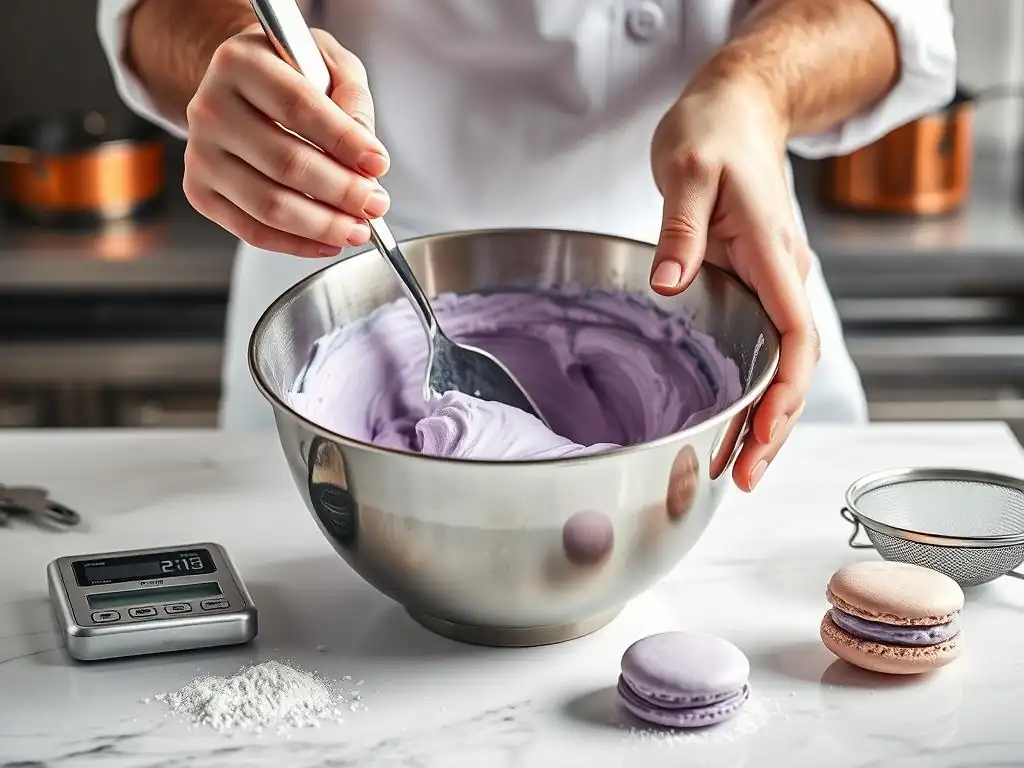
Consistency is the hallmark of a skilled macaron baker, and it starts with fine-tuning your macaronage technique. Once you understand the basic principle and can recognize the ribbon stage, focus on the feel of the batter and the subtle changes as you fold. Different batches of ingredients, slight variations in meringue stiffness, or ambient conditions can all affect the process. Learn to adjust the number of folds based on these factors rather than sticking rigidly to a number.
Consider using a scale for all ingredients for maximum accuracy. Ensure your meringue is whipped to the exact same stage each time. Practice the macaronage technique repeatedly; like any skill, it improves with practice. Some experienced bakers can tell the consistency is right just by the weight and resistance of the batter on the spatula.
Pay attention to how the batter behaves as you fold – does it resist initially and then loosen up? How quickly does it start to flow? These subtle cues help you predict when the correct stage is approaching, allowing you to stop at precisely the right moment for ideal macaron shells.
Using Food Coloring and Its Effect on Macaronage
Adding food coloring can slightly affect the macaronage process and the final batter consistency. Liquid food colorings can add unwanted moisture, potentially leading to over-macaronaging or a wetter batter. If using liquid colors, use them sparingly or consider reducing another liquid component slightly if your recipe allows. Gel or powder food colorings are generally preferred for macarons as they introduce less moisture.
When adding gel or powder coloring, it's best to incorporate it into the meringue before adding the dry ingredients. This ensures the color is evenly distributed without requiring extra mixing during the macaronage stage, which could risk over-folding. Add the color once the meringue has reached medium peaks, then continue whipping to stiff peaks. Be aware that vibrant colors might require a significant amount of coloring, which could still subtly impact the batter. Observe carefully during macaronage when using color for the first time, as the batter might behave slightly differently.
Macaronage and Resting Time: The Importance of a Skin
After macaronage and piping, macaron shells require a resting period, often called "curing" or "skinning over." During this time, the surface of the piped batter dries out, forming a thin, touchable skin. This skin is crucial for promoting the development of the foot during baking. It allows the top of the shell to set quickly in the oven, forcing the expanding air outwards and upwards at the base.
The macaronage technique directly impacts how well and how quickly this skin forms. A properly macaronaged batter, with the right moisture level and air distribution, will form a skin more reliably than an over- or under-macaronaged one. If the batter is too wet (over-macaronaged), it may take a very long time to form a skin, or might not form one at all in humid conditions.
If it's too stiff (under-macaronaged), the surface might appear dry quickly but still bake unevenly. The ideal macaronage technique ensures the batter has the perfect balance to allow for proper skin formation, typically within 30-60 minutes depending on humidity.
Macaronage for Different Macaron Flavors
Adjusting Macaronage for Chocolate Macarons
Making chocolate macarons often involves substituting some of the almond flour with cocoa powder. This substitution changes the dry ingredient composition and can slightly affect the macaronage process. Cocoa powder absorbs moisture differently than almond flour. Unsweetened cocoa powder, which is common in chocolate macaron recipes, can sometimes make the batter feel slightly drier initially.
When macaronaging chocolate batter, pay close attention to the consistency. You might find it reaches the ribbon stage a little faster or feels slightly thicker than a plain almond-based batter. Ensure the cocoa powder is sifted along with the almond flour and powdered sugar to prevent lumps.
The dark color can also make it slightly harder to see the subtle changes in sheen and flow during macaronage, so rely more heavily on the feel of the batter and the ribbon test. Adjust your folding gently, stopping as soon as the correct consistency is achieved, remembering that cocoa powder's absorption can vary.
Macaronage Considerations for Fruity Macarons
Adding fruit flavors to macarons typically involves incorporating freeze-dried fruit powder into the dry ingredients or using fruit purée in the filling. If using freeze-dried fruit powder in the shells, it should be finely ground and sifted along with the almond flour and powdered sugar. Like cocoa powder, freeze-dried fruit powder absorbs moisture and can change the texture of the dry mix.
Freeze-dried fruit powder can make the batter slightly more prone to becoming sticky or clumping. Ensure it is thoroughly mixed with the other dry ingredients before adding it to the meringue. During macaronage, the batter might feel slightly different compared to a plain batch. Observe the consistency closely, as the added powder might affect how the ribbon flows. Some bakers find that batters with significant amounts of added powders (like fruit or cocoa) require slightly fewer folds than plain batters to reach the correct consistency for ideal macaron shells.
Macaronage Equipment and Tools: What You Need
Essential Tools for Effective Macaronage
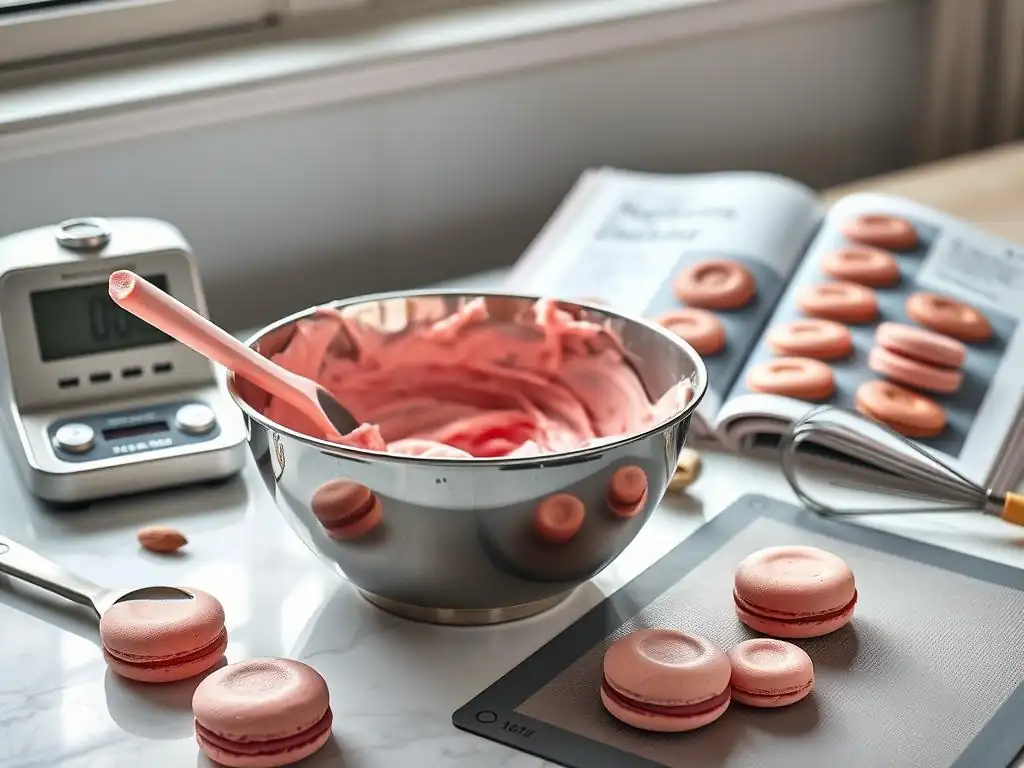
Having the right tools makes the macaronage process much smoother and more consistent. A large, wide mixing bowl is essential. A stainless steel or glass bowl is often preferred over plastic, as plastic can sometimes retain grease residues that can interfere with meringue formation. The wide surface area allows for easier folding motions.
A sturdy rubber or silicone spatula is your primary tool for macaronage. Choose one that is flexible enough to scrape the sides and bottom of the bowl effectively but also rigid enough to press through the batter. Avoid flimsy spatulas that make folding difficult. A kitchen scale is indispensable for accurately weighing ingredients, which is fundamental for consistent results before you even start the macaronage technique. While not directly used in the macaronage folding itself, having a fine-mesh sieve for sifting dry ingredients is absolutely critical and part of the preparation that ensures smooth batter suitable for macaronage.
Macaronage Visual Guide: Examples of Correct and Incorrect Batter
Photos and Videos of Properly Macaronaged Batter
(Note: As per instructions, no actual images or videos can be included. The following describes the visual appearance.)
Imagine a stream of warm lava flowing slowly and continuously. That's the ideal visual representation of properly macaronaged batter. When you lift your spatula, the batter should pour off in a thick, glossy ribbon. This ribbon shouldn't break apart easily.
As it lands back in the bowl, it should hold its shape for a moment, perhaps 10 to 15 seconds, before gradually smoothing back into the main mass of batter. The surface of the batter in the bowl should also look smooth and homogenous, without visible lumps of dry ingredients or large air pockets. The consistency should be fluid enough to spread slightly on its own when dolloped onto a surface, but thick enough to maintain a generally circular shape without becoming a puddle. This flowing yet somewhat stable texture is the perfect stage achieved through correct macaronage technique ideal shells.
Illustrating Common Macaronage Mistakes Visually
(Note: As per instructions, no actual images or videos can be included. The following describes the visual appearance of incorrect batter.)
Under-Macaronaged Batter: Visually, under-macaronaged batter appears thick and lumpy. When lifted with a spatula, it will fall off in large, distinct clumps rather than a smooth ribbon. The surface of the batter in the bowl might look uneven, with visible peaks or pockets of dry ingredients not fully incorporated. If you try the line test, the line you draw with your spatula will hold its shape sharply and indefinitely, showing the batter is too stiff to flow. When piped, it will hold stiff peaks and might not spread at all, resulting in lumpy, uneven shells prone to cracking.
Over-Macaronaged Batter: Over-macaronaged batter is visibly too liquid and runny. When lifted with a spatula, it will pour off very quickly and thinly, like pancake batter, without forming any discernible ribbon that holds its shape. As it falls back into the bowl, it immediately melts and disappears into the mass. The surface might appear very smooth, but it lacks the desired body. If you try the line test, the line will disappear instantly. When piped, this batter spreads out excessively into thin, flat disks, often merging into one another on the baking sheet and failing completely to form feet.
Beyond the Technique: Post-Macaronage Steps for Beautiful Macarons
Piping Techniques for Even Shells
Once your macaronage technique has yielded the perfect batter consistency, proper piping is the next crucial step for achieving beautiful, uniform shells. Use a large piping bag fitted with a round tip (often a plain tip around 1A or 12mm is recommended). Hold the piping bag vertically, about half an inch above your baking sheet lined with parchment paper or a silicone mat. Apply steady, even pressure to pipe circles of batter. Stop squeezing the bag just before the circle is complete, then flick your wrist quickly upwards to break off the flow cleanly, minimizing peaks.
Pipe the shells evenly spaced to allow for slight spreading and air circulation. Using a template placed under your parchment paper can help ensure consistent size and spacing. Practice maintaining consistent pressure while piping to create uniform shells. This consistency in size is important not only for aesthetics but also for even baking. After piping, gently tap the baking sheet on the counter several times. This helps release any large air bubbles trapped in the batter and encourages the shells to settle and spread slightly, resulting in smoother tops.
Baking Macarons: Temperature and Time Considerations
Baking is where the magic of the foot happens, and it requires precise temperature control. Macarons are typically baked at a relatively low temperature, often between 285°F and 325°F (140°C to 160°C), though the exact temperature and time vary significantly depending on the oven. A common starting point is 300°F (150°C) for 12-15 minutes. The low temperature allows the shells to cook through evenly without browning too quickly, while the heat differential between the setting top and moist interior creates the lifting force for the feet.
It's essential to know your oven, as temperatures can fluctuate. Using an oven thermometer is highly recommended. Bake one tray at a time for best results. The shells are done when they are firm to the touch and don't wobble on their feet when gently pushed. If they wobble, they need a few more minutes. Over-baking can lead to dry, brittle shells, while under-baking results in soft, unstable shells that stick to the mat. Perfecting the macaronage technique sets the stage, but correct baking seals the deal for ideal macaron shells.
Cooling and Maturing Macarons: Developing Flavor and Texture
Once baked, let the macaron shells cool completely on the baking sheet before attempting to remove them. Trying to peel them off too soon will result in broken shells. Once cool, they should detach easily from the parchment or silicone mat. If they stick, they might be under-baked or the resting time was insufficient.
After cooling and filling, macarons benefit greatly from a maturation period in the refrigerator. Storing filled macarons in an airtight container in the fridge for at least 12-24 hours (and often up to 48 hours) allows the moisture from the filling to permeate the shells. This process softens the interior of the shells, creating that signature slightly chewy texture, while the exterior remains crisp. The flavors also meld beautifully during this time. While mastering the macaronage technique is paramount for the structure, this final maturation step is key to achieving the perfect flavor and texture of finished macarons.
Frequently Asked Questions
What is the macaronage technique and why is it so important for macarons?
Macaronage is the crucial process of folding the almond flour and icing sugar mixture into the meringue. It develops the correct batter consistency, essential for achieving smooth, shiny shells and proper feet.
How do I know when my macaronage is done correctly?
The batter should flow slowly and ribbon-like from your spatula, creating a lava-like consistency. It should also sink back into itself within a few seconds, indicating it's not too thick or thin.
What happens if I overmix during macaronage?
Overmixing results in a batter that's too thin, leading to flat, spreading shells with no feet. The macarons may also be greasy and difficult to work with.
Can I use a stand mixer for macaronage, or is it best to do it by hand?
While a stand mixer can be used with extreme caution, it's generally recommended to perform macaronage by hand. This allows for greater control and prevents overmixing, which is crucial for success.
What are some common mistakes to avoid during macaronage?
Avoid being too gentle or too aggressive; find the right balance. Ensure all ingredients are properly measured and mixed beforehand. Most importantly, trust your judgement and observe the batter's consistency closely throughout the process.
Final Reflection: Mastering the Macaronage: A Journey to Perfect Shells
The delicate dance of macaronage is more than just a technique; it's the key to unlocking the airy, crisp perfection that defines a truly exceptional macaron. This seemingly simple process, as explored throughout this article, holds the power to transform a batch of potentially disastrously cracked shells into elegant, flawless confections. The subtle nuances of hydration and folding, as we've seen, are crucial to achieving the ideal texture and rise.
The impact of mastering macaronage extends far beyond the kitchen. It's a testament to the power of precision and patience in achieving culinary excellence. The journey to perfect macarons mirrors life's own challenges; requiring meticulous attention to detail, the ability to adapt to unforeseen circumstances (like a slightly too-wet batter), and the perseverance to keep trying until success is achieved. The reward of a perfectly made macaron is not just in the taste, but in the journey of creation itself.
This sentiment, though personal, reflects the profound satisfaction derived from mastering a challenging skill.
Now, it's your turn. Don't be intimidated by the seemingly complex nature of macaronage. Embrace the process, experiment with different techniques, and learn from your mistakes. Each batch, whether a triumph or a learning experience, brings you closer to achieving those perfect, picture-worthy macaron shells. Remember the principles outlined in this article, and most importantly, trust your intuition. The journey to mastering macaronage is a rewarding one, filled with delicious discoveries and the sweet satisfaction of culinary accomplishment.
Unlock Your Perfect Macaron: Master the Macaronage!
Thanks for taking the time to delve into the art of macaronage! We hope you've gained valuable insights into creating those flawlessly smooth, elegant shells. Ready to put your newfound knowledge into practice?
- Bake your dream macarons today! Try the recipe variations you've learned about and see the difference the right macaronage makes. Experiment with flavors and colors to personalize your creations.
- Share your macaron masterpieces! Show off your baking skills on social media and inspire others with your beautiful results. Use #BakeWithEaseMacarons to connect with our community.
- Explore advanced macaron techniques: Dive deeper into our website to find more articles on fillings, decorations, and troubleshooting common macaron challenges.
So, what flavor combination will you conquer first? Let us know in the comments!