
Understanding Yeast in Basic White Bread Baking

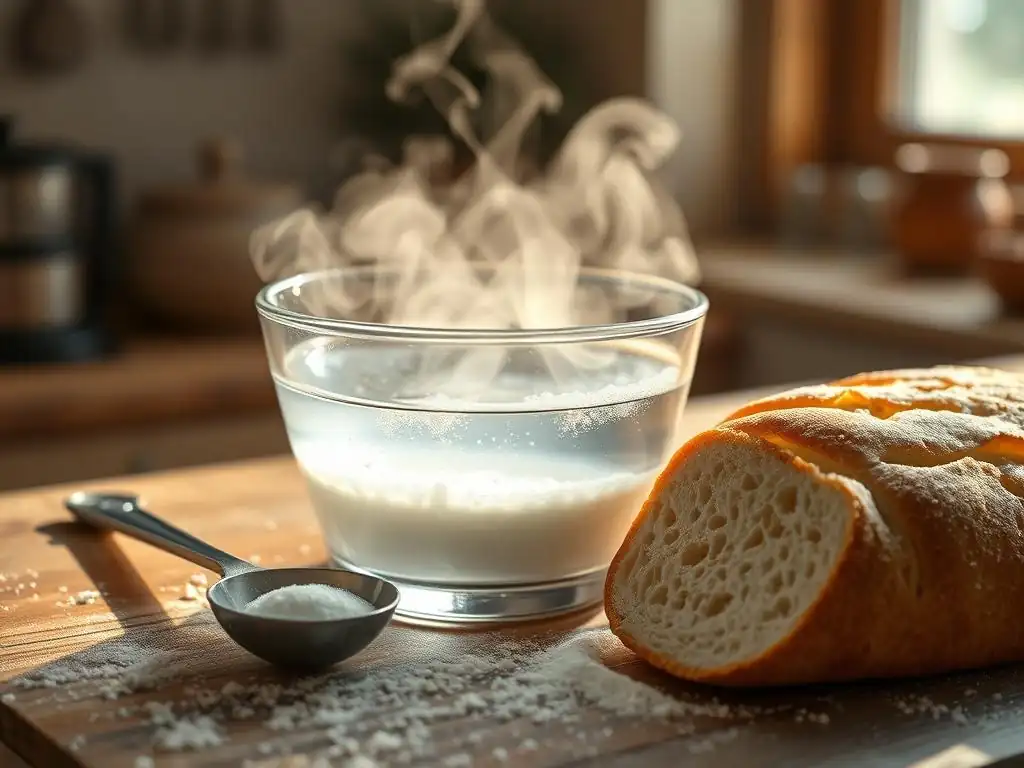
Welcome to BakeWithEase, your passport to pastry perfection! Ever wondered about the secret ingredient behind that perfectly risen loaf? This week, we're diving deep into the heart of bread baking to unravel the mysteries of yeast activation for white bread. Unlock the secrets to a foolproof rise and discover how proper activation can transform your basic white bread from ordinary to extraordinary. Intrigued? Let's get baking!
- Yeast Activation for White Bread: A Step-by-Step Guide
-
Frequently Asked Questions
- What is yeast activation, and why is it important for white bread baking?
- How do I know if my yeast is still good to use for white bread?
- What temperature water is best for activating yeast when making white bread?
- Can I use instant yeast directly in my white bread recipe without activating it first?
- What happens if I don't activate the yeast properly when baking white bread?
- Final Reflection: The Humble Yeast and the Art of Baking
- Unleash Your Inner Baker: Mastering Yeast in Bread Making
Yeast Activation for White Bread: A Step-by-Step Guide
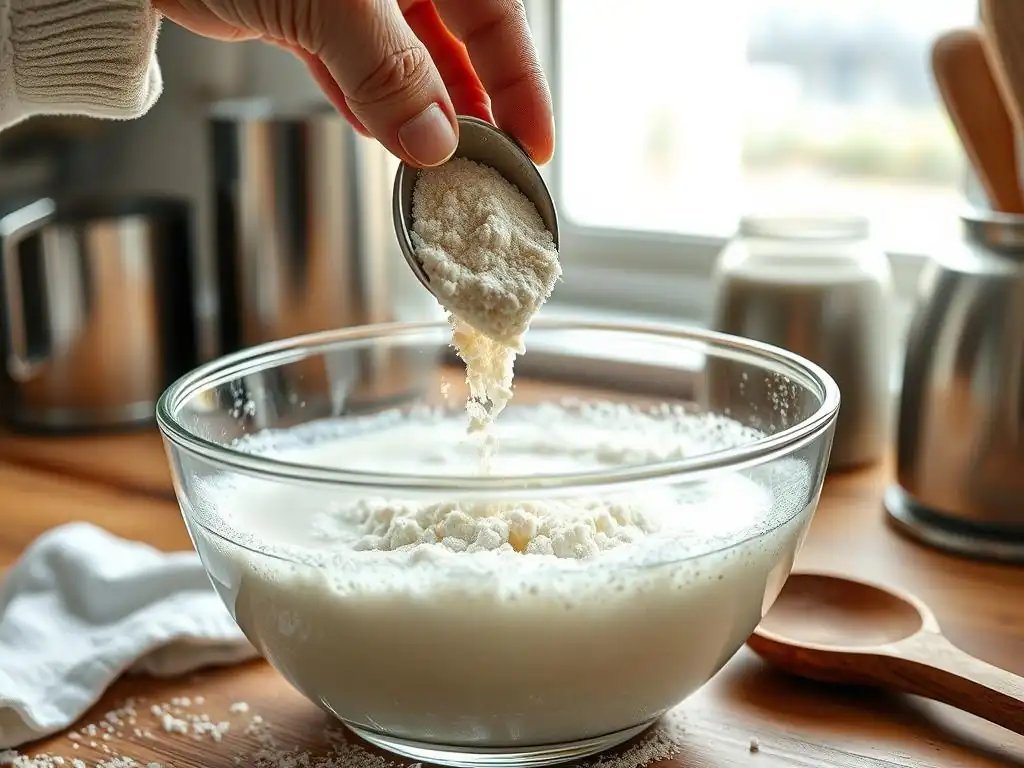
Getting your yeast ready is a fundamental step in ensuring your basic white bread rises beautifully. This process, often called proofing or blooming, confirms that your yeast is alive and ready to work its magic. It's the crucial first step for reliable yeast activation for white bread and guarantees you won't end up with a flat loaf.
Mastering yeast activation for basic white bread involves understanding the simple science behind it: yeast are living organisms that need warmth, moisture, and food (sugar) to become active and produce the carbon dioxide gas that makes bread dough rise. Following these steps precisely will set you up for baking success right from the start.
Preparing Your Yeast Activation Ingredients: What You'll Need
Before you begin the yeast activation for white bread, gather your ingredients. You'll need warm water, your chosen yeast, and a pinch of sugar. The water should be the quantity specified in your white bread recipe, typically around 1/2 to 1 cup for a standard loaf.
For yeast, you'll most likely be using Active Dry Yeast for this process. Ensure your package is fresh or properly stored. The sugar can be granulated white sugar, honey, or even molasses; just a teaspoon or two is usually sufficient to give the yeast a quick energy boost to show its activity. Using clean, filtered water can sometimes help, especially if your tap water is heavily chlorinated.
Step 1: Measuring the Water Temperature for Yeast Activation
The temperature of the water is perhaps the most critical factor for successful yeast activation for white bread. Water that is too cold won't wake the yeast up, while water that is too hot can kill it. The ideal range for activating Active Dry Yeast is generally between 105°F and 115°F (40°C to 46°C).
Using a thermometer is highly recommended to get this temperature just right. If you don't have one, the water should feel pleasantly warm to your wrist, not hot. Think of it like bathwater for a baby. Temperatures slightly below 105°F might still work but will take longer, while anything much above 120°F (49°C) risks damaging the yeast cells irreversibly, hindering the yeast activation process.
Step 2: Adding Yeast and Sugar to the Warm Water
Once your water is at the correct temperature, pour it into a small bowl or measuring cup. Gently sprinkle the measured amount of yeast over the surface of the warm water. Avoid dumping it all in one clump; spreading it out helps it absorb the water more evenly.
Next, add the sugar to the water-yeast mixture. Give it a gentle stir, just enough to combine everything slightly. The sugar provides immediate food for the yeast, encouraging it to start multiplying and releasing carbon dioxide quickly, which is what you'll look for in the next step of yeast activation for white bread. Some recipes skip the sugar at this stage, relying on the natural sugars in the flour later, but adding a pinch here is a great way to test viability quickly.
Step 3: Observing the Yeast Activation Process: What to Look For
After adding the yeast and sugar to the warm water, set the mixture aside in a warm, draft-free spot. Now comes the observation part of yeast activation for white bread. Over the next 5 to 10 minutes, you should start to see signs of life. The mixture should become foamy or bubbly on the surface.
This foam is carbon dioxide being released by the yeast as it begins to feed on the sugar. A healthy, active yeast mixture will develop a thick, frothy layer, somewhat like the head on a beer. If, after 10 minutes, you see no significant bubbling or foaming, it's a strong indicator that your yeast is either dead or inactive, and you'll need to start this yeast activation process again with fresh yeast.
Frequently Asked Questions
What is yeast activation, and why is it important for white bread baking?
Yeast activation is the process of preparing the yeast for baking by dissolving it in warm water, often with sugar. This ensures the yeast is alive and ready to leaven the dough effectively, resulting in a better rise and texture in your white bread.
How do I know if my yeast is still good to use for white bread?
You can test yeast viability by dissolving a small amount in warm water with sugar. If it becomes foamy and bubbly within 5-10 minutes, it's active. If not, the yeast is likely dead or inactive and should be discarded.
What temperature water is best for activating yeast when making white bread?
The ideal water temperature for yeast activation is typically between 105°F (40°C) and 115°F (46°C). Too hot water can kill the yeast, while too cold water won't activate it properly.
Can I use instant yeast directly in my white bread recipe without activating it first?
Yes, instant yeast (also called rapid-rise yeast) can be added directly to the dry ingredients. However, activating it beforehand can sometimes provide a more consistent rise, especially for beginners.
What happens if I don't activate the yeast properly when baking white bread?
Improper yeast activation can lead to a poor rise or no rise at all, resulting in dense, flat bread. Always ensure your yeast is active before adding it to the rest of your ingredients to achieve the desired light and airy texture.
Final Reflection: The Humble Yeast and the Art of Baking
The seemingly simple act of activating yeast is the cornerstone of successful white bread baking, a process that, when understood, unlocks a world of culinary possibilities. Mastering this crucial step isn't just about following a recipe; it's about understanding the living organism at the heart of the process and appreciating the transformative power of fermentation. This understanding, far from being a niche skill, is increasingly relevant in a world that values homemade, artisanal foods and a deeper connection to the ingredients we use.
The impact of yeast extends far beyond the kitchen; it's a microcosm of the larger biological processes that shape our world. Its ability to transform simple flour and water into a light and airy loaf mirrors the transformative potential we see in nature and even in ourselves. The yeast is the soul of the bread,
a baker once told me, and I've found that sentiment to be profoundly true. The careful nurturing of this tiny organism reflects a mindful approach to cooking and a respect for the natural world that is increasingly valued in our modern, often fast-paced lives.
Consider the implications of this knowledge. You now possess the key to unlocking the secrets of perfect bread. Don't just follow recipes; understand them. Experiment with different yeast strains, water temperatures, and proofing times.
Observe the subtle changes in your dough, and learn to recognize the signs of a healthy, active yeast culture. The journey of mastering yeast activation is a journey of discovery, a testament to the power of observation and the rewards of patience. Embrace the process, and you'll not only bake better bread, but you'll also cultivate a deeper appreciation for the wonders of the natural world and the art of baking itself.
Unleash Your Inner Baker: Mastering Yeast in Bread Making
Thanks for joining us on this baking journey! We hope you now feel more confident tackling the wonders of yeast in your bread baking. Ready to put your newfound knowledge into practice?
- Bake your own loaf: Try the recipe we mentioned – or experiment with your own variations! See how much lighter and tastier your bread is with your newly acquired yeast knowledge. This is your chance to shine!
- Share your success (or challenges!): We'd love to see your creations and hear about your baking experience. Share a photo on social media using #BakeWithEaseYeast.
- Explore other BakeWithEase guides: Deepen your baking skills by checking out our other guides on sourdough, artisan bread, or even advanced techniques.
What unique ingredient will you experiment with in your next yeast-based bread creation? Let us know in the comments below!