
Why Is My Melted Chocolate Grainy? Fix It Now!

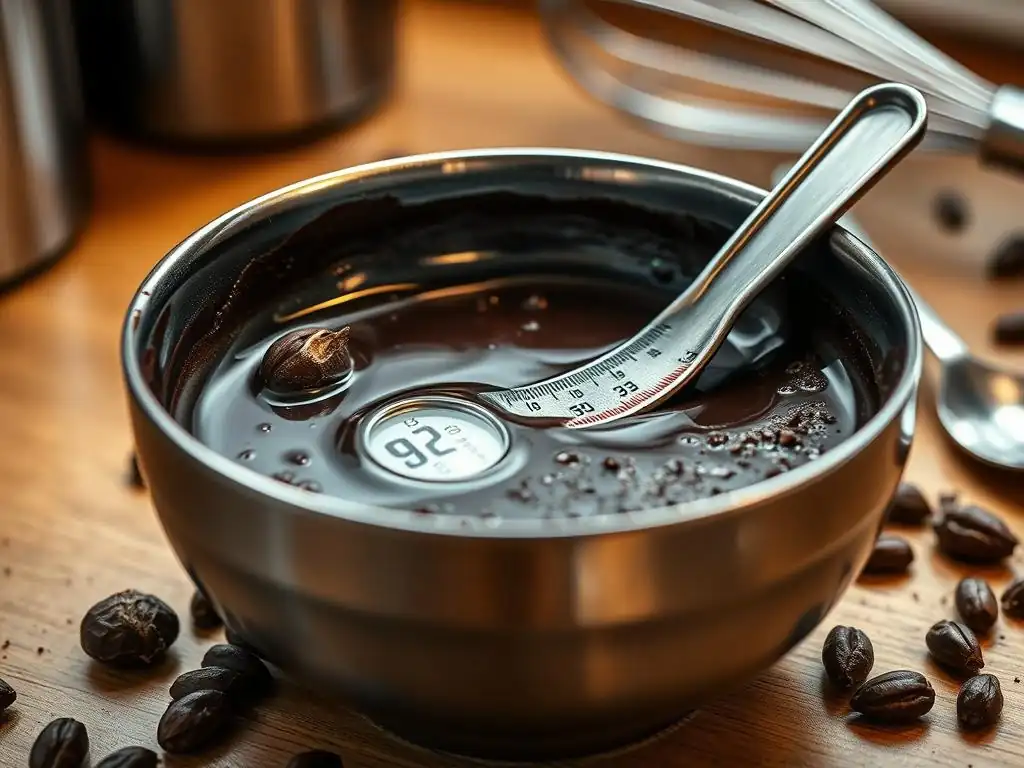
Welcome to BakeWithEase! Ever wondered why your melted chocolate sometimes turns grainy? You're not alone! We've all been there. This guide dives deep into the common culprits behind grainy melted chocolate and, more importantly, provides actionable solutions to rescue your next batch. Discover the secrets to perfectly smooth, glossy chocolate and say goodbye to frustrating baking fails. Let's unlock the mystery and ensure your desserts are always picture-perfect!
- Understanding Grainy Melted Chocolate: A Baking with Ease Guide
- What Causes Grainy Melted Chocolate? Identifying the Culprits
- Grainy Melted Chocolate Troubleshooting: Step-by-Step Solutions
- Preventing Grainy Chocolate: Expert Tips from BakeWithEase
- Using Grainy Melted Chocolate: Salvaging for Baking Projects
- Conclusion: Mastering Chocolate Melting for Baking Success
-
Frequently Asked Questions
- Why does my melted chocolate sometimes look grainy instead of smooth?
- How can I prevent my chocolate from seizing during melting?
- What if my chocolate has already seized? Can I save it?
- Is there a particular type of chocolate more prone to seizing?
- What temperature should I aim for when melting chocolate to avoid graininess?
- Final Reflection: The Pursuit of Smooth Chocolate Bliss
- Rediscover Smooth Chocolate: Transform Your Baking!
Understanding Grainy Melted Chocolate: A Baking with Ease Guide
Melting chocolate seems simple enough, right? You heat it up, it turns smooth and glossy, ready to become a delicious coating, ganache, or addition to your favorite baked goods. But sometimes, instead of that silky liquid gold, you end up with a dull, lumpy, and downright grainy mess. This frustrating issue, known as seizing or simply "grainy chocolate," can ruin your baking project if you don't know why it happens and how to handle it. Understanding the common culprits behind grainy melted chocolate is the first step in mastering this essential baking technique.
Grainy texture in melted chocolate typically indicates that the cocoa solids and fat have separated or clumped together improperly. This isn't just an aesthetic problem; it affects the texture and mouthfeel of your finished product. Think about dipping strawberries in grainy chocolate – it just doesn't have the same luxurious appeal as a smooth, even coating. Fortunately, grainy melted chocolate troubleshooting is possible, and with a few simple tips and tricks from BakeWithEase, you can avoid this pitfall and achieve perfectly melted chocolate every time, ensuring your baked treats are as delightful as they should be.
What Causes Grainy Melted Chocolate? Identifying the Culprits
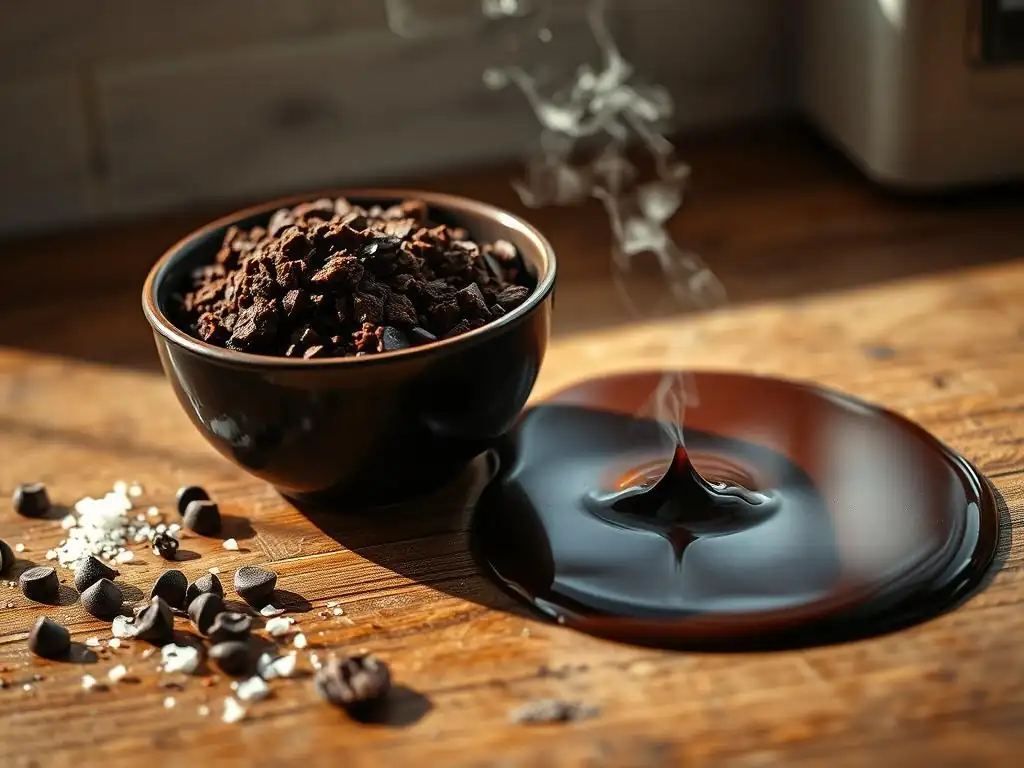
Overheating Chocolate: The Primary Cause of Graininess
Chocolate is delicate and sensitive to heat. When chocolate is heated too quickly or to too high a temperature, the cocoa solids can burn or separate from the cocoa butter. This causes the chocolate to become thick, clumpy, and develop that undesirable grainy texture.
Dark chocolate, with its higher percentage of cocoa solids, is particularly susceptible to overheating compared to milk or white chocolate, though all types can seize if mishandled. The ideal temperature range for melting is quite low; for dark chocolate, aim for around 115-120°F (46-49°C), while milk and white chocolate melt at even lower temperatures, roughly 105-110°F (40-43°C). Exceeding these temperatures, even by a few degrees, can initiate the process that leads to graininess.
Consider melting chocolate directly in a pan over high heat – a surefire way to invite graininess. The intense, direct heat causes localized hot spots, quickly burning the chocolate solids before the cocoa butter has a chance to melt evenly. Even in a microwave, using too high a power setting or heating for too long without stirring can lead to overheating and the subsequent grainy texture.
For instance, melting 4 ounces of chocolate chips might take just 60-90 seconds total in a microwave on medium power, with crucial stops every 20-30 seconds to stir. Rushing this process by microwaving for a full minute straight is likely to result in overheated, grainy chocolate. Proper grainy melted chocolate troubleshooting often involves addressing the initial heating method.
Water Contamination: A Common Mistake in Chocolate Melting
One of chocolate's biggest enemies is water. Even a tiny drop of water introduced while melting can cause the chocolate to seize instantly, turning it from a smooth liquid into a thick, grainy, unmanageable paste. This happens because the sugar and cocoa solids in the chocolate are hydrophilic, meaning they attract and absorb water.
When water is present, these particles clump together around the water molecules, displacing the cocoa butter and creating a stiff, grainy texture. This is why it's crucial to use completely dry bowls, utensils, and ensure no steam or condensation comes into contact with your melting chocolate.
A common scenario for water contamination is using a double boiler method where the water in the bottom pot is boiling too vigorously, causing steam to rise and potentially enter the bowl of chocolate. Another frequent issue is washing a spoon or spatula and not drying it thoroughly before using it to stir the melting chocolate. Even residual moisture from previously melted ingredients can cause problems.
The sensitivity is quite high; some sources suggest that as little as a teaspoon of water can seize an entire pound of melted chocolate. This highlights why meticulous dryness is paramount when attempting to melt chocolate successfully.
Seizing: Understanding the Science Behind Grainy Chocolate
Seizing is the technical term for what happens when chocolate becomes thick, clumpy, and grainy, usually due to the introduction of even a small amount of water or overheating. It's a physical reaction where the cocoa solids and sugar particles, normally suspended smoothly within the cocoa butter, clump together. When water is introduced, these particles preferentially bind with the water instead of staying coated by the fat, leading to the clumping. The fat (cocoa butter) is then pushed out, resulting in that dry, grainy texture instead of a smooth, flowing liquid.
Overheating causes a similar effect but through a different mechanism. High heat can damage the crystalline structure of the cocoa butter and potentially burn the cocoa solids. This breakdown prevents the cocoa butter from effectively coating the particles, leading to them sticking together and creating graininess. While both water contamination and overheating result in seized/grainy chocolate, the presence of water often causes a more dramatic and immediate transformation. Understanding seizing is key to effective grainy melted chocolate troubleshooting, as the rescue methods can differ depending on the cause.
Using Low-Quality Chocolate: The Importance of Good Ingredients
The quality of the chocolate you use significantly impacts how well it melts and its susceptibility to becoming grainy. Lower-quality chocolates, especially those labeled as "baking chips" or "wafers," often contain additives like vegetable oils, stabilizers, and less cocoa butter compared to couverture or high-quality bar chocolate. These additives can affect the melting properties and make the chocolate more prone to seizing or separating when heated, even if you follow proper melting techniques. Chocolate with a higher percentage of cocoa butter melts more smoothly and is generally more stable.
For example, a high-quality dark chocolate couverture might contain around 30-40% cocoa butter and melt beautifully into a fluid state perfect for dipping or molding. In contrast, some chocolate chips designed to hold their shape during baking might contain less cocoa butter and more stabilizers or alternative fats, leading to a thicker, less smooth melt that is more likely to become grainy or pasty.
While you can melt lower-quality chocolate, it requires even more careful temperature control and attention to avoid graininess. Investing in better quality chocolate, especially for applications where smoothness is key (like ganache or coatings), can significantly reduce the chances of encountering grainy melted chocolate.
Grainy Melted Chocolate Troubleshooting: Step-by-Step Solutions
Rescue Mission: Fixing Slightly Grainy Chocolate
If your melted chocolate has just started to show signs of graininess or thickness, there might still be hope! The key is often to reintroduce a fat source to try and smooth out the clumped particles. This method works best when the graininess is due to slight overheating or minor moisture contamination, rather than severe burning or significant water ingress. It's a common grainy melted chocolate troubleshooting technique used by bakers to salvage a batch.
Adding Fat: Using Butter or Vegetable Oil to Smooth Chocolate
One effective way to attempt to rescue slightly grainy chocolate is by stirring in a small amount of fat. Adding a neutral-flavored oil, like vegetable oil, canola oil, or melted coconut oil, or even a little melted butter, can help re-coat the cocoa solids and sugar particles, smoothing out the texture. Start by adding just a teaspoon of fat per cup of grainy chocolate and stir vigorously. If it's still grainy, add another half teaspoon and continue stirring.
Be careful not to add too much fat, as this can make the chocolate greasy and prevent it from setting properly. For instance, adding 1-2 teaspoons of vegetable oil to 8 ounces of slightly grainy chocolate can sometimes restore a usable, albeit potentially less shiny, consistency. This method is more likely to succeed if the chocolate hasn't been severely burned.
Incorporating Liquids Carefully: Avoiding Water Contamination
While water causes seizing, incorporating specific liquids correctly into already seized chocolate can sometimes help, but this is a more advanced and risky maneuver primarily used when the chocolate has seized due to water contamination. The idea is counter-intuitive: add more liquid (like hot cream, butter, or even hot milk or water) to completely disperse the clumped particles.
This isn't about making it smooth and dippable again but turning it into a sauce or ganache-like consistency. For example, if 8 ounces of chocolate seized from a drop of water, you might try whisking in several tablespoons of hot cream (like 4-6 tbsp or more) until it becomes a smooth, pourable sauce.
This won't bring it back to its original melted state, but it can make it usable for certain applications like a sauce or filling. This method requires adding enough liquid to fully dissolve the sugar and disperse the cocoa solids, essentially creating a different product altogether.
Preventing Grainy Chocolate: Best Melting Practices
Preventing grainy melted chocolate is always easier than fixing it. By adopting careful melting techniques, you can consistently achieve smooth, glossy results. These best practices are fundamental to successful chocolate work in baking.
The Double Boiler Method: Gentle and Effective Chocolate Melting
The double boiler (or bain-marie) method is widely considered the safest and most reliable way to melt chocolate, as it provides gentle, indirect heat. Place chopped chocolate or chips in a heatproof bowl that fits snugly over a pot of simmering (not boiling) water. The bottom of the bowl should not touch the water. The steam from the simmering water gently heats the bowl, melting the chocolate slowly and evenly.
Stir occasionally with a dry spatula until only a few small lumps remain, then remove the bowl from the heat and stir until completely smooth using the residual heat. This method significantly reduces the risk of overheating. Melting 12 ounces of chocolate this way typically takes 5-10 minutes, depending on the heat and chocolate type, offering ample time to monitor and control the process.
Microwave Melting: Tips for Avoiding Overheating
Melting chocolate in the microwave is faster but requires more vigilance to prevent overheating. Use a microwave-safe bowl and chop the chocolate into small, uniform pieces for even melting. Heat on medium power (usually 50%) in short intervals, typically 20-30 seconds at a time. After each interval, remove the bowl and stir thoroughly, even if the chocolate doesn't look melted. The residual heat continues to melt the chocolate.
Continue heating and stirring in short bursts until the chocolate is mostly melted, with just a few small lumps remaining. Remove from the microwave and stir until completely smooth. For example, melting 6 ounces of chocolate chips might involve 3-4 intervals of 25 seconds on 50% power with stirring in between. This stop-and-stir approach prevents hot spots and ensures controlled melting, minimizing the risk of grainy melted chocolate.
Choosing the Right Chocolate: Selecting High-Quality Options
As mentioned earlier, the quality of your chocolate matters. For melting, especially for coatings, ganaches, or molding, opt for high-quality bar chocolate or couverture chocolate specifically designed for melting. These chocolates have a higher cocoa butter content and melt more smoothly and predictably than standard chocolate chips, which often contain stabilizers to help them hold their shape during baking.
Look for chocolate with a higher percentage of cocoa solids for richer flavor, but remember that higher percentages also require more careful temperature control. While you can melt chocolate chips, using a better quality chocolate designed for melting will give you a superior texture and make the melting process itself less prone to graininess, simplifying your grainy melted chocolate troubleshooting efforts.
Preventing Grainy Chocolate: Expert Tips from BakeWithEase
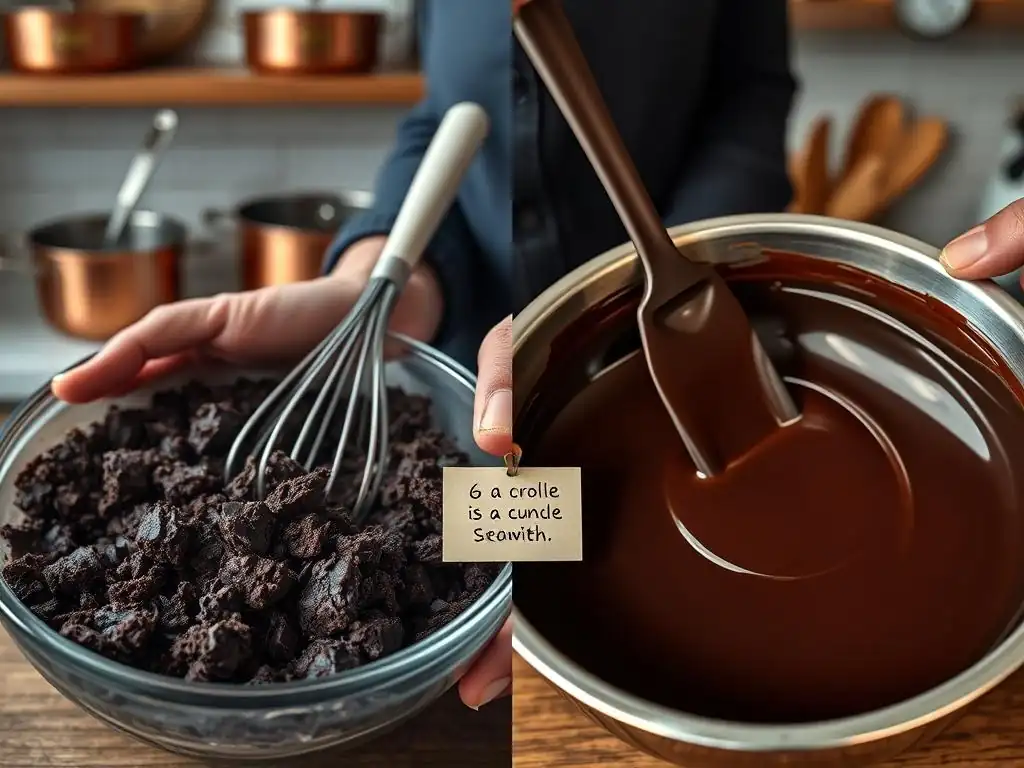
Beyond the specific melting methods, a few general principles can significantly improve your chances of achieving perfect melted chocolate every time. These tips are fundamental for any baker working with chocolate.
Control the Heat: Maintaining Optimal Chocolate Melting Temperatures
Precise temperature control is paramount. Whether using a double boiler or microwave, the goal is gentle, indirect heat. Avoid high heat settings and never place chocolate directly over a flame or hot burner. For microwave melting, use medium power and short bursts.
For a double boiler, the water should be simmering gently, not boiling violently. Using an instant-read thermometer can be helpful, aiming for the target temperatures (around 115-120°F for dark, 105-110°F for milk/white). Removing the chocolate from the heat when it's mostly melted and letting the residual heat finish the job is a key technique to prevent exceeding the optimal temperature. This proactive approach is the best form of grainy melted chocolate troubleshooting.
Avoid Water at All Costs: Ensuring a Dry Melting Environment
Repeat after us: Water is the enemy of melting chocolate. Ensure your bowl, spatula, and any other utensils that will touch the chocolate are completely dry. When using a double boiler, make sure the simmering water isn't boiling so vigorously that steam can reach the chocolate. If you're working in a humid environment, be extra cautious. Even condensation can cause problems. Some bakers avoid covering the melting chocolate bowl to prevent condensation from dripping back into the chocolate. A single drop can ruin a batch, so meticulous dryness is non-negotiable.
Stir Gently and Infrequently: Minimizing Disruption During Melting
While stirring is necessary for even melting and preventing hot spots, over-stirring can actually be detrimental. Constant stirring can introduce air bubbles and potentially cause the cocoa solids to clump together if the chocolate isn't melting evenly. Stir just enough to distribute the heat and ensure the chocolate is melting uniformly. For the double boiler, stir every minute or two.
For the microwave, stir thoroughly after each heating interval. Once the chocolate is mostly melted, you can stir more continuously off the heat to achieve a smooth consistency. Don't feel the need to constantly agitate the chocolate throughout the entire process.
Use a Clean and Dry Bowl: Preparing for Successful Chocolate Melting
Starting with a clean bowl is essential, but ensuring it is absolutely dry is even more critical. Any residual water or even fat from previous uses can interfere with the melting process and contribute to graininess or seizing. Wash your bowl thoroughly and dry it completely with a clean towel before adding the chocolate.
If you're particularly concerned about moisture, you can even briefly warm the dry bowl in a low oven or microwave to ensure any hidden moisture evaporates. A clean, dry foundation is the first step to smooth, perfectly melted chocolate and avoids needing to perform grainy melted chocolate troubleshooting later.
Using Grainy Melted Chocolate: Salvaging for Baking Projects
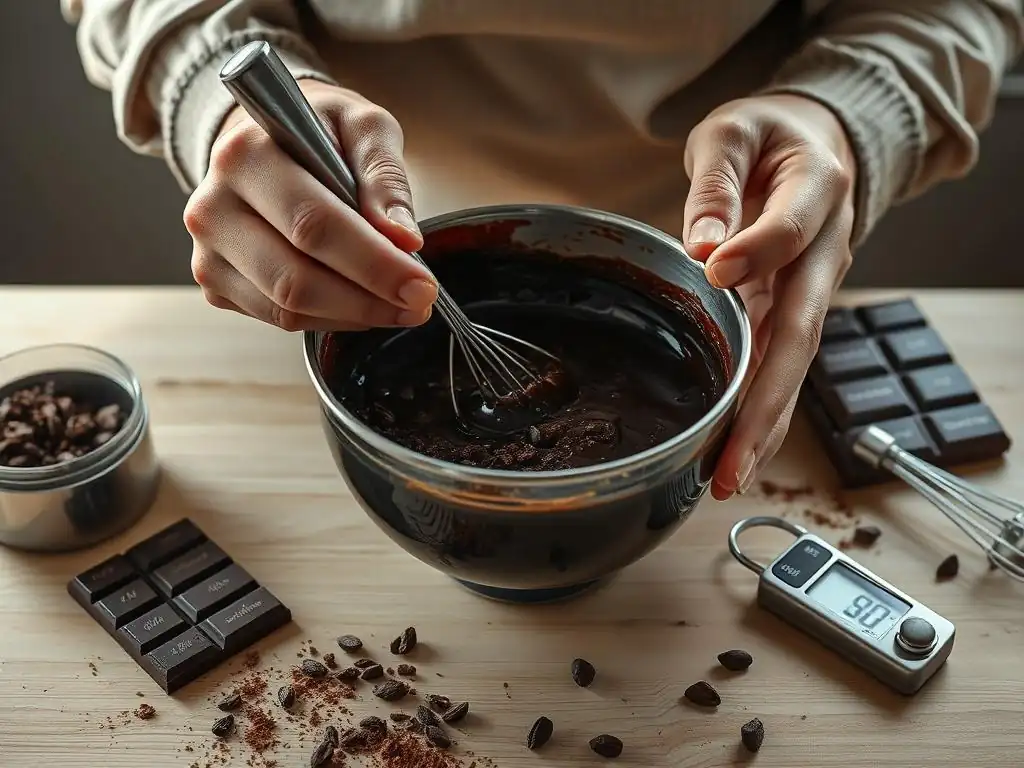
So, despite your best efforts, you ended up with grainy melted chocolate. Don't despair entirely! While it might not be suitable for dipping or molding where a smooth finish is paramount, grainy chocolate can often be salvaged and used in other baking applications where the texture is less critical or can be masked.
Adjusting Recipes: Working with Less-Than-Perfect Melted Chocolate
If your melted chocolate is only slightly grainy or just a bit thicker than desired, you might still be able to use it by adjusting the recipe slightly. For instance, if adding it to a cake batter, the graininess might not be noticeable once baked. If using it in brownies, the fudgy texture can sometimes hide minor imperfections.
You might need to slightly increase the liquid or fat in the overall recipe to compensate for the thicker, grainy chocolate, but this requires careful judgment to avoid altering the final product's consistency too much. This is a form of on-the-fly grainy melted chocolate troubleshooting within the context of a larger recipe.
Incorporating into Ganache: Masking Graininess in Creamy Desserts
Grainy chocolate can often be successfully incorporated into ganache. Ganache is made by combining melted chocolate with hot cream. When you whisk the hot cream into the grainy chocolate, the liquid and fat from the cream can help to smooth out the texture.
While it might not produce a ganache as flawlessly smooth as one made with perfectly melted chocolate, it can often become smooth enough for fillings, frostings, or even pourable glazes, especially if whipped later. For example, if you have 8 ounces of grainy chocolate, heating 1 cup of heavy cream until just simmering and then pouring it over the chocolate and whisking vigorously can often create a usable, creamy texture, effectively masking the initial graininess.
Using in Chocolate Bark: Embracing the Texture in Certain Applications
Perhaps the easiest way to salvage grainy melted chocolate is to use it in applications where texture variations are acceptable or even desired, such as chocolate bark. Melt the chocolate (even if it's grainy), spread it thinly on parchment paper, and sprinkle with nuts, dried fruit, pretzels, or other toppings. Once hardened, break it into pieces.
In chocolate bark, the focus is often on the mix of textures from the additions, and the slight graininess of the chocolate base can be less noticeable or even blend in with the overall rustic feel. This avoids the need for complex grainy melted chocolate troubleshooting and simply repurposes the ingredient.
Conclusion: Mastering Chocolate Melting for Baking Success
Achieving perfectly smooth, glossy melted chocolate is a fundamental skill in baking, and encountering grainy melted chocolate is a common frustration. By understanding the primary causes—overheating, water contamination, and using low-quality chocolate—you can take proactive steps to prevent this issue. Employing gentle melting methods like the double boiler, using the microwave carefully with short intervals, and always ensuring your equipment is completely dry are crucial preventative measures.
Should you still find yourself with slightly grainy chocolate, techniques like adding a small amount of fat or incorporating it into a ganache can help salvage your ingredient for other uses. While grainy melted chocolate troubleshooting is possible, prevention remains the best strategy. With a little practice and attention to these details, you'll be melting chocolate like a pro, ensuring your baked goods benefit from that luxurious, smooth chocolate finish every time. Happy baking!
Frequently Asked Questions
Why does my melted chocolate sometimes look grainy instead of smooth?
Grainy melted chocolate is usually caused by seizing, where the sugar particles in the chocolate clump together. This happens when moisture is introduced or the chocolate is overheated.
How can I prevent my chocolate from seizing during melting?
The best way to prevent seizing is to ensure your equipment is completely dry and to melt the chocolate slowly and gently. Using a double boiler or microwave at low power is recommended.
What if my chocolate has already seized? Can I save it?
Sometimes, yes! Adding a small amount of hot liquid (like water or milk) very slowly can sometimes re-emulsify the mixture. Be careful, too much will ruin it!
Is there a particular type of chocolate more prone to seizing?
While all chocolate can seize, cheaper chocolate with lower cocoa butter content is generally more prone to seizing. High-quality chocolate with a higher fat content is more forgiving.
What temperature should I aim for when melting chocolate to avoid graininess?
Ideally, you want to keep your chocolate below 120°F (49°C). Use a thermometer to monitor the temperature and avoid overheating, which is a common cause of grainy chocolate.
Final Reflection: The Pursuit of Smooth Chocolate Bliss
The quest for flawlessly smooth melted chocolate is more than just a culinary pursuit; it's a testament to the power of understanding the fundamental principles of ingredient behavior. A seemingly simple task, melting chocolate, can quickly turn frustrating when faced with grainy, unappealing results. This article has explored the common culprits – from water contamination to overheating – and offered practical solutions to achieve that luxurious, glossy finish we all crave.
The impact of perfectly melted chocolate extends far beyond the individual dessert. It's a cornerstone of countless recipes, from decadent cakes and rich ganaches to elegant bonbons and sophisticated pastries. The subtle difference between a smooth, velvety texture and a grainy, disappointing one can significantly impact the overall culinary experience. As a passionate baker myself, I've learned firsthand the importance of meticulous attention to detail in this seemingly simple process. The details are not the details. They make the design.
– Charles Eames. This quote perfectly encapsulates the importance of understanding the nuances of chocolate melting.
Now, I invite you to take what you've learned and apply it to your next chocolate-making endeavor. Don't be discouraged by past failures; instead, view them as opportunities to refine your technique and deepen your understanding. Remember the key takeaways: control your temperature, avoid moisture, and choose your chocolate wisely. With a little practice and attention to detail, you'll be well on your way to creating chocolate masterpieces that are as smooth and satisfying as they are delicious. Embrace the process, and savor the sweet reward of perfectly melted chocolate.
Rediscover Smooth Chocolate: Transform Your Baking!
Thanks for taking the time to learn about grainy chocolate – we hope you now feel confident in avoiding this common baking mishap! Ready to put your newfound knowledge into practice?
- Master the art of melting chocolate: Try our foolproof guide (it's on the website!) to perfect melting techniques for flawlessly smooth results every time. This is your key to unlocking delicious, professional-quality baked goods.
- Share your baking successes (and failures!): Join our vibrant community on social media and let’s chat about your chocolate melting experiences. We love seeing your creations!
- Consider experimenting with different types of chocolate: Did you know that using specific kinds of chocolate can significantly impact the texture of your final product? Explore this further in our upcoming articles.
So, what’s your favorite way to melt chocolate and ensure a perfectly smooth texture? Let's discuss!