
Bake Pumpernickel Bread with Ease: A Simple Guide

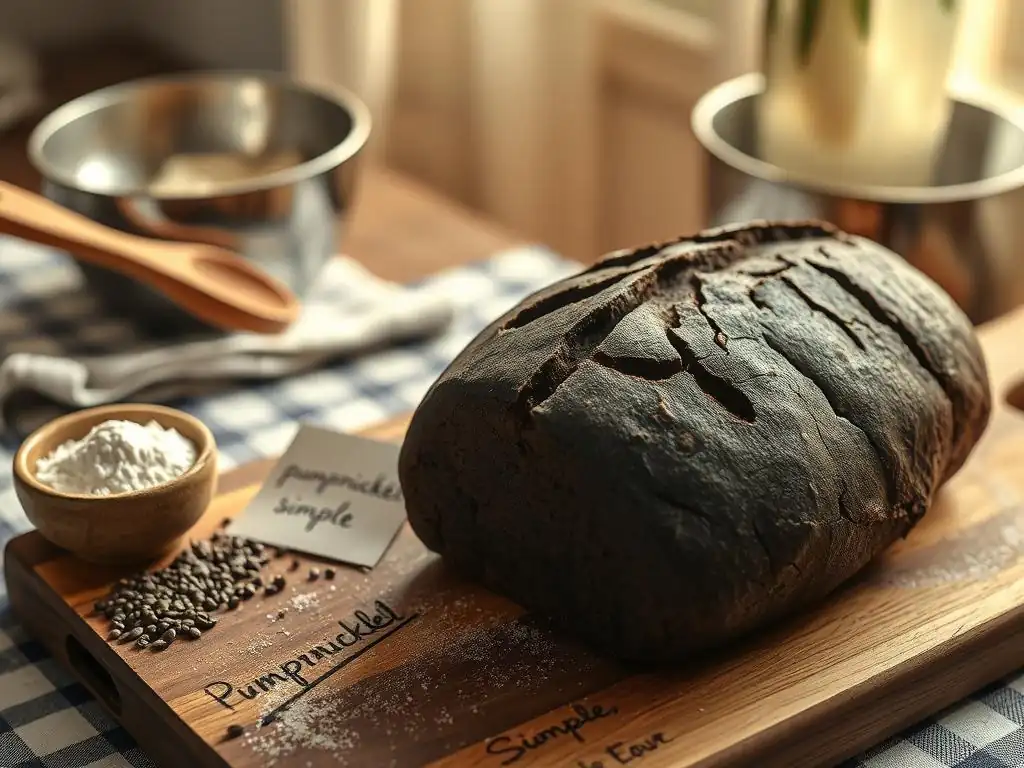
Welcome to BakeWithEase, your trusted companion on your baking journey! Ever dreamt of the rich, earthy flavors of pumpernickel bread, but thought it was too complex to tackle at home? Think again! Dive into our easy pumpernickel bread recipe and discover how simple it is to create this classic loaf in your very own kitchen. Curious about the secret to its distinctive taste and satisfying texture? Let's unlock the secrets of regional and cultural baking, one delicious slice at a time...
- Introduction to Easy Pumpernickel Bread Baking
- Gathering Your Ingredients for Authentic Pumpernickel Bread
-
Step-by-Step: Your Easy Pumpernickel Bread Recipe Guide
- Step 1: Preparing the Dough for Your Pumpernickel Loaf
- Step 2: The First Rise - Allowing the Dough to Develop Flavor
- Step 3: Shaping Your Pumpernickel Bread Loaf
- Step 4: The Second Rise - Achieving the Perfect Texture
- Step 5: Baking Your Homemade Pumpernickel Bread
- Step 6: Cooling and Slicing Your Freshly Baked Pumpernickel
- Tips and Tricks for Perfect Pumpernickel Bread Every Time
- Serving Suggestions: Pairing Your Pumpernickel Bread
- Conclusion: Mastering the Art of Easy Pumpernickel Bread Baking
-
Frequently Asked Questions
- What makes this pumpernickel bread recipe "easy"?
- What kind of flour is best for an easy pumpernickel bread?
- Can I use a bread machine for this easy pumpernickel bread recipe?
- What gives pumpernickel bread its characteristic dark color?
- How long does this easy pumpernickel bread recipe take from start to finish?
- Final Reflection: The Enduring Allure of Homemade Pumpernickel
- Unleash Your Inner Baker: Craft the Perfect Pumpernickel
Introduction to Easy Pumpernickel Bread Baking
Discover the Rich Flavors of Homemade Pumpernickel Bread
Pumpernickel bread is much more than just a dark loaf; it's a journey into deep, earthy, and slightly sweet flavors, a staple of German baking, particularly from the Westphalia region. Traditionally, it's a dense, dark rye bread, often steamed or baked at low temperatures for extended periods – sometimes up to 24 hours – which contributes to its signature deep brown color and complex, almost malty taste.
This unique profile comes from the slow breakdown of starch in the rye flour during the long, moist cooking process, creating natural sugars and deepening the color without relying solely on coloring agents. While traditional methods can be time-consuming, modern easy pumpernickel bread recipe variations capture the essence of this classic with simpler techniques.
The characteristic flavor isn't just about the rye and the long bake; it's also influenced by ingredients like molasses, cocoa powder, or even coffee, which enhance the color and add layers of sweetness and depth. Unlike many wheat breads that aim for a light, airy crumb, authentic pumpernickel embraces density and moisture.
The texture is typically moist and somewhat chewy, making it an excellent base for strong flavors like smoked fish, aged cheeses, or hearty spreads. Learning to bake this bread at home, even with an easy pumpernickel bread recipe, allows you to control the intensity of these flavors and the texture, bringing a taste of German baking tradition right into your kitchen.
Why This Easy Pumpernickel Bread Recipe is Perfect for Beginners
Embarking on baking complex-sounding breads can feel intimidating, but this easy pumpernickel bread recipe is specifically designed to be approachable for newcomers. Many traditional pumpernickel recipes involve multi-day processes or specialized equipment, but this guide simplifies the steps without sacrificing the distinctive flavor and texture.
We focus on readily available ingredients and standard kitchen tools, breaking down each stage into manageable tasks. For instance, instead of a multi-stage starter or extremely long bake times, we utilize active dry yeast for a reliable rise and a more conventional baking schedule, typically under 2 hours, though the low temperature still requires patience.
The beauty of this easy pumpernickel bread recipe lies in its forgiving nature. Rye flour, while different from wheat, is manageable once you understand its characteristics, and the added moisture from ingredients like molasses and coffee helps create a dough that's less sticky and easier to handle than some high-hydration wheat doughs. We provide clear instructions on mixing, kneading (minimal required!
), rising, and baking, ensuring that even if you've never baked a loaf of bread before, you can achieve a satisfying result. Think of it as your first step into the rewarding world of baking hearty, flavorful rye breads with confidence and minimal fuss.
Gathering Your Ingredients for Authentic Pumpernickel Bread
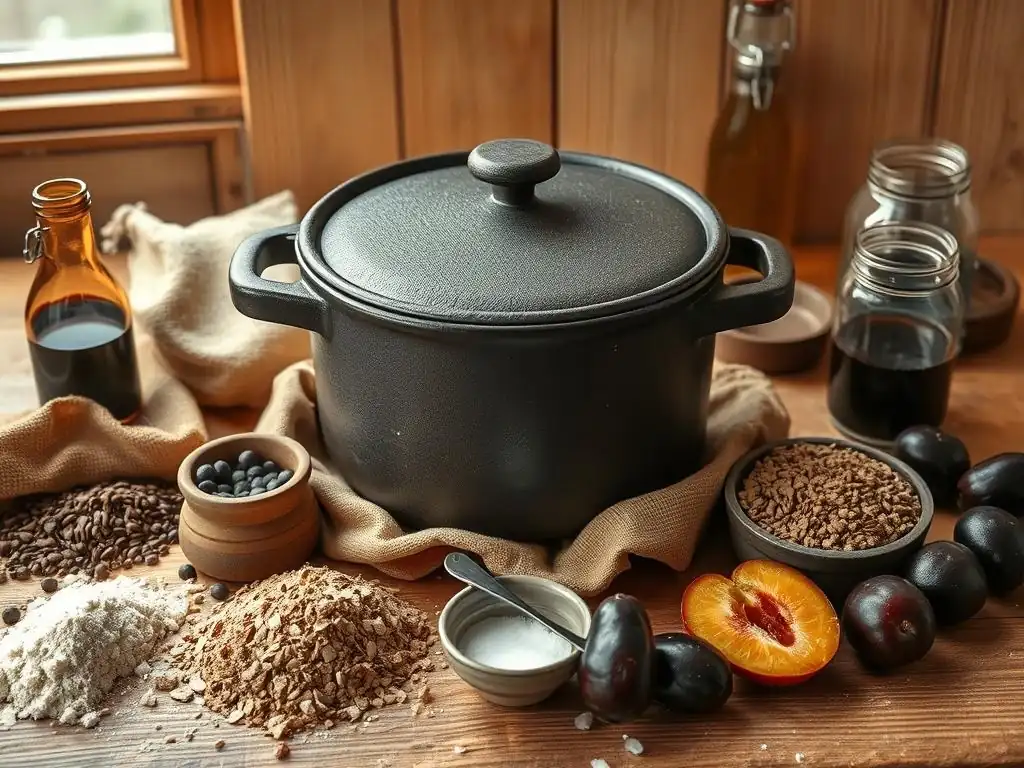
Essential Ingredients for a Simple Pumpernickel Bread Recipe
To create a delicious loaf following this easy pumpernickel bread recipe, you'll need a few key components. The foundation is, of course, flour, specifically a combination that includes dark rye flour. You'll also typically need some all-purpose or bread flour to provide structure, as rye flour has lower gluten content.
Leavening comes from active dry yeast, which requires warm liquid and a touch of sugar to get going. For that signature color and deep flavor, you'll need molasses – blackstrap molasses is traditional but any dark molasses works. Coffee, usually brewed strongly, is another common ingredient that contributes moisture, color, and a subtle bitterness that balances the sweetness.
Beyond these core elements, salt is crucial for flavor, and a touch of sugar or honey helps activate the yeast and adds a hint of sweetness. Some recipes include cocoa powder, not for chocolate flavor, but to deepen the color further and add a slight earthy note. Caraway seeds are optional but highly recommended for their classic pairing with rye bread, adding a distinctive aromatic warmth.
Ensure your ingredients are fresh, especially the yeast and flours, as this significantly impacts the success of your easy pumpernickel bread recipe. Having everything measured and ready before you start makes the process smoother and more enjoyable.
Understanding the Role of Rye Flour in Pumpernickel
Rye flour is the star of pumpernickel bread, and understanding its properties is key to success with any easy pumpernickel bread recipe. Unlike wheat flour, rye contains less gluten-forming protein. The proteins it does contain don't form the same strong, elastic network that gives wheat bread its airy structure. Instead, rye flour contains pentosans, complex carbohydrates that absorb large amounts of water and contribute to the dense, moist texture characteristic of rye breads. This high water absorption means rye doughs are often stickier and wetter than wheat doughs and require less kneading to avoid becoming gummy.
The type of rye flour used also impacts the final bread. Dark rye flour, which includes more of the bran and germ, gives pumpernickel its deep color and robust flavor. Medium or light rye flour results in a lighter-colored and milder-tasting loaf.
Because of the lower gluten, rye breads typically don't rise as high as wheat breads, resulting in a denser crumb. This is not a flaw but a characteristic feature of pumpernickel. Embracing the unique qualities of rye flour is essential when following an easy pumpernickel bread recipe; don't expect it to behave exactly like a white wheat loaf.
The Importance of Molasses and Coffee in Pumpernickel's Flavor
Molasses and coffee are often included in an easy pumpernickel bread recipe for their significant contributions to both the bread's appearance and its complex flavor profile. Molasses, particularly dark or blackstrap varieties, provides much of the deep brown color associated with pumpernickel. Beyond color, it adds a unique, slightly bitter sweetness and a depth of flavor that complements the earthiness of the rye.
It also helps keep the bread moist and contributes to a soft crumb over time. A typical recipe might use anywhere from 2 to 4 tablespoons of molasses per loaf, depending on the desired intensity of flavor and color.
Coffee, usually brewed strongly and used as part of the liquid component, serves multiple purposes in an easy pumpernickel bread recipe. Like molasses, it enhances the dark color of the bread. More importantly, it adds a subtle roasted note and bitterness that beautifully balances the sweetness from the molasses and the inherent flavor of the rye.
Using coffee instead of just water also increases the moisture content, contributing to the bread's characteristic moist density. Approximately 1 to 1.5 cups of brewed coffee might be used in a recipe yielding one standard loaf, providing both essential liquid and a boost to the overall depth of flavor.
Step-by-Step: Your Easy Pumpernickel Bread Recipe Guide
Step 1: Preparing the Dough for Your Pumpernickel Loaf
Activating the Yeast for a Perfect Pumpernickel Rise
The first crucial step in this easy pumpernickel bread recipe is activating your yeast. This ensures your bread will rise properly. You'll need about 2 ¼ teaspoons (one standard packet) of active dry yeast. Warm your liquid – typically water or brewed coffee – to a temperature between 105°F and 115°F (40°C-46°C).
If the liquid is too cold, the yeast won't activate; too hot, and you'll kill it. Stir the yeast into the warm liquid along with a pinch of sugar or a teaspoon of molasses, which provides food for the yeast. Let this mixture sit for 5-10 minutes. You should see it become foamy and bubbly on the surface; this indicates the yeast is alive and ready to work its magic in your easy pumpernickel bread recipe.
Mixing the Dry and Wet Ingredients for the Dough
Once your yeast is active, it's time to combine everything. In a large mixing bowl, whisk together your dry ingredients: the dark rye flour, all-purpose or bread flour, salt, and any optional additions like cocoa powder or caraway seeds. In a separate bowl, combine your activated yeast mixture with the molasses (if not added to the yeast), and any other wet ingredients like oil or melted butter.
Pour the wet ingredients into the dry ingredients. Using a sturdy spoon or a stand mixer with a dough hook, mix until everything is just combined and a shaggy dough forms. Rye dough tends to be sticky, so don't be alarmed if it's not as smooth as a wheat dough.
Mix for about 5-7 minutes if using a stand mixer, or 8-10 minutes by hand, until the dough comes together but is still quite soft. This minimal mixing is sufficient for an easy pumpernickel bread recipe focusing on rye.
Step 2: The First Rise - Allowing the Dough to Develop Flavor
Creating the Ideal Environment for the Dough to Rise
After mixing, your pumpernickel dough needs time to rise and develop flavor. Transfer the dough to a lightly oiled bowl, turning it to coat all sides. Cover the bowl tightly with plastic wrap or a clean kitchen towel. For the first rise, find a warm, draft-free spot.
An oven with the light on (but not heated) is often ideal, providing a consistent temperature typically around 80-90°F (27-32°C). The dough should double in size, which usually takes about 1 to 1.5 hours for an easy pumpernickel bread recipe using active dry yeast. The exact time can vary depending on the temperature of your room and the vitality of your yeast.
Understanding the Dough's Transformation During the Rise
During the first rise, several important processes occur. The yeast is busy consuming sugars and producing carbon dioxide gas, which is trapped within the dough's structure, causing it to expand. This expansion is what makes the bread lighter in texture. Simultaneously, enzymes in the flour are breaking down complex carbohydrates, and the gluten (from the wheat flour component) is relaxing and developing a stronger network.
This is also when much of the flavor development happens, particularly with rye flour. The longer, slower rise allows for more complex flavors to emerge. You'll notice the dough becoming noticeably larger and feeling lighter and more airy when gently poked. This transformation is crucial for achieving a flavorful and well-textured loaf from your easy pumpernickel bread recipe.
Step 3: Shaping Your Pumpernickel Bread Loaf
Gently Deflating and Shaping the Dough
Once the dough has doubled in size during the first rise, it's time to shape it into a loaf. Gently turn the dough out onto a lightly floured surface. Avoid adding too much extra flour, as this can make the final bread dry. The goal is to deflate the dough just enough to redistribute the gas bubbles, not to knock all the air out. Gently press the dough into a rectangle or square.
Then, fold the dough in half lengthwise, pressing the seam to seal. Repeat this fold, or roll the dough tightly into a log shape, tucking the ends underneath to create tension on the surface. The goal is to create a relatively smooth, taut surface on your loaf, which helps it rise evenly in the oven. This simple shaping method works well for an easy pumpernickel bread recipe.
Preparing Your Baking Pan for the Pumpernickel
Proper pan preparation is essential to prevent your pumpernickel loaf from sticking. For this easy pumpernickel bread recipe, a standard 9x5-inch loaf pan is ideal. Grease the pan generously with butter, shortening, or cooking spray. For extra insurance against sticking, you can also flour the greased pan or line it with parchment paper, leaving some overhang on the sides to make lifting the baked loaf out easier.
Place your shaped dough seam-side down into the prepared pan. Ensure the loaf fits comfortably, with room to expand during the second rise and baking. A well-greased and potentially lined pan ensures your beautiful homemade pumpernickel bread releases easily after baking.
Step 4: The Second Rise - Achieving the Perfect Texture
Monitoring the Dough's Progress
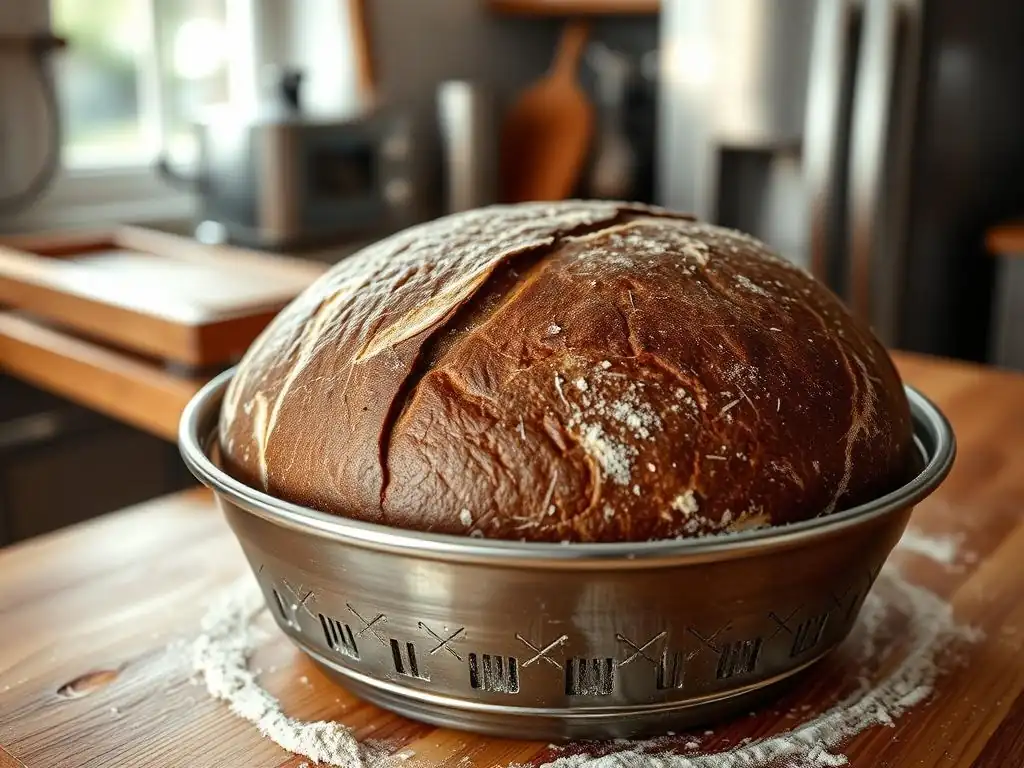
The second rise, also known as proofing, is the final rise before baking and is critical for achieving a light and airy texture in your easy pumpernickel bread recipe. Cover the loaf pan loosely with plastic wrap or a light kitchen towel to prevent the dough from drying out. Place the pan in a warm, draft-free spot, similar to the first rise location. The dough will continue to expand, though typically not quite doubling this time.
You're looking for the dough to increase by about 50-75% in volume and appear visibly puffy. This usually takes 30-60 minutes, depending on the ambient temperature. To check if it's ready, gently press the dough with a fingertip; if the indentation springs back slowly (not immediately, and not staying completely sunken), it's perfectly proofed.
Ensuring a Light and Airy Pumpernickel
While pumpernickel is known for its density compared to wheat bread, proper proofing is still vital for the best possible texture in an easy pumpernickel bread recipe. Under-proofing will result in a dense, heavy loaf with poor oven spring (the final burst of rising in the oven). Over-proofing can cause the dough to collapse in the oven or result in a coarse, uneven crumb.
By monitoring the dough's progress and using the fingertip test, you can ensure it reaches the optimal stage. The goal is a loaf that is light and airy for a rye bread, providing a pleasant contrast to its rich flavor. Taking the time for this final rise makes a significant difference in the final quality of your homemade pumpernickel.
Step 5: Baking Your Homemade Pumpernickel Bread
Setting the Oven Temperature for Optimal Baking
Preheating your oven properly is a non-negotiable step for successful bread baking, and it's particularly important for this easy pumpernickel bread recipe. Pumpernickel is typically baked at a moderate temperature for a longer time than standard wheat bread to allow the flavors to deepen and the dense dough to cook through evenly. Preheat your oven to around 325°F to 350°F (160°C to 175°C).
Ensure the oven is fully preheated for at least 15-20 minutes after it signals it's reached the set temperature. This ensures the oven walls and rack are also heated, providing consistent heat around the loaf and promoting good oven spring. For an even better crust, some bakers place a baking stone or steel in the oven during preheating.
Baking Time and Internal Temperature for Pumpernickel
The baking time for pumpernickel bread following an easy pumpernickel bread recipe is longer than for many other loaves due to its density and the lower baking temperature. A standard loaf typically bakes for 60-90 minutes. The exact time will vary depending on your oven and the size of your loaf. To determine if the bread is done, the most reliable method is to check its internal temperature using an instant-read thermometer.
Pumpernickel bread is fully baked when the internal temperature reaches 195°F to 205°F (90°C to 96°C). The crust should be deep brown and firm, and the loaf should sound hollow when tapped on the bottom. If the crust is browning too quickly before the inside is done, you can loosely tent the loaf with aluminum foil for the remainder of the baking time.
Step 6: Cooling and Slicing Your Freshly Baked Pumpernickel
Allowing the Bread to Cool Completely
Perhaps the most challenging step after baking your easy pumpernickel bread recipe is waiting for it to cool. However, this step is absolutely crucial for the texture and flavor of rye bread. As the bread cools, moisture redistributes throughout the loaf, the internal structure sets properly, and the flavors continue to meld and develop. Cutting into a warm loaf of pumpernickel will result in a gummy, dense texture.
Immediately after removing the bread from the oven, carefully turn it out of the pan onto a wire cooling rack. Allow it to cool completely to room temperature, which can take 2-3 hours, or even longer for a very large or dense loaf. Patience here is rewarded with the best possible texture and flavor.
Slicing and Serving Your Delicious Pumpernickel
Once your homemade pumpernickel bread is completely cool, it's ready to be sliced and enjoyed. Because of its dense nature, pumpernickel is best sliced with a sharp serrated knife. Slice it into relatively thin pieces, about ¼ to ½ inch thick, depending on your preference.
The rich flavor and moist texture make it perfect for a variety of toppings and pairings. Serving it fresh is wonderful, but its flavor often deepens even further after resting for 24 hours. Enjoy the satisfaction of cutting into a loaf you made yourself, appreciating the distinct aroma and the beautiful deep color achieved through your easy pumpernickel bread recipe.
Tips and Tricks for Perfect Pumpernickel Bread Every Time
Troubleshooting Common Pumpernickel Baking Issues
Even with an easy pumpernickel bread recipe, you might encounter a few common issues. One frequent problem is a loaf that is too dense or heavy. This can be caused by several factors: using inactive yeast, not allowing sufficient rising time (under-proofing), or using too much flour during mixing or shaping.
Ensure your yeast is fresh and activated properly, give the dough adequate time to rise until visibly puffy (using the fingertip test), and measure your flour accurately, using the scoop-and-level method. Another issue can be a loaf that spreads too much rather than rising upwards; this might indicate over-proofing or insufficient surface tension created during shaping. Try giving the dough a slightly tighter shape before the second rise.
Sometimes, the flavor might seem a bit flat or bitter. If it's flat, you might need to increase the amount of molasses or coffee slightly in your easy pumpernickel bread recipe in future attempts, or ensure you're using dark molasses for maximum flavor. Bitterness can sometimes come from over-baking or using too much cocoa powder if included; check the internal temperature for doneness to avoid excessive baking time.
If the crust is too hard, try covering the loaf loosely with foil during the last part of baking. By paying attention to these details and making small adjustments, you can refine your technique and achieve perfect pumpernickel bread consistently.
Enhancing the Flavor of Your Easy Pumpernickel Bread Recipe
While the base easy pumpernickel bread recipe provides a wonderful foundation, there are several ways to customize and deepen its flavor profile. One classic addition is caraway seeds; incorporating 1 to 2 teaspoons into the dry ingredients before mixing adds a warm, slightly anise-like note that pairs perfectly with rye. For a richer color and a hint of complexity without sweetness, add 1 to 2 tablespoons of unsweetened cocoa powder to the dry ingredients. This is a common technique in many pumpernickel recipes to enhance the dark hue.
Another way to enhance the flavor is by adjusting the sweetener. While molasses is traditional, you could experiment with dark honey or maple syrup, keeping in mind they will slightly alter the characteristic taste. Some bakers also add a small amount of instant espresso powder (around 1-2 teaspoons) to the liquid instead of or in addition to brewed coffee for a more intense coffee flavor.
Incorporating a tablespoon of apple cider vinegar into the liquid can also help tenderize the crumb and enhance the slightly tangy notes often found in rye breads. These simple additions can elevate your easy pumpernickel bread recipe to new heights.
Storing Your Homemade Pumpernickel Bread for Freshness
Proper storage is key to keeping your delicious homemade pumpernickel bread fresh and moist. Once the bread is completely cooled, store it at room temperature. Avoid refrigerating pumpernickel, as this can actually make it go stale faster. The best way to store it is wrapped tightly to prevent it from drying out. You can wrap the whole loaf or sliced portions in plastic wrap, then place it in a bread box or a resealable plastic bag. Stored this way, your pumpernickel bread should stay fresh and moist for about 3 to 4 days.
For longer storage, pumpernickel bread freezes exceptionally well. Once cooled, slice the loaf (or leave it whole) and wrap it very tightly in plastic wrap, followed by a layer of aluminum foil or place it in a freezer-safe bag. Label it with the date. Frozen pumpernickel bread can maintain its quality for up to 3 months.
To use, simply thaw slices as needed at room temperature or toast them directly from frozen. Thawing a whole loaf is best done overnight on the counter while still wrapped. This ensures you can enjoy your easy pumpernickel bread recipe creation for weeks to come.
Serving Suggestions: Pairing Your Pumpernickel Bread
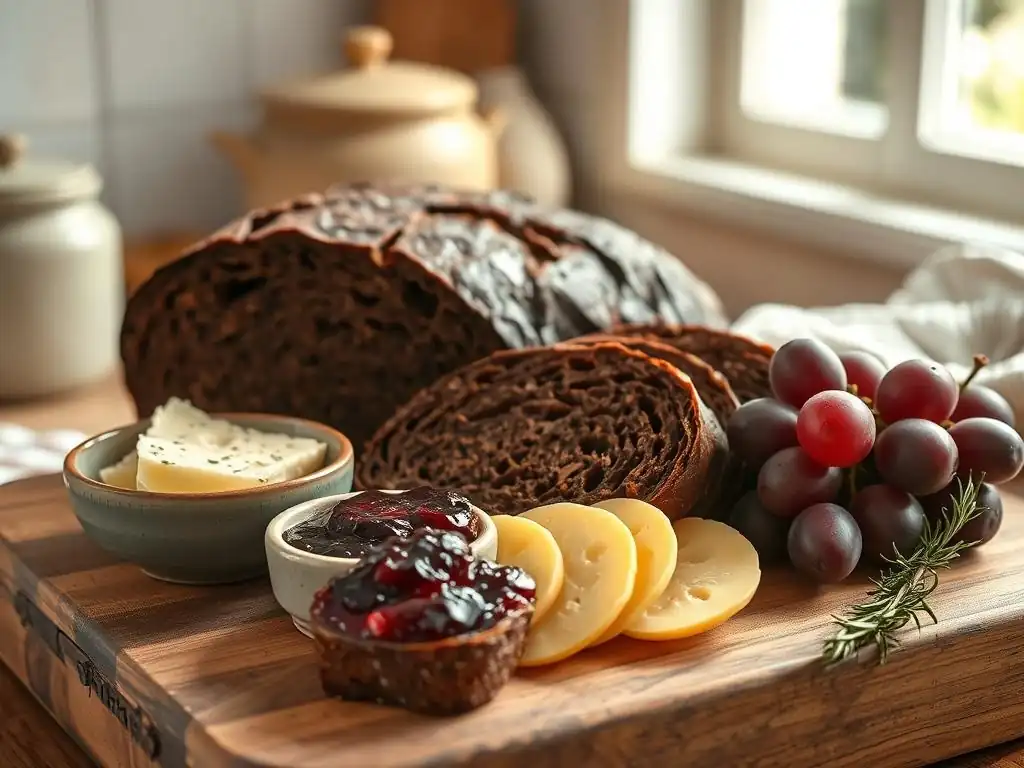
Delicious Ways to Enjoy Your Homemade Pumpernickel
Your freshly baked pumpernickel bread, made from this easy pumpernickel bread recipe, is incredibly versatile and pairs well with a wide range of flavors. Its dense texture and robust taste make it an excellent base for open-faced sandwiches. Classic pairings include cream cheese and smoked salmon, thinly sliced ham or roast beef with mustard, or sharp cheeses like aged cheddar or Gouda. The bread's slight sweetness also works well with savory spreads like liver pâté or a simple schmear of butter.
Beyond sandwiches, pumpernickel is fantastic toasted. Toasted slices are perfect for dipping into hearty soups and stews, like a traditional German lentil soup or a beef goulash. Try serving toasted pumpernickel alongside a cheese board, perhaps with some cornichons or pickled onions to complement the bread's earthy notes. Its unique flavor also makes it a great accompaniment to salads, especially those with strong flavors like a beet salad or a herring salad. Don't be afraid to experiment; the sturdy nature of pumpernickel holds up to bold flavors.
Complementary Flavors and Dishes
Pumpernickel bread's origins in German baking mean it naturally complements many dishes from that culinary tradition and neighboring regions. It's a perfect partner for cured meats like Westphalian ham or various types of German sausages. Strong, fermented flavors also work exceptionally well; think pickled herring (Matjes) served on a slice of pumpernickel, a Scandinavian classic. Cheeses that are firm and flavorful, such as Emmental, Gruyère, or a strong Muenster, are excellent choices, providing a nice textural and flavor contrast.
Hearty, rustic dishes are also ideal companions for pumpernickel bread. Serve it alongside a rich Sauerbraten or a comforting Eintopf (one-pot stew). The bread is sturdy enough to soak up sauces and gravies beautifully. For a simpler pairing, enjoy it with good quality butter and maybe a sprinkle of flaky sea salt. Its deep flavor profile means it can stand up to and enhance rich, savory dishes, making your easy pumpernickel bread recipe creation a welcome addition to many meals.
Conclusion: Mastering the Art of Easy Pumpernickel Bread Baking
Enjoy the Satisfaction of Baking Your Own Pumpernickel
Completing this easy pumpernickel bread recipe and pulling a beautiful, dark loaf from your oven is a truly rewarding experience. There's a unique satisfaction that comes from transforming simple ingredients into something so substantial and flavorful. The aroma that fills your kitchen as it bakes is simply incomparable to store-bought bread.
Each slice represents your effort and patience, a tangible result of following the steps from activating the yeast to the final cooling. Don't be discouraged if your first loaf isn't absolutely perfect; baking is a skill that improves with practice. The important thing is that you've successfully created a delicious, homemade pumpernickel bread, a feat many home bakers might shy away from.
This easy pumpernickel bread recipe demystifies what might seem like a complex bread, making it accessible for anyone. You've learned about the unique properties of rye flour, the role of key ingredients like molasses and coffee, and the fundamental steps of bread baking tailored for this specific loaf. This newfound knowledge and experience empower you to bake this bread again, perhaps experimenting with small variations or simply perfecting your technique. Sharing your homemade pumpernickel with friends and family is another joy, allowing them to taste the difference that comes from baking with care and using fresh ingredients.
Further Baking Adventures with BakeWithEase.com
Having mastered this easy pumpernickel bread recipe, you've taken a significant step in your baking journey, particularly within the realm of regional and cultural baking. Pumpernickel is just one example of the incredible diversity found in German baking delights. BakeWithEase.com offers a wealth of other simple recipes and guides designed to help bakers of all levels explore new horizons. Whether you're interested in other rye bread variations, classic German cakes like Black Forest or Bee Sting cake, or perhaps venturing into the world of pretzels or stollen, our site is your resource.
Consider exploring other recipes in our German Baking Delights category to continue building your skills and discovering new favorites. Perhaps try a simpler rye bread or a classic German soft pretzel recipe next. Each new recipe on BakeWithEase.com is presented with the same focus on clear instructions and easy-to-find ingredients, ensuring your baking adventures remain enjoyable and successful. Keep practicing, keep exploring, and continue to experience the joy of baking delicious, homemade goods with ease.
Frequently Asked Questions
What makes this pumpernickel bread recipe "easy"?
The recipe focuses on simplified steps and easily accessible ingredients, avoiding complex techniques often found in traditional pumpernickel recipes. This allows even beginner bakers to achieve delicious results.
What kind of flour is best for an easy pumpernickel bread?
A combination of rye flour and bread flour is recommended. This blend creates the desired texture and flavor profile, while remaining manageable for home baking.
Can I use a bread machine for this easy pumpernickel bread recipe?
While the recipe is designed for oven baking, you can adapt it for a bread machine. Consult your machine's manual for specific instructions on dough preparation and baking cycles.
What gives pumpernickel bread its characteristic dark color?
The dark color comes from molasses and sometimes cocoa powder or coffee, added to the dough. These ingredients also contribute to the bread's rich and slightly sweet flavor.
How long does this easy pumpernickel bread recipe take from start to finish?
Expect approximately 3-4 hours from initial preparation to a finished loaf, including proofing and baking time. This includes active prep time and inactive proofing time.
Final Reflection: The Enduring Allure of Homemade Pumpernickel
The satisfying thud of a perfectly formed loaf emerging from the oven, the rich aroma filling your kitchen – these are the tangible rewards of baking, and pumpernickel, with its complex flavors and satisfying texture, offers a particularly rewarding experience. This simple guide aimed to demystify the process, proving that crafting this traditionally challenging bread can be accessible to everyone, regardless of baking experience. The ease of this recipe, we hope, opens up a world of culinary exploration for even the most hesitant baker.
The enduring appeal of homemade bread, and pumpernickel in particular, lies not just in the delicious result, but in the connection it fosters with tradition and the simple pleasures of life. It's a tangible link to generations past, a quiet act of creation that offers a profound sense of accomplishment. As the poet Mary Oliver so eloquently put it: Tell me, what is it you plan to do with your one wild and precious life?
Baking this bread, in its own small way, is a beautiful answer to that question. It's a mindful process, a chance to slow down and connect with something real and nourishing.
Now, consider your own kitchen. Imagine the warmth of the oven, the scent of rye filling the air. Don't let the perceived complexity of pumpernickel deter you. This recipe is your invitation to embark on a culinary adventure, to experience the joy of creating something delicious and meaningful with your own hands. Try it. Share it. And savor the rich, rewarding experience of baking your own pumpernickel bread.
Unleash Your Inner Baker: Craft the Perfect Pumpernickel
Thanks for taking the time to explore the world of pumpernickel with us! We hope you gained valuable insights and are feeling inspired to create your own delicious loaf. Now it's time to put your newfound knowledge into action.
- Bake your own pumpernickel masterpiece! Use the recipe and tips from the article as your guide. Don't be afraid to experiment – even small changes can create a unique flavor profile.
- Share your baking journey! Post a picture of your finished loaf on social media and tag us – we'd love to see your creation!
- Dive deeper into our bread-baking resources: Explore our website for more recipes and techniques to expand your baking skills.
What unique twist will you add to your pumpernickel bread to make it truly your own?