
Proofing Problems: Don't Ruin Your Rise

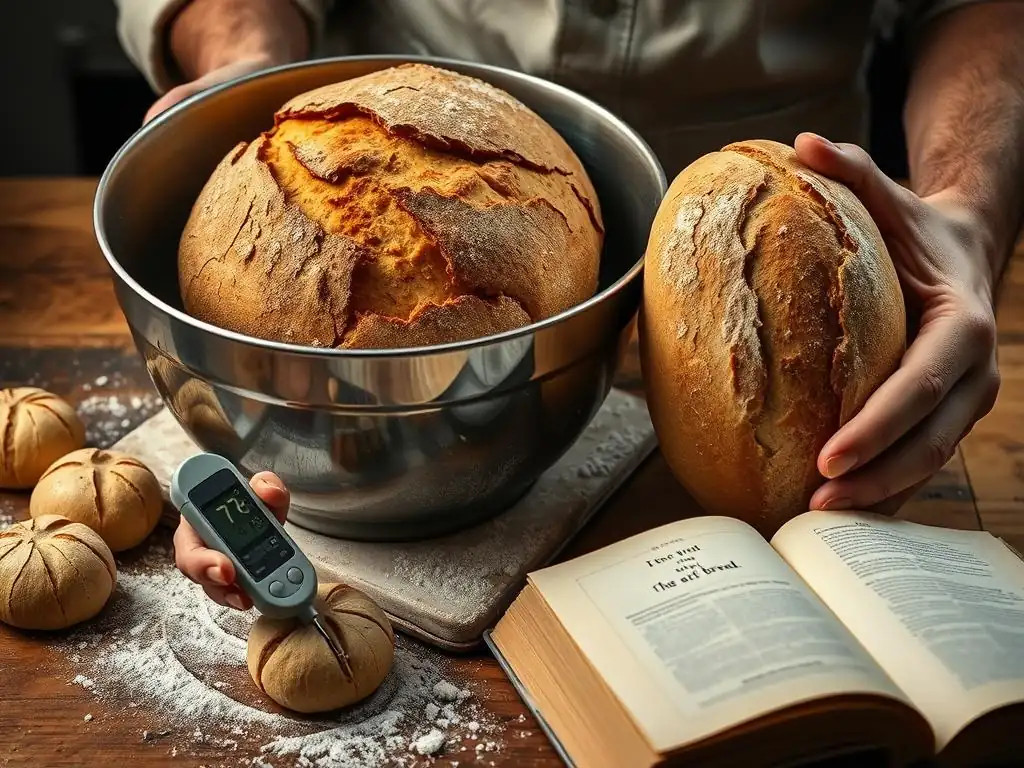
Welcome to BakeWithEase, your guide to stress-free baking! Ever wondered if you're really mastering the art of the rise? This week, we're diving deep into a critical step that can make or break your bread: How to proof dough correctly. Unlock the secrets to achieving that perfect, airy texture and say goodbye to dense, disappointing loaves. Let's explore the techniques, troubleshoot common problems, and elevate your bread baking game, starting now!
- Achieving Optimal Fermentation: Avoiding Common Pitfalls
- Understanding the Importance of Proper Fermentation
- Common Fermentation Problems and Solutions
- How to Ferment Dough Effectively: Step-by-Step Guide
- Mastering the Art of Dough Fermentation: Advanced Techniques
- Troubleshooting Bread Baking: Beyond Fermentation Issues
- Achieving Optimal Fermentation: Tips and Tricks for Successful Baking
- Frequently Asked Questions
- Final Reflection: The Humble Rise of Perfect Dough
- Unlock Your Baking Potential: Master the Art of Proofing!
Achieving Optimal Fermentation: Avoiding Common Pitfalls
Understanding the Importance of Proper Fermentation
Why Fermentation is Critical for Successful Baking
Fermentation, often called proofing when referring to the final rise, is the magical process that transforms simple dough into airy, flavorful bread. At its heart, fermentation is the work of yeast and, in the case of sourdough, beneficial bacteria. These microorganisms feast on the sugars present in the flour, producing carbon dioxide gas and alcohol as byproducts. This gas is what gets trapped within the gluten network of the dough, causing it to expand and rise significantly. Without sufficient gas production and retention, your bread would be dense and heavy, lacking the desirable volume and open crumb structure.
Think of the gluten network as tiny elastic balloons. As the yeast produces gas, these balloons inflate, making the dough bigger and lighter. Simultaneously, enzyme activity during fermentation breaks down starches into simpler sugars, making them available for the yeast and contributing to browning during baking. Proper proofing dough is non-negotiable; it’s the engine that drives the loaf's physical transformation, ensuring it achieves the height and texture we expect from well-baked bread. A dough that hasn't proofed correctly simply won't bake up properly.
The Role of Fermentation in Flavor Development and Texture
Beyond just making the dough rise, fermentation plays a crucial role in developing the complex flavors and desirable texture of bread. As yeast and bacteria consume sugars, they produce a variety of organic acids (like lactic and acetic acid in sourdough), esters, and other aromatic compounds. These byproducts contribute significantly to the bread's aroma, taste, and even its shelf life. A long, slow fermentation, especially cold fermentation in the refrigerator, allows more time for these flavor compounds to develop, resulting in a more nuanced and less one-dimensional bread.
Furthermore, fermentation helps to condition and strengthen the gluten network. While kneading develops gluten structure initially, the enzymatic activity during proofing helps to relax and extend the gluten strands, making the dough more extensible and elastic. This improved gluten strength is vital for trapping the gas produced during both fermentation and oven spring. A well-fermented dough will have a more tender crumb and a more pleasant chew compared to an under-fermented loaf, demonstrating how crucial the proofing process is for achieving truly great bread.
Common Fermentation Problems and Solutions
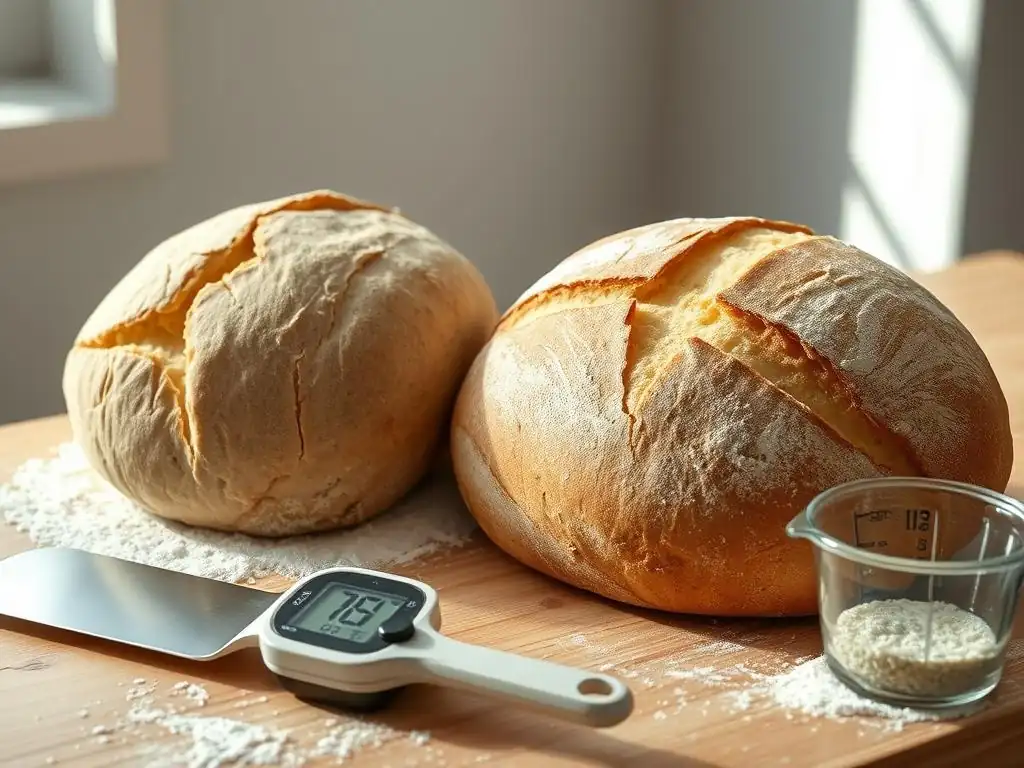
Problem #1: Dough Not Rising During Fermentation
When your dough stubbornly refuses to rise, it's one of the most frustrating issues in baking. Several factors can contribute to this lack of activity, often related to the health of your leavening agent or the environment it's in. Insufficient starter activity is a prime suspect; if your yeast or sourdough starter is old, inactive, or wasn't properly proofed before mixing, it simply won't produce enough gas. Another common cause is inadequate hydration – a dough that is too dry can restrict the yeast's ability to move and ferment effectively, essentially trapping the potential rise before it can begin.
Inhibitory ingredients can also halt fermentation. Salt, while essential for flavor and dough structure (typically used at 1.8-2.2% of flour weight), can kill yeast if it comes into direct contact in high concentrations or if too much is used. Water that is too hot (over 130°F) will kill yeast instantly, while water that is too cold (below 70°F) will significantly slow down or prevent activation. Excessive sugar can also draw water out of yeast cells through osmosis, inhibiting their activity if concentrations are very high, though typical bread recipes use sugar levels that the yeast can handle.
Solutions for a Dough That Won't Rise: [Strengthen Starter, Adjust Hydration, Modify Recipe]
To revive a sluggish dough, first assess your leavening agent. If using commercial yeast, ensure it's fresh and active by proofing a small amount in warm water (around 100-110°F) with a pinch of sugar; it should become foamy within 5-10 minutes. If using sourdough, make sure your starter is active and bubbly after a recent feeding before you incorporate it into the dough. If your dough seems dry and tight, you can try incorporating small amounts of additional water (a teaspoon at a time) through gentle folding or kneading, watching how the dough absorbs it and becomes more pliable.
Review your recipe and process carefully. Check the water temperature used initially. Ensure salt was not added directly on top of the yeast during mixing. If you suspect an issue with the amount of yeast or starter used relative to the flour, note it for your next bake; a typical lean bread might use 1-2% instant dry yeast or 15-25% sourdough starter based on flour weight.
If your kitchen is cold, find a warmer spot for proofing dough – perhaps near a warm appliance, in an oven with just the light on (check temperature! ), or in a proofing box set to 75-80°F. Patience is key; sometimes, a cold dough just needs more time to get going.
Problem #2: Over-Fermented Dough: Weak Gluten and Acidic Taste
Over-fermentation occurs when the dough is allowed to proof for too long or at too high a temperature, exhausting the yeast's food supply and degrading the gluten structure. Identifying over-fermented dough is often straightforward by its appearance and smell. The dough might look overly puffy initially but then starts to collapse or become slack and liquified, losing its structure and ability to hold shape. It might feel sticky and difficult to handle, tearing easily when stretched rather than exhibiting elasticity.
The odor of over-fermented dough is also a strong indicator. It will often have a pungent, overly alcoholic, or strongly vinegary smell due to the excessive production of alcohols and acids. While some acidity is desirable, especially in sourdough, too much results in an unpleasant, sharp, or sour taste in the final bread. The weakened gluten structure means the dough won't hold its shape during baking, leading to a flat, dense loaf with a poor crumb structure because the gas produced during oven spring simply escapes.
Preventing Over-Fermentation: [Reduce Starter Percentage, Lower Temperature]
Preventing over-fermentation is about controlling the rate of activity. One effective method is to reduce the percentage of yeast or starter used in the recipe. Using less leavening agent means the fermentation will proceed more slowly, allowing you more flexibility in timing. For instance, reducing instant yeast from 1% to 0.5% or sourdough starter from 20% to 10% of the flour weight can significantly extend the bulk fermentation time needed.
Temperature is another critical control factor. Yeast and bacteria activity is highly dependent on temperature. Moving the dough to a cooler environment will slow down fermentation considerably. While a warm kitchen (78-80°F) might proof dough quickly in 2-3 hours, a cooler room (68-70°F) could extend that to 4-6 hours or more. For even greater control and flavor development, consider retarding the dough in the refrigerator (38-40°F) for 12-72 hours; this dramatically slows fermentation while allowing enzymes to work, building complex flavors without over-proofing.
Problem #3: Inconsistent Fermentation: Uneven Texture and Flavor
Inconsistent fermentation leads to bread with an uneven crumb structure – some areas might be dense while others are airy – and potentially patchy flavor development. One primary cause is temperature fluctuations during the proofing period. If part of the dough is warmer than another (e.g., sitting directly on a warm counter vs. an edge hanging over), the yeast activity will be faster in the warmer section, leading to uneven gas production and gluten development throughout the dough mass.
Uneven mixing is another significant contributor. If ingredients like salt, yeast, or starter aren't thoroughly distributed throughout the dough, you'll have pockets where fermentation is either inhibited or overly concentrated. Similarly, if the flour isn't fully hydrated in all parts of the dough, some sections will be drier and ferment differently than the well-hydrated areas. Achieving a homogenous dough from the start is crucial for ensuring consistent proofing.
Achieving Consistent Fermentation: [Stable Environment, Thorough Mixing]
To achieve consistent fermentation, providing a stable environment is paramount when proofing dough. Avoid placing your dough in drafty spots or areas subject to direct sunlight or cycling oven heat unless intentionally using the oven as a proofing box. Using an insulated container, a dedicated proofing box, or even your oven with the light on (checking the temperature first to ensure it's a steady, moderate heat, perhaps 75°F) can help maintain a uniform temperature throughout the dough.
Thorough mixing is the foundation for even fermentation. Ensure all ingredients are well incorporated and that there are no dry pockets of flour before bulk fermentation begins. Techniques like the autolyse (mixing flour and water before adding other ingredients) can help ensure full hydration. During bulk fermentation, performing a series of stretch and folds every 30-60 minutes for the first few hours helps to redistribute the yeast and nutrients, equalize the temperature within the dough mass, and further develop gluten evenly, all contributing to a more consistent rise and final texture.
Problem #4: Dough Sticking to the Fermentation Container
Dough sticking to the bowl or proofing basket is a common annoyance that can damage the dough's structure when you try to remove it, potentially deflating it and ruining the final rise. This often happens if the container wasn't properly prepared or if the dough is particularly wet or over-proofed, making it stickier. A dry bowl or basket offers many points for the dough to adhere to as it expands.
Over-proofed dough, as mentioned earlier, can become very slack and wet on the surface, increasing its tendency to stick. Using a porous container, like an untreated wooden bowl or a basket without sufficient flour/liner, can also exacerbate sticking as the dough hydrates the surface and creates adhesion.
Preventing Dough from Sticking: [Using a Well-Oiled Container, Bulk Fermenting in a Tub]
Preventing dough from sticking starts before you place the dough in the container. If using a bowl for bulk fermentation, coat it generously with a neutral oil like vegetable, olive, or grapeseed oil. Swirl the oil around to cover the entire interior surface before adding the dough. For final proofing in a basket (banneton), ensure it is well-floured, especially if using a linen liner. Rice flour is excellent for dusting bannetons as it doesn't absorb moisture from the dough as readily as wheat flour, creating a non-stick layer.
Bulk fermenting dough in straight-sided plastic tubs can also make handling easier. The smooth, non-porous surface is less prone to sticking than some traditional bowls, and the straight sides make it easy to judge the dough's volume increase. For high-hydration doughs that are inherently sticky, ensuring the container is impeccably clean and well-prepared is even more critical.
Releasing Sticky Dough: [Wet Hands, Gentle Folding]
If your dough is sticking when it's time to handle it, resist the urge to scrape aggressively with a bench scraper, which can tear the dough. Instead, keep your hands slightly wet with water. This creates a temporary barrier that prevents the dough from adhering to your skin. Use wet hands to gently loosen the edges of the dough from the container.
Once the edges are free, use your wet hands or a lightly oiled bench scraper to ease the dough out onto your work surface. If the dough is very slack and sticky (a sign it might be slightly over-proofed), you can perform a gentle "fold" or two on the work surface to build a little tension before shaping, rather than trying to handle it like a firm dough. The goal is to be as gentle as possible to preserve the gas bubbles that have developed during proofing dough.
How to Ferment Dough Effectively: Step-by-Step Guide
Step 1: Preparing Your Dough for Fermentation
Effective fermentation begins the moment your dough is mixed. After combining your ingredients, adequate kneading or folding is essential to develop the gluten network. Gluten is the protein structure that provides the dough with elasticity and strength, allowing it to capture the carbon dioxide gas produced during proofing. Kneading helps align these protein strands, creating a resilient framework. For many bread types, kneading until the dough is smooth and passes the windowpane test (stretching a small piece thin enough to see light through without tearing) indicates sufficient gluten development has occurred before the bulk fermentation even starts.
Ensuring proper hydration is also part of the preparation. The amount of water in your dough significantly impacts its texture and how fermentation proceeds. Doughs with higher hydration (more water relative to flour, e.g., 70% hydration or higher) tend to ferment faster and develop a more open crumb but can be stickier and harder to handle. Lower hydration doughs (e.g., 60-65%) are easier to work with but may ferment more slowly and produce a tighter crumb. Getting the hydration right for your chosen recipe and flour type is crucial for a successful rise.
Autolyse for Improved Hydration and Gluten Development
The autolyse technique is a simple yet powerful step you can take after initially mixing just the flour and water for your dough. Allowing this mixture to rest for 20 minutes up to several hours before adding the salt and leavening agent permits the flour to fully hydrate. During this rest period, enzymes naturally present in the flour begin to break down proteins, which helps the gluten network start to develop without any mechanical effort (kneading).
Implementing an autolyse can lead to dough that is easier to mix, requires less kneading time, and is more extensible. This improved extensibility and hydration contribute to a better gluten structure that is more capable of holding gas during proofing dough and oven spring, often resulting in a more voluminous loaf with a better crumb structure. It's a simple way to enhance the dough's potential before the active fermentation period even begins.
Step 2: Choosing the Right Fermentation Environment
The environment where you proof dough has a profound impact on the rate and quality of fermentation. Temperature is the single most critical factor. While yeast is active over a range of temperatures, there are optimal ranges for different results. Warmer temperatures, typically between 75°F and 80°F (24-27°C), encourage faster fermentation, ideal for recipes requiring a quick rise, perhaps in 1-3 hours. However, very high temperatures (above 85°F) can cause the yeast to work too fast, potentially producing off-flavors and weakening the gluten before the dough is ready.
A slightly cooler environment, around 68-72°F (20-22°C), is often preferred for longer bulk fermentations, especially with sourdough, as it allows for slower, more controlled acid development and flavor complexity over 4-12 hours or longer. Humidity also plays a role; a dry environment can cause the surface of the dough to dry out and form a skin, which restricts expansion. Covering the dough with plastic wrap, a damp towel, or placing it in a closed container helps maintain humidity around the dough, preventing skin formation during proofing dough.
Ideal Temperature and Humidity for Different Dough Types
The ideal conditions for proofing dough vary depending on the type of bread you are making and the desired outcome. Lean doughs (flour, water, salt, yeast) often benefit from a relatively warm, humid environment to encourage a good, quick rise. A temperature of 78°F with high humidity is often targeted in professional settings for a fast bulk ferment. Enriched doughs containing butter, eggs, or sugar may ferment a bit slower and can handle slightly warmer temperatures, though care is still needed to avoid over-proofing.
Sourdough fermentation, which relies on both wild yeast and lactic acid bacteria, is often managed with more flexible temperature strategies. A warm temperature (75-80°F) can accelerate the bulk ferment (e.g., 3-5 hours), while a cooler temperature (68-72°F) slows it down, allowing more time for acid production and flavor development (e.g., 6-12 hours). Cold fermentation in the refrigerator (38-40°F) is a common technique for sourdough and yeasted doughs alike, dramatically slowing the process while maximizing flavor and structure over 12-72 hours. Maintaining about 70-80% humidity around the dough helps prevent drying regardless of the temperature.
Step 3: Monitoring the Dough's Progress During Fermentation
Knowing when your dough is perfectly proofed is more of an art than a science based purely on time, as many variables affect the rate of fermentation. Relying solely on the clock can easily lead to under- or over-proofed dough. Instead, it's essential to monitor the dough's progress using visual cues and physical tests.
During bulk fermentation, watch for a significant increase in volume – the dough should typically double or nearly triple in size depending on the recipe and desired outcome. The surface should appear domed and airy, often showing visible bubbles beneath the surface or along the sides of the container.
For the final proof (after shaping), the dough should increase considerably in volume again, though perhaps not quite double, as you want it to have energy left for oven spring. A key test is the "poke test": gently press a floured finger into the side of the dough about half an inch deep. If the indentation springs back immediately, the dough is under-proofed. If it springs back slowly and leaves a small indentation, it's likely perfectly proofed and ready to bake. If the indentation remains completely or the dough collapses slightly, it is likely over-proofed.
Visual Cues for Readiness: [Increased Volume, Bubble Formation]
Observing the dough's volume increase is the most straightforward visual cue when proofing dough. Most recipes provide a target volume increase, such as "double in size." It helps to use a clear container with volume markings or note the starting height of the dough in your bowl. As the dough ferments, you'll see it expand upwards and outwards. The rate of this expansion will slow as the yeast consumes available sugars and the dough approaches peak fermentation.
Beyond just volume, look for signs of gas production. The surface of the dough should look inflated and often develops small bubbles. If proofing in a clear container, you'll see many air pockets forming throughout the dough and along the sides. The dough should feel light and airy when gently handled, a stark contrast to the dense mass it was after mixing. These visual indicators, combined with the poke test, provide a comprehensive assessment of how proofing dough is progressing.
Step 4: Handling Fermented Dough with Care
Once your dough has reached its optimal fermentation level, handling it gently is crucial to preserve the delicate gluten structure and the gas bubbles that have developed. The goal is to shape the dough for baking while minimizing deflation. Aggressive handling, punching down too hard, or stretching/tearing the dough roughly can expel too much gas, resulting in a dense loaf with poor volume.
When transferring dough from the bulk fermentation container or shaping it, use a light touch. A bench scraper can be helpful for dividing and moving the dough without tearing it. Flour your hands and work surface lightly to prevent sticking, but avoid using excessive flour, which can create dry pockets in the dough. The shaping process itself should aim to build tension on the surface of the dough while disturbing the interior as little as possible, creating a skin that will help the loaf hold its shape and rise during baking.
Shaping Techniques to Preserve Gas and Structure
Effective shaping techniques are designed to organize the dough's internal structure and create surface tension without deflating the dough excessively after proofing dough. For many loaves, this involves gently degassing the dough just enough to make it manageable, then performing a pre-shape (like a loose round or log) followed by a short rest (bench rest) before the final shape. This rest period allows the gluten to relax, making the final shaping easier.
The final shaping technique will depend on the desired loaf shape (batard, boule, baguette, etc.). Techniques typically involve folding the dough onto itself multiple times to build layers and tension, then sealing the seams. The aim is to create a taut surface skin that will hold the dough's shape during the final proof and provide structure in the oven. Learning proper shaping ensures that the effort put into proofing dough pays off with a well-formed, airy loaf.
Mastering the Art of Dough Fermentation: Advanced Techniques
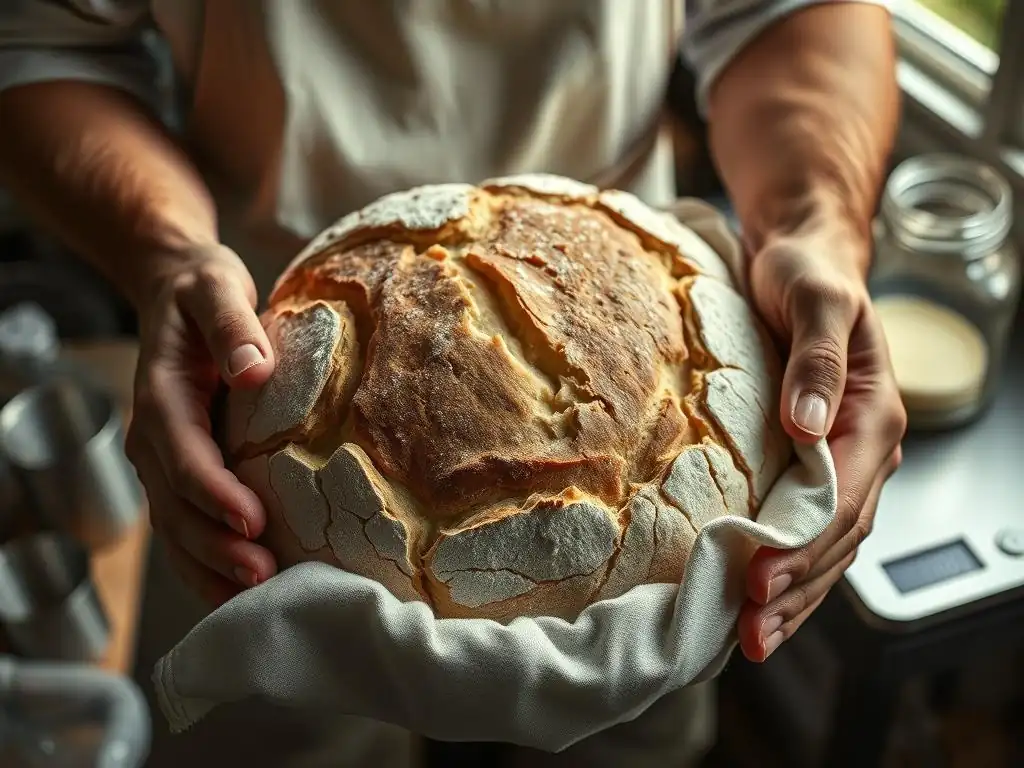
Using a Temperature Controlled Chamber for Precise Fermentation
Achieving consistent and predictable fermentation can be challenging in a home kitchen with fluctuating temperatures. This is where a temperature-controlled chamber becomes invaluable. Dedicated proofing boxes or even modifying an oven to maintain a specific, steady temperature (often between 75°F and 85°F) allows for incredibly precise control over the rate of yeast and bacterial activity. This level of control is particularly beneficial when working with sensitive doughs or trying to replicate results consistently.
A controlled environment eliminates variables like drafts or ambient temperature swings, ensuring that the entire dough mass ferments uniformly. This leads to more predictable timing for both bulk fermentation and final proofing dough, reducing the risk of under- or over-proofing. While not strictly necessary for home baking, using a controlled chamber is a significant step towards mastering fermentation and achieving professional-level consistency in your bread.
Retarding Dough for Complex Flavor Development
Retarding dough, or cold fermentation, is a technique where the dough undergoes a long, slow proof in a cold environment, typically the refrigerator (38-40°F or 3-4°C). At these low temperatures, yeast activity is significantly slowed, but enzymatic activity, particularly the breakdown of starches into sugars, continues. This process develops a greater depth and complexity of flavor that is simply not possible with a rapid, warm proof.
Cold fermentation also strengthens the gluten structure over time, making the dough easier to handle and shape, especially higher hydration doughs. A typical cold retard can last anywhere from 12 to 72 hours or even longer, depending on the recipe and desired outcome. This extended proofing dough period offers tremendous scheduling flexibility, allowing bakers to fit baking around their lives rather than being dictated by the dough's rapid rise. The resulting bread often has a more nuanced flavor profile, a better crust, and improved keeping quality.
Adjusting Fermentation Times Based on Dough Hydration and Gluten Strength
Understanding how dough hydration and gluten strength influence fermentation rate is key to adjusting proofing times successfully. Higher hydration doughs, containing a greater proportion of water to flour (e.g., 75%+), typically ferment faster than lower hydration doughs. The increased water allows the yeast and enzymes to move more freely throughout the dough, accessing food sources more readily. Consequently, you may need to shorten the proofing time or use a slightly cooler temperature for very wet doughs to prevent them from over-proofing rapidly.
Conversely, the strength of the gluten network affects how well the dough can hold the gas produced during proofing. Doughs made with high-protein bread flour, which develops a strong gluten structure, can typically withstand longer fermentation times compared to doughs made with lower-protein all-purpose or pastry flour. A robust gluten network is more resilient and less likely to collapse during a long proof. As you gain experience, you'll learn to 'read' your dough and adjust proofing dough times and temperatures based on its feel, hydration, and the type of flour used, rather than blindly following a clock.
Troubleshooting Bread Baking: Beyond Fermentation Issues
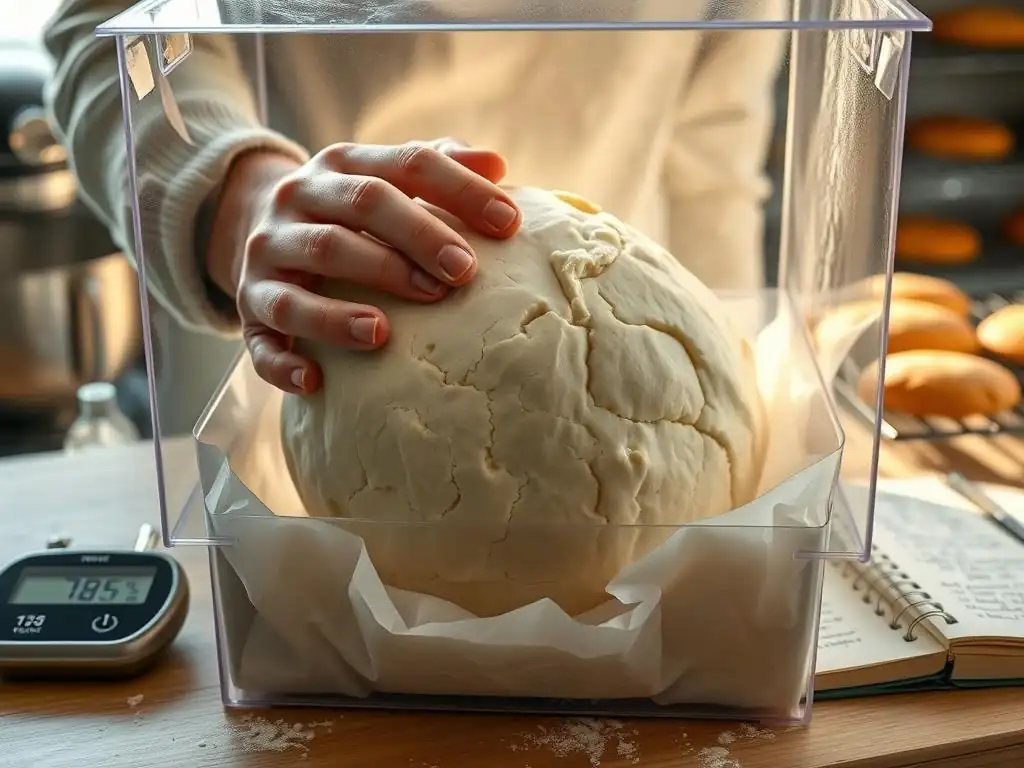
While mastering how to proof dough is fundamental, other issues can arise in bread baking. A dense crumb might stem from under-kneading or inadequate gluten development, not just poor proofing. A tough crust could be due to insufficient steam during baking or overbaking. Pale crusts often indicate insufficient sugar development (sometimes linked to under-fermentation) or not baking at a high enough temperature. Shaping problems can lead to loaves that spread rather than rise upwards. Achieving great bread often requires troubleshooting a combination of mixing, fermentation, shaping, and baking techniques.
Achieving Optimal Fermentation: Tips and Tricks for Successful Baking
The Windowpane Test: Assessing Gluten Development
The windowpane test is a crucial technique used before bulk fermentation begins to assess if your dough has been adequately kneaded or folded to develop sufficient gluten strength. To perform the test, take a small piece of dough (about the size of a golf ball) and gently stretch it between your fingers. The goal is to stretch it into a thin membrane without it tearing. If you can stretch it thin enough to see light through it, like a windowpane, without it breaking, your gluten is well-developed and ready to support the gases produced during proofing dough.
If the dough tears easily before becoming thin, it needs more kneading or folding. This test provides valuable insight into the dough's potential to hold structure and rise during fermentation and baking. A dough with underdeveloped gluten will struggle to retain gas, leading to a flat, dense loaf regardless of how perfectly you proof it.
The Smell Test: Detecting Off-Flavors
As dough ferments, it develops characteristic aromas. A healthy, active fermentation will typically produce a pleasant, slightly sweet, yeasty smell, perhaps with a mild tang if using sourdough. However, your nose can also alert you to potential problems during proofing dough. A strong, acrid, or overly alcoholic smell can be an indicator of over-fermentation. Yeast that is stressed or fermenting too quickly at high temperatures can produce excessive amounts of alcohol or other volatile compounds that result in unpleasant flavors.
Conversely, a lack of aroma might suggest sluggish or inactive fermentation. Pay attention to how your dough smells throughout the proofing process. A sharp, vinegary smell is common in over-proofed sourdough. Learning to recognize these aromas is a skill that helps you understand the biological processes happening within your dough and adjust your proofing time or temperature accordingly.
Using a pH Meter for Accurate Acidity Measurement
For serious bread bakers, particularly those working with sourdough, using a pH meter offers a precise way to monitor the progress of fermentation and acidity development. pH measures the acidity of the dough on a scale from 0 (most acidic) to 14 (most alkaline), with 7 being neutral. Flour mixed with water typically starts at a pH of around 5.5-6.0. As fermentation progresses, lactic and acetic acids are produced, causing the pH to drop.
Monitoring the pH provides an objective measure of fermentation activity that isn't subject to visual interpretation or environmental fluctuations. For example, many sourdough bakers target a specific pH range (often between 4.0 and 4.5) for optimal flavor, gluten development, and enzymatic activity before baking. While not essential for every home baker, using a pH meter allows for a deeper understanding and more precise control over the complex biochemical changes occurring while proofing dough.
Frequently Asked Questions
How long should I proof my dough?
Proofing time varies depending on the recipe, yeast type, and environmental temperature. Generally, dough should double in size, which can take anywhere from 1 to 3 hours.
What happens if I over-proof my dough?
Over-proofed dough can collapse during baking and result in a flat, dense loaf. It might also have a sour or unpleasant taste due to excessive fermentation.
Can I proof my dough in the refrigerator?
Yes! Retarding dough in the refrigerator (cold proofing) slows down the fermentation process. This results in a more complex flavor and can improve the dough's texture.
What's the ideal temperature for proofing dough?
The ideal temperature for proofing dough is usually between 75-85°F (24-29°C). A warm, draft-free environment allows the yeast to activate efficiently.
How can I tell if my dough is properly proofed?
Besides doubling in size, a properly proofed dough should be light and airy. Gently poke it; a small indentation should slowly spring back, indicating readiness for baking.
Final Reflection: The Humble Rise of Perfect Dough
The art of proofing dough, seemingly simple, is a cornerstone of successful baking, and its mastery directly impacts the quality of the final product—a truth as relevant today as it was centuries ago. A perfectly proofed loaf boasts a superior texture, flavor, and overall appeal, highlighting the crucial role of patience and precision in achieving culinary excellence. Ignoring this fundamental step can lead to disappointing results, a stark reminder that even the smallest details can significantly impact the final outcome.
The influence of proper proofing techniques extends far beyond the individual baker's kitchen; it's woven into the fabric of culinary traditions worldwide. From the rustic charm of sourdough to the airy lightness of croissants, the process of proofing underpins countless recipes and cultural practices. It's a testament to the enduring power of simple techniques to create something extraordinary. The best things in life are simple, but not easy.
This quote perfectly encapsulates the journey of mastering dough proofing – it's a process that demands attention and care, but the rewards are immeasurable.
Now, consider your own baking journey. What seemingly small details in your life, like the careful proofing of dough, require patience and precision to yield the best results? Take a moment to reflect on the areas where meticulous attention to detail can elevate your work, your relationships, or even your personal well-being. Embrace the process, learn from each rise, and discover the profound satisfaction that comes from mastering the seemingly simple, yet ultimately transformative, art of proofing – whether it's dough or something far more significant.
Unlock Your Baking Potential: Master the Art of Proofing!
Thanks for taking the time to learn more about proofing – a crucial step often overlooked in baking! You've gained valuable insights into achieving perfectly risen loaves and delightful pastries. Now it's time to put your knowledge into practice.
- Bake your masterpiece today: Choose your favorite recipe (or try a new one!) and meticulously follow the proofing instructions. Note the differences in your results!
- Share your baking journey: Post a picture of your perfectly proofed creation on social media and tag #BakeWithEaseProofing – let's inspire others!
- Experiment with different proofing methods: Try different techniques (like using a proofing box or adjusting your oven's temperature) to see which yields the best results for your baking style.
Ready to elevate your baking game and experience the joy of consistently perfect results? What unique proofing method are you excited to try next?